
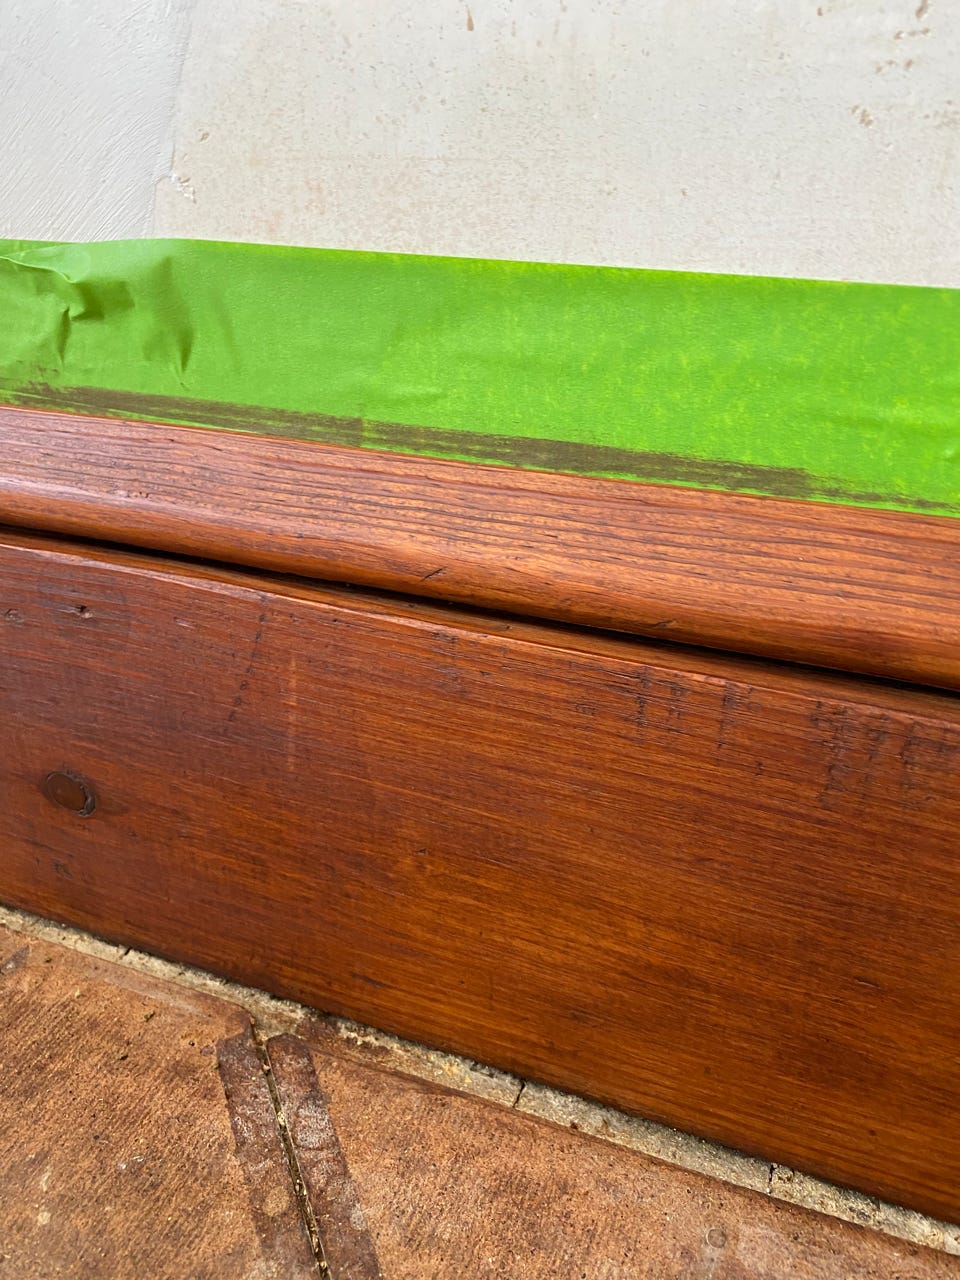
With the ceiling’s first coat of plaster done, I’m going to give a shot to staining the wood molding first and then plastering. Applying the stain always results in some getting on the walls. I usually do one coat of plaster and then stain, but with the new plaster, it’s hard to wipe up the stain because it’s very porous. Also there’s always a drip of plaster on the woodwork and it makes very dark blotches when the wood is bare so I figure I’ll put a little bit of a protective coat of stain on to help block any blotching from the lime plaster. I tape up the walls around the window frames and baseboard and then do a final pass over the wood with any filler touch-ups and sanding. At this point I’m doing a light sanding with 220 or even 400 grit. There’s not much grain raised from the water dye because the wood is old and tight. There are a few spots that are a little fuzzy from all of the stripping and scraping so on those I’ll use the 400 or a green ScotchBrite pad or a paper bag to burnish the wood back down to a smoother finish. For any filling, I use either plastic wood or Goodfilla filler. Both are quick drying. The epoxy repairs I did previously are pre-treated with some acrylic paint to see if I can blend them in. Applying the oil stain directly to the epoxy always results in a different color because the epoxy soaks up the stain a lot more than the wood and it leaves a dark spot. I’m hoping the acrylic paint will provide a little buffer and also simulate a wood tone so when I apply the oil it blends better. There’s a few spots where there’s still some white paint haze that I try to buff out using the sandpaper, but at some point you just have to go for the next step and stop futzing around.
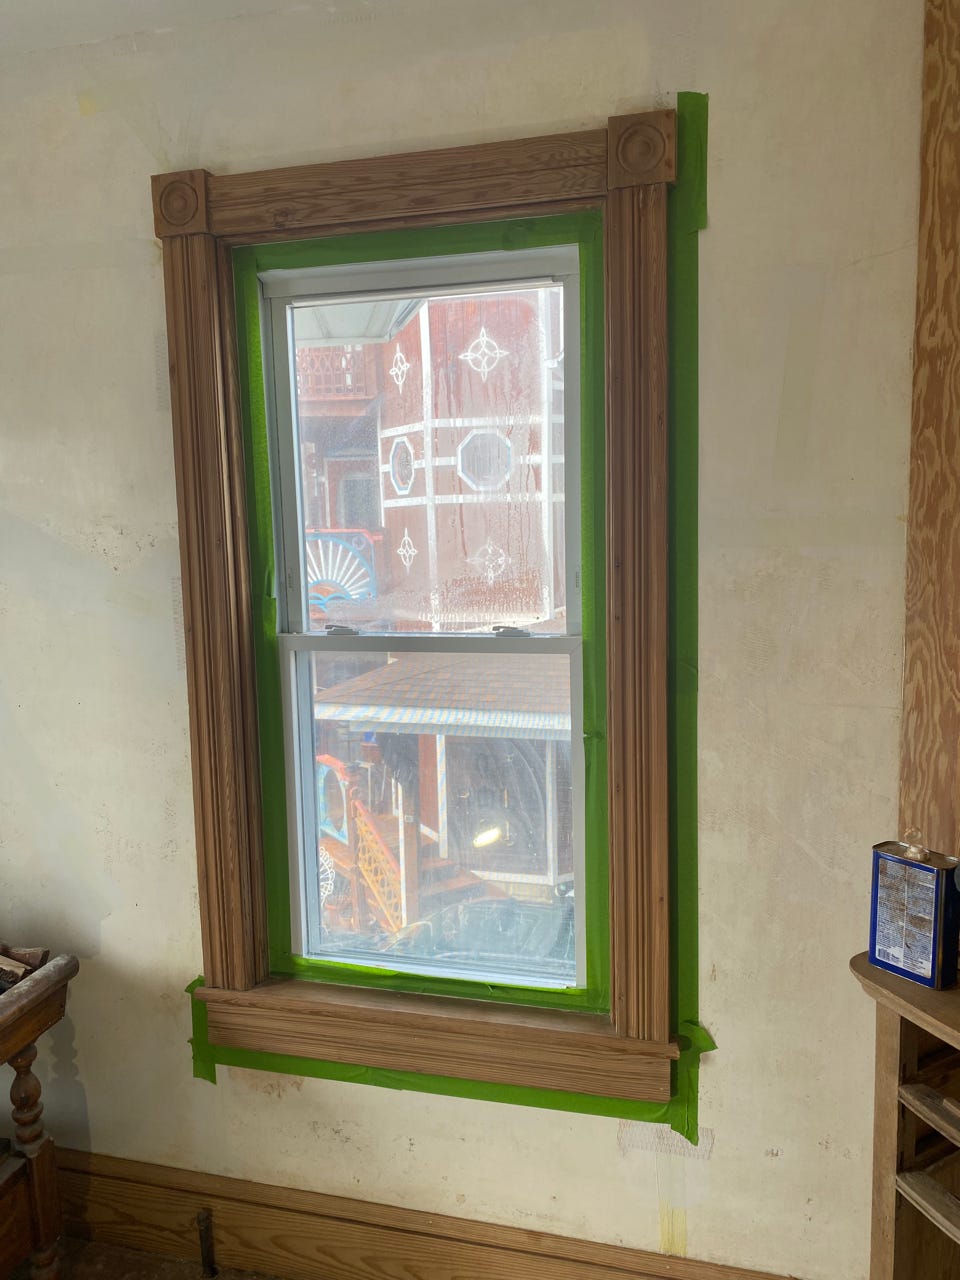
I apply the stain mostly with a rag, but also use a brush to reach the joints and recessed areas of the molding. In the past I did a coat of BLO and turpentine followed by shellac before the stain which worked OK, but also made the stain take forever to dry and also require a lot of wiping as the oil would bead up on the wood. Without the extra steps, the stain does soak into the wood much better and I don’t need to babysit it for hours removing the beaded up stain. It does appear a little darker though, but not anything to be concerned about.
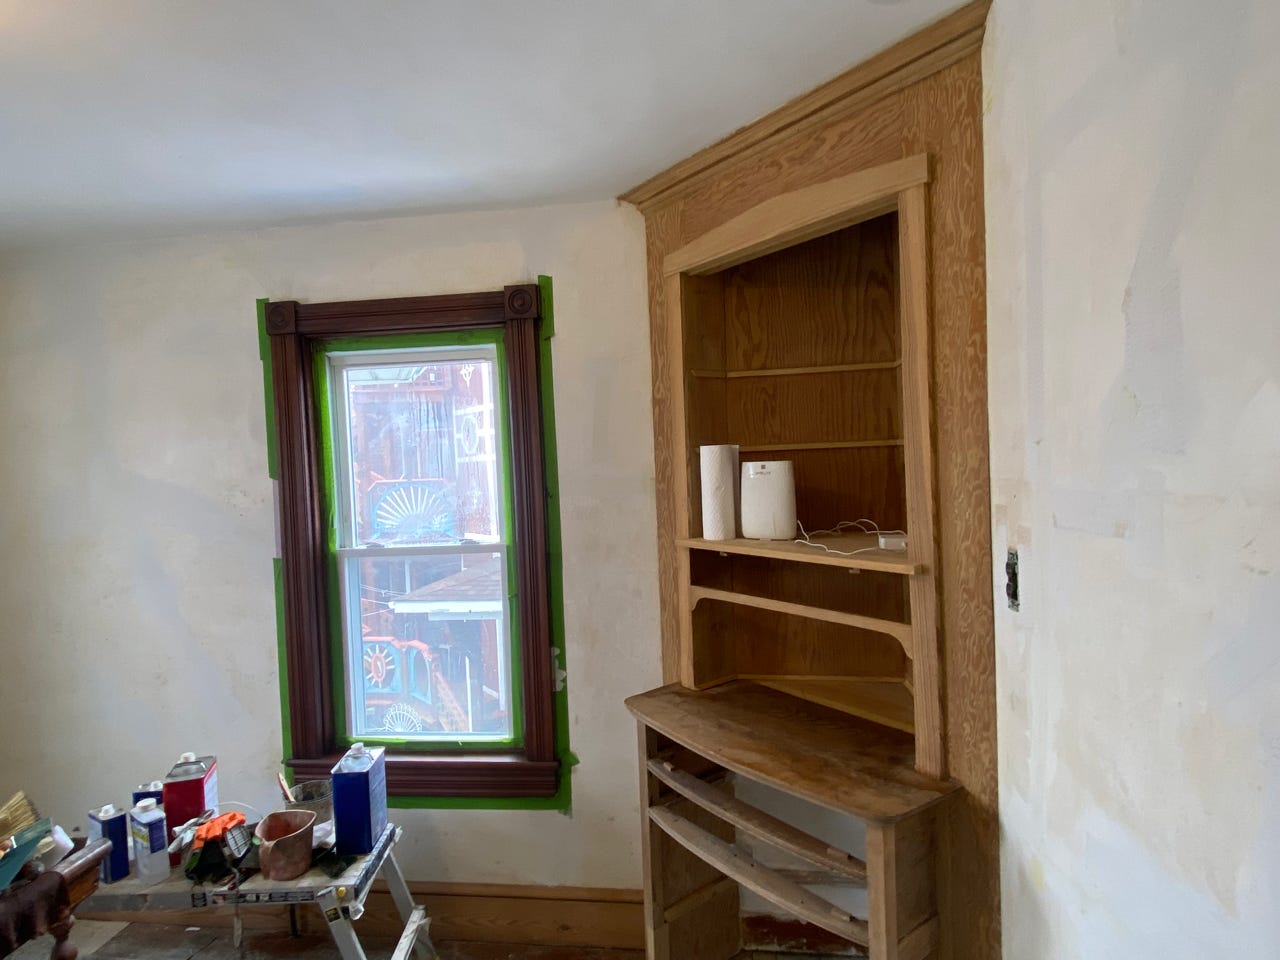
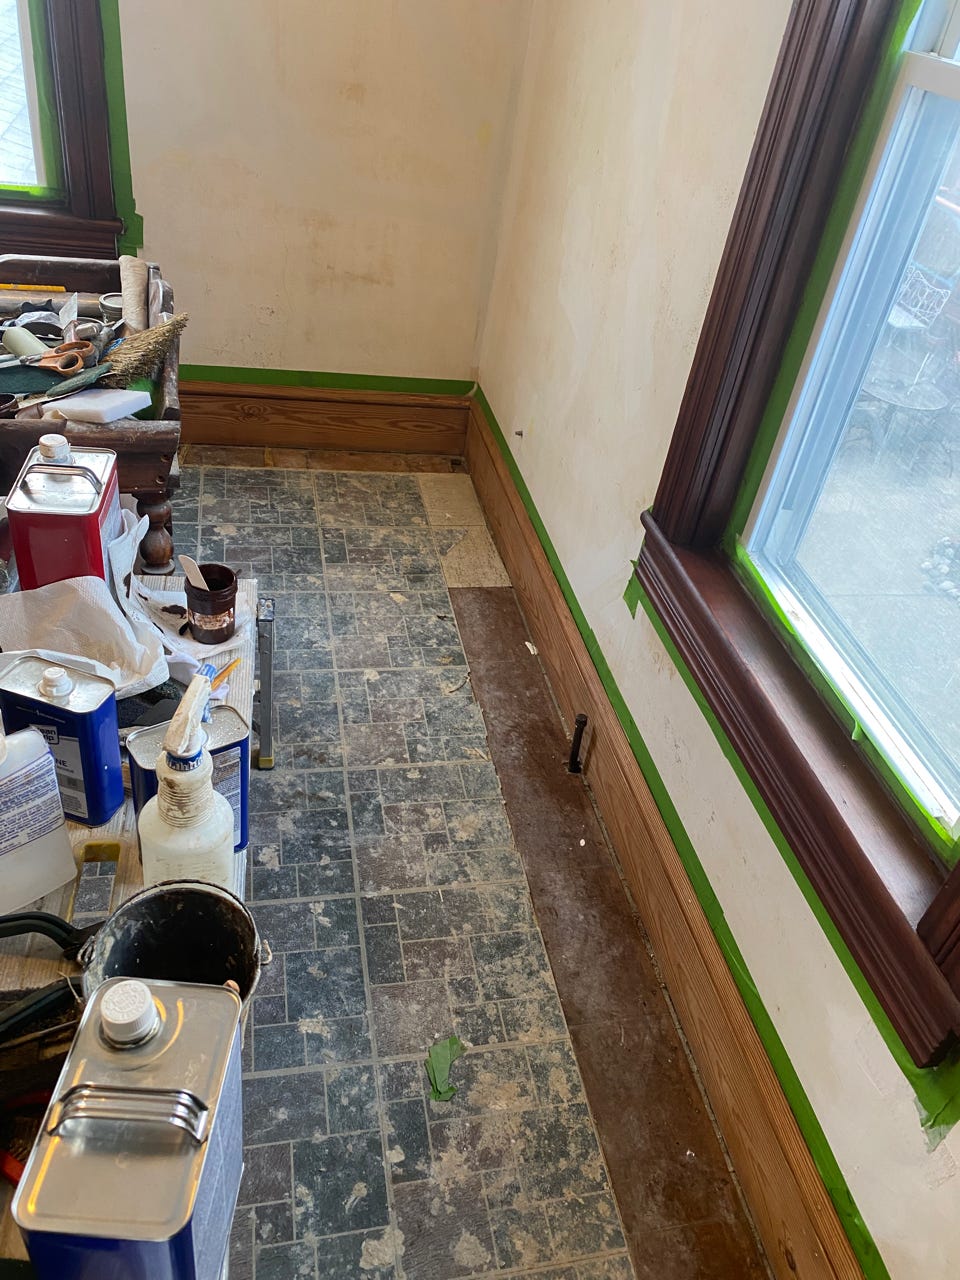
I then move to the baseboards following the same process. One thing I notice with the baseboards is that they are blotching a bit more than the window molding. I probably should have used a pre-stain sealer on these because unlike the window frames, the baseboards have large flat expanses of wood with no fluting. I try to smooth out the blotches using a dry brush dipped in stain to try to even things out, but I think I’ll need to come back to the baseboards for a second pass after they dry.
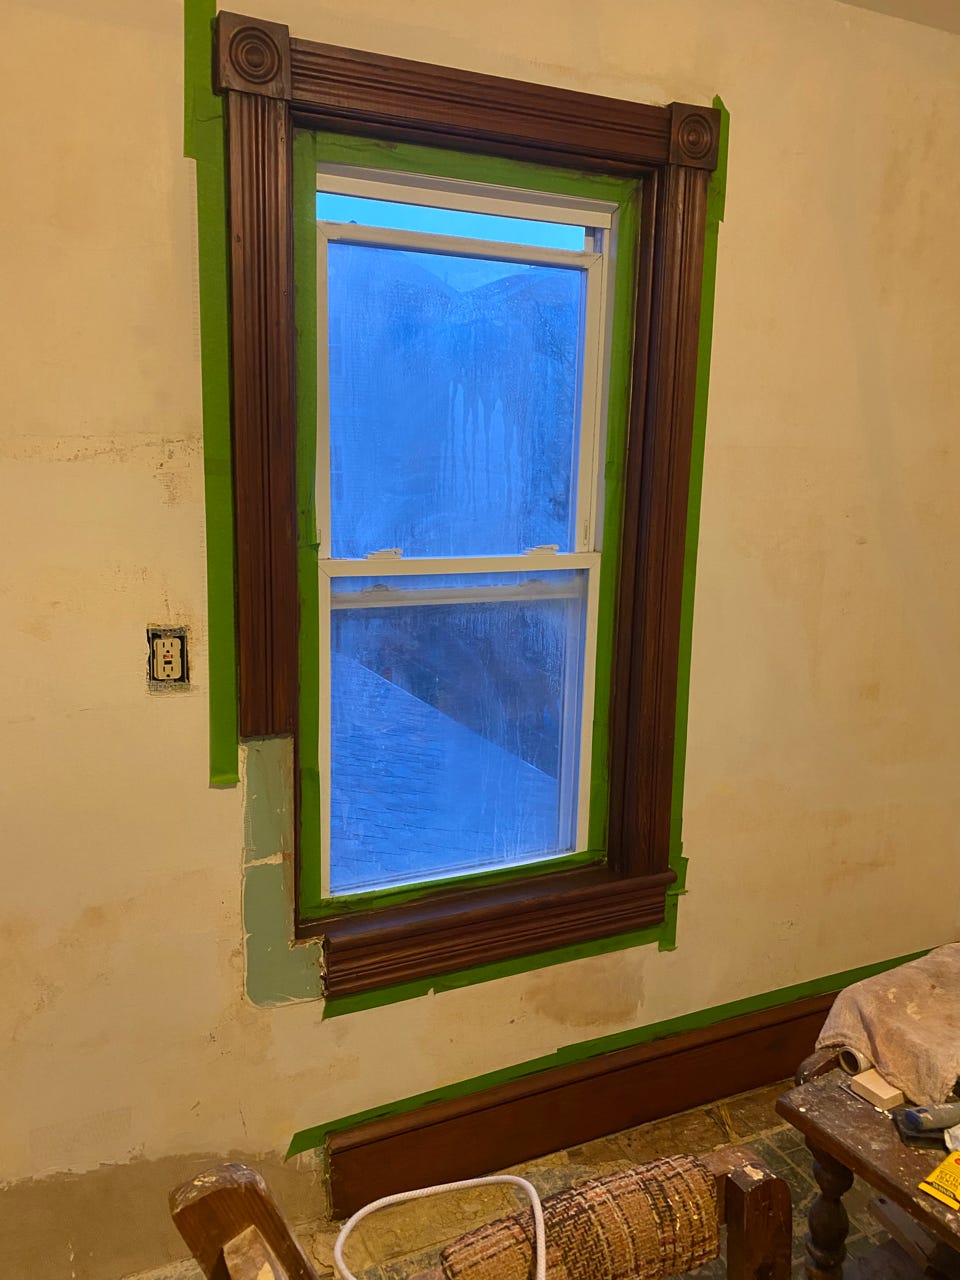
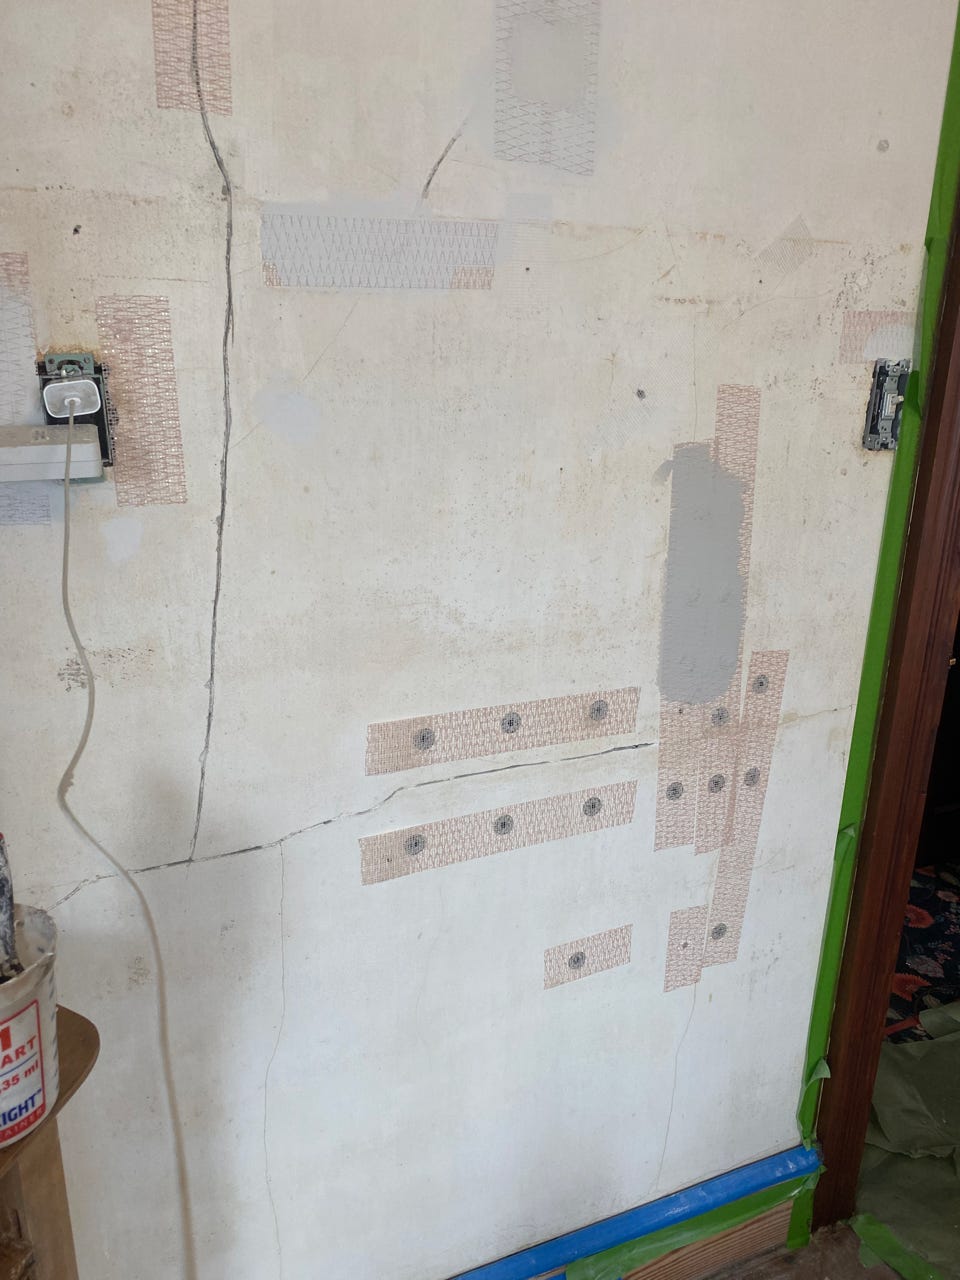
One area of the baseboard I don’t stain is one wall that I haven’t completed cleaning and securing. There’s a small section of wall with a bunch of outlets/switches that I’ve been lagging on because I need to take a little more care scrubbing down the plaster with TSP to avoid dripping into the electrical outlets. I finally get that done by taping the outlets off and using a surgical approach. I then work on plaster washers and Durabond on the wall, and finish stripping the paint from the baseboard.
Comments
Nothing yet. Say the first thing.
Sign in to join the conversation.