
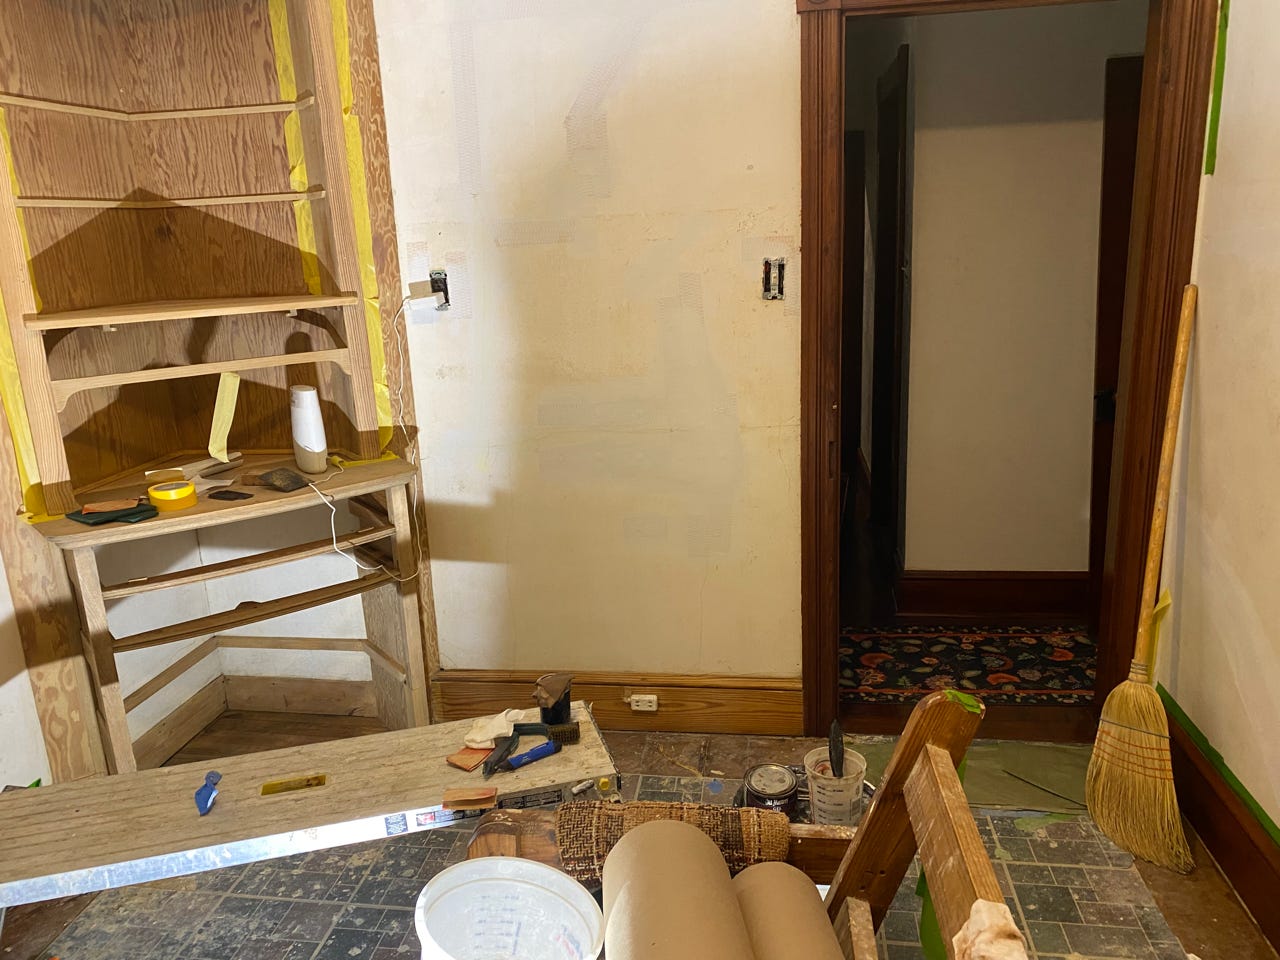
While the stain dries, I move back to the built-in to keep getting this ready for staining. I’m going to move ahead with plastering the walls before I stain the built-in to keep things moving along since I still have a fair amount of stripping to do on the bottom portion of the built-in. The bottom portion is 85% stripped, but there’s still some pockets of paint to be removed. Also the adjacent baseboard needs a final stripping because that was a wall I had delayed cleaning due to 2 electrical outlets and a switch in it. The bottom portion is tricky to access because there’s 2 holders for drawers and I have to crawl into the bottom to get to the back wall and baseboards. It’s tedious, but I eventually get all the paint off and give it a wash with denatured alcohol and naphtha.
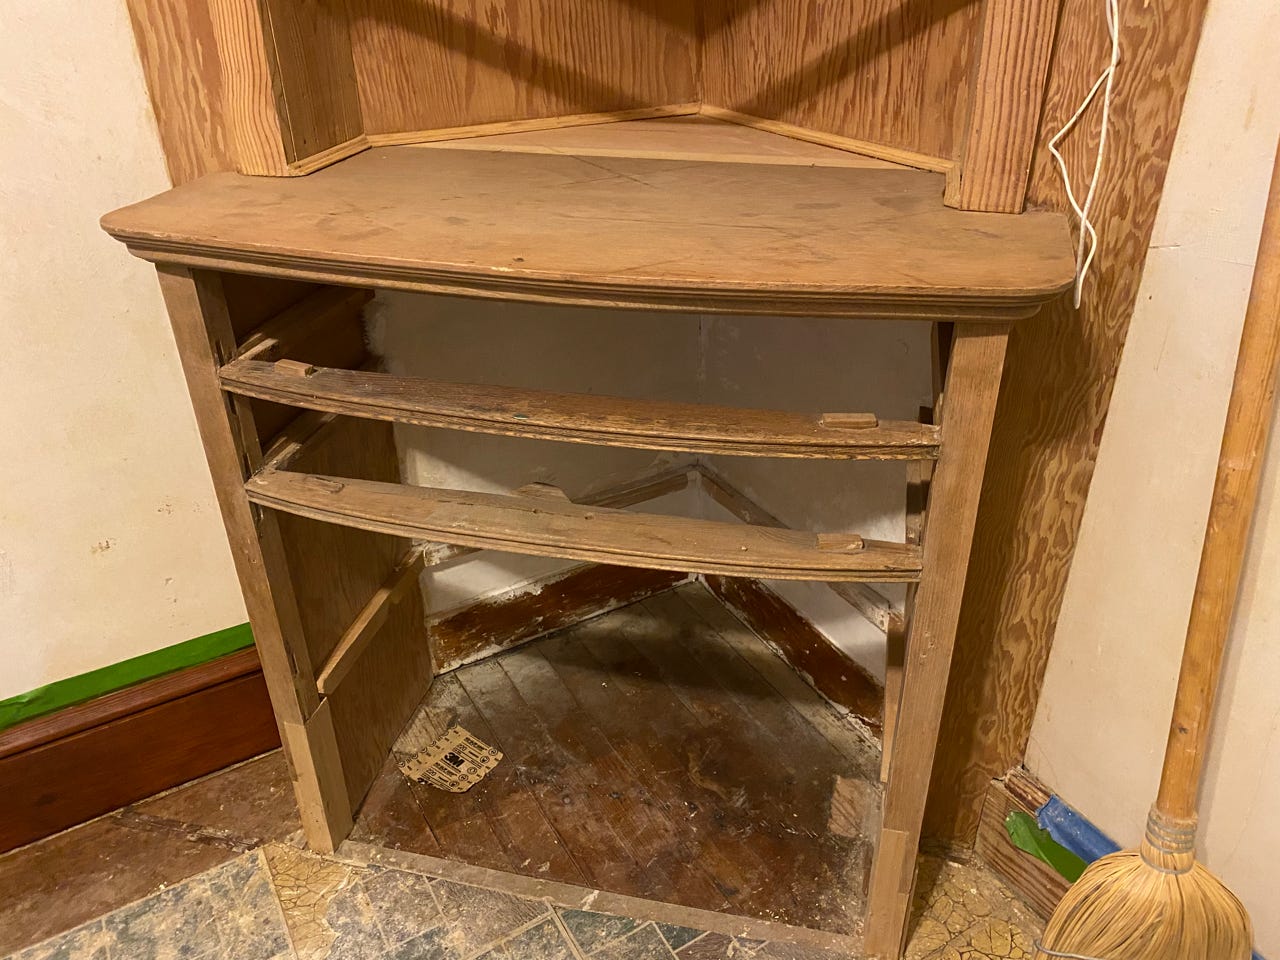
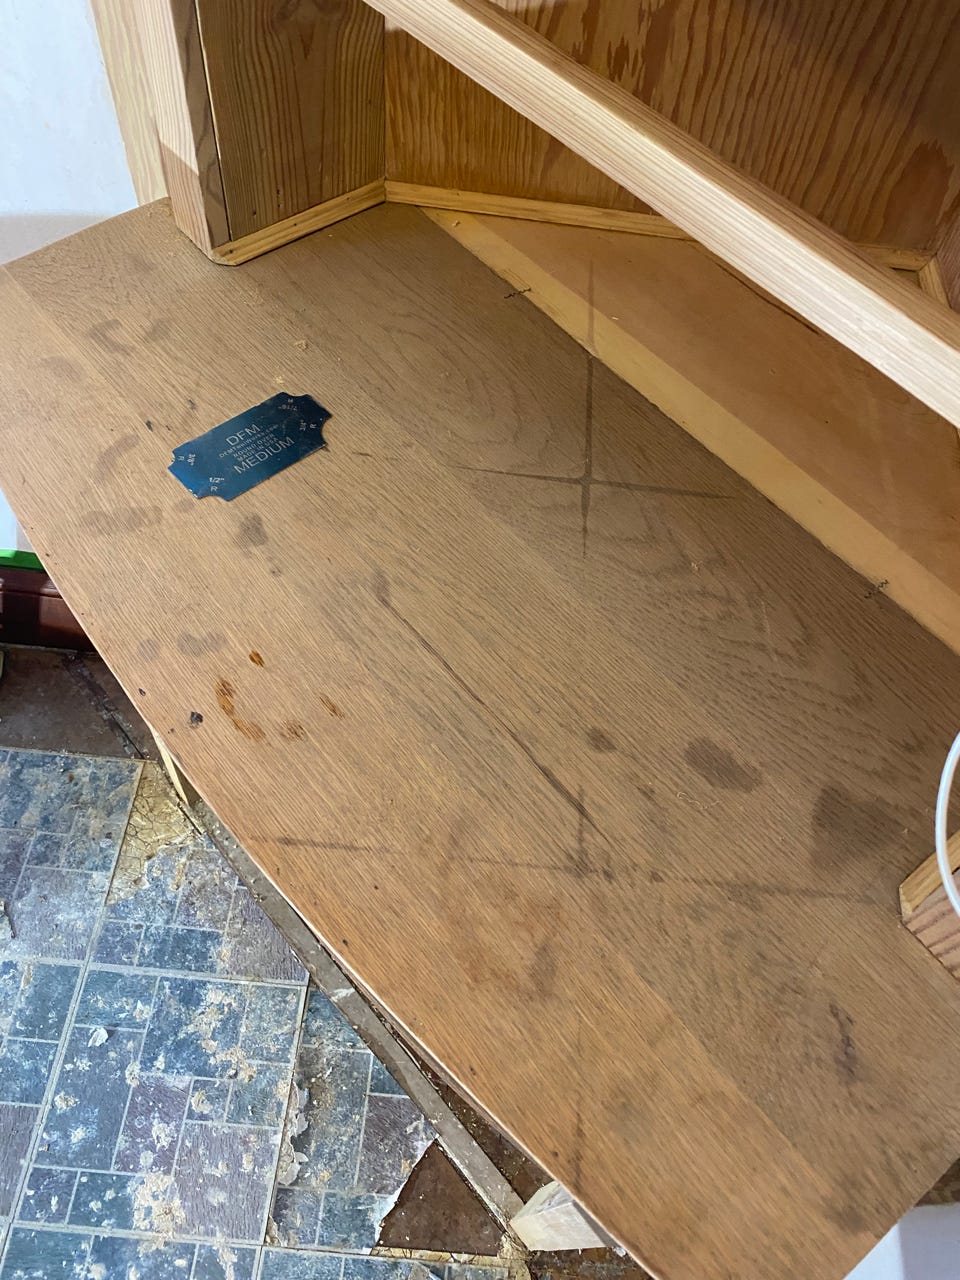
For the top part of the built-in, I try using a cabinet scraper that I picked up on the wood to see if that helps remove some of the remaining white paint haze. I also try it on the top to see if any of the blotches lighten but it doesn’t seem to help with that.
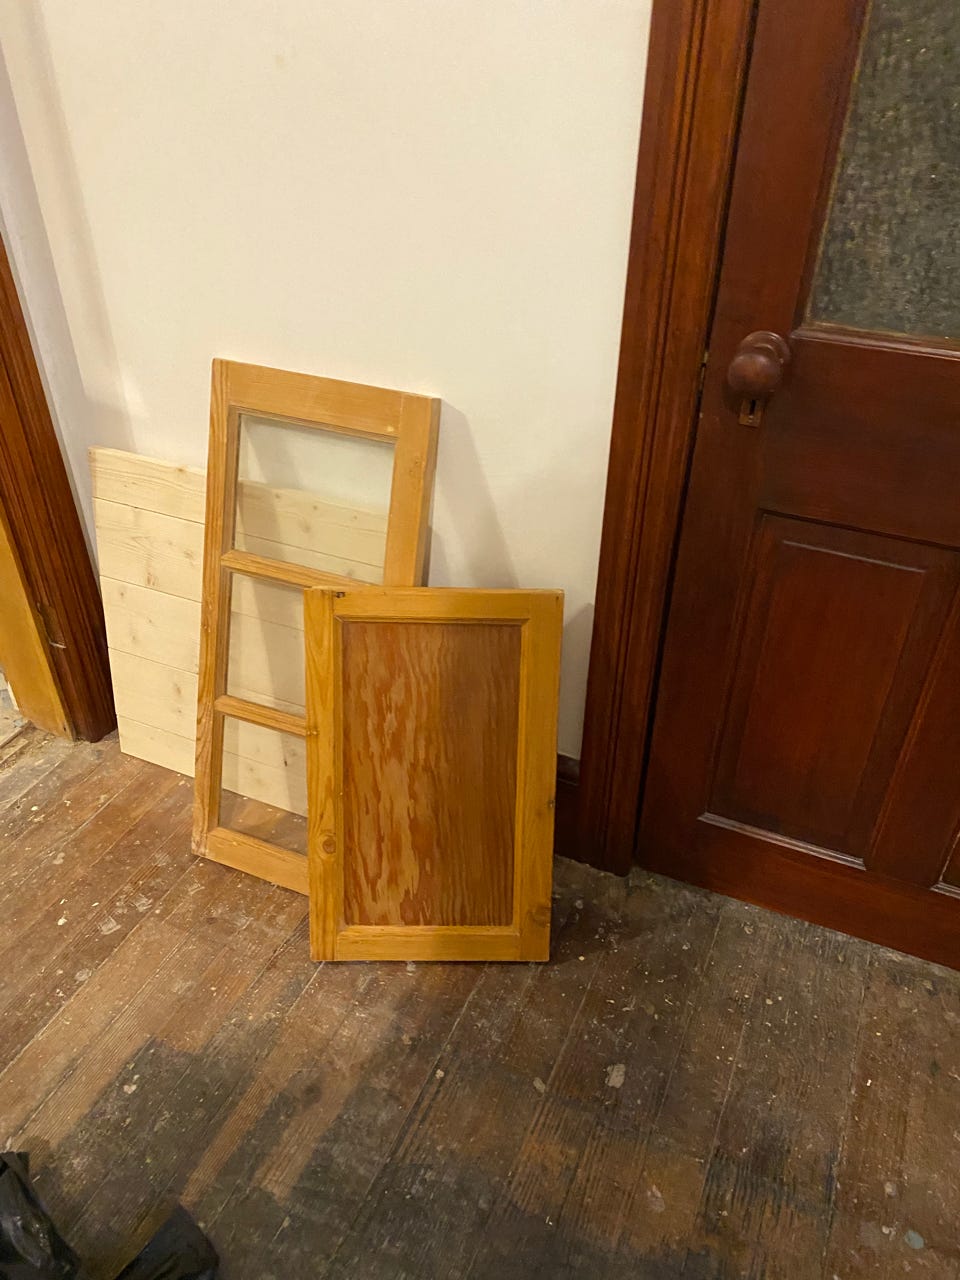
Back downstairs I pull all of the built-in’s drawers, shelves, and doors out of the back room and take stock of what I have. Months ago I had stripped them and then applied BLO and turpentine to them. The pieces are a hodgepodge of different woods just like the built-in with pine, plywood, oak and even some pieces of beadboard. Revisiting the work, the stripping is pretty good, but with paint stripping there’s always another blotch of paint you miss when you keep examining it. I don’t need to go for a full reapplication of chemical stripper but there’s a few spots where there’s a bit of white haze or paint still stuck in a crack or a corner joint. I give the cabinet scraper a try but also use the dental picks to get what remaining bits I can get out. For the haze, the cabinet scraper doesn’t take off enough so I give Goof Off latex paint remover a try. I scrub that in with a green scratch pad and also try using it with 180 grit sandpaper. It does a decent job and works better than just plain sanding. Once any remaining paint is off, I then do a complete sanding using 220 grit and then wipe everything with naphtha.
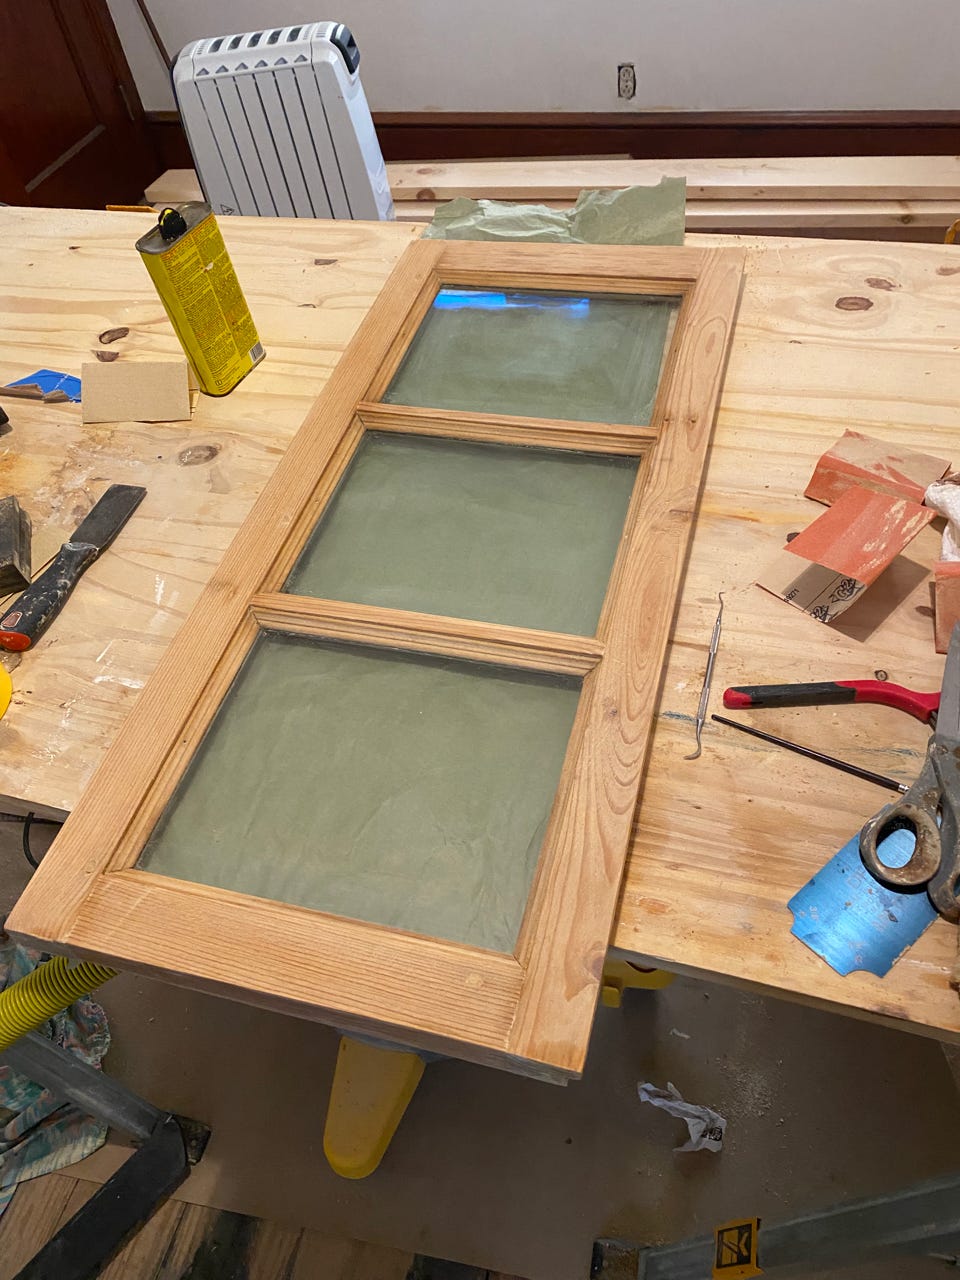
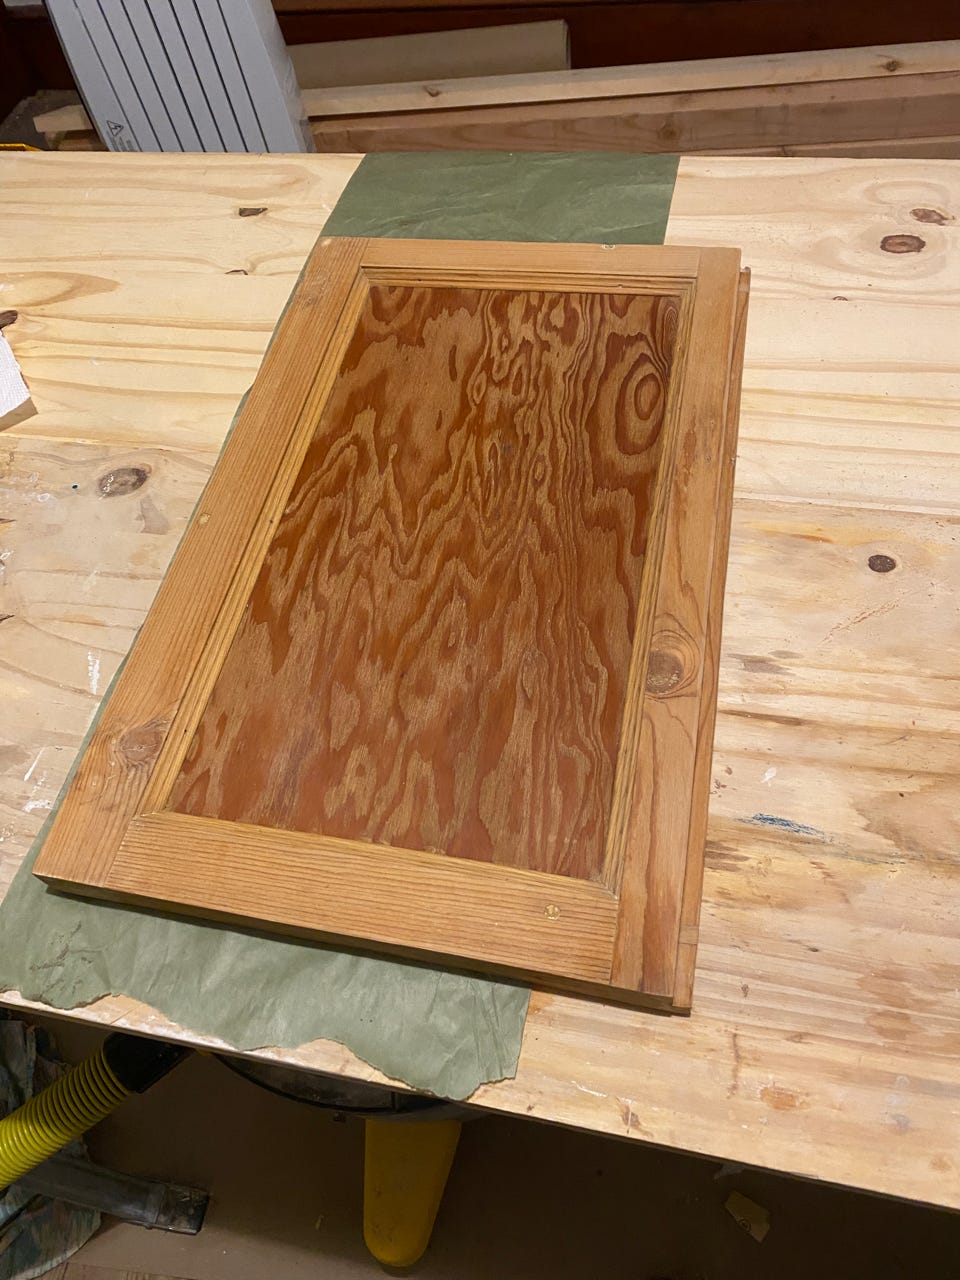
After the naphtha dries, I then apply the antique pine water dye. Because I already treated the wood with BLO, I don’t think the dye will penetrate too deeply, but I do notice a little bit of a nice golden tone added so it’s not a complete waste of time.
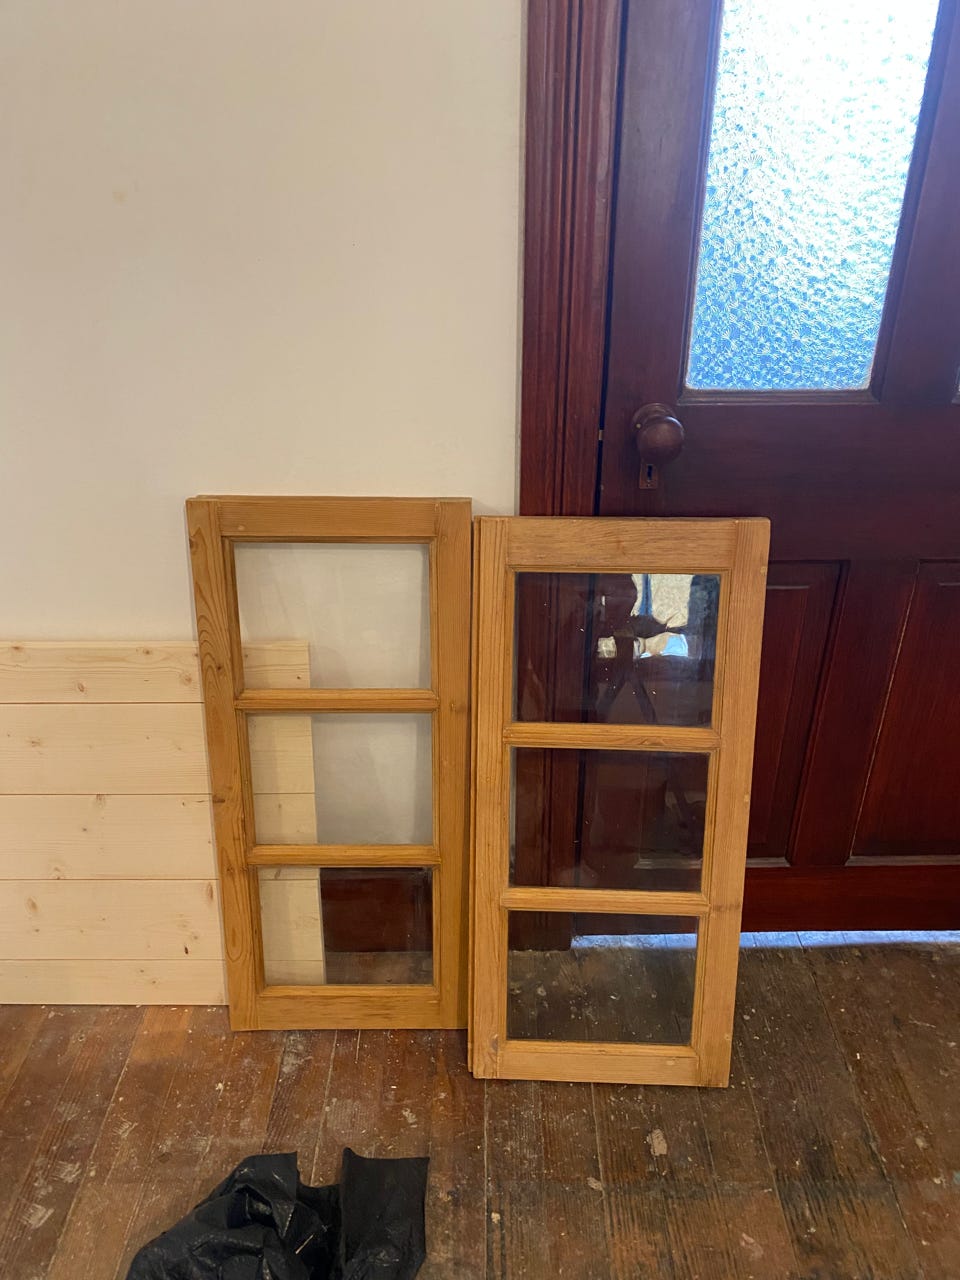
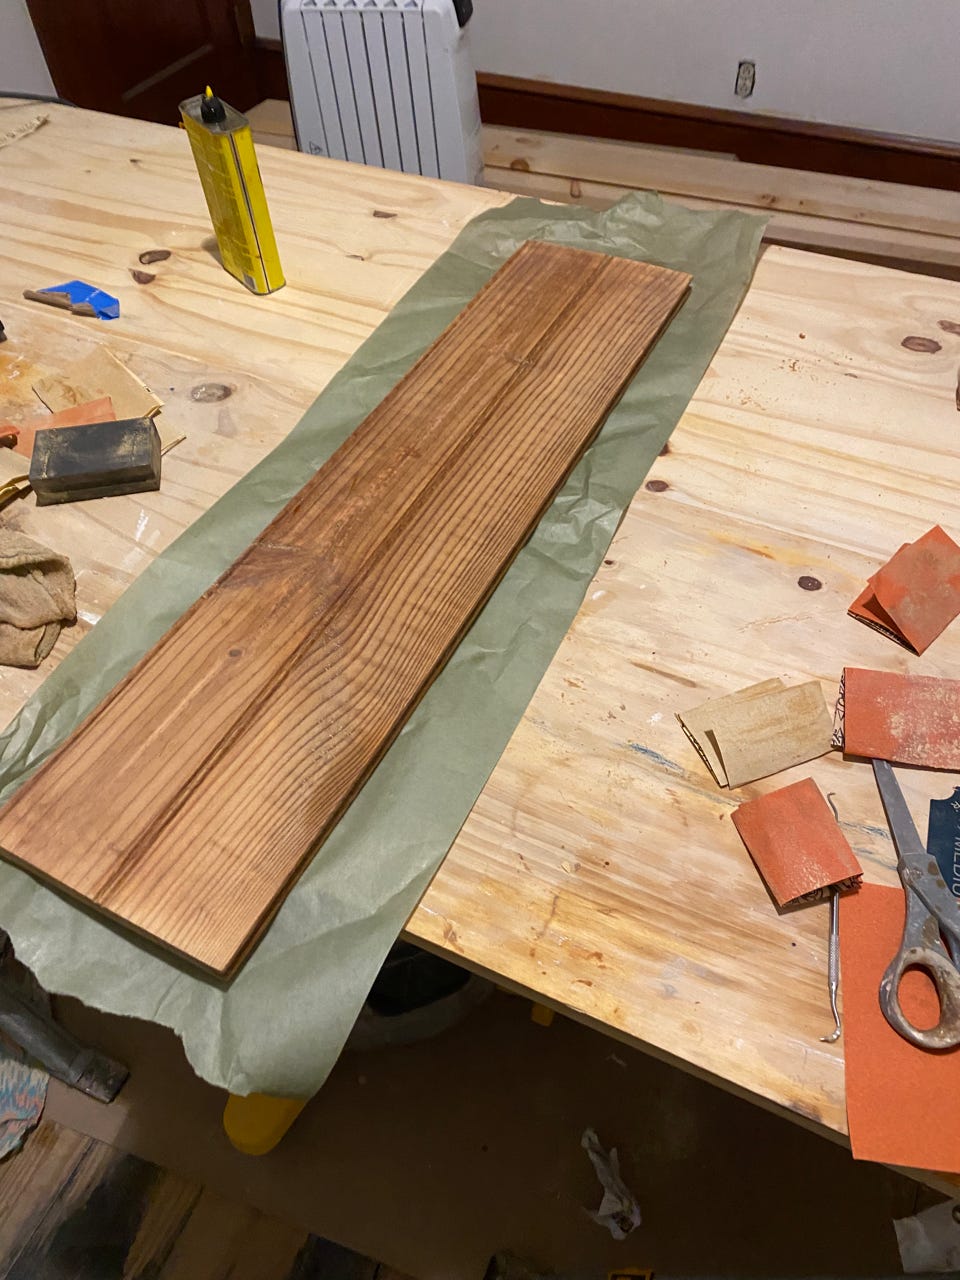
There’s a bunch of shelves of different woods that I do the same treatment as the doors. Some are newer wood that doesn’t quite look like the yellow pine and other shelves are repurposed bead board that looks like it was from the attic. Since the shelves are less visually important, I don’t kill myself trying to scrape off any white haze left from all of the stripping.
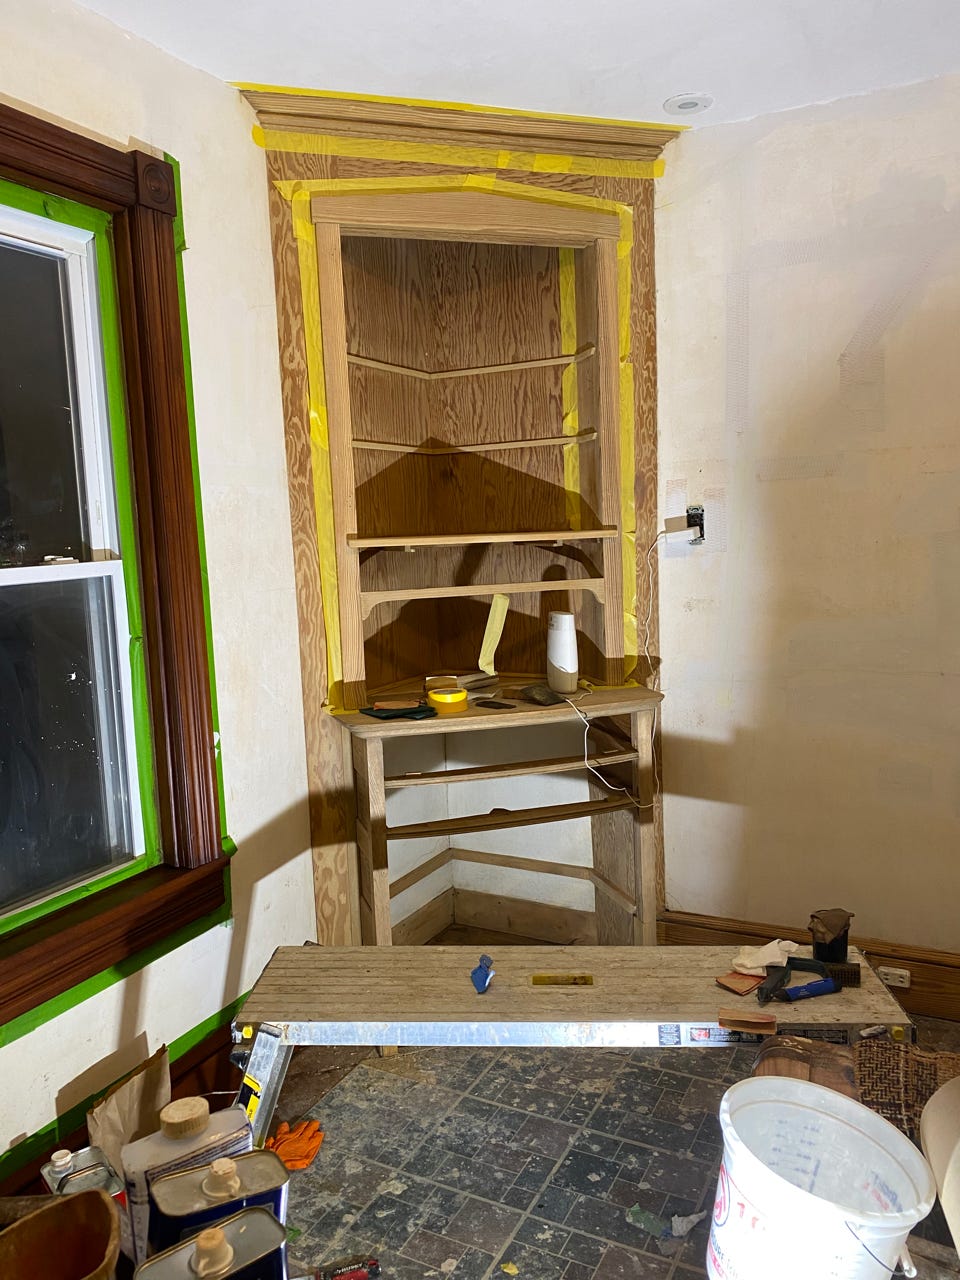
Back upstairs, I tape off of the plywood portion of the built-in to prepare to dye the pine pieces. Since I have multiple types of wood, I’m going to make an assumption that the plywood will absorb the stain differently than the pine. Eyeballing the wood, the pine is lighter than the plywood, so I’m going to dye the pine and leave the plywood alone to see if that helps balance out the tones. I also have finished stripping the little section of baseboard right next to the built-in so that will also get dyed.
Comments
Nothing yet. Say the first thing.
Sign in to join the conversation.