
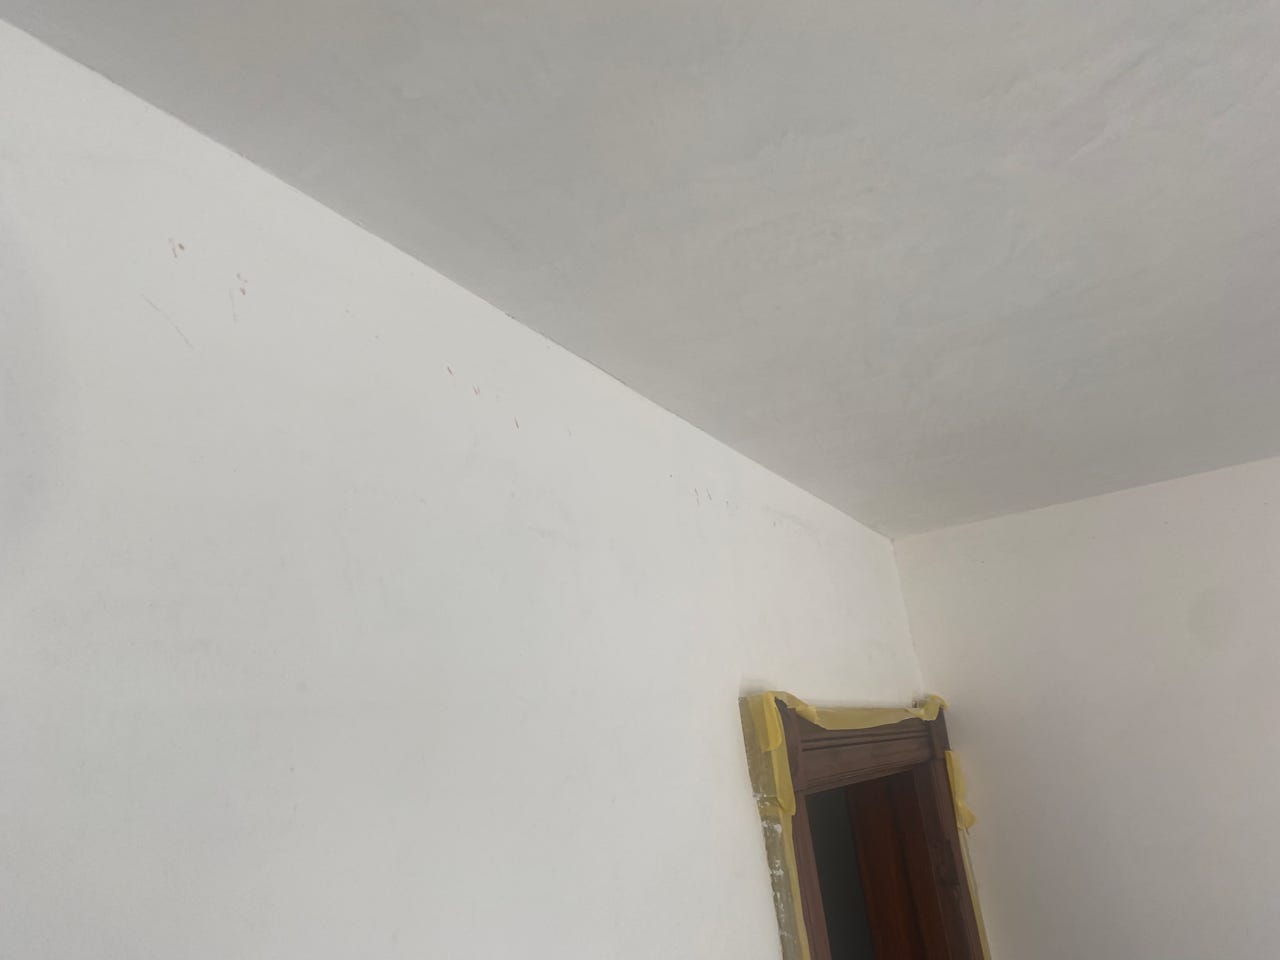
With the coat of stain mostly dry, I flip the painter’s tape over from covering the plaster to covering the woodwork because the next phase of work is plastering the room. I start with my least favorite task of applying a second coat to the ceiling. I hate this task because it’s tiring to constantly have your hands above your head applying plaster. Also after the second coat is on, I then need to go back through and burnish everything which just adds to the fatigue. The nice thing is that the second coat does on easier than the first. I get a full pass done and then back over everything with a trowel and a blister brush to smooth things out. One advantage of the ceiling is not too many obstacles besides the light fixture in the center of the room and three HVAC vents.
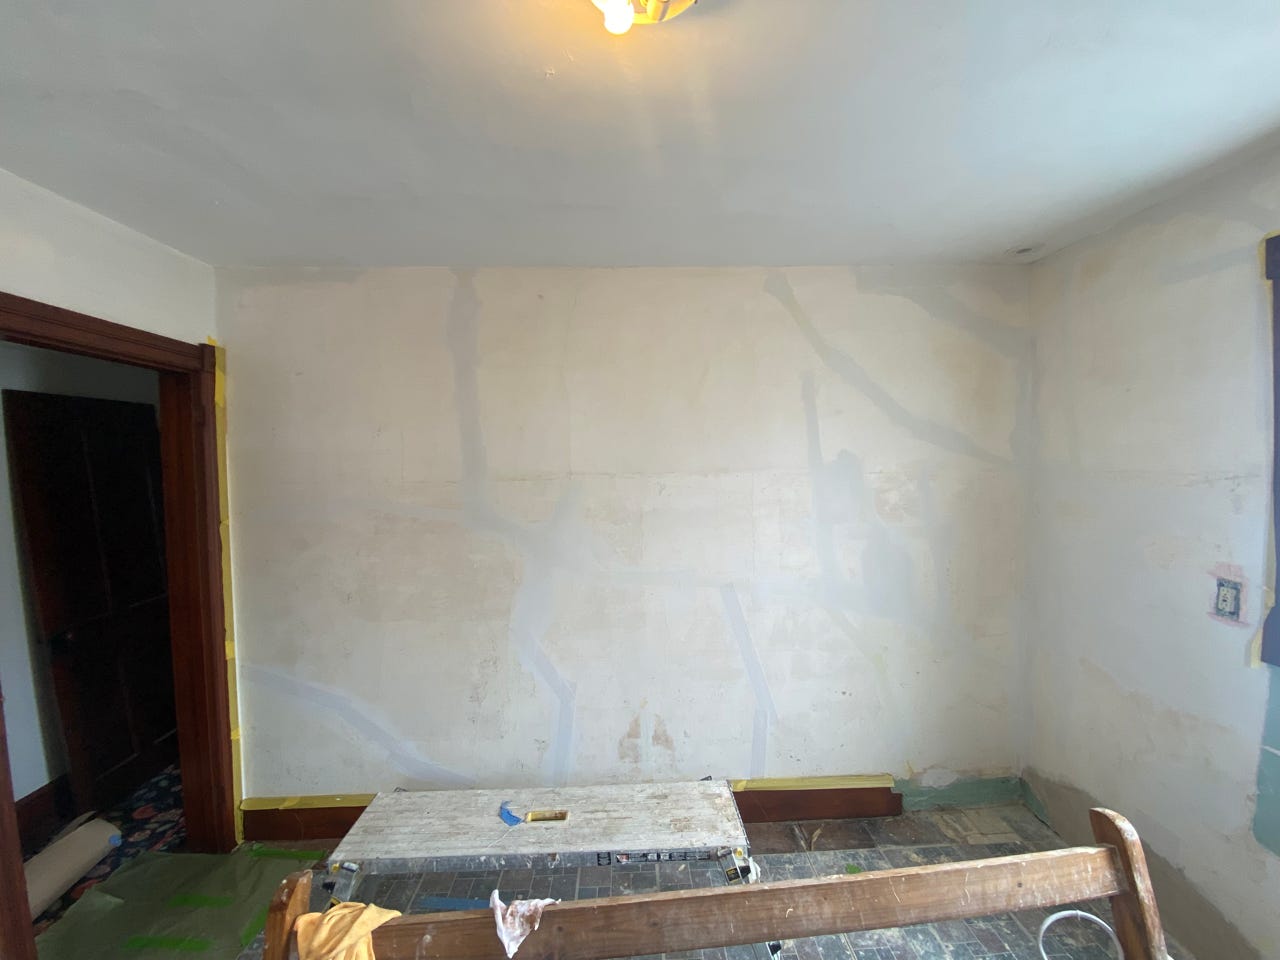
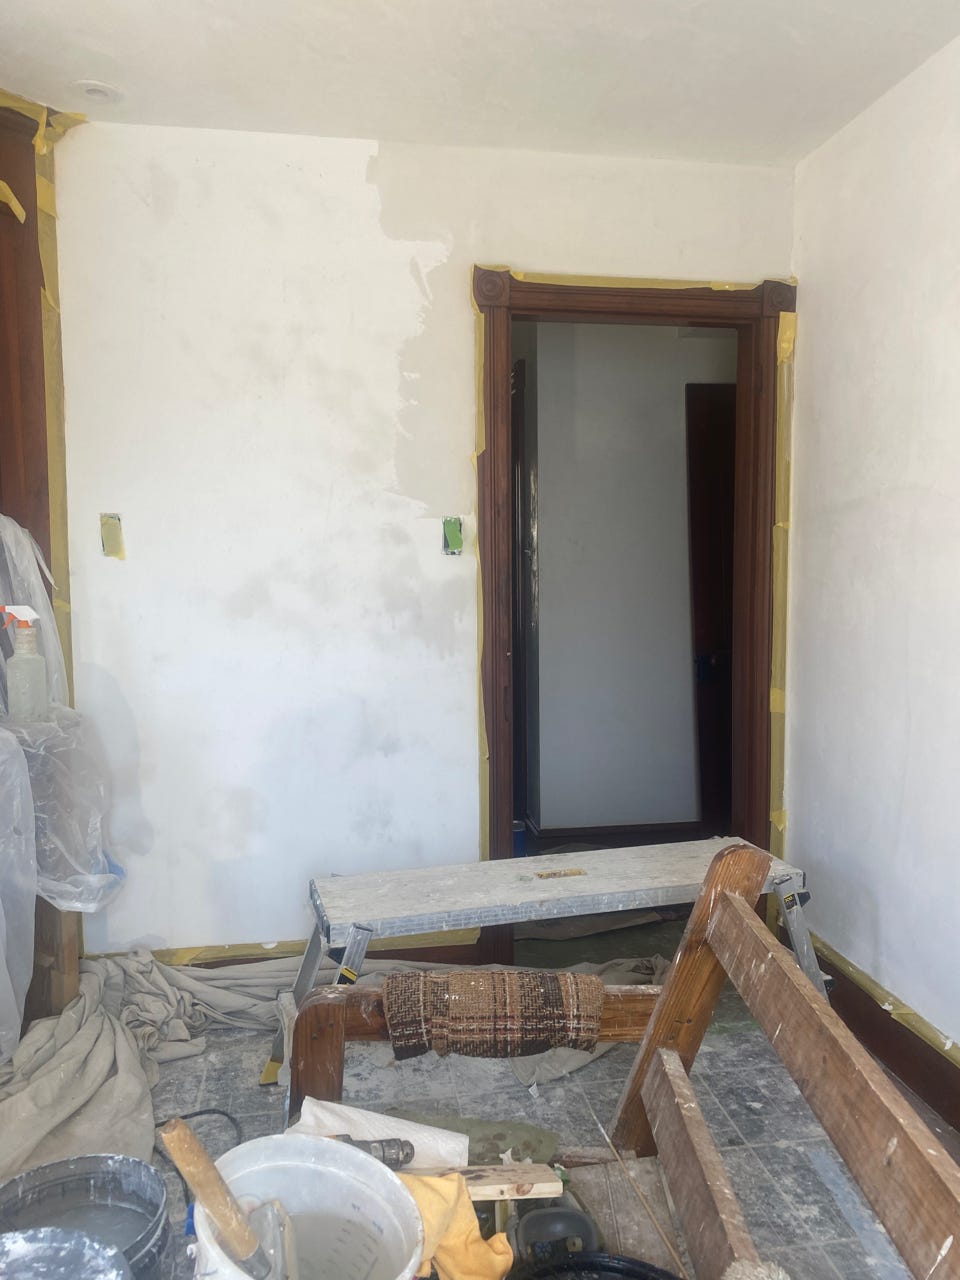
Now on to the first coat on the walls. I do any final Durabond repairs just in case I missed a spot. I also start misting and sponging down the walls to get them moist for the initial coat of plaster. After the water dries, I then put down any additional mesh needed for cracks. I have all the large cracks covered with mesh and Durabond, but there are some areas of spider web cracks that I put a large sheet of mesh over. I go through each wall and put on a first coat and the trickiest part is dealing with the mesh. Along the ends of mesh the trowel always roughs up the strands and leaves them poking through the plaster. I try my best to flatten it down, but don’t fuss with it too much. After I get the first coat done, I let that dry and mist the walls and ceiling periodically.
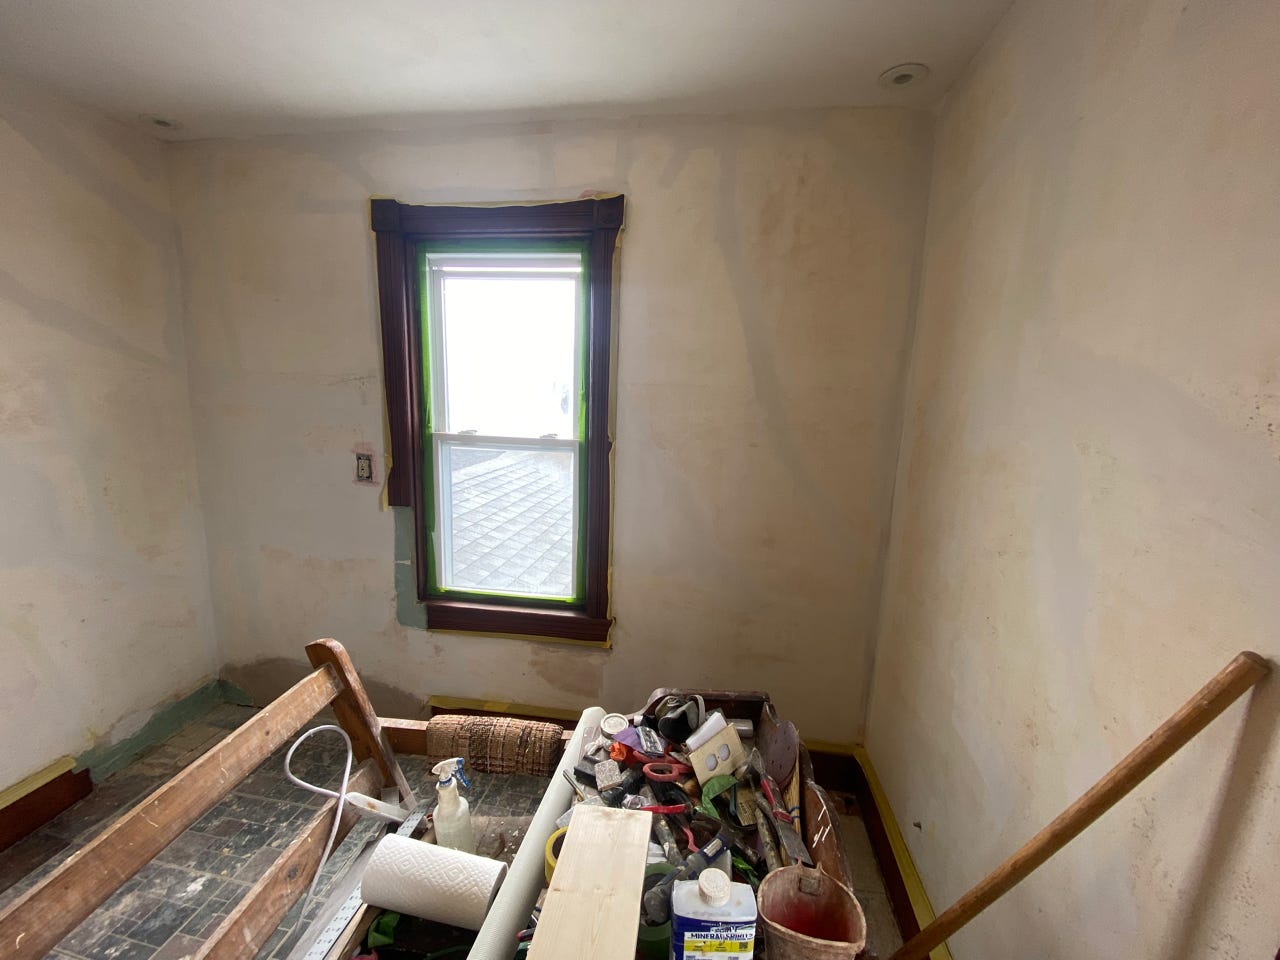
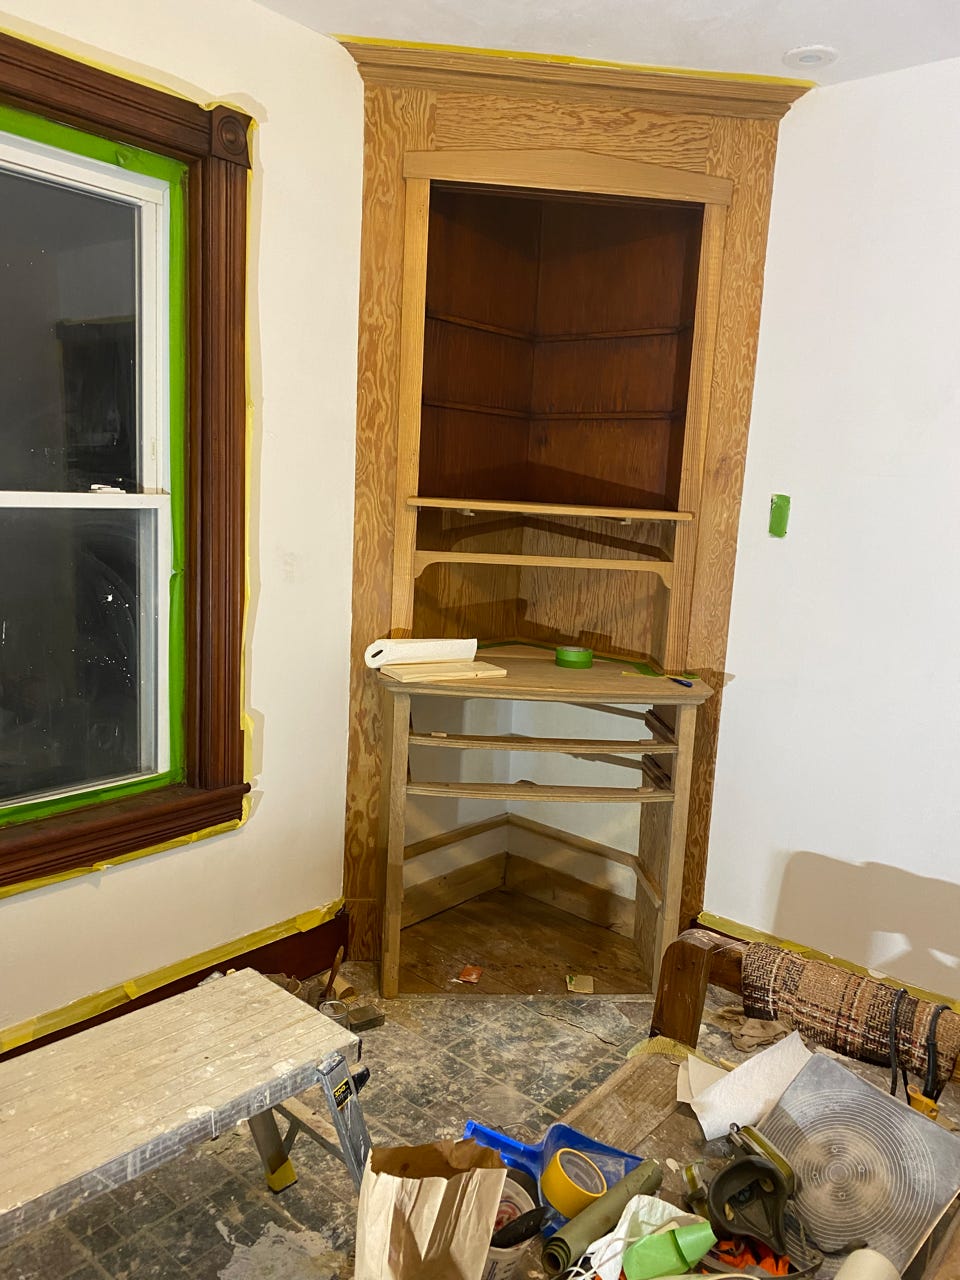
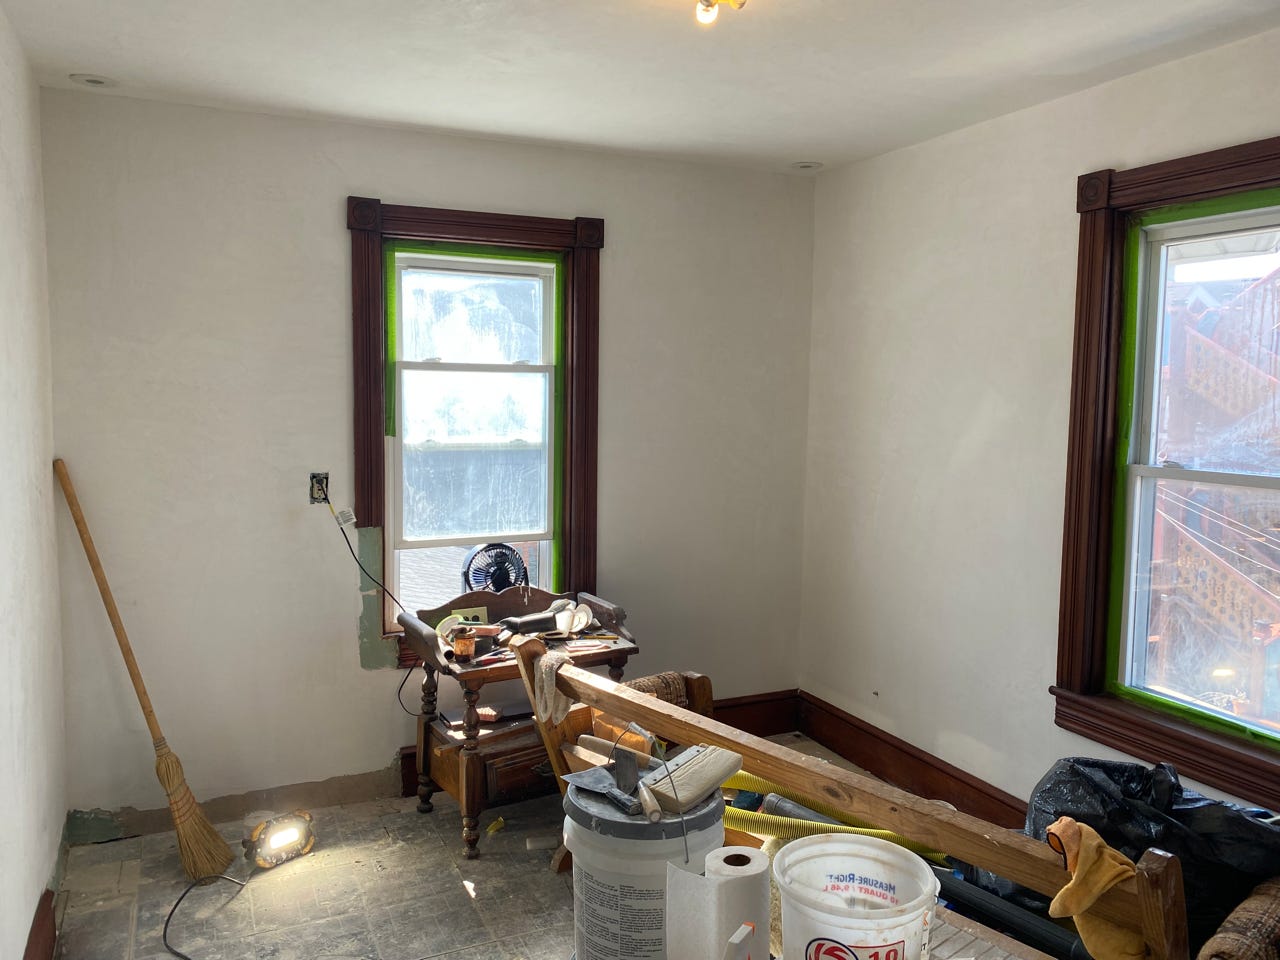
As the first coat on the walls dries. I start working on staining the built-in. I following a similar pattern I use on the doors where I lightly sand everything with 220 or 400 grit and then I dye the pine pieces of wood. After the dye dries for 24 hours, I then I apply a 1/2lb cut of shellac to all of the wood and then after an hour to dry, applied my custom linseed oil stain. Once that was done I flipped back to do the second coat of plaster. First I scraped the wall to remove any ridges from the first coat and also shave off any fuzzy pieces of mesh sticking out from the plaster.
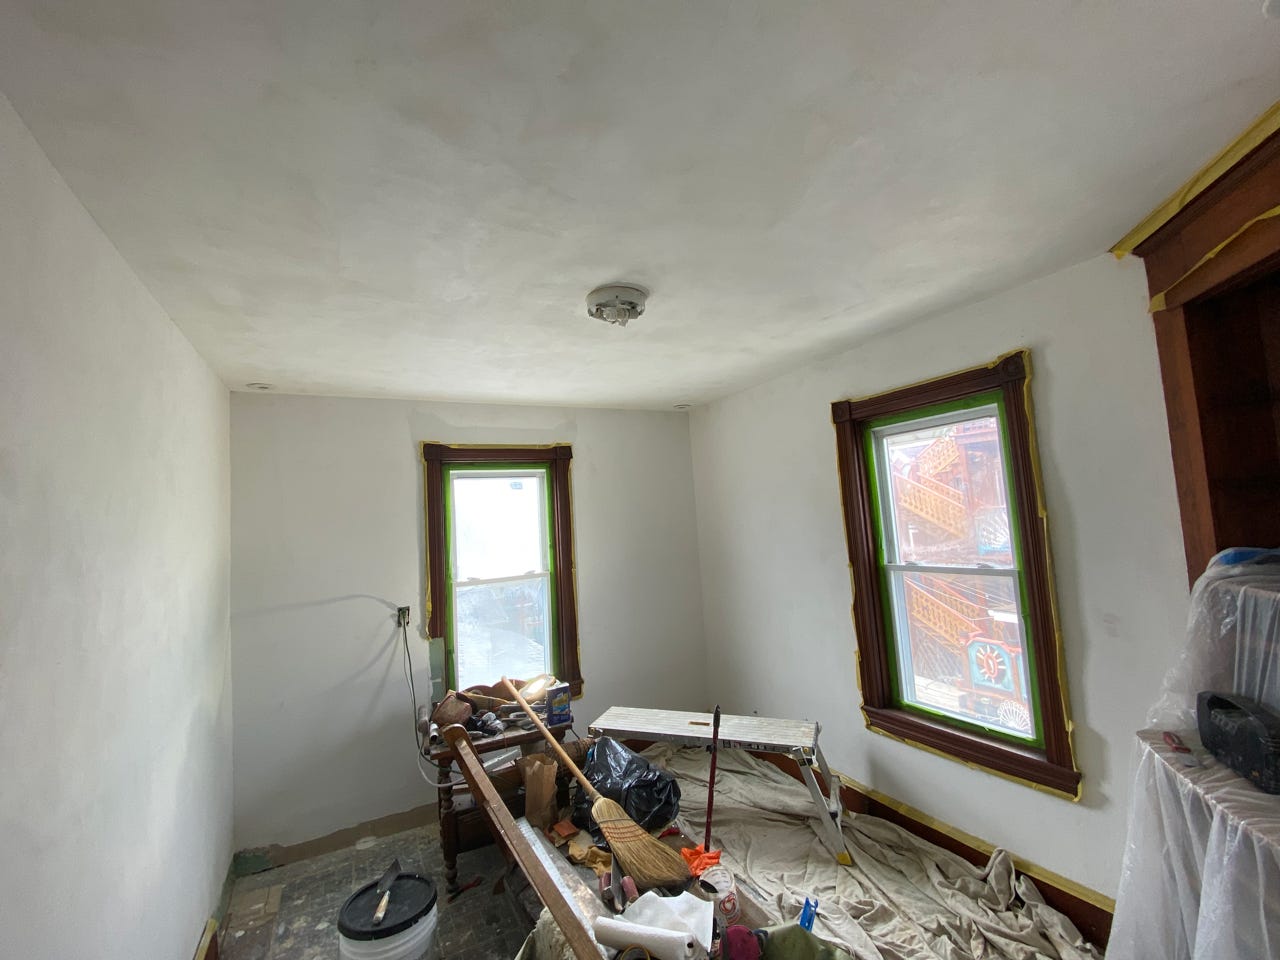
Then I did a bunch of misting with water to get things moistened. Similar to the ceiling the second coat went on pretty easily and covered up any remaining impressions and visible mesh. I didn’t drop too much plaster on the woodwork, but there were a few splatters that I had to clean up. After the plaster set a little, but was still damp, I burnished it with a trowel and water. I decided not to do too much with the extra fine plaster. I used it as a spot filler, but on the landing I had mixed it into my 2nd coat entirely. When I burnished it came out smooth, but not as glassy as the landing. For burnishing I used a blister brush and sometimes just sprayed with water using a bottle. It took a few passes and moving the work light around to catch all the imperfections, but I ended up with a decent flat surface.
Comments
Nothing yet. Say the first thing.
Sign in to join the conversation.