
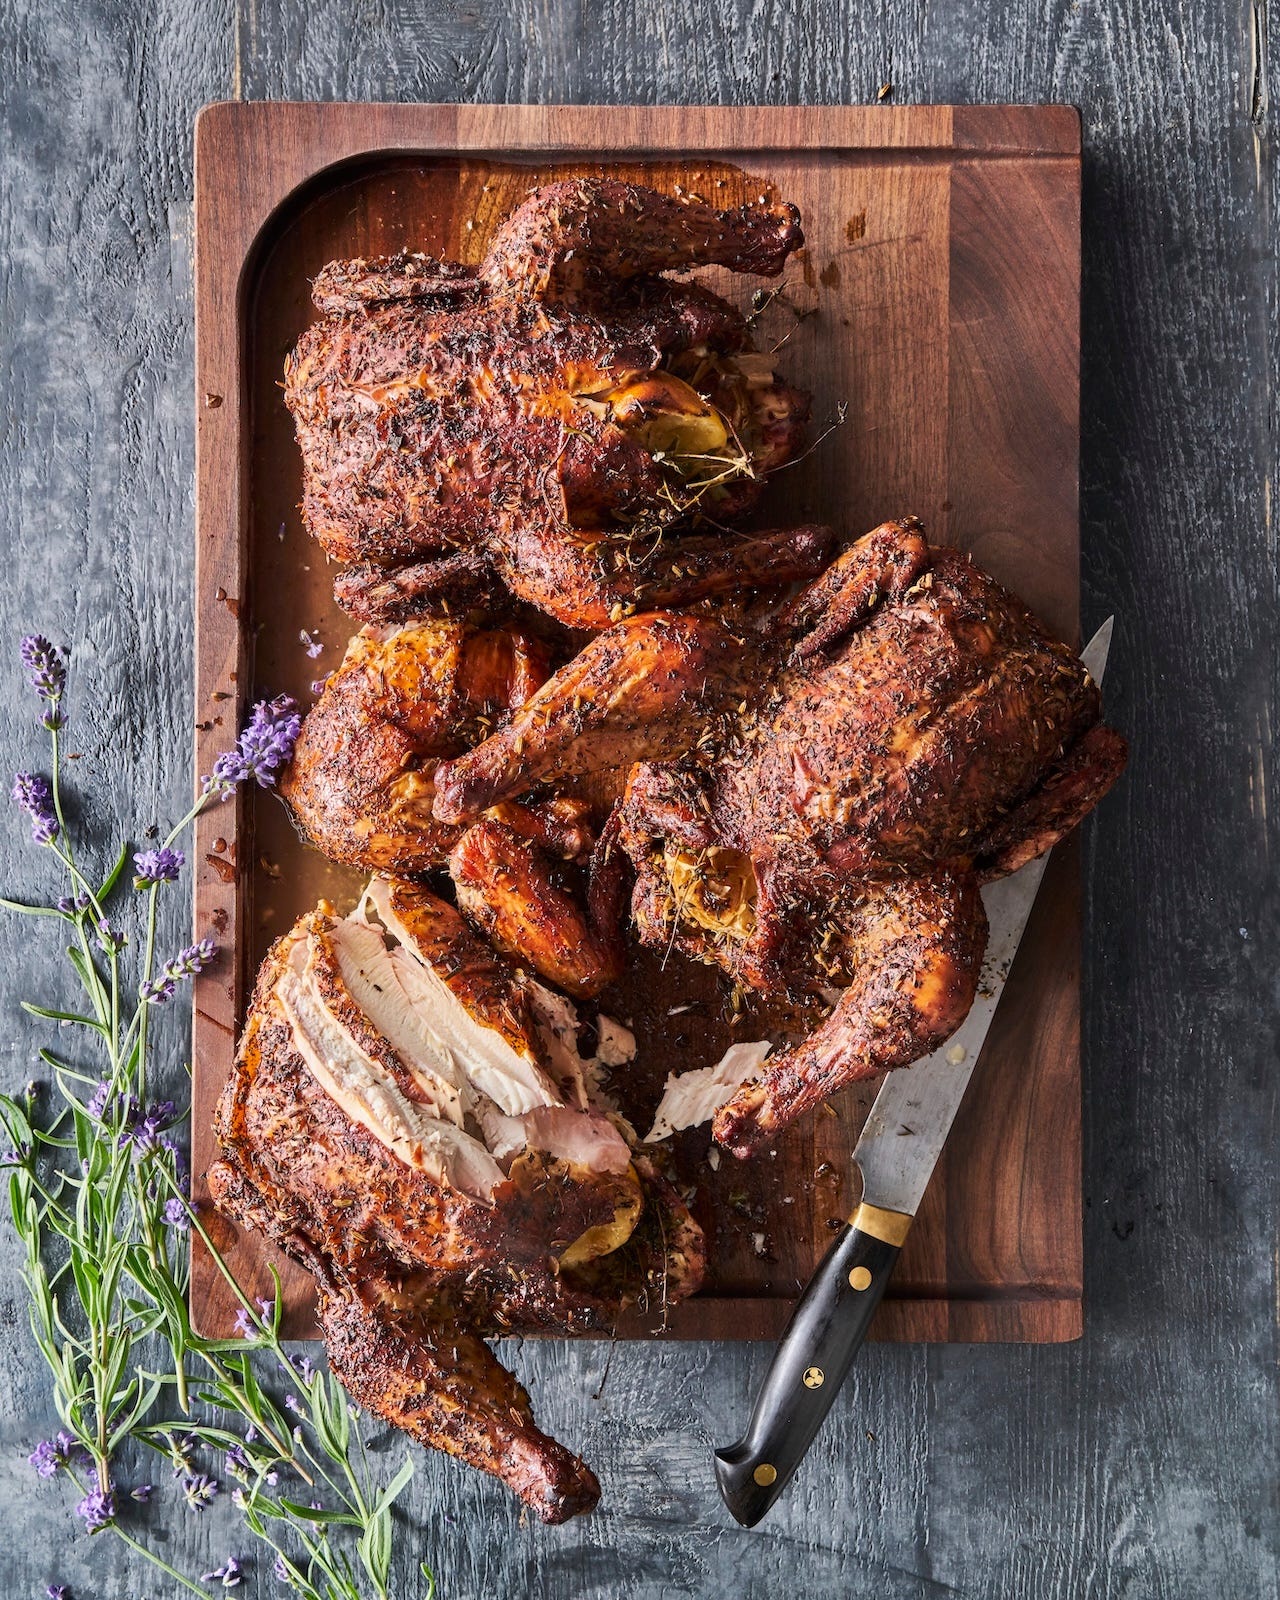
My husband, Steve, and I have been making this chicken together for years now. It’s one of our go-tos for summer entertaining, because, well, roast chicken. Everyone seems to love it, and it goes with everything. We buy local farm-raised chickens from a wonderful farm called Iacono in East Hampton. I swear these chickens are juicier and tastier than all others. Seek out an organic free-range chicken from your butcher or supermarket, because it really does make a difference!
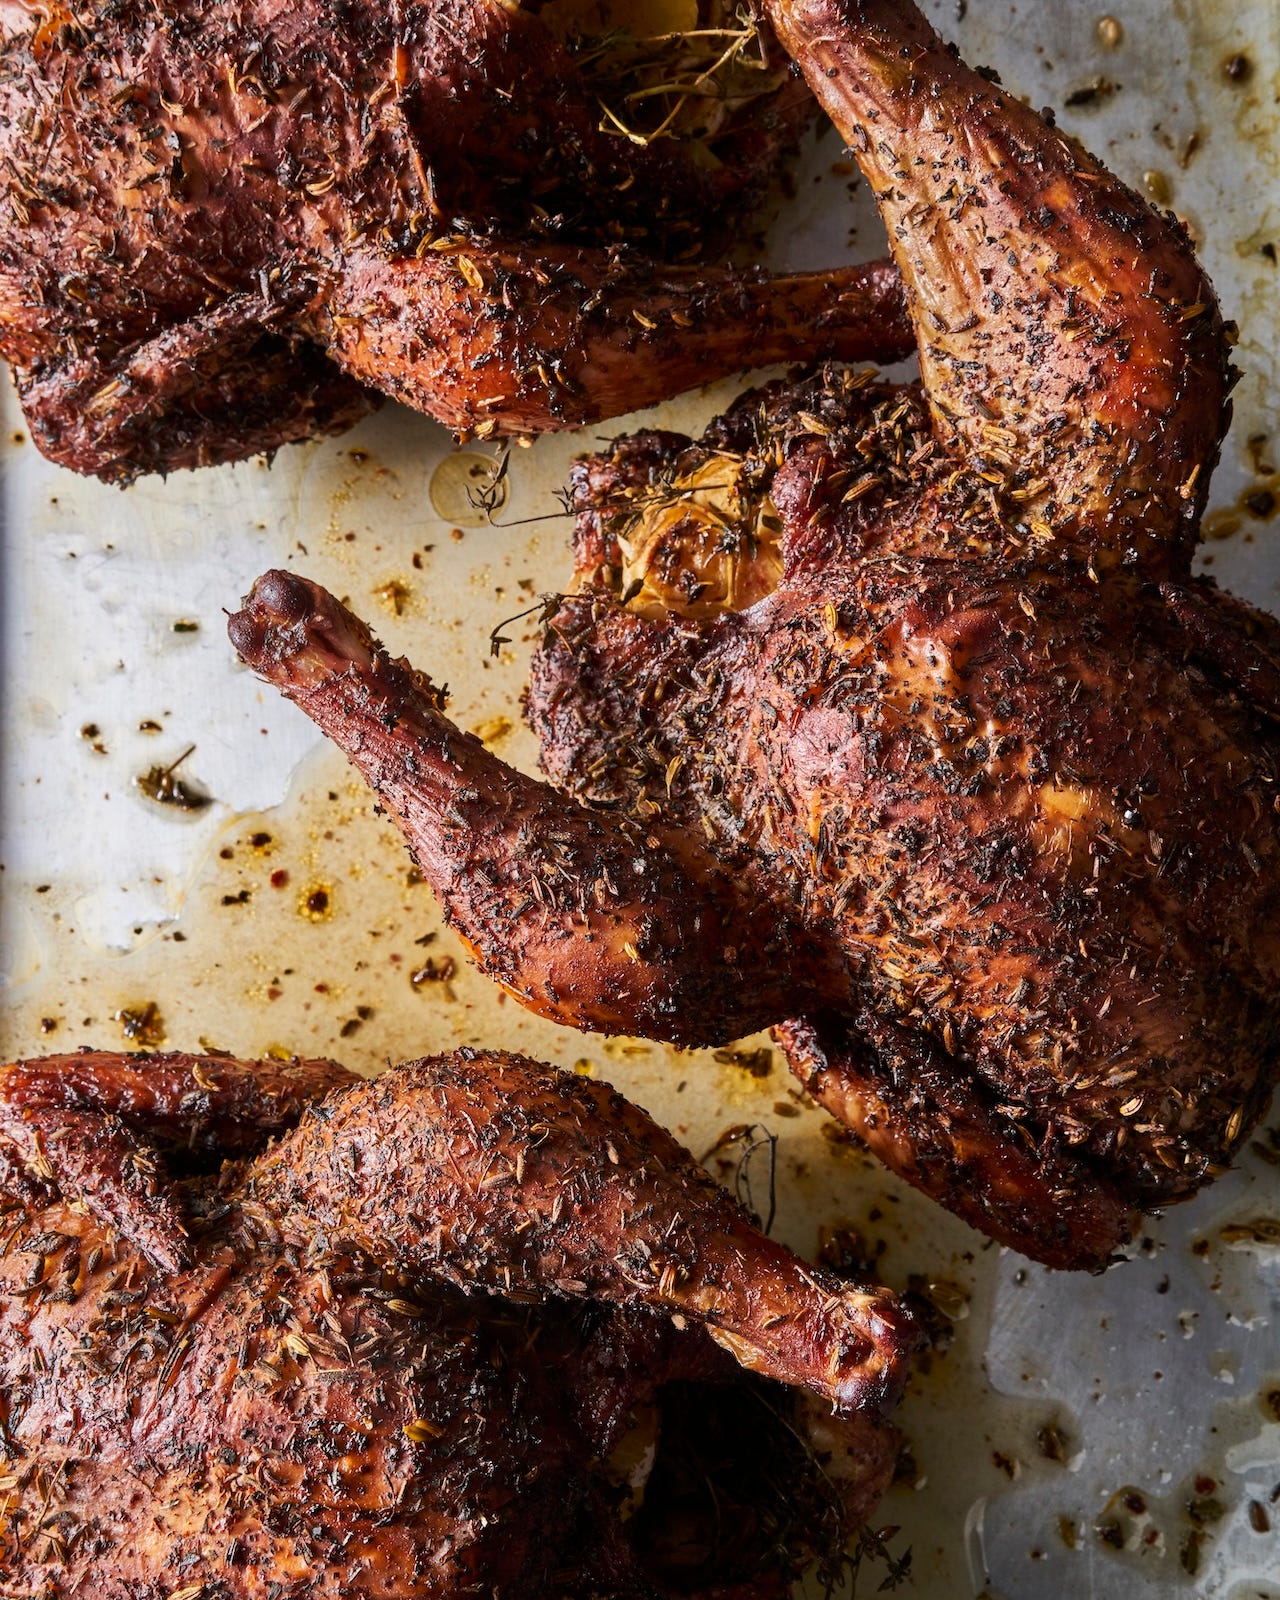
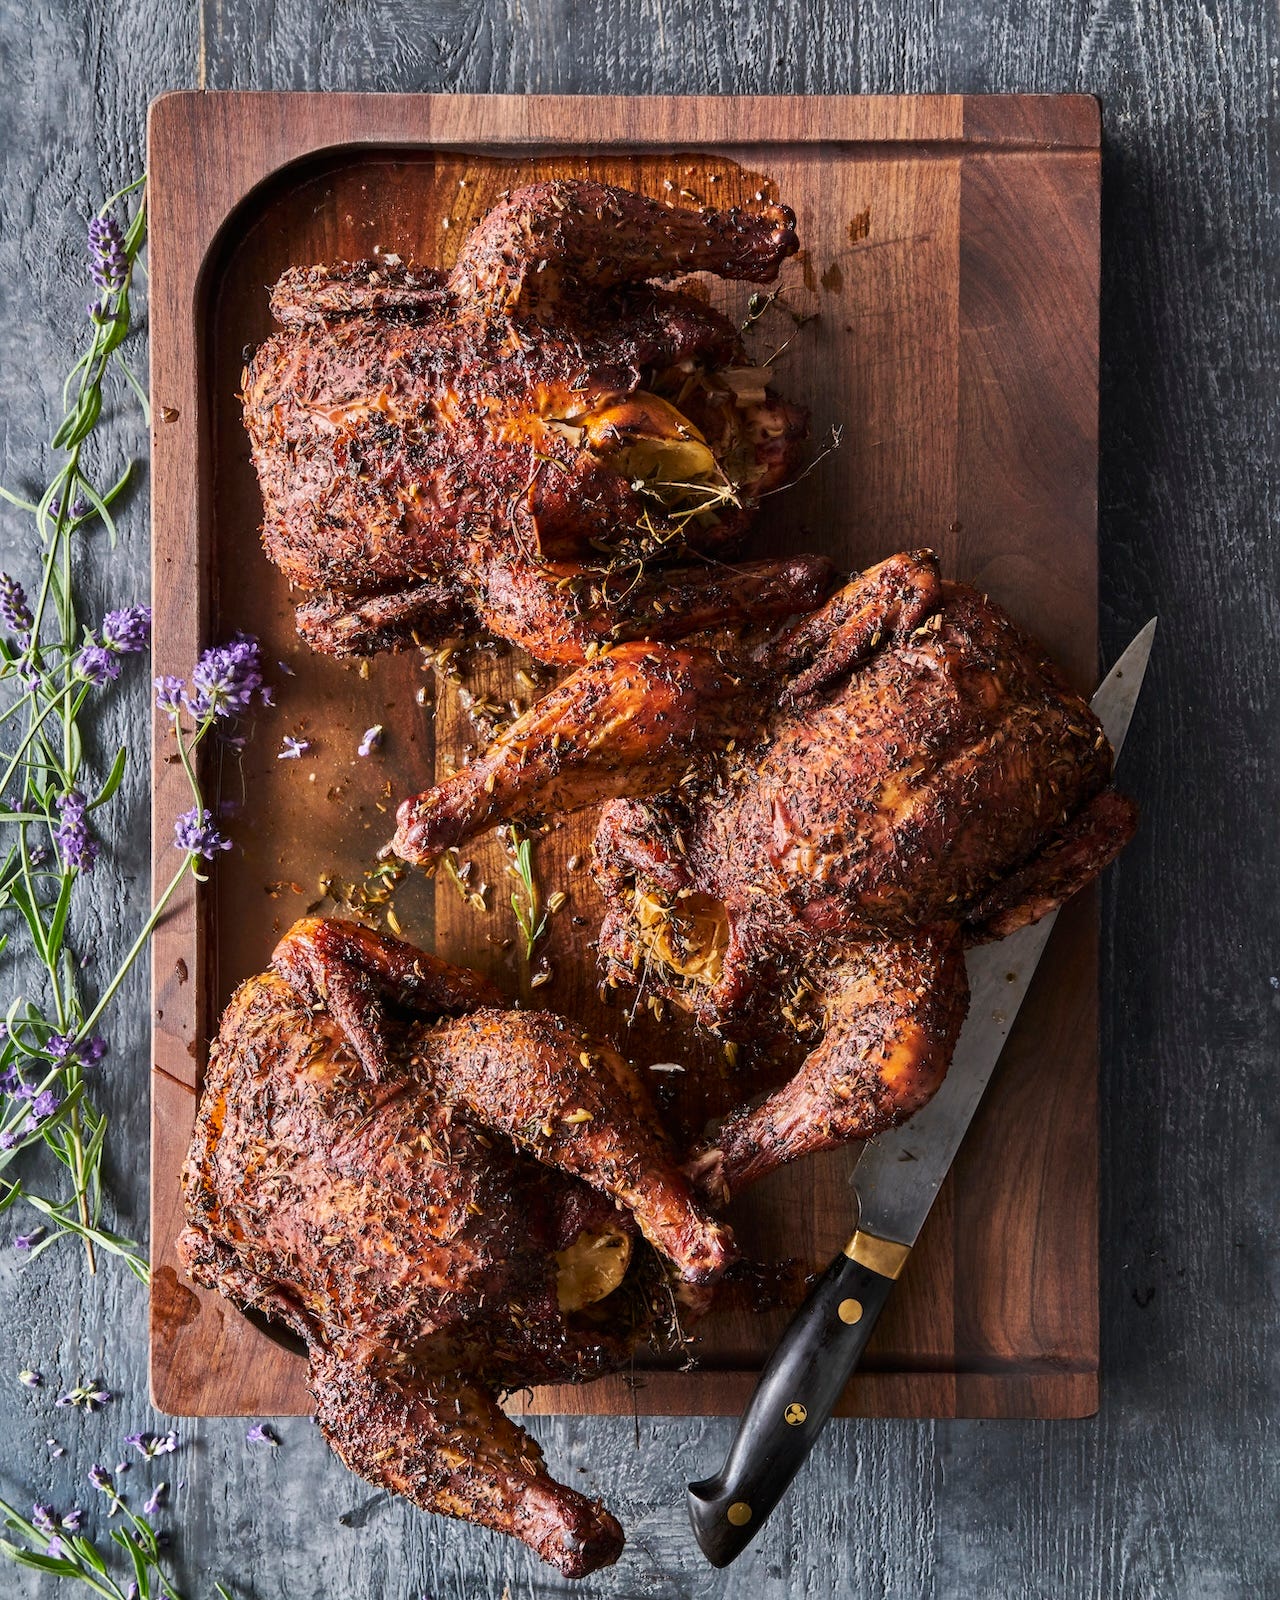
I season the chickens (sometimes a day ahead of time, but usually right before cooking), and Steve cooks them on the grill while I get the rest of the dinner together. It takes less than an hour and a half to cook and is almost entirely hands-off. The resulting birds are a deep mahogany color, lightly smoked, and very juicy. Any leftovers are great in salads and sandwiches the next day. Eaten cold, the smoky flavor is more pronounced.
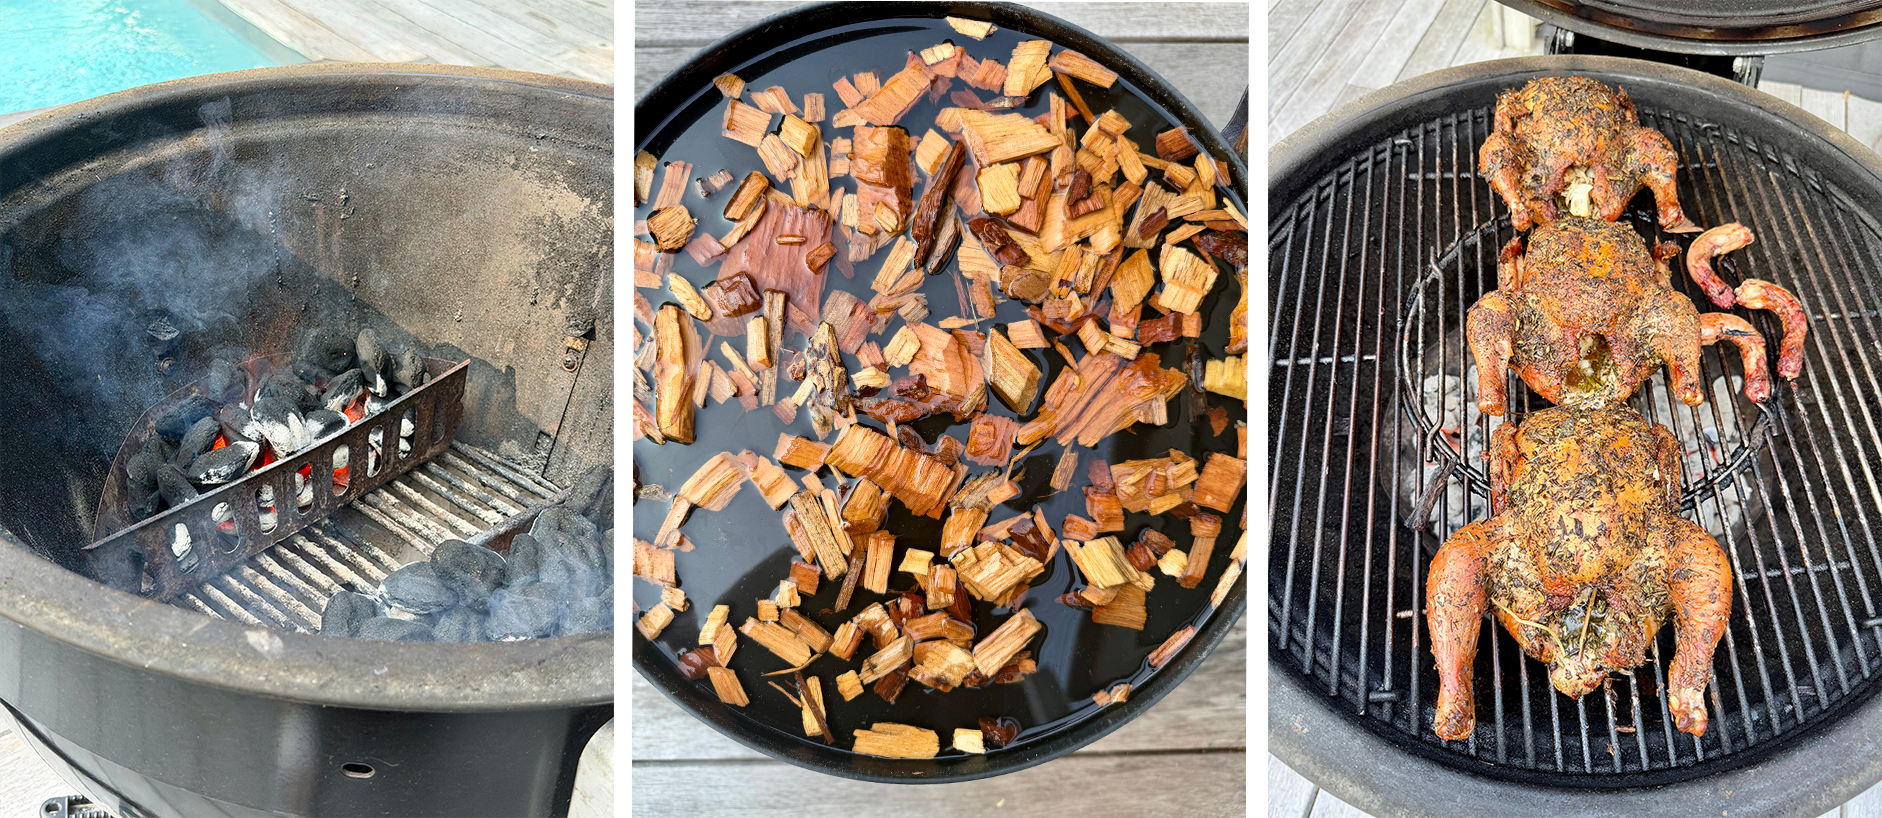
The best way to turn your kettle-style grill into an oven/smoker is to use briquette holders (an inexpensive accessory), which hold the charcoal well off to the side of your grill in a compact, slow-burning pile. If you don’t have them, you can bank the coals steeply to either side of the grill, which will achieve a similar effect. Light one chimney full of coals and divide between the two briquette holders. Add a handful of soaked wood chips to the top of each briquette holder. Place the chickens in between the coals, side by side in the center of the grill so they are getting only indirect heat. Open the top and bottom dampers just a bit and cover the grill. Adjust the dampers (open for hotter, closed for cooler) as needed to maintain a temperature of about 300°F. The chickens will turn a beautiful mahogany color early on, so don’t be alarmed or think they are done. They will take anywhere from one to one and a half hours, until the legs move easily when wiggled or an instant-read thermometer reads 165°F when inserted into the thigh joint. Resist the temptation to open the grill frequently. Don’t even look until an hour has passed. This is the way we cook house chicken, but the recipe can also be used to season chickens cooked in a wood pellet smoker or even the oven. Either way, this chicken is destined to be a house favorite.
Just a quick note: This post may get truncated as it’s too long for email. If it’s cut off, you can click the post title or any of the photos to read it in your browser instead!


If you have a Weber kettle-style grill, you can easily turn it into a smoker. This can be done simply by banking the coals to one side and cooking on the other side, but using these baskets makes it much easier. The coals burn more slowly and evenly, and it’s easy to add wood chips on top to create a smoky flavor.
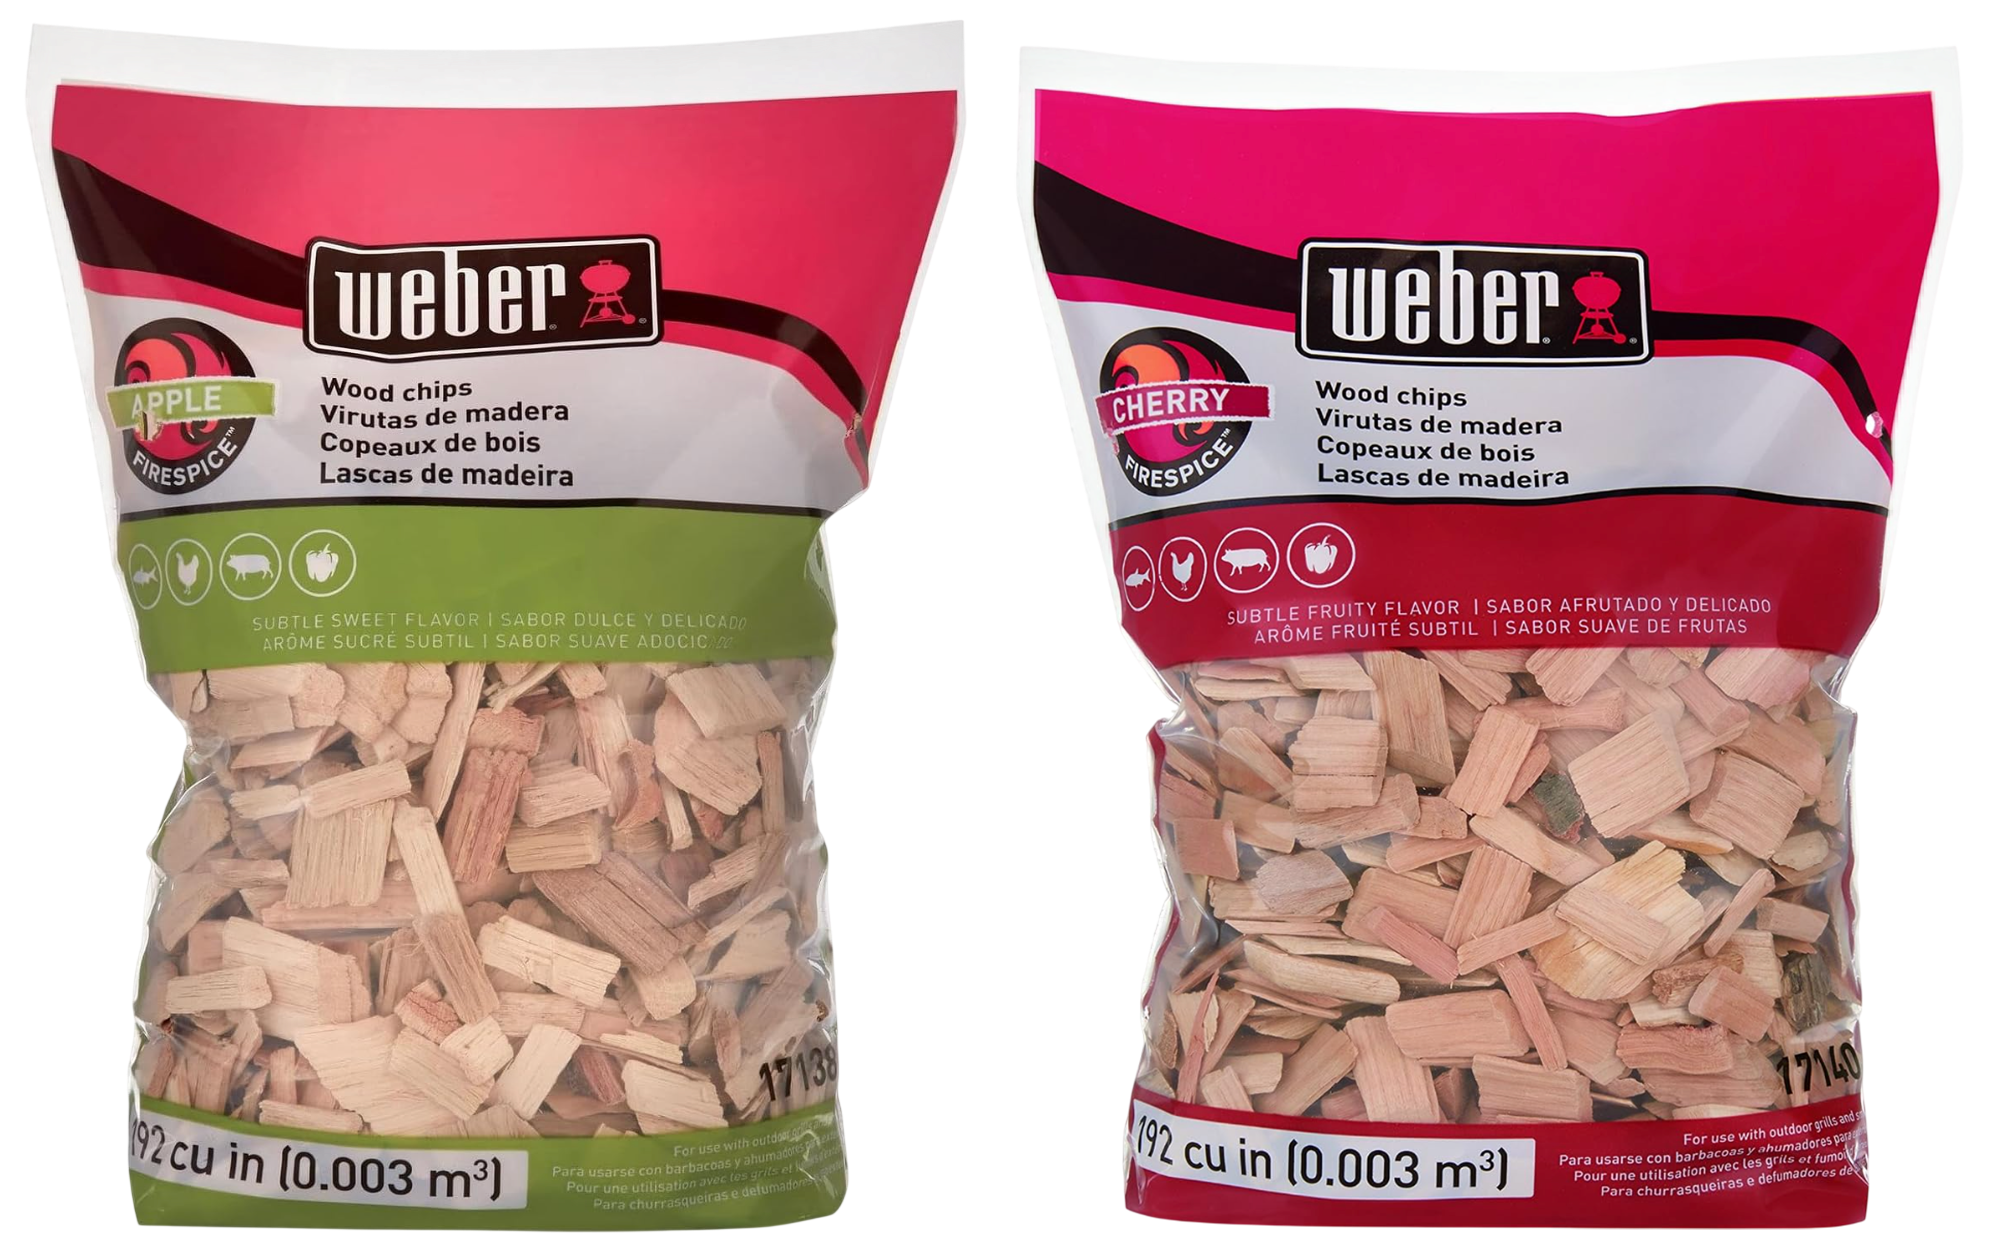
Steve, who is the grillmaster for this particular product, likes a combo of cherry and apple chips for smoking
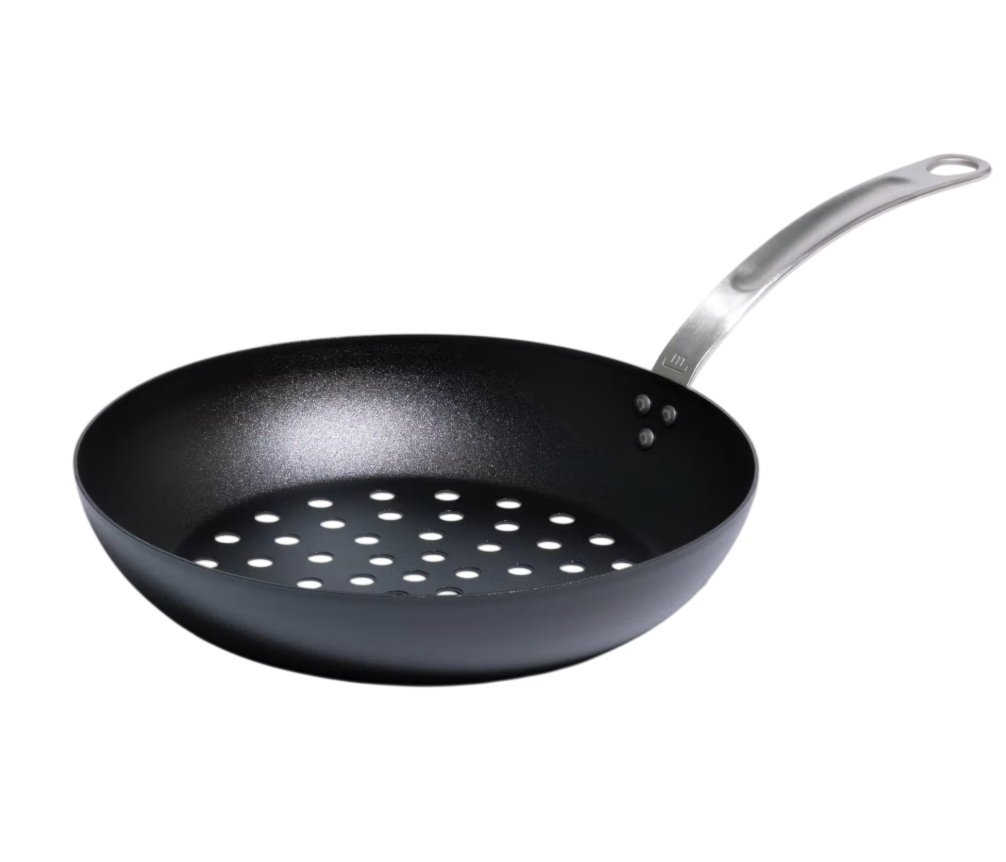
To make the rest of the meal, I have grown very dependent on this carbon steel grill frying pan. If you already have the grill going, this is a great way to cook your veggies, or even potatoes alongside your main.
Misen Carbon Steel Grill Frying Pan
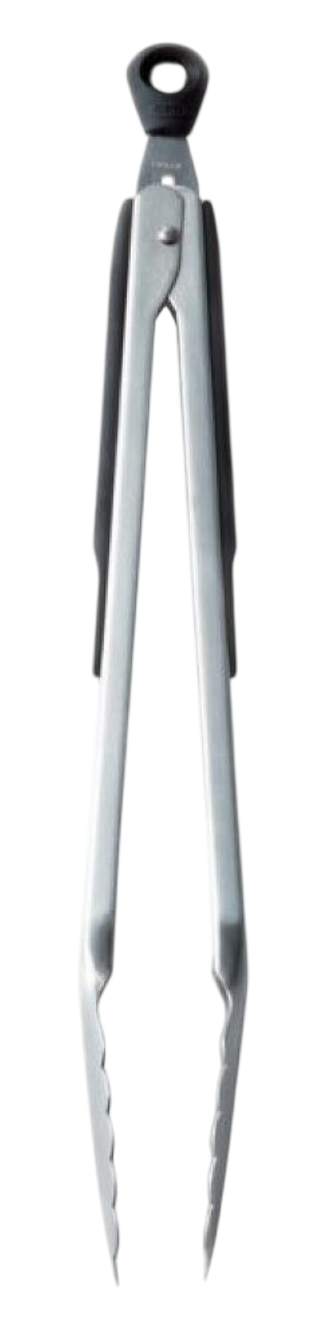
A sturdy pair of long metal tongs makes easy work of removing the chicken from the grill once it’s done.
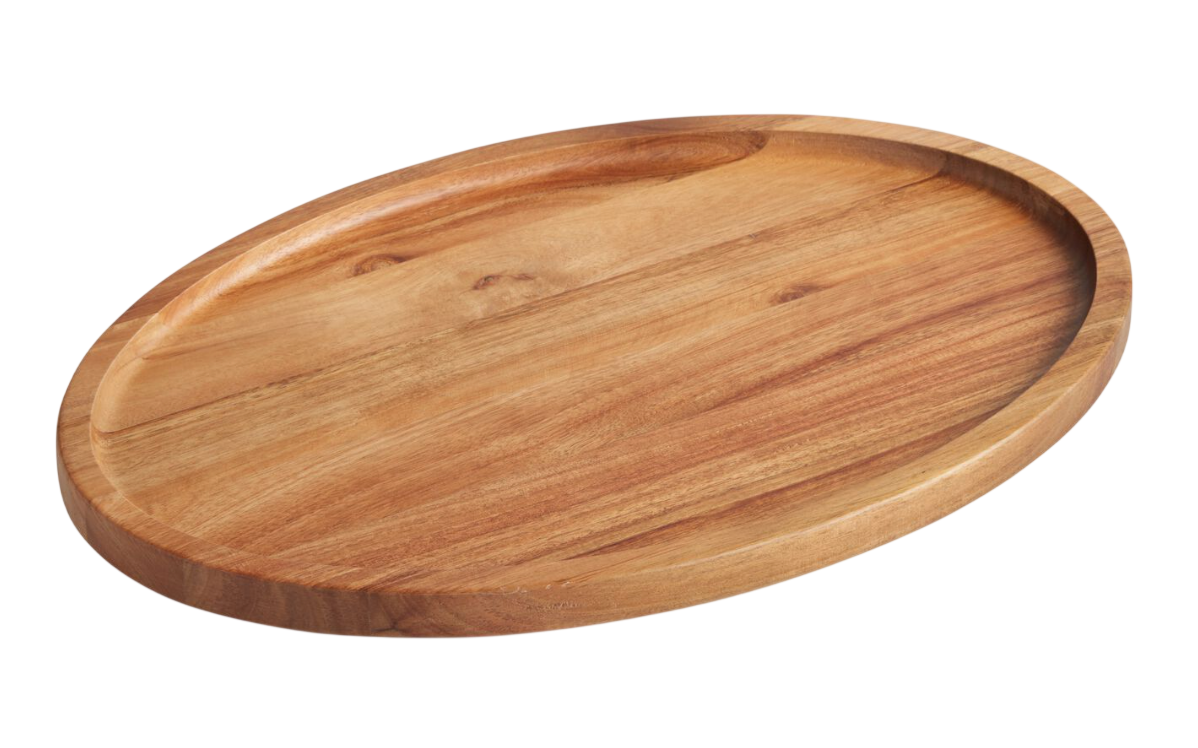
This is my favorite trencher board for carving the chicken and serving too. All the juice runs to one side, making it easy to spoon some of the jus over top. I also like to move the chicken to the juicy side of the board as I carve it, so it stays, well, juicy.
Comments
Nothing yet. Say the first thing.
Sign in to join the conversation.