
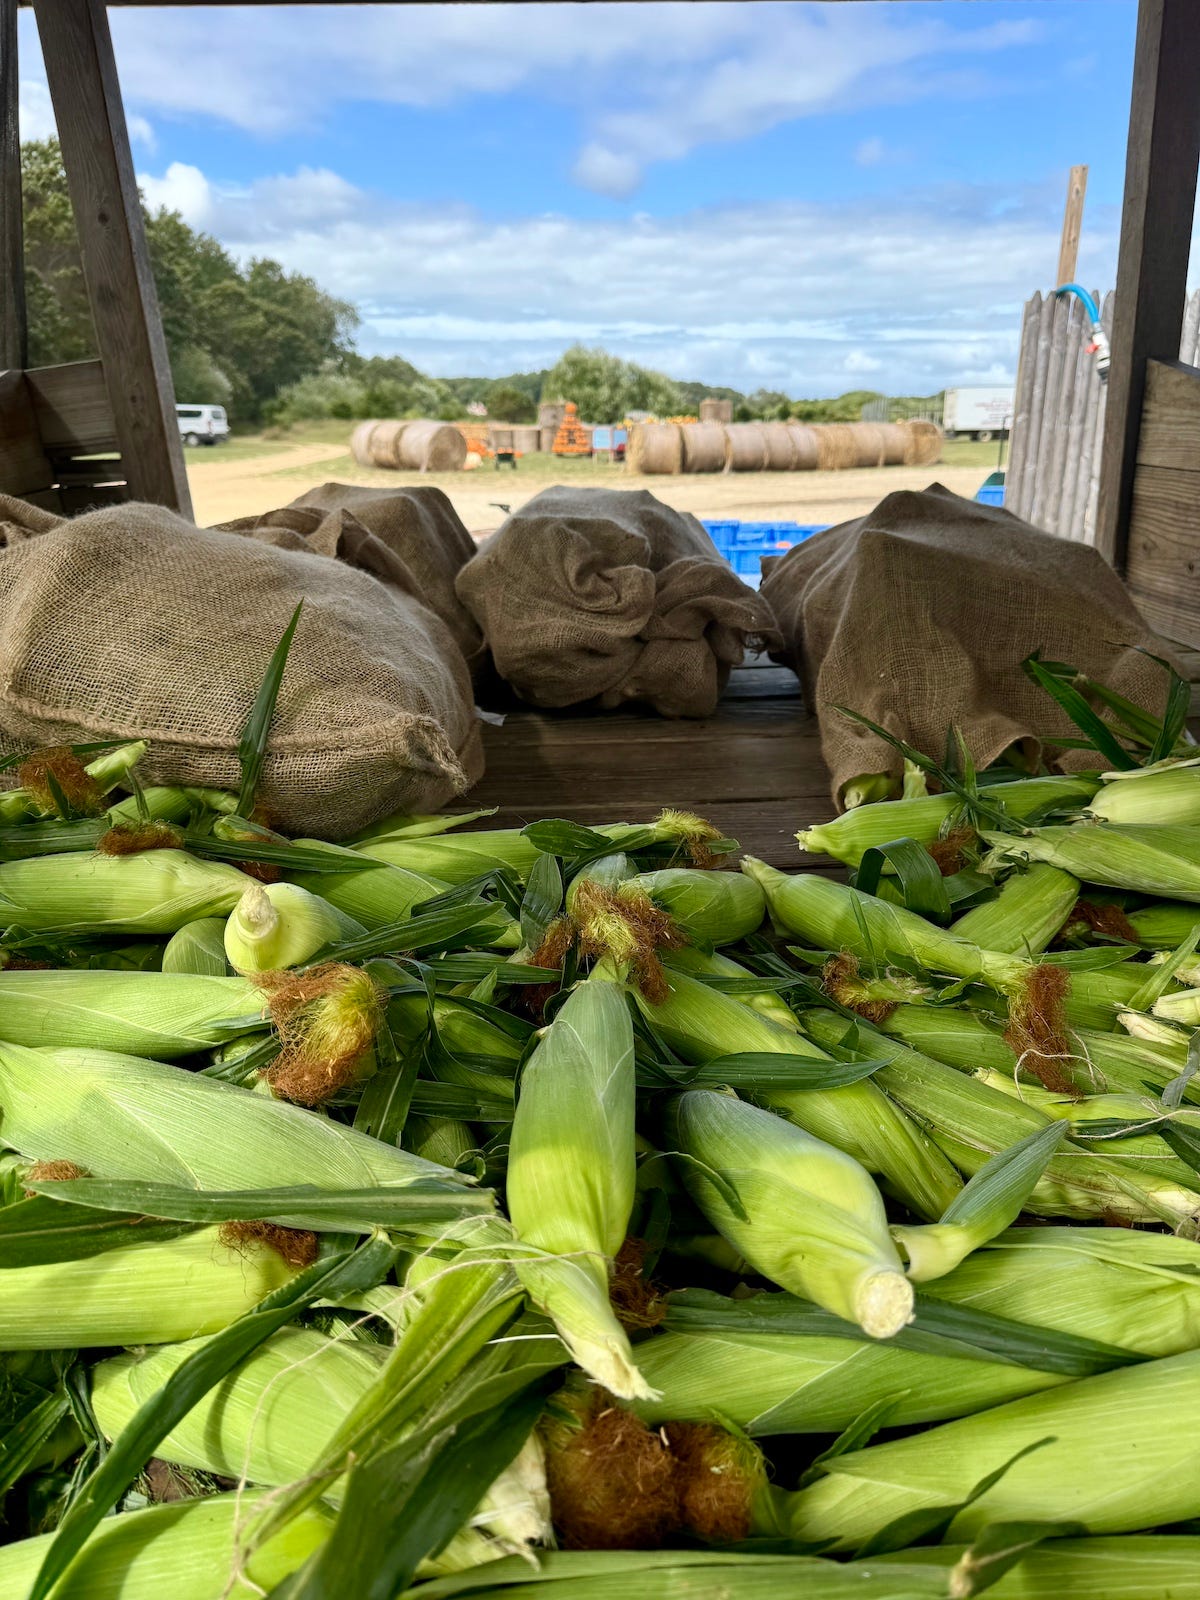
Fresh corn is one of the distinct pleasures of summer, and unlike some of the other treats we enjoy this time of year, it’s not quite as ephemeral. It’s in season for a good long time, from about July 4th straight through Halloween (at least around here). It is also thankfully easy to preserve, i.e., freeze, to be used in the cooler months.
The recipe I made for you today stars the aforementioned corn and the other mainstay of summer farmstands: zucchini. They work great together in these yummy fritters. If you grow zucchini, it’s very likely you’ll have too much of it. It’s also abundantly available everywhere else, and is a great way to get more veggies into an otherwise slightly indulgent dish. I like these as a side dish or for lunch, but you could also make mini ones to serve as an hors d’oeuvre with a creamy yogurt or sour cream dip of your choice.
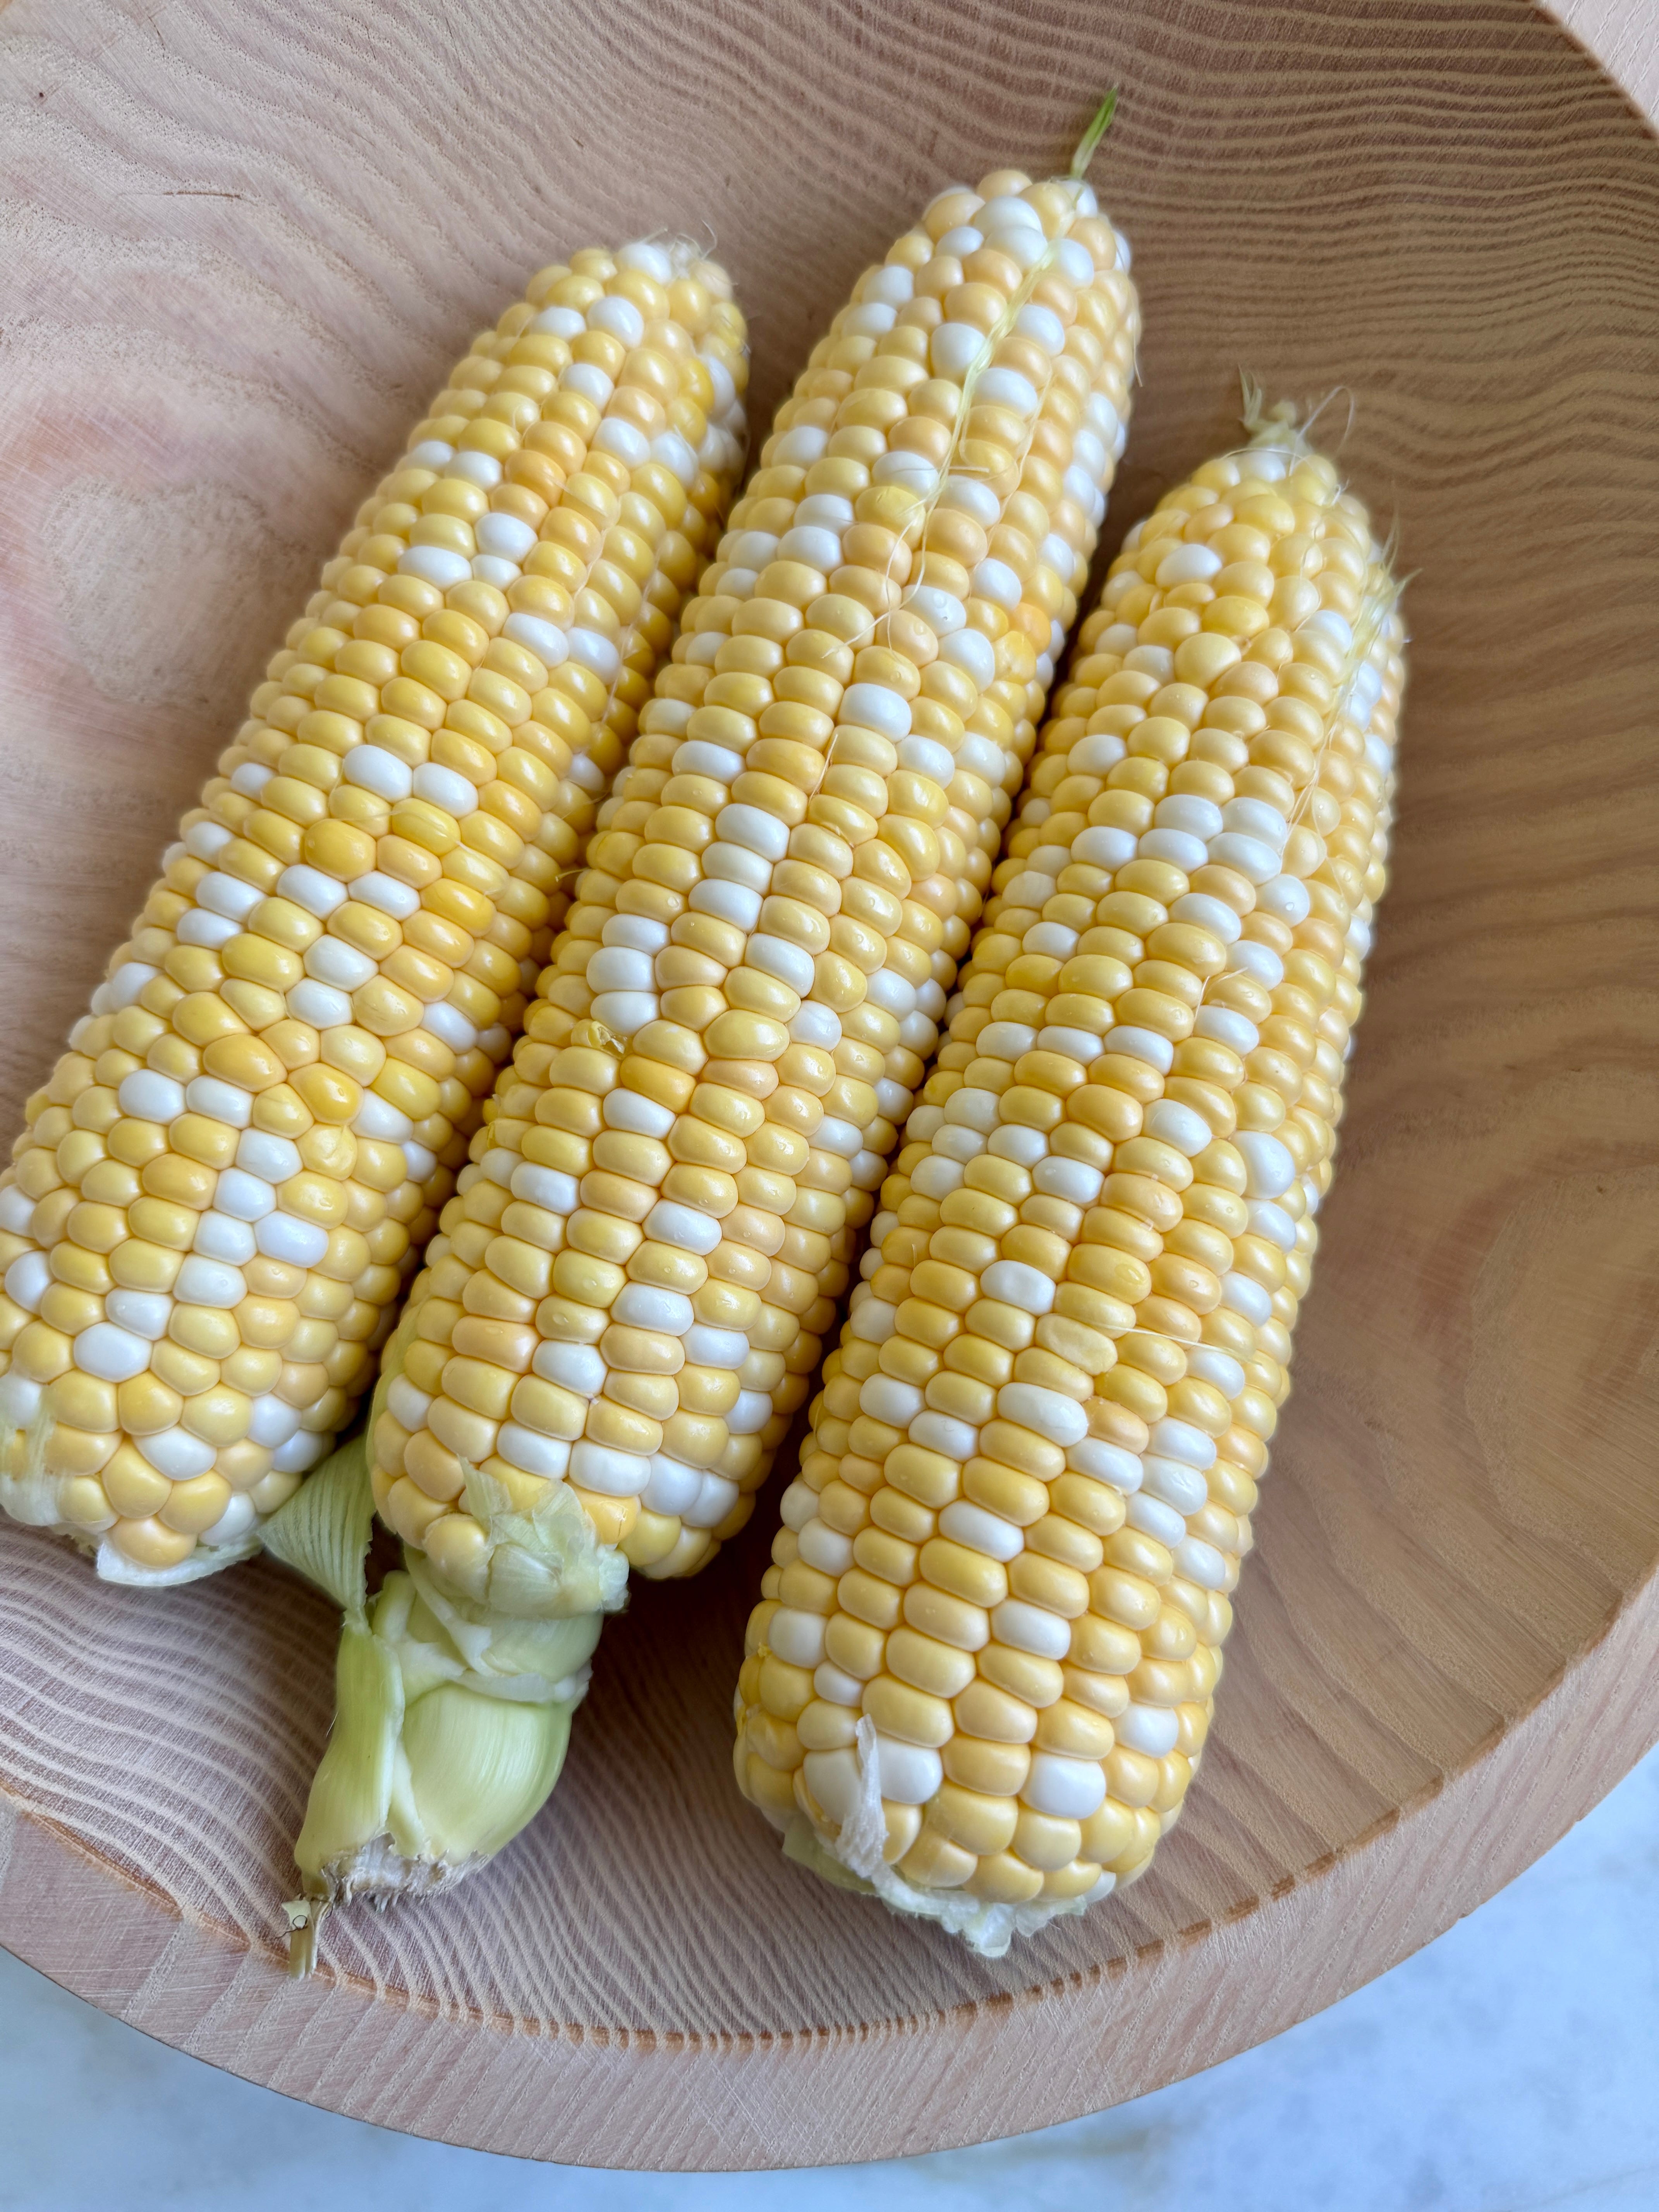
Corn is kind of a no-brainer, but I want to walk you through some tips and tricks that will help you enjoy it even more. It pains me when I see people buying corn in the supermarket when you can get same-day picked from the farmstand down the road. Buy local if you can!
Look for very fresh green husks. They shouldn’t be dry at all.
Don’t peel the corn at the farmstand. Farmers hate when you do this, because if you put it back, it gets thrown away. The husk is nature’s packaging, keeping the corn fresh, moist, and clean. If you’re worried about worms or anything else, just buy an extra ear or two. It won’t go to waste. I love having some extra to add to a salad or pasta the next day.
Look for large ears that feel heavy for their size.
Try to buy corn on the same day you’re going to eat it, and keep it refrigerated until you do so. Keeping it for a day or two is fine.
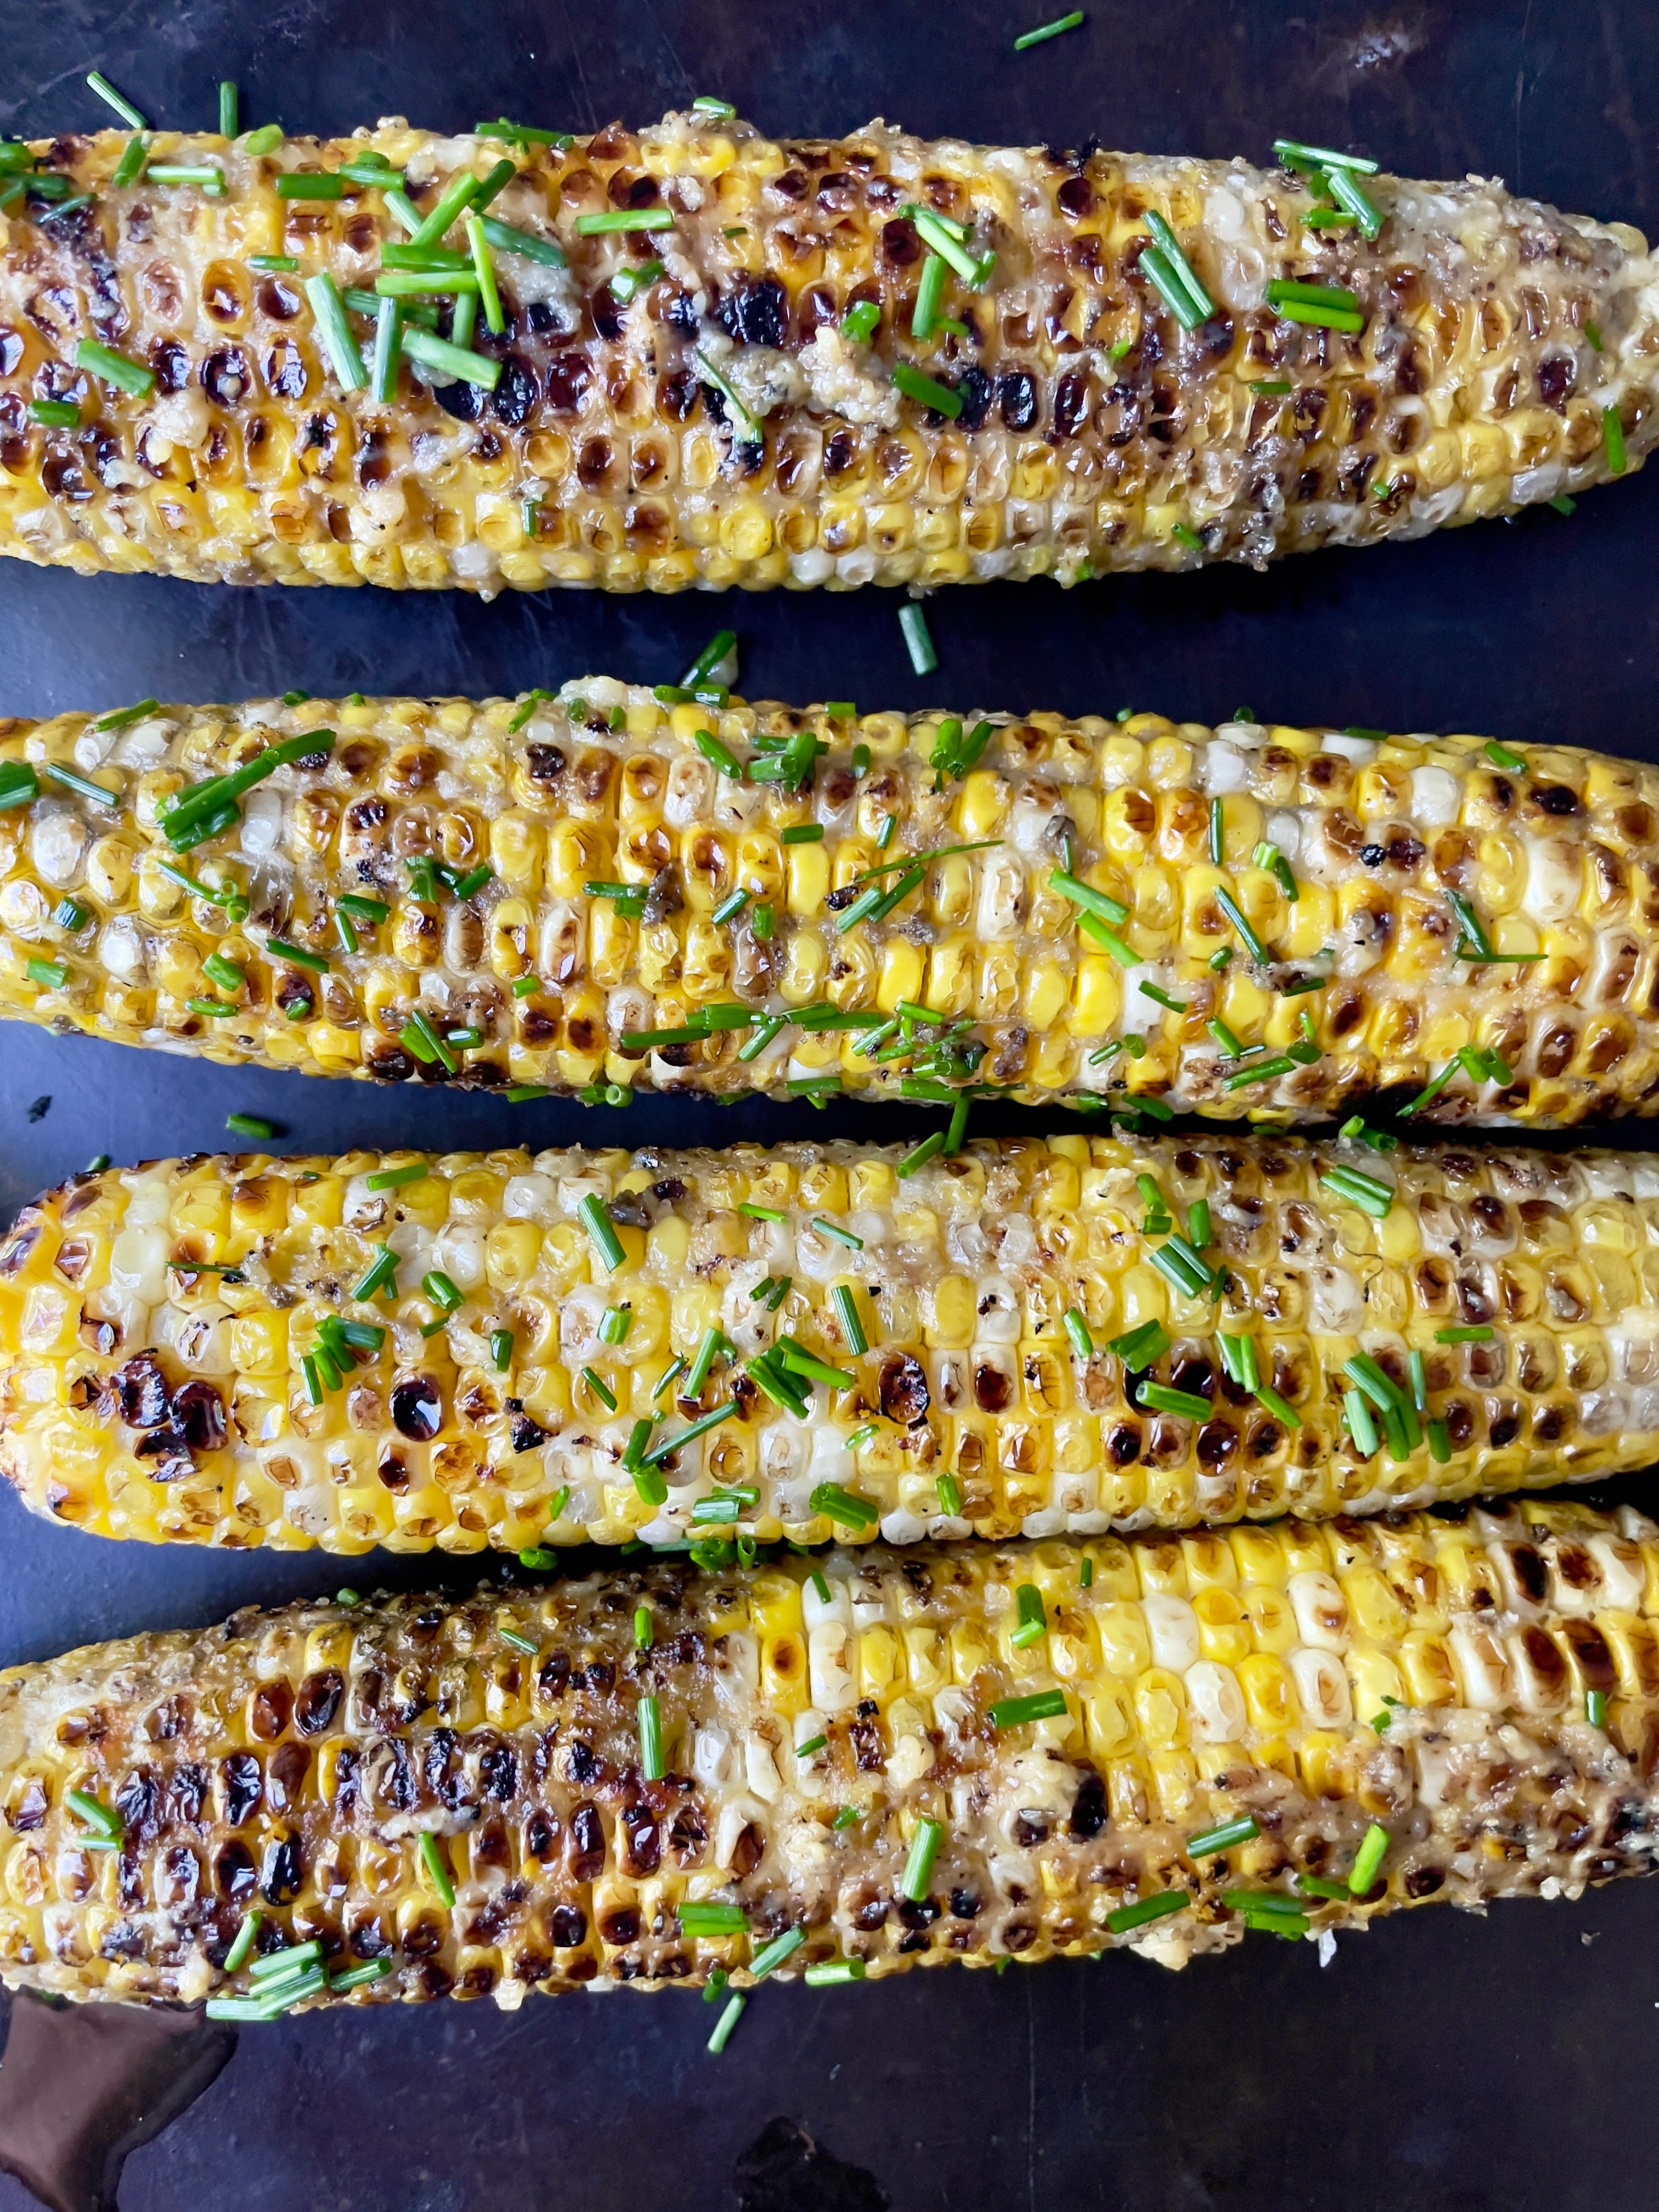
So many ways, and so little time!
You can microwave an ear of corn right in the husk. This is best if you’re just cooking for one or two. Cook one ear at a time over high heat for 4 minutes, then let it steam for 2 more. The bonus of cooking this way is that all the silk comes off easily with the husk.
Here’s one from my mom, who was an early adopter of the microwave: Wrap a peeled ear of corn with 2 layers of wet (not dripping) paper towel and microwave on high for 3 to 4 minutes, turning once. Let steam for a few minutes longer without unwrapping. It steams the corn perfectly.
Throw them on the grill, husk and all. They will mostly steam, but the grill adds a little smoky flavor and some of the kernels will caramelize as the husks dry out and shrink.
For truly charred corn, make sure you start with very fresh corn and a fairly aggressive heat on the grill. Brush the husked ears with butter, which will help them brown. If you cook them too slowly, the kernels will dry out and shrink.
If you just want simple corn (and who doesn’t?), I steam instead of boil. Instead of waiting for a giant pot of water to come to a boil, I place my metal steamer basket and a couple inches of water in the bottom of my pasta pot, and stack the ears log cabin-style.
Don’t forget to compost your husks if you can! When they’re fresh and green, they provide nitrogen; when dried out, carbon. Either way, it’s good for your pile!
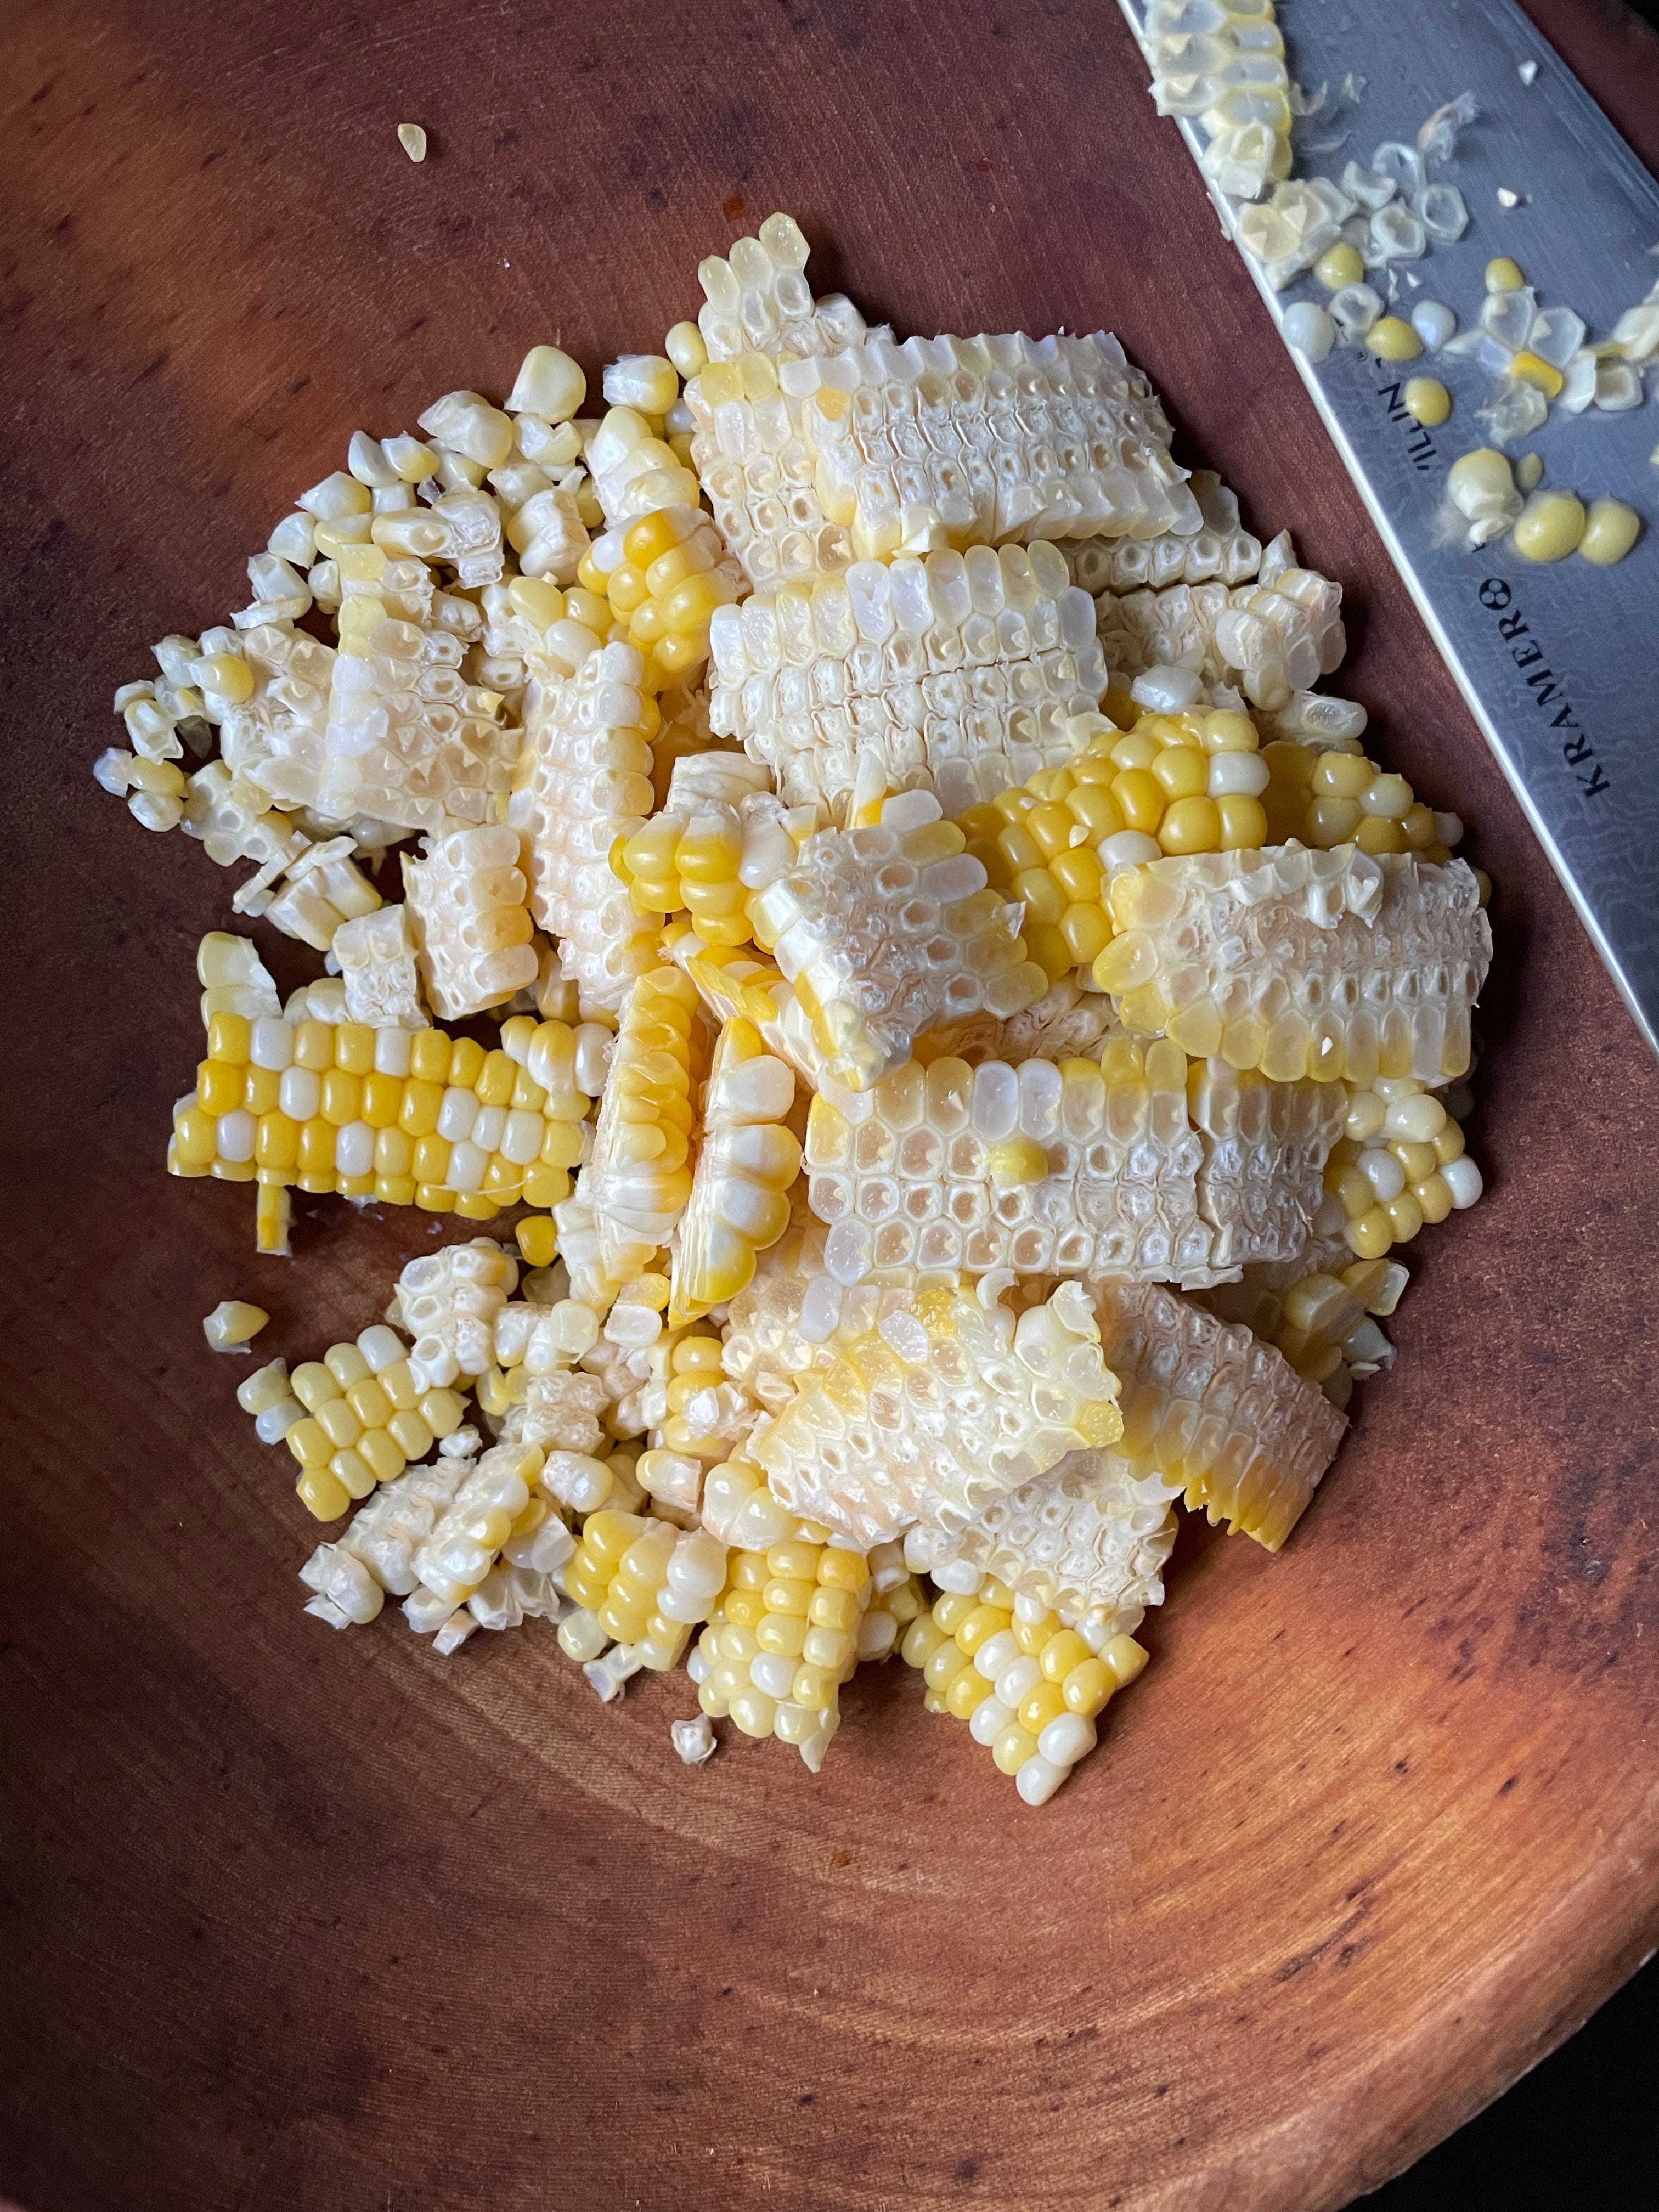
After husking, rinsing, and removing as much silk as possible, I trim the larger end so it’s flat, and stand it up in a wide wooden salad bowl. You can also just stand it up on your cutting board, but be prepared to chase after bouncing corn kernels. Holding the cob firmly at the top, use your chef’s knife to cut straight down, shaving as close to the cob as possible. You can also lay the cob down horizontally and cut straight down. I don’t like this method as much because I think it’s harder to cut close to the cob. Simply transfer to a zip-top bag and freeze for up to 6 months.
Just a quick note: This post may get truncated as it’s too long for email. If it’s cut off, you can click the post title or any of the photos to read it in your browser instead!

There’s plenty of inspiration in the Susanality archives for when you tire of plain ol’ corn on the cob (as good as it is!). Here are some favorite recipes worth making this season:
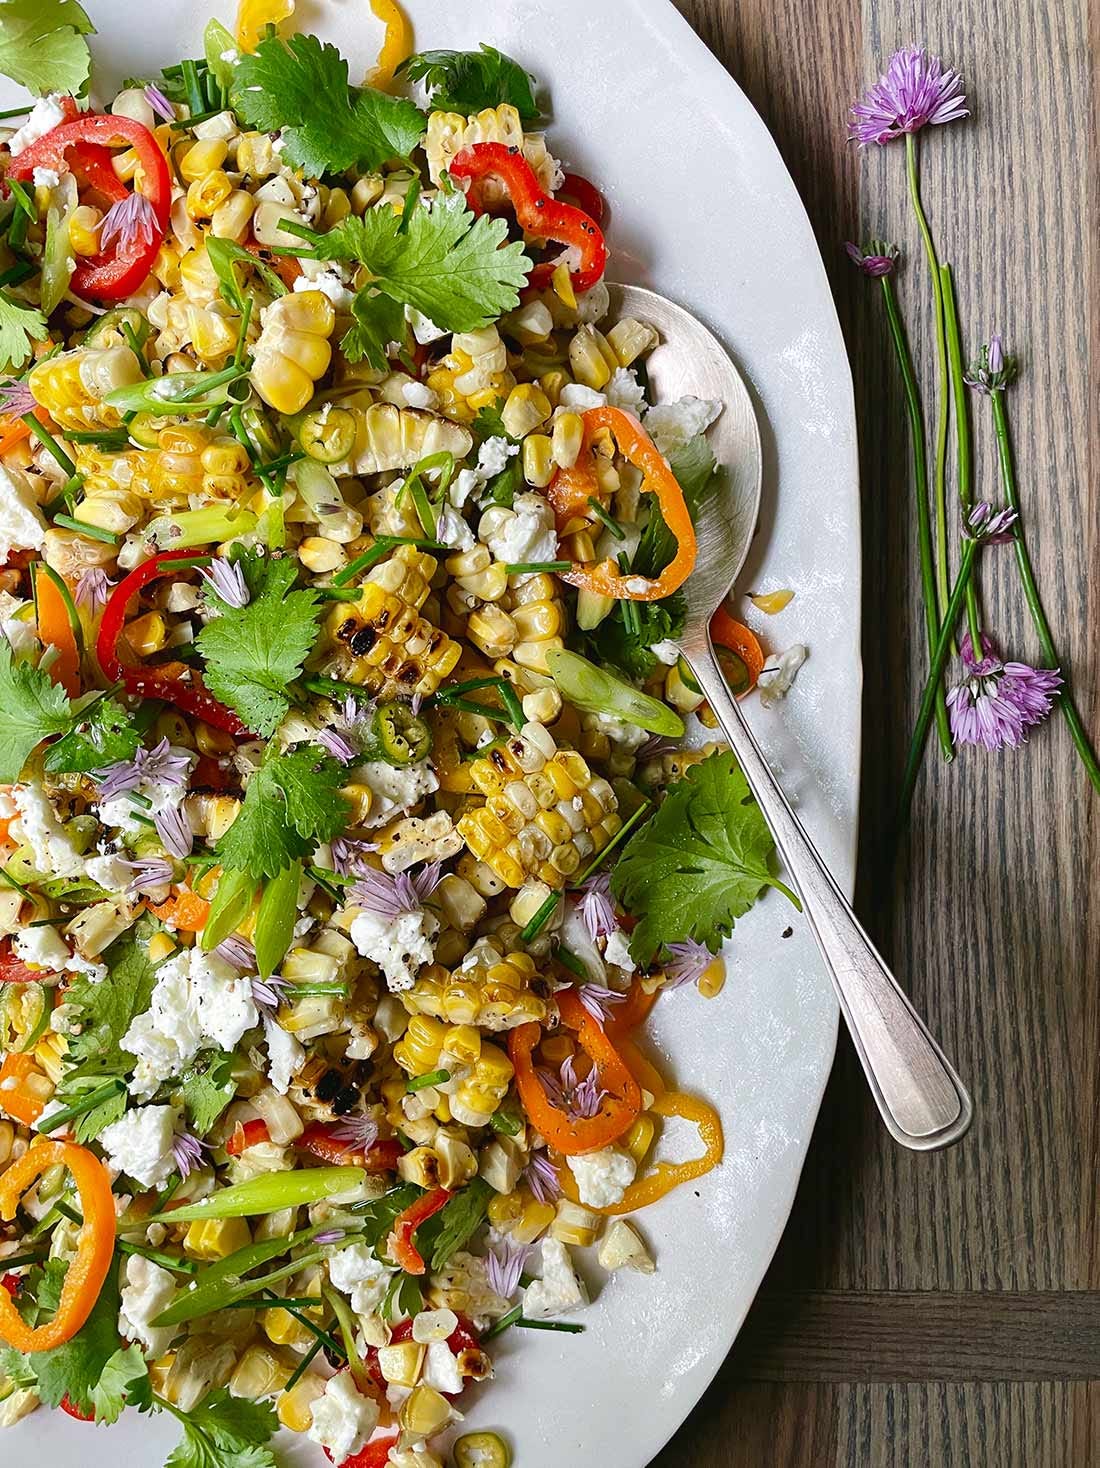
This corn salad is zingy and fresh-tasting, perfect for this time of year when we don’t want to do too much cooking, and the abundance and quality of fresh produce doesn’t warrant it!
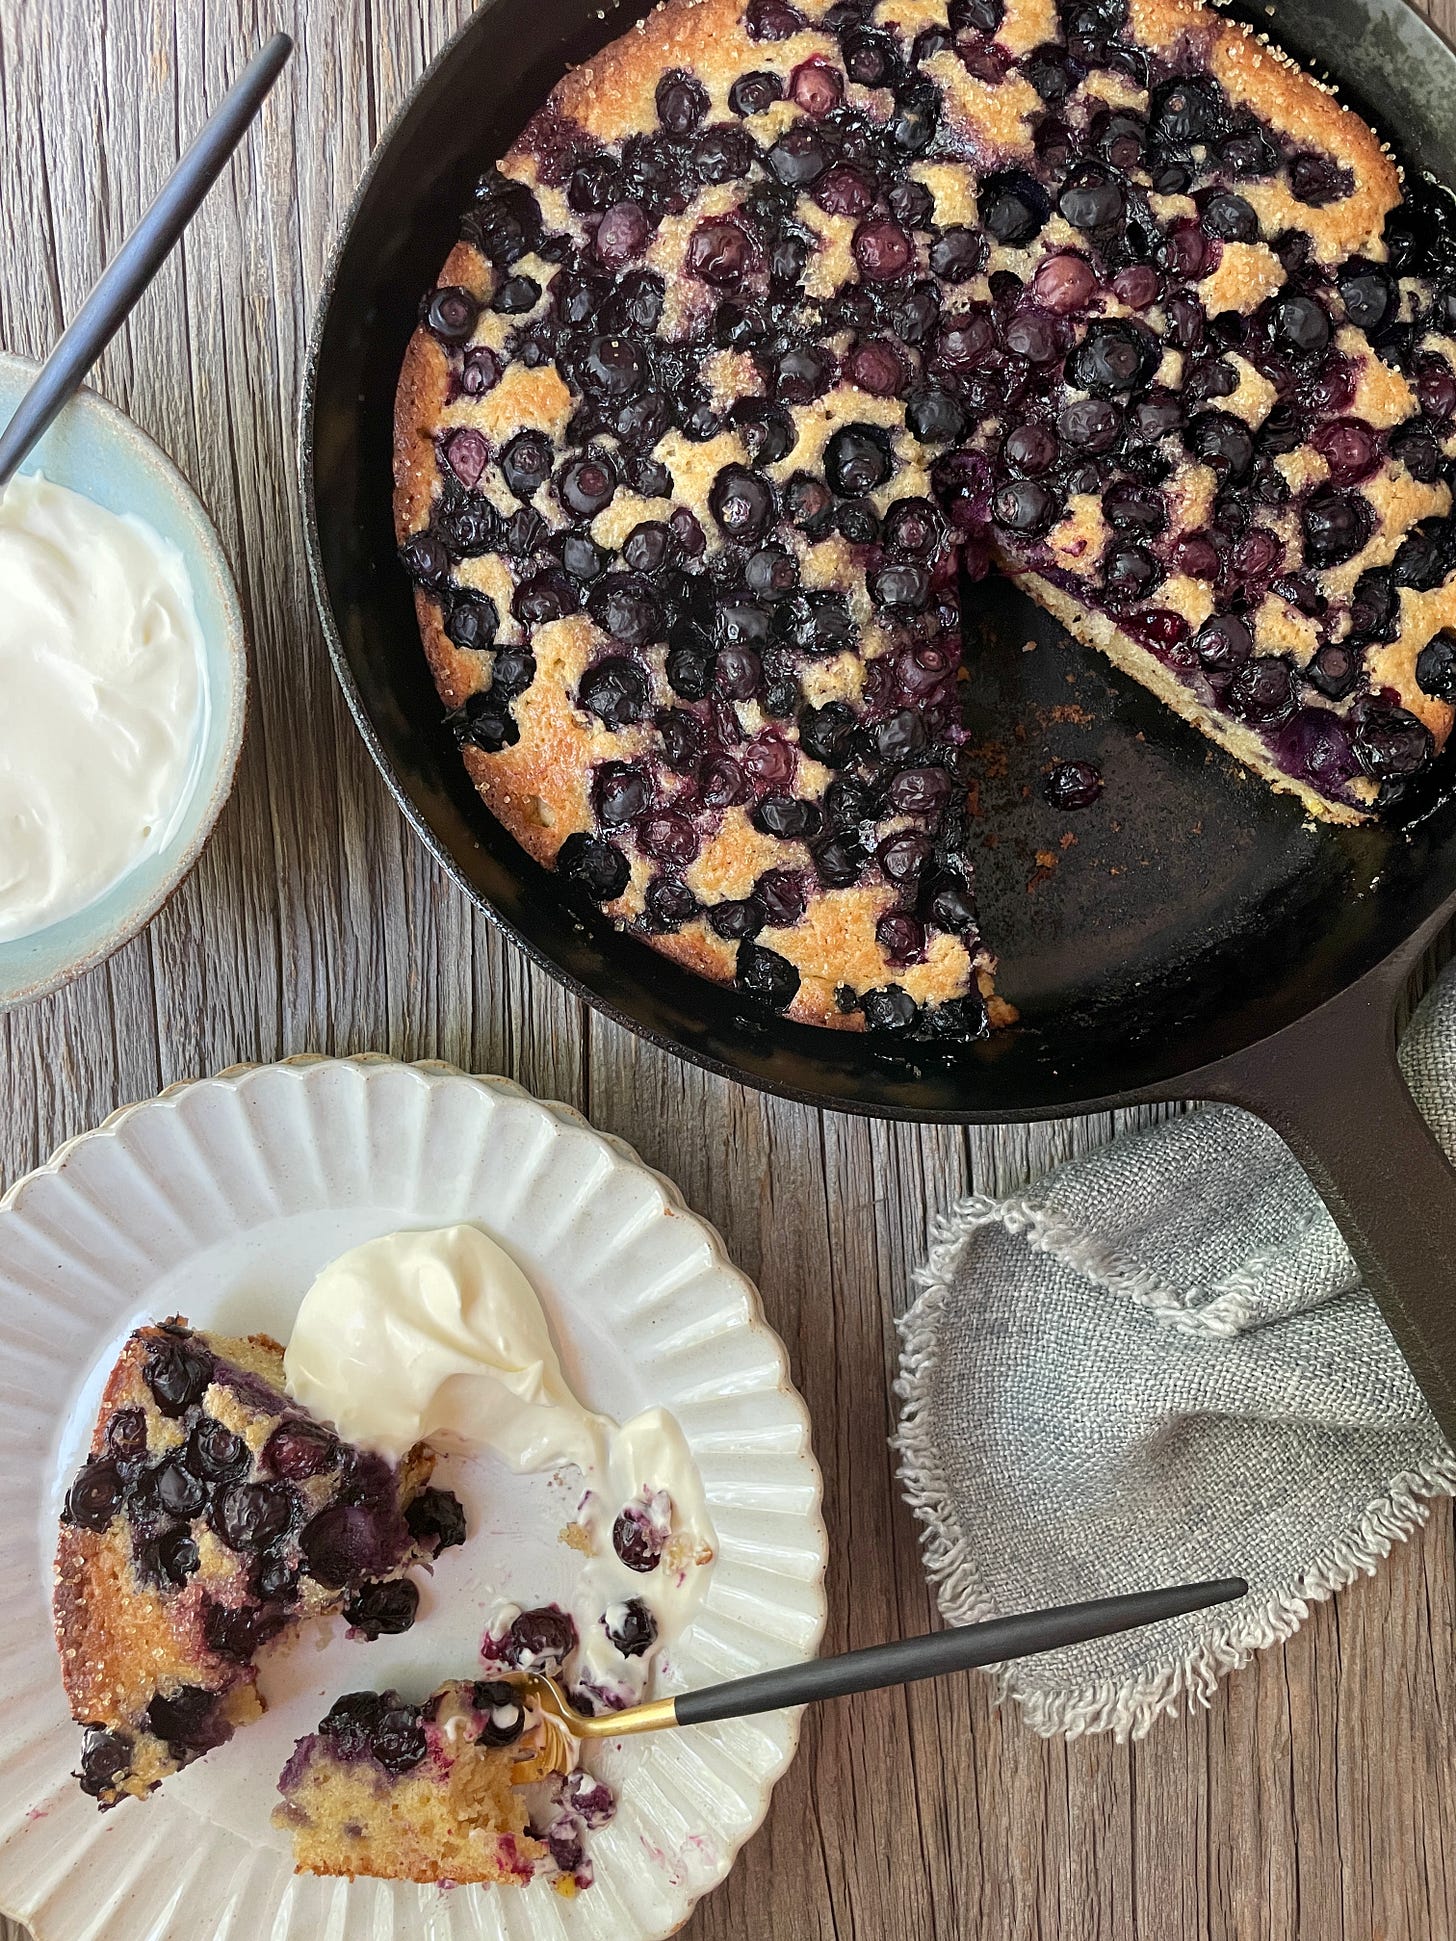
Next time you find yourself with an extra ear of corn, use it to enrich this simple, easy-to-make, and fruit-packed skillet cake. The corn imparts its subtle flavor and adds moistness, producing a cake that’s just as much at home on the breakfast or brunch table as it is with an afternoon coffee.
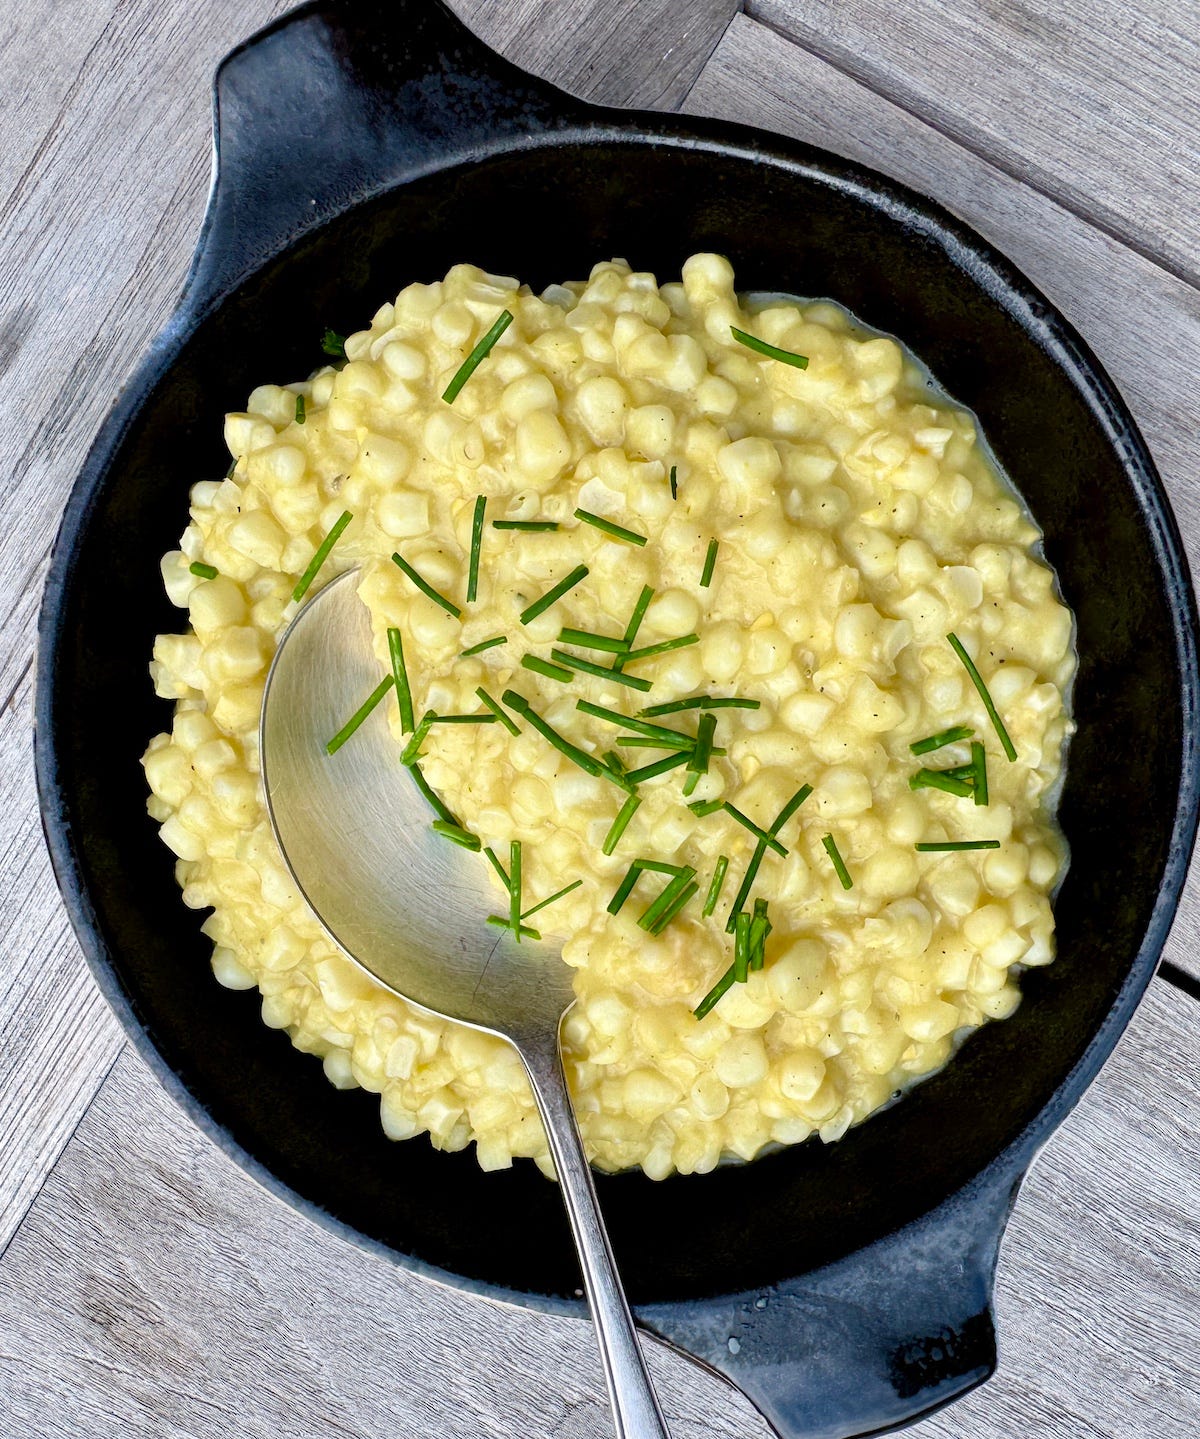
In this lighter take on creamed corn, I purée a portion of the corn and add it back to the pan. Combined with a pat or two of butter and some grated parm, the corn purée creates a luxurious texture—all without the need for any cream.
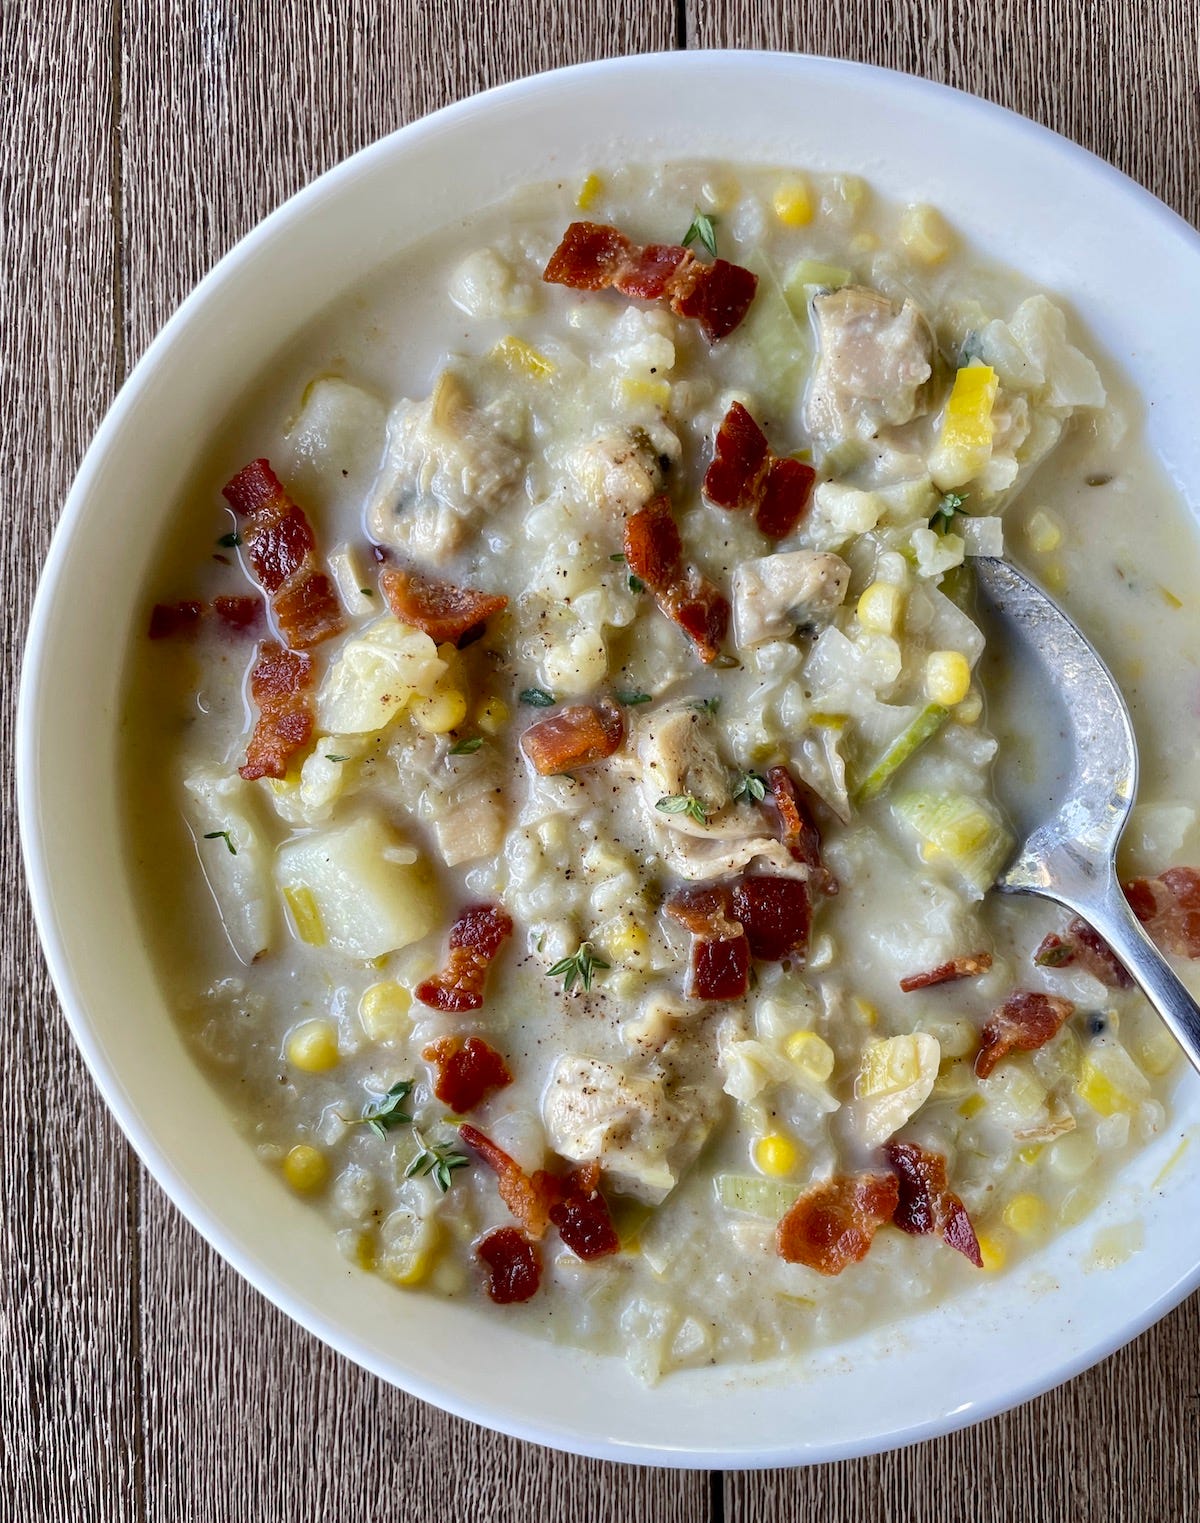
This chowder is a great clean-out-the-fridge meal because of how flexible it is. You can easily halve it, use less corn or more corn, add an extra potato, or use a few fewer clams; it won't really change the outcome dramatically. Plus, it features a clever trick for adding extra body to the soup.
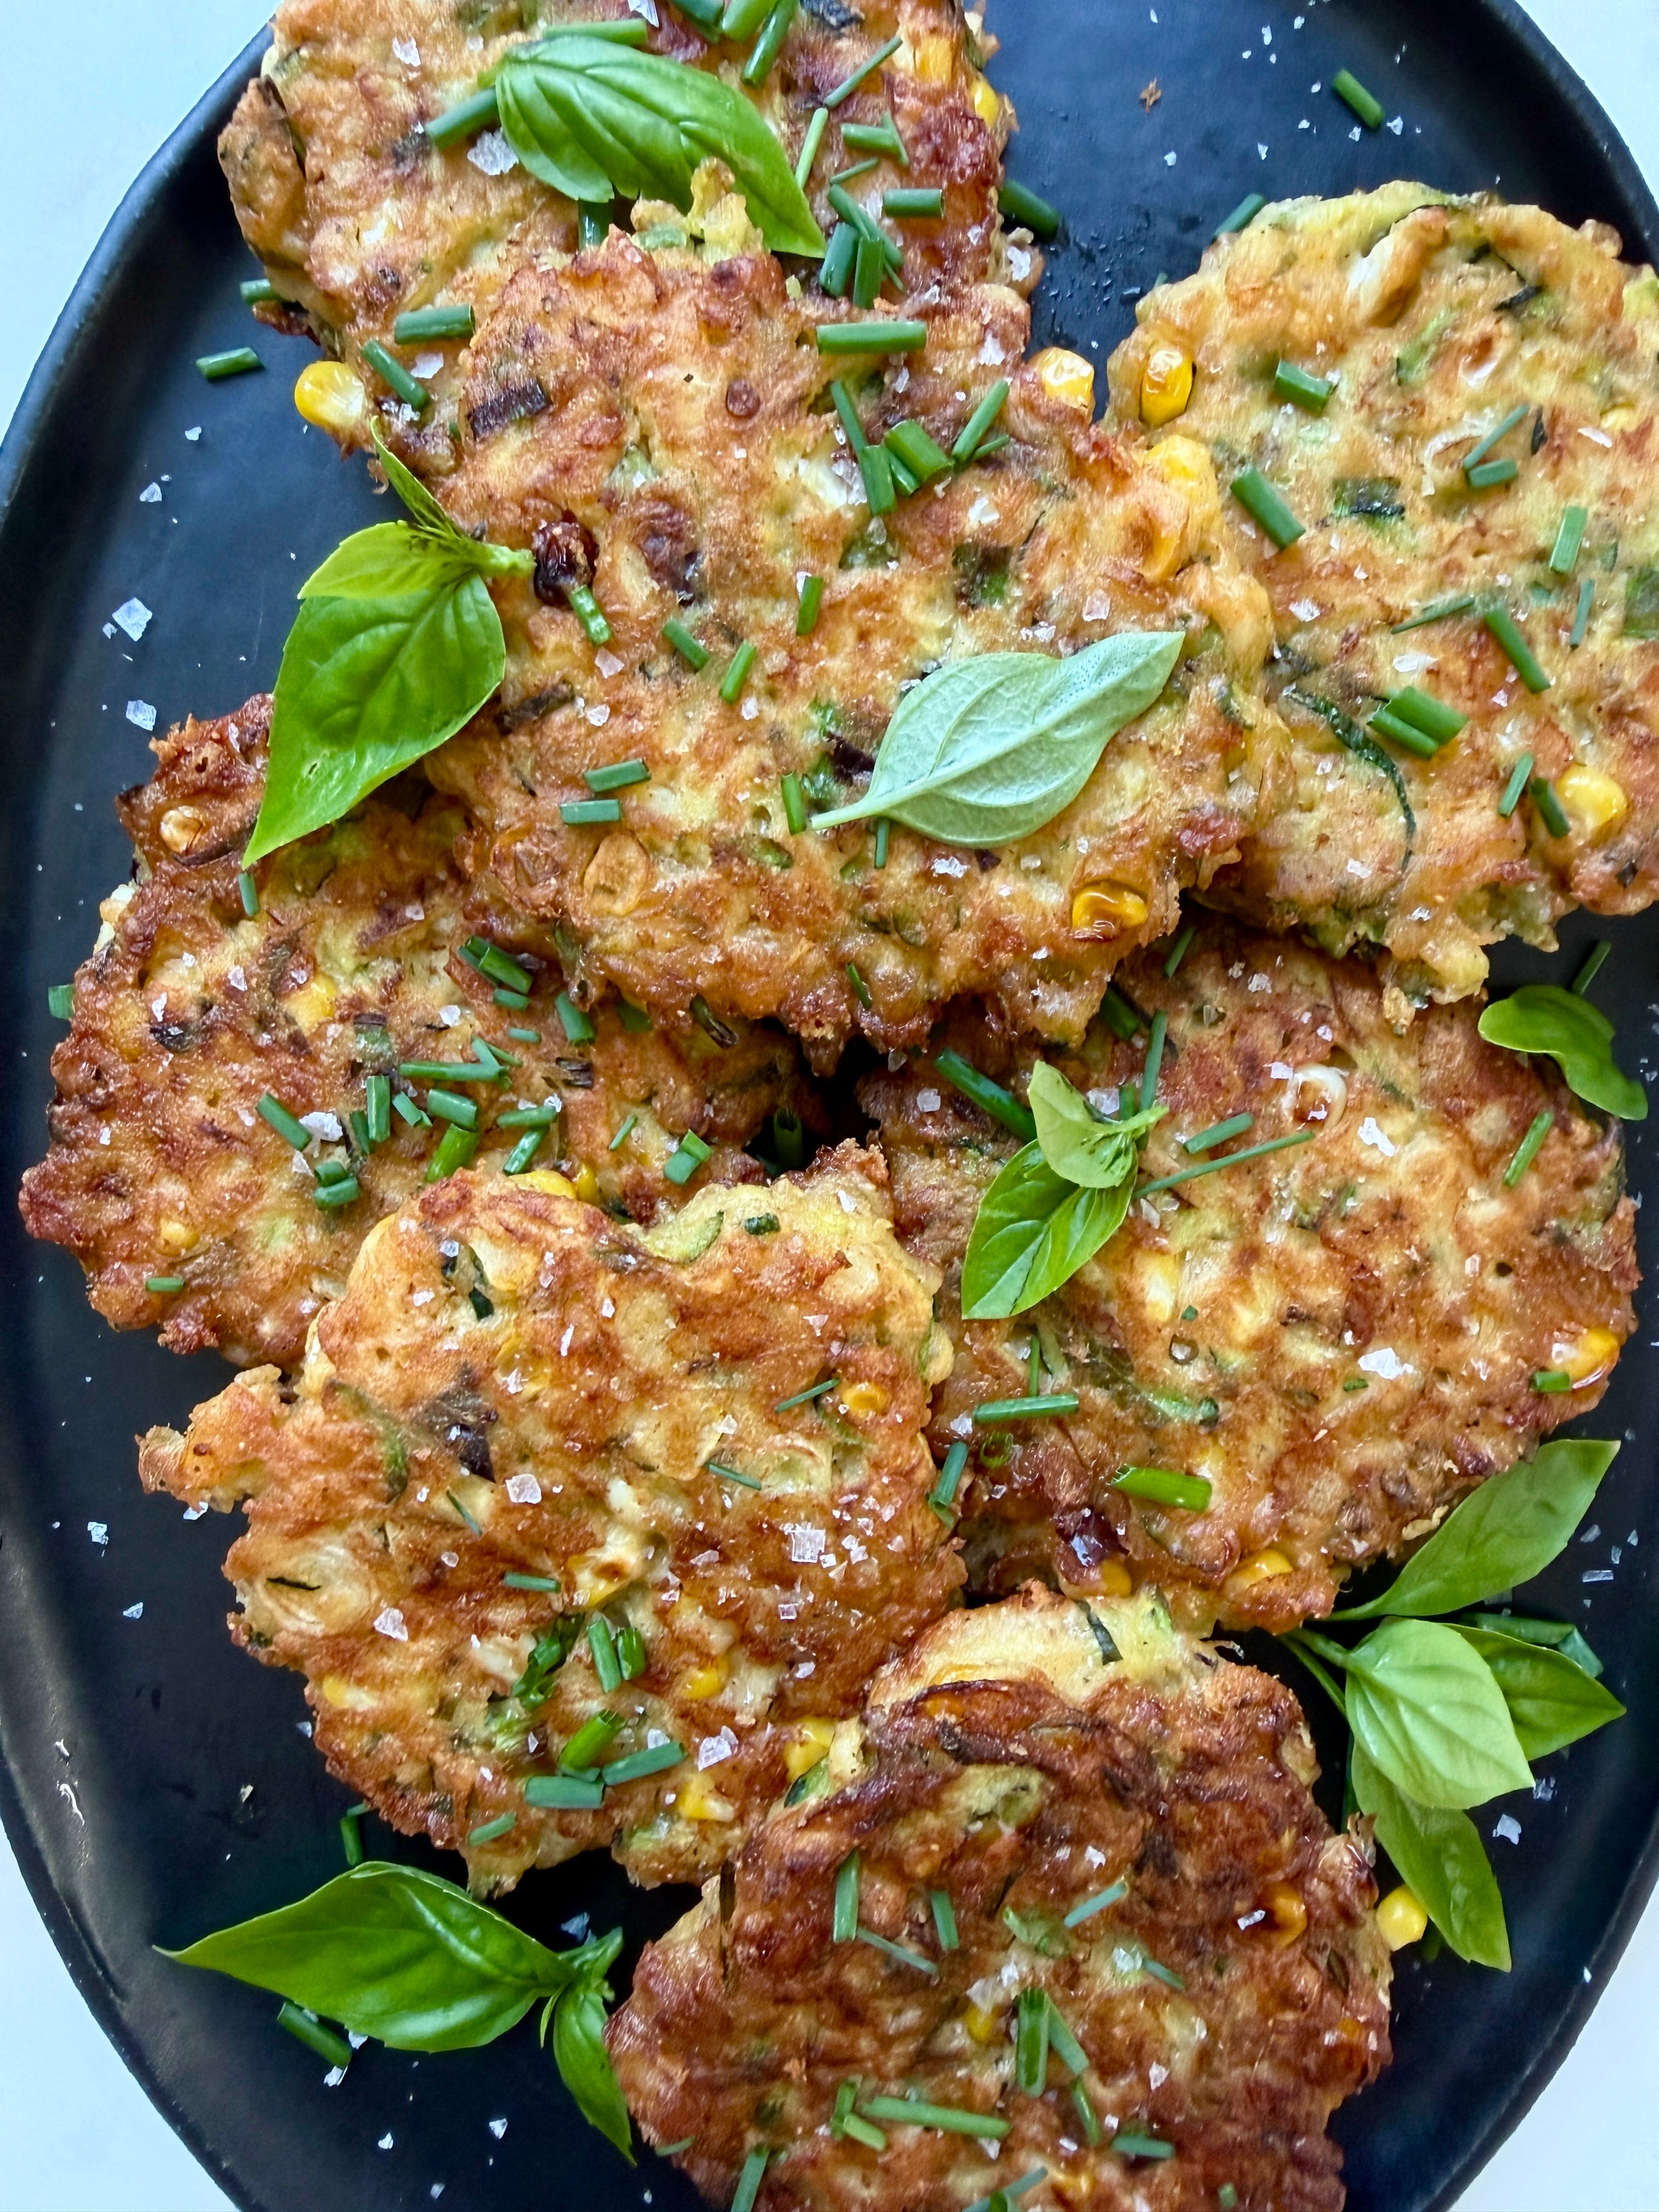
I added a whole jalapeño, finely diced, but it had absolutely NO heat. I still like the flavor, but if you do want a little heat, add finely diced Fresno or serrano chile (not too much!).
Makes 14
2 medium zucchini, grated on the large holes of a box grater (about 2 cups)
2 teaspoons kosher salt, divided
3 large eggs
¾ cup/96 g all-purpose flour
¼ cup/38 g cornmeal
¼ cup milk or buttermilk
½ teaspoon baking powder
½ teaspoon smoked paprika
Freshly ground pepper
2 cups corn kernels (from 2 large ears)
½ cup thinly sliced scallions (about 5)
½ cup chopped mixed herbs, like basil, chives, parsley, etc.
1 cup/3 ounces grated cheddar or aged gouda
Vegetable oil, for cooking
Place the zucchini in a mesh colander or strainer set over a bowl, and sprinkle with ½ teaspoon salt. Let sit while you do the rest of the prep, tossing with your hands a few times. Squeeze down with a paper towel to release the liquid.
Combine eggs, flour, cornmeal, buttermilk, baking powder, smoked paprika, remaining 1½ teaspoons salt, and pepper in a large bowl.
Add the zucchini, corn, scallions, herbs, and cheese and fold in using a rubber spatula.
Heat ¼ inch of oil in a medium nonstick pan over medium-high heat. Use a ¼ cup measure to dollop the batter into the pan. You should be able to fit 3 or 4 at a time.
Cook for 2 to 3 minutes on the first side, until the edges look nice and brown and set near the edges. Carefully flip (away from you so the oil doesn’t splash) and cook on the other side for 2 to 3 minutes. Make sure the heat is high enough to form a nice crust, or they will take longer and be harder to flip. Transfer to a paper towel-lined plate as you cook them. Add more oil as needed for cooking.
No posts
Comments
Nothing yet. Say the first thing.
Sign in to join the conversation.