
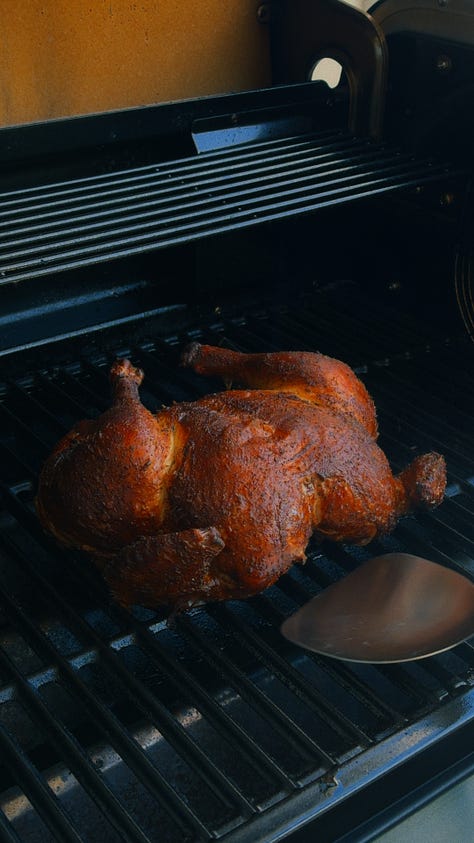
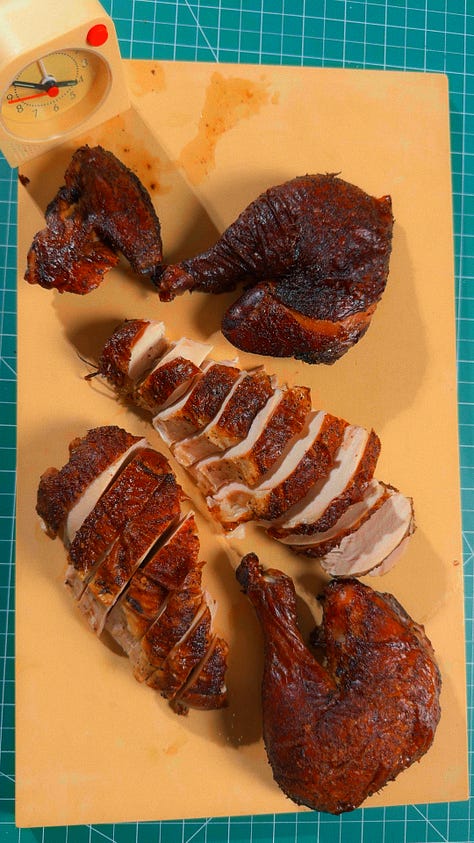
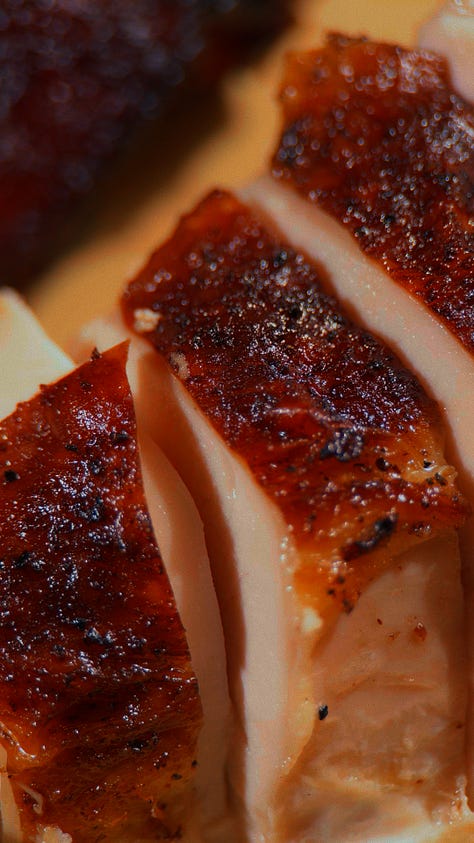
If you’ve ever eaten smoked chicken and thought I could never make that at home — this is the post that changes your mind.
Because smoking a chicken well isn’t about owning a $2,000 offset smoker or having years of pitmaster experience behind you. It’s about understanding six things: prep, salt, skin, smoke, temperature, and finish. Get those right and the equipment becomes secondary.
Traditionally, great smoked barbecue is cooked over burning hardwood — or charcoal with wood added — which gives you that deep, unmistakable smoke flavor. But a backyard gas grill with wood pellets works on the same principles. The equipment changes. The science stays the same.
This is the full breakdown — every step, every reason, every thing that’s actually happening inside the meat while you wait.
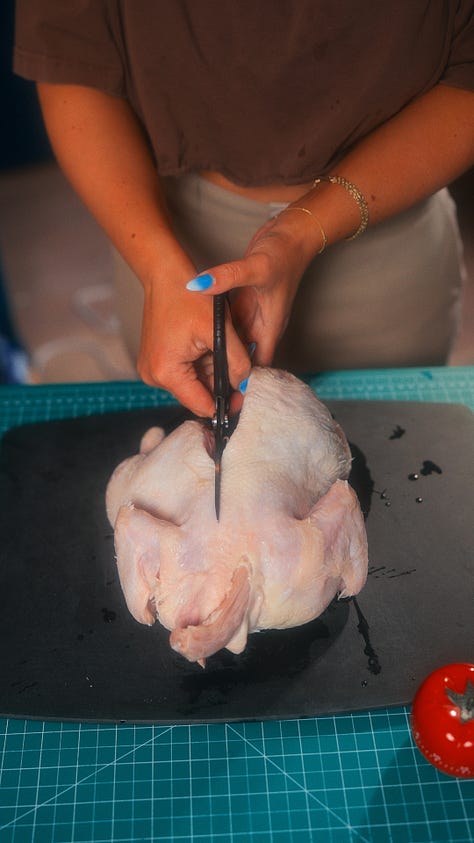
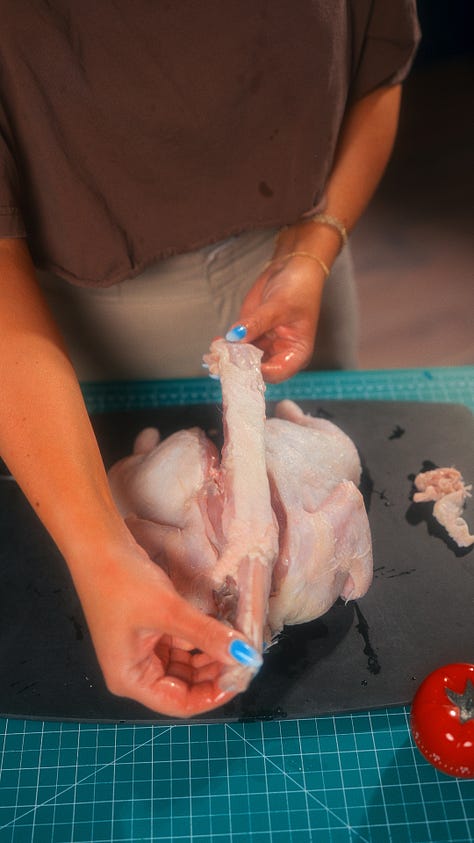
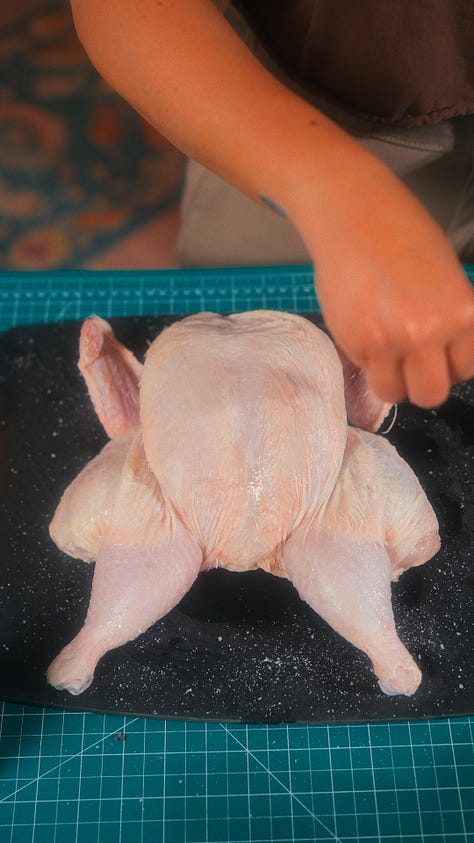
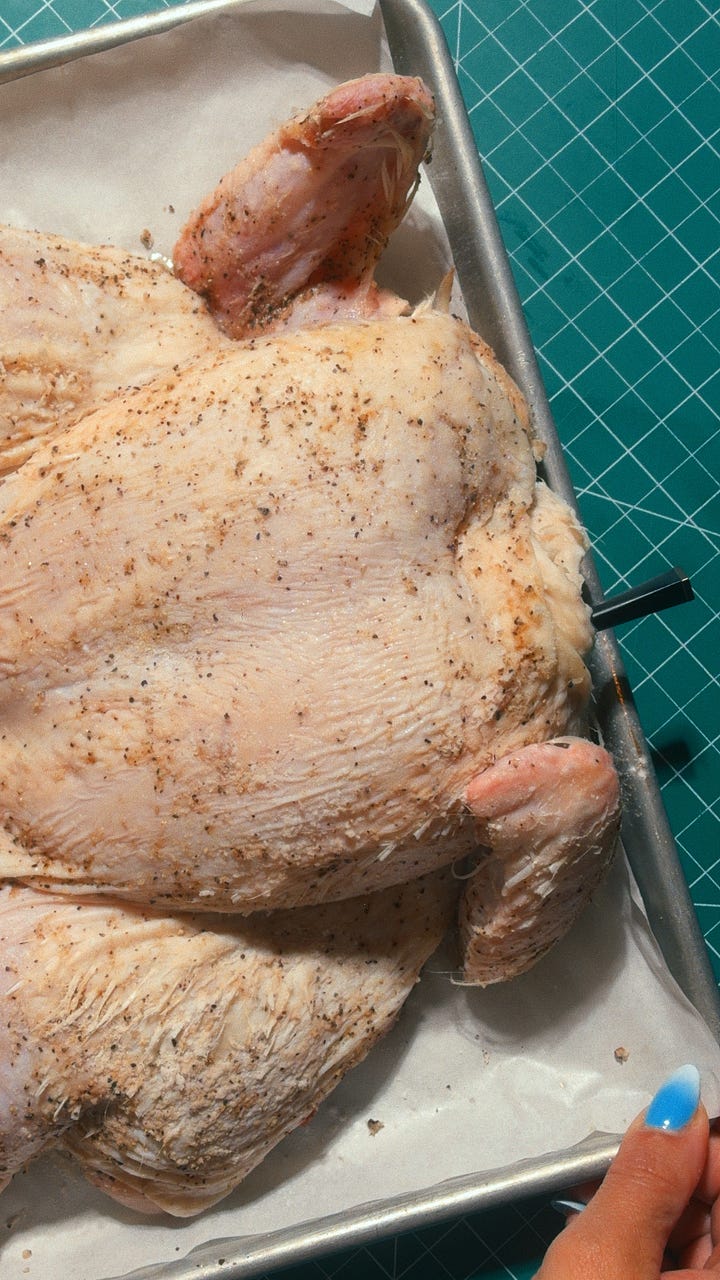
Spatchcocking means removing the backbone and pressing the chicken flat before it goes on the grill. Use kitchen shears to cut along both sides of the spine, remove it, then press firmly on the breastbone until the bird lies flat.
Why it matters:
A whole, intact chicken is essentially a dome of varying thickness — thick at the breast, thin at the wing tips, dense at the thigh. That geometry makes even cooking nearly impossible. The breast hits temperature long before the thigh, which means by the time the thigh is done, the breast is overcooked and dry.
Spatchcocking solves this by flattening the bird into a single, more uniform plane. The breast and thigh now sit at similar heights relative to the heat source, which means they cook closer to the same rate. You also expose dramatically more surface area to the smoke — the inside of the cavity, which is usually shielded, now faces the heat directly. More surface area means more smoke contact, more Maillard browning, and more crispy skin.
It is the single most impactful structural change you can make before the chicken ever touches the grill.
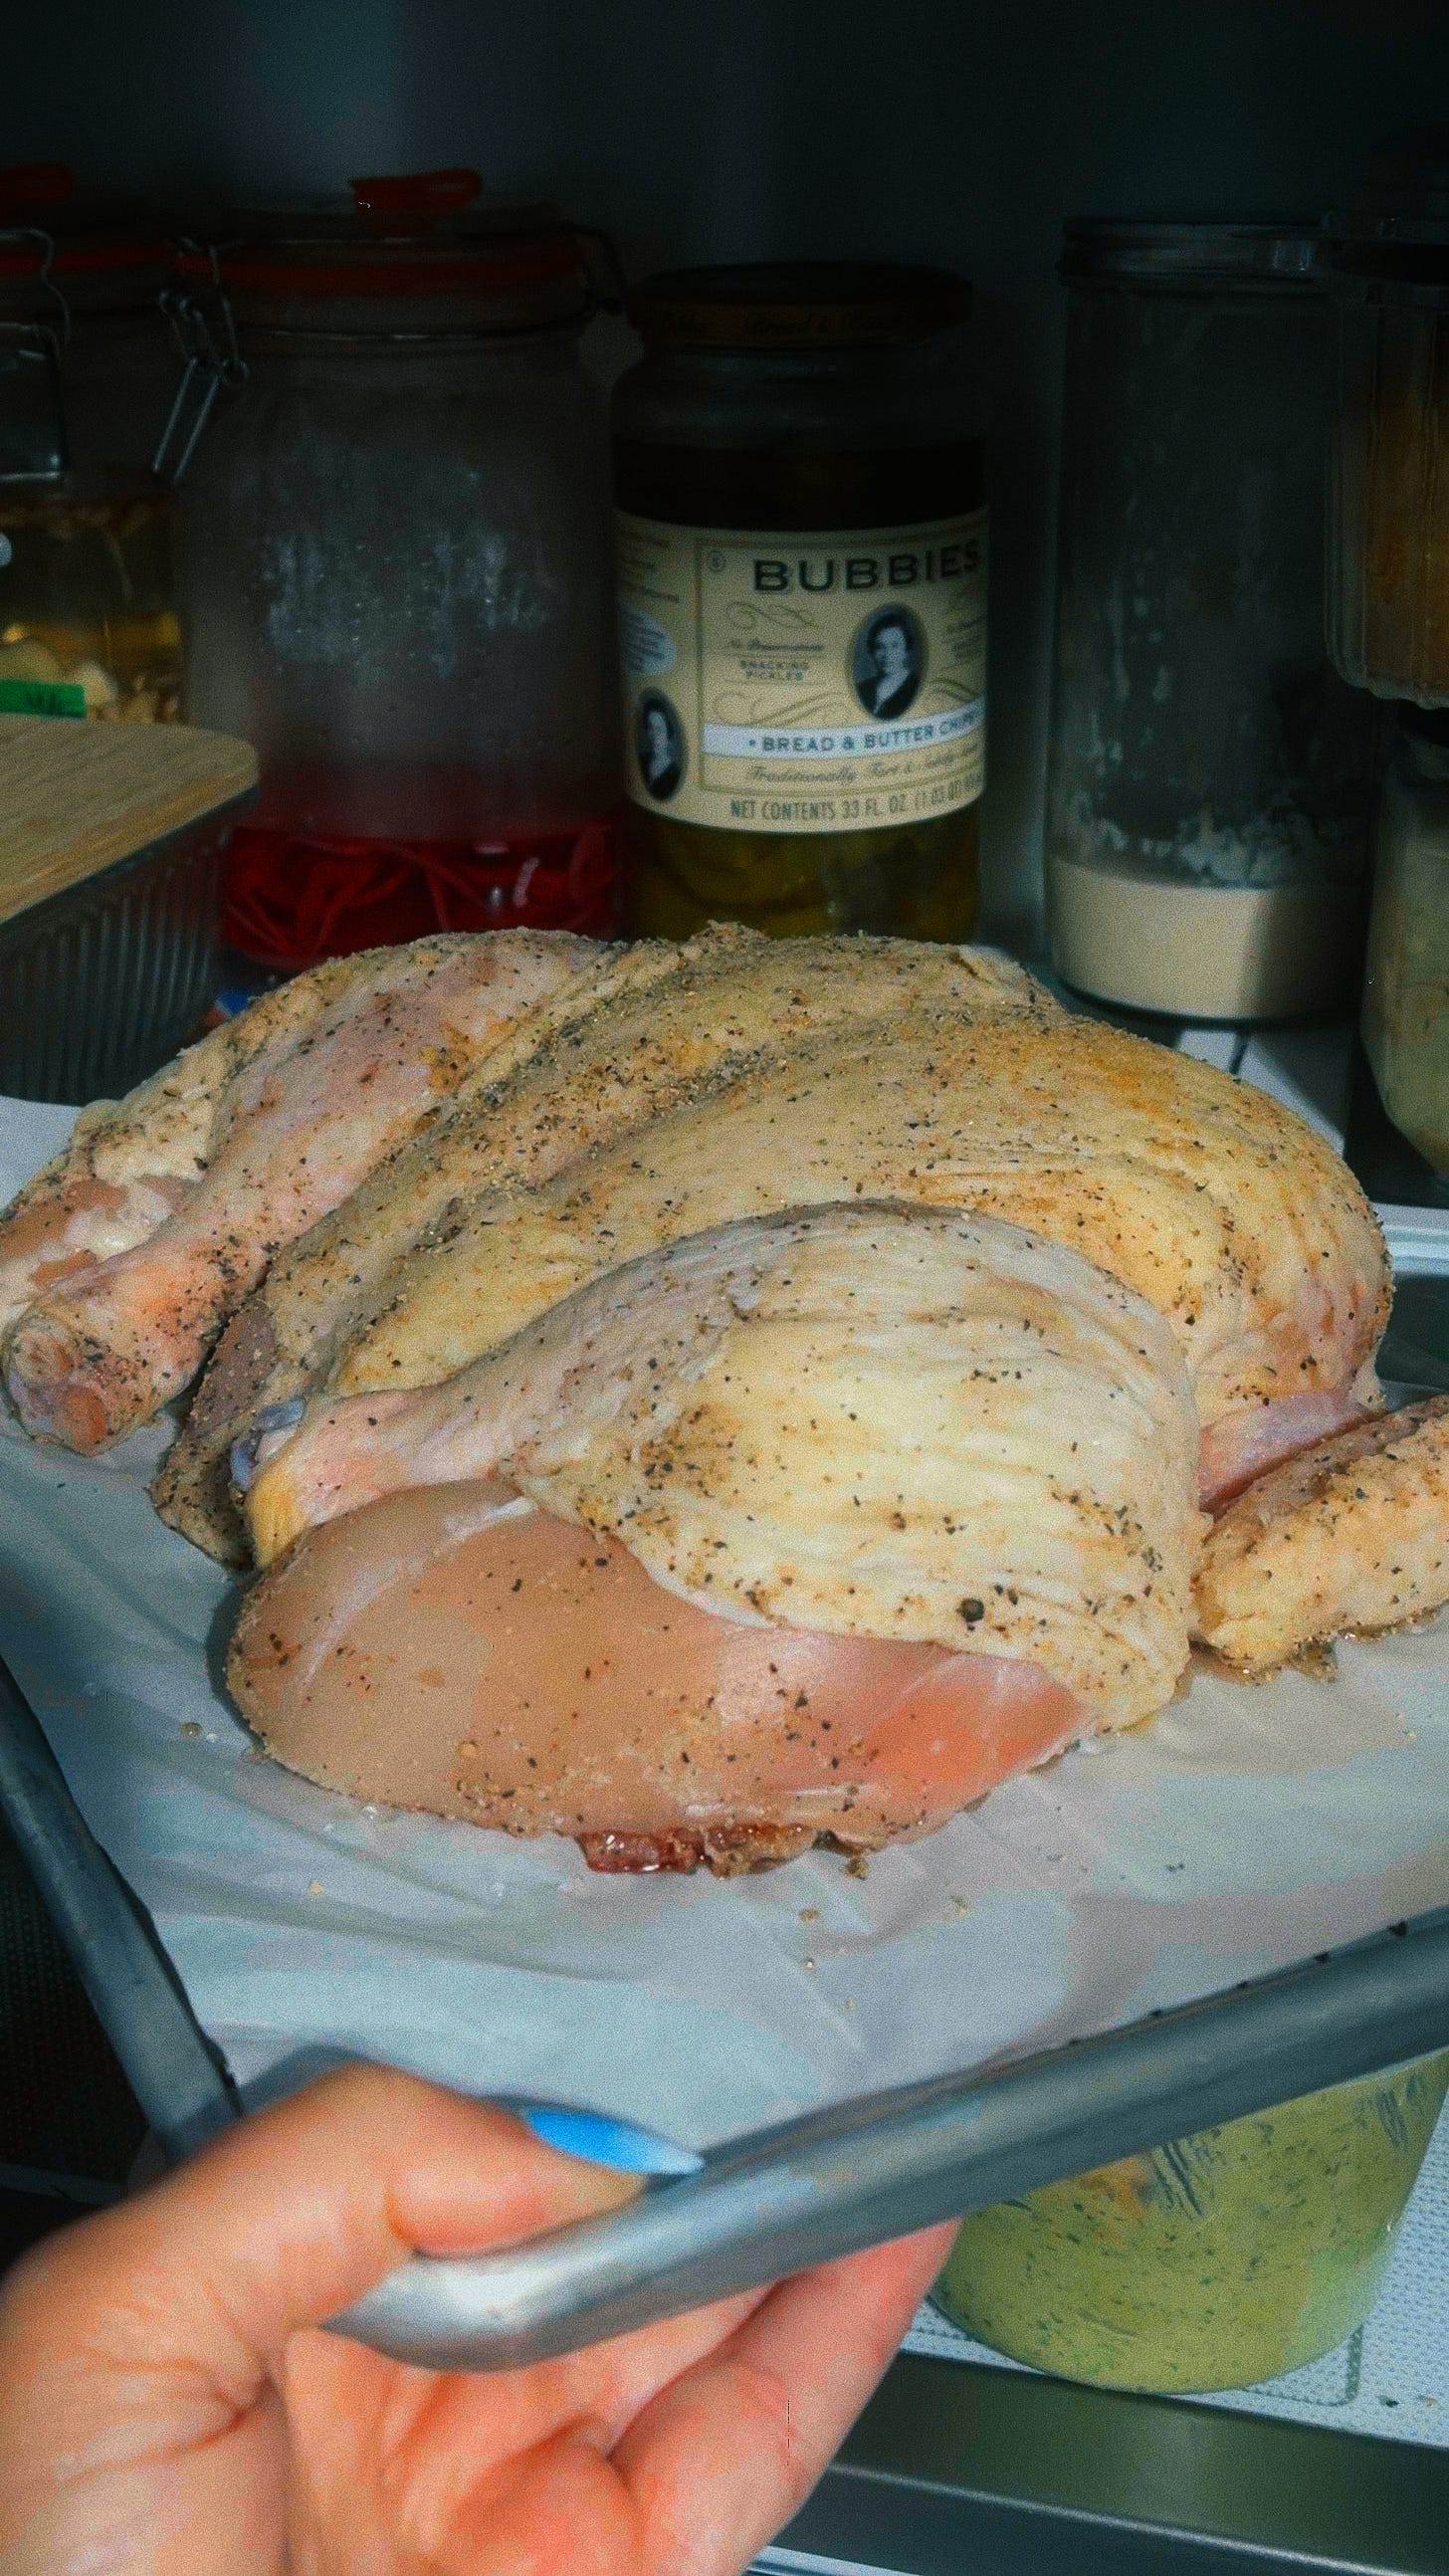
Generously coat the entire chicken — including under the skin directly on the breast meat — with kosher salt. Place on a wire rack set over a sheet pan and refrigerate uncovered overnight, or for a minimum of 8 hours.
The salt percentage: Aim for approximately 1.5% of the chicken’s weight in kosher salt. For a 4–5 lb chicken (~1,800–2,250g), that’s 27–34g of kosher salt, or roughly 1.5–2 tbsp of Diamond Crystal kosher.
What the salt is actually doing:
When salt is applied to the surface of meat, osmotic pressure initially pulls moisture out of the muscle cells toward the surface — you’ll see small beads of liquid form within the first 30–60 minutes. This is normal and temporary.
Within 1–2 hours, that same salt-saturated liquid begins to be reabsorbed back into the muscle tissue via diffusion. As it moves back in, it carries dissolved salt with it — seasoning the meat from the inside, not just the surface.
But the more important transformation is structural. Salt disrupts the coiled protein structure of muscle fibers — specifically the actin-myosin filaments — causing them to partially denature and unwind. This loosened protein structure has a significantly higher capacity to retain moisture during cooking than tight, intact muscle fibers. The result: a chicken that holds onto its natural juices under heat rather than squeezing them out.
This is the science behind why dry-brined chicken stays juicy without ever soaking it in water. You’re not adding moisture. You’re changing the meat’s ability to hold onto the moisture it already has.
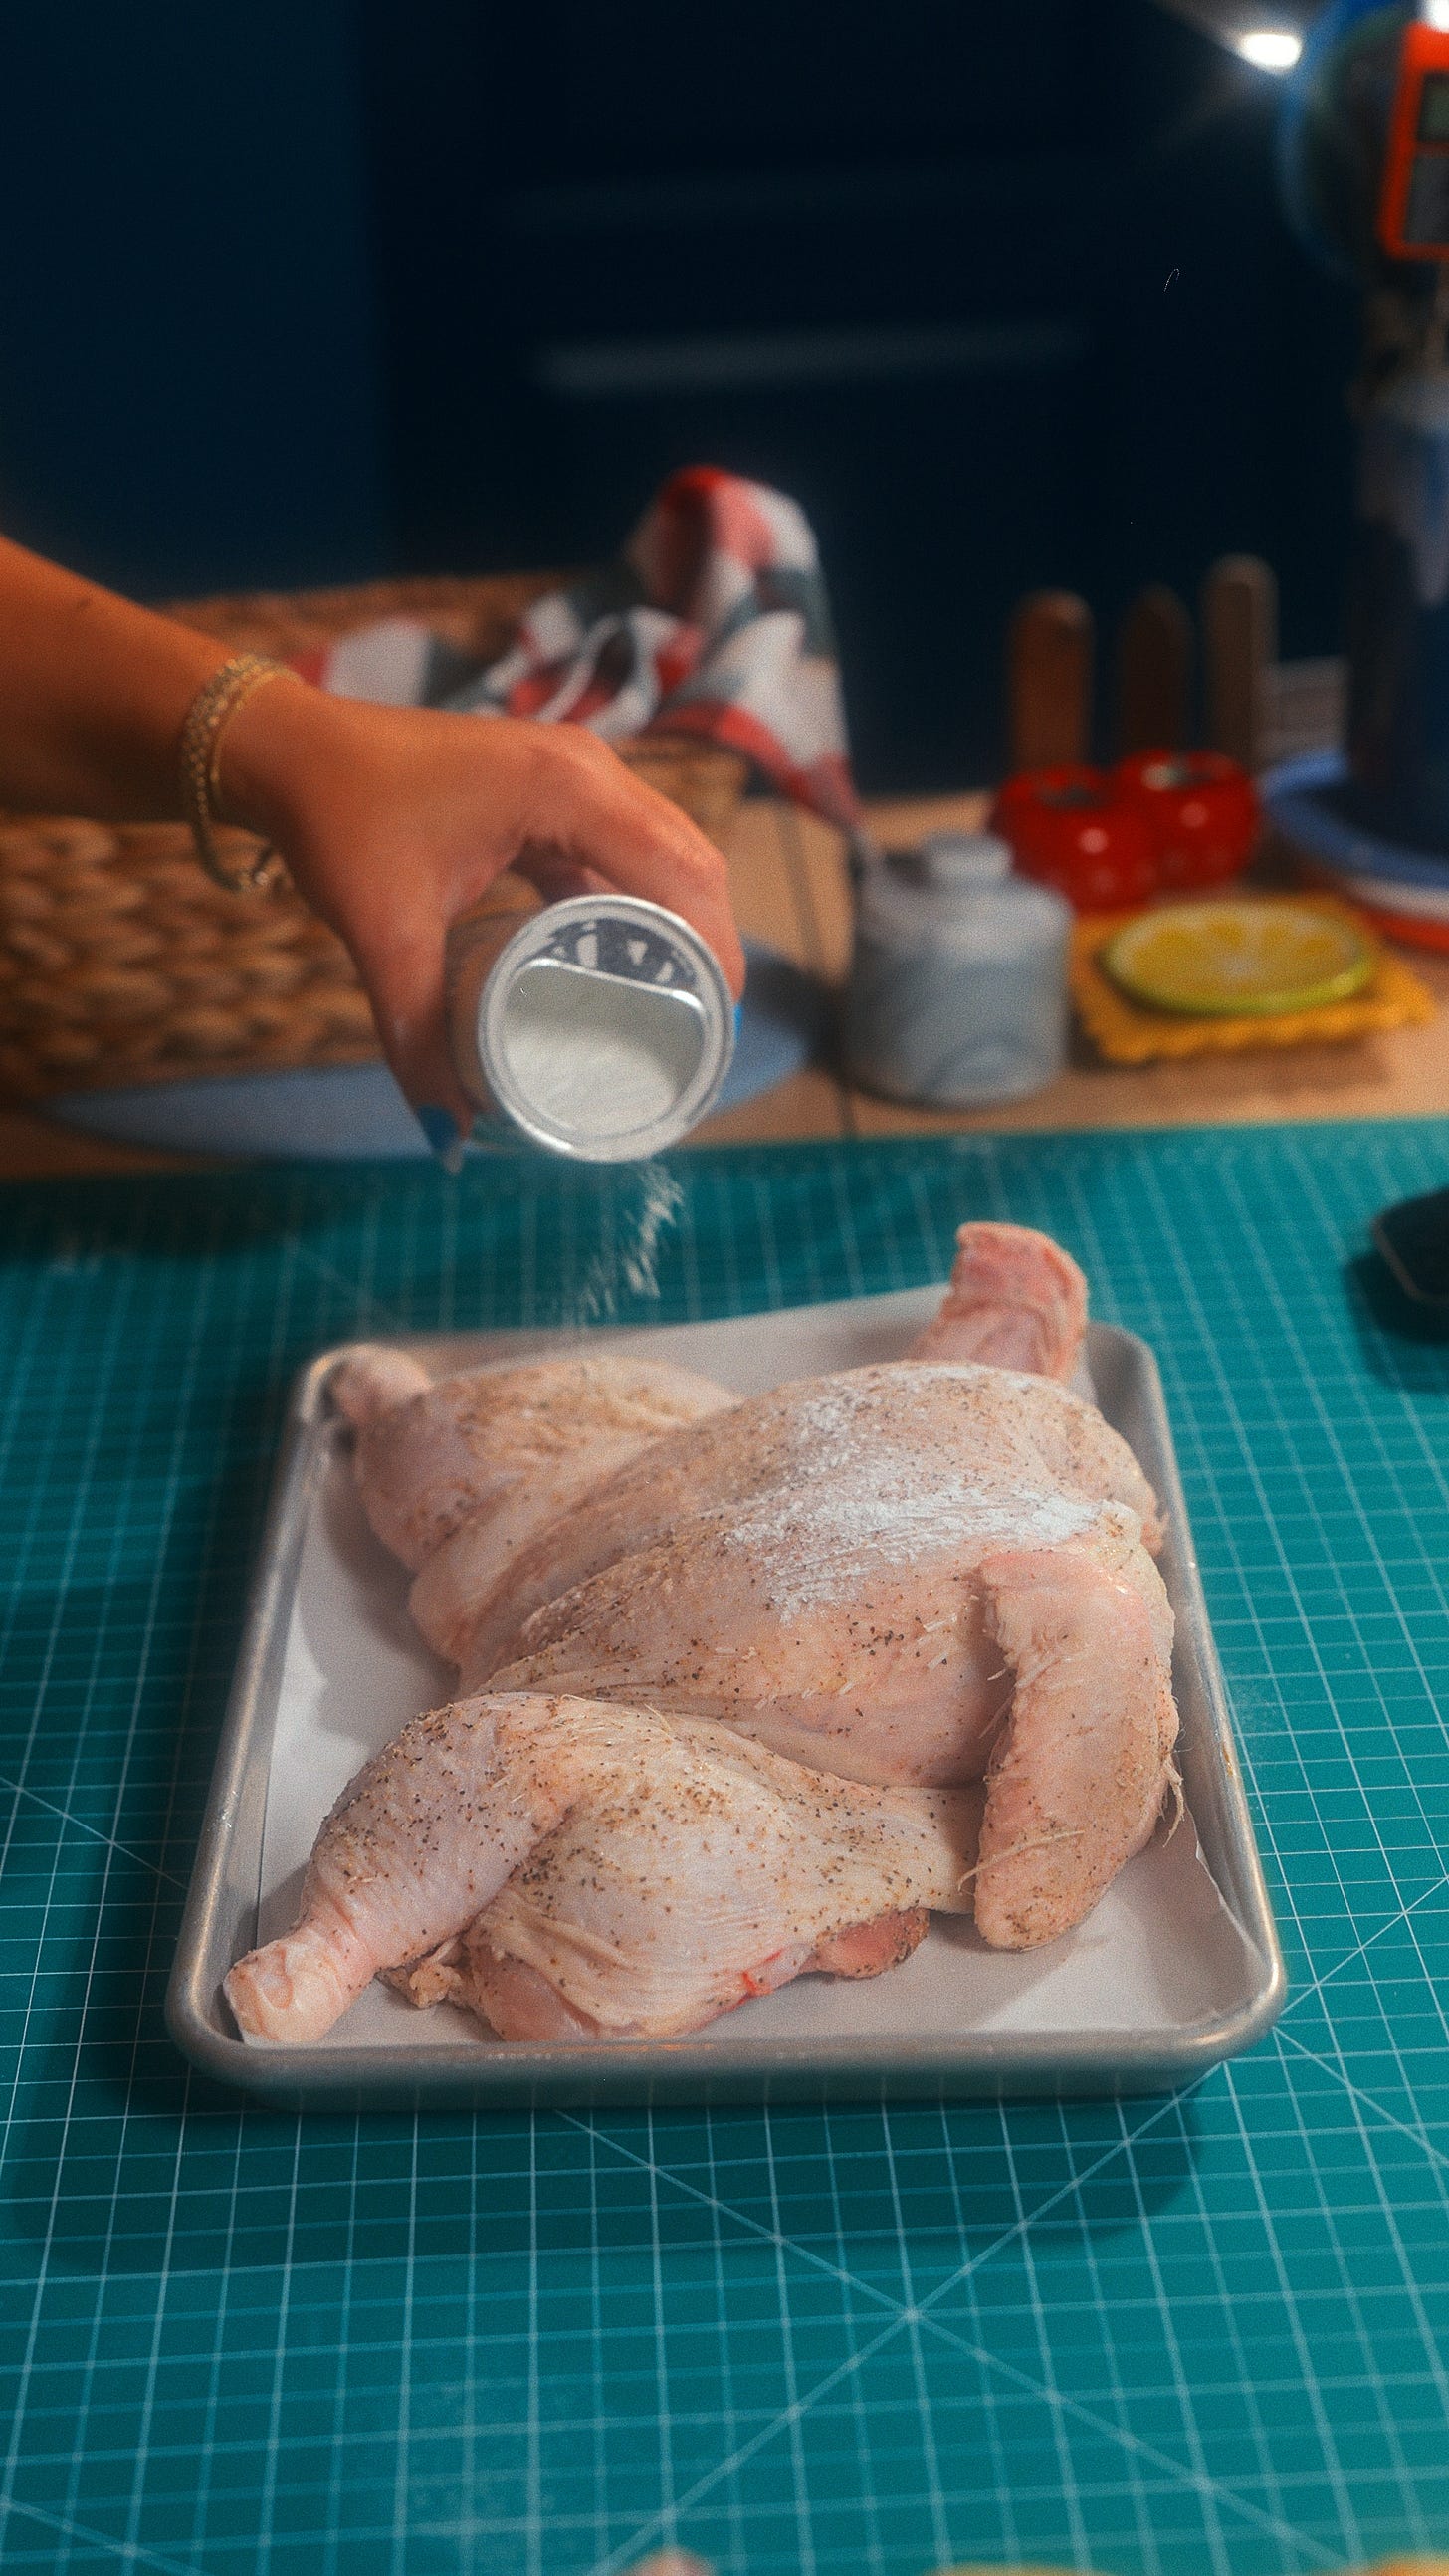
The overnight uncovered rest in the fridge does two things simultaneously — it lets the salt do its work on the meat, and it desiccates the skin surface using the refrigerator’s circulating air.
Why the skin needs to be dry:
Skin is mostly water, fat, and collagen. For it to crisp, the surface moisture needs to evaporate first. While water is evaporating from the skin’s surface, it keeps the skin temperature at or near 212°F — the boiling point of water — regardless of how hot your grill is. And browning reactions (specifically the Maillard reaction) don’t begin until surface temperature exceeds approximately 280–300°F. As long as there’s surface moisture to evaporate, the skin is stuck below that threshold and can’t brown.
Leaving the chicken uncovered in the fridge overnight removes that moisture barrier before the chicken ever hits the grill — so browning can begin almost immediately when it does.
The baking powder trick:
Dust the skin lightly with baking powder — not baking soda — the night before. Approximately ¼ teaspoon per pound of chicken.
Baking powder is primarily sodium bicarbonate combined with cream of tartar and cornstarch. When applied to skin, it raises the surface pH (making it more alkaline), which accelerates the Maillard reaction. Browning begins faster, crisps more aggressively, and produces a more complex, deeply colored exterior.
The cornstarch component also absorbs surface moisture and creates a slightly chalky coating that further promotes crisping.
It sounds strange. The science is solid. It works every time.
Important: Use aluminum-free baking powder to avoid any metallic aftertaste on the finished skin. Standard double-acting baking powder contains sodium aluminum sulfate, which can leave a bitter note at high concentrations.
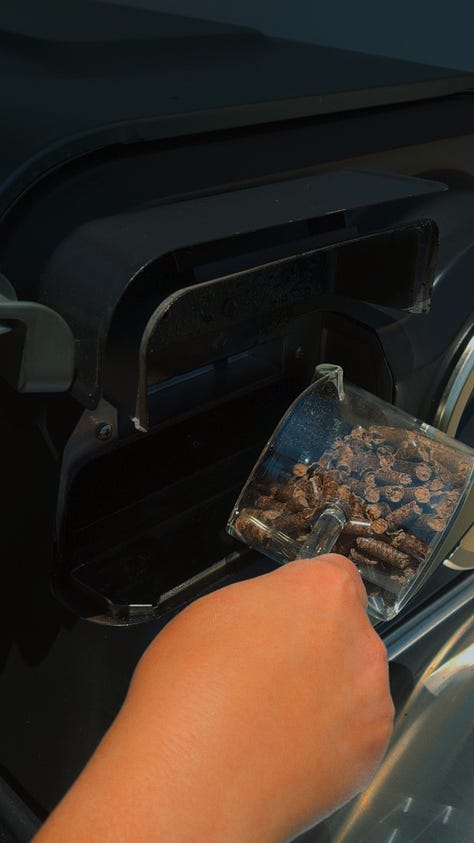
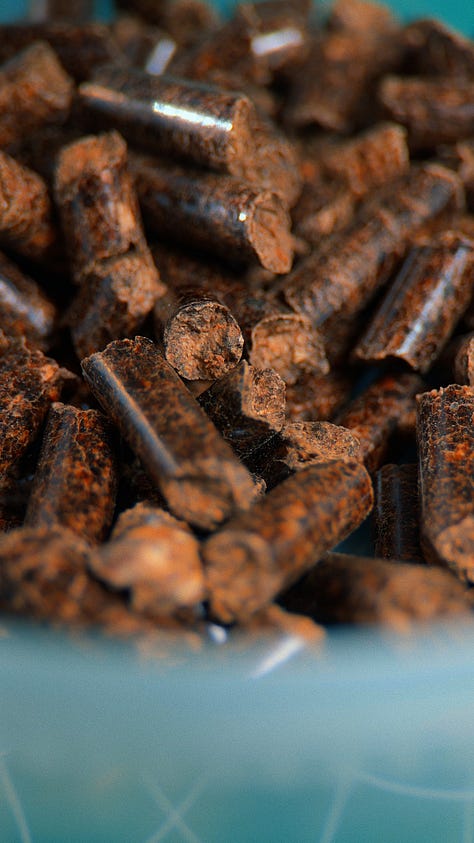
Set up your smoker, grill, or pellet grill at 275–300°F. Add your wood — chunks, chips, or pellets depending on your setup. Let the smoke establish before the chicken goes on.
On wood selection:
Fruit woods (apple, cherry) — mild, slightly sweet, pairs beautifully with poultry
Oak — medium smoke, clean and versatile
Hickory — stronger, more assertive; use sparingly on chicken or it can overpower
Mesquite — very strong, burns hot; not recommended for a long chicken cook
What smoke actually is:
Wood smoke is not a single compound — it’s a complex mixture of gases, water vapor, and fine particles produced when wood combusts incompletely. The two categories most relevant to flavor are carbonyls and phenols.
Carbonyls — including compounds like formaldehyde, acetaldehyde, and diacetyl — are responsible for the golden-brown surface color of smoked meat. They react with proteins and amino acids on the meat’s surface in a reaction similar to the Maillard reaction, producing pigmentation and surface browning without direct heat.
Phenols — including guaiacol and syringol — are the primary carriers of that deep, woodsy smoked flavor. Guaiacol specifically is the compound most associated with the smell and taste of smoke as we recognize it. Phenols also have mild antimicrobial properties, which is part of why smoking was historically used as a preservation method.
Both carbonyls and phenols require a slightly moist, tacky surface to adhere to the meat. This is why the first hour or two of smoking — before the surface dries out — is the most critical window for smoke absorption. After the surface sets and dries, it becomes significantly less receptive to new smoke compounds.
Why 275–300°F specifically:
This temperature range keeps the surface of the chicken cool and tacky long enough for smoke compounds to bind before the exterior dries out and closes off. Crank the heat too early — above 350°F from the start — and that window shortens dramatically. You get color but not deep smoke penetration.
The smoke ring:
The pink ring you see just beneath the surface of properly smoked meat is one of the most misread visual cues in barbecue. It is not raw meat.
If you’re cooking on a pellet grill — which is what I used for this cook — you likely won’t see a pronounced smoke ring, and that’s completely normal. It’s not a failure of the cook. It’s a function of how pellet grills burn.
The smoke ring forms when nitric oxide (NO) and nitrogen dioxide (NO₂) — gases produced during combustion — dissolve into the surface moisture of the meat and react with myoglobin. These gases are primarily byproducts of incomplete combustion, which is exactly what happens when charcoal burns, especially with wood chunks added on top. That combination produces a relatively dirty, oxygen-limited burn that generates meaningful quantities of NO and NO₂.
Pellet grills work differently. They use a combustion fan to feed oxygen continuously to the burn pot, producing a much cleaner, more complete combustion. That efficiency is what makes them easy to use and temperature-stable — but it also means they generate significantly less NO and NO₂ than a charcoal-plus-wood setup. With less of those gases present, the chemical reaction that produces the smoke ring either doesn’t happen or produces only a faint trace of one.
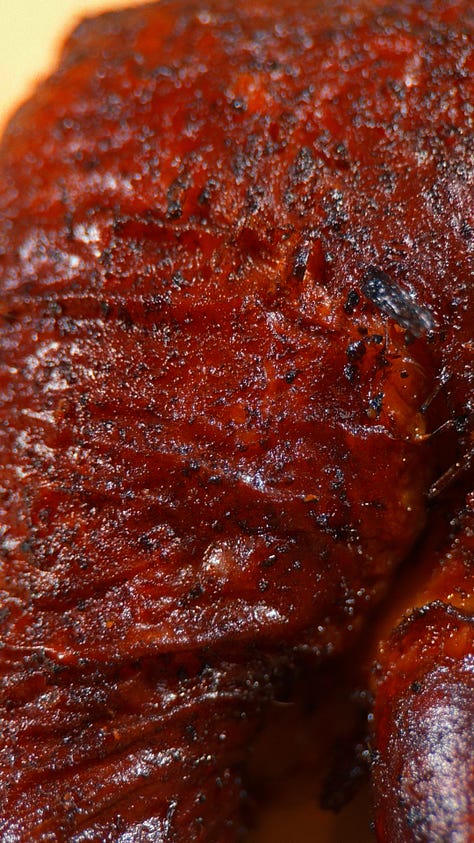
What this does not mean is that your chicken isn’t taking on smoke flavor. The phenols and carbonyls responsible for smoke flavor and surface color — guaiacol, syringol, carbonyl compounds — are still produced by the burning pellets and still absorb into the meat. The chicken will taste smoky. It will have color. It will have everything that makes smoked chicken worth making.
The smoke ring is a visual marker of a specific combustion chemistry — not a measure of smoke flavor. Its absence on a pellet cook tells you about how the fuel burned, not about whether the smoke did its job.
In short: No smoke ring on a pellet grill is expected and accurate. Your chicken is still smoked. The science just looks different from the outside.
Why cold chicken from the fridge smokes better:
This one runs counter to conventional cooking advice — most of the time you’re told to let meat come to room temperature before it hits heat. With smoking, the opposite is true. Pull the chicken straight from the fridge and put it on the grill cold.
The reason comes back to the same principle that governs all smoke absorption: the surface needs to be cool and moist for smoke compounds to adhere. Phenols and carbonyls — the flavor and color compounds in smoke — dissolve into the surface moisture of the meat and bind to the proteins there. This process is most efficient when the surface temperature is low.
As the surface temperature of the meat climbs, two things happen: the surface moisture evaporates, and the outer proteins begin to set and firm up. Once the proteins have set and the surface has dried, it becomes significantly less receptive to new smoke compounds. The commonly cited point at which smoke absorption drops off meaningfully is around 140°F surface temperature — after which the exterior is largely closed off to further smoke penetration.
Starting with cold chicken straight from the fridge means the surface spends more time below that threshold. A bird that goes on at 35–40°F takes considerably longer to climb through the absorption window than one that’s been sitting out at room temperature for an hour. That extended window translates directly to more smoke compounds absorbed, deeper smoke flavor, and better color development before the surface sets.
The practical note: This does add some time to the overall cook — a cold bird takes longer to reach final internal temperature than a room-temperature one. That’s a feature, not a bug. More time in the smoke window is exactly what you want. Just account for it when planning your cook time and rely on your thermometer, not a clock, to tell you when it’s done.
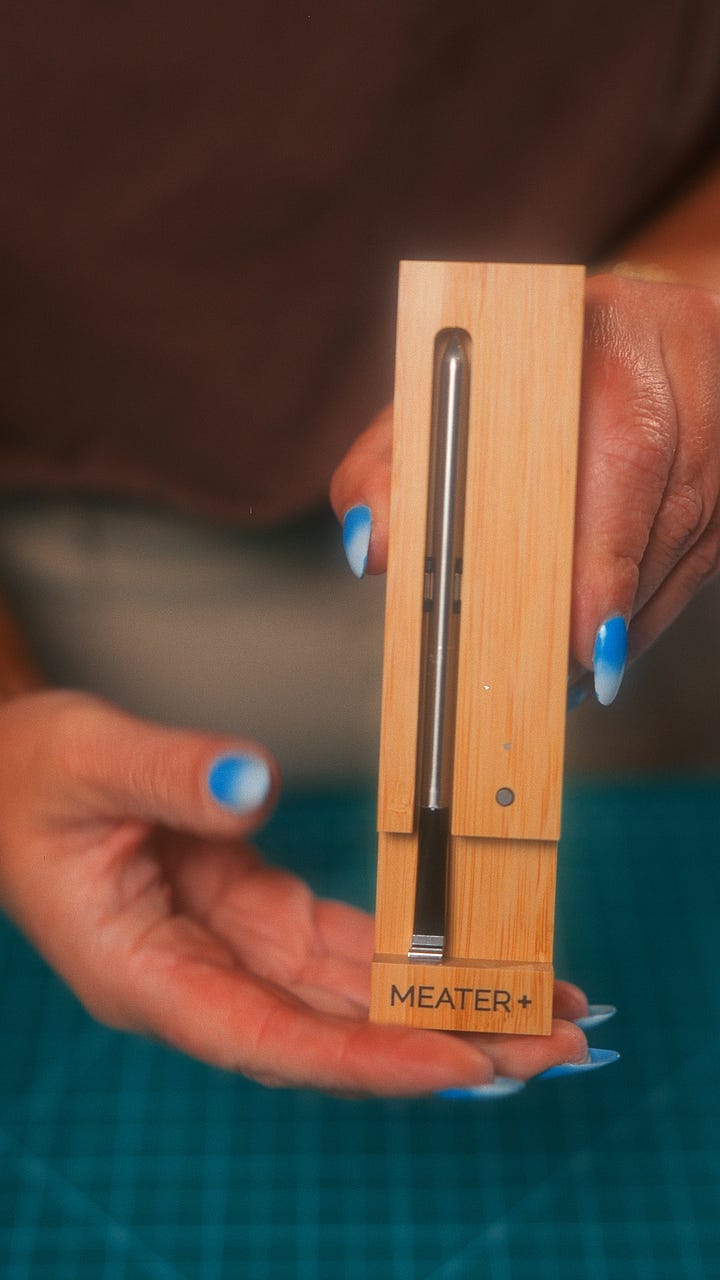
Grill temperature: Maintain 275–300°F throughout the cook. This is the sweet spot for simultaneous smoke absorption and gradual, even cooking.
Internal temperature targets:
Cut Target Temp Breast 160–165°F Thigh 175–180°F
The temperature difference between breast and thigh is intentional and important.
Breast meat is lean, with very little connective tissue. It reaches peak juiciness at 160–165°F. Above that, the proteins tighten aggressively and moisture loss accelerates rapidly.
Thigh meat is darker and significantly higher in collagen — the connective tissue protein that surrounds muscle fibers. Collagen begins converting to gelatin at around 160°F, but that conversion accelerates meaningfully between 170–180°F. At those temperatures, collagen has had enough time to fully break down into gelatin, which lubricates the muscle fibers from the inside and produces the unctuous, fall-apart texture that makes well-cooked thigh meat so satisfying. Undercooked thigh — pulled at 165°F — often still has residual toughness from incompletely rendered collagen.
Spatchcocking helps close the gap between the two, but monitoring both zones separately is still best practice.
On using a thermometer:
Insert the probe into the thickest part of the breast, away from the bone. Bone conducts heat differently than muscle tissue — it absorbs and radiates heat at its own rate — and a probe touching or adjacent to bone will give you a reading that reflects the bone’s temperature, not the meat’s.
The same applies to the thigh: probe deep into the muscle, not close to the femur.
A thermometer tells you exactly what’s happening inside the meat without disrupting what’s happening outside. Every time you open the lid of your grill or smoker, you dump accumulated heat, release smoke, and add meaningful time to the cook. The thermometer removes the need to open the lid. Use it and leave the lid alone.
When the breast reaches approximately 145°F, increase the grill to 450°F and cook for a final 10–15 minutes.
Food safety note: USDA guidelines recommend poultry reach 165°F for instant pathogen kill. At 145°F, chicken is safe when held at that temperature for approximately 8–9 minutes — a process called pasteurization, which is time and temperature dependent rather than a single threshold. The high-heat finish that follows will bring the breast well past 160°F. If you are cooking for immunocompromised individuals or prefer to follow USDA’s single-temperature guideline, wait until the breast reaches 155°F before cranking the heat.
What happens in the finish:
The extended low-temperature smoke period has done everything it can — smoke penetration is complete, collagen in the thigh is rendering, and the meat is nearly cooked through. The final blast of high heat serves a single purpose: finishing the skin.
The fat beneath the skin has been slowly rendering throughout the cook. At 450°F, that remaining fat renders rapidly, the surface moisture that survived the overnight dry is now fully gone, and the proteins in the skin undergo rapid Maillard browning. The baking powder has raised the surface pH enough that this browning happens faster and more aggressively than it otherwise would.
All of the prep work — the overnight salt, the uncovered rest, the baking powder — converges in this final 10–15 minutes.
Pull the chicken when the breast reads 160–165°F and the thigh reads 175–180°F.
Rest the chicken uncovered on a cutting board for 10–15 minutes before slicing.
During cooking, heat pushes the juices toward the center of the meat as the outer proteins contract. Resting allows those proteins to relax and the juices to redistribute throughout the muscle. Slice immediately after pulling from the grill and those juices run across your cutting board. Rest first and they stay in the meat.
10–15 minutes is enough. The bird will still be hot.
When it comes to poultry, lighter woods always win. Chicken has a delicate flavor profile that gets buried under aggressive smoke — so the goal is complement, not overpower.
For this cook I used Traeger Signature Blend — a mix of hickory, maple, and cherry. It’s a well-balanced all-purpose pellet that works across proteins, and on chicken specifically the cherry softens the hickory enough that you get smoke presence without it taking over. The maple adds a faint sweetness in the background that pairs well with the dry brine. It’s a reliable starting point if you’re not ready to dial in single-wood blends yet.
If you want to go deeper, here’s how the individual woods stack up on chicken:
Apple is the cleanest option. Mild, slightly sweet, and fruity — it adds a subtle smoke layer without competing with the seasoning or the meat. It’s the most forgiving wood for beginners and produces a beautiful golden color on the skin.
Cherry works similarly but adds something apple doesn’t — a deeper mahogany color on the finished skin. The flavor is still mild and slightly sweet, but the visual payoff is significant. Cherry and apple blended together is one of the most common competition combinations for poultry.
Pecan steps up the intensity slightly. It’s nuttier and richer than fruit woods, and adds more depth to the smoke flavor without crossing into the aggressive territory of hickory. If you want your smoked chicken to have more presence, pecan is the move.
Oak is the neutral baseline — clean, versatile, and predictable. It doesn’t add much sweetness or fruit character, which makes it a reliable blending wood. Mix oak with cherry or apple if you want a little more smoke backbone without adding flavor complexity.
Alder is the most delicate option on the list. It’s traditional for fish and lighter proteins, and if you want the subtlest possible smoke — just enough to know it’s there — alder is the pick.
Avoid straight hickory and mesquite for chicken. Both are designed for longer, heavier cooks on beef and pork. On a full chicken smoke they’ll overpower the meat before the cook is even halfway done. If you want a hint of hickory character, blend it with apple or cherry at a 20/80 ratio — hickory as an accent, not the lead. The reason Traeger Signature Blend works despite containing hickory is exactly this: the cherry and maple dilute it enough to keep it balanced.

The thing about smoked chicken is that once you understand what’s actually happening — the salt restructuring proteins, the phenols binding to a tacky surface, the collagen converting in the thigh while the breast finishes — it stops feeling like a mystery and starts feeling like a sequence. A sequence you can control.
You don’t need years of experience behind a smoker. You need a thermometer, an overnight in the fridge, and enough patience to leave the lid alone.
The science does the rest.
Until next time,
— Sol
If this changed the way you think about smoking meat — share it with someone who still cuts into the chicken to check if it’s done. And if you’re not subscribed yet, the full Sol Science archive is right here.
No posts
Comments
Nothing yet. Say the first thing.
Sign in to join the conversation.