

Hey Friends!
Okay let’s not beat around the bush shall we? And I know this won’t be applicable to a lot of you because lots of you come from so many different pockets of the world (v grateful to have you here fyi) so this is ENTIRELY for my UK friends but my, oh my hasn’t this week been like living in satan’s underpants? If you can’t tell what I am getting at here – it has been hell. As a loud and proud autumn/winter girly, what in the sweet, sweet unholy heavens as the heat been this week?? Have you been coping or are your eyeballs and other nooks and crannies of your body also been sweating profusely? I turned the oven on once this week and quite honestly thought I was about to pass out when it reached temperature.
Times got so bad on Tuesday that I went and just sat in my car just to bless myself with 10 minutes of air con. And then that felt so good, I took myself to get a manicure and pedicure (not a necessity) just so I could then reap the rewards of their air con for another 2 hours. Do I hate the colour I chose? Yeah, almost immediately. Did I tell them? No. Cause crying about it afterwards and detesting looking at your hands isn’t an unshared experience.




I know this all sounds mad dramatic but honestly, nothing felt more vindicating and affirming then seeing the great American humbling over on tiktok (if this hasn’t reached your fyp page, please look it up if you also what to experience the ‘SEE!! I told you I wasn’t being overly dramatic’ smugness for a quick 30 seconds before a waft of hot air violates your personal space. To summarise, it’s a tonne of videos from americans now living in the UK to confirm that yes, this heat that we all perpetually whine about every year, really IS that bad. My bedroom is a sauna, my kitchen is a furnace and 87% of the time, outside is actually cooler than inside despite me owning every fan in existence.
You’d think I would succumb to buying an air conditioning unit but upon seeing the size of one the other day, that thing is big enough for someone to live in. I just about have room for my 2 pups, my 5 different personalities and my mountain of baking paraphernalia in the house, let alone a big ol box that’ll sit like an eyesore in the corner of the room (which size to size ratio, equates to about 7 to 8 boxes of shoes).
SO yes, whilst I have it in my ability to most definitely do something about it. The likelihood is I won’t purchase the air con unit, I will continue to cry and whine throughout the heatwave and will probably be typing the exact same thing to you next year cause that’s what brits do best. Complain. And my word, doesn’t it feel fantastic.
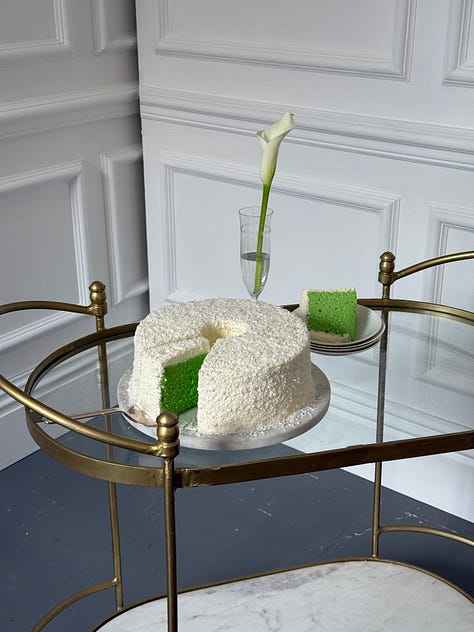
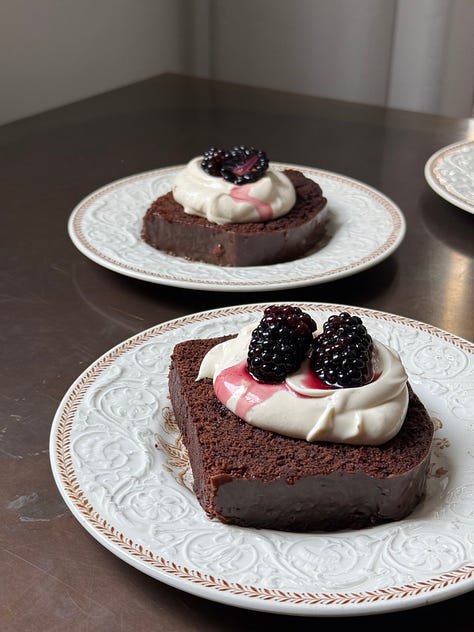
P.S I feel like my publishers are possibly subscribed to my newsy and I know they will kill me if I don’t mention pre-ordering Around The World so going to keep it short and sweet so everyone’s happy but pre-order if you want recipes to 80 delicious, perfected, filthy cakes from around the world. Am I biased when I say this is essentially the only cake bible you need? Possibly. But am I always right? Absolutely.
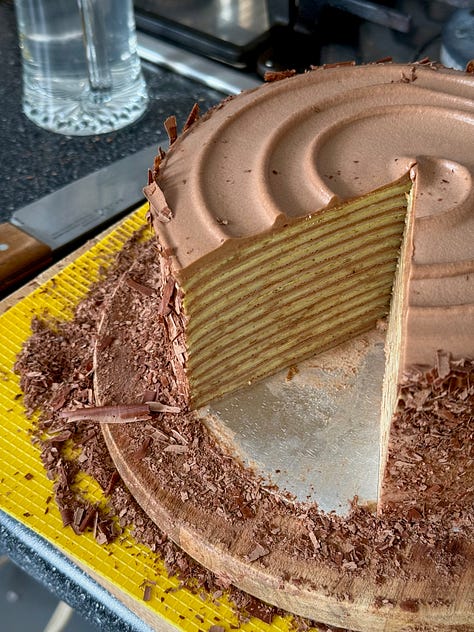
UK - USE CODE 80CAKES FOR 25% OFF!

So because it has been hotter than hell this last week, the menu is on the lighter side but packed full of the good stuff. We have everything from a quick and easy win to something that requires a little more time – ensuring there is a goodness for everyone, no matter whatever your level, skill or patience level is.
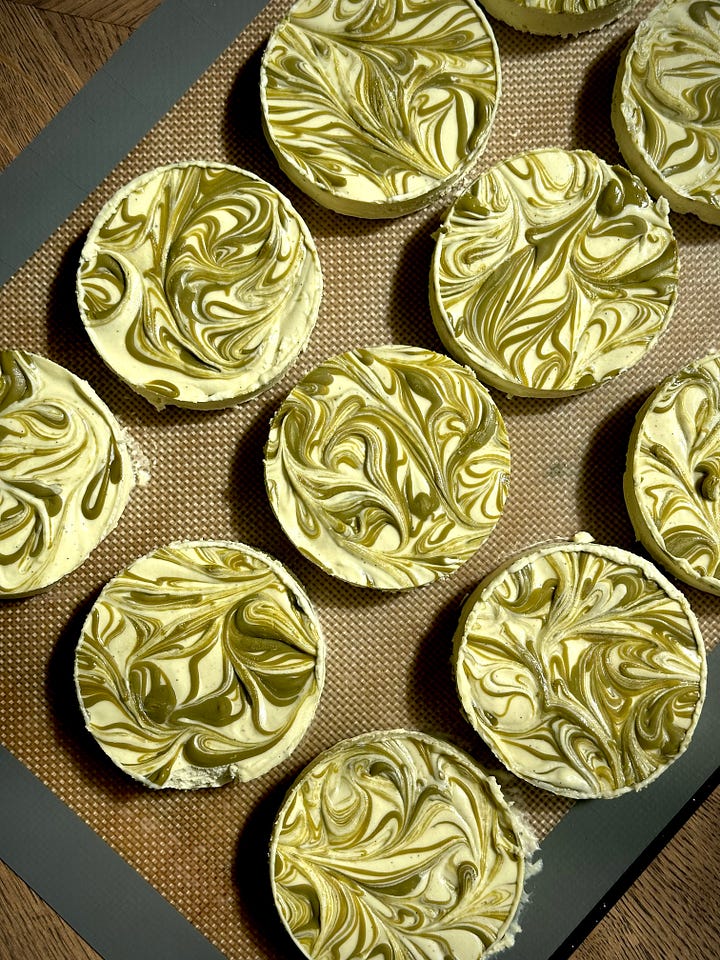
Starting off with my Pistachio No Churn Ice Cream. I know everyone doesn’t have a fancy pants ice cream maker (I sure as hell don’t) and love the ease of a no churn ice cream. All the same sorta yum for less effort and less time. Piled high into coupes or scooped into cones, drizzled with chocolate, finished with a sprinkling of nuts or flaked coconut or eaten just straight from the tin. Whichever way it comes, it’s a lick the bowl clean kinda affair.
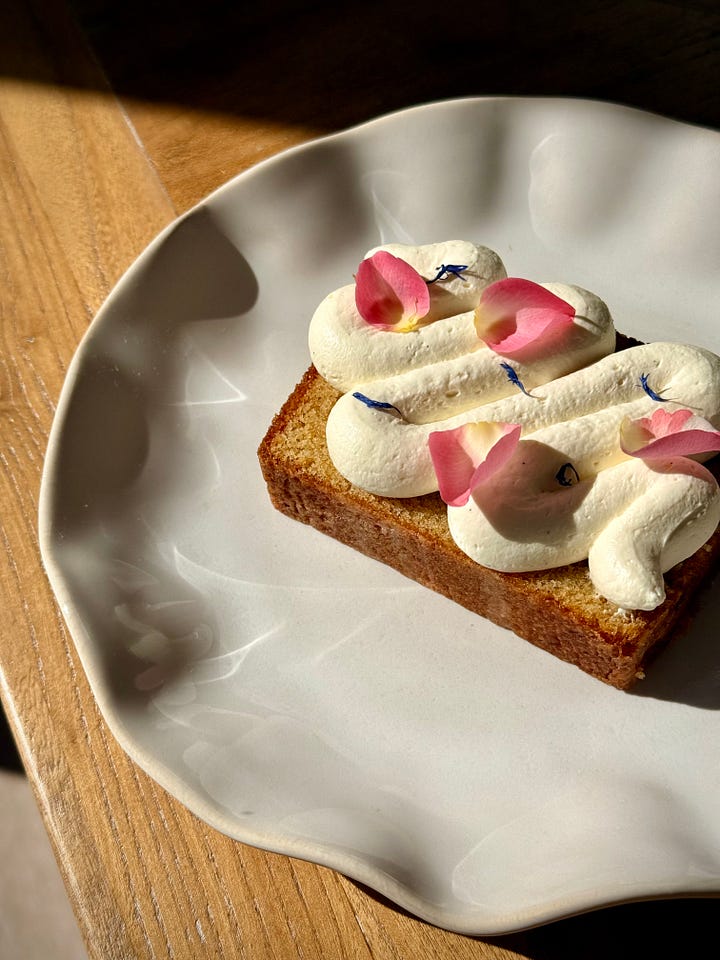
Cardamom, Lemon & Rose Loaf. I made this initially as treats to serve up at Chelsea Flower Show last week and it went down a storm. Each slice is topped with a simple vanilla whipped mascarpone and a few edible dried flowers to finish and you’ve got yourself a delicious twist on a lemon drizzle.
Triple Choc Babka. I’ve shared this one previously before but reshared it the other week on Instagram and thought it would be rude to not bring it back to your attention over here. Yes the weather is scorching hot but a hot kitchen makes for the perfect environment to prove dough without needing to crack open the oven. We’ve got a bread smothered in chocolate and a chocolate crumb before being baked and drenched in a chocolate glaze. This my friends is filth, just the way I like it.
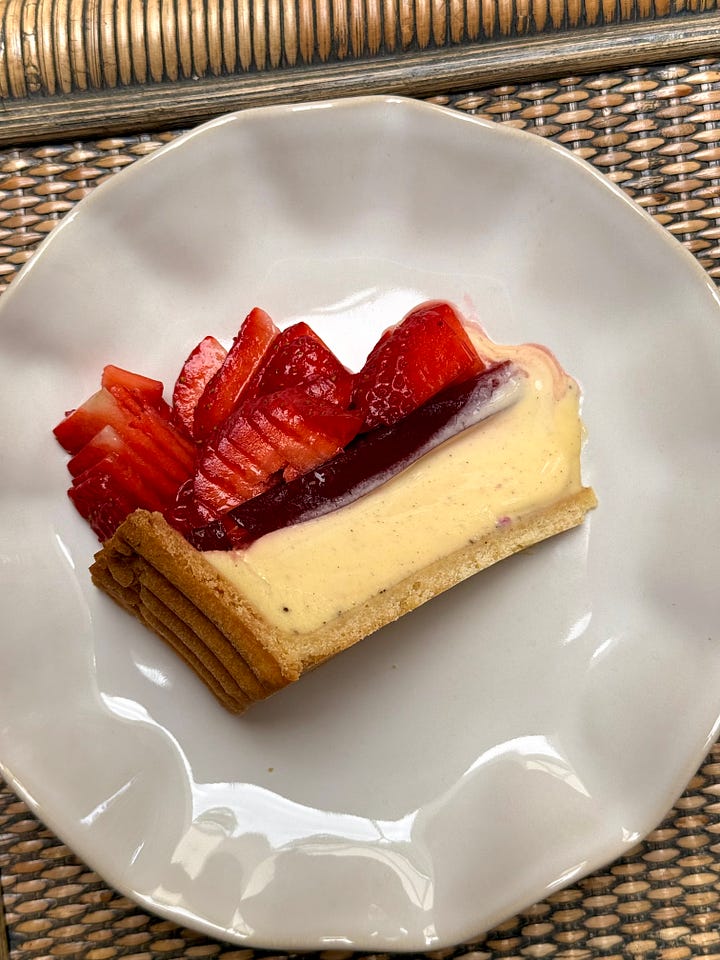
Finishing up the menu this week is our main bake of the day, my Strawberry, Cardamom (yes again) and Custard Tart. Strawberries are finally coming back into season and are currently tasting sensational so wanted to showcase them by sharing my take on a classic strawberry tart. So, expect that sort of vibe but just with more yum and a whole lot more extra.



Starting of the newsy strong with my Pistachio No Churn Ice Cream. No churn ice creams whether the weather is scorching hot is my go to when I want a little sweet treat without needing to turn the oven on. It’s a low key affair which comes together in about 5 minutes, with the only downside of it needing at least 4 hours in the freezer to set for a scoopable finish.

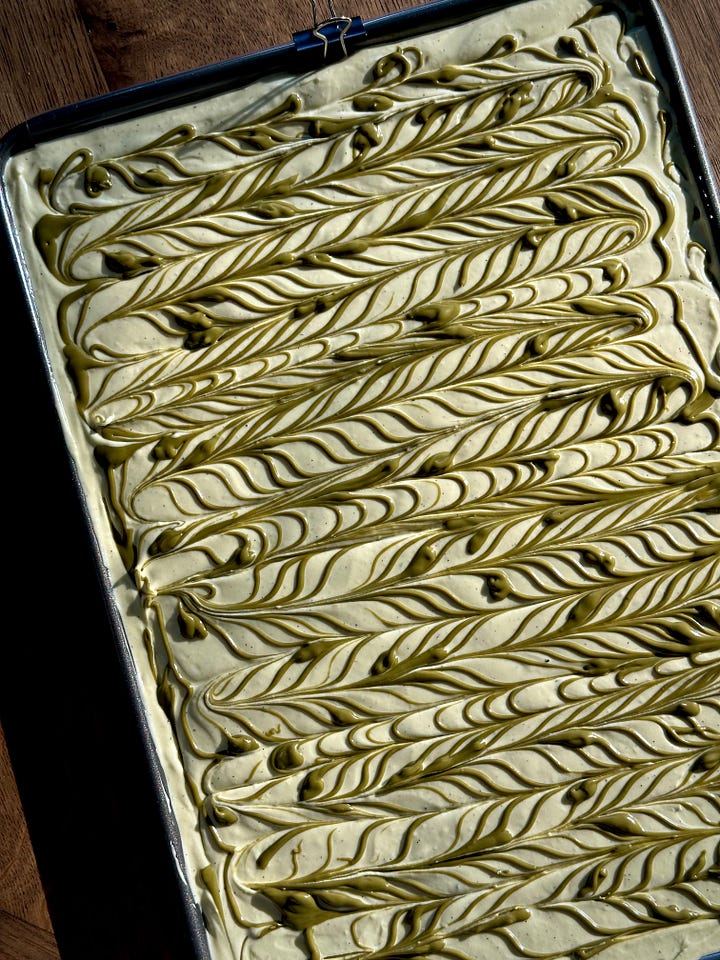
I totally get that pistachio cream can be quite a spenny product to buy but also is one that will blow your mind the minute you taste it. It is like pistachio (duh) but pistachio on crack IN THE BEST WAY and can be used in a multitude of ways – cheesecakes, creams, buttercreams, biscuits, cookies, drizzled over ice cream, fruit dunked into it and eaten straight off the spoon.
Adding a good amount of the pistachio cream mixed in with the no churn ice cream base gives something simple a little touch of elegance and a level of sumptuousness that is akin to gelato. I love using my base recipe below and switching up the flavour profiles. Some of my fave combinations are: Mango and Coconut, Summer Berry & Chocolate Ripple, Passionfruit & White Chocolate and that classic Mint Choc Chip.
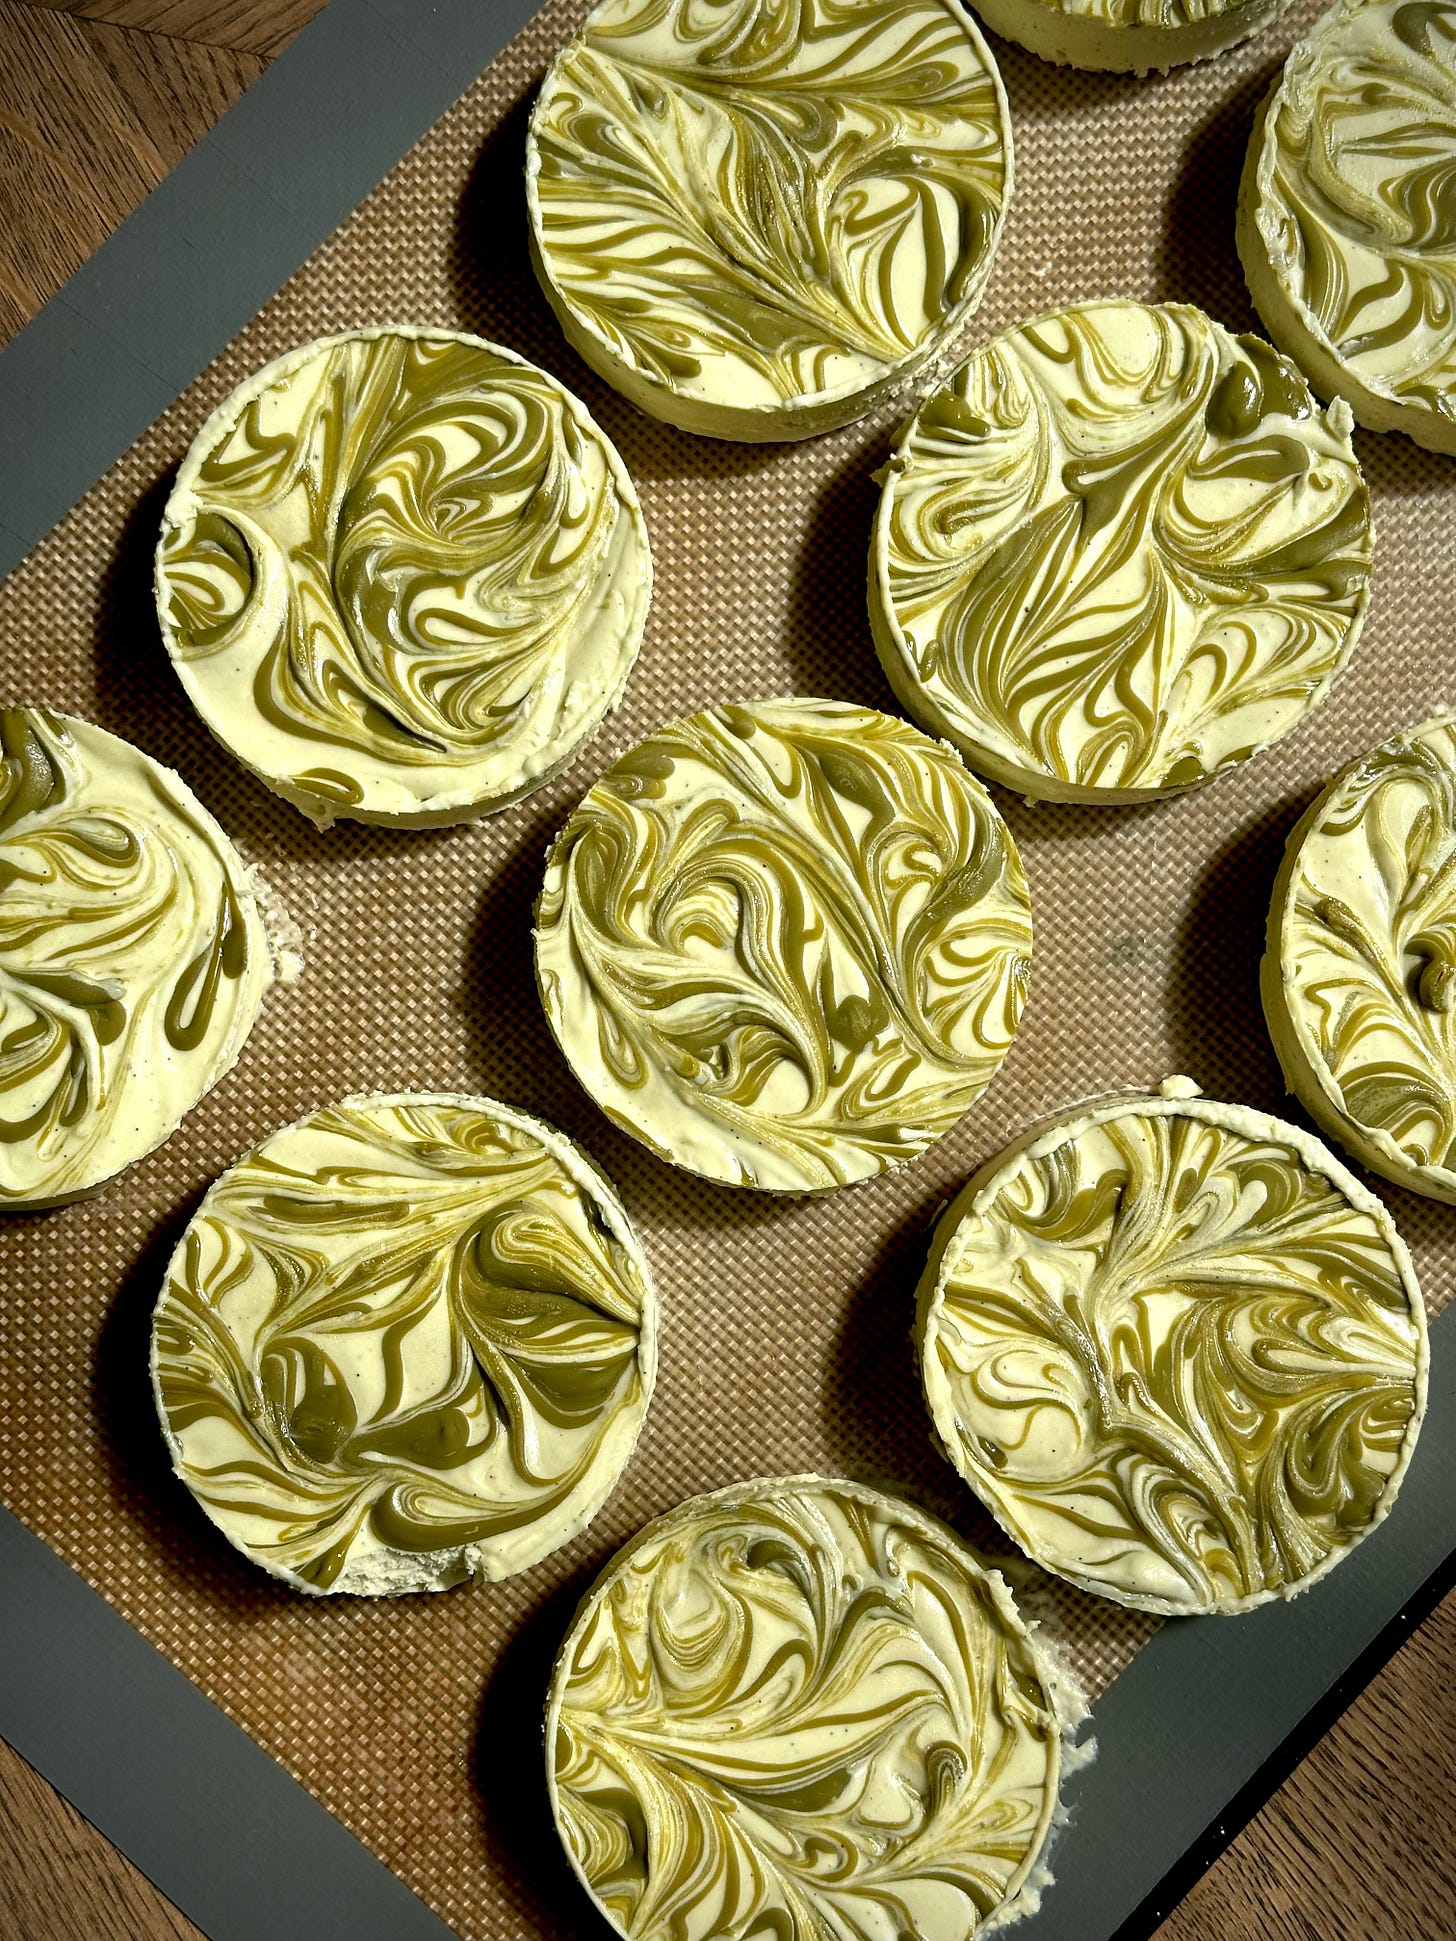
Here we are keeping it simple, with a Pistachio base and Pistachio Cream rippled through. A great way to finish off a little summer soiree or to keep you company on the sofa on a Sunday night. I’ve also gone one step extra on this before and used it to make ice cream cookie sandwiches and honestly? It is a highly encouraged move.
Recipe Makes: 1 x 20 by 20 cm / 8 by 8 inch tin
Recipe Serves: Let’s not ask silly questions
Y O U – W I L L – N E E D –
600 ml Double/Whipping Cream
1 x 397 ml Condensed Milk
100 g Pistachio Cream (the one I used was this - not an aff link)
35 g Caster Sugar
1 tsp Vanilla Bean Paste
M E T H O D –
Into a large bowl, add the double/whipping cream, condensed milk, 75 g pistachio paste, vanilla bean paste and caster sugar.
Mix using an electric hand whisk or stand mixer (with the whisk attachment fitted) until the cream hits medium peak. NOTE: as the cream to other ingredients ratio is nearly 1:1, getting to medium peak will take longer than you expect. Be patient – you want that lovely, velvety, mock gelato texture so as long as the cream goes past the ribbon stage but not beyond the holding peak stage, you will be good.
Have a taste of this cause ummm HI ARE WE IN HEAVEN??
Transfer ½ of the cream to a 20 by 20 cm / 8 by 8 inch OR 2lb deep loaf tin.
Transfer the remaining 25 g pistachio cream to a piping bag and pipe some thin lines of the cream across the top, making sure you reserve half for the top. Use a skewer to ripple or feather, before adding the remaining cream.
Pipe over the remaining pistachio cream, use a skewer or tip of a knife to ripple through again before placing into the freezer to set.
Place into the freezer for at least 4 to 6 hours but preferably overnight for a firm set.
When it comes to serving, remove the ice cream from the freezer 10 minutes before and use a warm ice cream scoop to pile into bowls, coupes or straight into your mouth.
Moving onto our next sweet treat of the day, my Cardamom, Lemon & Rose Loaf. For transparency, this was originally developed as part of a brand collaboration with Whittard of Chelsea for Chelsea Flower Show with no obligation to share or post in the newsletter HOWEVER this recipe is so so lovely and so springy and zingy, that it felt rude to not share the yum here with you too.
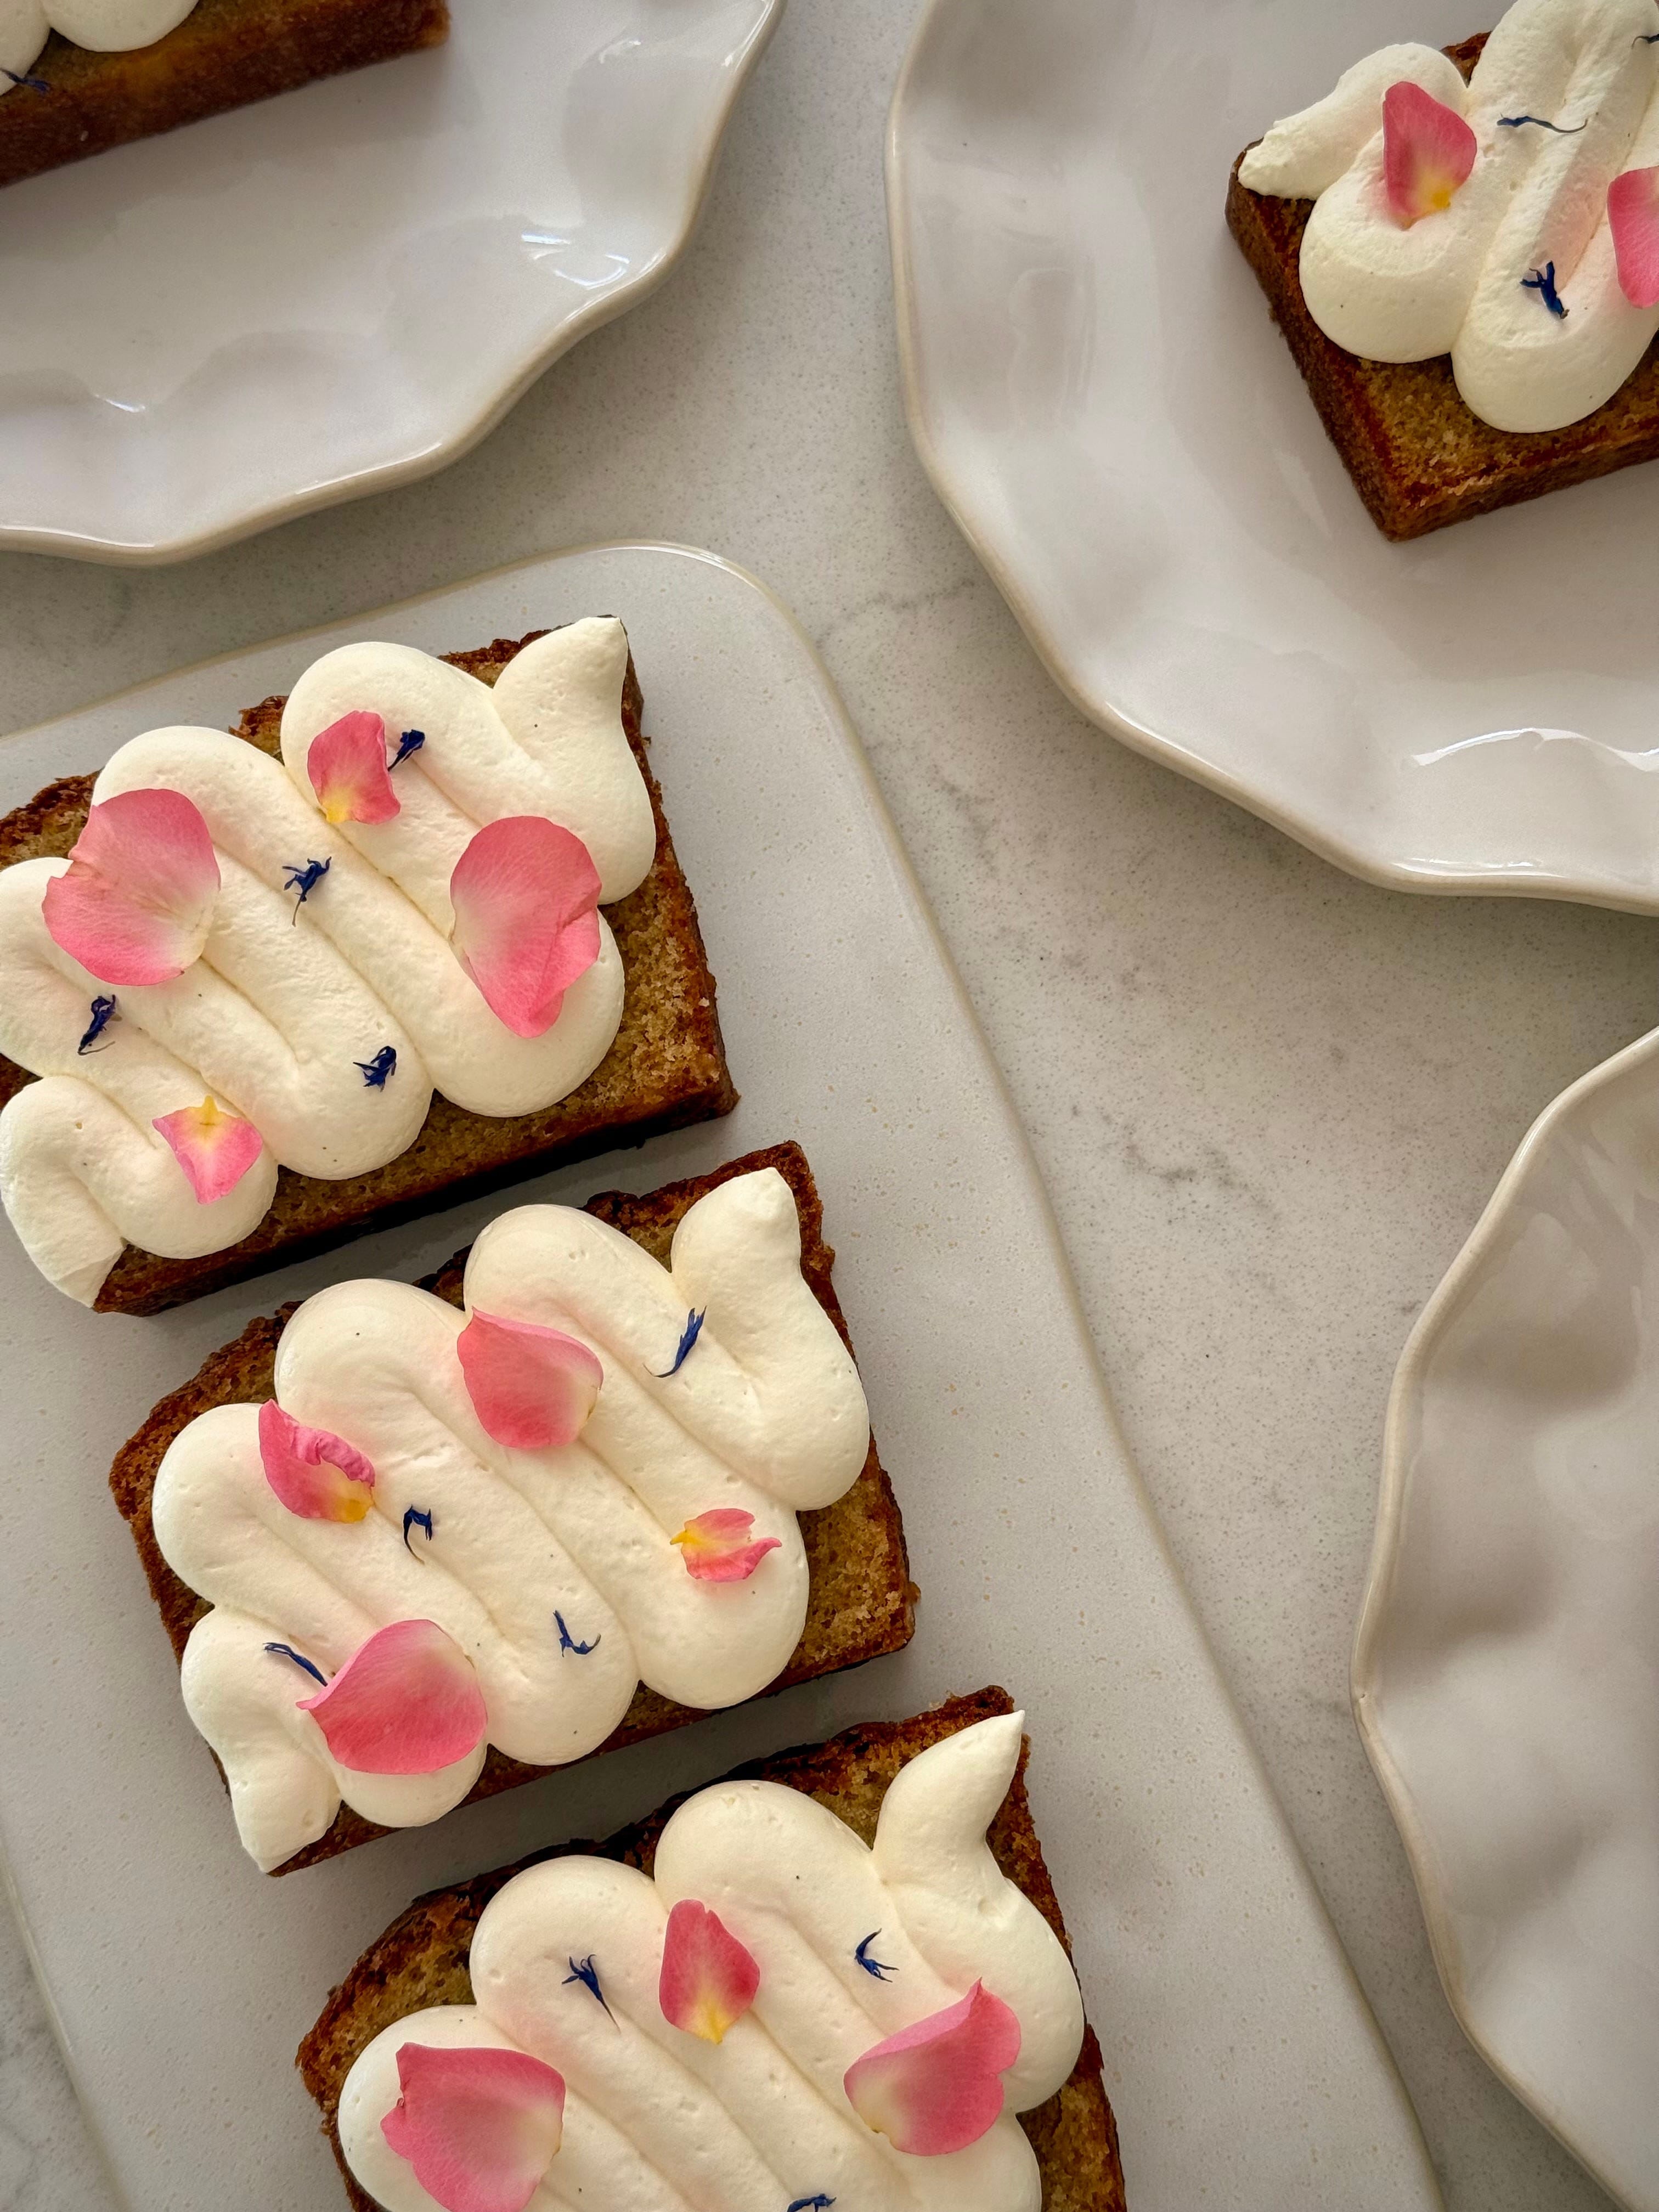
Made up of a delicate, tender, yet moist and sumptuous cardamom and lemon scented sponge, drenched in a lightly floral rose and lemon syrup and topped with a vanilla bean whipped mascarpone and dried edible petals to finish - it’s a perfect sweet bite to make whether eaten solo or in good company.
These slices went down a storm at the Flower Show – it’s simple to make, easy to bake and looks so perfectly pretty once topped with cream and decoration. If you like a lemon drizzle, then you are going to love this one. It’s the same sort of vibe but just with an extra bit added jazz. The cardamom can be removed if that is your preference (I would question your sanity if you did this but official party line is no judgement here) for something a little more classically minded but would urge you to include for that lovely subtle warmth which runs through the sponge.
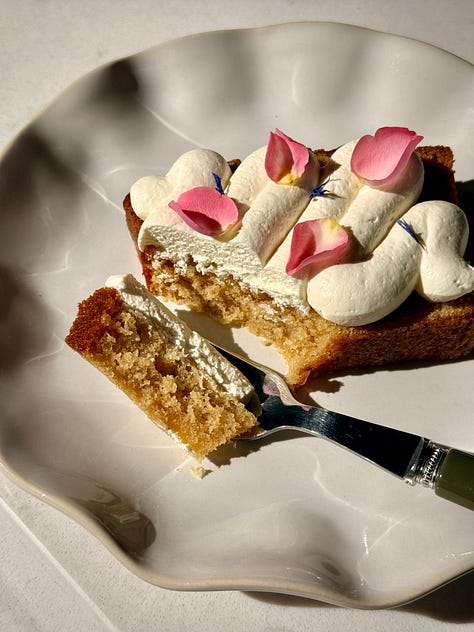
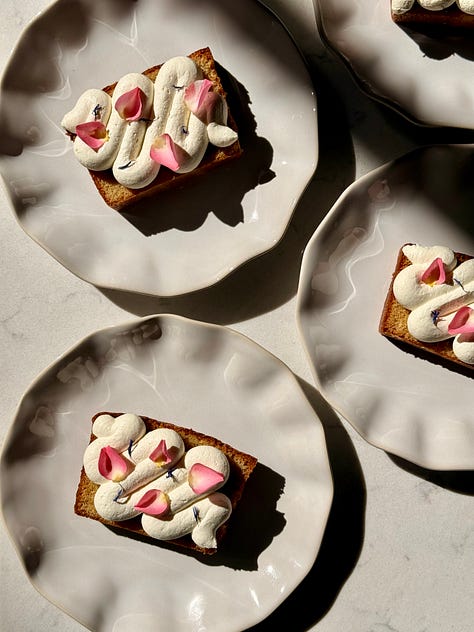
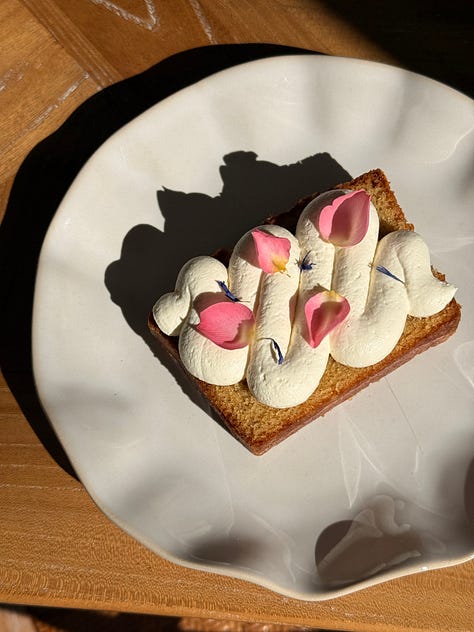
A low effort, max return sweet treat. We all know by now I bloody love making a loaf cake – the same yum as a stacked bonanza for a smidgen of the effort.
Recipe Makes: 1 x 2lb deep loaf tin
Recipe Serves: 10 Slices
Y O U – W I L L – N E E D –
Loaf
175 g Caster Sugar
75 g Light Brown Sugar
20 g Lemon Zest
3 Large Eggs
100 ml Double Cream, room temp
30 ml Unsalted Butter, melted
185 g Plain Flour, sifted
1 tsp Baking Powder, sifted
¼ tsp Bicarbonate of Soda
4 Cardamom Pods, ground
½ tsp Sea Salt
70 ml Neutral Oil
60 ml Lemon Juice, fresh
½ tsp Rose Extract
Syrup
25 ml Lemon Juice, fresh
75 ml Water, or 75 ml of Whittard Rose Tea
70 g Caster Sugar
1 Cardamom Pod, pierced.
Whipped Vanilla Mascarpone
125 g Mascarpone
25 g Icing Sugar
1 tsp Vanilla Bean Paste
400 ml Double Cream, fridge temp
M E T H O D –
Preheat the oven to 160C (no fan)/320F/Gas Mark 3 and grease and flour a 2lb loaf tin.
For the sponge, add the caster sugar, light brown sugar and lemon zest to a mixer bowl. Use the paddle attachment to mix for 3 to 4 minutes to release the oils in the zest.
Add in the eggs, mixing well between each addition until aerated and doubled in volume – you want to give this about 5 minutes on a medium to high speed.
Pour in the double cream and melted butter and mix until just combined.
In a separate bowl, add your flour, baking powder, bicarbonate of soda, ground cardamom and salt. Give that a mix with a balloon whisk before adding half of it to the mixer bowl.
Use a balloon whisk to lightly mix and combine before going in with the remaining half. Once there are little to no flour streaks visible, pour in the lemon juice, oil and rose extract.
Mix lightly before pouring into your floured tin. Pipe (or thinly slice) a line of butter in the middle (this helps to control any cracks) before popping into the oven on the middle shelf for 52 to 55 minutes.
Whilst the sponge is baking, make the syrup by adding everything to a pan, placing it over a medium heat and giving it all a mix. Bring to the boil, before turning down the heat a notch and allowing the syrup to simmer for 5 minutes. Once lightly thickened, remove and leave to cool.
Once the sponge has baked, remove from the oven and allow it to sit in the tin for 5 minutes.
Carefully remove from the tin onto a cooling rack. Use a pastry brush to liberally brush the syrup over the top and sides. Wrap the loaf in the clingfilm and leave to cool at room temp.
Once cool, make the whipped vanilla mascarpone by adding the mascarpone, icing sugar and vanilla to a mixing bowl. Use the whisk attachment to mix until smooth.
Pour in the double cream and mix until you are left with medium peaks. Transfer the whipped cream to a piping bag.
Slice the loaf into 10 before piping the vanilla cream across the top. Finish with a scattering of fresh rose petals and dried cornflowers.
So yes, I am absolutely bonkers for encouraging you to make bread when the weather is absolutely ridiculous but if you wanna put the fact your kitchen is like a sauna to good use, then I urge you to make bread. And if you are making bread, you’d be insane to not make my Triple Choc Babka. I have shared this recipe with you a while back but I reshared it over on Instagram the other week so thought it’d be a good one to make you drool over here too.
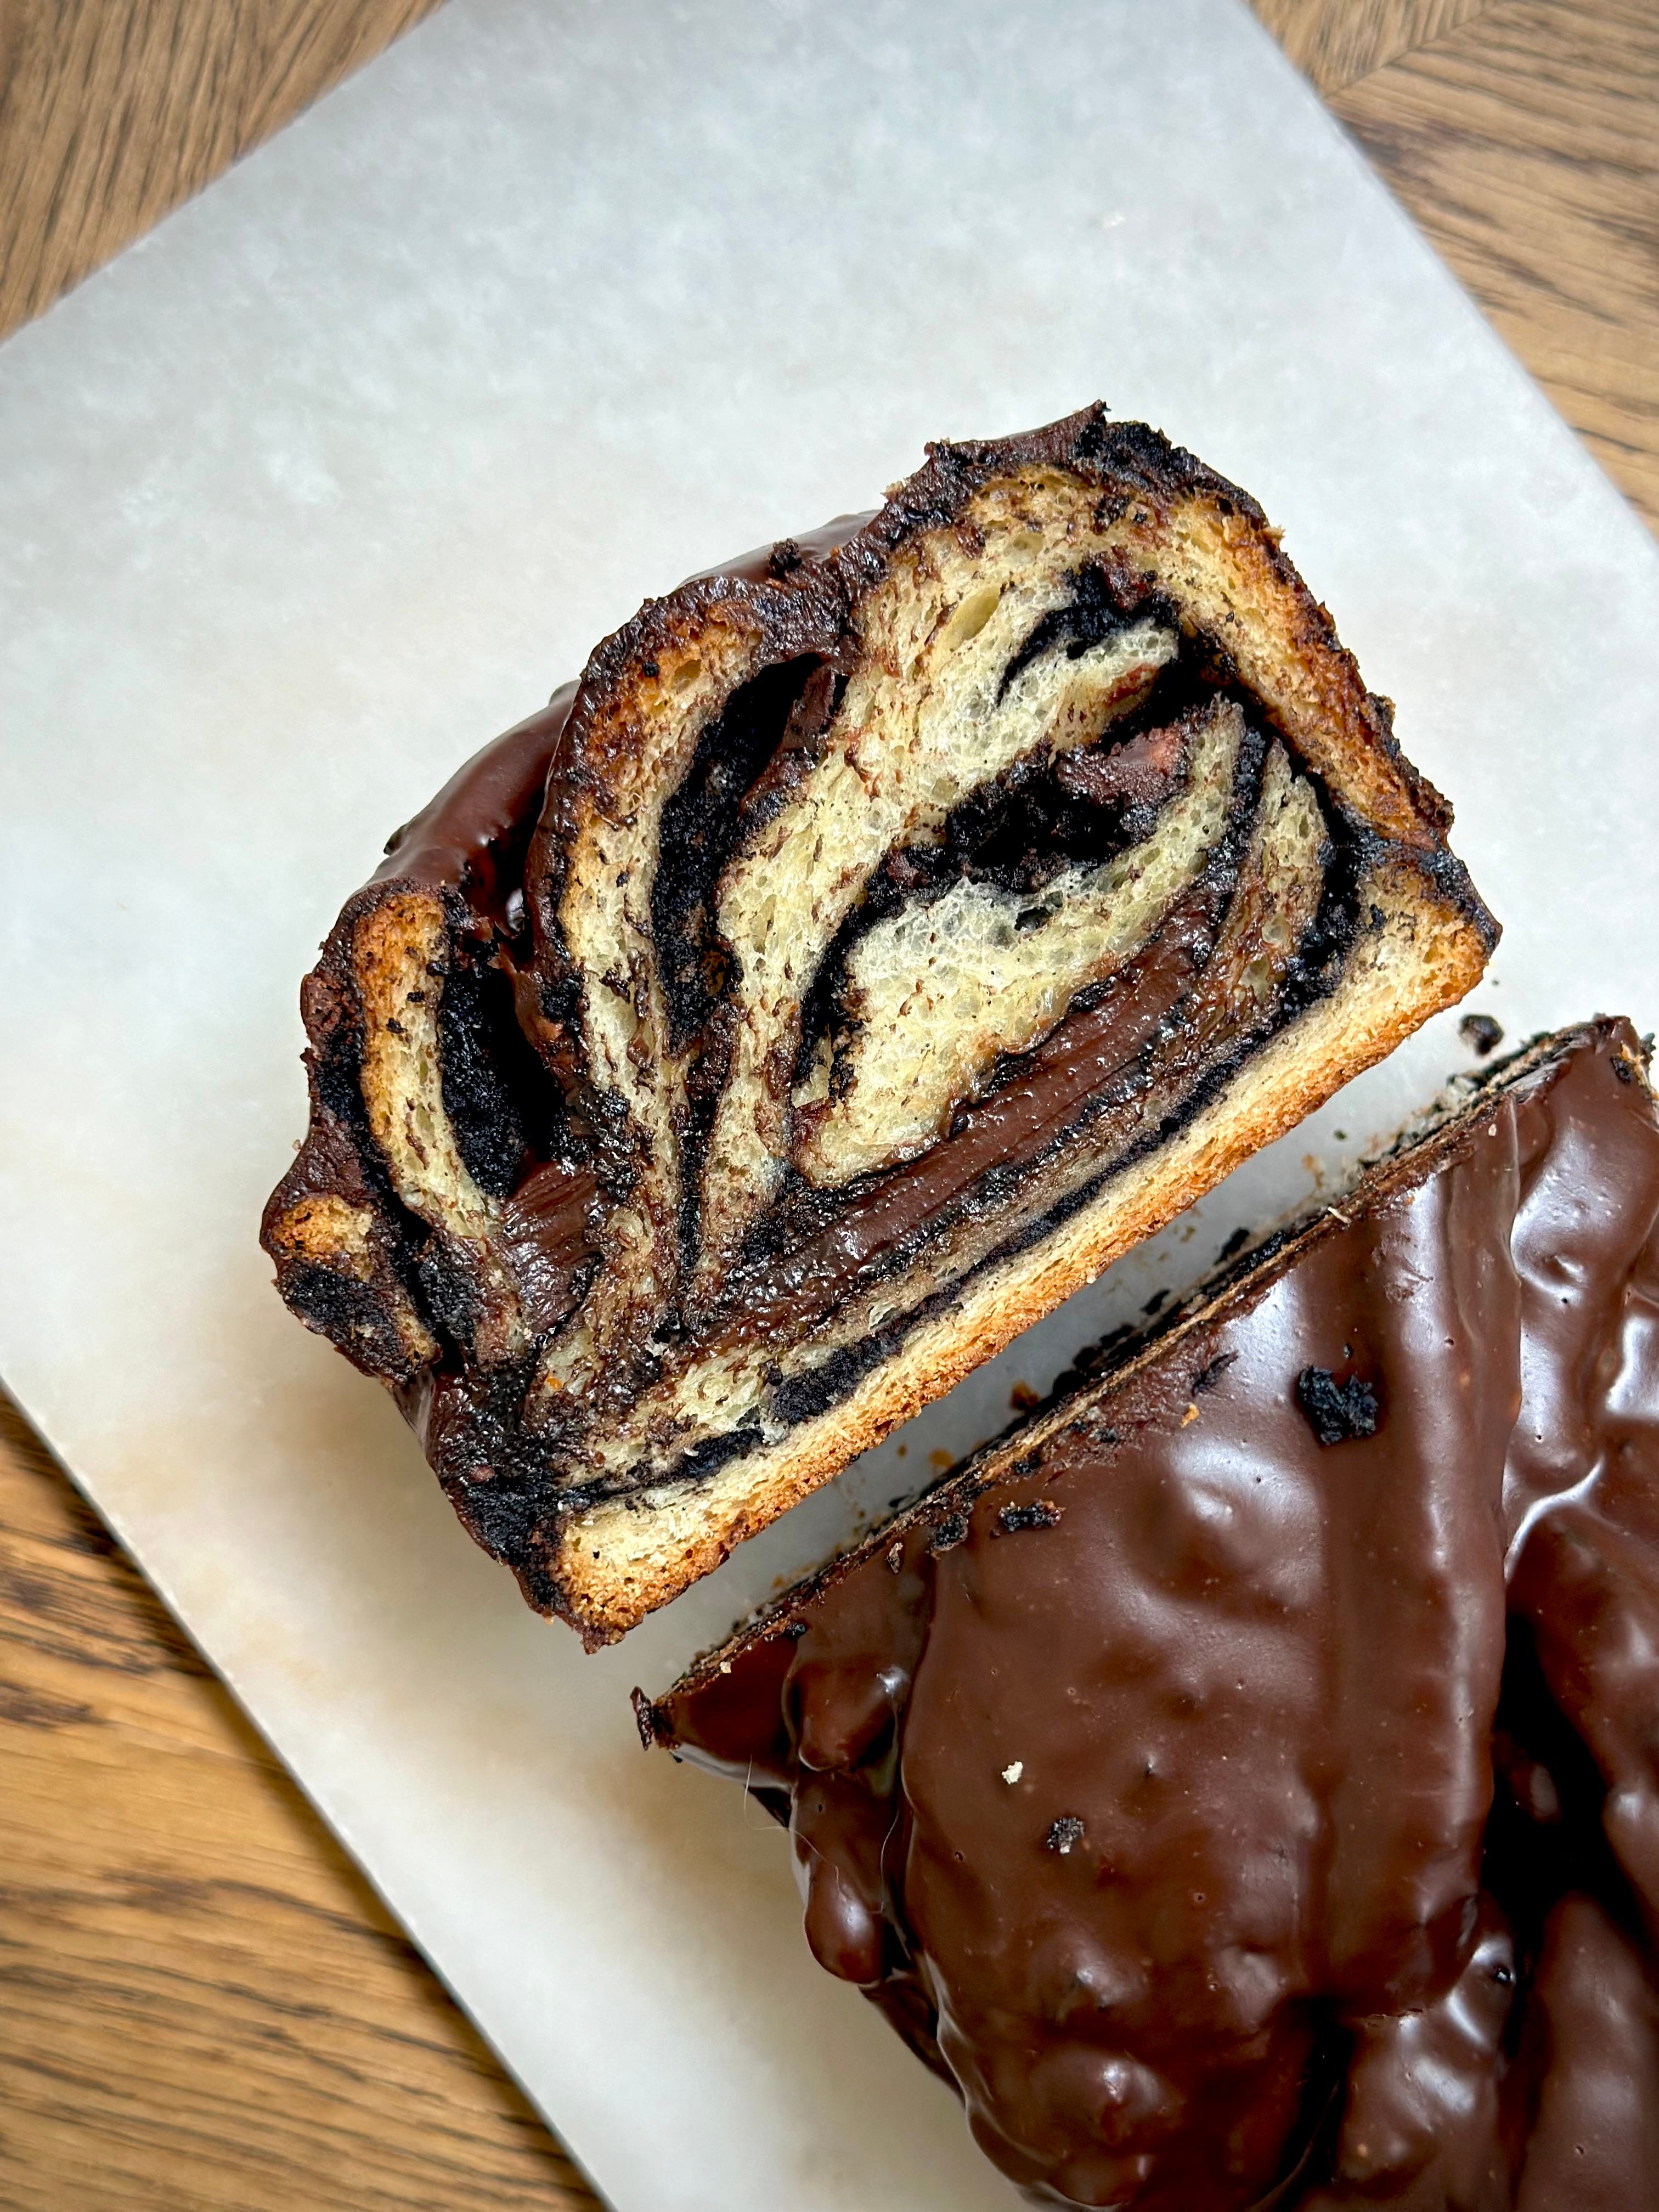
If you don’t know what a babka is, I also refer to this as swirly twirly bread for obvious reasons and hopefully that does the trick in giving you some idea as to what this is. Cause one lot of chocolate isn’t enough, I’ve tripled (there is a solid case to say it’s actually quadrupled) it and then teamed it with a chocolate and peanut butter glaze which sounds wild, but it works TRUST ME. Each slice is a surprise, each bite is addictive and each time you’ll tell yourself no more and then immediately find yourself gobbling down another hunky chunk of it. A good weekend baking project for anyone looking to flex their skills a little
I’ve spent a long time re-developing a recipe from my first book One Bake Two Ways, (which fyi, has an incredible Chocolate Streusel variety, using homemade nutella) to make the final product smaller, easier to consume and quicker to make. With this excellent (even if I say so myself) variation, we have the 3 essential food groups well looked after – carbs, tick. Chocolate, tick. Even more chocolate, tick, tick, tickety tick.

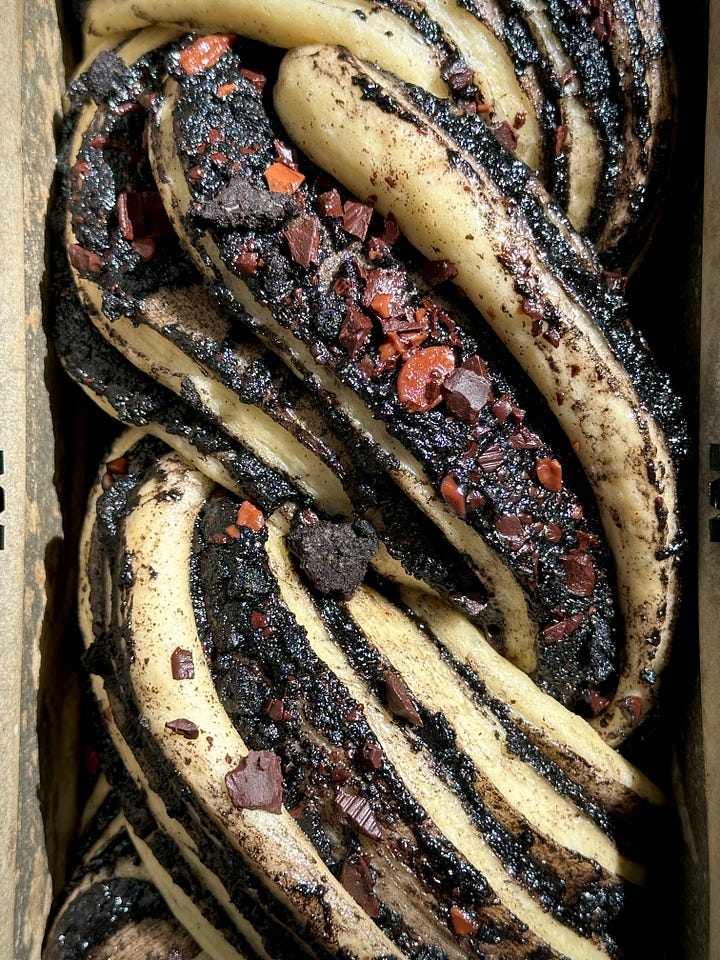
Whenever I make this babka, making a double batch is essential as there is one that gets demolished by myself (not in one sitting, I am not THAT much of an animal but do I bite into the loaf like an apple at the end? Also yes) and regrettably give away the rest for my own health and safety purposes.
The bread is pillowy soft, smothered in a chocolate sugar butter, topped with a chocolate biscuit crumb (adds a nice fudginess to the mix), nuggets of chopped chocolate and finished with a glorious mildly salted chocolate glaze. OOOOWEEEE she’s a goodie. For any nut allergies re the Peanut Butter, you can opt for a different nut butter or just remove entirely.
Will you fall in love? Yes. Will it make you mildly feral? Yes. Is it filthy? HELL YESSSSSS.
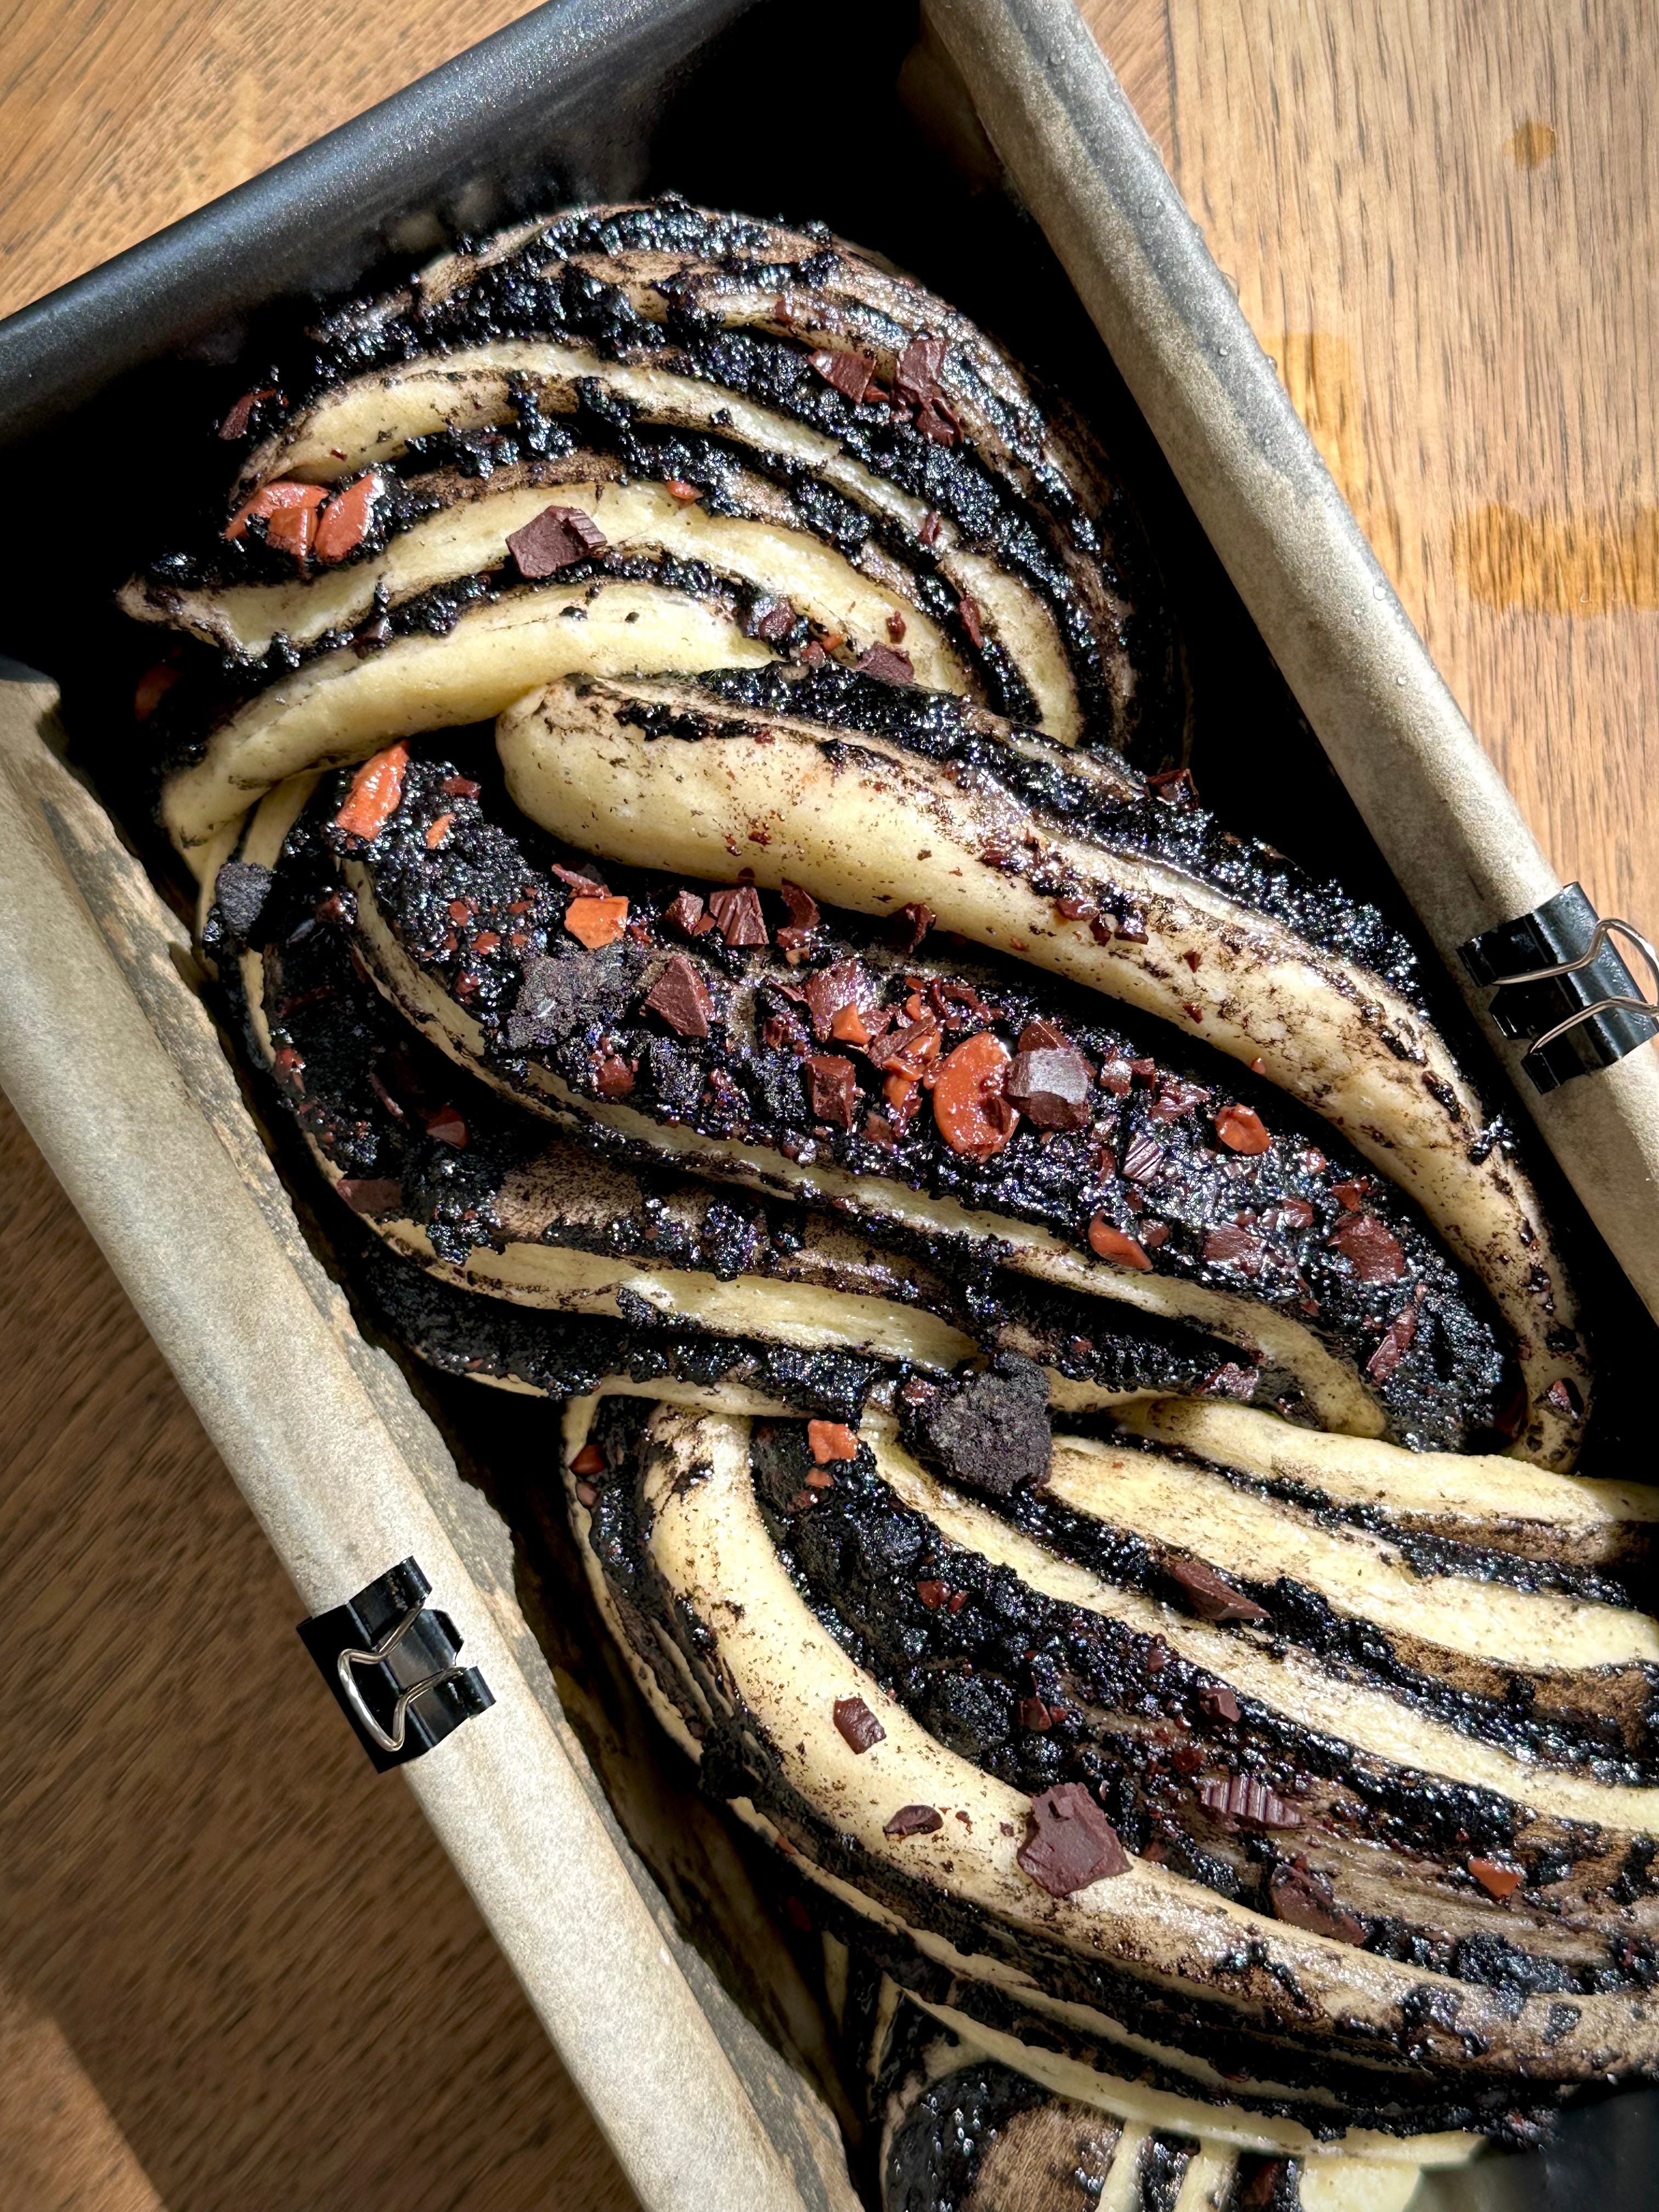
Recipe Makes: 2 x 2 lb Loaf Tins
Recipe Serves: I have no willpower so this is not a good/healthy question for me to answer right now.
Y O U – W I L L – N E E D –
Dough
125 ml Whole Milk (38 to 40C)
6 g Active Dried Yeast
40 g Caster Sugar
300 g Strong White Bread Flour, sifted
6 g Salt
1 Large Egg + 1 Yolk
1 tsp Vanilla Bean Powder/paste
90 g Unsalted Butter, room temp
1 Egg, beaten for wash
Filling
125 g Unsalted Butter, room temp
125 g Light Soft Brown Sugar
20 g Black Cocoa Powder, sifted
75 g Milk/Dark Choc Chips, roughly chopped
65 g Chocolate Biscuits (I used Oreo’s), coarsely ground
Glaze
115 ml Whole Milk
90 ml Maple Syrup
60 g Dark Chocolate
60 g Smooth Peanut Butter (don’t doubt me)
50 g Unsalted Butter
Pinch of Salt
M E T H O D –
PLEASE NOTE – the ingredients makes 2 x 2lb tins so you get two loaves for the price of one. You can alternatively make one big loaf from the same set of ingredients but know the loaf will be massive (nothing wrong with that) and you will have to adjust the baking times to suit (I wouldn’t want to say explicitly for how much longer without testing but add on a good 15 mins extra minimum and go from there). A thermometer probe will be your best friend!
For the dough, add the lukewarm milk to a bowl alongside the yeast and a pinch of sugar. Leave to one side for 10 to 15 minutes. Yes we are activating the already active yeast but this is a handy exercise to understand whether your yeast is thriving or nosediving. IF after 10 minutes, it isn’t frothy and bubbly, you know your yeast is dead and you have saved yourself heartache.
Add the bread flour, sugar, salt, eggs and vanilla to a mixer bowl. Pour in the yeasty milk and mix on a low to medium speed for 5 minutes to combine to roughly form a dough.
Add in softened butter, cube by cube, whilst mixing on a medium to high speed for 5 mins until it is fully incorporated and the dough has started to come away from the sides.
Turn the speed down to low and mix for another 10 minutes until soft and elasticated. Do the window pane test to check for gluten development. Transfer the dough to a lightly oiled large bowl before placing it in a proving bag or cover with clingfilm. Leave to prove for 30 minutes at room temperature before popping it in the fridge and leaving to slow prove overnight.
The next morning, make the filling mix by adding the unsalted butter, cocoa powder and light brown sugar to a bowl. Use the whisk attachment to mix until super smooth and well combined. Keep this at room temp to avoid solidifying.
Make your biscuit crumb by separating the biscuits and scraping out the filling. Crush the biscuits by either blitzing in a food processor or crushing with the base of a flat-bottomed glass.
Remove the proved dough from the fridge and transfer onto a lightly floured surface. Divide the dough in half (if you are making two loaves, otherwise keep as one for one big loaf). Gently knock back the dough (basically flatten with your hands to remove any air) before rolling out to a large rectangle approx. 0.25 cm thick. The thinner the better for more layers but ensure the dough is still thick enough to roll without tearing.
Spread over the spiced chocolate butter onto the dough evenly using a palette knife going all the way to the edges. Sprinkle over the crushed biscuit crumb and chopped chocolate.
From the short end, tightly roll up the dough, leaving the seam at the base to keep the rolled dough in place.
Position the dough vertically to you and use a sharp knife to cut the dough in half from top to bottom.
Braid the two strands (basically layer one strand over each other repeatedly) before tucking the two ends underneath for a tighter, neater finish.
Carefully lift (I find a dough scraper helps here) the plaited bread onto some baking paper and carefully lower it into your loaf tin. TIP: Cut the baking paper to the same width as your tin, making it easier for you to lift the bread in and out.
Cover the top of the tin with clingfilm/saranwrap before leaving to prove for a further 1.45 hour in an unheated oven with a tray of freshly boiled water at the bottom.
After the second prove, remove the tin and tray of water from the oven, discard the clingfilm and marvel in your wonder for a brief moment whilst you preheat the oven to 170°C Fan/190°C/375°F/Gas mark 5.
Pop the tin back in the oven on the middle shelf and bake for 36 to 38 minutes. NOTE: Set a timer for halfway through baking and cover the top of the bread with foil to avoid the top burning if it begins to brown too much.
Once baked, remove from the oven and check the internal temperature. You are after an internal temp of 90 to 92°C / 194 to 198°F.Allow the bread to sit for 15 minutes before carefully removing onto a wire rack to cool.
In this time, make the glaze by adding all the ingredients to a pan, placing over a low to medium heat. Gently melt the chocolate and combine the ingredients until the sauce has lightly thickened.
Remove from the heat and allow the glaze to cool slightly and once your bread is just warm to the touch, place a baking tray under your cooling rack.
Pour the glaze over the baked bread and use a palette knife to remove any surplus from the tops and sides. Once covered, leave to set.
Use a serrated knife to slice and omg have the time of your life.
P.S. Use the remaining glaze as a sauce to spread, smother, slather wherever, whoever and however.
And now finally, we get to the main bake of the day, our Strawberry, Cardamom & Custard Tart. One thing about me is cardamom is queen and sure, I may overuse it and doubly sure, I may have to actively not include it in some recipes just to give them some variation and secondly, strawberries are one of my top 5 fruits so you can bet your bottom dollar on me using them in everything possible the minute they come back into season.

British Strawberries are finally here and if you haven’t given them a little try yet, I urge you to. They taste SO good. Succulently sweet, deliciously addictive, with a subtle hint of tartness which makes them oh so moreish. I found something called King Strawberries in Waitrose the other day, which I can’t lie look like a GMO product as they are the size of my pea head, and knew I wanted to use them for something.
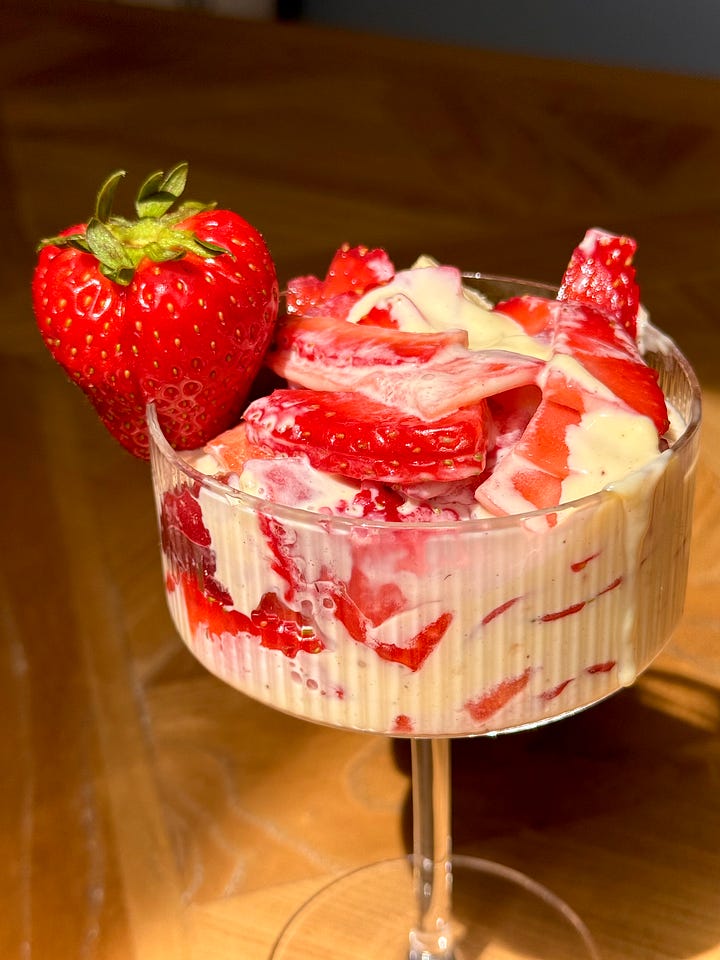
The sun has been blaring this week (have I mentioned that much???) and one sweet treat I always associate with summer is strawberries and cream. So that my friends, is what has inspired this weeks bake.
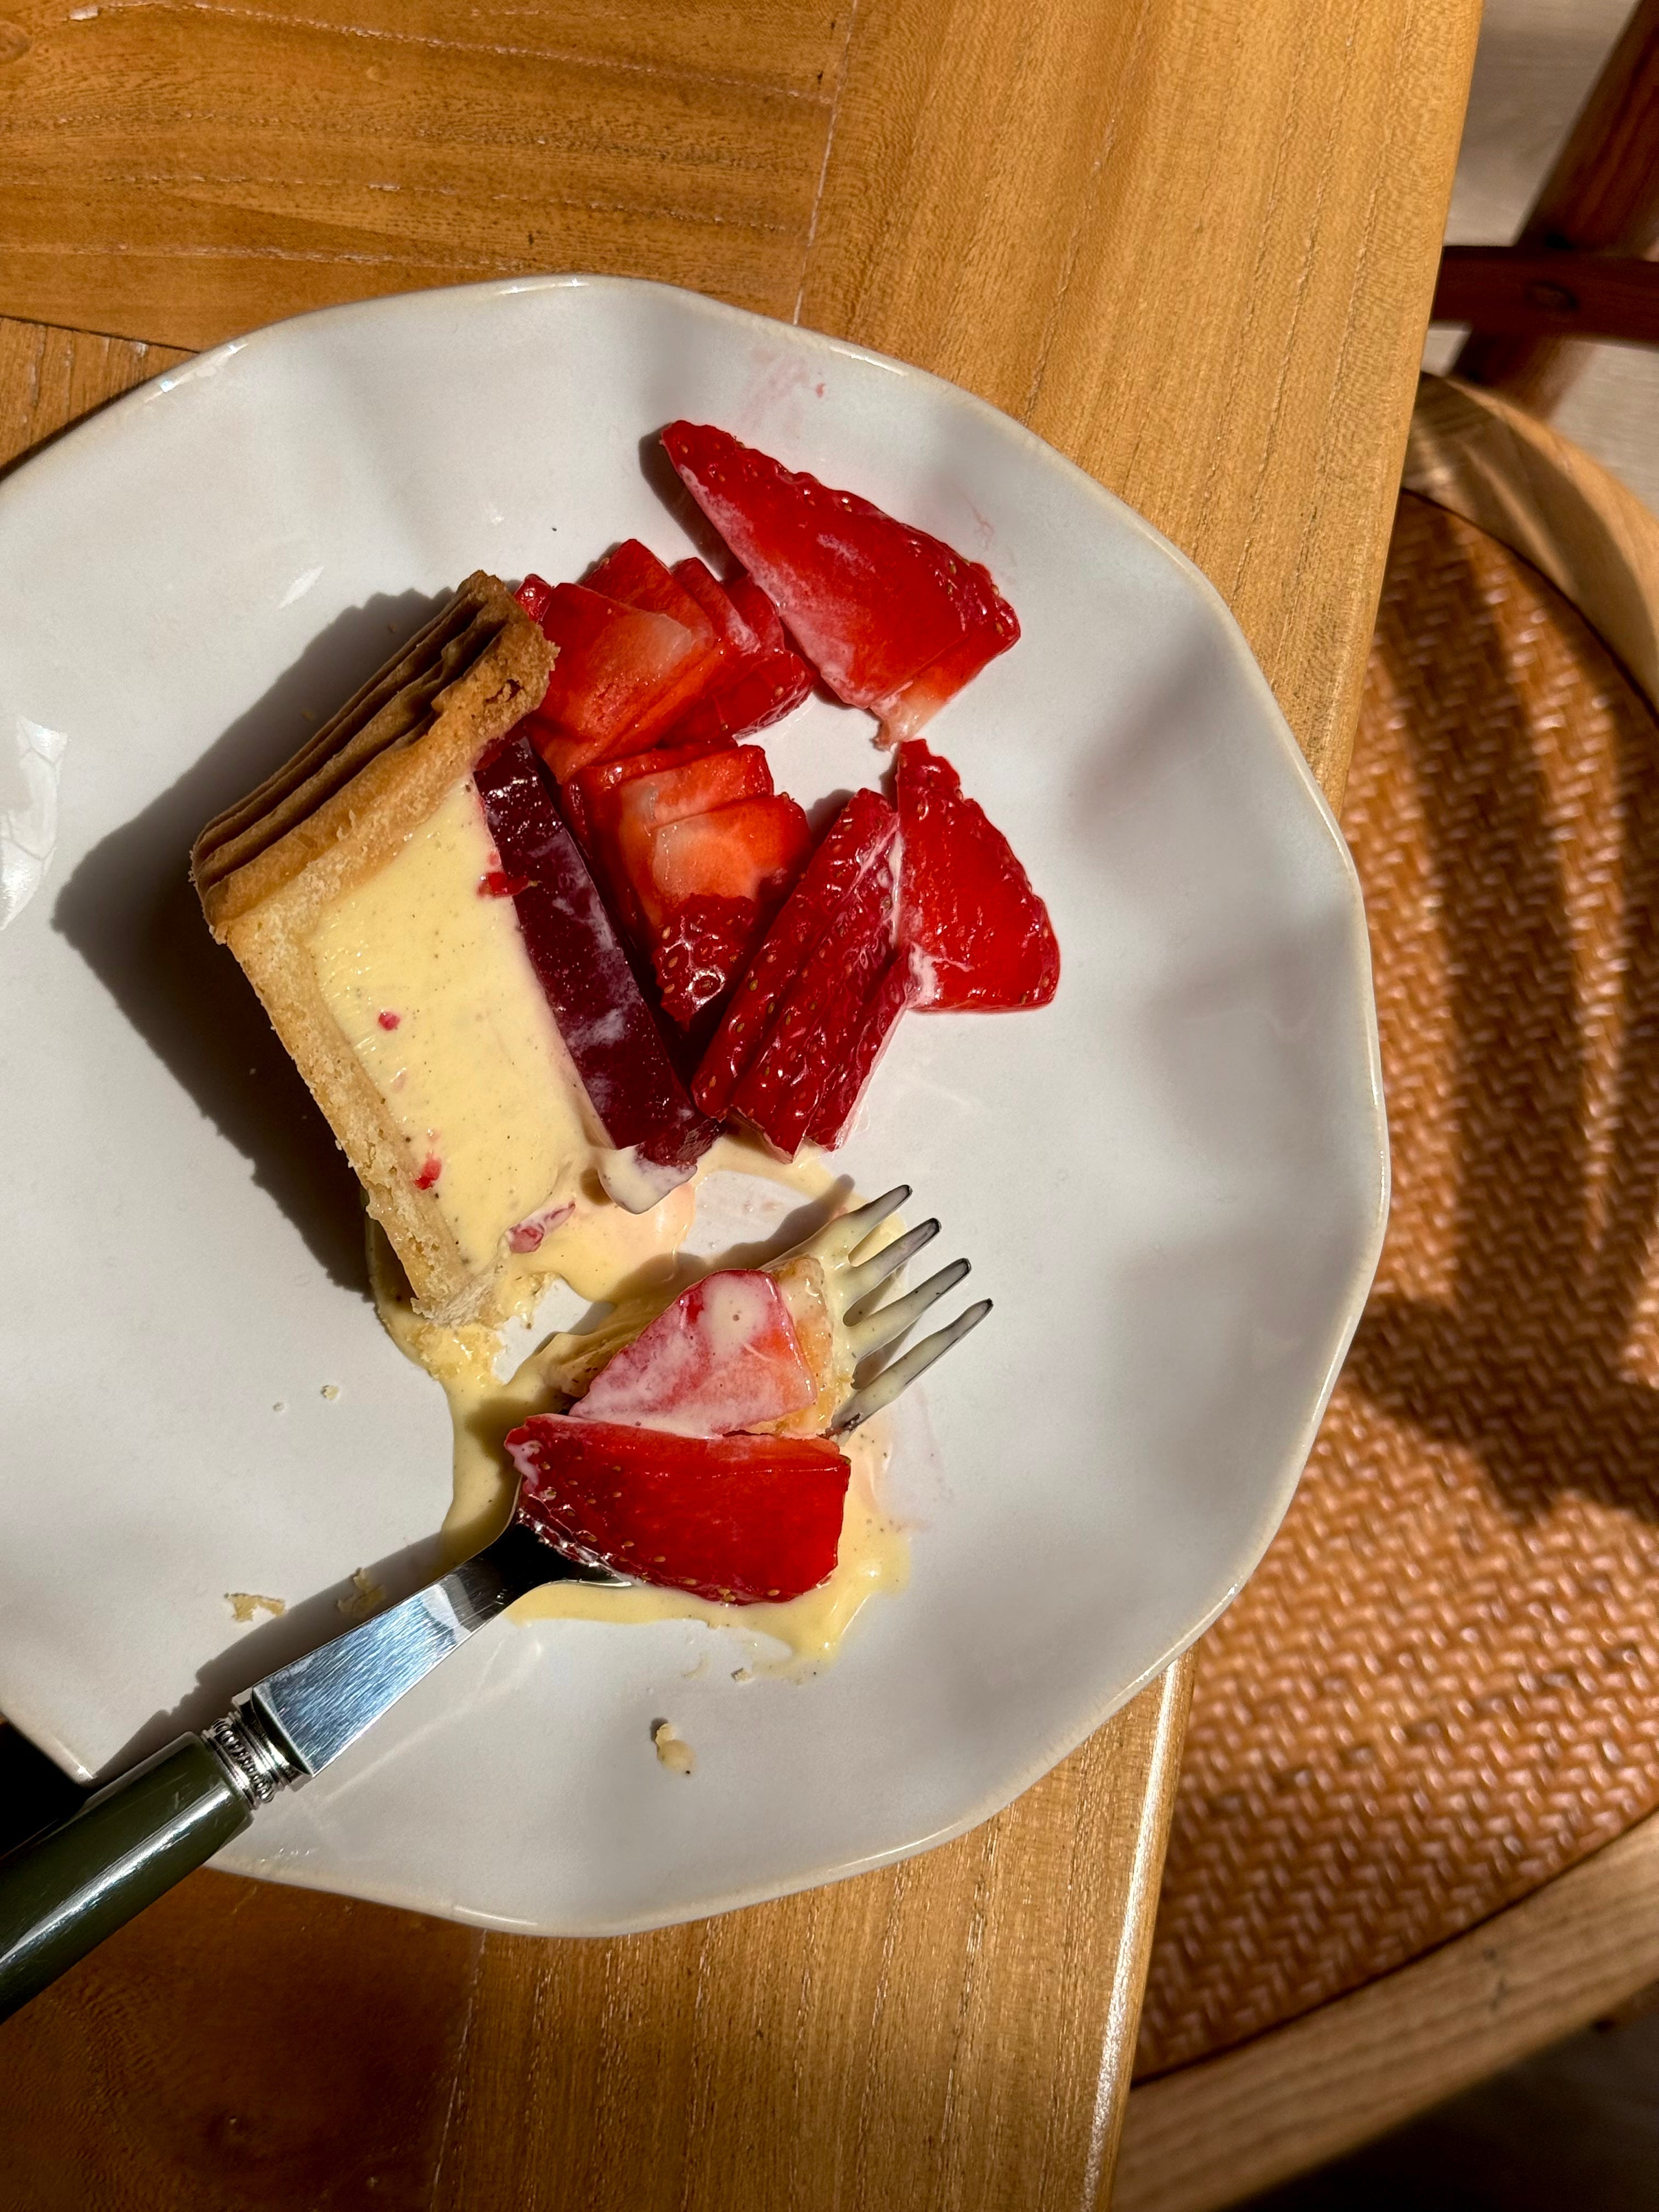
I love making a tart because of how versatile and preppable they are. I made the pastry for it (cardamom flavoured obvi) over a week ago, lined the tart tin and kept that in the freezer for 5 days until I was brave enough to battle it out in the kitchen. The sweet, lightly scented pastry makes the perfect crisp, buttery base for our vanilla spiked set custard which is then topped with a strawberry jelly before being adorned with sliced strawberries glazed in strawberry jam to finish.
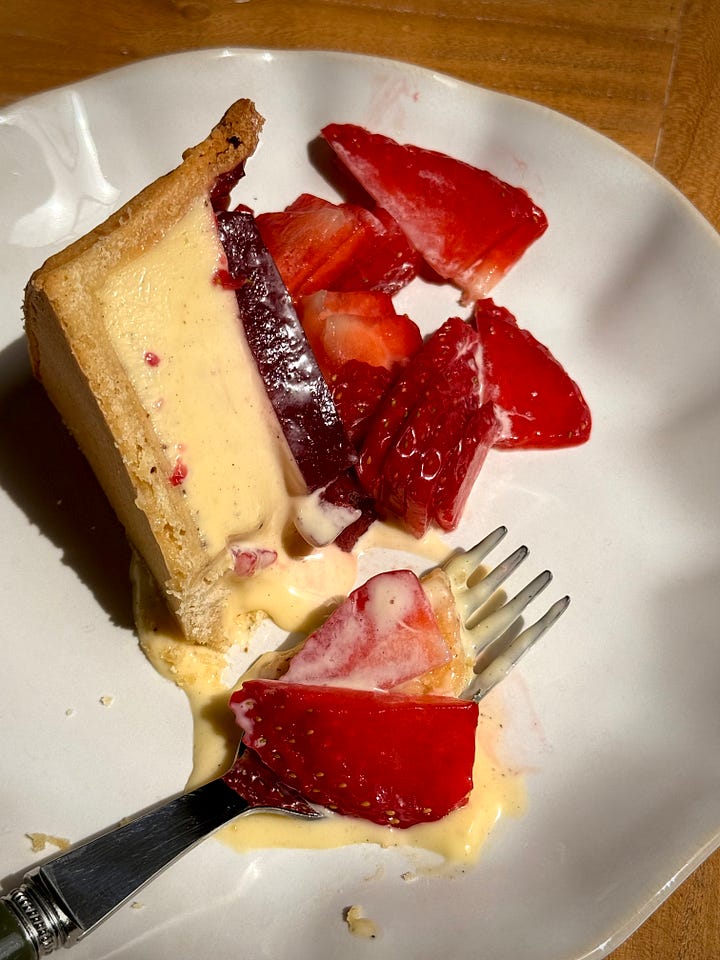
The tart was glorious…until it wasn’t. All I would say is proceed with caution if the weather is VERY HOT. I made the tart, marvelled at its brilliance, took far too many pics of it like it was my new born child, sliced into it twice (one for the money shot and one to gobble immediately for taste test purposes) and in between those 10 minutes of it being sat out at room temperature (which was a balmy 34C/93F inside), it started to slowly disintegrate.

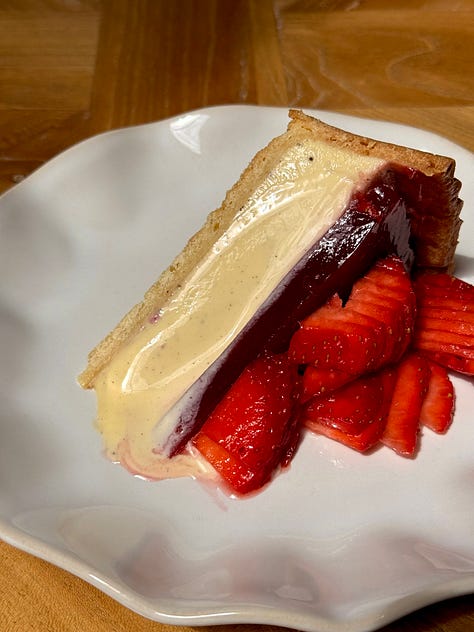
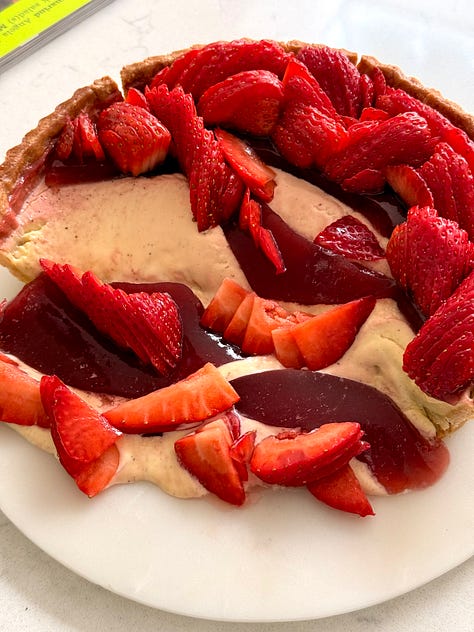
Add on another 10 minutes to deal with unexpected deliveries at the door, dogs going mental cause of said deliveries and the whole tart was suffering a landslide. Still. It got scooped up and eaten and I can confirm it is utterly plate lickingly delicious.
Simple flavours, at their very best. This my friends is strawberries and cream, done my way.
Recipe Makes: 1 x 10 inch tart tin with removable base (make sure it is at least 2 inches deep)
Recipe Serves: 9 to 12
Comments
Nothing yet. Say the first thing.
Sign in to join the conversation.