

Hey Friends!
I hope you have all been keeping well? I am SO sorry for being so awol but surprise surprise, I have been tucked up in bed with what I can only describe as the worlds worst cold. It just won’t budge. I am on day 21690 of said cold (dramatics intended but in truth it’s been more like day 17) and it’s showing no signs of slowing down. I have never known fatigue quite like it. Which means all my easter chocolate (yes!! I have had the flu since way back then) has gone uneaten, I’ve watched the blue skies and gorgeous sun from the depths of my snotty tissue ridden cavern and have barely stepped foot in the kitchen over the last three weeks so do forgive me for being a little light on the recipe front and for being late with the newsy.
BUT it hasn’t all been doom, gloom and not leaving my bedroom because life with a very excitable 10-month-old puppy and a very stroppy 7 year old pooch will certainly keep you on your toes. I know I didn’t tell you how we ended up with Bandit but to cut a long story short, the little guy needed a secure, stable, and loving home. And guess what my friends, the gal with the wisteria photo album who moved to the countryside with donkeys and sheep for neighbours was the perfect candidate. I would love to say I put up any sort of fight or deliberated it for longer than a second but honestly, he stole my heart the minute I held him and the love affair has been strong since.
I now no longer know what peace and quiet is (Milo is 7 now so he is well into his long day snoozes and a slow life), I’m guaranteed to trip over a dog toy, chew bone or bundle of socks every day, my morning alarm has changed from my phone gently blaring me awake to being forcefully woken up by having a 2kg pogo stick jumping all over me, where he will without a doubt mis-aim licking my cheek for my eyeball every single time.

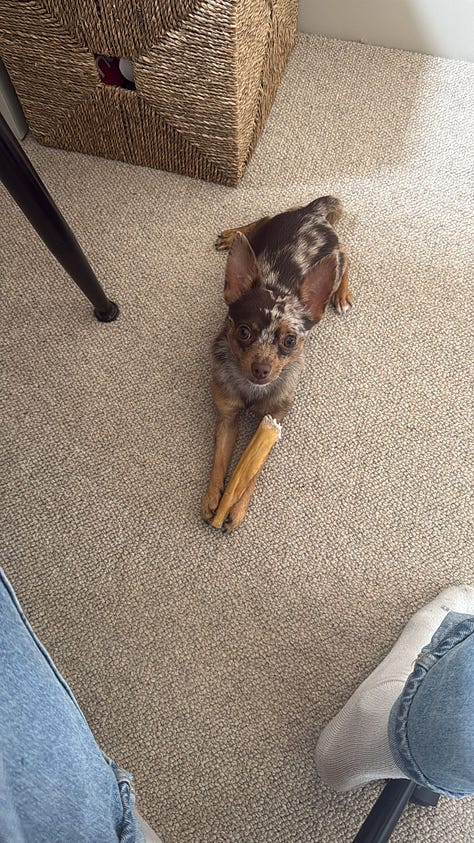
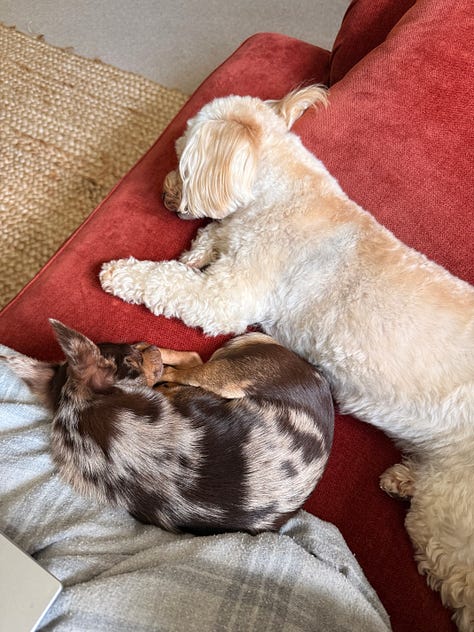
He barks incessantly in Milo’s face because playing 24/7 is life. He’ll nibble on your toes whilst you’re trying to watch tv. Your snacks are his snacks. And I wouldn’t have it any other way. Being stuck in bed for the last two weeks has also meant having two snuggle buddies who know nothing about personal space. Am I going to become a crazy dog lady? Am I going to just start collecting dogs like Pokémon’s? I fear I am already there.
With my dog update done, I am thrilled to say that the big news I have been sitting on for a while is *drumroll please* AROUND THE WORLD IN 80 CAKES is now available to preorder!! I have been working on this for the last three years and I am SO proud of it. It’s a real blood, sweat and tears kinda project and I am hoping with every last bit of me that you all love it as much as I do.
So sure, this news might not be entirely new as I dropped it over on Instagram last week but wanted to give you all a sneak peak at some of the recipes, aesthetic and some BTS.
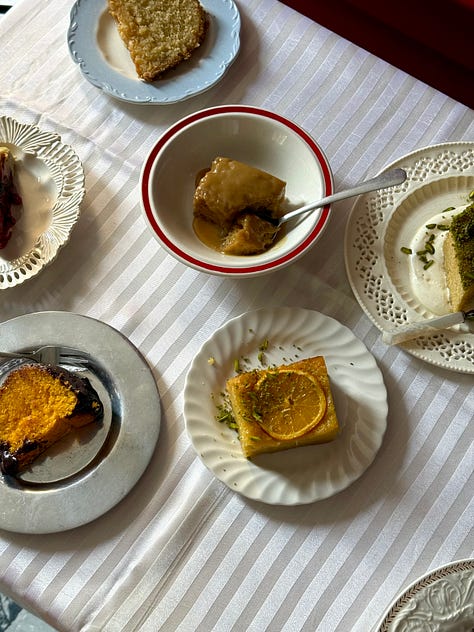
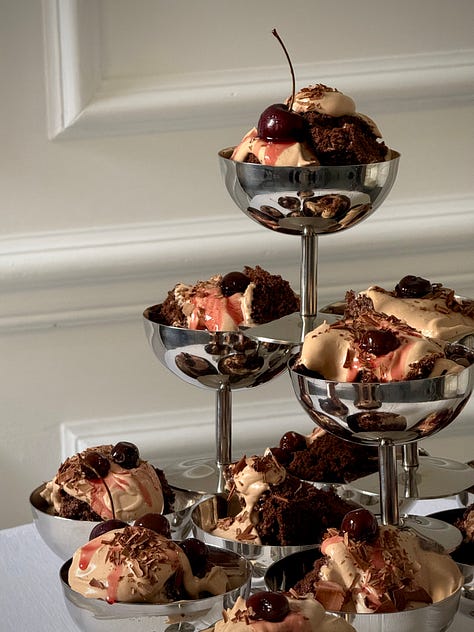

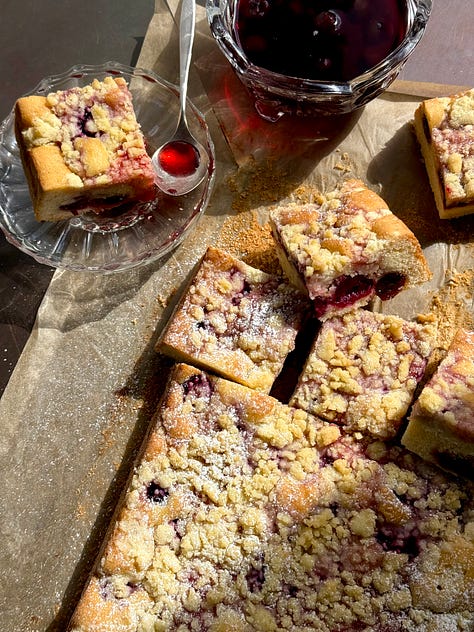
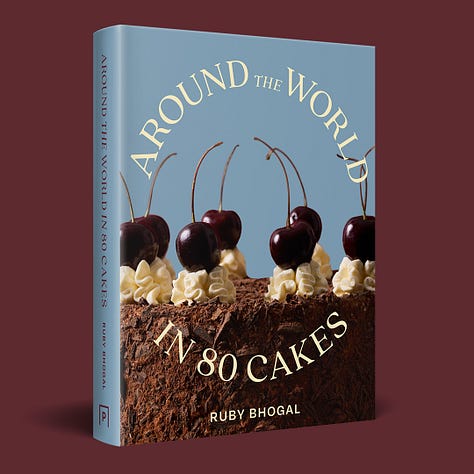
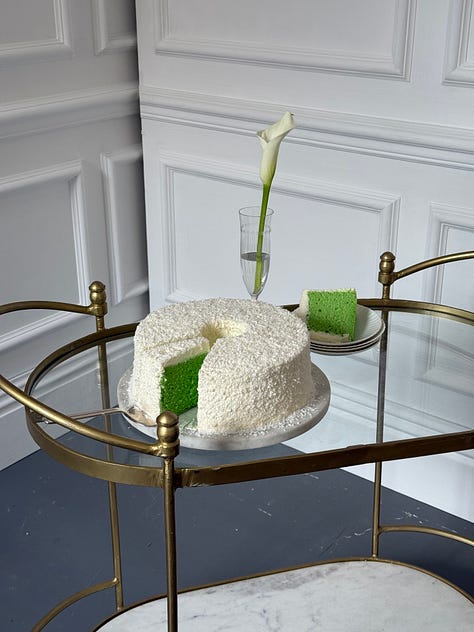

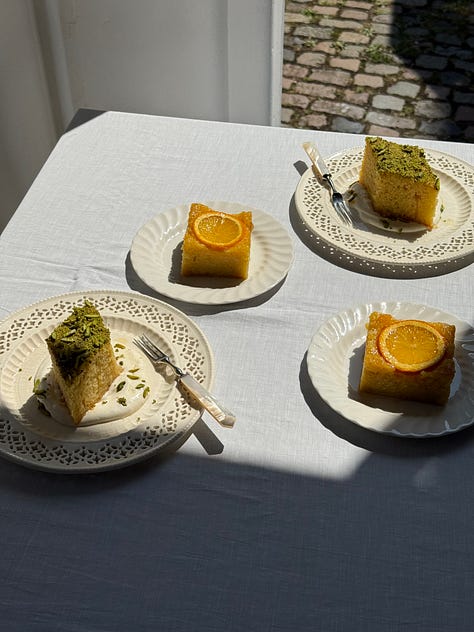
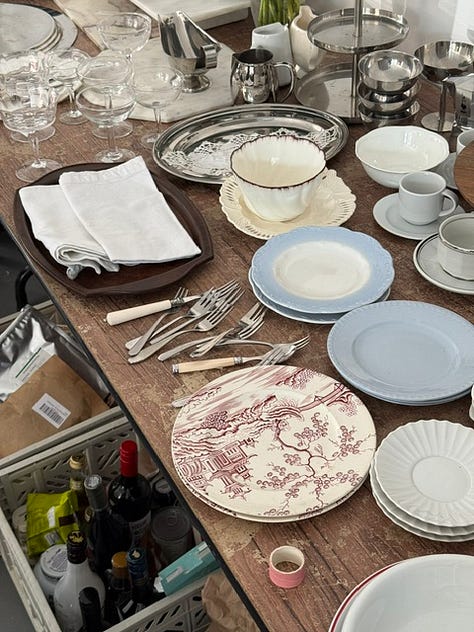
With 80 brand new, perfected recipes of cakes from around the world, its separated into continents and each recipe is categorised by ability, with plenty of beginner bakes for those of you new to it, lots of intermediate recipes for those wanting to be pushed and plenty of advanced cakes for those of you teetering on the brink of madness. This book, the aesthetic, the imagery, the way it has been put together is nothing short of beautiful.
It’ll be published this September in the UK/US/CAD, available at all good bookstores and online at Amazon and book retailers, plus across EU/AUS online. I cannot stress enough how important pre-orders are to authors – I know the book won’t arrive until September, but you won’t pay for anything until it ships. Pre-orders act as a key indicator to retailers and stockists, so the more orders we get now, the further we can see the book go.
UK - Waterstones. Use code 80CAKES for 25% OFF!
One Bake walked so Around the World could fly. I so hope you love it and thank you SO SO much for every single preorder.

Prewarning – the menu is a little light after not being in the kitchen for the last three weeks BUT the tasty morsels being served up all pack a real flavour punch.
16 Layer Chocolate Cake w Salted Chocolate Condensed Milk Frosting. Do I really need to sell you on this??? Does the title not do it enough???
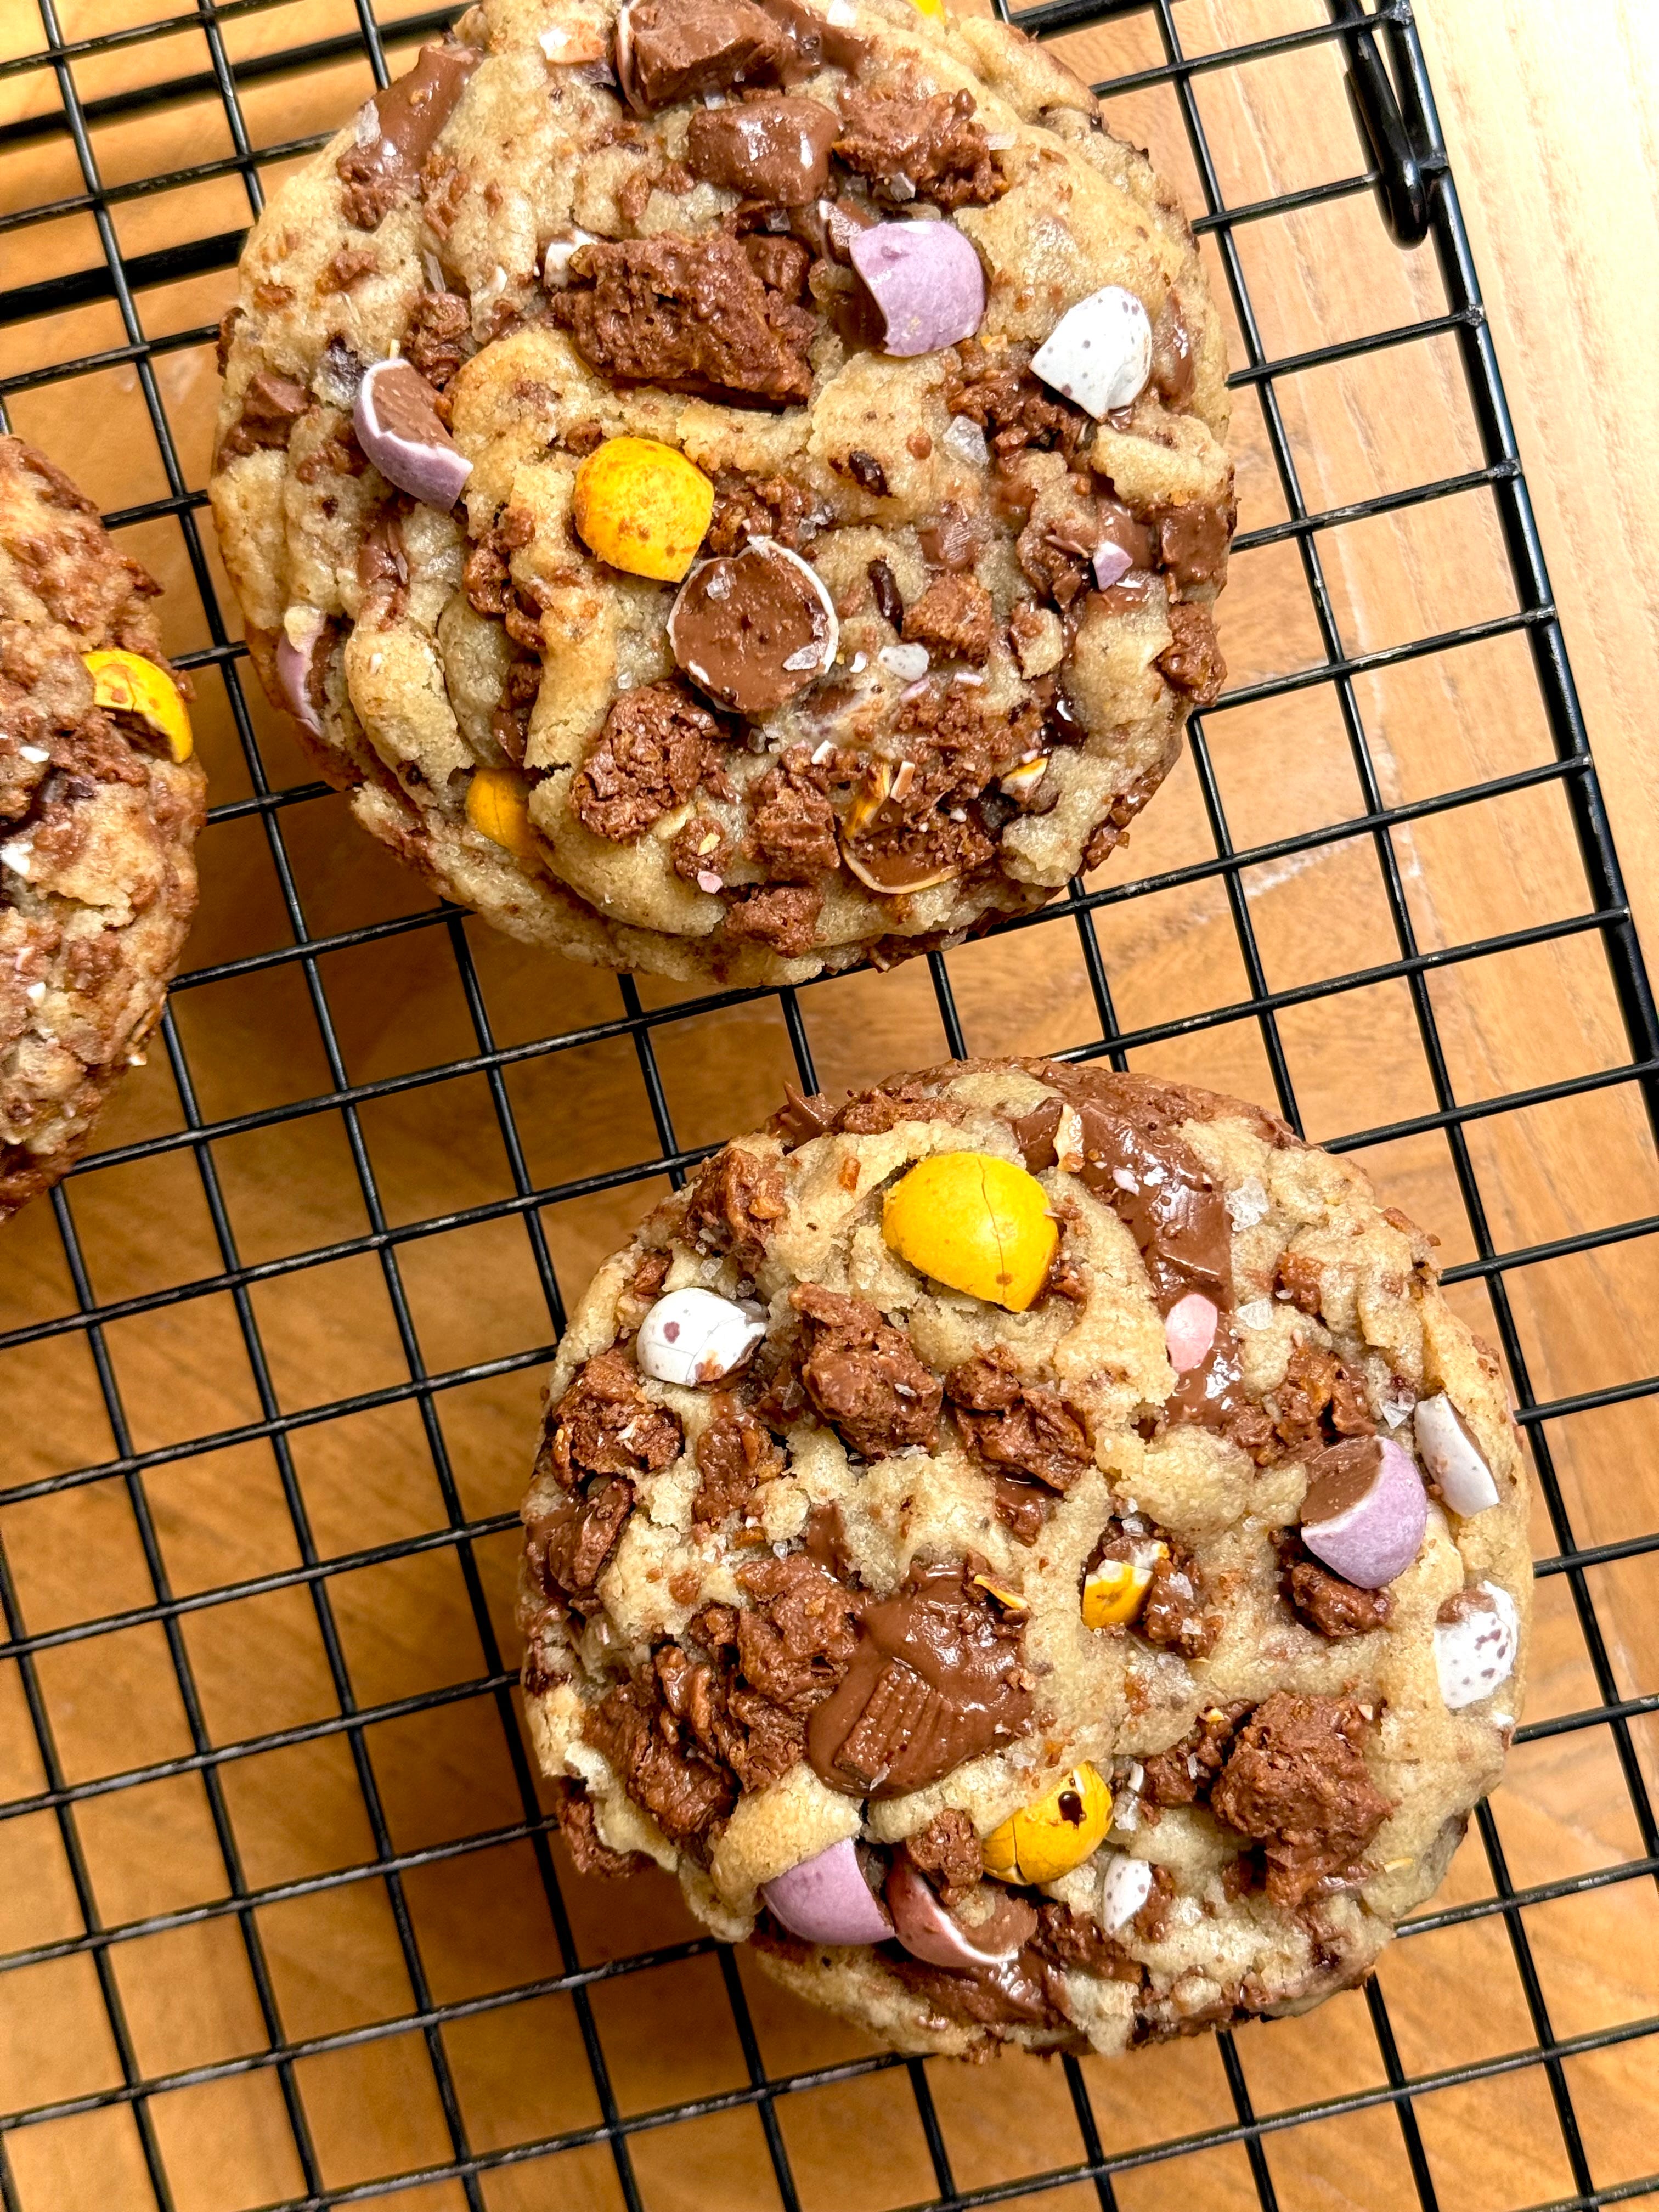
Mini Egg & Chocolate Cornflake Cookies. My cookies are the sort of cookies where one day soon, I will get brave enough to sell them. I love them. I adore them. I think they beat every cookie I have ever tried. And this variation is no different. A brown butter base, studded with double chocolate and topped with crushed mini eggs and chocolate cornflakes. It’s crunchy, crisp, gooey, salty, sweet and oh so moreish.


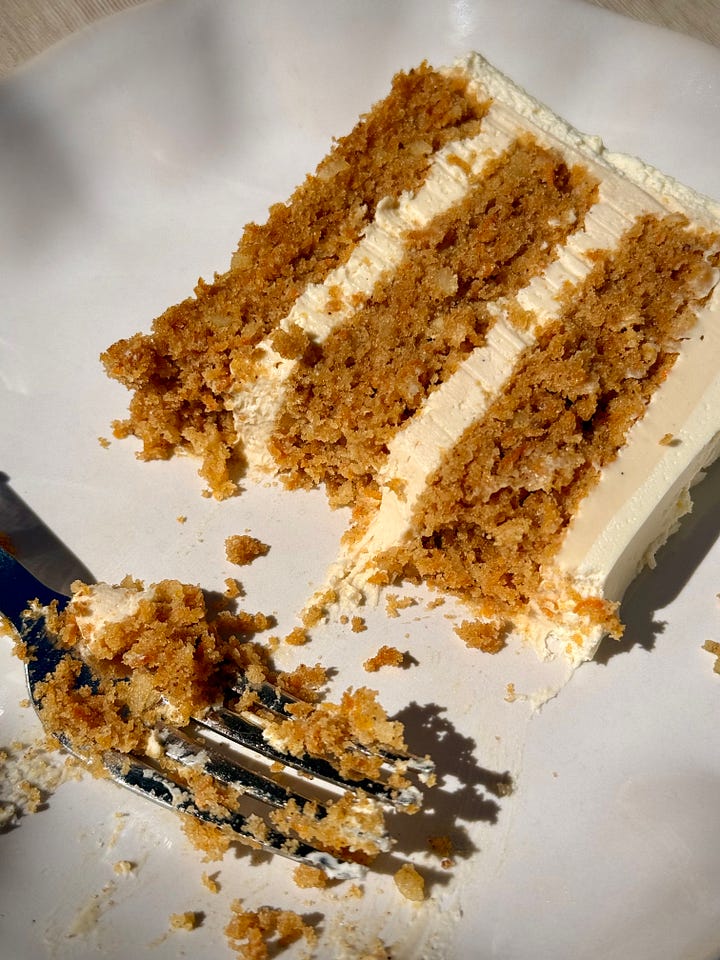
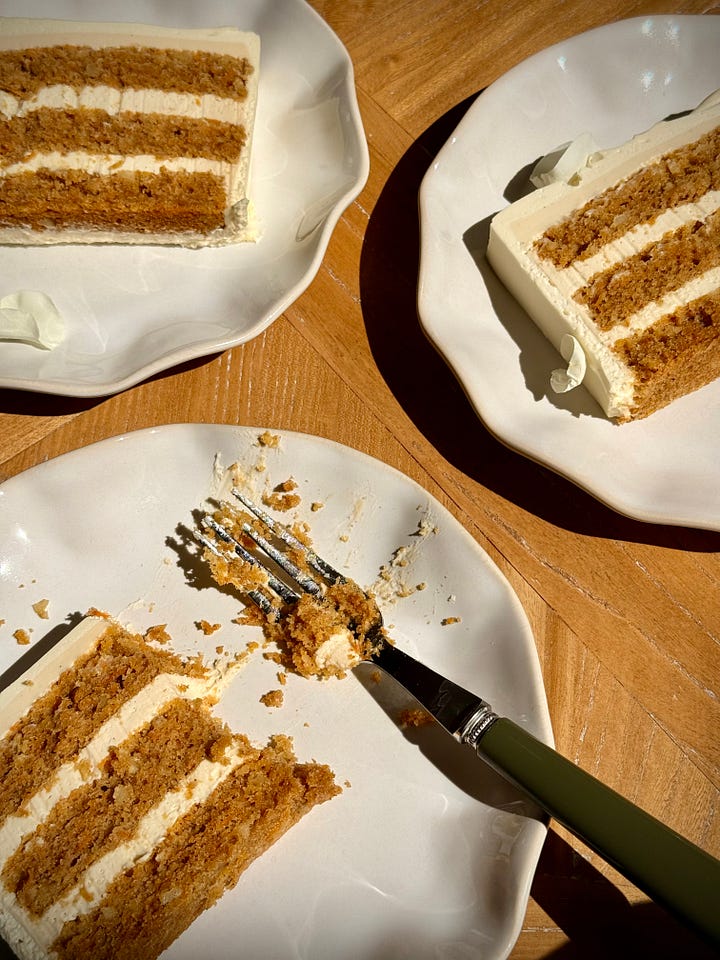
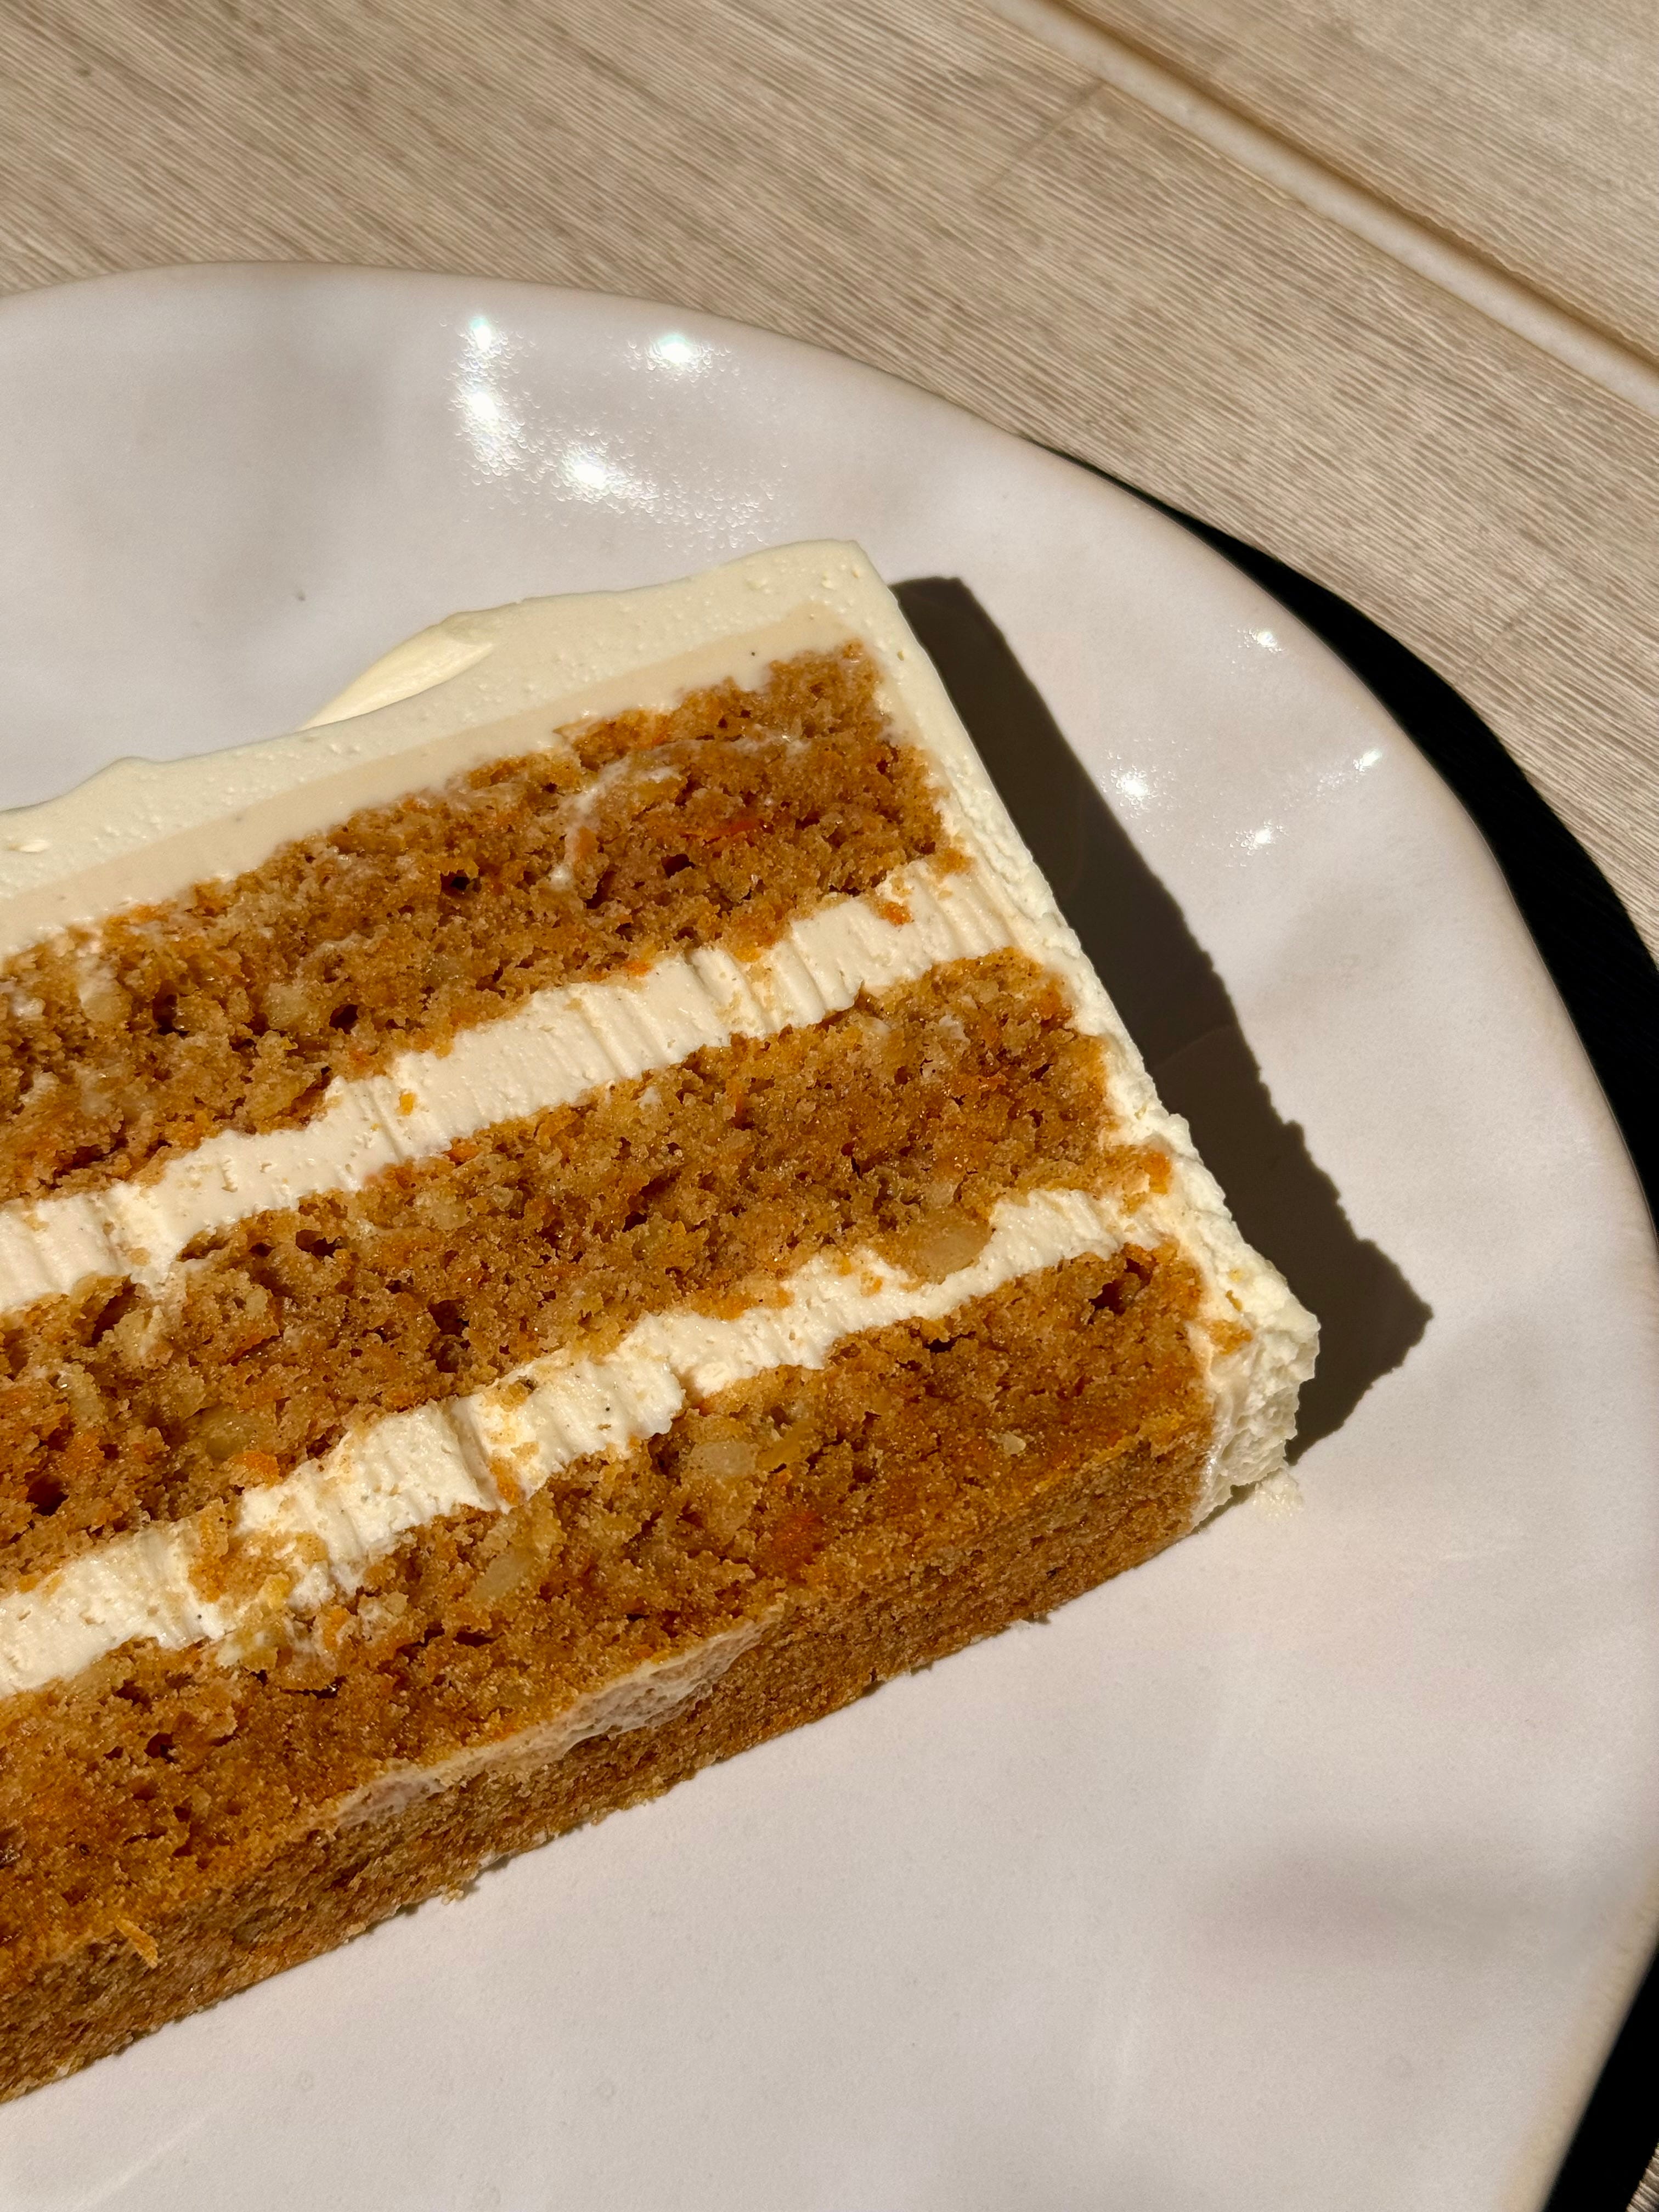
Spiced Carrot Cake w Whipped Burnt Honey Cream. A cake I have been meaning to make for you guys for a while. My spiced carrot cake has had rave reviews by everyone who has tried it, but I wanted to pair it with a different frosting – the very on trend burnt honey, which sounds a little odd but I promise you the depth of flavour works so well against the heavy spicing of the carrot cake. My secret key ingredient to a good carrot cake? Pineapple. Yup. Pineapple.

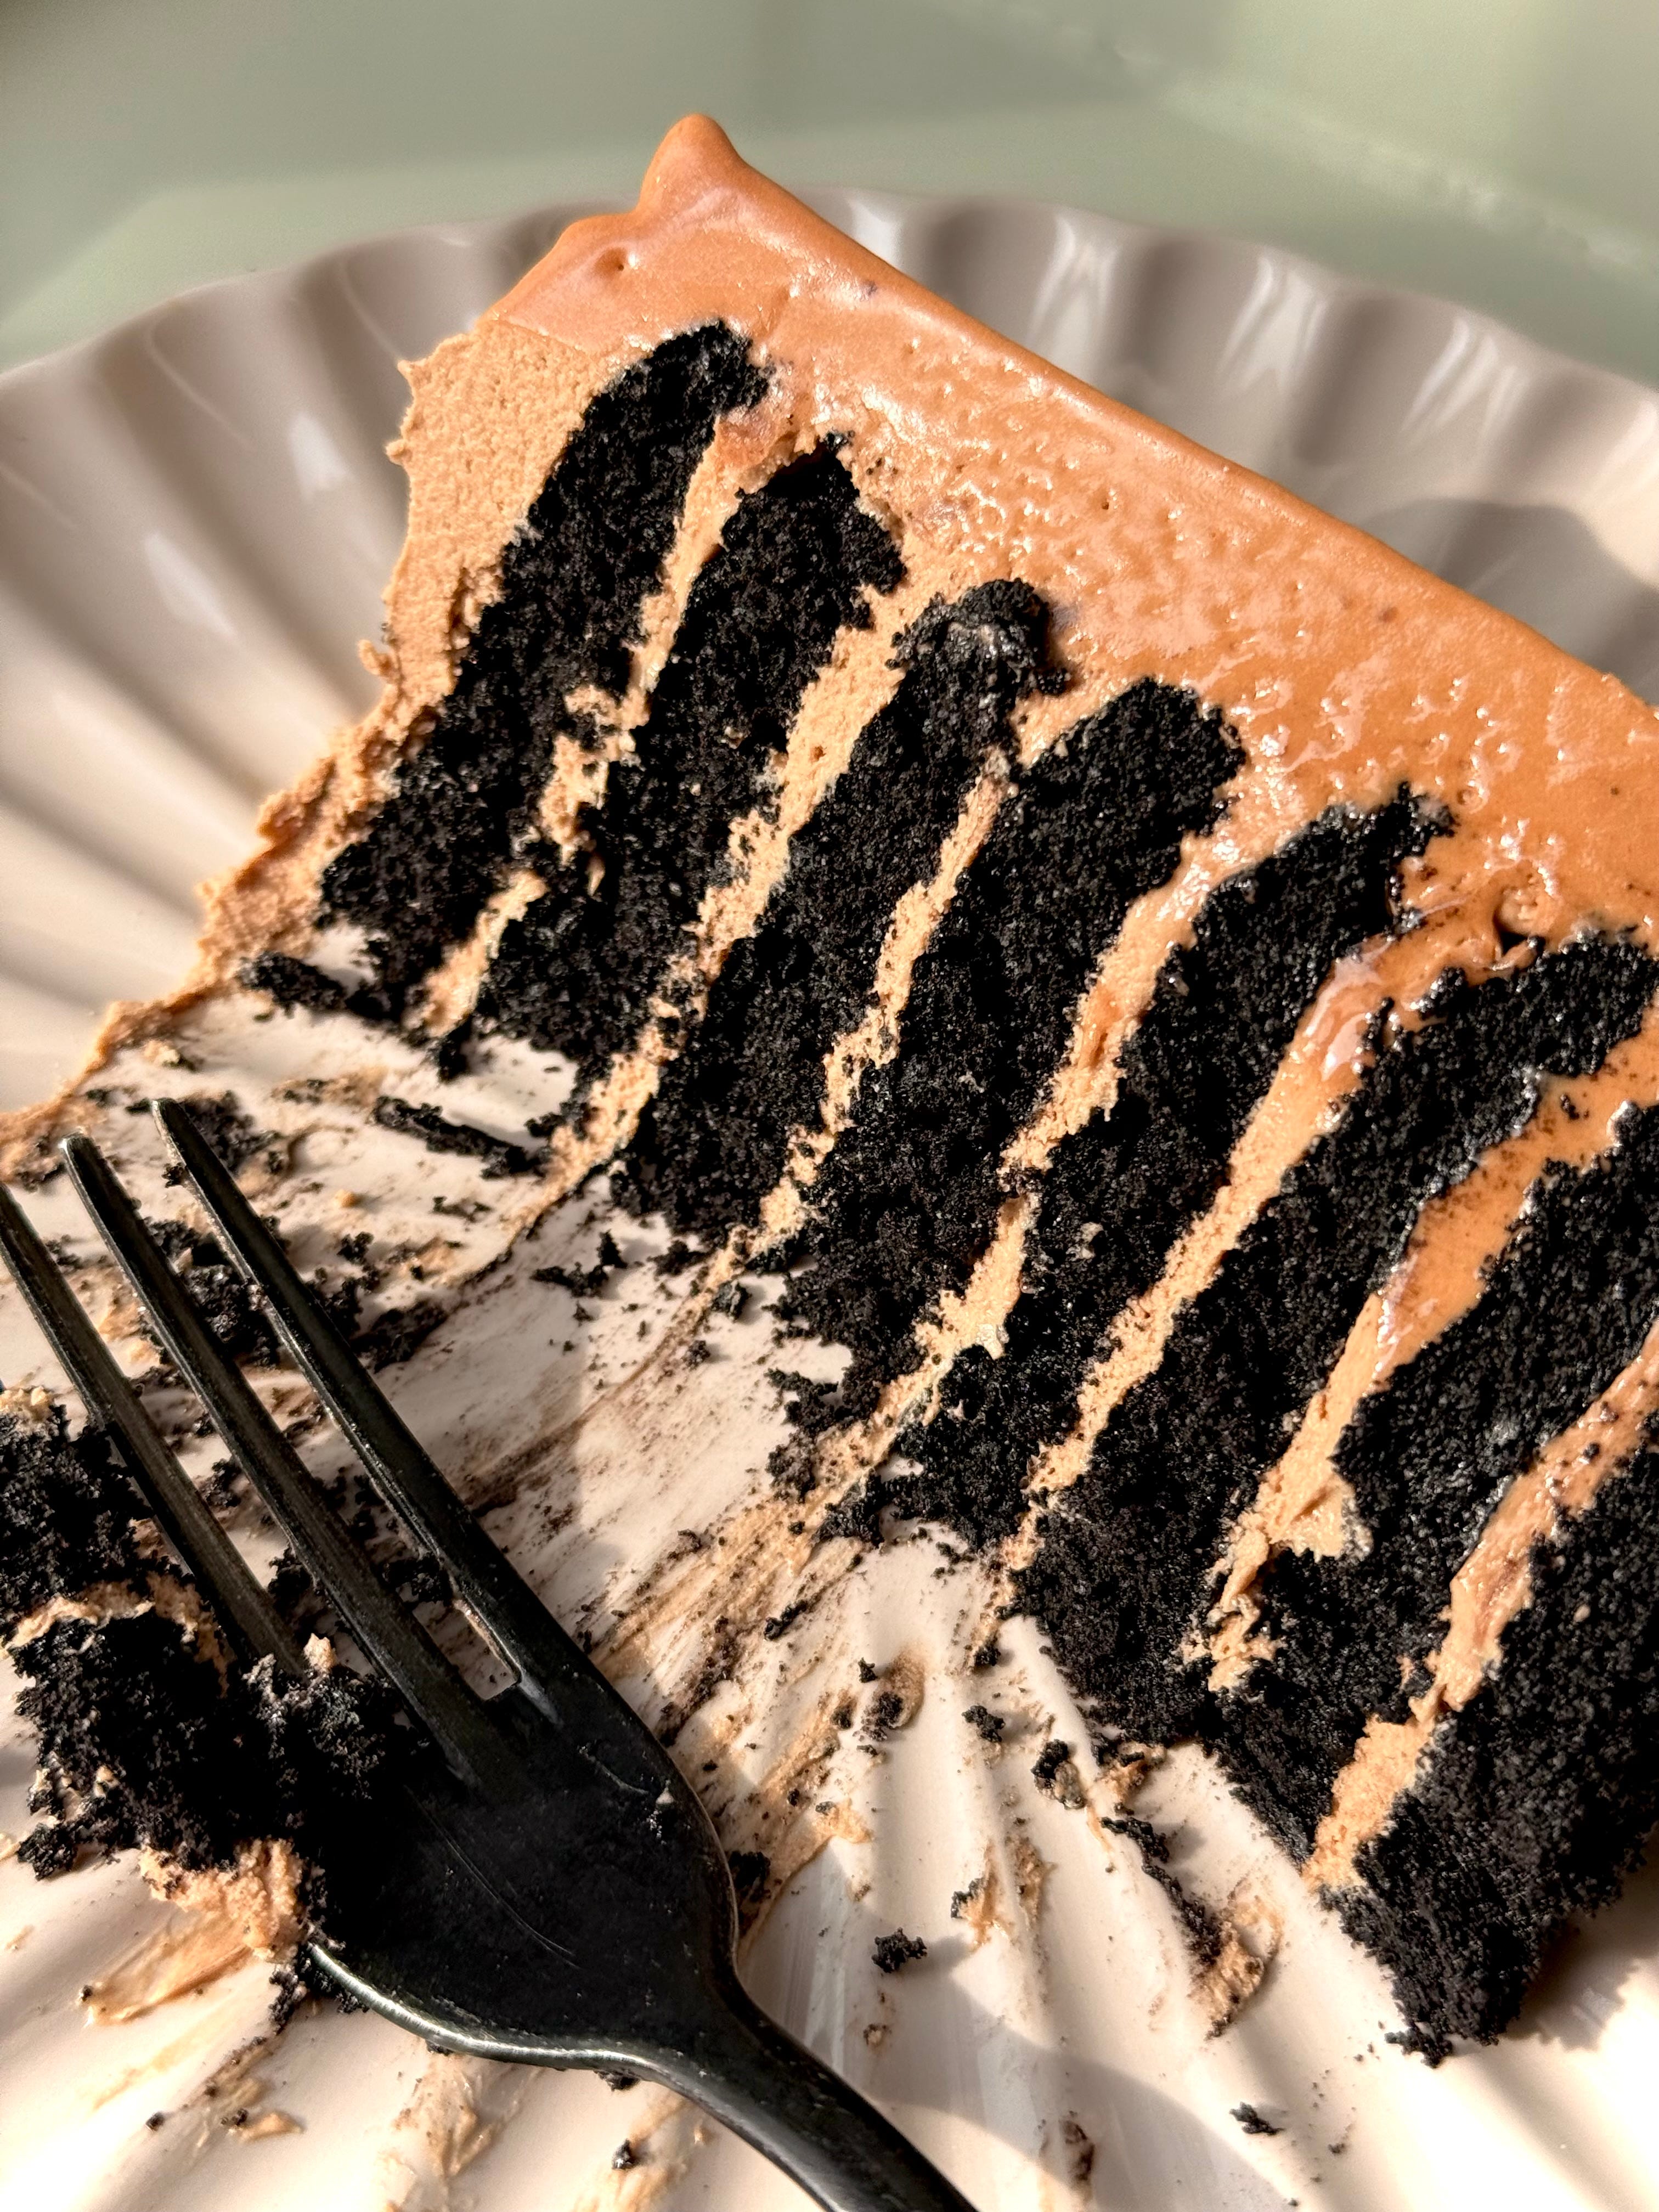
First up on the menu we have something that looks incredibly high maintenance but is in actual fact so unbelievably easy to make. My 16 Layer Chocolate Cake features 8 super moist, tender, thin yet decadent layers of black cocoa mud sponge, all smothered in a salted chocolate condensed milk frosting.
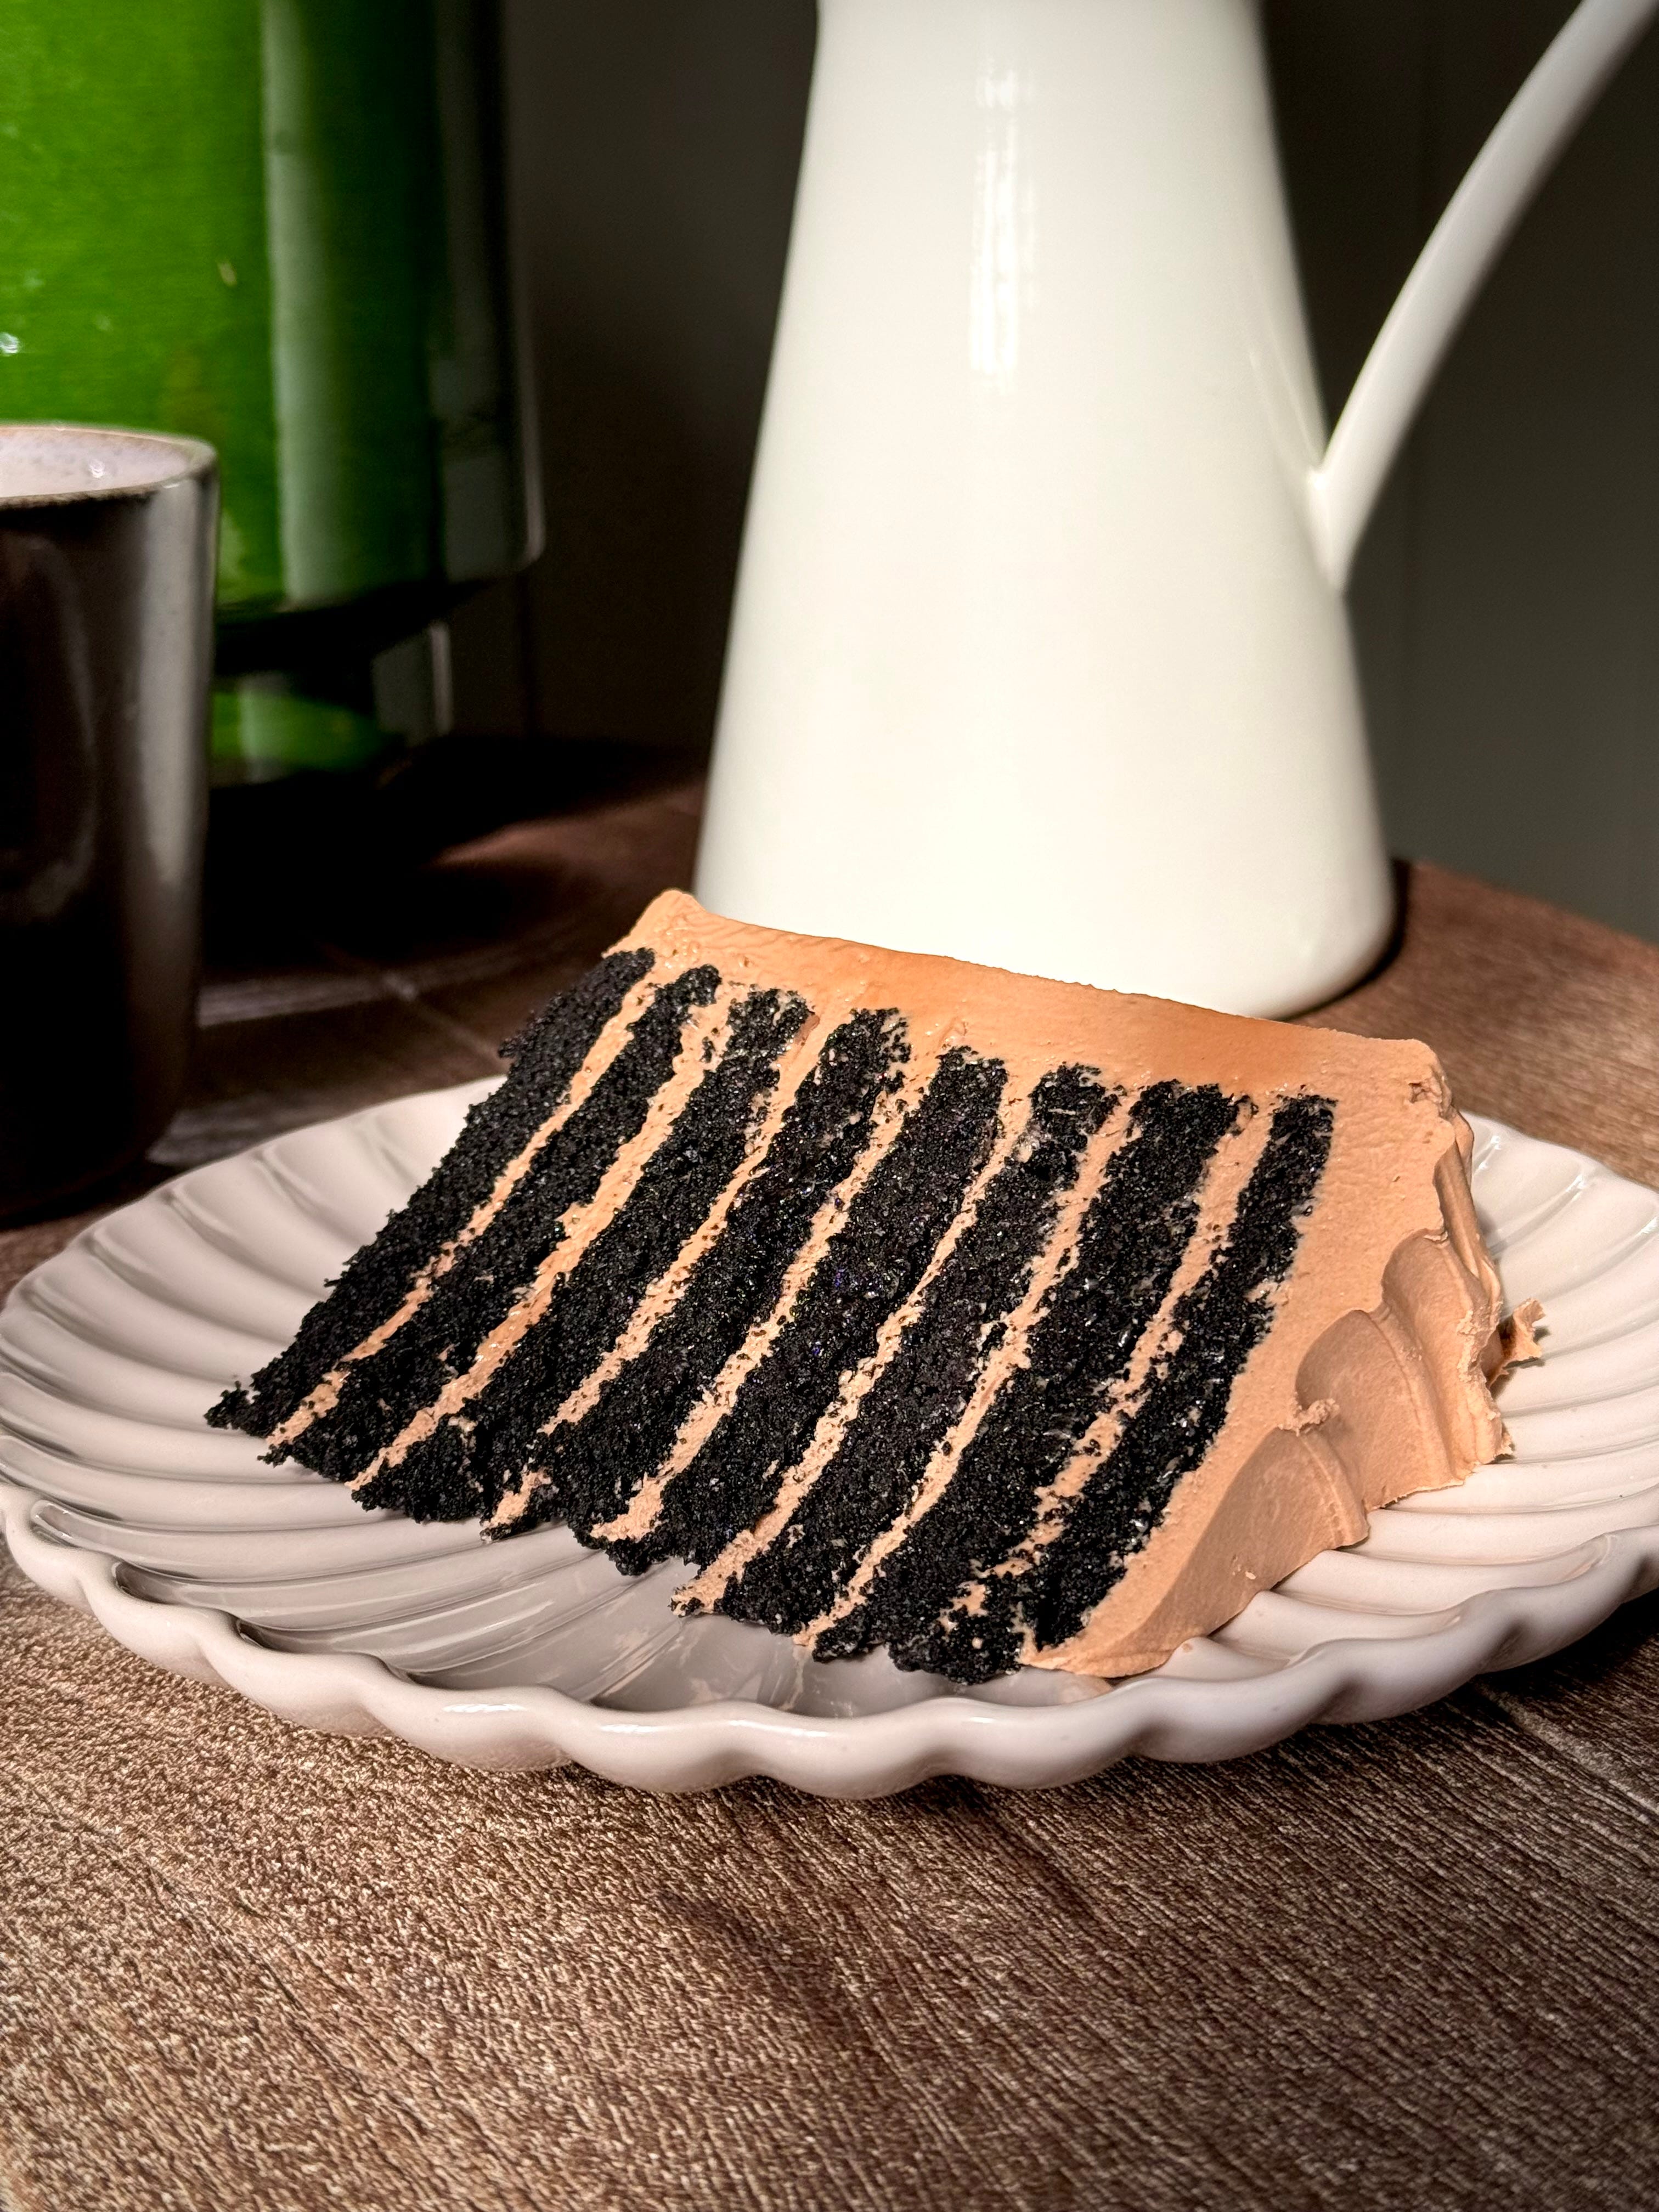
It’s a real mix of sweet and salty and whilst it may sound like it would be too sweet, the flavours are all well balanced to create a real moreish treat. This special number looks the part so would be fab to serve up as a birthday cake or, if you want something a little more understated, you could bake the batter into 2 x 20 cm / 8 inch tins, at the same temperature, for 30-32 minutes for a more traditional sandwich cake set up.
Whichever way you decide to make this number, I promise you, you won’t be left disappointed. What would make an excellent addition to an already excellent cake would be a lovely little fruity compote which you could add as an alternating layer or you could serve up alongside each slice.

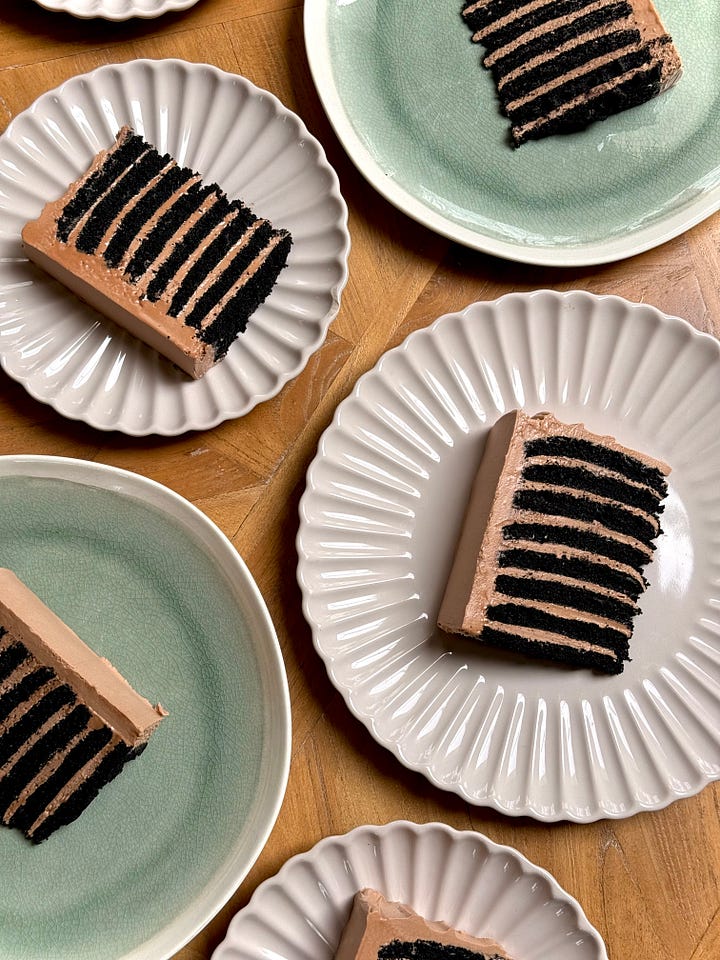
The beauty of the thin layers means the sponges cool suuuuper quickly. So if you are after a speedy little number, this is your gal. I appreciate the addition of coffee (which is only used to help intensify the chocolatey flavour) isn’t for everyone, so feel free to substitute with same quantity of boiling water or even hot chocolate.
Time to get stacking.
Recipe Makes: 8 x 18 cm / 7 inch sponges
Recipe Serves: A LOT.
Y O U – W I L L – N E E D –
Sponge
225 g Plain Flour, sifted
2.25 g Baking Powder, sifted
115 g Black Dutch Processed Cocoa Powder, sifted
440 g Light Brown Sugar
1/2 tsp Sea Salt
2 Large Eggs
200 g Buttermilk, room temp
50 ml Veg oil
50 g Unsalted Butter, melted
120 ml Water, boiling
100 ml Freshly Brewed Coffee
Chocolate Condensed Milk Fudge Frosting
397 g Condensed Milk Tin
300 ml Double Cream
700 g Milk Chocolate, chopped/callets
200 g Icing Sugar, sifted
200 g Unsalted Butter, room temp
1 tsp Sea Salt
M E T H O D –
For the sponges, preheat the oven to 150°C Fan/170°C/340F/Gas Mark 3 and grease and line 4 x 18 cm / 7 cm cake tins (we are going to bake the sponges in two batches for ease or if you only have 2 tins, 4 batches).
Add all the dry ingredients to a large bowl and use a balloon whisk to mix until well combined.
In a separate bowl, add all the wet ingredients, and use a balloon whisk to mix until everything is smooth.
Pour the wet mix into the dry and use the balloon whisk to begin mixing. Switch out to a rubber spatula and use to clean the sides and bottom of the bowl to make sure there are no flour pockets.
Evenly divide the batter between the tins – you will need to add approx. 174 g of batter per tin for even layers.
Pop in the oven and bake for 11 to 12 minutes, or until the top bounces back when lightly pressed. Remove from the oven before immediately turning out onto individual sheets of clingfilm/saran wrap. Wrap the sponges and leave to cool at room temp.
Reline the base of the tins and add another round of batter. Bake again and repeat until all the batter has been used.
Make the frosting by adding the condensed milk, 100 ml double cream, milk chocolate and salt to a pan. If you have an induction hob, place over a medium heat, stirring often until the chocolate has melted and you are left with a rich chocolate ganache. If you have a gas hob, add condensed milk and double cream only, warming until near boiling before adding the chocolate and salt and stirring until smooth.
Leave to cool until just lukewarm before transferring to a mixing bowl alongside the icing sugar.
Use the whisk attachment to mix until the chocolate until lighter in colour and texture.
Switch out to the paddle attachment before adding the room temperature butter in stages, mixing well between each addition on a medium speed.
Finish by adding 100 ml double cream and mixing until you are left with a medium peak cream. If feeling a little loose, pop into the fridge for 30 minutes to stiffen.
Place a sponge onto your serving plate. Use an ice cream scoop to add 2 scoops of cream on top (this will allow for even layers). Use an offset palette knife to smooth over for an even layer.
Repeat the process until all sponges are used. Crumb coat with half of the remaining cream and pop in the fridge for 30 minutes before adding the final coat and decorating as you wish.
Pop into the fridge to set for at least 1 hour, before using a hot sharp knife to slice.
Serve each slice with a sprinkling of sea salt to finish.
Moving onto what was another easter inspired recipe (I know it was weeks back but give this poorly gal a break), with my Mini Egg & Chocolate Cornflake Cookies. And so sure, yes, they absolutely scream of Easter and whilst mini eggs may be fresh on their yearly hiatus, you can easily substitute them for chopped chocolate and THEN my friends, you are left with a crunchy, crispy, ooey gooey, oh so chocolatey, oh so delicious, unctuous, decadent and super indulgent cookies.
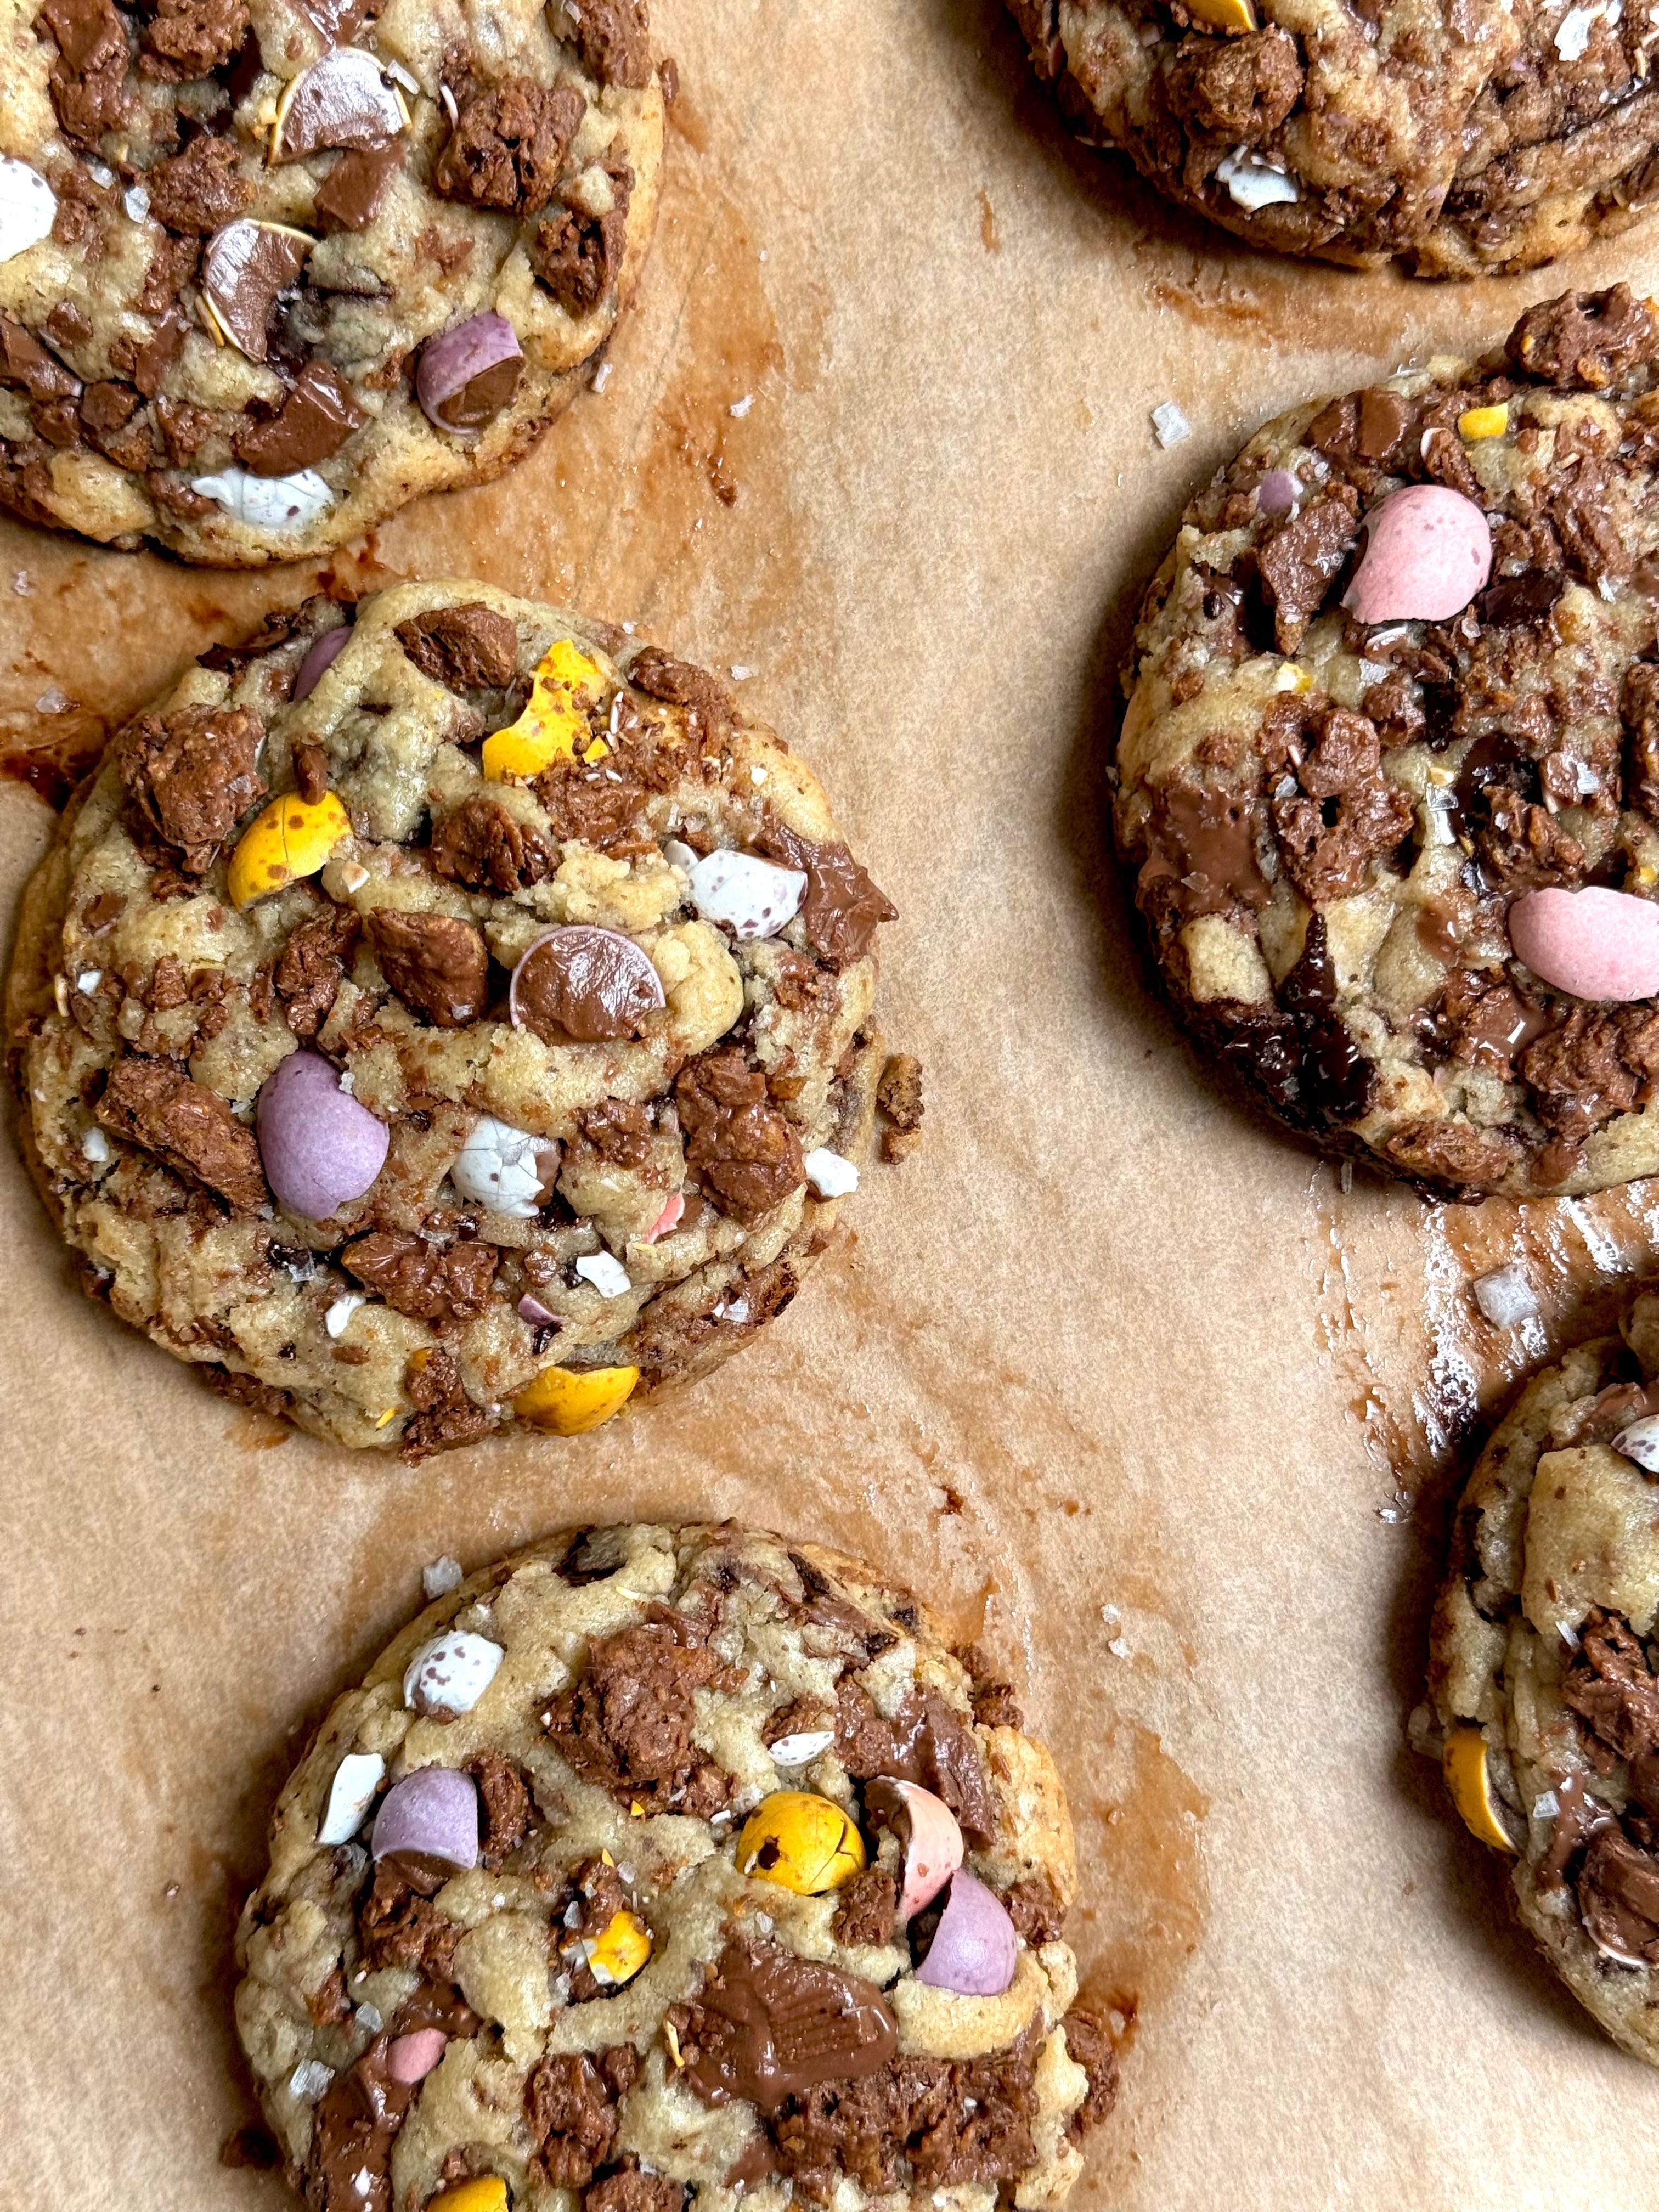
I’ve declared myself the cookie queen on more than one occasion and whilst it’s very frowned upon to toot one’s own horn, we are bloody tooting it alright because these babies ARE THE SH*T. My freezer is always well stocked with unbaked cookie dough, and for good reason. Whenever the mood strikes, I just raid the freezer stash, pop one in the oven, bake it for less than 15 minutes, let it sit for as long as my patience allows and go to town. Never once am I ever left unsatisfied but almost every time, I wish I had baked just one more.
The below also serves as a real solid base for a standard cookie recipe. We are using brown butter here to help bring real depth to the base, whilst using two different types of sugar to bring moistness and structure. I know the addition of condensed milk may seem quite rogue but between you and I, it is my secret ingredient which I swear by for the sort of cookies you just can’t stop shoveling into your mouth.
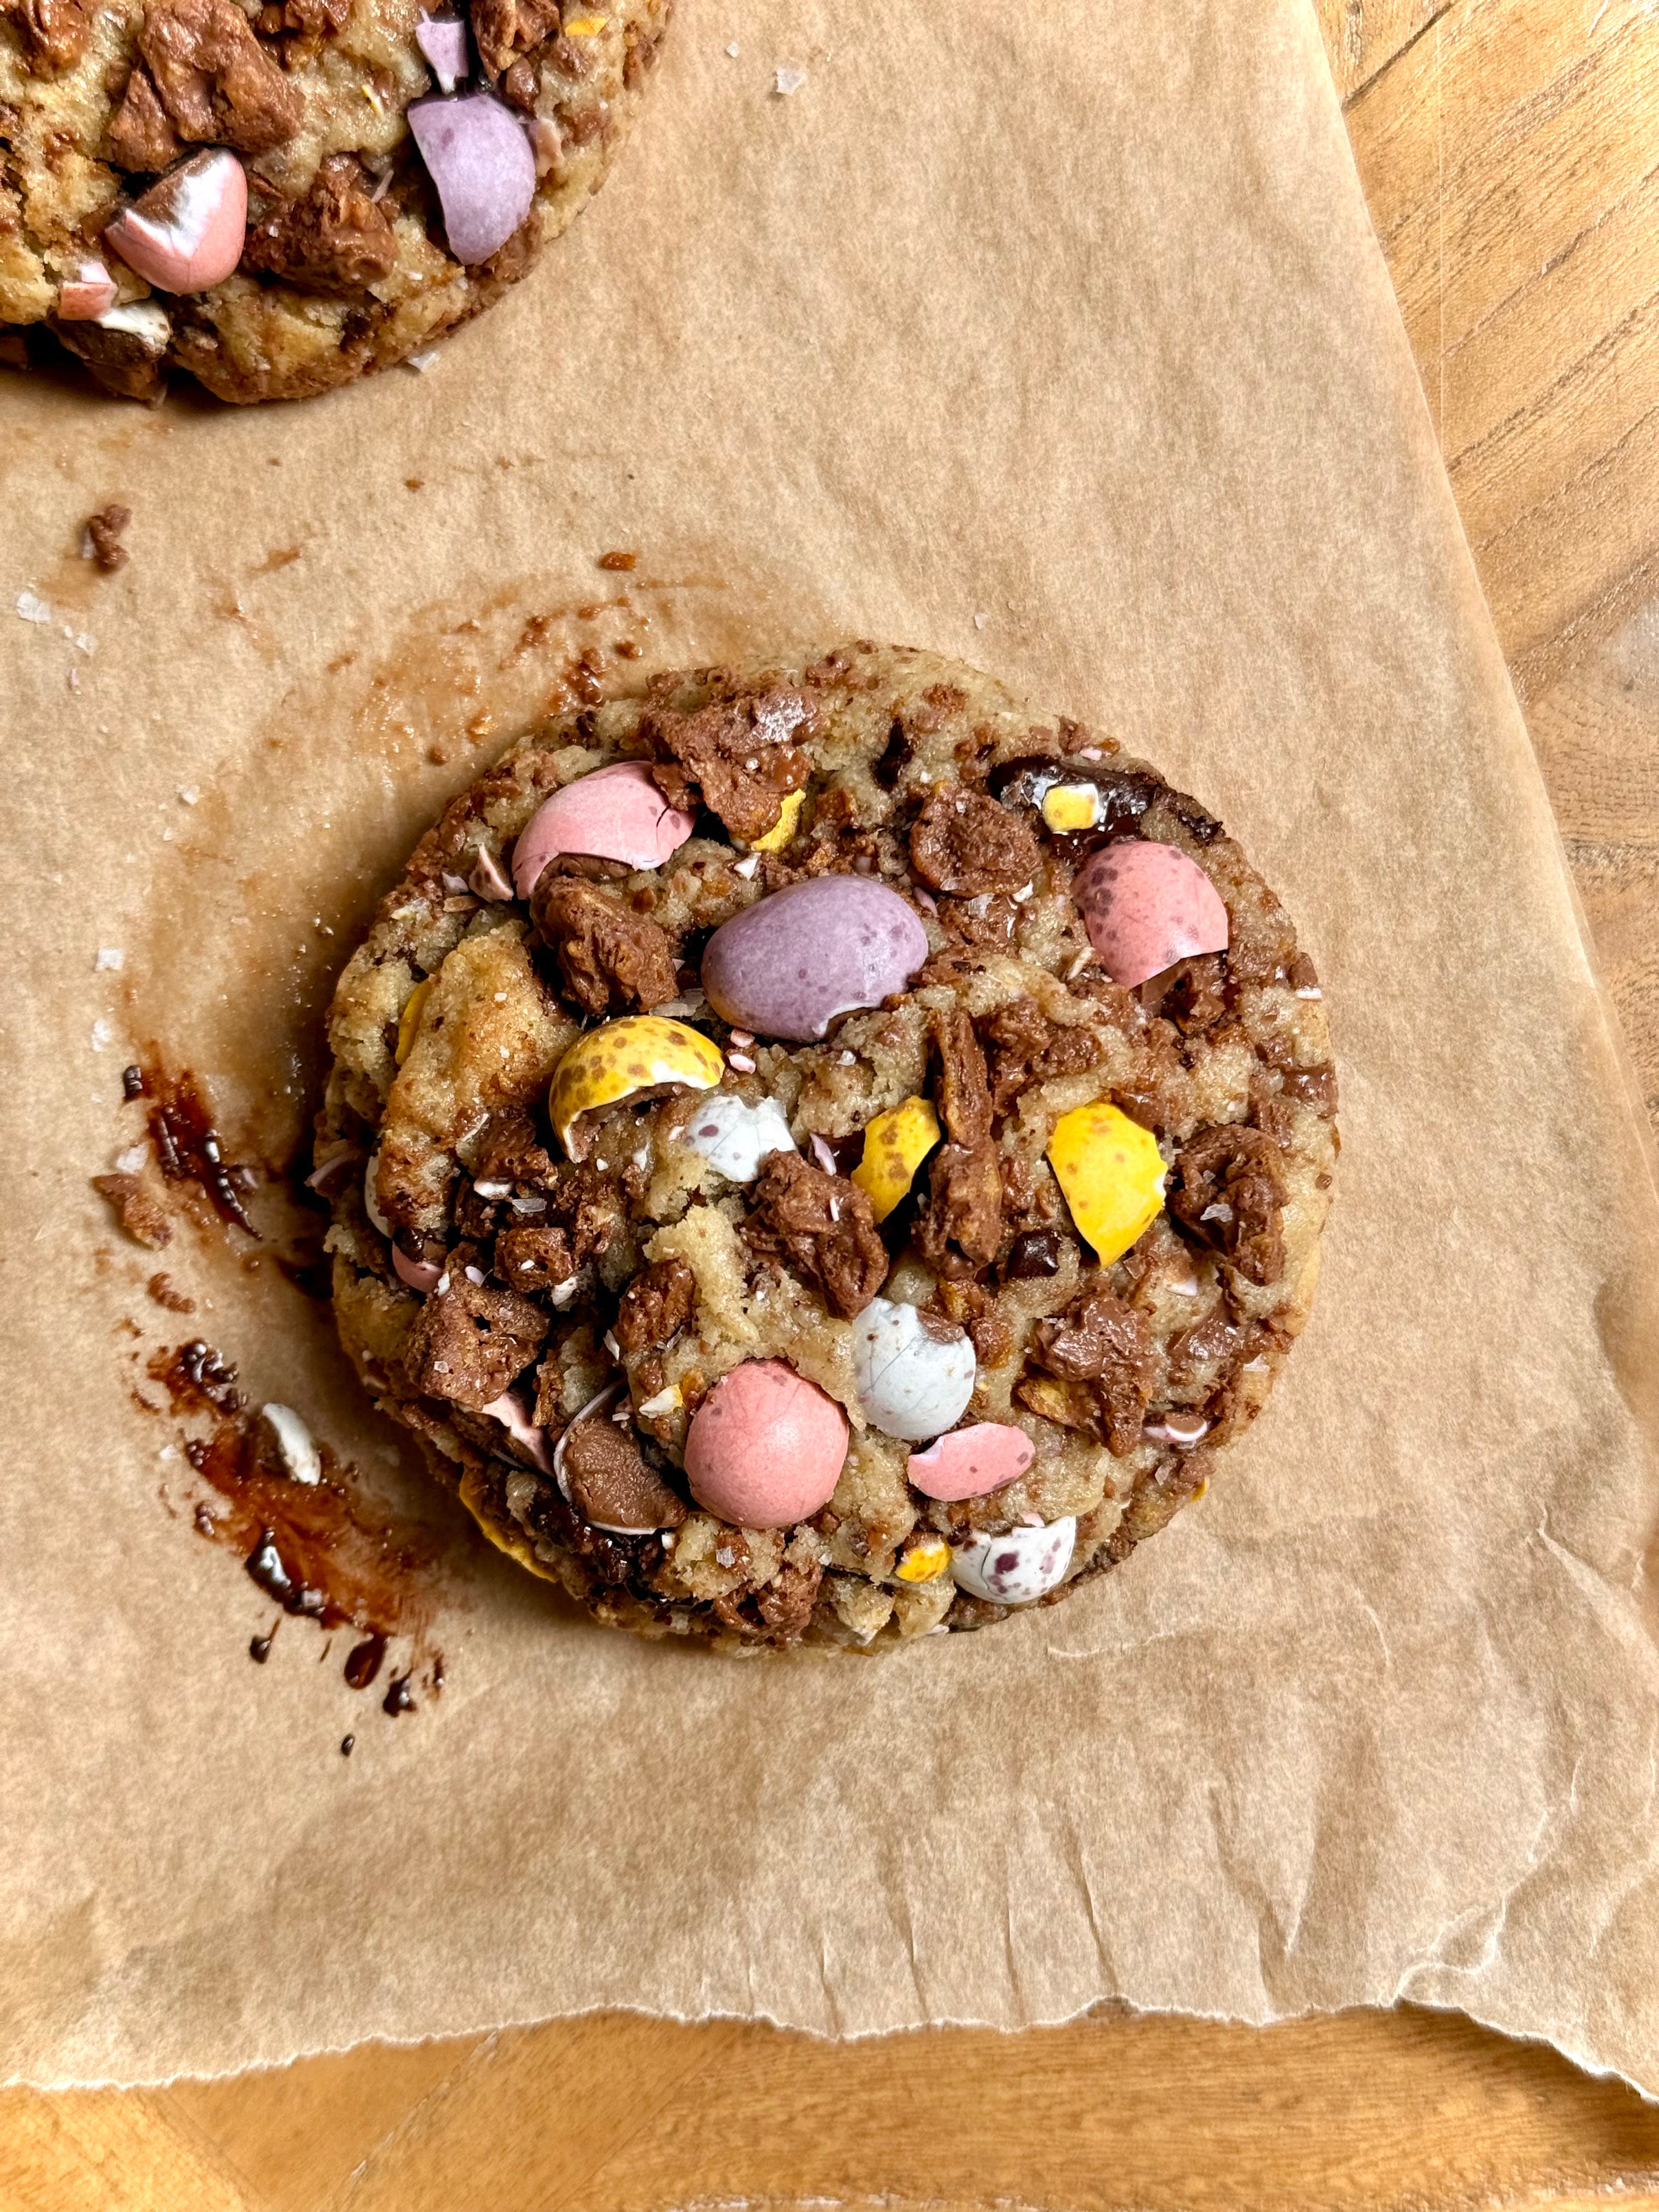
The cookies NEED to have an overnight sit in the freezer to help you achieve a thick gooey middle and to prevent them spreading too much whilst baking. And don’t be shy with the final sprinkling of sea salt to finish everything off to help offset all that sweetness.
Feel free to add in whatever additions you have lurking in your cupboards to roll your cookies in but be careful of adding too many additional drying ingredients into the cookie mix – and don’t be tempted to add the crushed cornflake mix to the cookie dough. I learnt my lesson quick on that one. No one wants a sad dry cookie. Gimme thick, gimme gooey, gimme just baked middles ANY DAY.
Recipe Makes: 10 Large Cookies
Recipe Serves: 10
Y O U – W I L L – N E E D –
Cookies
125 g Chocolate Spread/Nutella
250 g Unsalted Butter, diced
110 g Light Brown Sugar
110 g Caster Sugar
1 Large Egg
120 g Condensed Milk
1.5 tsp Vanilla Bean Paste
320 g Plain Flour, sifted
45 g Cornflour, sifted
1 tsp Baking Powder, sifted
½ tsp Bicarbonate of Soda, sifted
¾ tsp Sea Salt
50 g Milk Chocolate, roughly chopped
60 g Dark Chocolate, roughly chopped
100 g Mini Eggs, roughly chopped
Choc Cornflake Crunch
90 g Cornflakes
200 g Milk Chocolate
Pinch of Salt
To Finish
50 g Milk Chocolate
100 g Mini Eggs
Sea Salt
M E T H O D –
To begin, transfer the nutella to a piping bag. Pipe 1 inch rounds onto a lined baking tray and place into the freezer until frozen.
Move onto making the chocolate cornflake mix by melting the chocolate until smooth. Add a pinch of salt before pouring in the cornflakes. Mix well to thoroughly coat.
Transfer onto a sheet of greaseproof paper/silicon mat and smooth down to an even layer. Pop into the fridge to set for 30 to 45 minutes.
Once set, break up into chunks and chop into small clusters. Leave to one side.
For the cookie dough, brown the butter by adding the unsalted butter to a pan and placing over a low to medium heat. Gently melt the butter. Once melted, continue cooking until the milk solids begin to turn a dark golden brown colour. They’ll pool at the base of the pan looking like crumbs and the butter should smell buttery. Remove the pan from the heat and place into the fridge to cool.
Once cool but not set firm, add 230 g brown butter into a mixer bowl alongside the two sugars. Note: you need to melt more butter than needed in the recipe as the water content will reduce when being cooked so make sure you weigh it before adding to the bowl.
Cream together for a minute or two. We don’t want this to be light or fluffy, we just want this combined.
Next, add the egg, condensed milk and vanilla bean paste. Mix until combined.
In a separate bowl, add the plain flour, cornflour, baking powder, bicarbonate of soda and salt. Mix using a balloon whisk.
Add the chopped milk, dark choc and mini eggs before adding the mixed flour to the mixer bowl.
Mix until everything has combined and no visible streaks of flour are left
Use an ice cream scoop to scoop out dough balls (mine were about 120g per dough ball to make 10 cookies). Flatten each ball with the palm of your hand and add 2 to 3 frozen nutella rounds.
Wrap the dough around to completely encase and mould into a cylinder shape.
To a clean work surface or chopping board, add the cornflake mix, 50 g chopped milk chocolate and 100 g mini eggs. Lightly mix with your hands.
Roll the sides and press the tops of each dough ball into the chocolate mix and place onto your lined baking tray. The taller you shape your cookie dough ball (eg cylindrically as opposed to round) the chunkier the cookie will be. Keep any surplus choc mix to one side to top the cookies once baked.
Place the baking tray into the freezer and leave for at least 1 hour until frozen through, but preferably overnight for better flavour development.
Once frozen, preheat the oven to 160C Fan/180C/350F/Gas Mark 4.
Place a few of the dough balls onto a lined baking tray leaving plenty of space around each one and bake for 16 minutes, until the edges are golden. The middle will still look like a big mound but this will flatten out when cooling.
Remove the tray from the oven, use a glass or cookie cutter to scoot around the edges to tidy up and sprinkle/gently press any surplus choc mix onto the tops. Generously sprinkle over sea salt to finish.
Let the cookies sit on the tray for at least 45 minutes before moving them onto a cooling rack. Note - moving the cookies before they have set may result in a delicious mess. If you are unable to pick them up, continue letting them cool on the tray until you are.
And moving onto the main bake of the day, my Spiced Carrot Cake with Whipped Burnt Honey Cream Cheese. I have been meaning to share a recipe for a carrot cake over here for some time after I was asked for my go to recipe from someone on Instagram a while back. One of the best carrot cakes I have ever eaten was from a little Spanish bakery, when I was living in Spanish Harlem in New York years back.
It was simple, not heavily spiced but was topped with a hefty amount of sweet cream cheese frosting and came adorned with a cute little carrot shaped fondant on top. Sat eaten on the floor of this apartment I was subletting (a real expansion of the truth – in reality, I was paying an extortionate amount to sleep on a futon next to the refrigerator in the kitchen), whilst watching ‘It’s Complicated’ - a film that would unknowingly plant a seed and shape my future.
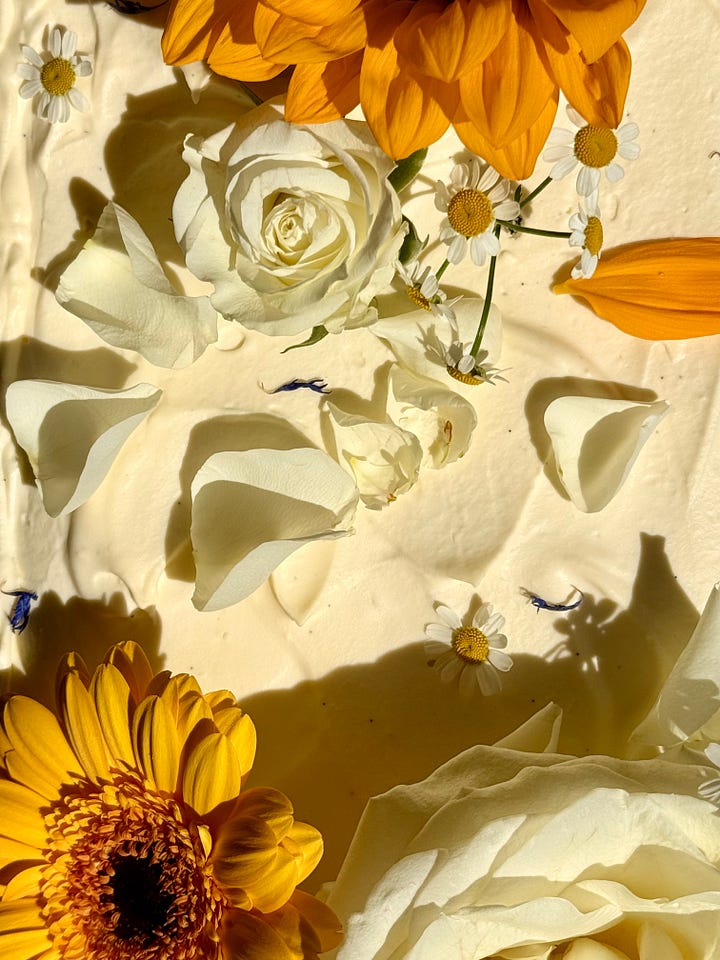
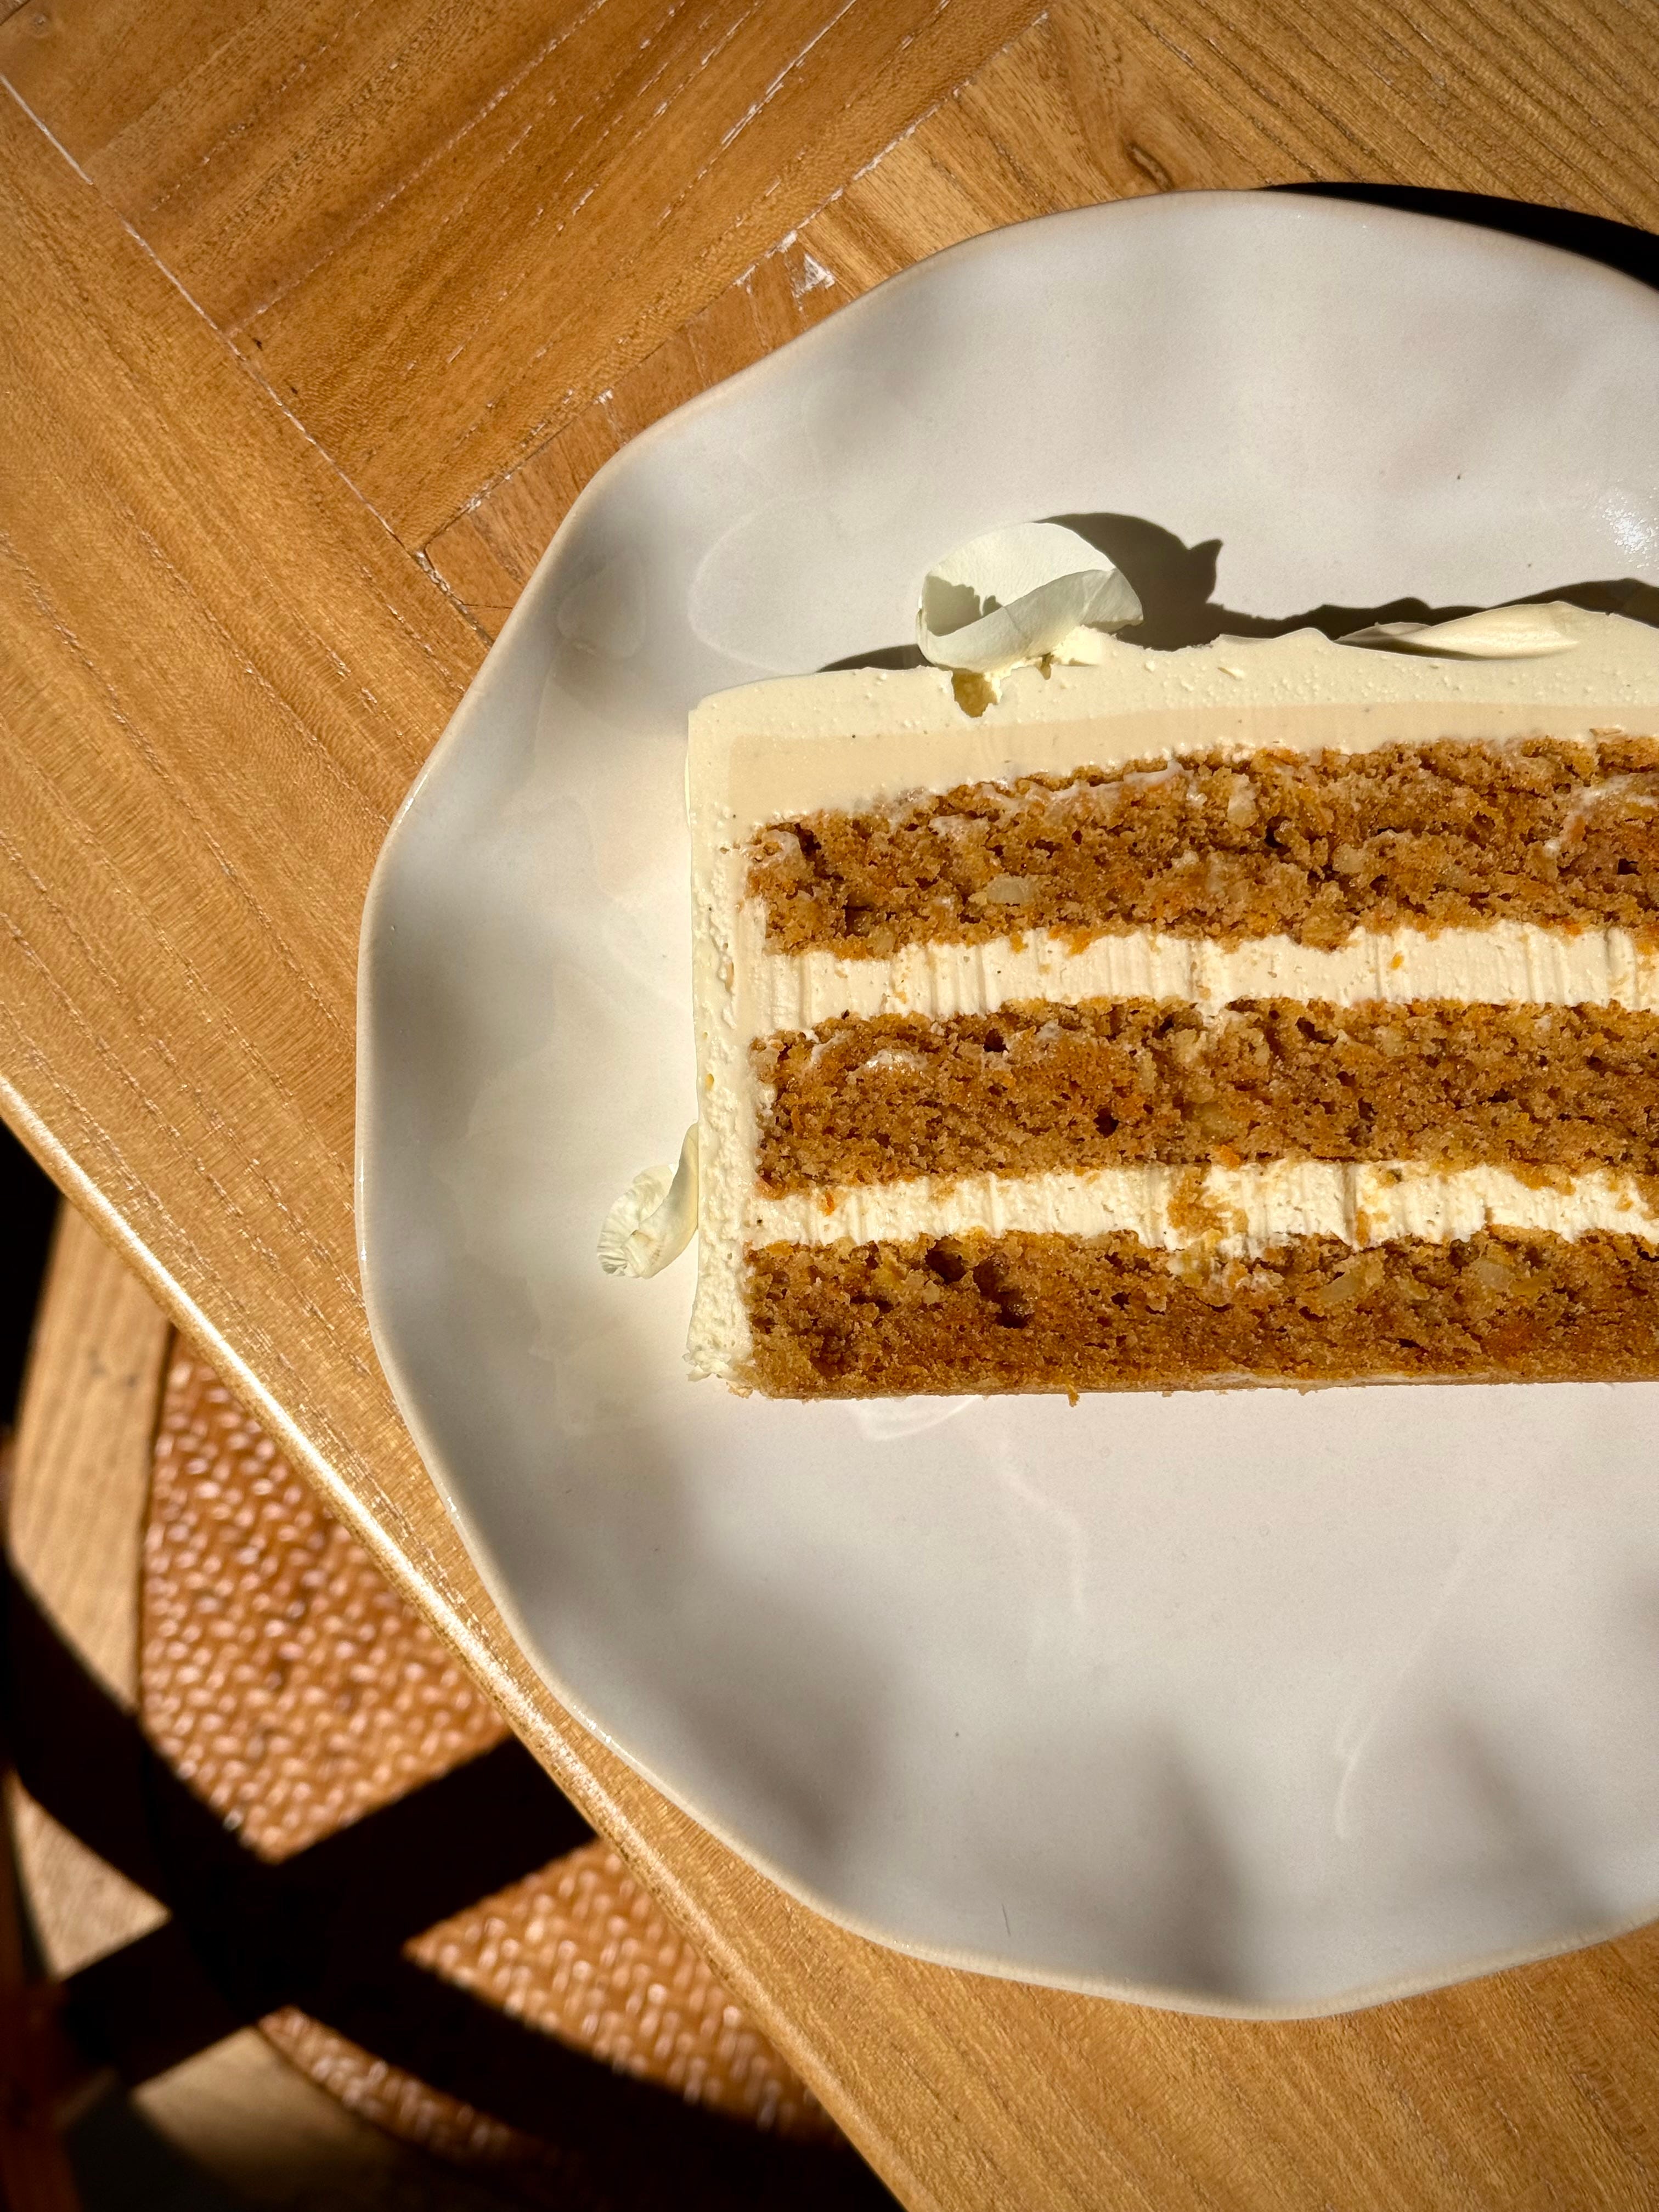
Whilst this carrot cake is NOTHING like that simple affair, it is truly special in its own way. Heavily spiced with cinnamon, cardamom, and a touch of nutmeg, studded with chopped blanched almonds for a bit of texture, lightly soaked in pineapple juice (yes!!) and smothered with a whipped burnt honey cream cheese. It’s warming, comforting, deeply flavoured, sweet with a slight hint of saltiness and finished with the most addictive whipped cream cheese.
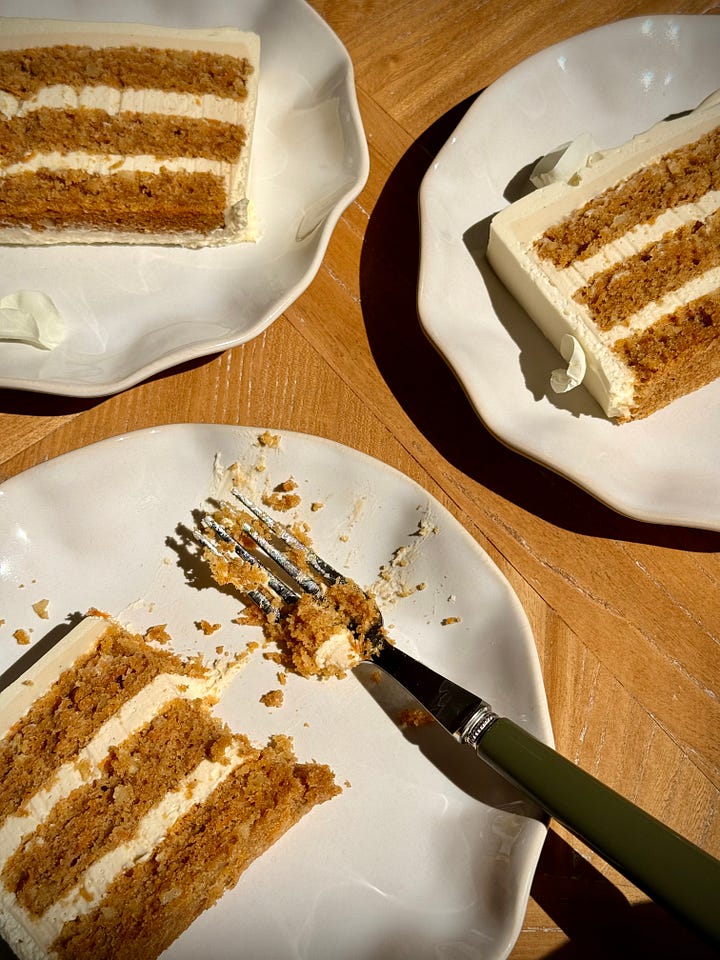
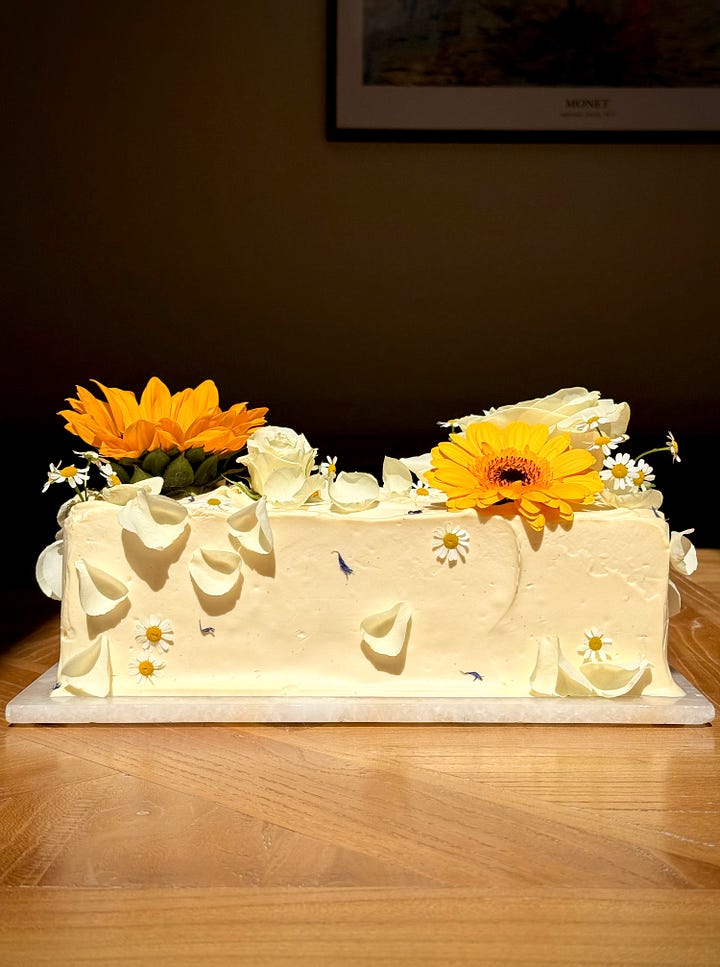
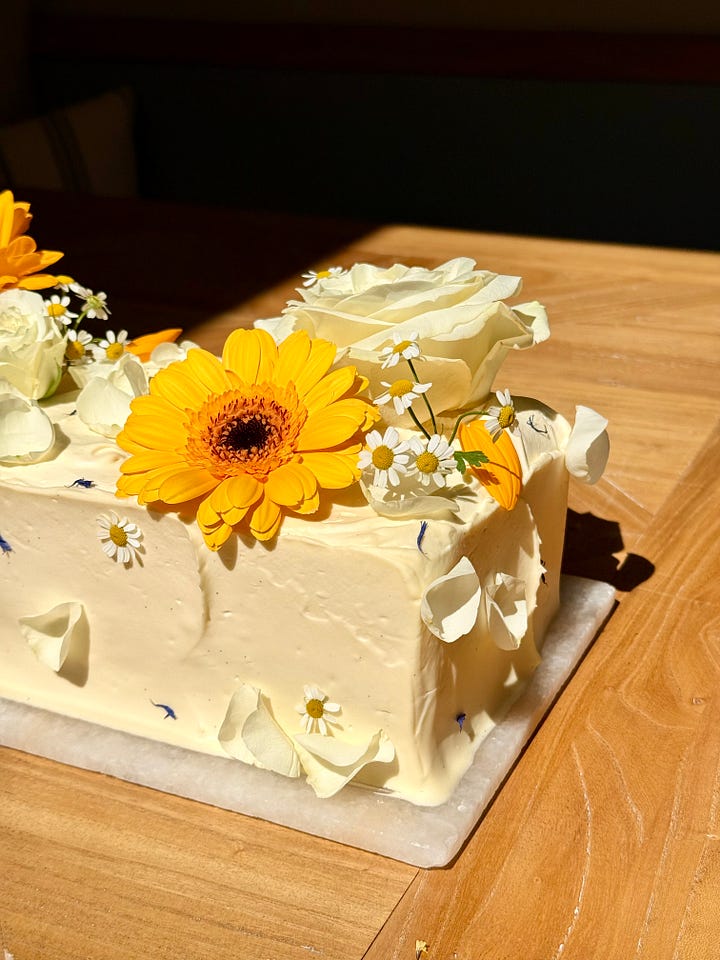

Let’s address the two standouts which may have piqued your interest – 1) pineapple. Adding it helps to retain moisture, sweetness and works as an addition to enhance the overall flavour profile and 2) burnt honey. It sounds like it shouldn’t be good or work but I promise you, it really does. It’s very on trend and has been popping up in lots of recipes recently but if you tried my Russian Honey Cake from the wedding series last year, you’ll know it’s a core component to that cake and that cake is nothing short of sublime, let me tell you. The burnt honey results in something sweet, slightly bitter but rich in flavour, allowing a small quantity to pack a real punch.
This is one of them recipes you can pull out your back pocket all year round. Whether it is a birthday, an anniversary, a Sunday, or a whatever day – I promise you, this cake is always the answer.
Recipe Makes: 1 x 30 by 40 cm / 12 by 16 inch shallow baking tray
Recipe Serves: 12 generous slices
Comments
Nothing yet. Say the first thing.
Sign in to join the conversation.