
Friends!
Hello and happy bloody Freeday am I right??
I hope you have all had a lovely week so far? I have been up to my eyeballs in recipe developing, filming, editing, planning, and looking after a new second dog (more on that later if I get the chance) so have rarely seen outside the four walls of my kitchen this week but my my myyy, the odd bit of sunshine that has graced my kitchen this week has been nothing short of glorious.
As someone who is known to err on the stonehearted side of life (feedback from James who is Cancerian, which shouldn’t need any further explanation cause IYKYK and if you don’t, consider yourself a chosen one), I have been feeling oddly hopeful recently? What is this mild buzz of excitement zipping through my veins? How have I become a person joyful at the mere sight of flowers beginning to bloom in her front garden?




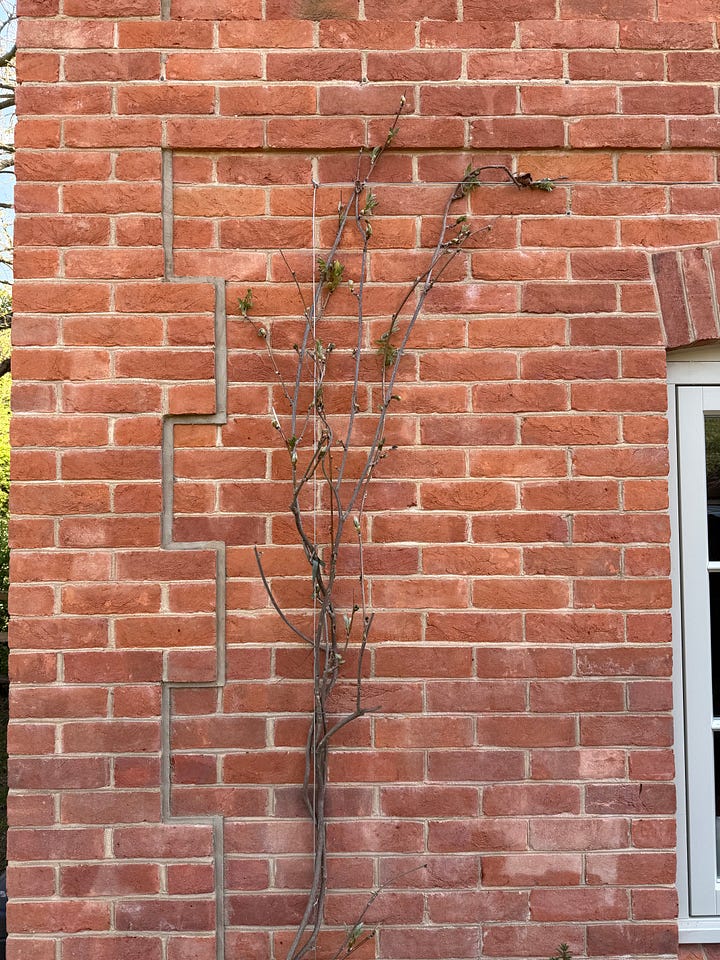
And goodness me, don’t even get me started on my wisteria starting to bud on the front of the house. I remember telling you guys last year that I have a picture album on my phone called ‘wisteria’ where I snap daily pics to monitor growth and I am honestly jazzed that the album has been resurrected once again. None of my newsy rambles are ever edited or filtered in any way and fear what I have just written to be extremely exposing. So much so, I ain’t gonna proof read none of this because I just KNOW it will make me cringe.
Cause where is the gal who used to live for trips to Vegas, spend 5 days mostly awake fuelled by nothing but vodka, soda lime and good vibes, dance on tables, podiums and stages (true story, one time I stepped too far back mid dance move – god damn you Calvin Harris - and fell 2 metres onto the floor, got annoyed at the security for helping me up and carried on dancing) and return back home with empty pockets, no will to live but a full heart. WHERE IS SHE cause now, I am here getting equally thrilled over a wisteria album. Is this just what happens in life? You go from raving to raising flowers and veg??
But truth be told, now I’m no longer a London girly, I have well and truly embraced country living. Nothing brings me more joy than being woken up in the morning by the birds chirping incessantly outside the bedroom window. Back in London? That was a police siren. An ambulance blaring. A fire truck storming the roads. Deliveroo drivers on their mopeds who I both detest and love all in equal measures (love when they deliver food to me, detest when I am driving anywhere near them).

Now I go for daily walks to go see the donkeys and say hello to everyone who passes by, whether I know them or not. Back in London? You could get yourself in serious trouble for even just making eye contact with someone. Speaking to them would just be mad behaviour. Long gone is my toxic, one sided relationship with Deliveroo. Here James and I are planning vegetable patches in the garden cause the sheer thought of eating a tomato I have grown myself makes me want to mildly combust with glee.
And yes, with that last sentence. The penny has just dropped. I’m just old, aren’t I?
Shit.

We have a tonne of recipes on the menu this week, giving you lots of consider ahead of any hosting duties next week. Some savoury bits, lots of sweet treats and an abundance of yum for every tum.
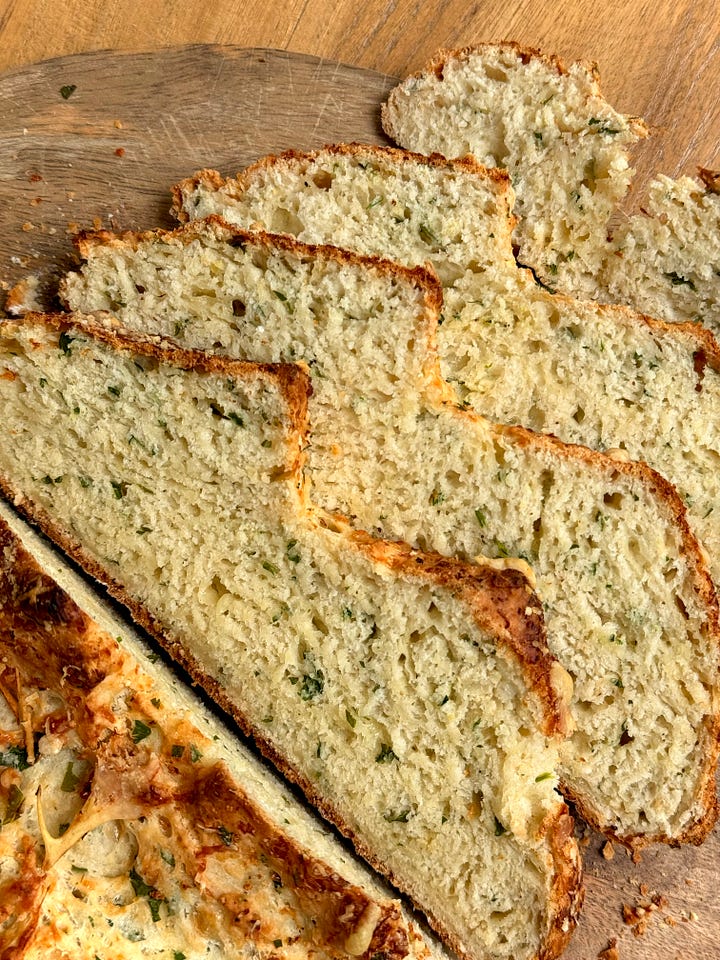
Garlic & Cheese Sodabread. Bread obsessed and this super speedy version is honestly heavenly. I have been chomping away at it every day this week and still can’t get enough. SO SO good.
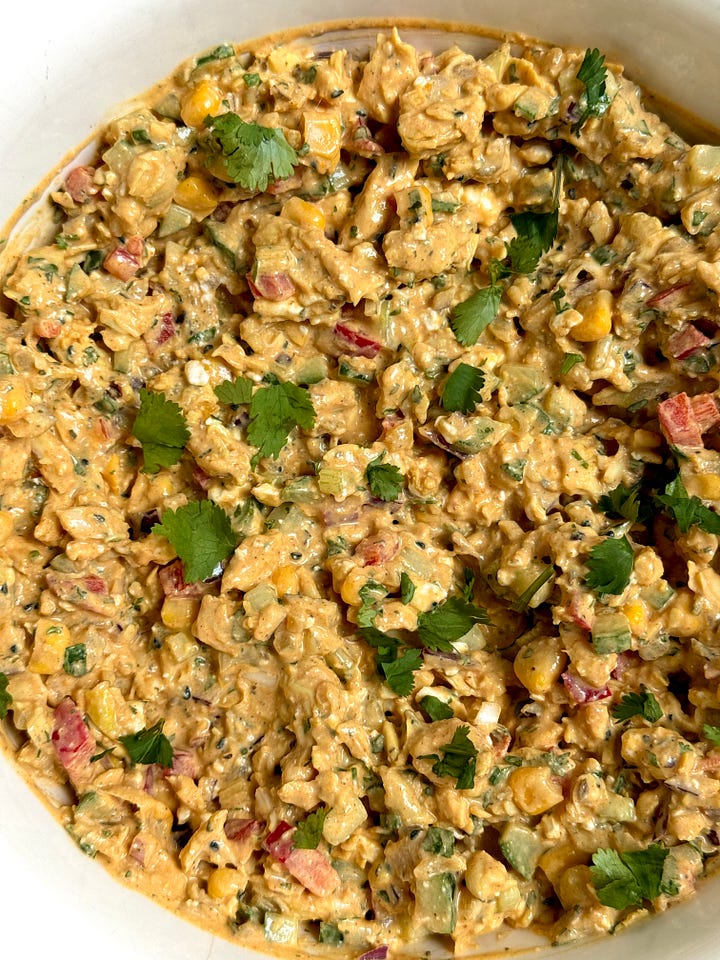
Coronation(ish) Chicken Sandwich Filler. I say ish because I think this is better than any coronation chicken sandwich filling you will find anywhere else. Elevated, delicious, moreish and packed full of protein.
Roasted Rhubarb & Strawberry Pavlova. This needs no words to sell you on it. Take a look at the pics for yourself.
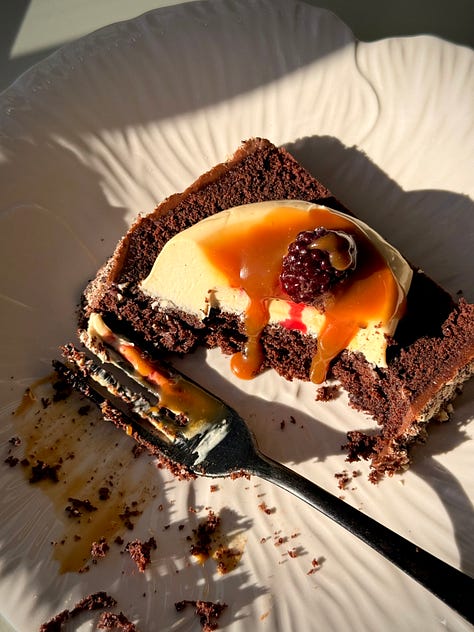
Chocolate Guinness Loaf with Salted Caramel. Yes, Paddy’s Day was last week but a chocolate loaf cake is good for any day of the week. Rich, deep, sweet and salty.
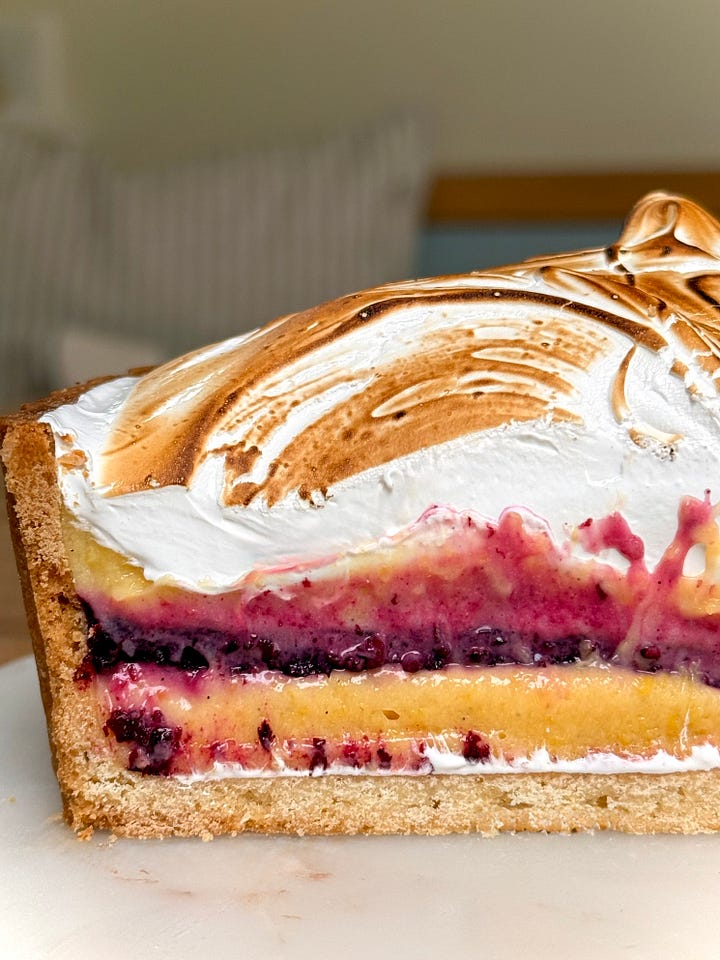
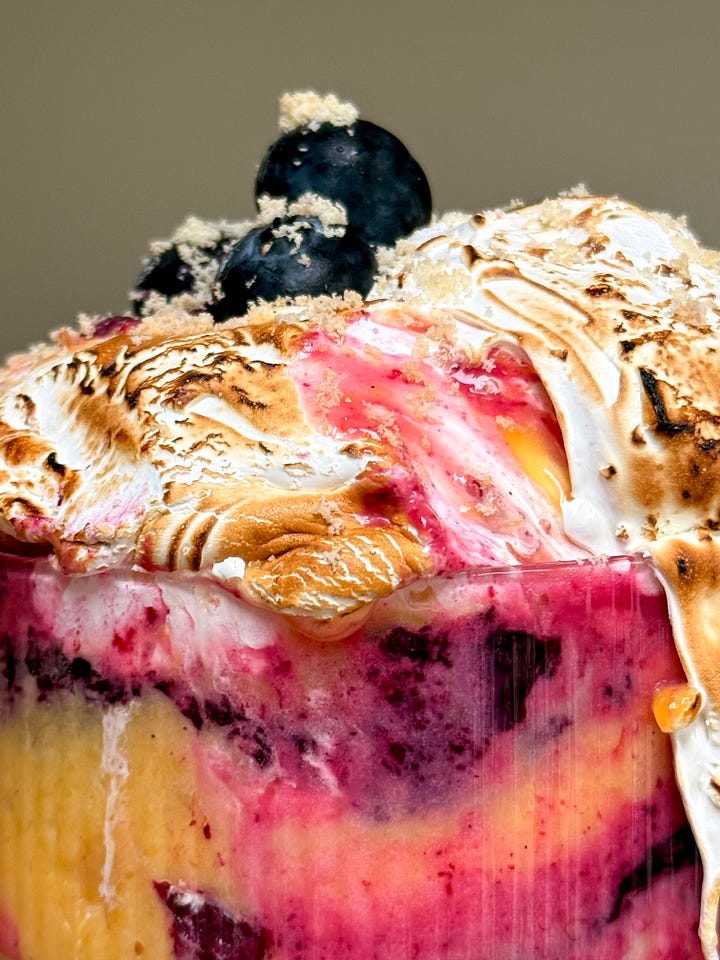
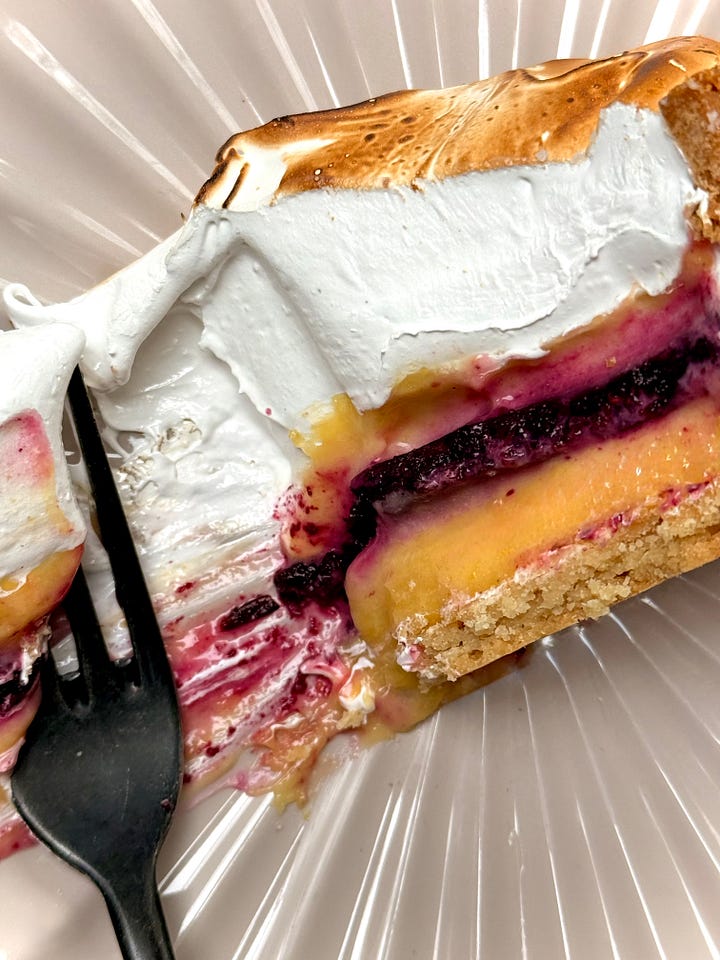
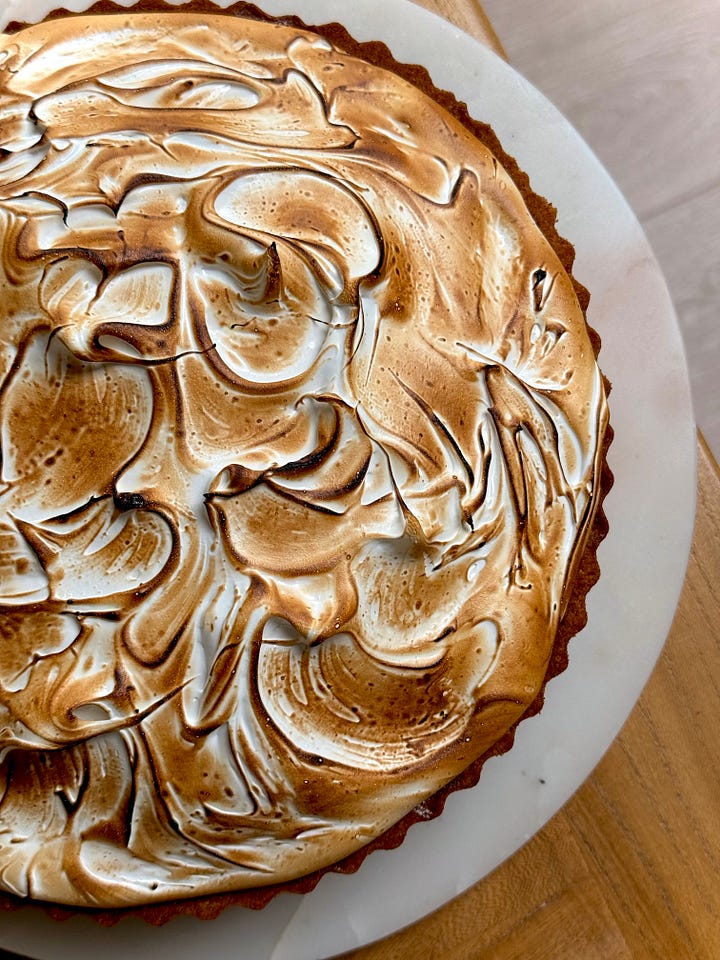
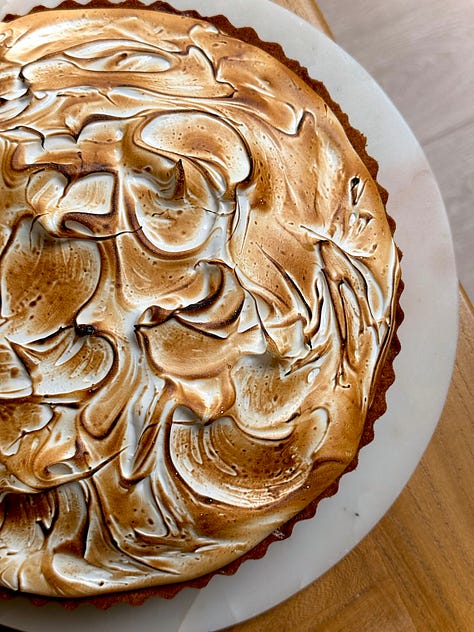
Lemon & Blueberry Meringue Pie. Like a lemon meringue pie but not as you know it. A cardamom pastry, a layer of lemon and coconut curd, a set blueberry compote, another layer of lemon curd and topped with a billowing mountain of torched swiss meringue. SO extra, just the way I like it.

I know I also promised you my ultimate lasagne last newsy but guess what prat tucked into the lasagne before taking pictures of it to show you? Yes me. I am said prat. And as much as I want you guys to enjoy that utterly scrumptious take on it, I am too embarrassed to share the last minute pictures of slop I took so will remake that again soon and share.

Suuuuuper excited to get cracking with the recipes this week because we are off to an undeniably strong start. We all know the score by now – your gal is BREAD OBSESSED. Declared it on bake off, will declare it every day in this lifetime and the next. God did me a solid by gracing me the ability to eat my body weight in bread and then some, with little to no consequence (we are ignoring the obvious weight gain end of the story cause this sh*t makes me SO HAPPY so it’s a by-product I will continue to accept).
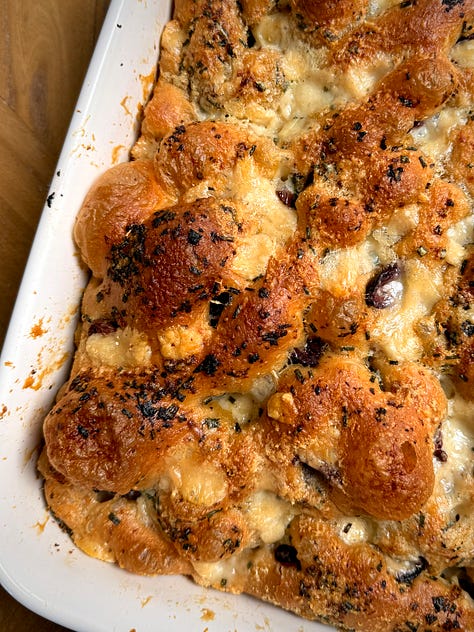
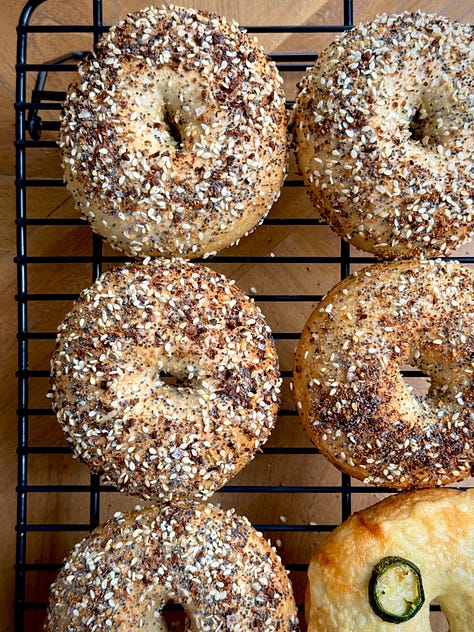

In the recent weeks we have done 2 different types of bagels, focaccia, tiger bread and now showcasing something so painfully and sinfully easy to make and incredibly delicious to top it all off. So delicious I was supposed to share this loaf with my neighbours but the thought of me parting ways with it was too much to bare, so I kept it and have eaten copious amounts of it each day since. I am currently on day 5, having just eaten my breakfast and already looking forward to eating a chunk for lunch. I go to bed excited for the next day because it means getting to eat more??? Can you have a bread addiction because if say, I say there is a fat chance I have it.
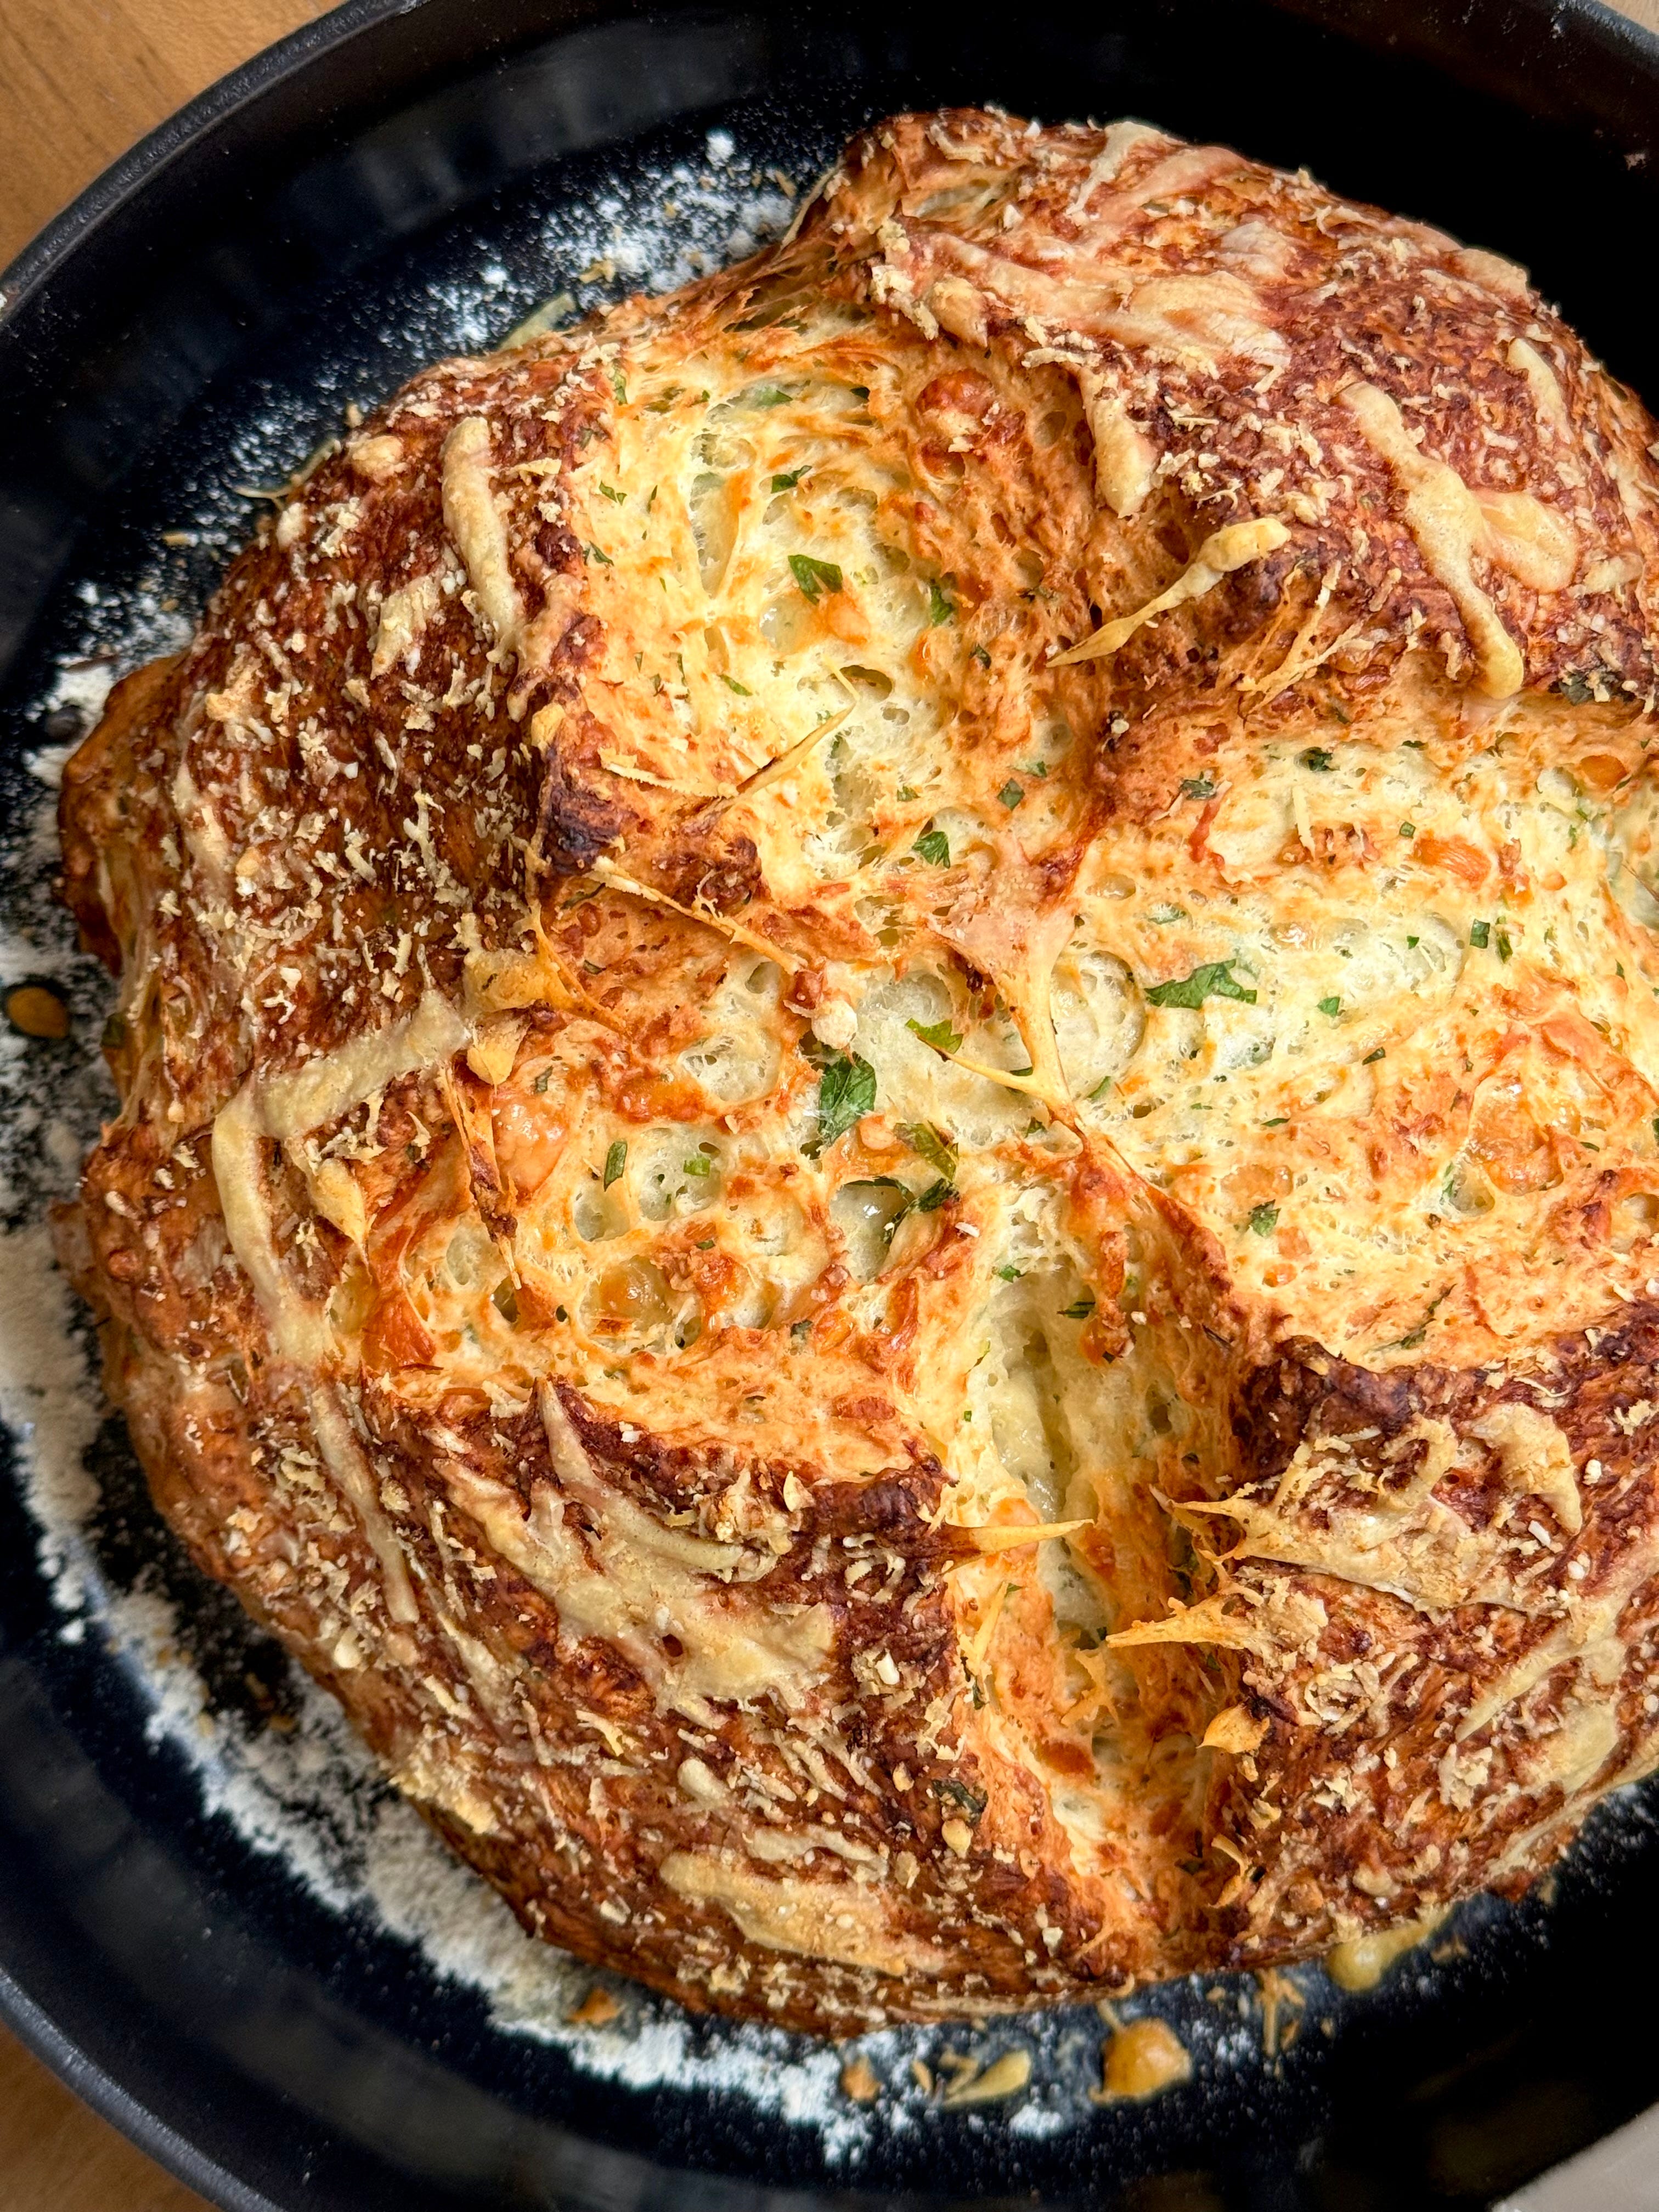
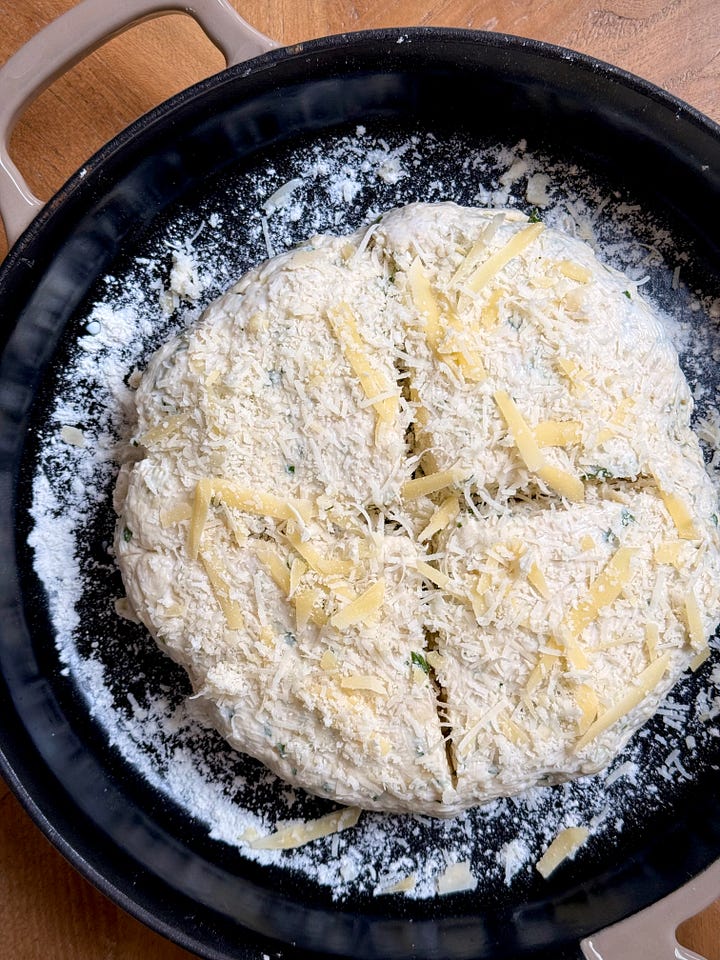
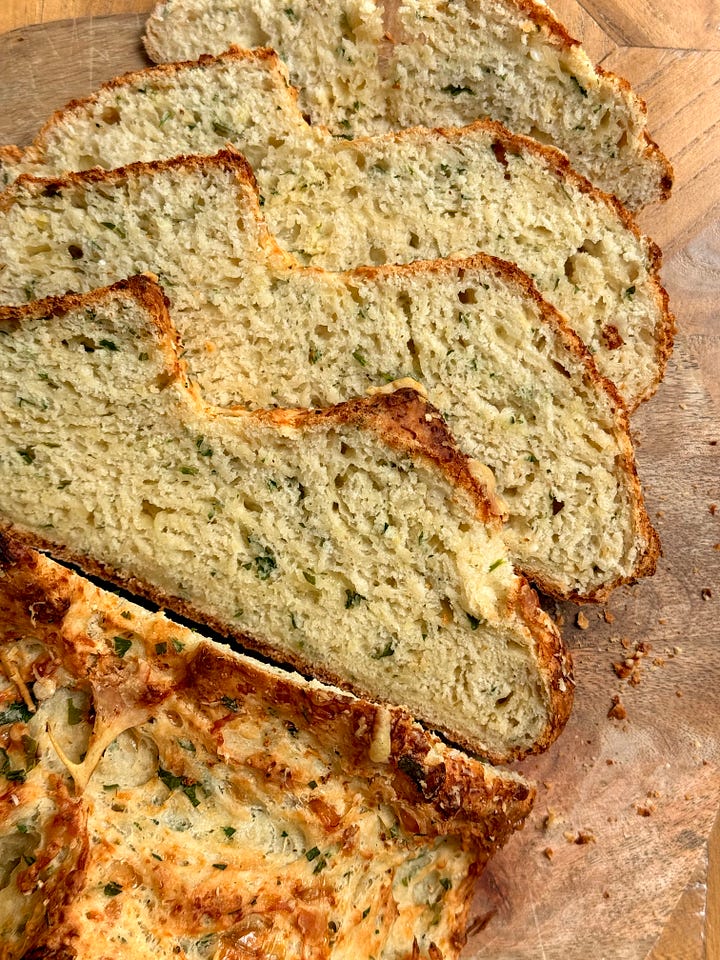
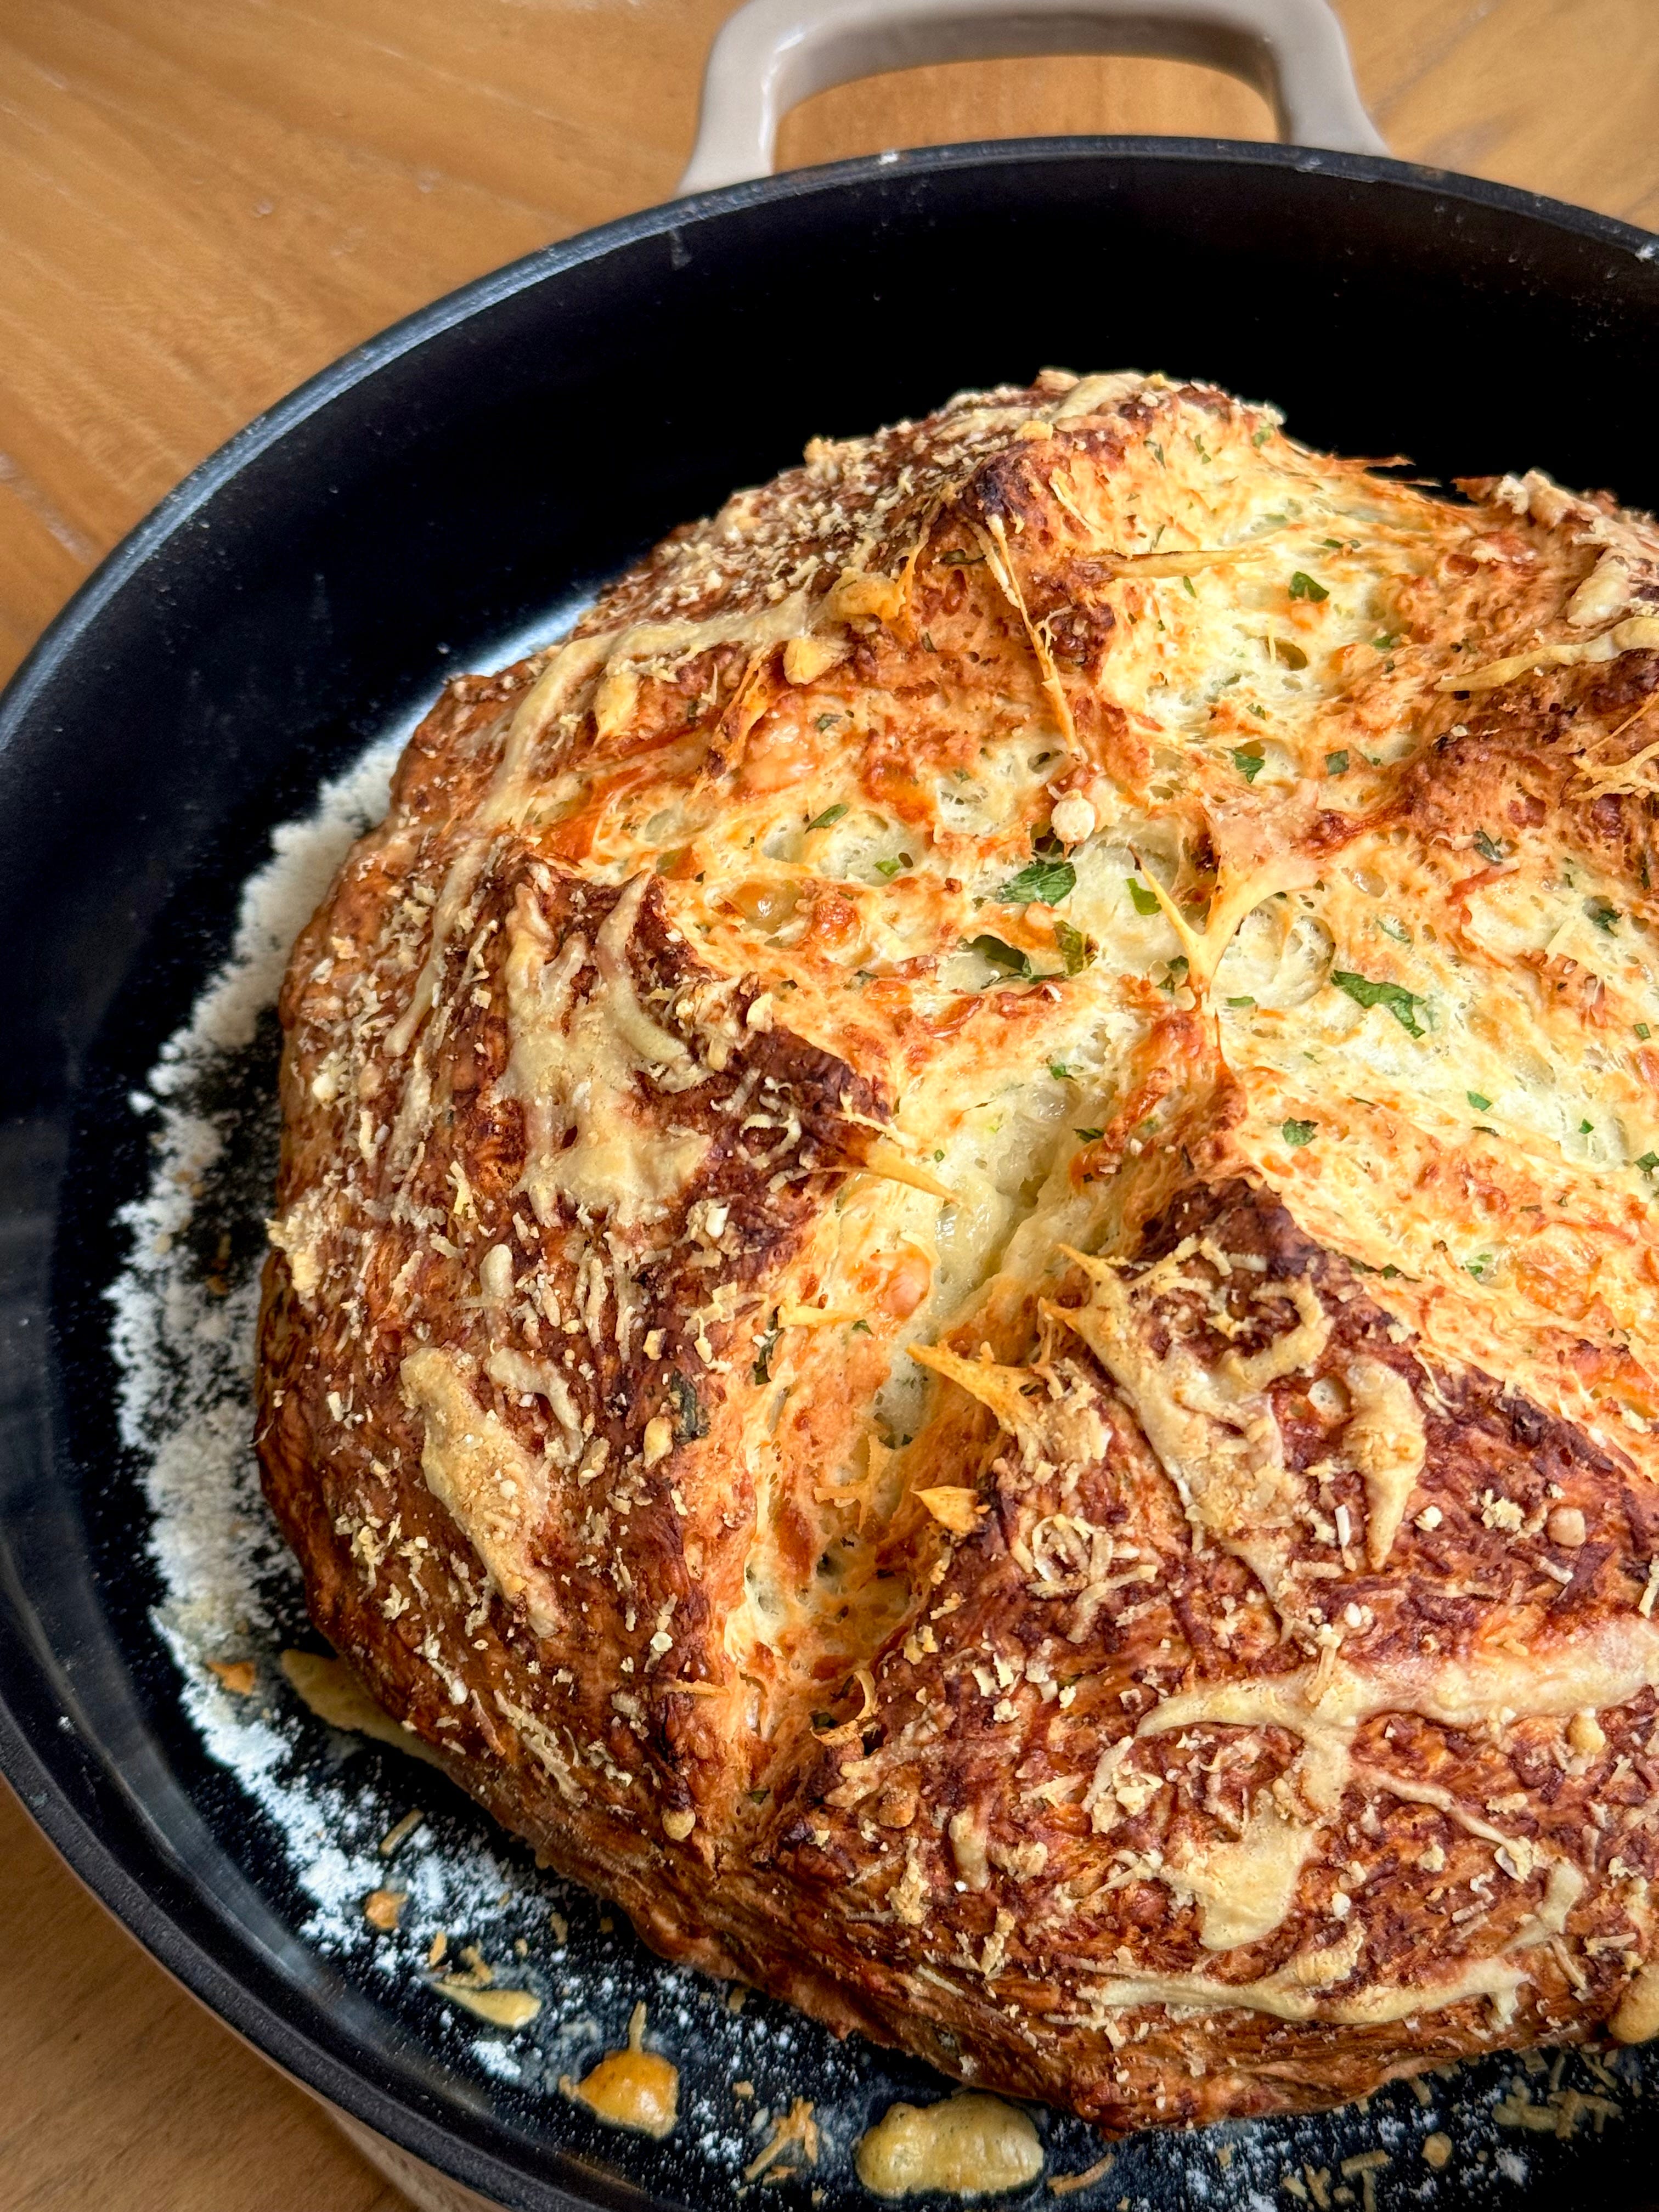
My Garlic and Cheese Sodabread is phenomenal. Mixed in one bowl with your hands in less than 10 minutes (5 if you have everything prepped and good to go) and then straight in the oven, no proving time, for 35 to 40 minutes and hey presto, you got yourself a crusty loaf packed full of flavour, ready to be dunked, slathered, ripped into and eaten like an apple. Using bicarb and buttermilk for leavening, it uses no yeast, making this one of the simplest forms of bread to exist.
It’s like garlic bread but just in sodabread form. 2 types of cheeses, lots of garlic, plenty of chopped parsley, a zip of lemon zest equals a whole lot of yum. Any people fearing bread, please start here. It doesn’t get easier than this, I promise you.
Live, laugh, love bread forevs.
Recipe Makes: 1 Large Loaf
Recipe Serves: I can’t say cause I have eaten all this to myself but like, 6 to 8 good dinner portions, perhaps?
Y O U – W I L L – N E E D –
425 g Plain Flour
1 tsp Bicarbonate of Soda
1 tsp Sea Salt
Good Crack of Black Pepper
330 g Buttermilk
35 g Unsalted Butter
5 Cloves Garlic, minced/finely grated
70 g Parmesan Cheese, grated
70 g Comte Cheese, grated
10 to 15 g / Handful of Parsley, finely chopped
Eggwash, to glaze (I used leftover buttermilk to avoid waste)
M E T H O D –
Preheat the oven to 180C Fan/200C/390F and generously flour the base of a cast iron pan or baking sheet.
To a large bowl, add the plain flour, bicarbonate of soda, salt and pepper. Mix well using your hand to combine.
Make a well in the middle of the flour with your hand. Into the well, add the buttermilk.
Into a small bowl, add the butter and minced garlic. Pop into the microwave for 20 to 30 seconds to melt the butter (or you can do this in a pan).
Pour the melted garlic butter to the bowl, along with the grated cheese to the bowl, reserving a good handful to top the loaf once shaped.
Add the finely chopped parsley and use your hand to mix all the ingredient and bring together to form a rough dough. Gently knead until you are left with a clean bowl – if the dough feels too sticky, add 1 tsp of extra flour at a time. Avoid doing this too much as we want to ensure we don’t have a dry loaf.
Once the dough has been lightly kneaded and is slightly tacky but the bowl is clean, roughly form into the shape of a 18 cm /7 inch circle.
Place onto your flour dusted sheet/pan. Use a sharp knife to score a deep cross (go about half into the dough) across the top before lightly brushing over an eggwash across the top.
Scatter over the reserved cheese and pop into the oven for 35 to 40 minutes until the top is golden and crisp.
Once baked, leave to sit on the sheet/pan for another 30 minutes whilst cooling before attempting to remove. The base should also be golden and sound hollow once tapped.
Eat whilst warm or allow to cool before slicing.
Now onto my Coronation(ish) Chicken Sandwich Filler, ‘cause you best believe if there is any sniff or whiff of bread in my proximity, I will absolutely be sandwiching the crap out of it. And this one may be the best one I have shared with you yet. I say it is coronation-ish mostly because it is a much better version of that. An elite version of the sort you will find in pre-packaged sandwiches or the ready made fillers you find in the supermarkets.
I am wholly unsure whether coronation chicken has made its way over to the states but think of this as a chicken bathed in a curried mayonnaise, with raisins and apricots. But because I am the person who picks out said raisins and apricots, I have ditched them completely, worked on a spiced tomato base, ditched the mayonnaise in favour of cottage cheese and yoghurt for a healthier finish, and packed it full of veggies and layered the flavour.
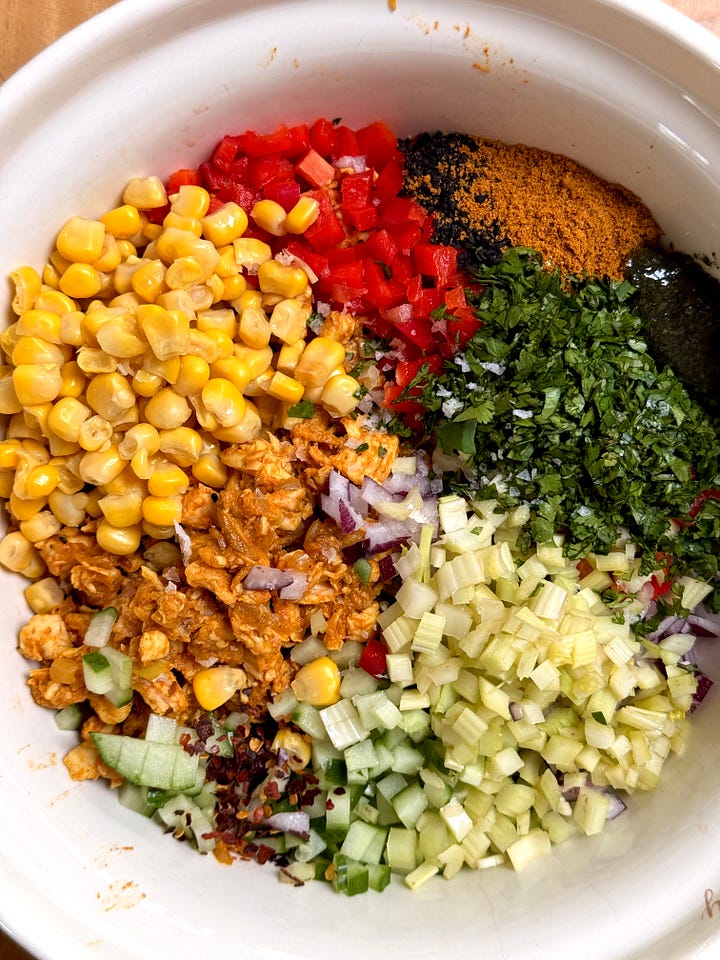
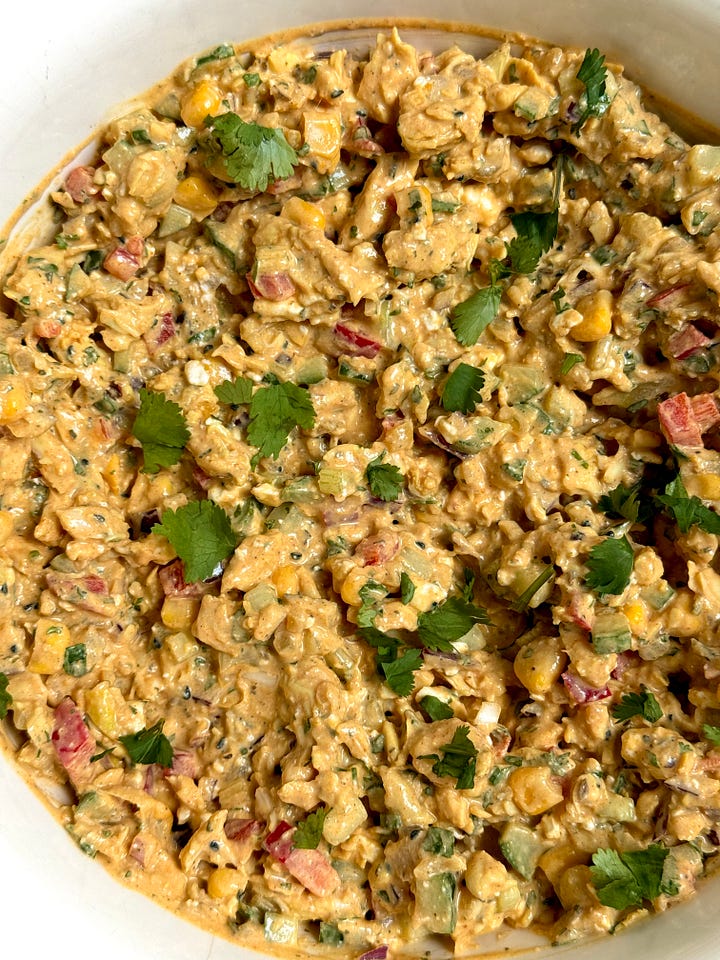
A slightly more effort heavy sandwich filler option in comparison to the last few I have shared but the end result is so worth it. I have been eating this daily sitting on top of the garlic sodabread and CANNOT get enough. Today is my last portion of both and I am contemplating holding a moment of silence at the end to remember the good times.
Recipe Makes: Approx 1kg of sandwich filler
Y O U – W I L L – N E E D –
5 g Unsalted Butter
100 g Yellow Onion, finely diced
Pinch of Sea Salt
½ tsp Cumin Seeds, whole
5 Garlic Cloves, minced/finely grated
2 tsp Medium Curry Powder
1 tbsp Tomato Puree Double Concentrate
150 ml Boiling Water
½ Chicken Stock Cube
400 g Chicken Breast, diced to 1cm cubes
150 g Cottage Cheese, can sub for natural/greek yog
100 g 0% Fat Yoghurt, can sub for natural/greek yog
100 g Cucumber, finely diced
75 g Red Onion, finely diced
75 g Red Bell Pepper, finely diced
60 g Sweetcorn
50 g Celery, finely diced
10 g Coriander, finely chopped
1 tsp Nigella Seeds
1 tsp Mint Sauce
¼ tsp Red Chilli Flakes
Squeeze of Lemon Juice
Salt & Pepper, to season
M E T H O D –
To begin, add the butter to a pan and place over a medium heat. Once melted, add the onions and a pinch of salt.
Gently cook the onions until translucent and begin to lightly take on some colour. Add the cumin seeds and cook for a few minutes.
Add the minced garlic and mix well. Continue cooking, ensuring you scrape the bottom of the pan to remove any caught garlic, for a few minutes.
Next, go in with 1 tsp of the curry powder. Mix well, before going in with the tomato paste. Combine and cook for a few minutes until it forms a thick paste and the tomato paste begins to deepen in colour slighty.
Add the stock cube to the boiling water, before adding to the pan to deglaze. Mix well, scrape the base of the pan to remove anything caught and reduce until you are left with a loose paste.
Add the finely diced chicken, mix well to coat with the curry paste and cook for 5 to 10 minutes (time will depend on how big you have diced the chicken – I went super small so mine was cooked within 5). Remove the pan from the heat and leave to cool.
Into a large bowl, add the remaining ingredients, plus the remaining 1 tsp of curry powder. Once cool, add the chicken and mix well. Taste before adjusting the seasoning where required. This is one where flavour deepens over time but is so moreish – use to top sandwiches, jacket potatoes, fill lettuce wraps, or sat on top of a mountain of lettuce leaves.
And now we move onto the sweet section of the newsy. Meringue was one of the very first things I taught myself how to bake - simple, easy, satisfying and reliable (I mean if it all goes to pot, I was obviouslyyyy serving up an Eton Mess...). So, when any hint, sight or sniff of a celebration is on the cards, you can guarantee it is one of the repeat offenders on my menu.
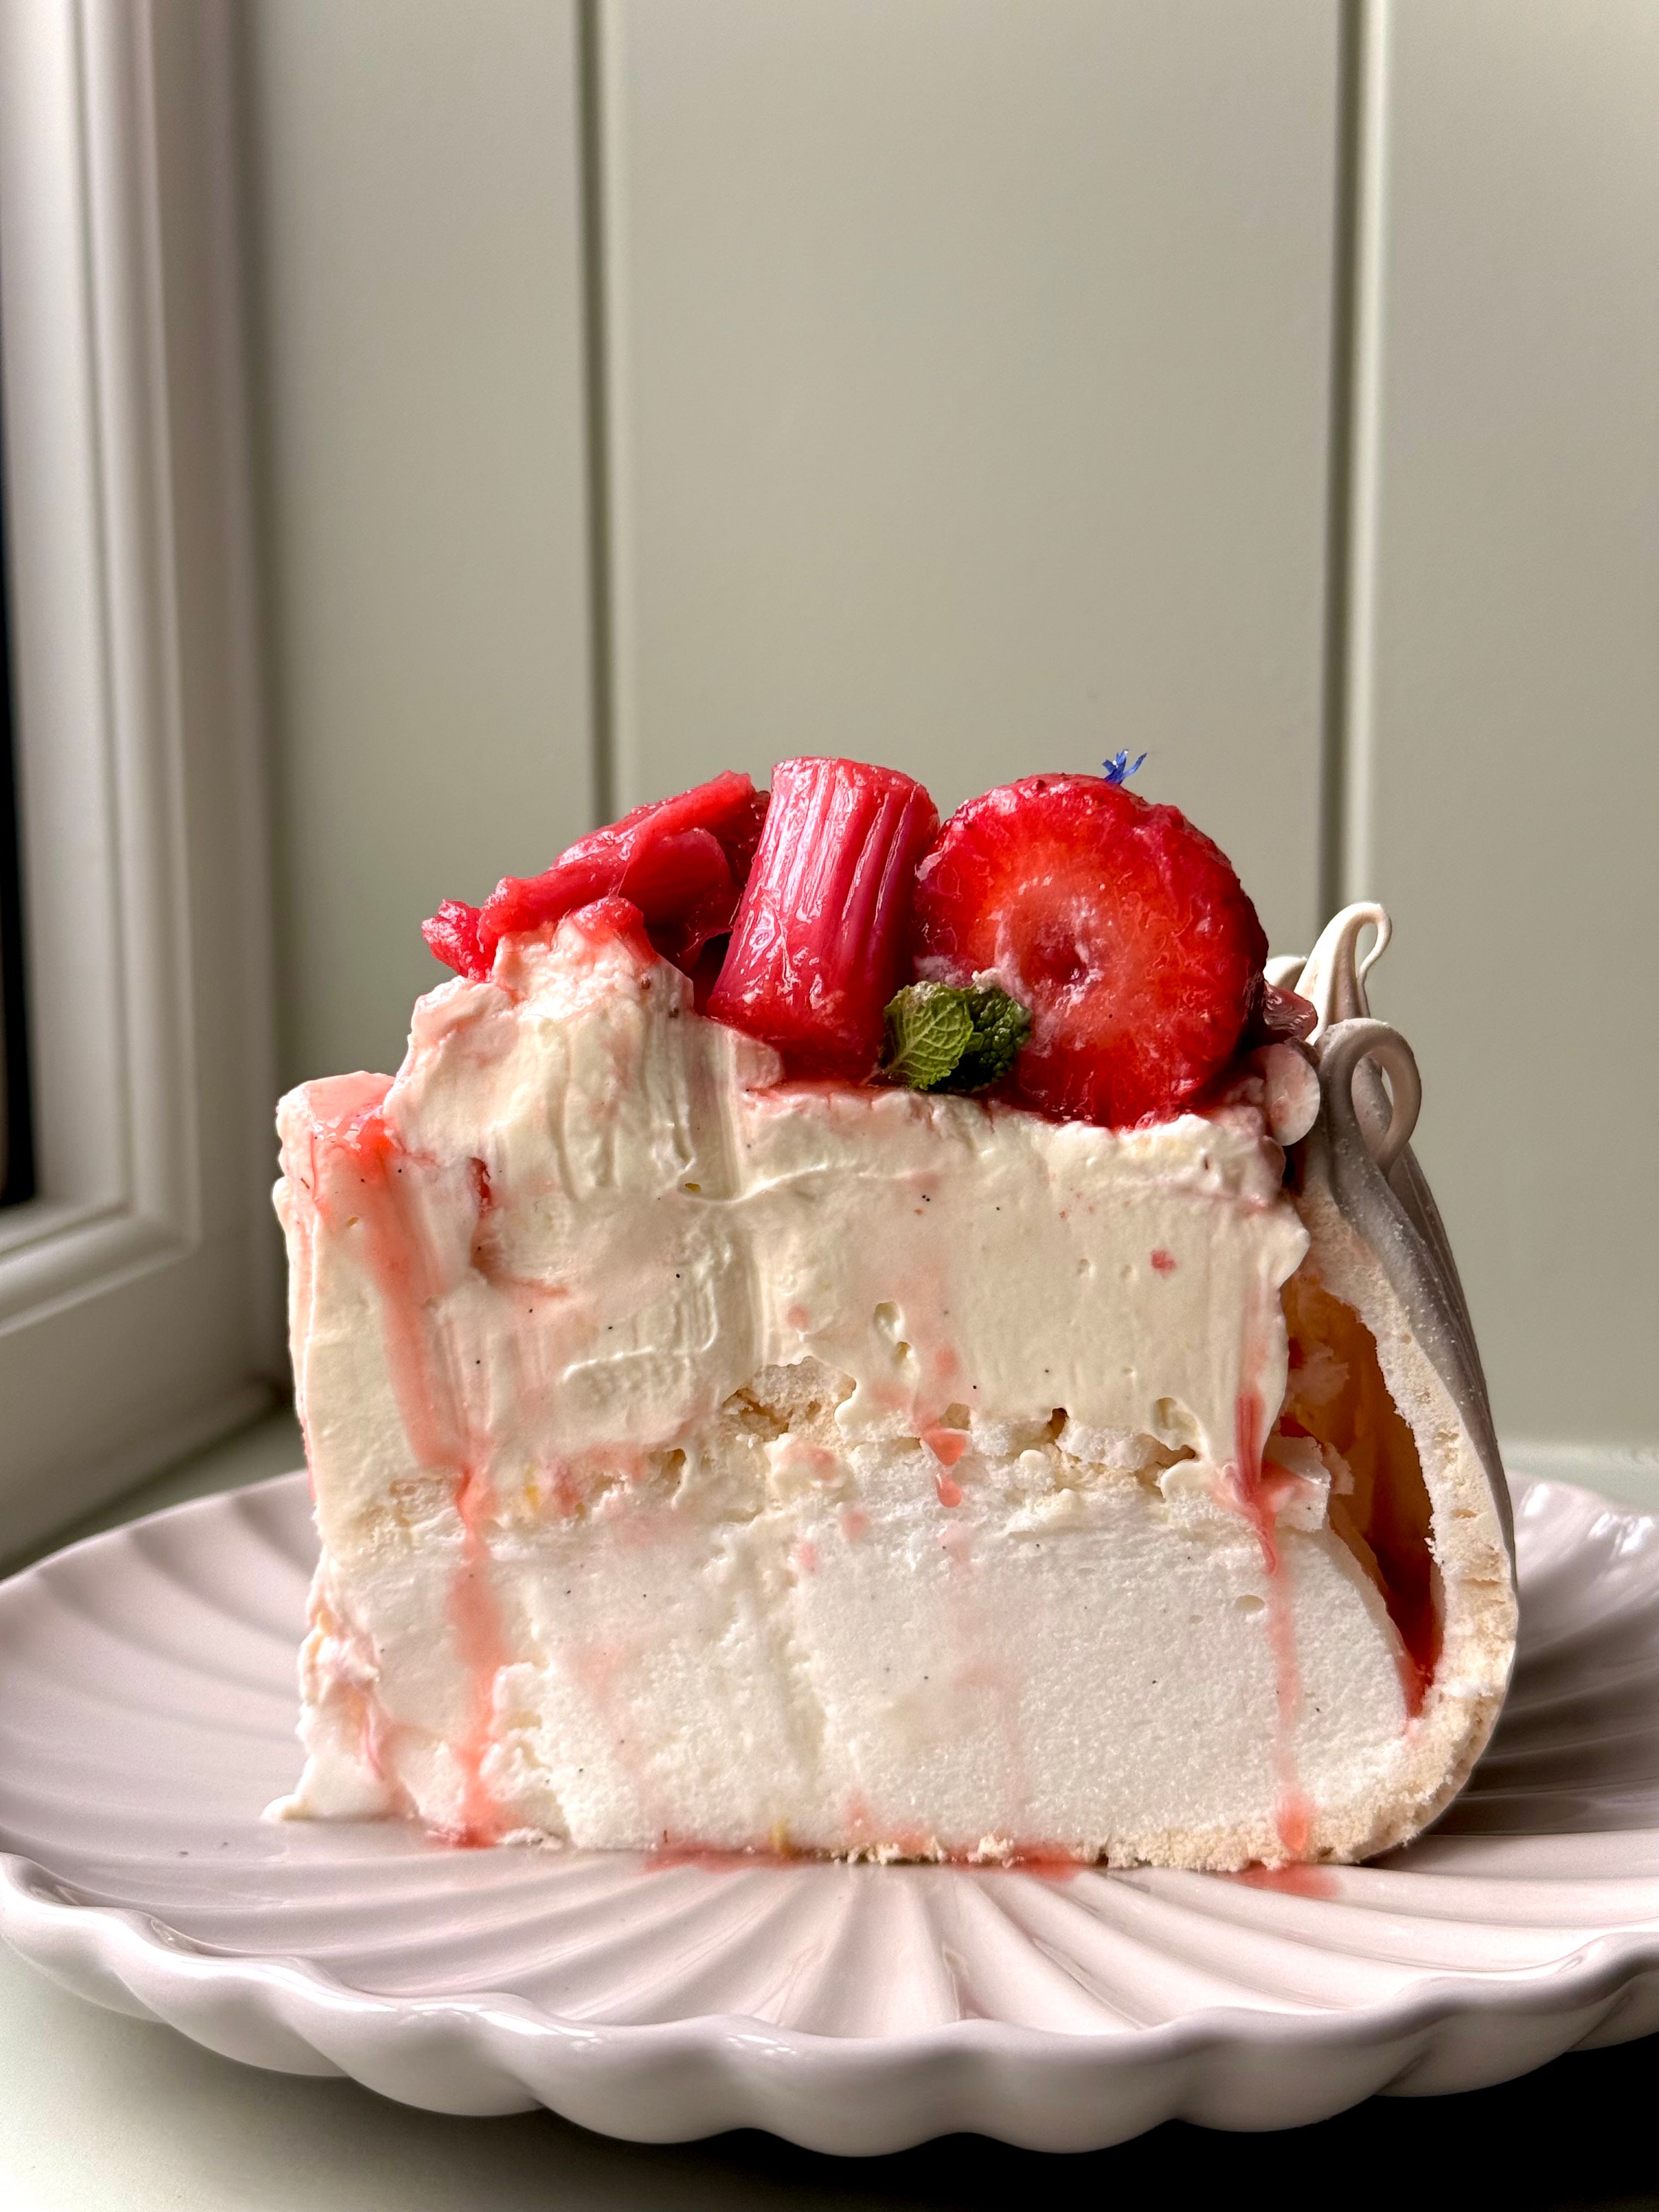
My Roasted Rhubarb & Strawberry Pav has a gorgeously pillowy soft middle and a crisp, crunchy outer shell, topped with a mountain of lemon whipped mascarpone and finished with lots of roasted forced rhubarb & strawberries. It’s sweet, tart, smushy, crunchy and moreish. My pavlova is perfect for any occasion – and is SO satisfying to make. I know some people struggle with making meringue, despite me harping on that it is one of the easiest things to make, so some tips on getting that super crisp outer shell and soft, mallowy filling:
Go low and slow when adding the sugar to the egg whites to ensure the meringue base isn’t grainy (caster sugar, not granulated) and prevent any weeping when it bakes.
To help integrate the sugar easier to the whites and ensure they dissolve more speedily and efficiently, you can gently heat up the sugar on a large tray and place in the oven at the lowest temperature your oven will allow for a few minutes. Giving it a mix, popping it back in the oven for a further minute or two and then use.
Clean your mixing bowl with lemon and wipe until clean to ensure there is no fat residue in the bowl. I cannot stress to you enough how important this step is. The mere hint, sniff or whisper of fat will compromise the integrity of the meringue, likely resulting in not enough volume, collapsing or weeping (both the pav, and yourself).
Use fresh egg whites as opposed to sort you find in a carton for a more stable meringue. The whites in a carton often have a weaker protein structure because of the intense pasteurization process they go through, meaning less volume in your whites, resulting in a sad pav.
You MUST allow the pav to gently cool in the oven overnight. Do not be tempted to oven the oven door once baked or until the next morning. Any temperature shocks – no matter how large or small – will cause inevitable cracks. You want a pristine shell. LISTEN TO ME.

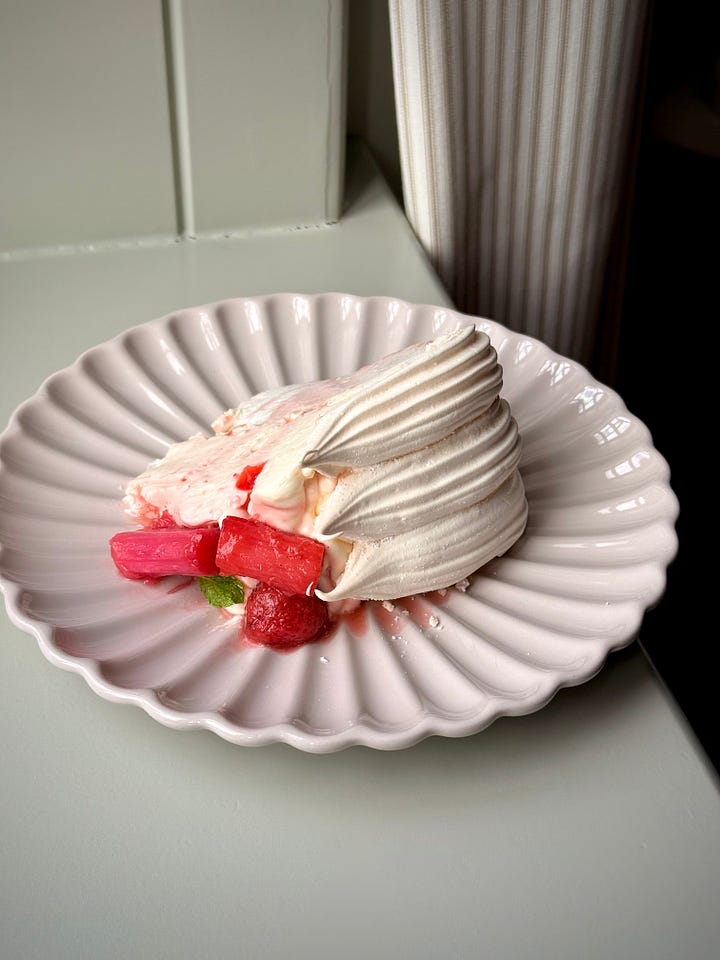
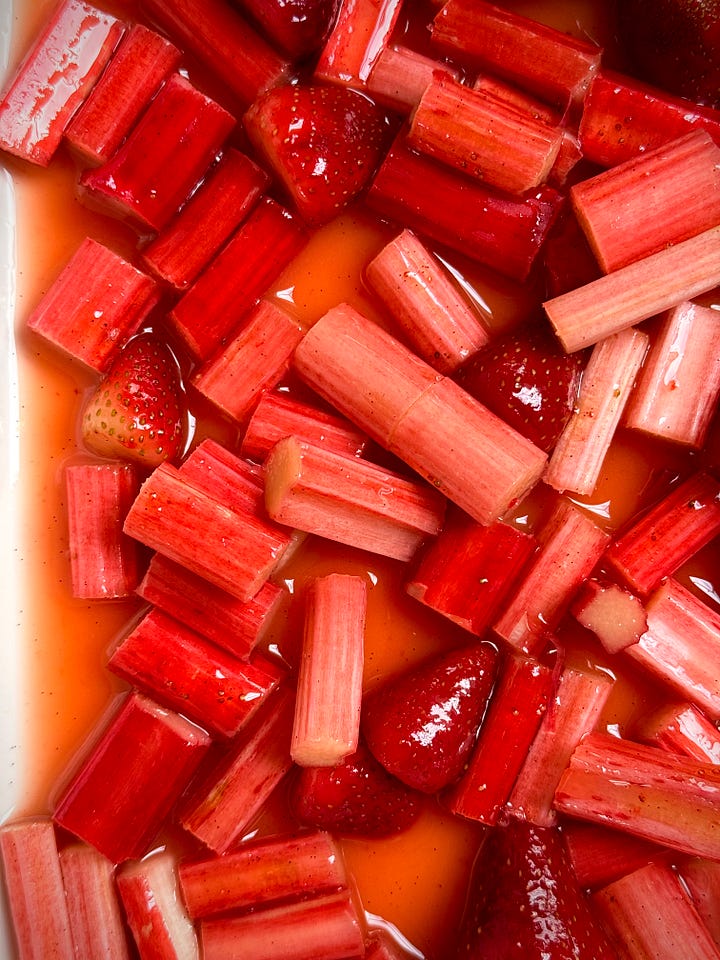
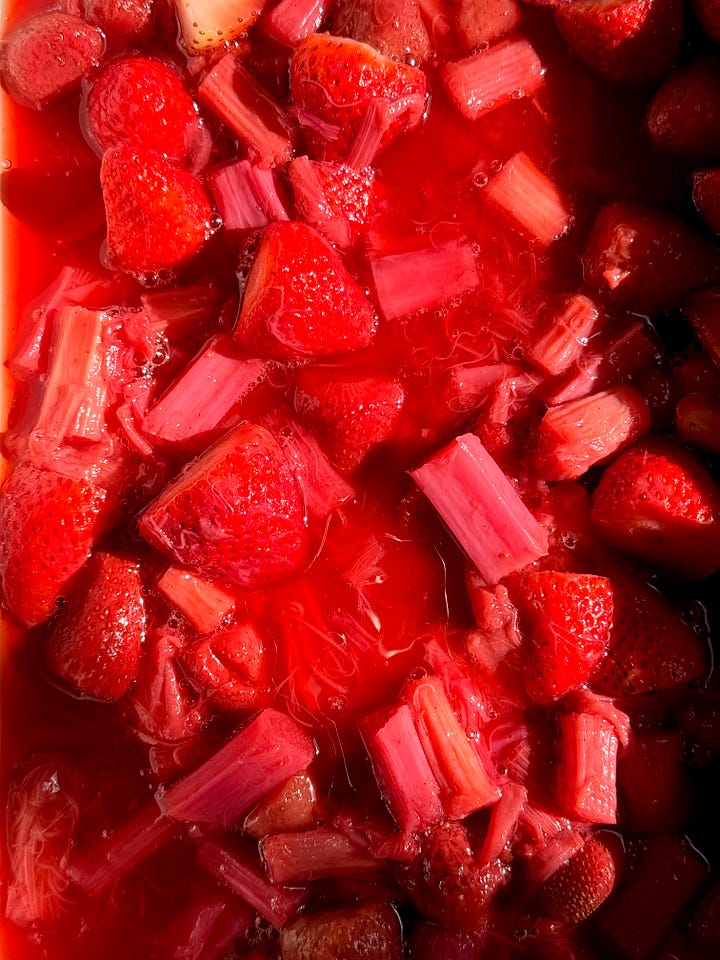
I have made a tonne of pavs before and pride myself on nailing it every single time. I know it’s not common practice to toot your own horn, but I feel this is justified because did you look at her?? The last time I had a pavlova crumble on me is when I tripped whilst holding one and it fell onto the floor. Have patience, follow the method to a T and I promise you wonderful results.
Recipe Makes: 1 Large Pavlova
Recipe Serves: 12 generous slices
Y O U – W I L L – N E E D -
Meringue
7 Large Eggs, whites only
380 g Tate & Lyle Caster Sugar
1 3/4 tsp White Wine Vinegar
1 3/4 tsp Cornflour, sifted
1.5 tsp Vanilla Bean Paste
Roasted Rhubarb & Strawberry Compote
400 g Forced Rhubarb, cut into chunks
200 g Frozen Strawberries
2 tsp Cornflour, sifted
70 g Golden Syrup, can sub for maple
20 ml Lemon Juice, fresh
20 ml Grenadine Syrup
60 ml Water
200 g Fresh Strawberries, halved
Lemon Whipped Mascarpone
150 g Mascarpone, fridge temp
800 ml Double/Whipping Cream, fridge temp
75 g Icing Sugar
Zest of 2 Lemons
1 tbsp Lemon Juice, fresh
1 tsp Vanilla Bean Paste
M E T H O D –
The evening before you want to serve, make the meringue by adding the egg whites to a mixer bowl and mix on a medium speed until your whites are stiff but not dry, using the whisk attachment. The whites will go from a clear liquid to bubbly, to soft, medium and then stiff peak.
Once the whites have reached a stiff peak, reduce the speed to the lowest setting and introduce the caster sugar 1 tbsp at a time, mixing well between each addition. This will take around 15 minutes for a soft, velvety texture.
Add the vinegar, cornflour and vanilla and whisk well. We are after a stiff, glossy mix so continue whisking for a further 5 mins once everything has been added.
Whilst this is mixing, preheat your oven to 120°C Fan/140°C/280°F
Trace a dinner plate or a 15 cm / 6 inch cake tin base onto the back of your baking paper, before flipping the sheet over.
Transfer ¾ of the meringue mix onto the greaseproof paper, keeping within the traced guidelines, piling high. Use an offset palette knife to smooth the sides and the top. At the end of the shaping, you want this to resemble an iced cake.
Transfer the remaining meringue into a piping bag with nozzle of your choice fitted. Pipe lines of your chosen decoration around the edge if you are opting for a decorative finish. If you don’t care about the piped edging, add all of the meringue onto the greaseproof paper and shape.
Place into the oven on a shelf no higher than the middle (I always opt for the bottom layer) and bake for 20 minutes. After 20 minutes, drop the temperature down to 100°C Fan/120°C/250°F and bake for a further 1 hour 45 mins. Do not open the door at any point!
Even once the time is done, turn the oven off, don’t open the door and allow the pav to gently cool. Leave it to dry out overnight in the oven.
The next day, gently peel the greaseproof paper from the base of the pav and construct just an hour or so before serving.
You can store your cooked pav in an airtight container until you need it but do not leave exposed in the fridge or at room temp. Meringue is porous so will soak up any moisture in the air.
For the roasted compote, preheat your oven to 180°CFan/200°C/390°F
Add all the ingredients, bar the fresh strawberries, to an oven proof dish, and give it all a good mix. Pop the dish into the oven for 20 minutes, give them a quick stir and pop back in for a further 10.
Once roasted, add the fresh strawberries, and give it all a good mix and leave to cool.
When ready to serve, make the whipped lemon mascarpone by adding all the ingredients to a mixer bowl and whisk until it just reaches medium peak. You want this to have fluidity whilst having body – you don’t want this holding a stiff peak otherwise the cream will curdle and split as you continue to work it.
If the roof of your pav hasn’t collapsed, gently use a knife to score around the edge to remove it from the sides. Allow the roof to collapse in – this will give you more room to pile the cream on top.
Gently pile the cream on top, followed by the fruit compote. Reserve any leftover fruit and syrup to alongside each slice.
Finish with a dusting of icing sugar.
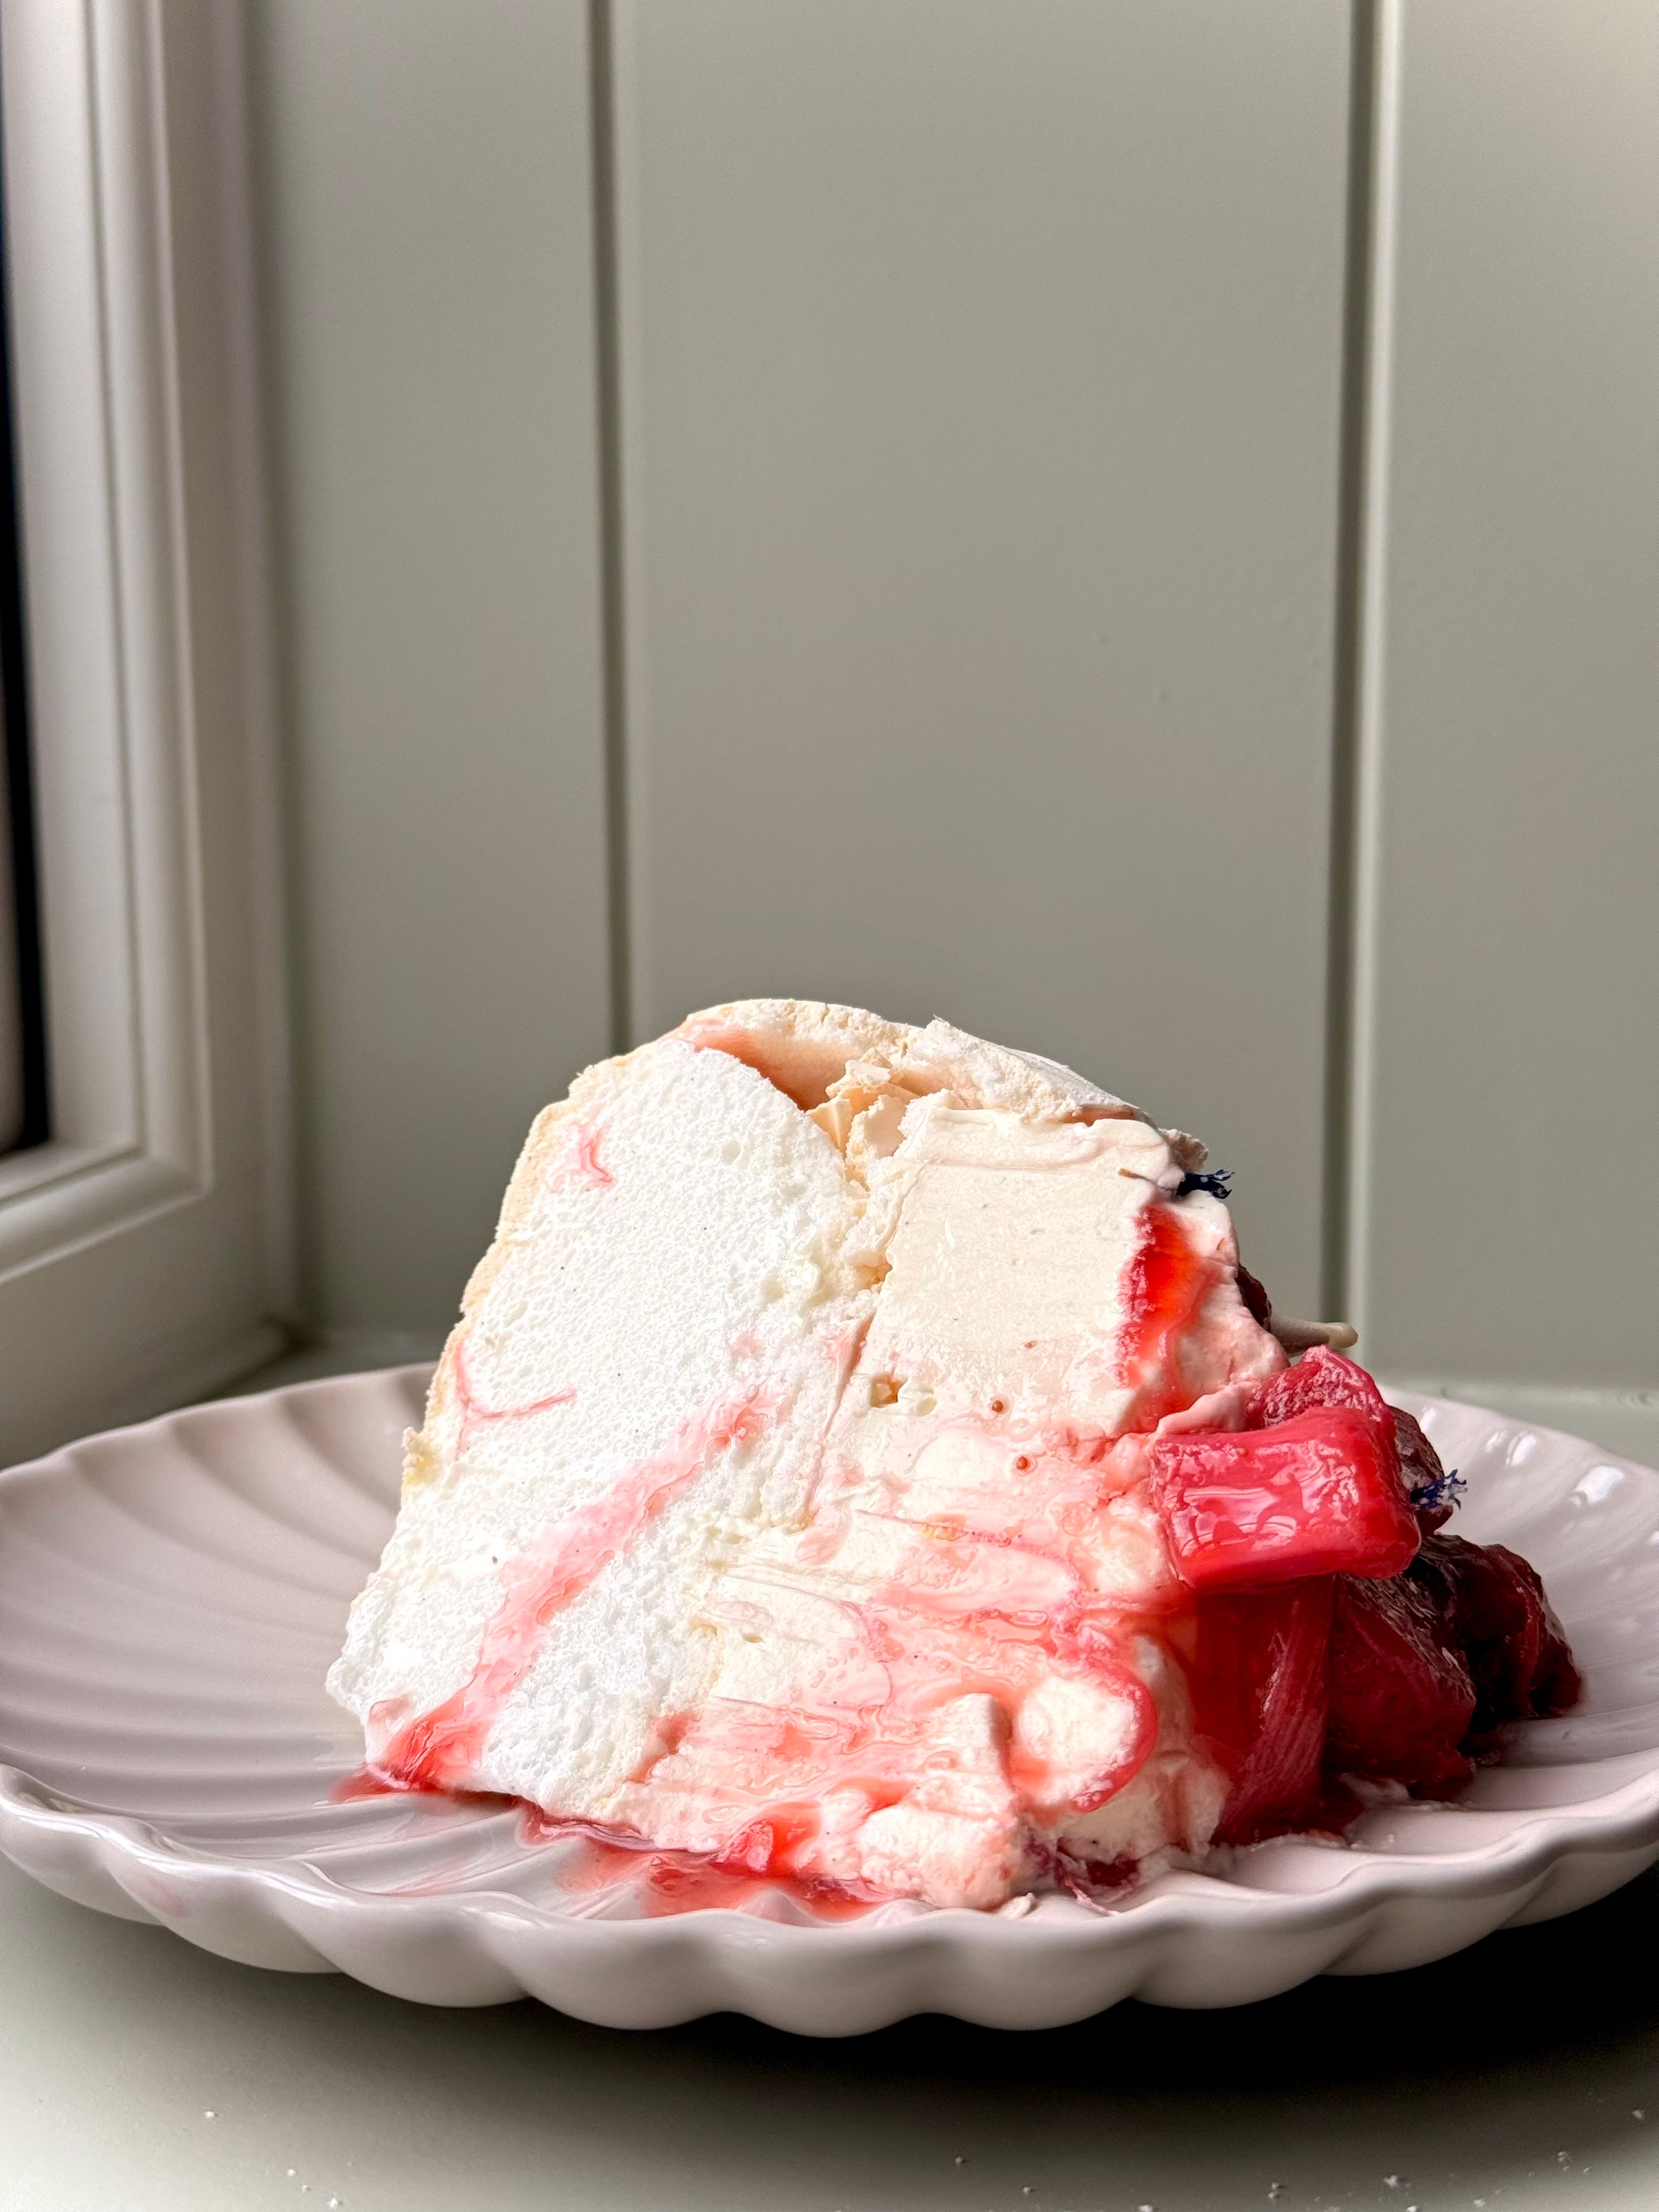
So yes, I should have shared this with you two weeks ago, so you could make this for Paddy’s Day but I’ll level with you. I am very rarely on time for anything and can barely keep track of what month it is plus - a good, filthy, easy to make choccy loaf is suitable for any day, any occasion and anytime.
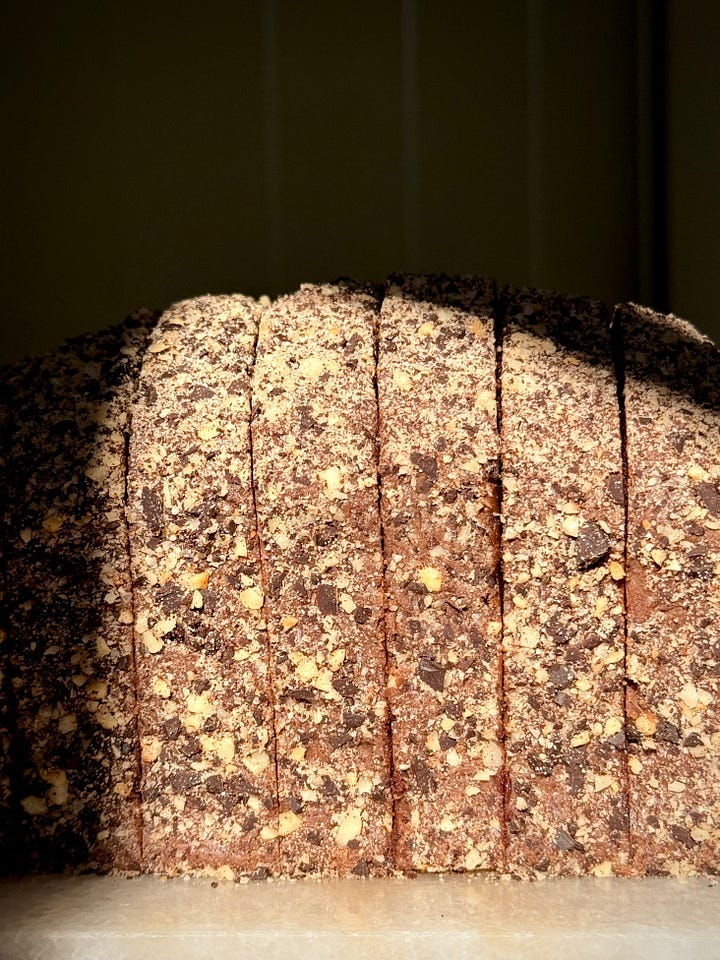
Made up of a simple yet sumptuous, deeply rich chocolate loaf spiked with Guinness, smothered in a salted milk chocolate glaze, covered in a dark chocolate and toasted hazelnut crumb and served topped with a salted caramel whipped cream cheese and hefty drizzle of salted caramel sauce to finish.
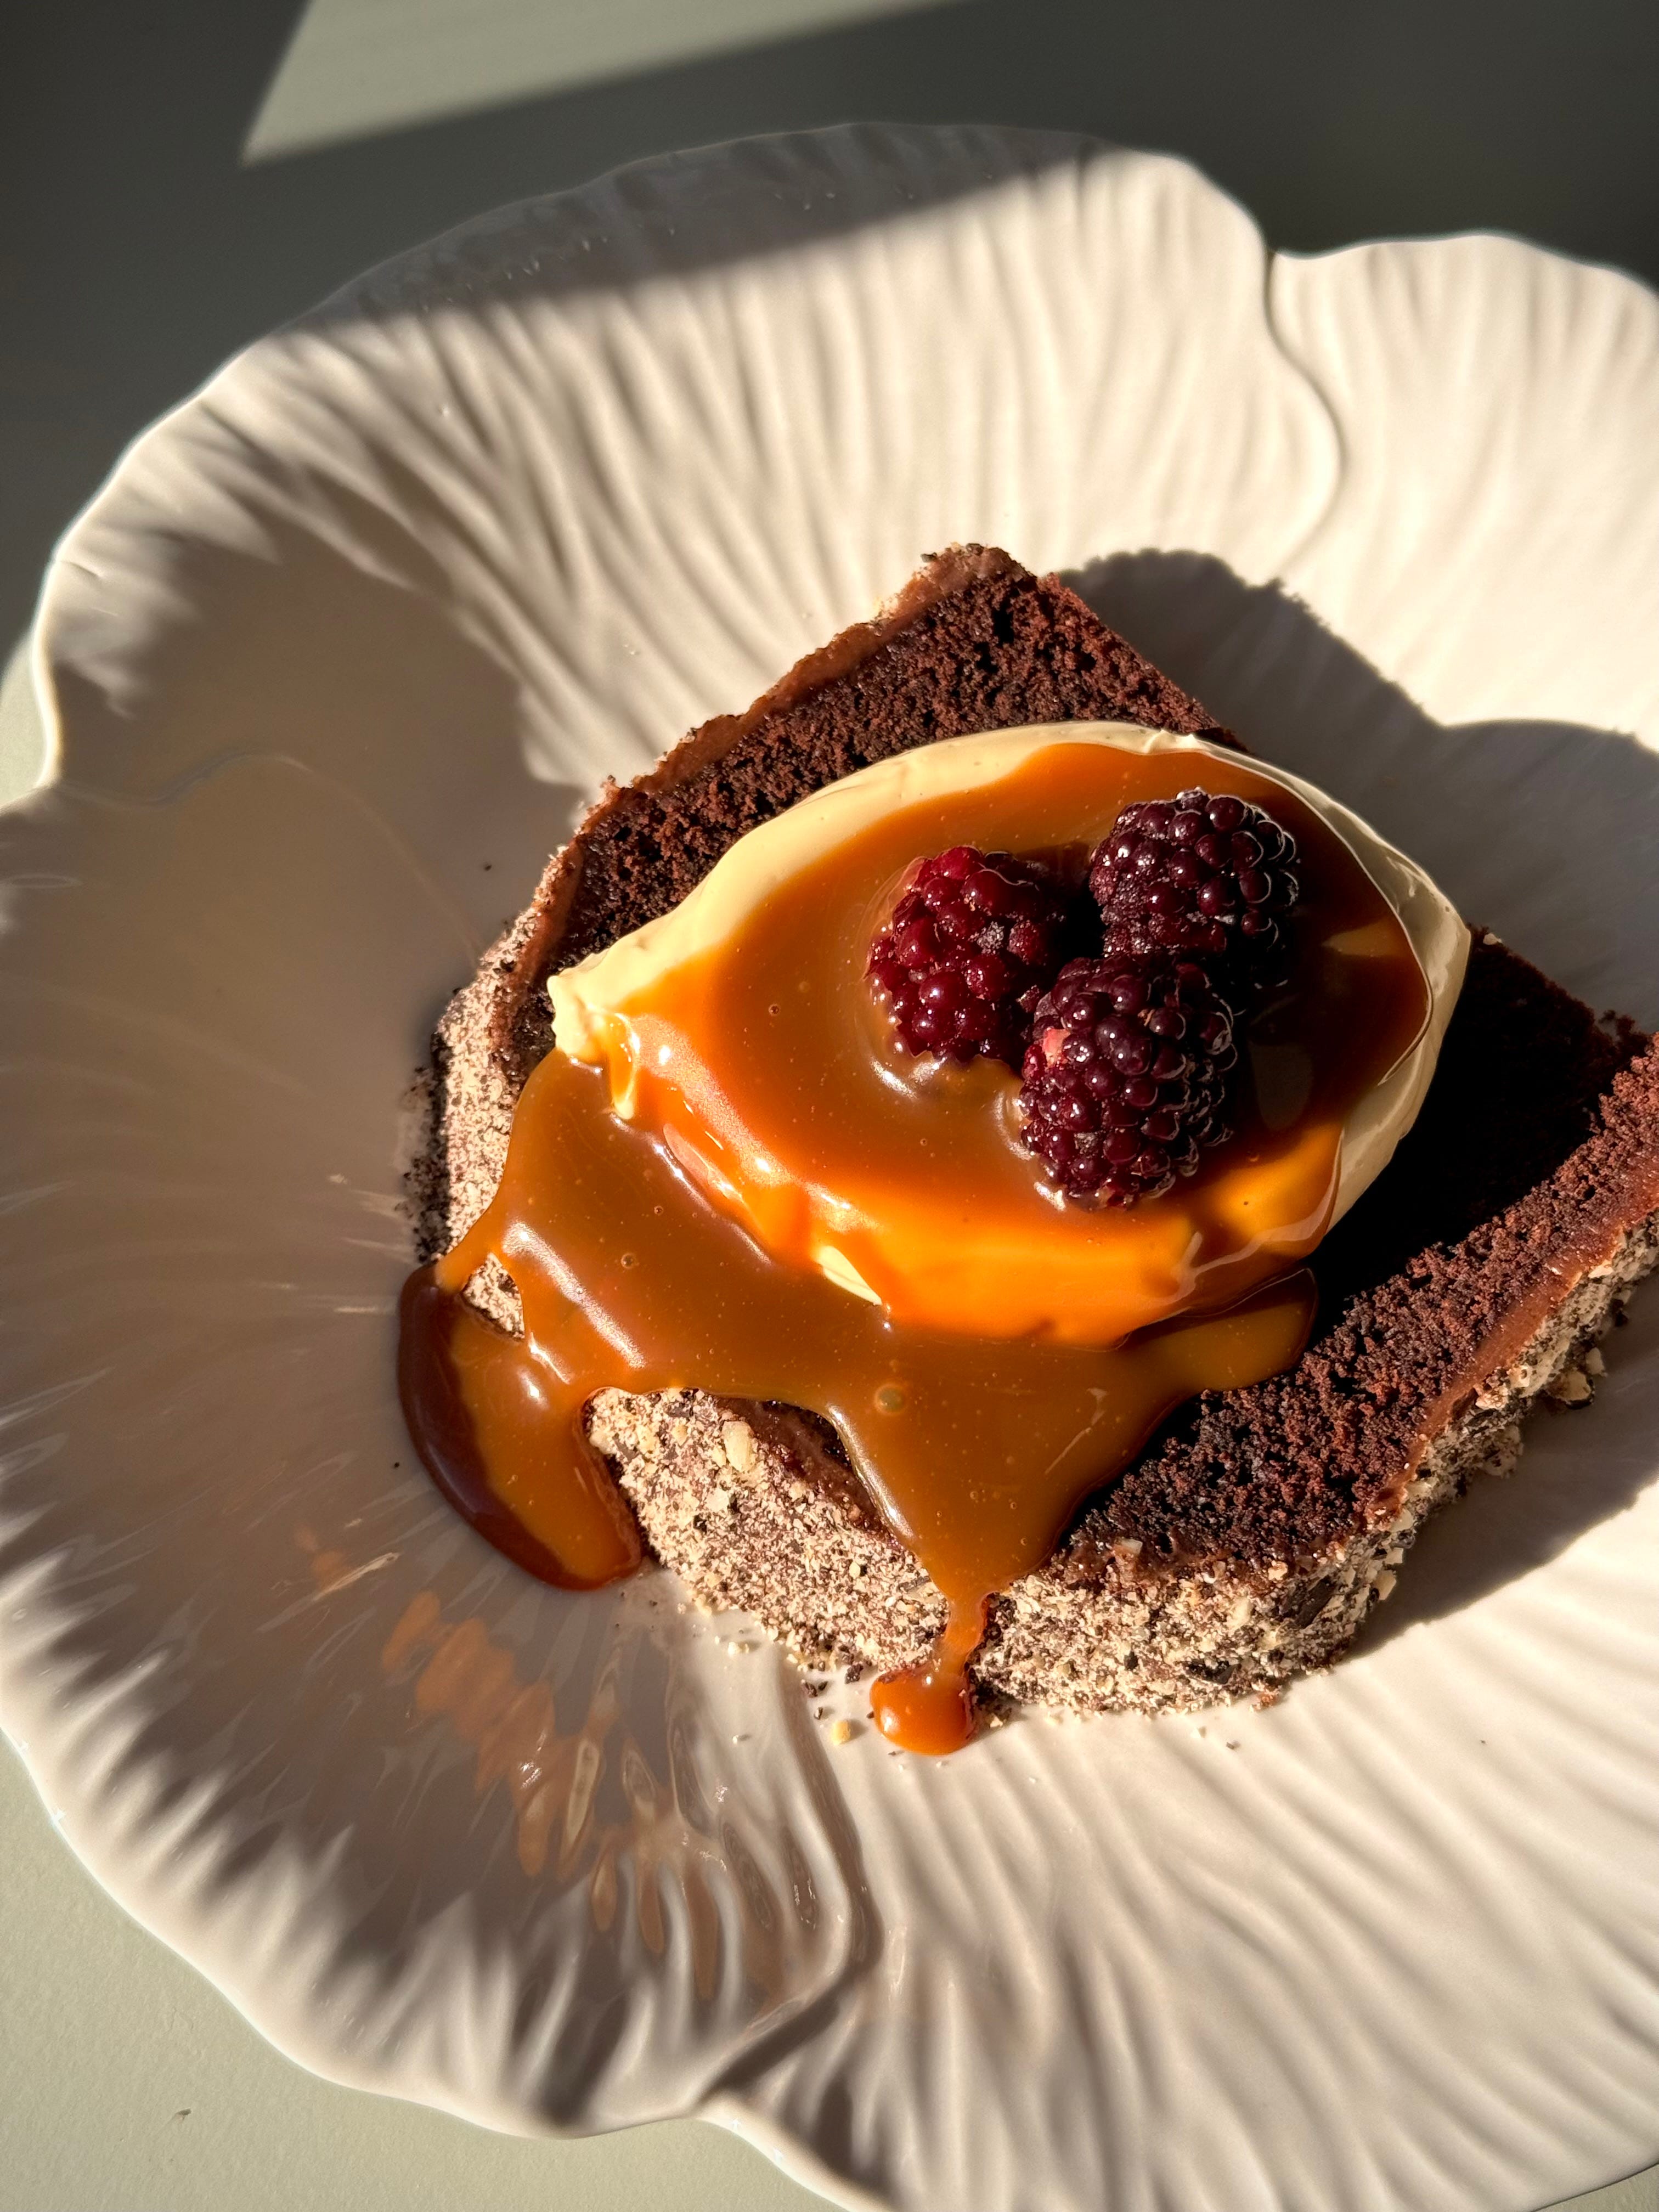
My Chocolate Guinness Cake with Salted Caramel Whipped Cream Cheese is sexy, decadent and moreishly moist. I bloody love a loaf cake - simple to make, easy to make, brings the same yum as a stacked cake, all just without the fuss and effort. And don’t even get me started on that salted caramel cream cheese. It is nothing short of heavenly and is the secret weapon to whenever I make cinnamon rolls. Gone is the standard cream cheese topping, in is the salted caramel spiked cream cheese. Unbeeeelievably good stuff. The sort of stuff you will lick the plate clean for.
If Guinness doesn’t tickle your pickle or you’re after a booze free/kid friendly alternative, sub it for equal quantity hot chocolate or malt powder, mixed with equal quantity milk. I like to bake it for slightly a few minutes less for a fudgier finish but if you’re after something a little more put together, bake until a skewer returns no batter and a few crumbs. Make sure you top each slice with fruit (I used frozen blackberries) to help cut the sweetness.
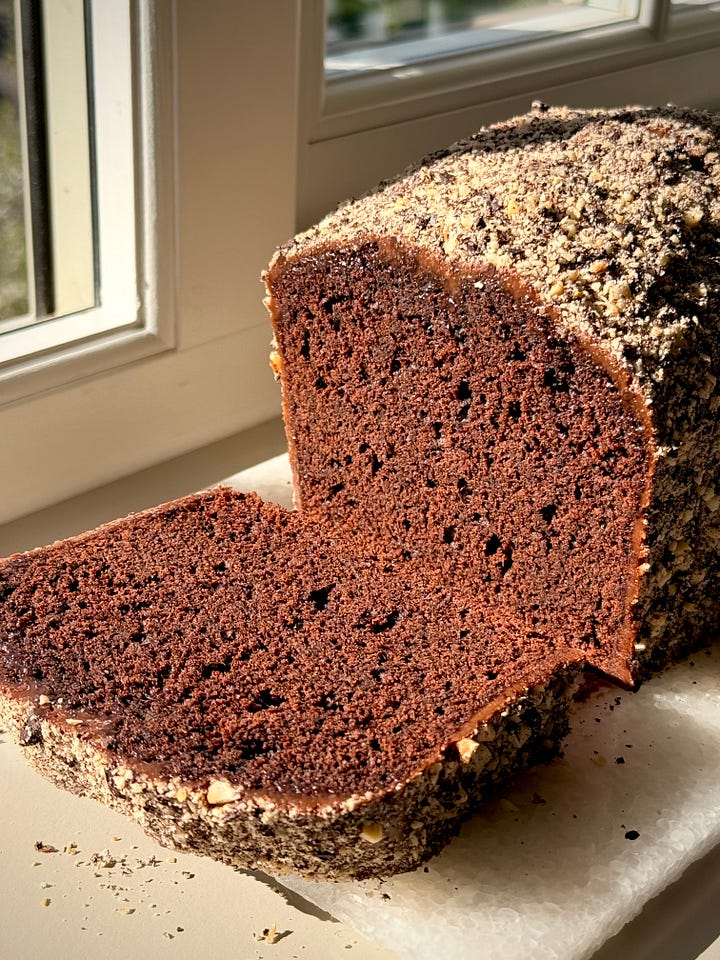
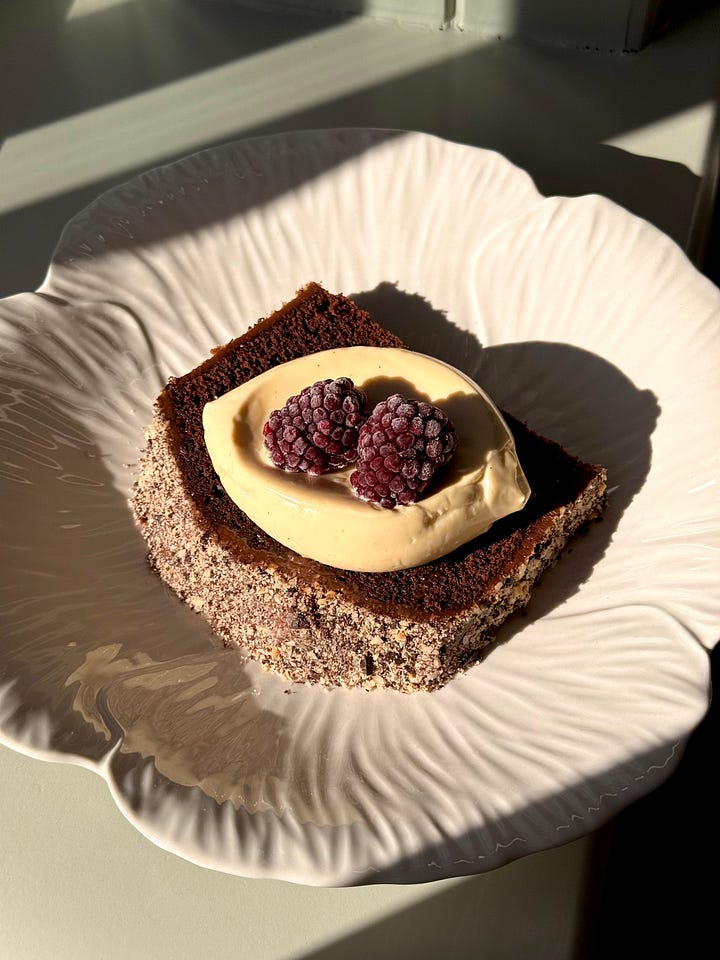
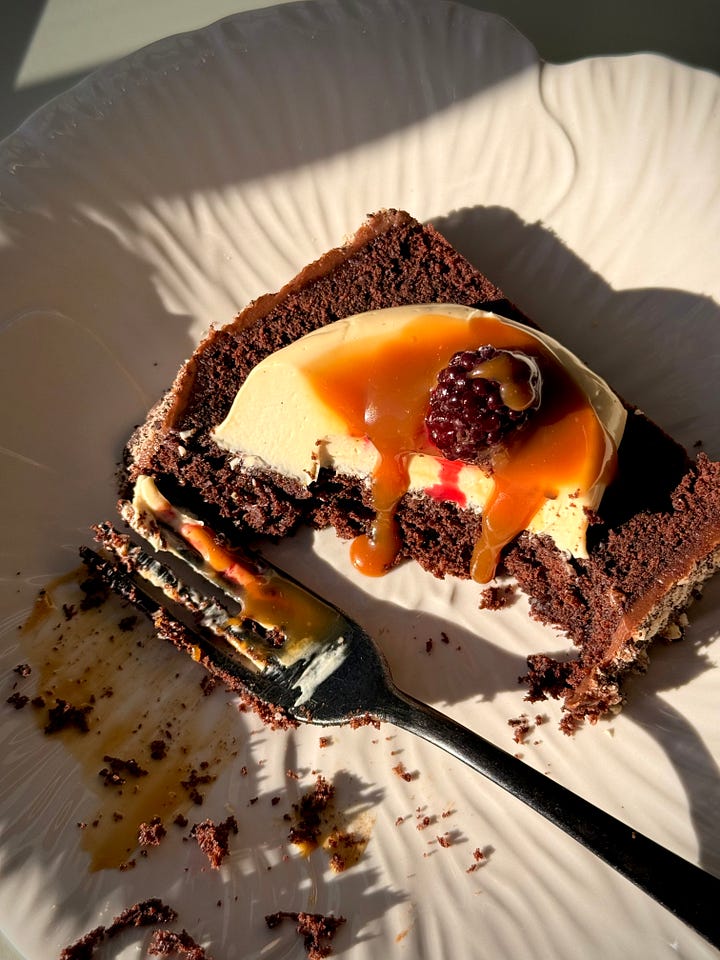
Recipe Makes: 1 x 2 lb loaf tin
Recipe Serves: 10 slices
Y O U – W I L L – N E E D -
Loaf
270 g Plain Flour, sifted
2 tsp Baking Powder, sifted
¼ tsp Bicarbonate of Soda, sifted
100 g Cocoa Powder, sifted
330 g Light Brown Sugar
½ tsp Sea Salt
½ tsp Espresso Powder, optional
2 Large Eggs
130 ml Guinness (see sub suggestions above)
90 g Soured Cream, room temp
75 ml Neutral Oil
75 ml Water, boiling
Chocolate Glaze
150 ml Double/Heavy Cream
150 g Milk Chocolate
¼ tsp Sea Salt
Toasted Hazelnut Crumb
50 g Blanched Hazelnuts, finely chopped
50 g Dark Chocolate, finely chopped
Pinch of Sea Salt
Salted Caramel Cream Cheese
165 g Full Fat Cream Cheese, fridge temp
75 g Salted Caramel Sauce
30 g Icing Sugar, sifted
1 tsp Vanilla Bean Paste
225 ml Double Cream, fridge temp
M E T H O D –
Preheat the oven to 150°C Fan/170°C/350°F/Gas Mark 3 and grease and line a 2lb loaf tin.
For the loaf, add the dried ingredients into a large bowl and use a balloon whisk to mix well.
Into a separate bowl, add all the wet ingredients. Mix well until smooth.
Pour the wet ingredients into the dried and use a balloon whisk to mix. Switch out to a rubber spatula, scraping down the sides and base of the bowl to ensure there are no unmixed flour pockets.
When smooth, transfer the mix into your lined loaf tin. Pipe (or cut) a thin line of butter across the top to control the crack when baking.
Pop the loaf into the oven and bake for 65 to 70 minutes – insert a skewer to check for doneness. You are looking for it to return a few crumbs and a small amount of batter for a fudgy finish. Bake slightly longer (70 to 75) if you want something more put together and less fudgy.
Let the loaf sit in the tin for 10 minutes before wrapping in clingfilm and leaving to cool at room temp.
Once cooled, make the glaze, add the double cream to a pan and bring to a near boil. Remove from the heat and add the chocolate and sea salt. Cover the pan with a lid and leave to sit for 2 minutes.
Use a rubber spatula to mix until glossy and smooth before leaving to cool for 30 minutes.
Place the loaf on a cooling rack with a large tray underneath. Pour the glaze over to cover the top and sides. Allow any surplus chocolate to run off, before using the pooled chocolate in the tray to reglaze. Continue until all chocolate has been used.
Leave the glazed loaf to set for at least 2 hours.
For the crumb, mix all the ingredients together before sprinkling over the top of the set loaf. Use your hands to gently press in on the sides until completely covered.
To serve, make the salted caramel cream cheese by adding all the ingredients bar double cream to a mixer bowl. Mix until smooth with a whisk attachment. Add the double cream and mix until you reach medium peak.
Slice the loaf with a warm knife, top with a spoonful of cream, top with fruit of your choice and another drizzle of salted caramel sauce.
And finally, we get to the main bake of the day – my Lemon and Blueberry Meringue Pie.
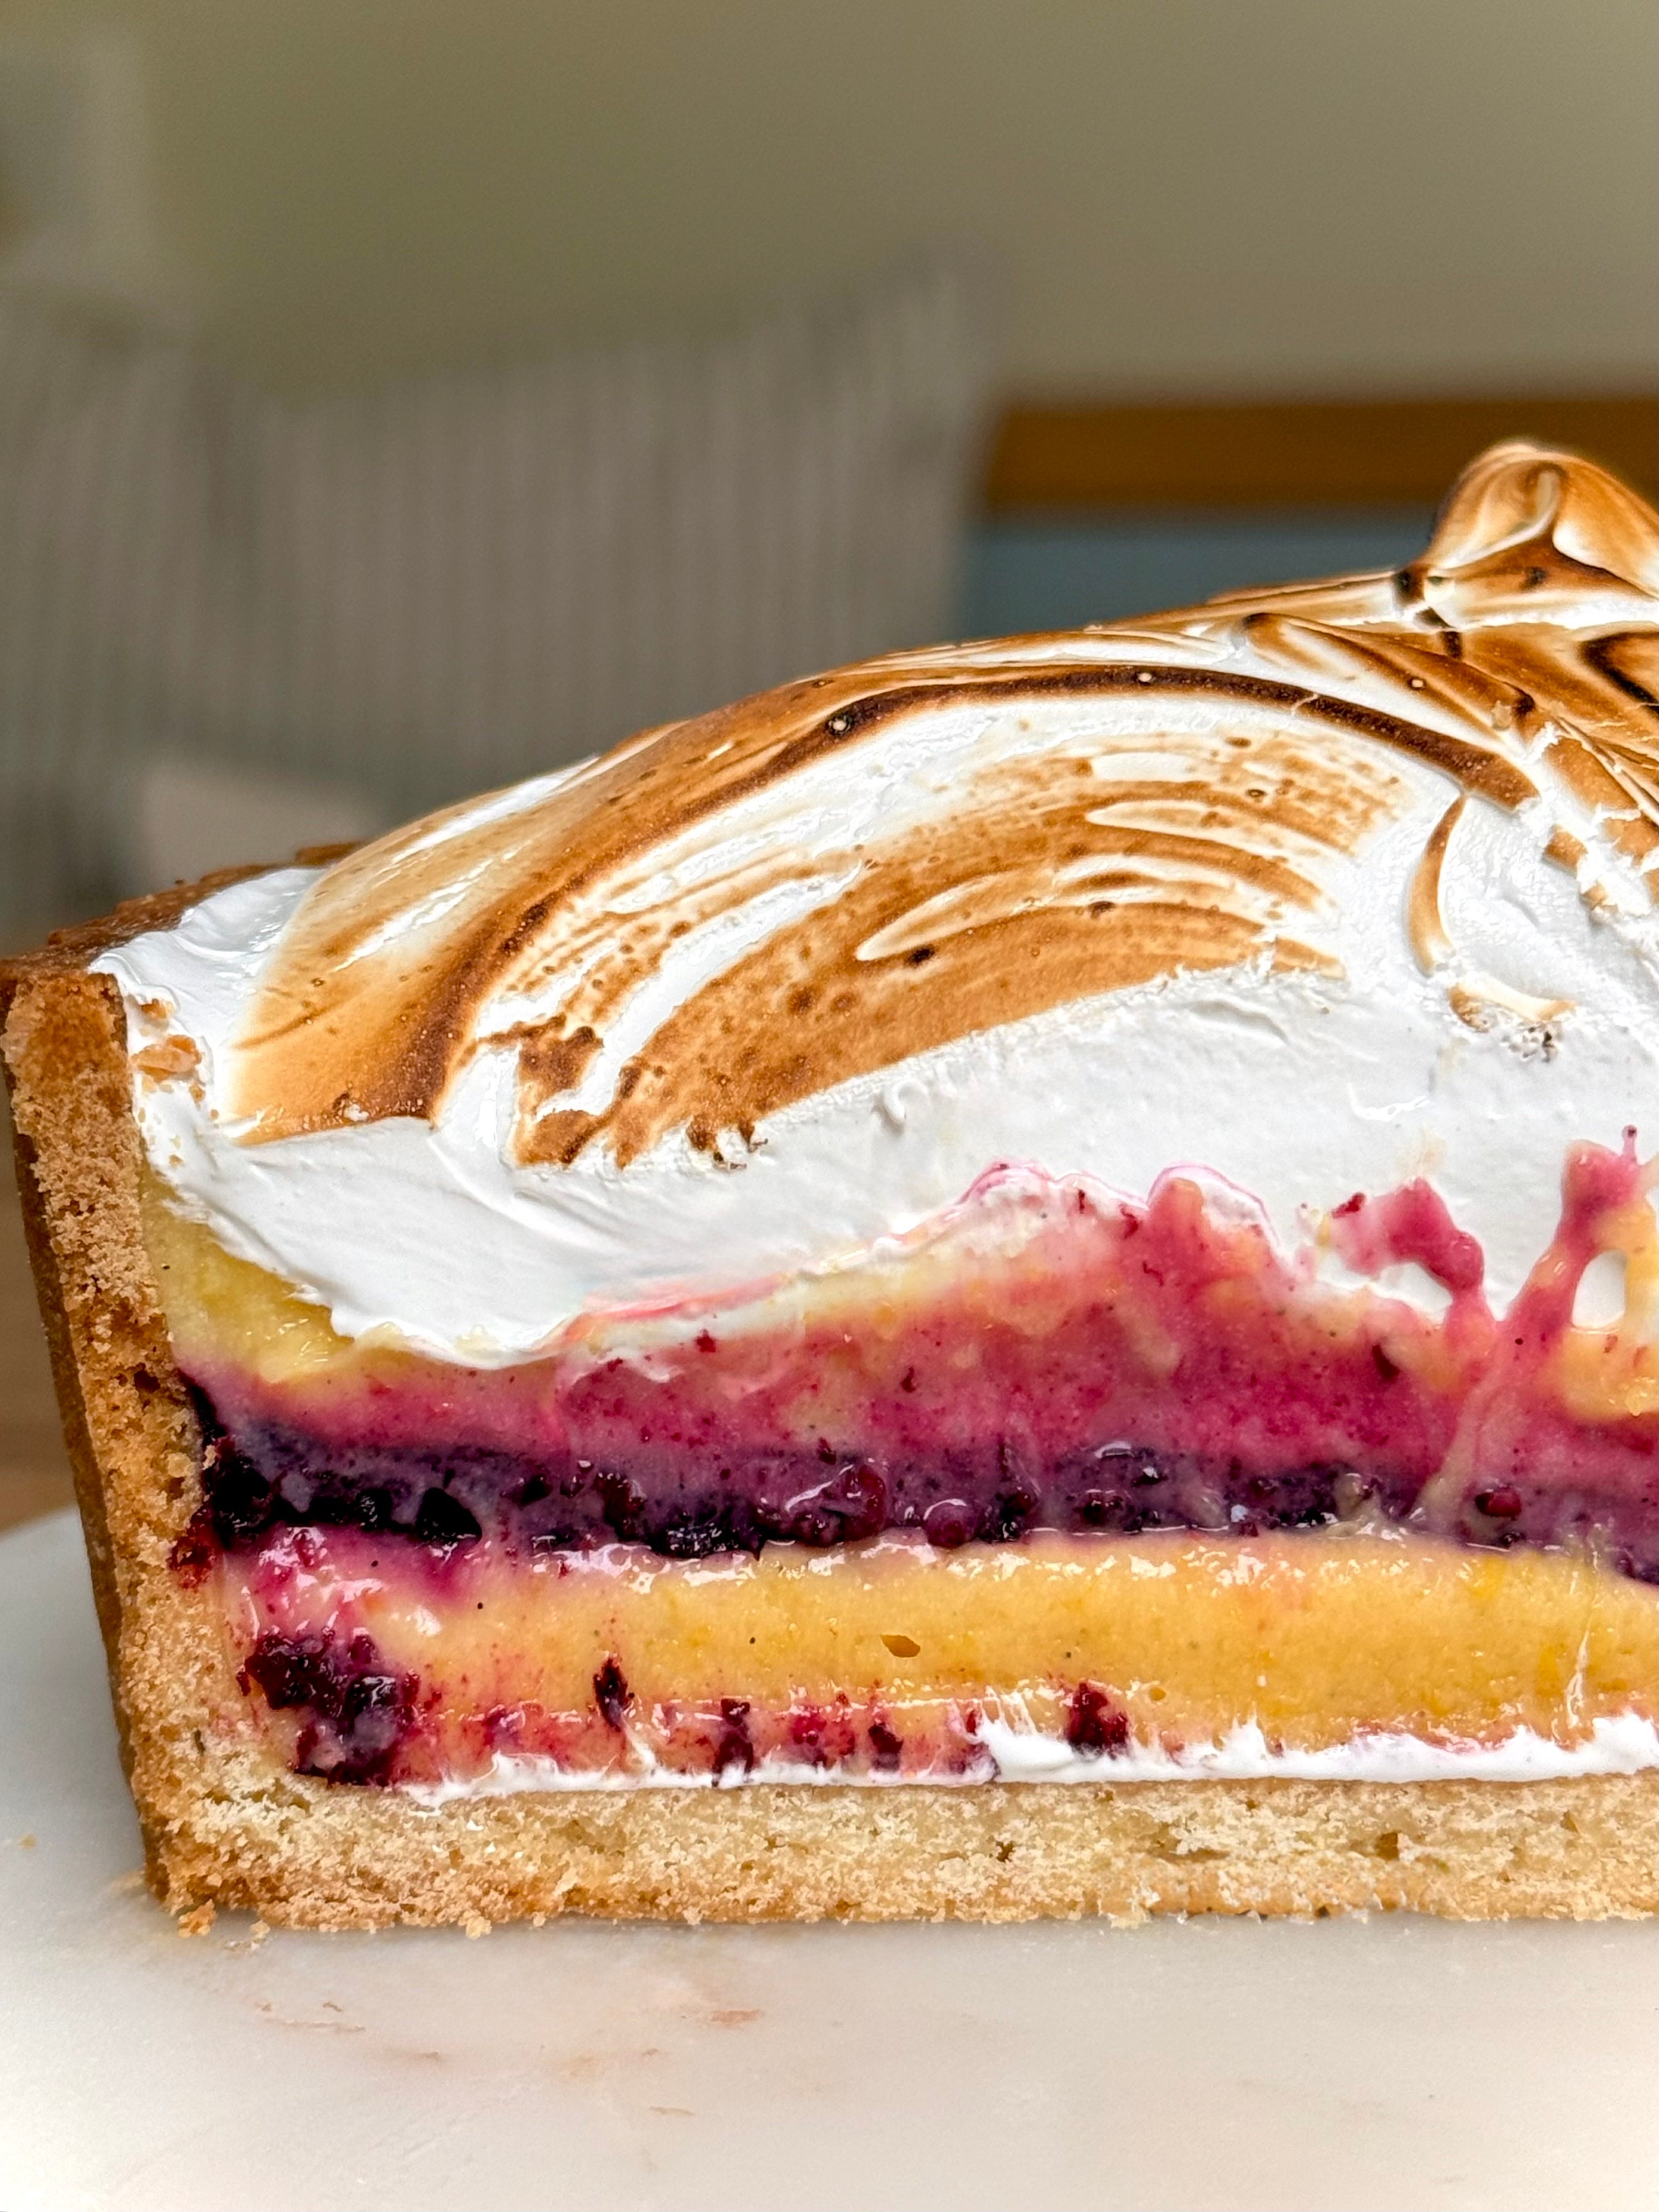
This flavour combo is tried and tested but we are glowing up that classic Lemon Meringue Pie with a hidden set blueberry compote filling and switching out the French meringue for its silkier and classier sibling, Swiss Meringue instead. The lemon curd is also spiked with a touch of coconut oil so a zesty, bright but also mellow finish and the pastry is scented with cardamom because as we all know around here – CARDAMOM IS LIFE. It’s zingy, punchy, crisp, crunchy, smooth, smushy and so tart, it’ll make the backs of your cheeks squeal. Just as any good lemon meringue pie should.
Now yes, the lemon curd, blueberry, lemon curd layering looks mighty impressive but between you and I, only occurred because of a mistake. I massively underestimated how much lemon curd I was going to need to fill this tart case and by the time I realised (when the curd was sat in the baked tart case), I had to improvise with making a second batch.
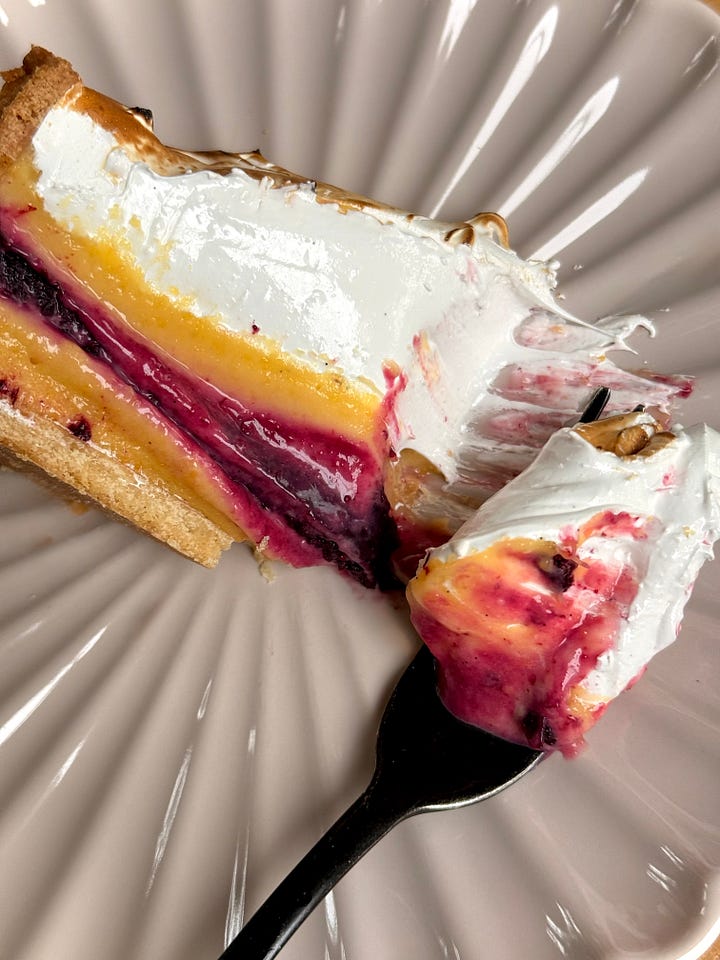
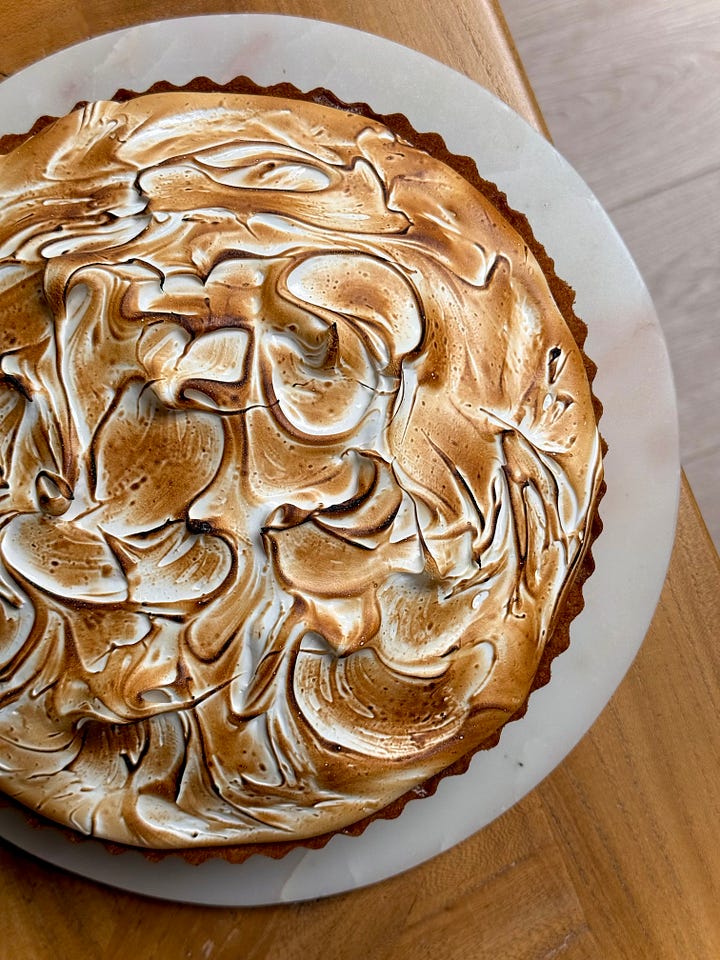
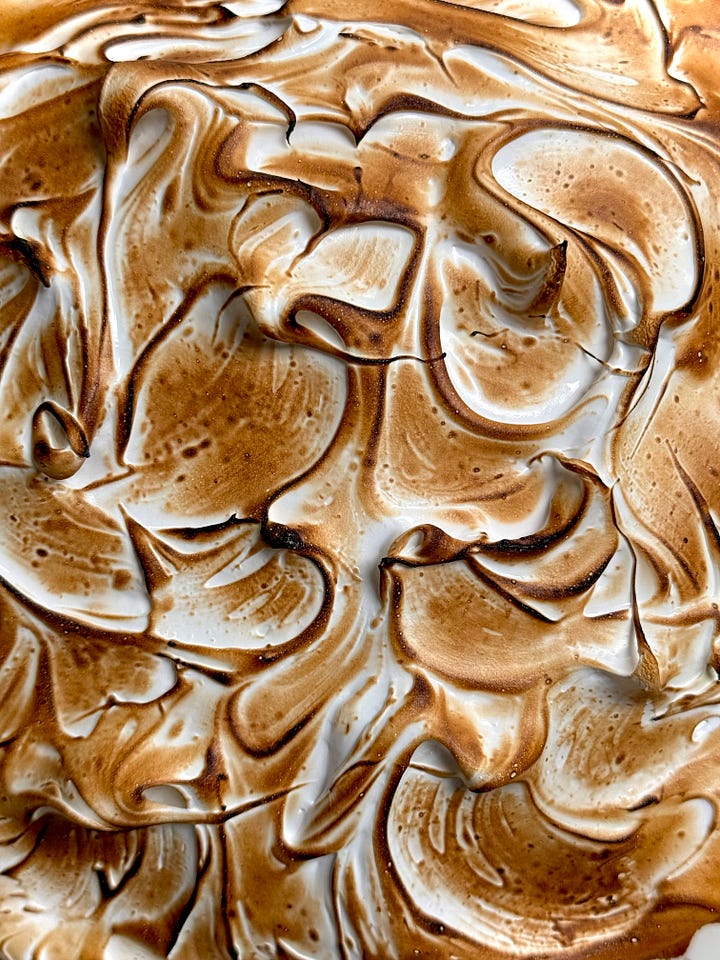
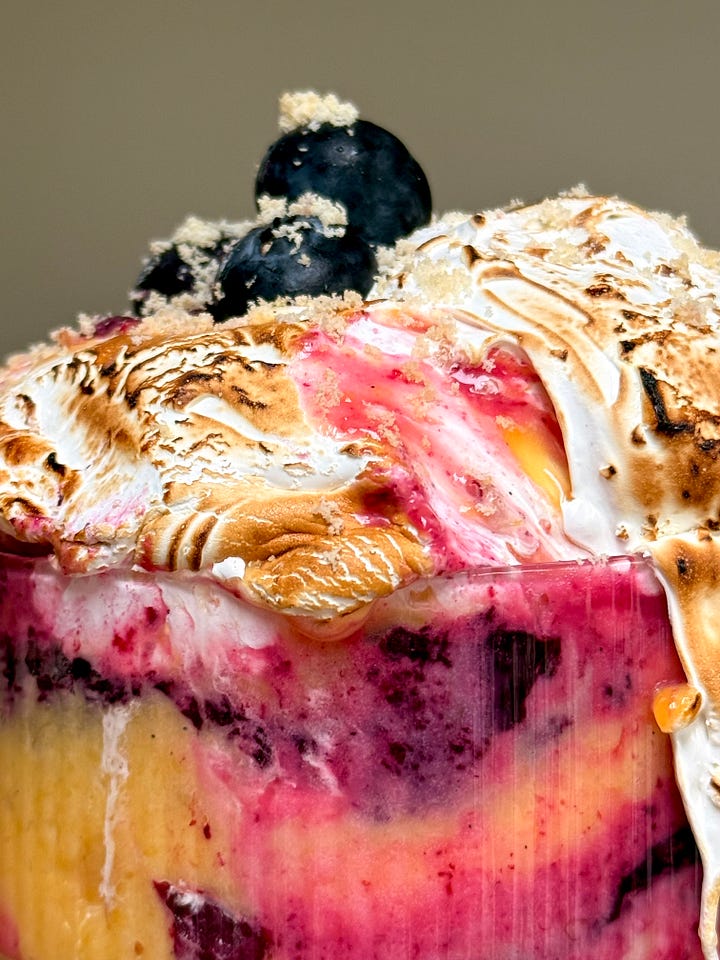
So a fruitful mistake cause I actually love this jazzy finish but if you are after something more classic and simpler – make the double batch of curd in one go, add to the pastry case, allow to set before adding the blueberry compote.
Same taste, less faff.
And talking of faff, don’t be overwhelmed by all of the separate components and the layering - there is a lot you can do beforehand to make bake day a breeze.
Make Ahead (and by this, I mean, you could make this bit now, freeze and take it out in 3 months time if you so wished) – The pastry. Get this made, rolled and line your tin well in advance and pop in the freezer until needed.
Up to 3 Days Before – Bake your pastry case a few days before if it means less stress for you later down the line. You can bake these up to 3 days before, cooled at room temp and then stored in an airtight container in the fridge. They won’t be as crisp as they would be baked fresh, but they will keep fairly well until needed. Alternatively, bake this 1 day before if you have a bit more time.
Up To 2 Days Before – Make the lemon curd and blueberry compote (minus setting agent – add that just before you add the compote to the tart)
Up To 1 Day Before – Add the premade lemon curd and blueberry layers leaving them to set overnight in the fridge.
On Day of Serving – Make the Swiss Meringue, pipe, torch and serve immediately.

See! A perfect no stress, make mostly ahead sort of pudding, perfect for any Easter celebration next weekend.
Recipe Makes: 1 x 25 cm / 10 inch deep (make sure it is at least 2 inch deep) tart tin with removable base
Recipe Serves: 12
Comments
Nothing yet. Say the first thing.
Sign in to join the conversation.