
In my latest post about the knitting sheath, I mentioned that I was going to find out what all the fuss was about by knitting a pair of 1880s stockings using my own sheath. Here’s how it’s going so far.
Written knitting patterns first started to appear in the mid 19th century, during a time when knitting was becoming a popular hobby for Victorian ladies and print media really took off. We’re lucky to have quite a few resources that have been digitised, including many of the “Weldon’s Practical Needlework” leaflets, which are available as facsimile copies through PieceWork.
The first edition of “Weldon’s Practical Stocking Knitter” was published in 1886, and it contains many practical tips for knitting stockings in general as well as quite a few patterns for the whole family. I knew that I wanted to keep things simple, so I looked for as plain a pattern as possible, finally settling on a “Gentleman’s Striped Stocking”, which is completely stocking stitch throughout, with the exception of the cuff.
The pattern calls for 4 oz of grey and 2 oz of dark blue “German Fingering”, which is apparently comparable to yarns on the lighter end of fingering weight today. When I was in Tampere recently I picked up a few skeins of Garthenor Snowdonia, which is a plastic-free high-twist sock yarn which should be suitable. I only have one colour, but I decided to go ahead anyway just ignoring the instructions for the stripes.
I picked out my “#16” needles (1.5 mm or US 000), neglecting the ChiaoGoo fixed circulars I have in that size for a set of four 25 cm (10”) DPNs. The pattern doesn’t specify a gauge, but mine is roughly 11.5 stitches per inch (46 stitches in 10 cm) in stockinette, tighter than anything I’ve knit (by hand) before. The long, thin needles made me feel like I was wrestling a porcupine as I was casting on, something I hadn’t felt since I was a beginner knitter. Combined with the knitting sheath, I felt like all of this was going to be more challenging than I had anticipated.
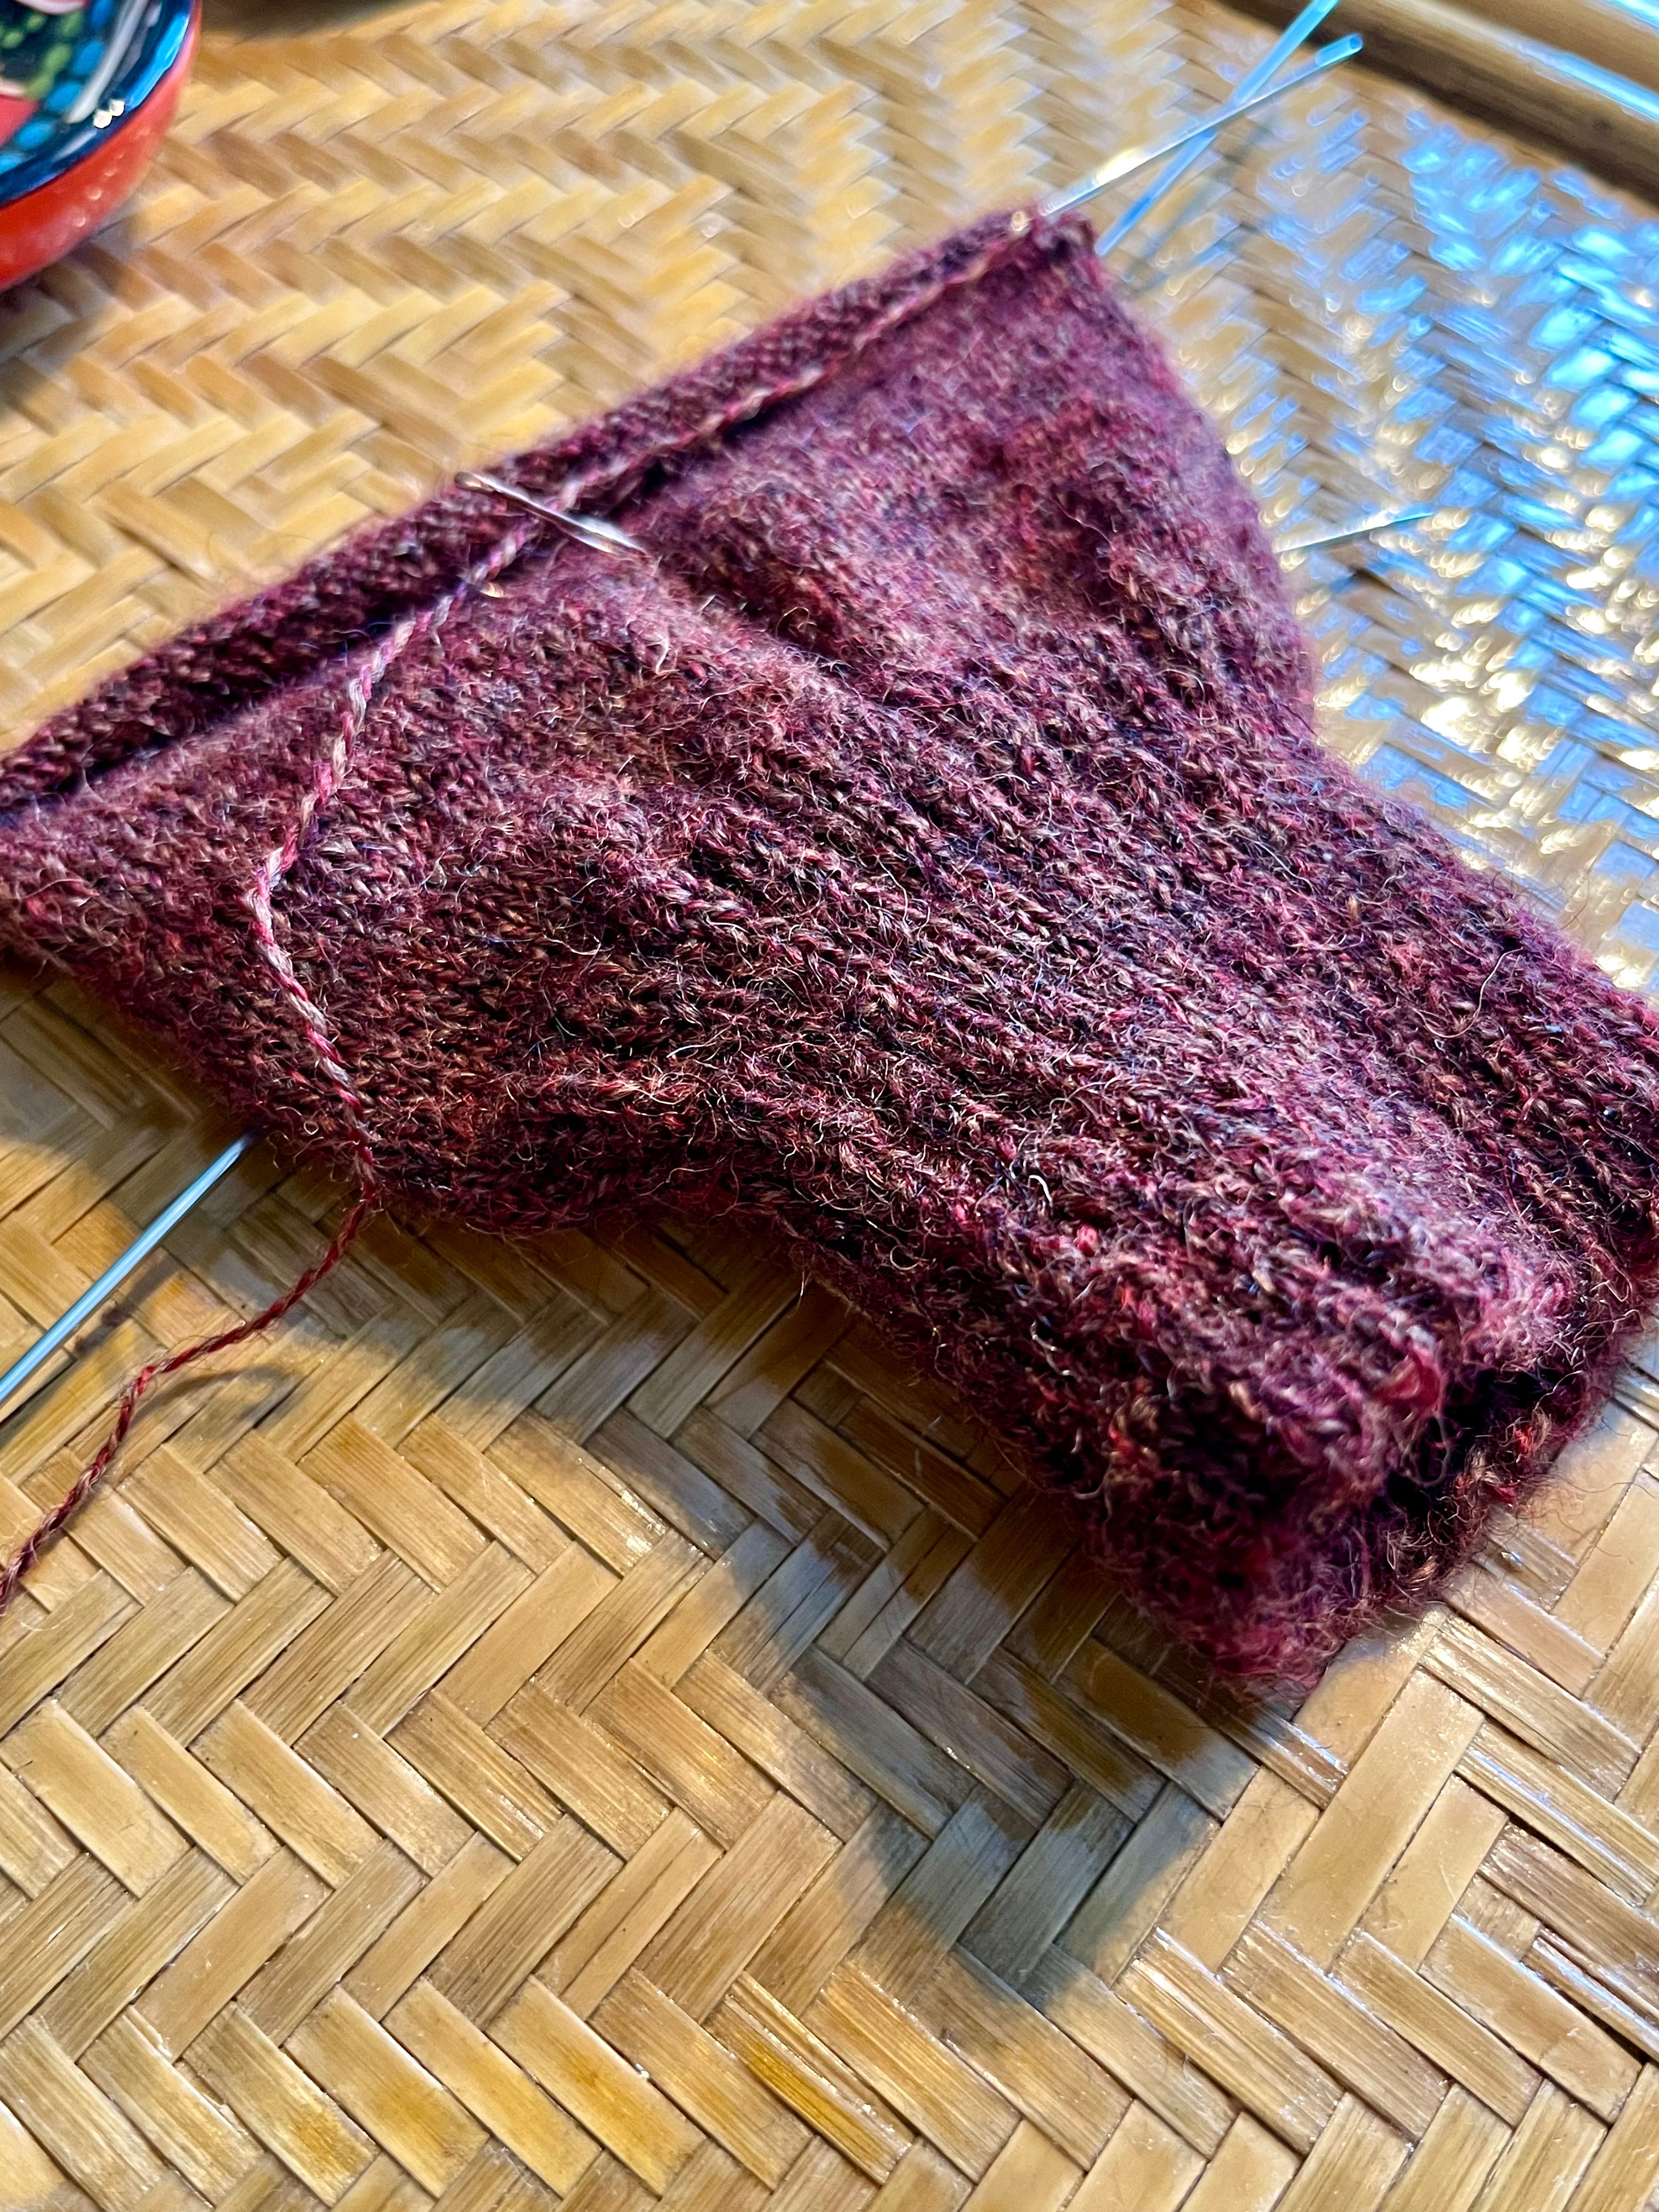
The booklet doesn’t specify which cast on to use, so I opted for my go-to, which is a long-tail cast on done in pattern. This means for K2P2 ribbing you create both knit and purl stitches as you cast on, as opposed to the standard LTCO which creates only knit stitches. I love this cast on because it works for any knit/purl combination, making it more versatile than a tubular cast on, while retaining a seamless appearance and being a simple process.
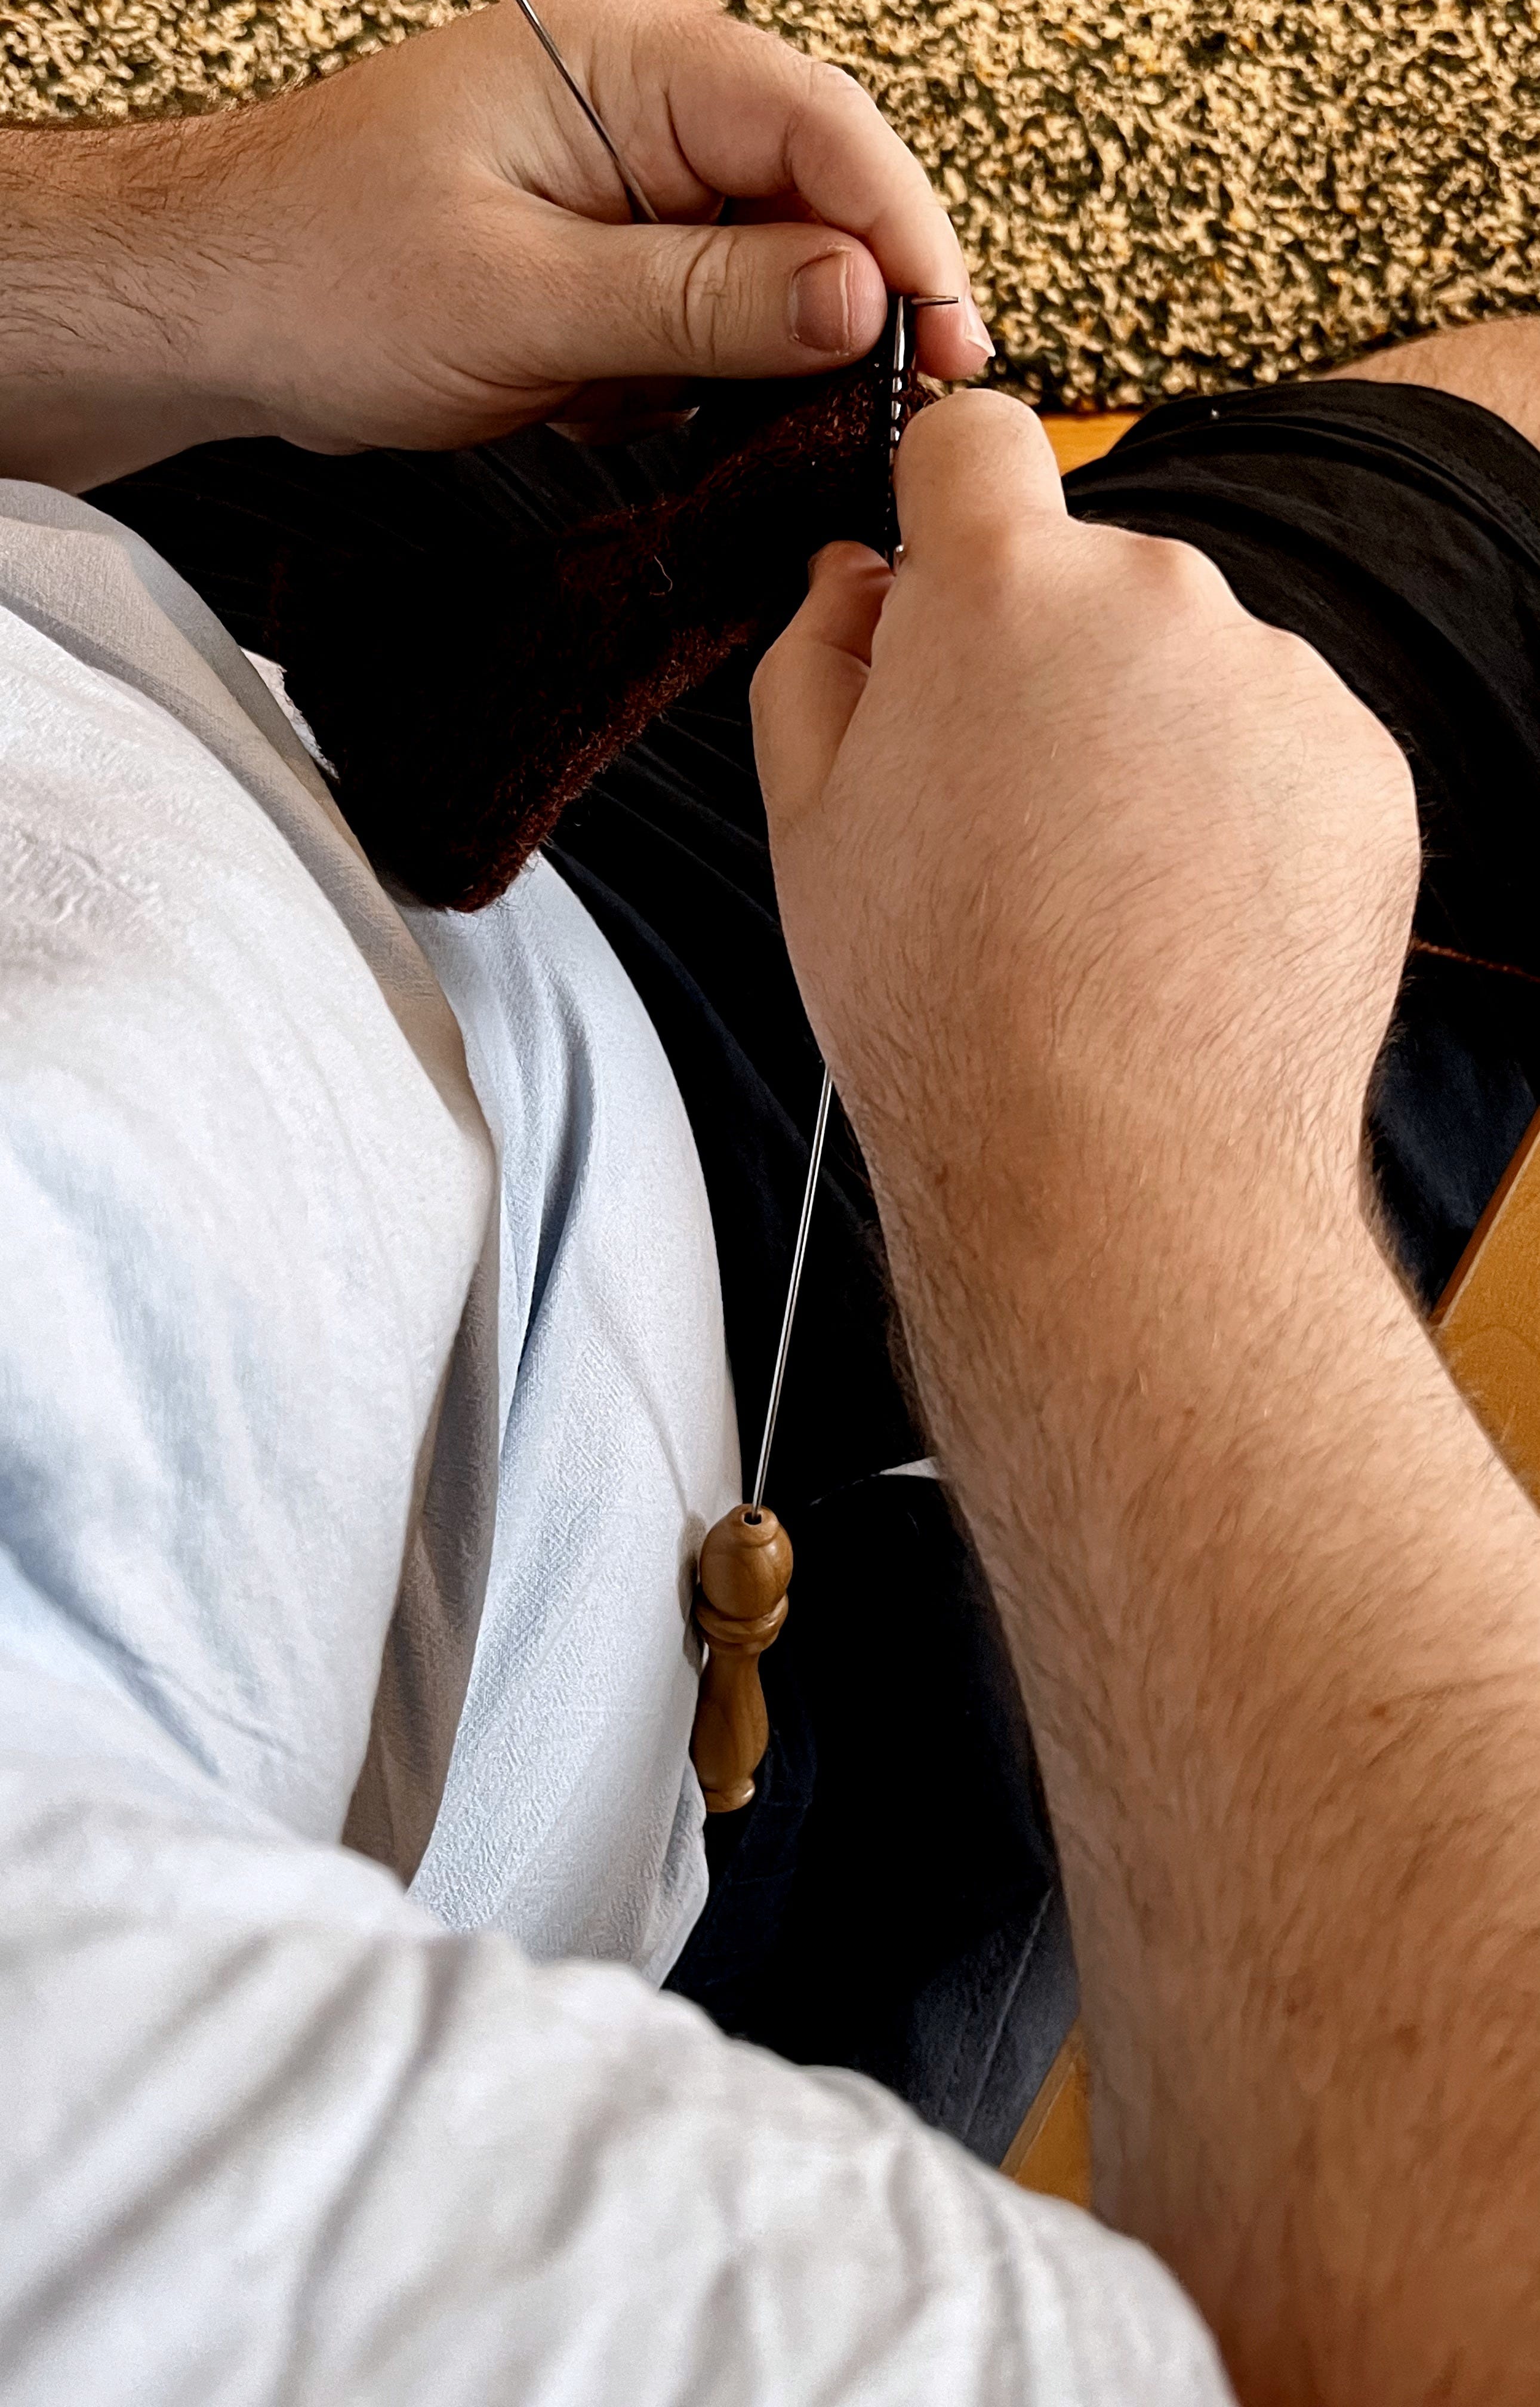
With 100 stitches on my needles, it was time to get going with 40 rounds of K2P2 ribbing. I would be lying if I said this didn’t drag on a little bit. I think that’s mostly down to still getting used to the knitting sheath: finding a comfortable position for it took some trial and error, and I’ve settled for now on tucking it into my waistband with the back braced against a couch cushion. I don’t usually wear an apron and I rarely wear a belt in the summer, so I might need to experiment a bit more on finding a way that works.
Once the ribbing was done, it was time for the seam stitch, which turned out to have more going on than I expected.
Comments
Nothing yet. Say the first thing.
Sign in to join the conversation.