
In a perfect example of cognitive dissonance, every time I hear someone wanging on about the UK’s declining workforce, I am in total denial that I’m one of these 10 million-ish ‘economically inactive’ people despite not having had a ‘proper’ job for two years. Unemployed? Part of the problem that is costing the UK 85 billion? Could never be me.
Except, it could.
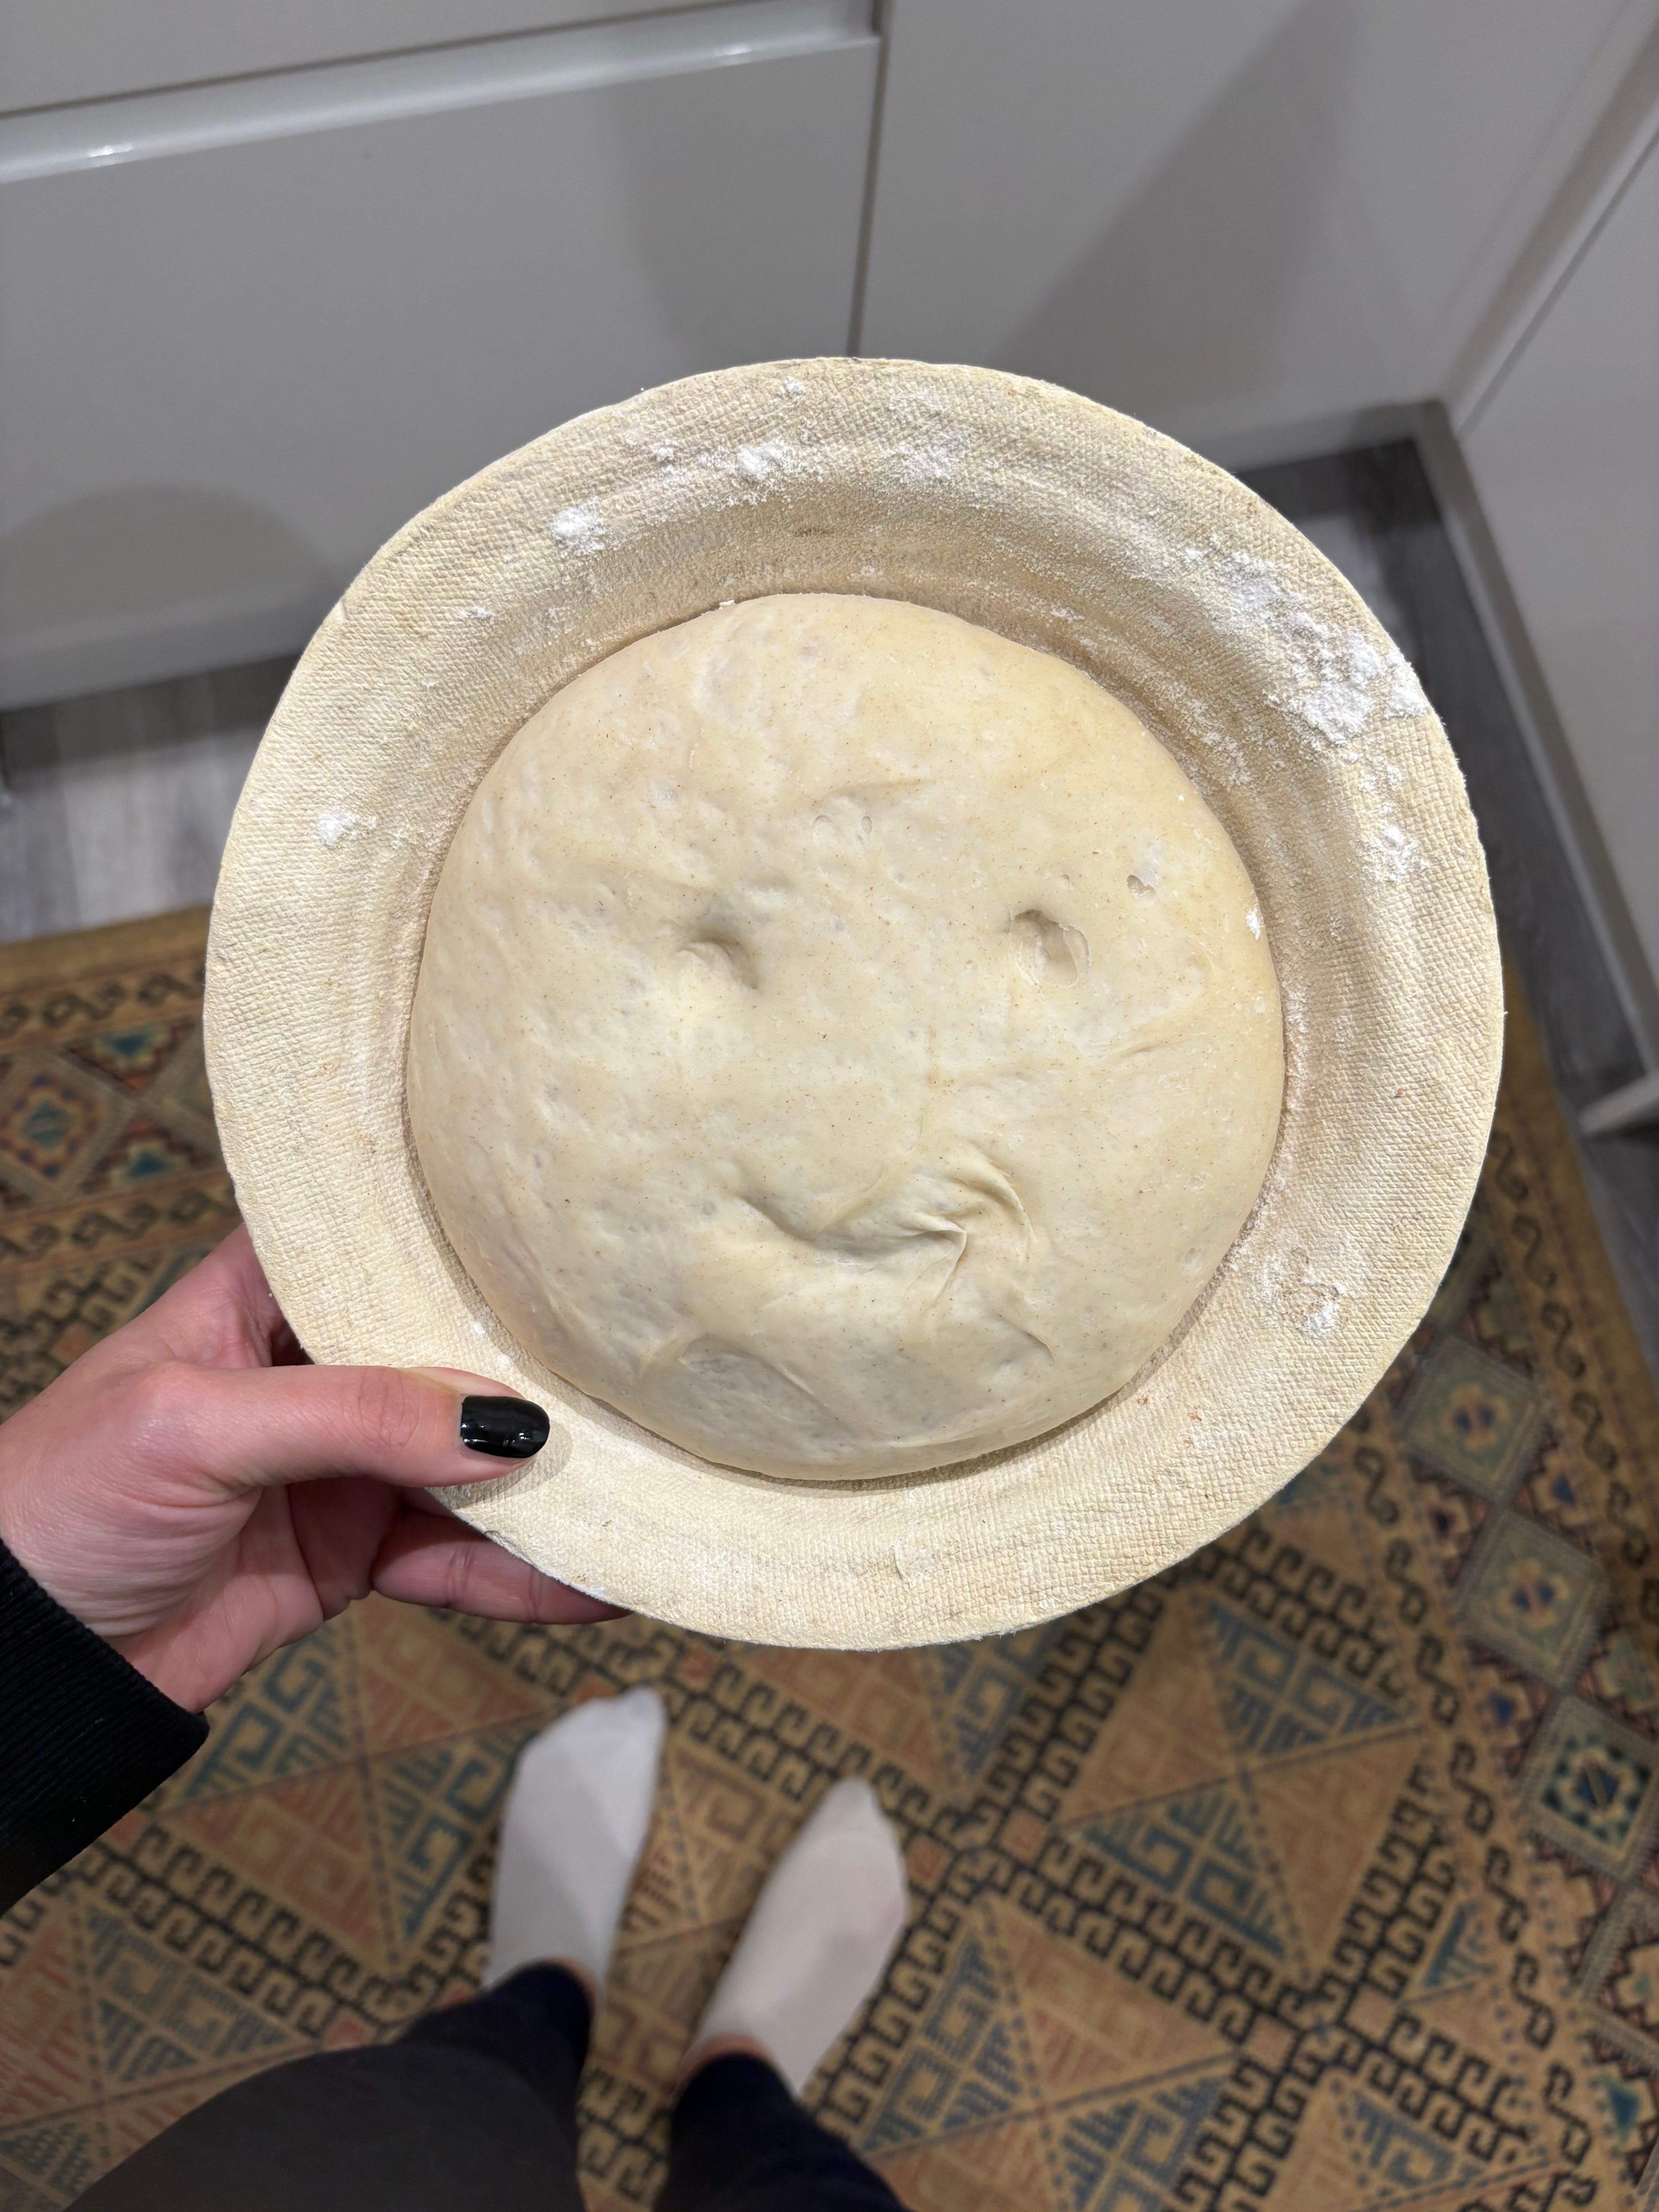
As many of you know, because I’ve also been wanging on about it over the last few months, I didn’t really mean to stop working. I didn’t even really realise I was out of work until I was six months into it because I didn’t want to acknowledge it. I pretended it wasn’t happening and almost every single month that I have been out of work I have told myself that, by the following month, I would start to look for jobs. Work has always been important to me, problematically central to my personality, and I like working hard. But I just couldn’t do it anymore, mentally, physically or spiritually and I had to stop.
Earlier this year, I declared myself miraculously cured of my chronic autoimmune condition and ready to get back to ‘it’ after a couple of years of rest and some very good non recreational drugs. This is not entirely true. Chronic illness is… well… chronic. It doesn’t go away. It loiters and it lurks.
I had another flare up in June which caught me totally off guard, but because of medication and management it lasted for just two weeks instead of two years and offered me some insight into the fact that I am not cured, I just have better support now. It also made it crystal clear to me that finding a full time job might be tricky with my condition (after all I will have other flare ups) so I have been in search of what can essentially be classed as an Employment Unicorn since sometime in April — something casual yet reliable, part time yet well paid, meaningful yet not stressful, with employers who understand that sometimes I may just not be able to move or get out of bed for a few days. But after months of applying for these ‘perfect’ jobs that I never get, pitching articles that are never accepted, starting self directed projects that seem to remain at the fledging stages and doing odd bits of freelance work nothing has fully stuck… yet. It feels like the world of work is stacked against me and the longer I look and fail to find what I’m looking for, the argument against working at all gets louder. I am so paralysed by the fear of getting my next steps wrong again or that I might be too old to pursue my ideal career that I find it hard to make any sudden movements and I stop altogether — despite my brain whirring behind the scenes, desperate to move forward like car wheels stuck in sand.
Plus, months after promising that I would make bread, I still haven’t made any fucking bread and the longer that I don’t make bread for, it feels as if I will never bake ever again and then I feel utterly useless and the intrusive inner monologue continues…
I am sure there is some kind of connection between procrastinating about making bread and not quite being able to settle back into work again, but I’m too poor for therapy (because I’m unemployed, did I mention that already?) so I’m using Substack to self-therapise. It does seem as if I am waiting for the perfect time, the perfect conditions, the perfect sign to burst onto the scene again. But perfect doesn’t exist and, on inspection, I realise that perfectionism is actually a chronic illness that I don’t need another one of.
Sometimes you just need to fucking get on with it. It’s better out than in, better done than perfect. And what better place to start getting on with it than making some not very perfect bread?
One of my favourite ways to think about baking is that cakes are chemistry and bread is biology. Bread is a thing made from flour, water and salt. When we combine flour and water we create yeast, a living thing, ergo making bread is about wrangling this living yeasty organism and persuading it to contort itself into a loaf. Living things aren’t perfect so bread can never be perfect, in fact arguably perfectionism is not particularly conducive to making bread — perfectionism might actually be very anti bread and anything that is anti bread on God’s green Earth, quite frankly, can fuck off.
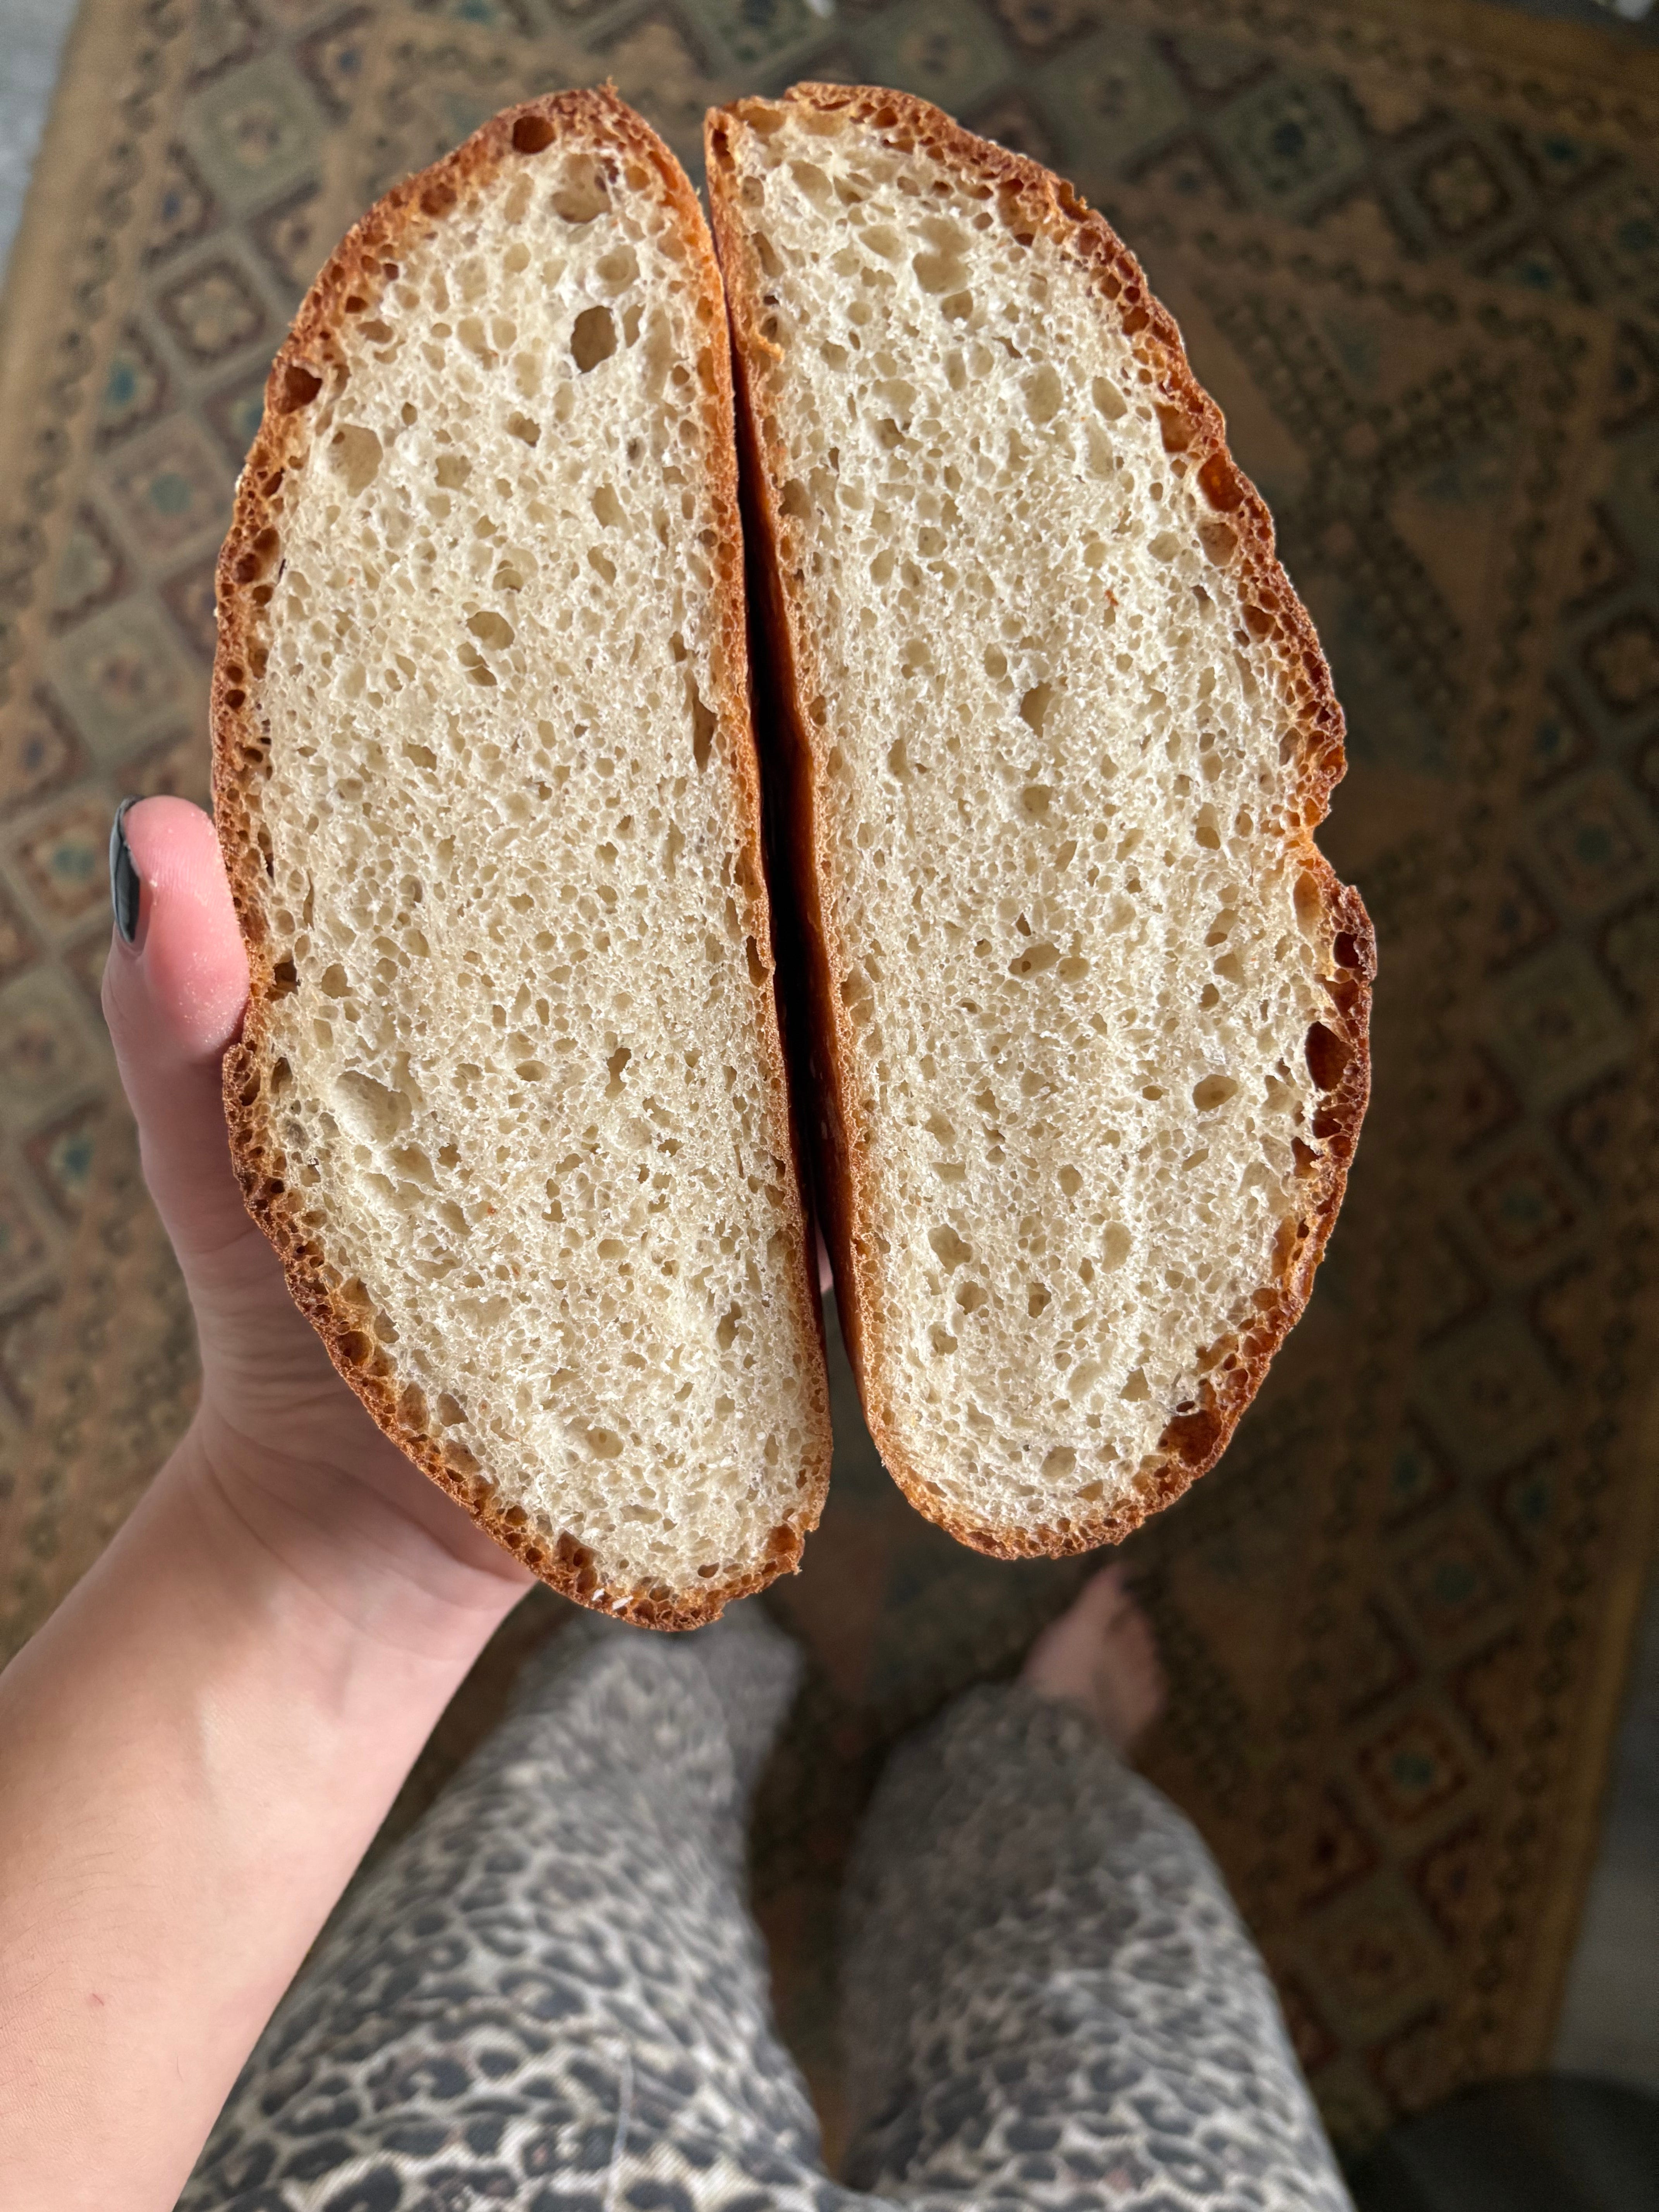
Last week’s excuse/obstacle to not-making-bread was that my sourdough starter has been left unfed in my fridge for about 6 weeks and was swimming, dormant, in a purple-hued hooch. If I wanted to make bread last week, I needed to have re-fed it the week before and so on and so on. So, in a last ditch attempt to light a fire under my arse, ladies and gentlemen, I have cracked out the tinned easy bake yeast and, for the last few days have (FINALLY) made a loaf EVERY. FUCKING. DAY.
It might not be sourdough and it’s definitely not made from heritage flour (although, I’m going to classify the flour that I used as local because I bought it in the Londis across the road from my house), but who cares because I did the thing that I haven’t been able to do for months on end.
Active, fast action, easy bake or dried (whatever you want to call it) yeast has a terrible reputation. Many bakers turn their nose up to it but I don’t agree with this nose-turning. When I used to teach bread making, although I would primarily focus on natural yeast, I would almost always include a lesson about fresh and dried yeasts — they are part of baking’s story and there is both a time and place for them. In the case of dried yeast, it is an excellent anti-procrastination tool.
Industrially produced, dehydrated yeast works like this: natural yeast is created by mixing water and flour together. All natural yeasts can be made using various ratios of flour to water, but I usually work with a relatively high water ratio, e.g 50/50 or 40/60. Bread yeast (saccharomyces cerevisiae) lies dormant on flour and is brought to life by adding water and a bit of warmth. The yeast then eats all the sugars already in the flour to stay alive. Because we keep the yeast well fed with more flour and more water, it stays pretty stable and, as long as we keep it consistently nourished it remains reliable and stable (just like a human being). To make industrial dried yeast, producers will make one of these flour/water cultures, get the yeast nice and excited and then dehydrate it. If we already know that yeast needs water to keep it active, when we take water out of the equation the yeast becomes dormant again. When water is reintroduced to dried yeast, the dormant culture goes bananas after a long old dehydrated sleep and produces a really fast and strong yeasty reaction. It is almost like it is excited about being alive again. Because of how powerful this reaction is, we need just a fraction of what we might need if we were using natural yeast. But this is good, we can harness this energy when we don’t have too much time on our hands and it will still make us a cracking loaf of bread.
I guess people don’t like it because it comes from a packet. But ffs sometimes we all just need a little leg up to get us started on the right path imperfectly and quickly.
From now on, I’m going to carry the message of Easy Bake Yeast in my quest to find a meaningful career with me. I thought I was seeking perfection but what I was actually looking for was action and the connection that this brings with it.
Ultimately, I am harnessing the power of a single celled fungus that has recently come back to life.
A few months ago, I gave you a recipe for a basic bitch sponge — now I’d like to welcome you to the basic bitch loaf, 500 grams made from bog-standard bread flour, water, salt and dried yeast that you can knock up quickly with zero excuses. Like most bread recipes, there are still a fair amount of steps and it will still take 3.5 hours of your day, but I’d say this is the bare minimum amount of time and effort that you need in bread making. Here is the recipe along with some lo fi extra reels of how to mix, fold and shape — enjoy messing about with it, don’t worry about getting it spot on and just remember, if you don’t get it right the first time, nobody’s going to die and even a nearly-perfect loaf is most likely still edible, toastable, sandwichable and butterable, which in my eyes is perfect enough.
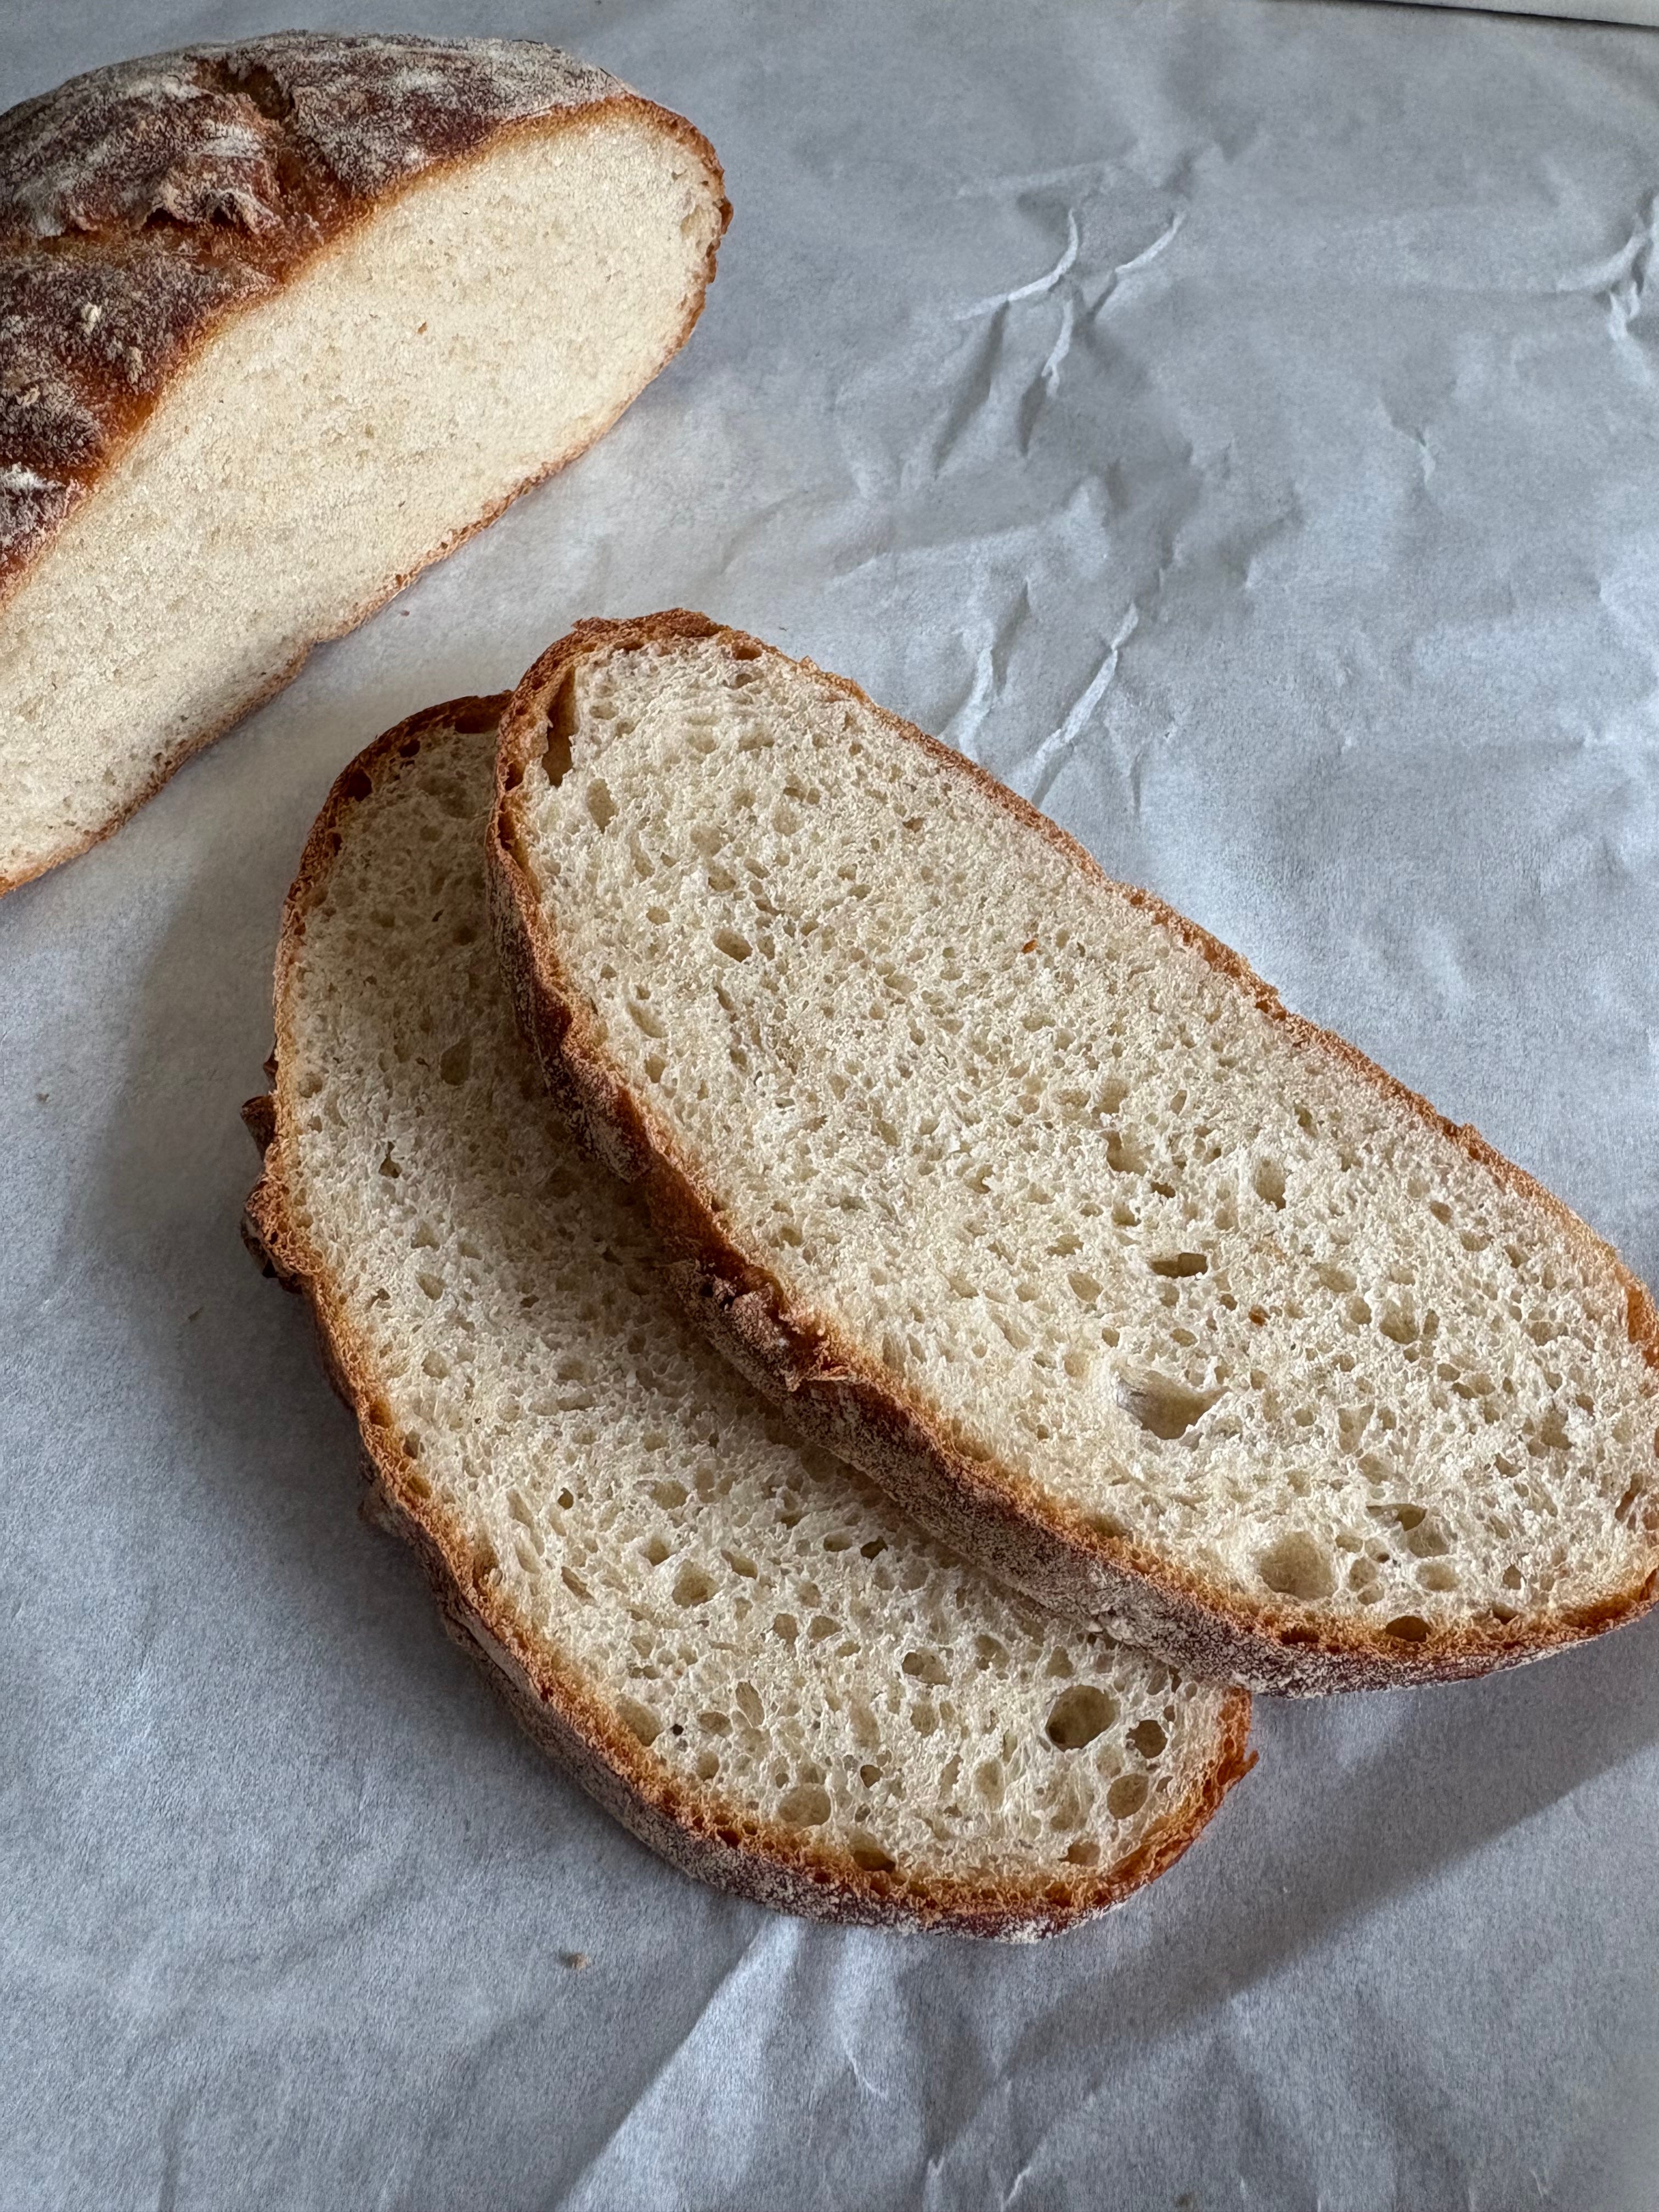
Recipe for a Fast(ish) Loaf:
Makes: 1 small loaf (enough for two people’s toast for about 3 days)
Time: 3.5 hours approximately
Ingredients:
250 g strong white bread flour
3 g fast action yeast/easy bake yeast/dried yeast (just anything dried and industrially produced. The differences between them are nominal).
3 g salt
164 g water (weigh your water in grams, I’ll explain why some other time)
If you have one, use a meat thermometer
You’ll need a small baking tin or a small bread banneton
Ideally, a scalpel or sharp blade will be useful for scoring the loaf
Directions & Rudimentary Video Instructions: (I may re-record these videos at some point because they’re really lo-fi, but for now better done than perfect, amiright? Complete with sloppy dough noises and boyfriend-asking-whether-he-should-stop-filming ASMR)
First, let’s prepare our water. You’ll need 164 g of warmish water. The temperature of the water is really important for the dough — there are complicated equations that bakeries use to get water temperatures right but it’s a bit long if you’re just making one loaf in your kitchen every now and again. All you need to know is that dough should get to about 24 degrees C. Too-hot water leads to overproofed dough, too-cold leads to underproofed dough. In the summer or in hot climates, we use the coldest water we can for our mix, but now that it’s Autumn and my kitchen runs at about 17 degrees C, I’ve been using water that is between 26 - 28 degrees. I don’t know about your kitchen, but I’d say you want to keep the water about 25 degrees in the cooler months.
Add the yeast to the water, give it a mix with your fingers and let it sit for 5 minutes.
Add flour to the yeast/water mix and give it a rough mix so that it is just combined. Leave it to sit for 20 minutes before you add salt. This mix of yeast, flour and water before salt is known as autolyse.
Add salt to bread and mix until well combined. The ideal consistency for dough is that it should almost feel like skin. Leave to proof for 20 minutes. Here are two mixing techniques:
Mixing part one: To get air into the dough, pretend the dough bowl and your arm are a stand mixer/bread mixer. Turn the bowl one way while mixing the other direction to mimic how a stand mixer works, like so —
Mixing part two: Once you have the dough to a just-combined point, there’s no need to knead. Tip the dough out onto a surface and follow these steps a couple of times until the dough is well combined. The final product should almost feel like skin, like you’re touching someone’s arm or a thigh.
Stretch and fold the dough and let it proof for another 20 minutes. Repeat one more time and proof for a final 20 minutes. Here’s how you stretch and fold in the bowl:
Shape dough into a round and leave for YET ANOTHER 20 minutes. Shape the dough as in the vid below —
Shape dough into another round for a final time and pop it into a tin or banneton. If you’re putting it in a tin, shape into a round and then pull it towards you, easing the round into a sausage like shape as you do this — it doesn’t have to be the exact length of the tin as it will grow as it proofs. If you are using a banneton, put the dough in upside down, with the top of the loaf facing the bottom of the banneton. This is so that when we turn it out of the banneton, it is the right way up.
This is the part where there are actually two options and I haven’t figured out which gives the best results. You can either leave your dough in its tin or banneton out of the fridge for 2 hours, or you can pop it in the fridge for 4 hours before you bake it. I’ve had consistently good results with both options.
Half an hour before you are ready to bake, turn your oven up to full whack. I turn mine up, with fan, to 270 degrees C.
10 minutes before you are ready to bake, fill a shallow tin or cake tin with boiling water from the kettle and put it in the bottom of the oven. This is to create steam inside the oven which helps the bread rise.
If you are using a banneton, tip your bread out onto a baking tray and, using a scalpel or really sharp knife, score a line in the middle of the loaf. If your bread is in a tin, score a line on top with the scalpel and pop it directly in the oven.
Once the bread is in the oven, immediately turn the heat down to 220-230 degrees C. Bake for 30 minutes.
Thanks for reading! This post is public so feel free to share it.
No posts
Comments
Nothing yet. Say the first thing.
Sign in to join the conversation.