
(This is Part 3 of a multi-post series. Access part 1 here and part 2 at this link)
We’ve made our first “vibe coded” app using plain text and Claude Code to have a working web application. In this final guide, we’ll get our app deployed on the web so others can interact and use your creation. (Note: We won’t cover databases, a way to save user data for repeated access, so your app won’t be able to have real user accounts or save user inputs for additional sessions.)
To deploy our website to the internet, we will use two tools: GitHub (to store our code) and Vercel (to host our website). Don’t worry if these are new to you, we’ll walk through everything step by step. At the end, I’ll briefly explain how you can buy a domain name for your app to host it under your desired name (example).
GitHub is like the Google Drive for code. It stores project files and keeps track of every change we make using git. When we update our app, GitHub remembers the old versions too (version control), so you can always go back if needed.
Vercel is a hosting platform that takes your code from GitHub and puts it live on the internet. The best part? Every time we update our code on GitHub, Vercel automatically updates our live website. It’s free for personal projects.
First, let’s set up GitHub. Go to github.com and click “Sign up.” Create a free account by picking a username, entering your email, and creating a password.
Next, head to vercel.com. Click “Sign Up” and choose the “Continue with GitHub” option. This connects our Vercel account to GitHub and makes deployment much easier. Select the free “Hobby” tier when prompted.
Before we push our code online, let’s make sure Claude Code set everything up correctly for Vercel. Go back to your Terminal window where Claude Code is running and enter the following:
Review the code to ensure this Next.js app is properly configured for deployment on Vercel. Please check that all dependencies are listed correctly and the project structure follows Vercel's requirements.Claude will scan through your files and let you know if anything needs to be adjusted. If it suggests changes, give it permission to make them.
Git is the technology that powers GitHub. Think of it like this:
Our folder on our computer contains our project
A commit is like saving a snapshot of our project at a specific moment
A repository (repo) is our project’s home on GitHub
Pushing means sending our latest commits from our computer to GitHub
Claude Code can handle all the Git commands for us. We just need to tell it what we want to do.
Now, let’s get our code onto GitHub. In Terminal with Claude Code still running, write:
I need to create a new GitHub repository for this project and push all the code to it. The repository should be called [YOUR-PROJECT-NAME-HERE]. Please walk me through the steps to initialize git, create the repo, and push to the master branch.Claude will guide you through the process of setting up git and pushing your project to GitHub.com
Initialize Git in our folder
Walk you through the steps to login to Github so it can work from your Terminal
Ask to create a new repository on GitHub (it will tell us where to go and what to click)
Add all our files to Git
Make our first commit
Connect your local folder to the GitHub repository
Push the code to GitHub
You may be prompted to visit GitHub in your web browser and enter a code displayed. Once you’ve completed authentication, Claude will finish the install and you should receive a link to your code. For example, my code was published here: https://github.com/wessilfie/happiness-wall-poc
Now for the exciting part: putting our app on the internet!
Go to vercel.com and log in
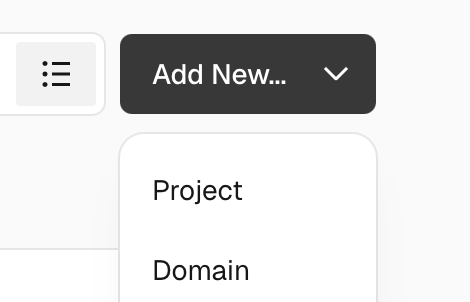
Click “Add New...” and select “Project”
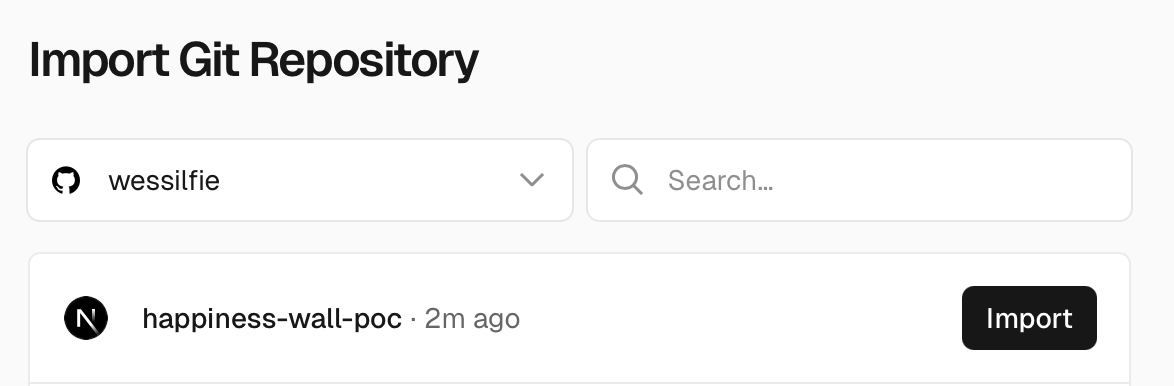
We should see a list of our GitHub repositories. Find the one we just created and click “Import”
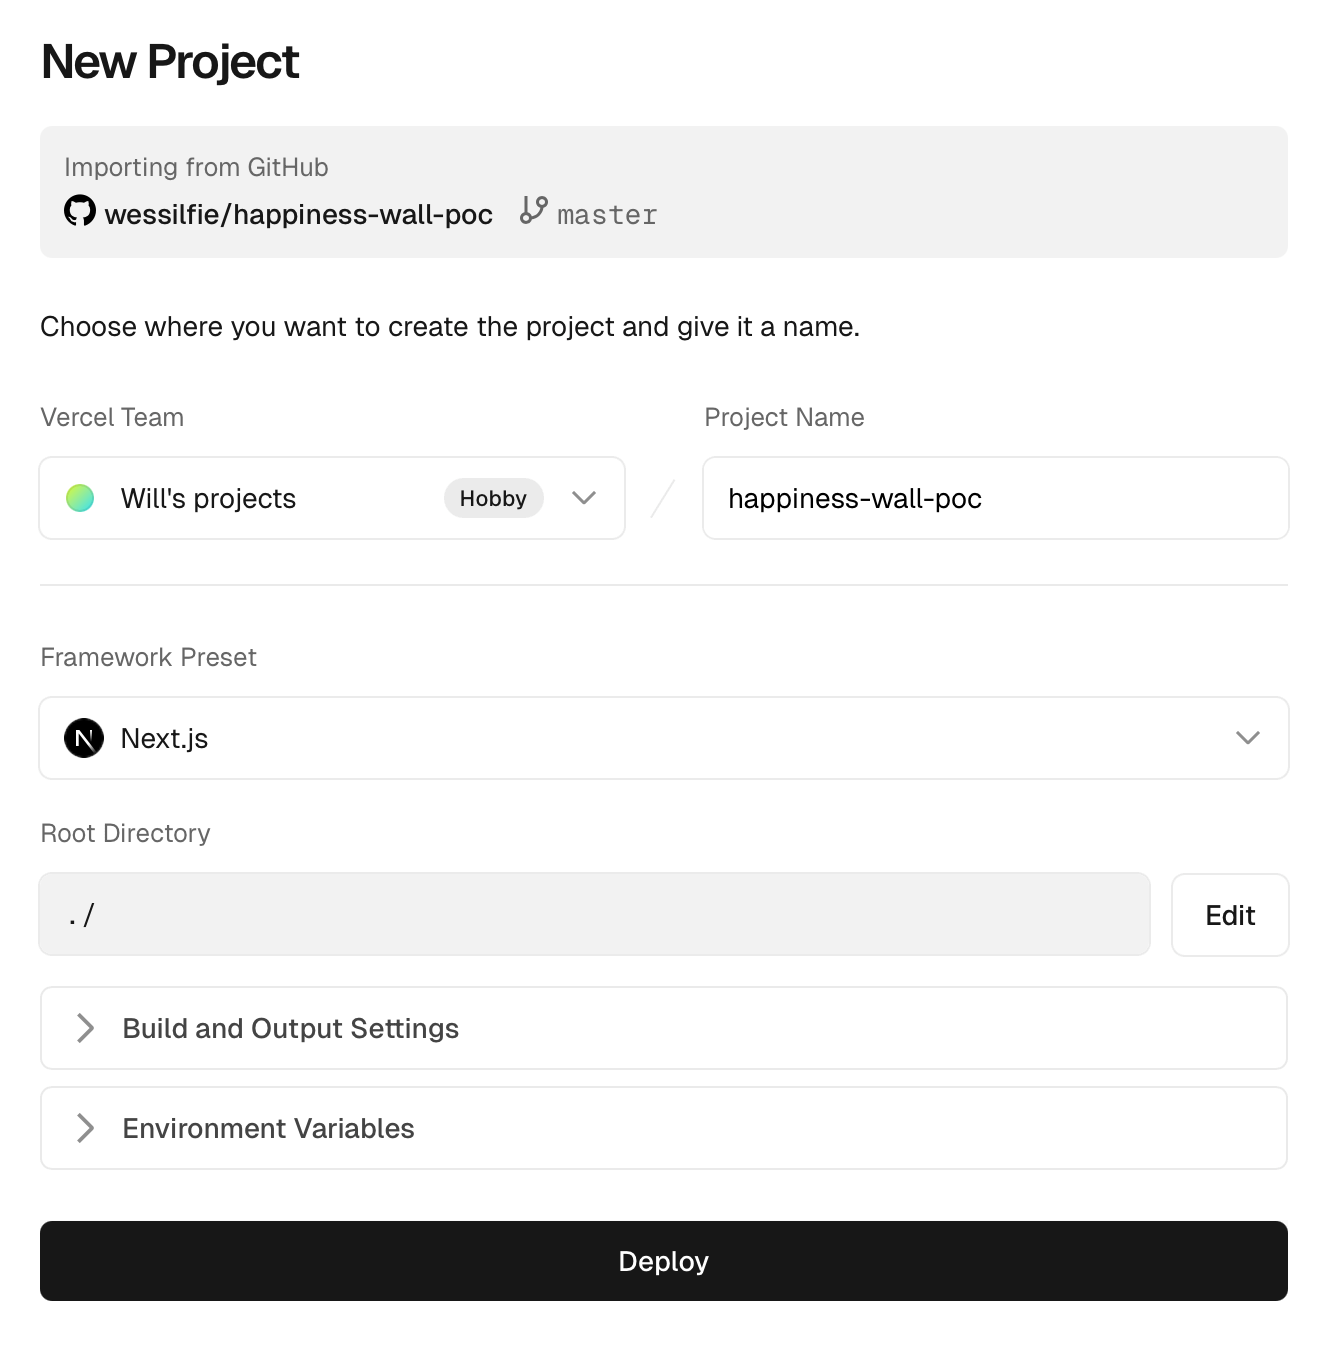
Vercel will automatically detect that it’s a Next.js app. We shouldn’t need to change any settings, just click “Deploy”
Vercel will now build our app. We’ll see a progress screen with logs showing what’s happening. This usually takes 1-3 minutes.
When it’s done, we’ll see a celebration screen with a preview of our website.
On our Vercel project page, we’ll see our website URL at the top. It will look something like your-project-name.vercel.app. Click “Visit” or copy that link. This is our live website that anyone in the world can access! Here’s a link for the happiness wall proof of concept code I shared above: https://happiness-wall-poc.vercel.app
Now, you can share this link to anyone and let them see the app you just made — no personal coding necessary!
Here’s what makes this setup powerful: every time we want to update our website, we just need to:
Make changes in Claude Code
Ask Claude to commit and push your changes to GitHub
Tip: ask it to write a summary of the changes made and include it in the commit
Vercel automatically detects the update and redeploys your site
Within a minute or two, your live website will reflect the latest changes.
To update our site in the future, simply tell Claude Code something like:
I've written a new PRD to add a dark mode to the website. Please read @[filename] and build a plan to implement the new setting. Please commit these changes with a commit message explaining the changes, and push to GitHub.And that’s it! We’ve gone from a local folder on our computer to a live web app accessible anywhere in the world. Share that Vercel link with colleagues, add it to your resume, or use it for whatever purpose you built it for.
In building this app, we’ve learned to work with AI coding tools, learned to write product requirements, use version control, and deploy to the web. Skills that professional developers use every day. From here, you can continue to iterate on your app, build a new one, or even extend your app to have accounts, store data, and more. Let me know what you build!
Want your site to live at yourname.com(for example, I run my sites through essilfie.com as the main domain and put the demo app we built at claudecodedemo.essilfie.com.) instead of your-project-name.vercel.app? Let’s set up a custom domain.
Head to Namecheap and search for the domain name you want. Domains typically cost $10-15 per year. Once you find an available domain you like, add it to your cart and complete the purchase. You’ll need to create a Namecheap account if you don’t have one.
After purchasing, Namecheap will send you a confirmation email and help ensure you’ve setup renewals and other key details.
Now let’s tell Vercel to use your custom domain:
Go to your Vercel project dashboard (where we saw our
vercel.applink earlier)Click on the “Settings” tab at the top
In the left sidebar, click “Domains”
In the input field, type your domain (example:
yourname.com) and click “Add”Vercel will give you two nameservers to use:
ns1.vercel-dns.comandns2.vercel-dns.com. Keep this page open.
Now we need to point your domain to Vercel’s nameservers:
Log into namecheap.com and go to your Domain List
Click “Manage” next to your new domain
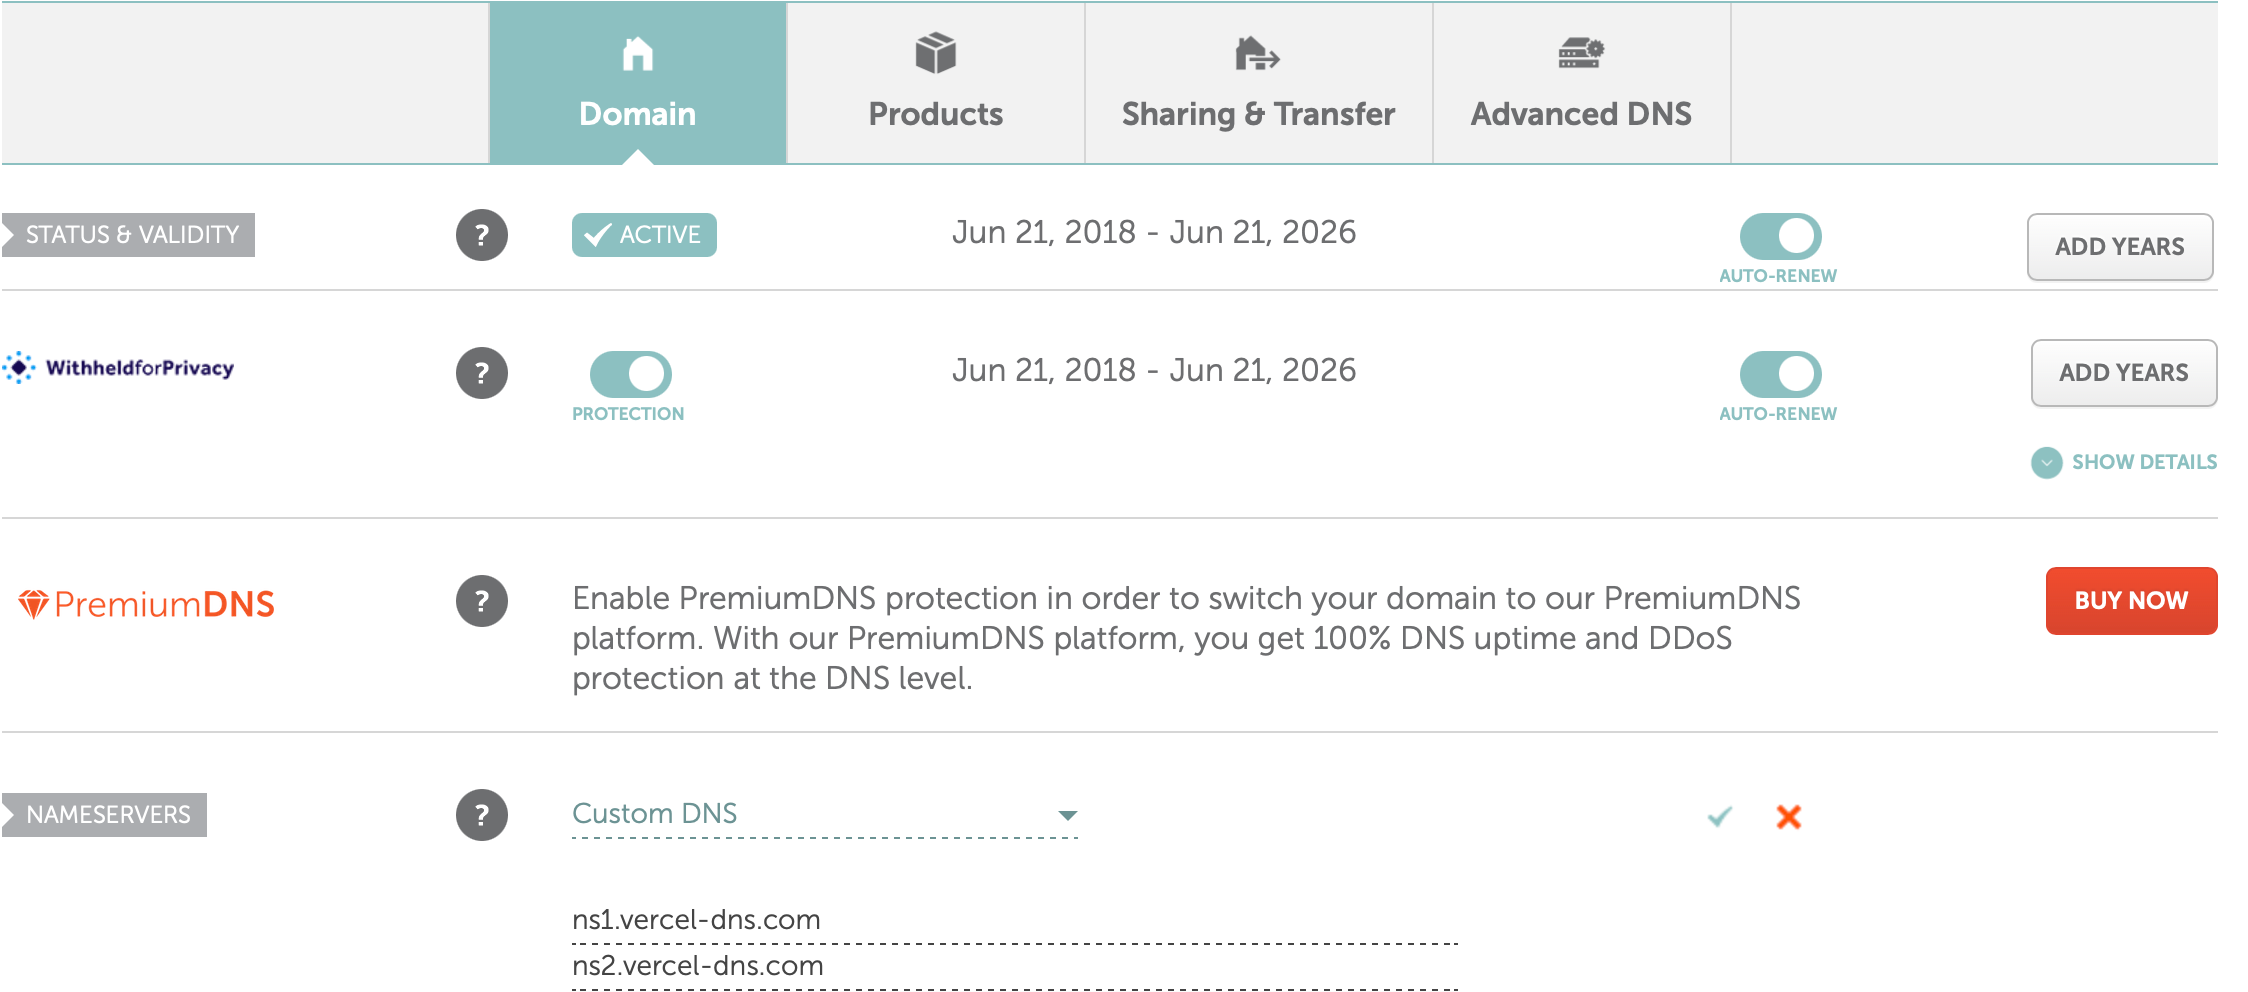
Look for the “Nameservers” section on the Domain tab
Click the dropdown menu and select “Custom DNS”
You’ll see two input fields appear. Enter:
ns1.vercel-dns.comns2.vercel-dns.com
Click the green checkmark to save.
We now need to wait for your domain to start directing to your app. These changes can take anywhere from a few minutes to 48 hours to fully propagate across the internet, though it’s usually much faster (15-30 minutes in my experience).
Back on your Vercel project page, you’ll see your domain status. Once it shows a green checkmark, your custom domain is live! Try visiting yourname.com in your browser and you should see your web app.
We’ve now gone from taking an idea, breaking it down into clear requirements, getting a working version locally, and then deploying it to the internet. What did you end up building? I’d love to see what you’ve created!
No posts
Comments
Nothing yet. Say the first thing.
Sign in to join the conversation.