
(This is Part 2 of a multi-post series. Access part 1 here and thank you to everyone who subscribed to my newsletter in the last day!)
Making the web app of your dreams with generative AI tools requires making a clear plan. We need to make a clear set of instructions and for that, we will use a Product Manager’s favorite thing: a PRD. PRDs (Product Requirement Documents) are a helpful tool PMs use to explain the goals of a feature/product in development to explain its purpose, what the product needs to do, examples of how it might work, and other pertinent details.
For our purposes, we’ll make a small PRD that to save space here, I wrote and made available for download on Google Drive.
To iterate on our project, we’ll use Plan mode and setup up our coding tool.
On your computer, make a new folder and name it with the title of your project.(Important note: we’ll use this as an exclusive space for the AI tool to work in. AI tools can make mistakes so you don’t want to give it access to a folder with important docs it might delete).
Next, open Terminal on your computer where you should get a screen similar to below:
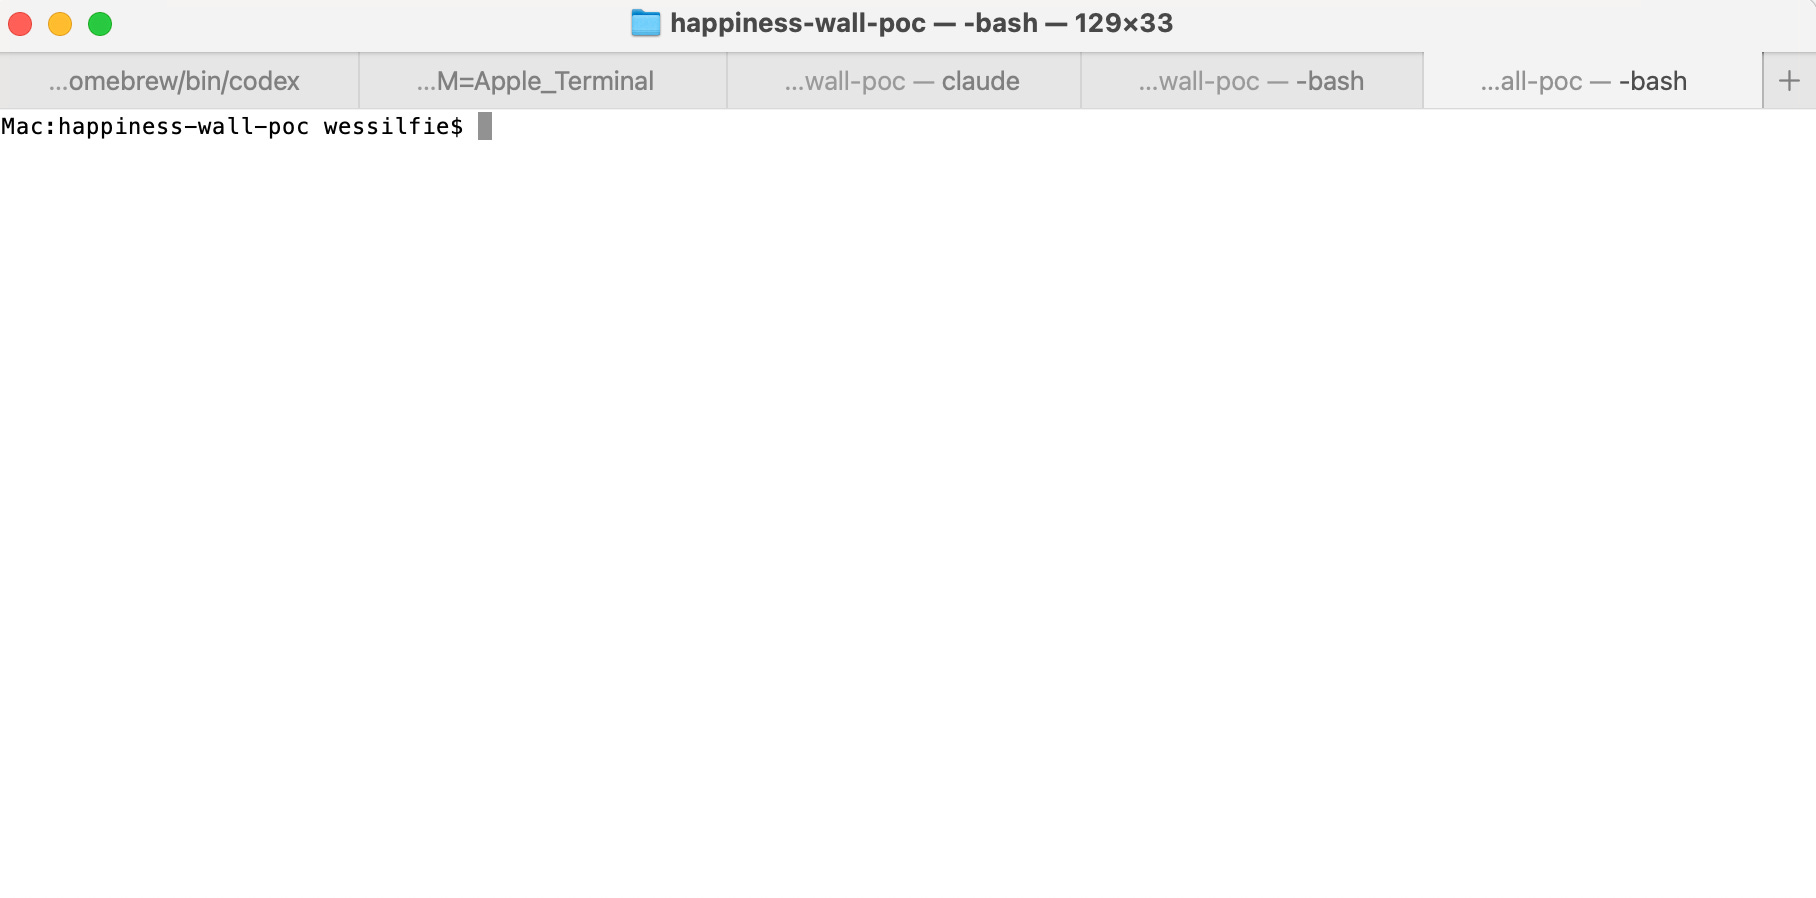
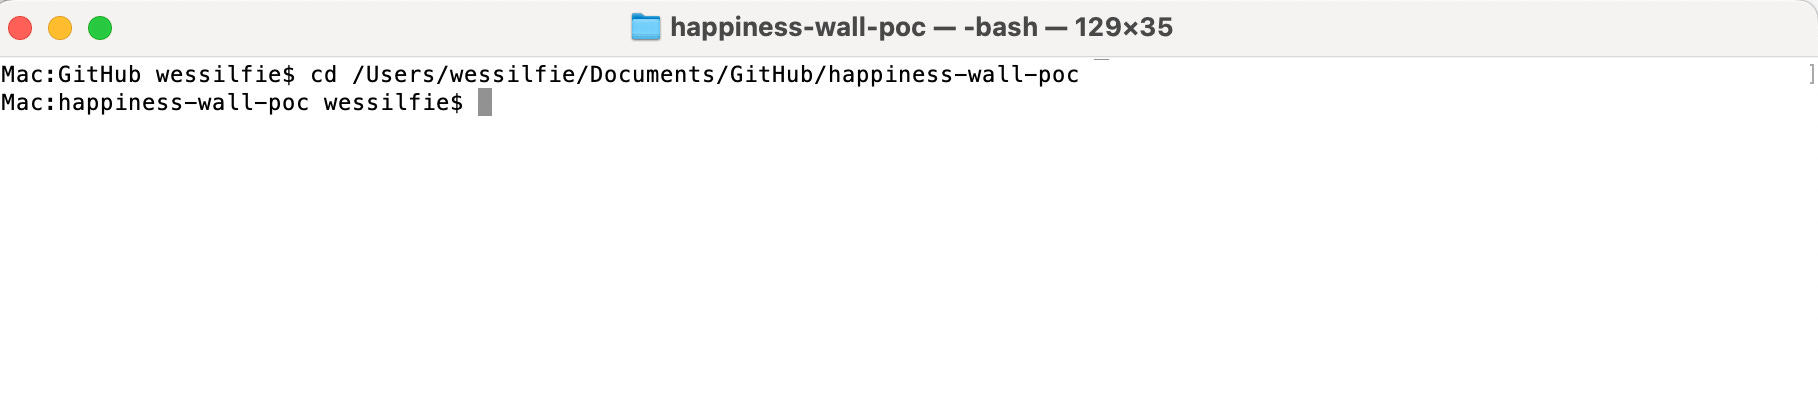
In terminal enter “cd” (cd = change directory which we’ll use to ensure Claude Code/Codex are working in the folder we want to make our app in) and then hit the space bar and then drag the folder you made into the text field. When done correctly, you should see the following in your Terminal app.
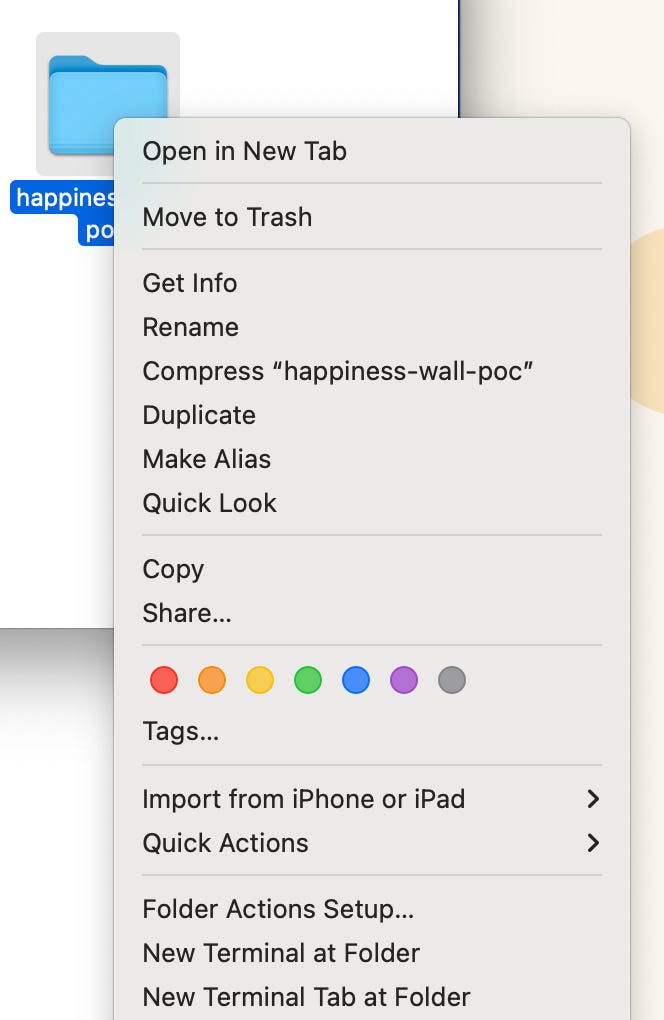
If the above doesn’t work, use Finder on a Mac, right click the Folder and select “New Terminal at Folder” and Terminal will automatically open and be in the same position as what we discussed above.
Now, it’s time to activate our AI tool. Enter “claude” to get started (If you haven’t done this step already, follow the guides here to install Claude Code or Codex.). You will be presented with a message asking to confirm if you want to trust the files in the folder. It is extremely important you make a new folder — AI tools can edit or delete files so we want to ensure if a mistake happens, it’s only on the files within our current project. If you are newer to programming, I strongly recommend verifying the folder you made here is empty or only contains files you’re ok in the unlikely event the AI tool edits or deletes them.
(From this point onward I’ll show the steps in Claude Code but the steps for doing this in Codex are similar)
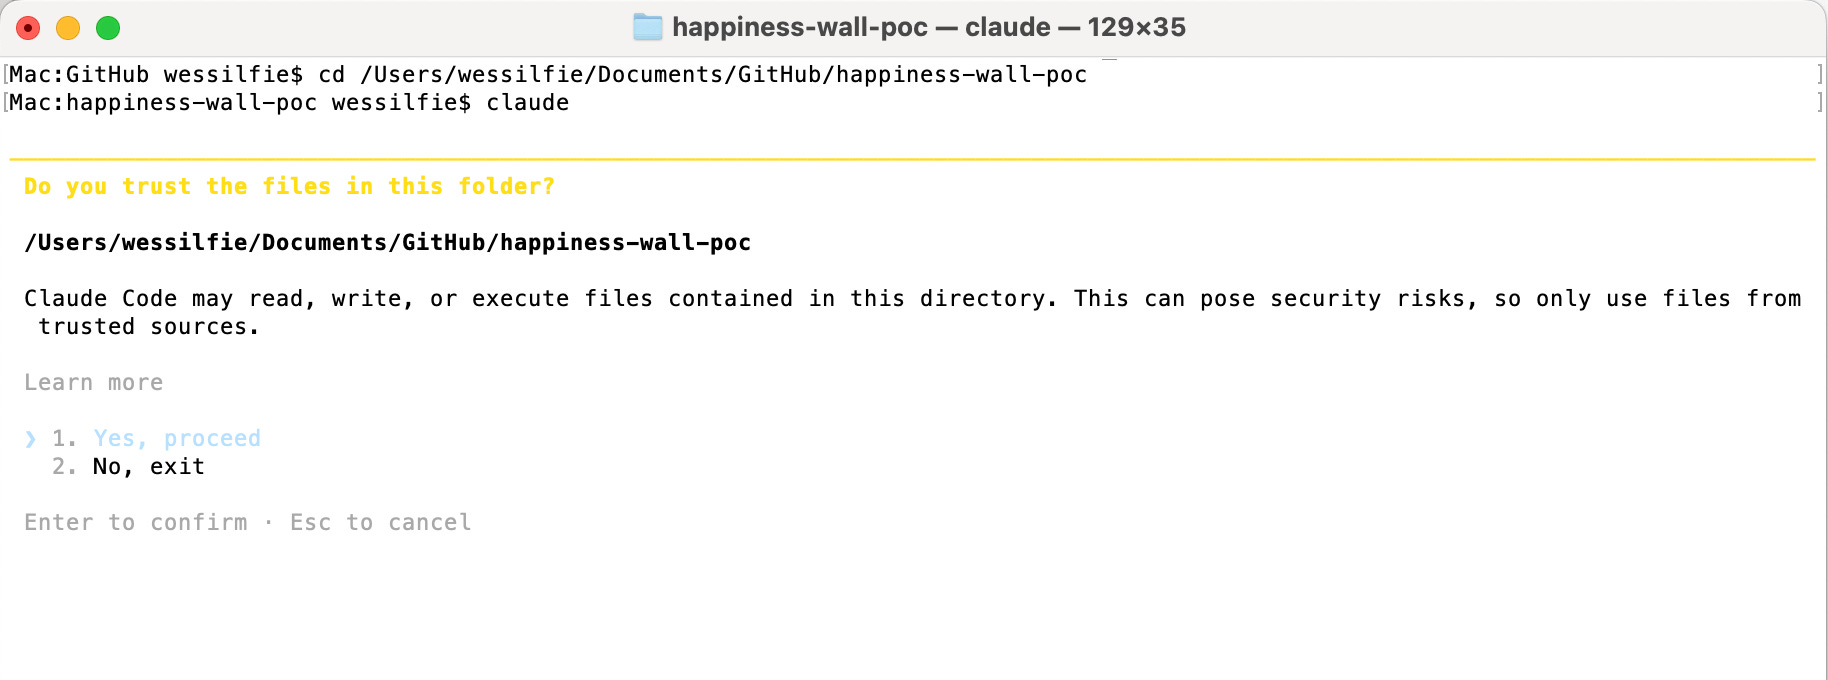
Once you enter 1 to proceed, we’ll be in Claude Code ( You may be asked to log into your account first).
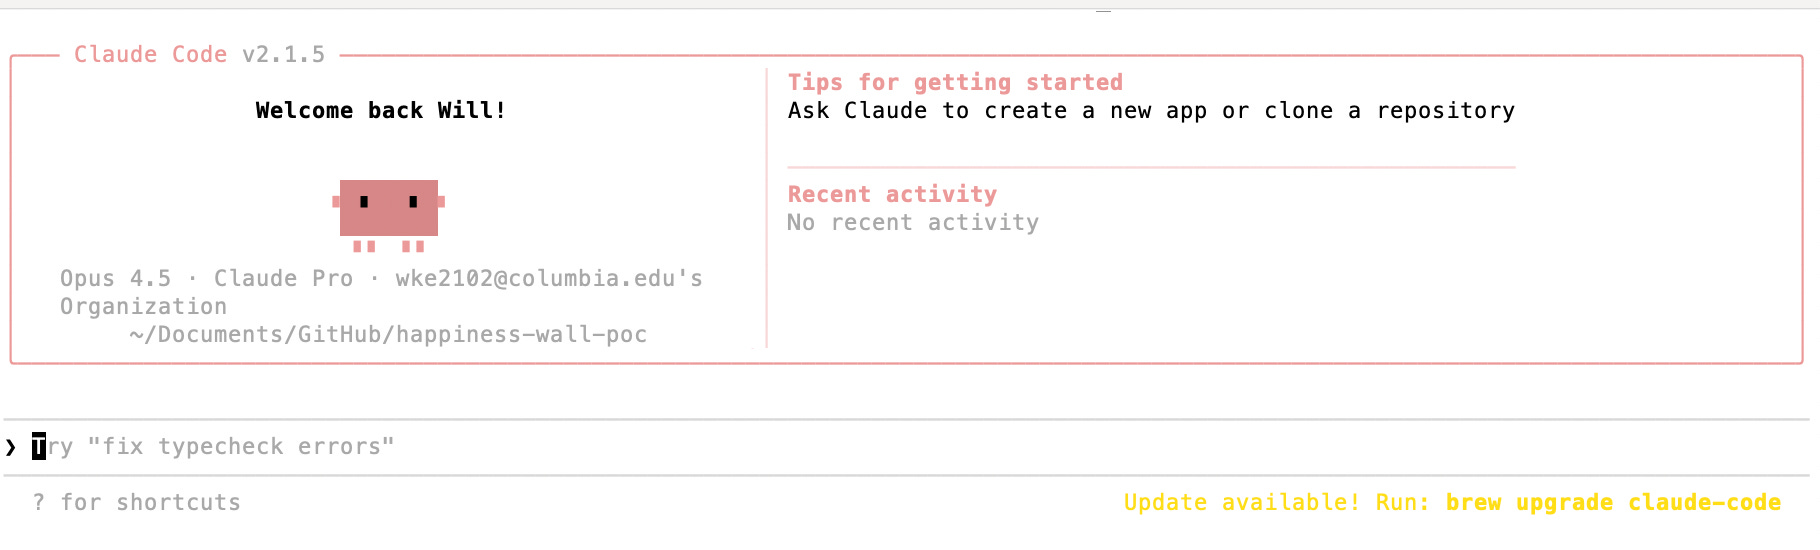
Now, download the sample PRD we have on Google Drive (or this 2nd version, here), move the file to the folder we’re working in, and edit it (I recommend editing the file in Cursor) to reflect your project idea following a similar structure of the app’s goal and expected page layouts and experience (if for example you wanted a personal website, you might write about who is the page for, what links you expect to see, etc). Make sure to move the PRD file to the folder we made above. If relevant, you can also add image files to the folder that you might want Claude Code to reference.
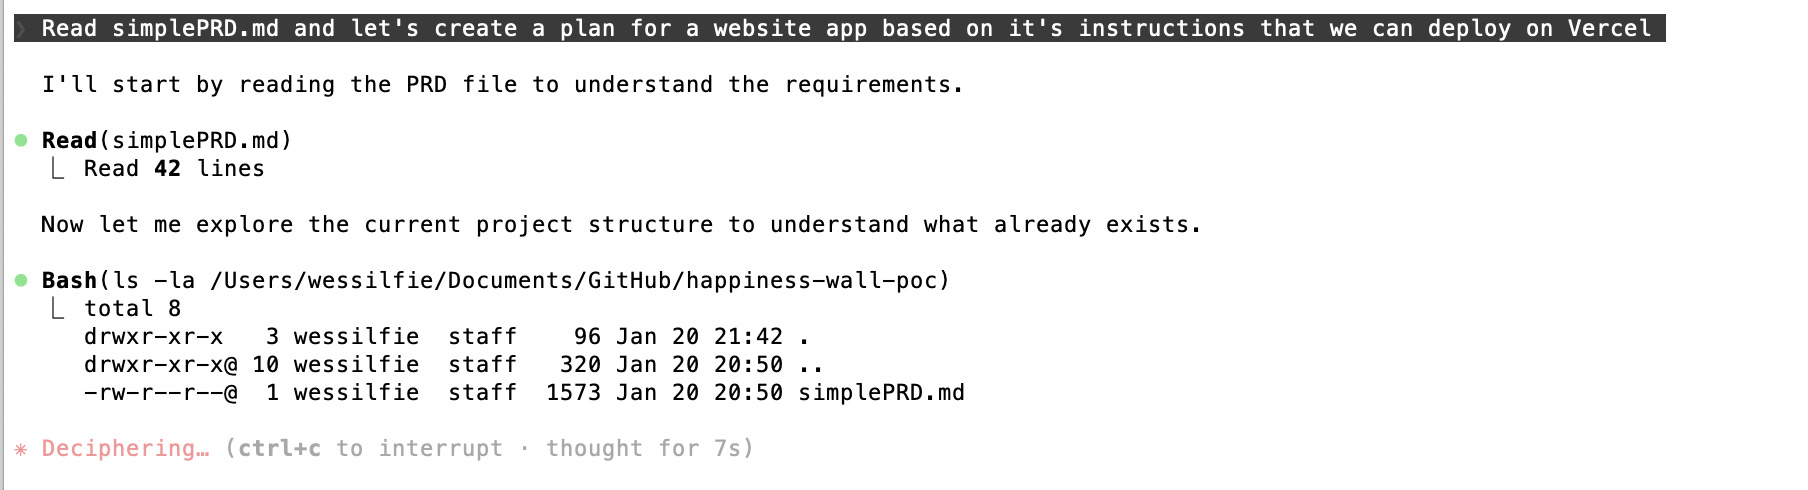
Go to your Terminal window and enter “/plan” (or shift + tab twice) to enter Plan mode. From there, provide instructions to Claude. In my case, I wrote “Read simplePRD.md and let’s create a plan for a website app based on its instructions that we can deploy on Vercel.”
Claude Code will begin reading the file and any other files you have in the folder to gather context and if necessary, ask questions. If you have multiple files or images to reference for Claude, you can use @[name of file] to ensure Claude reads it. If you need to copy and paste images and/or text to the Terminal window, you can use Ctrl+V to paste into Terminal.
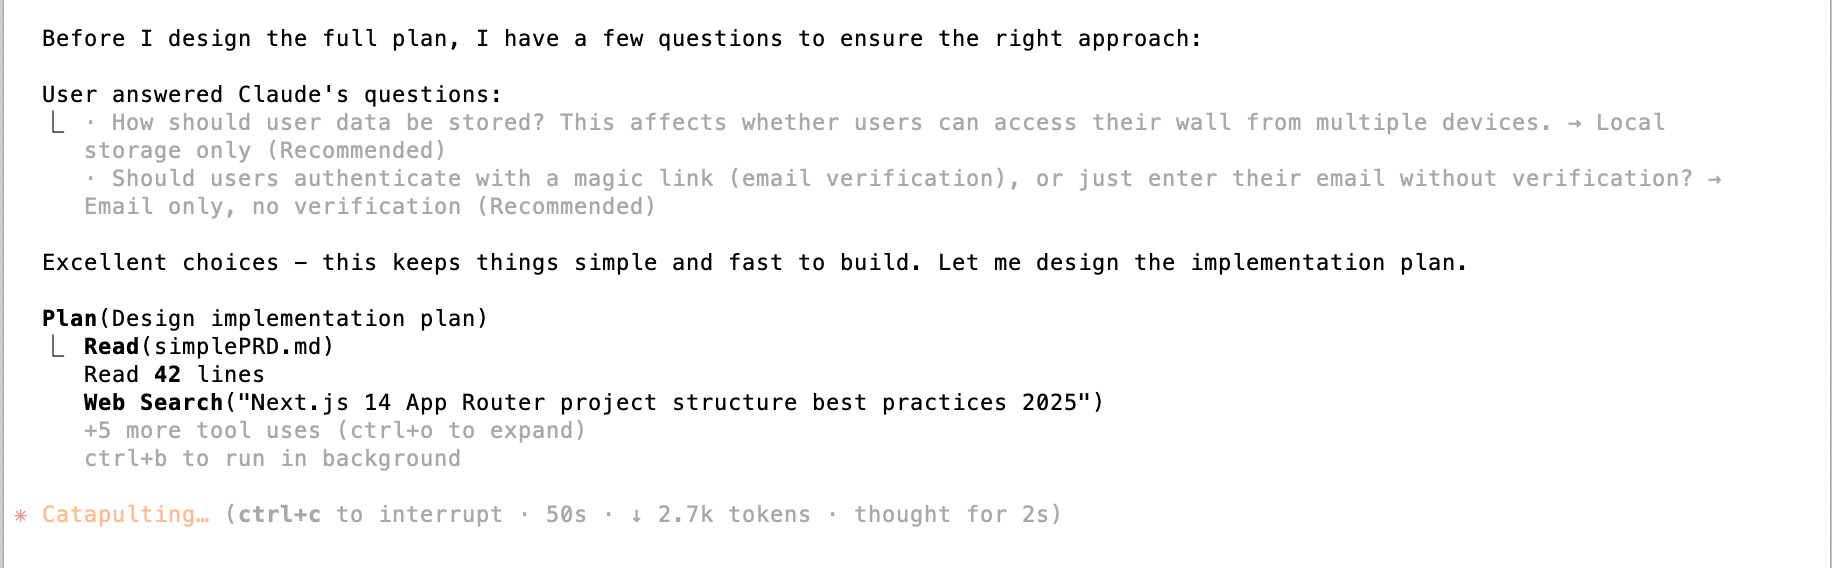
Claude will eventually return a project plan for building the desired app. Read through its summary (and you can even ask questions to clarify anything) and when ready give it permission to begin coding.
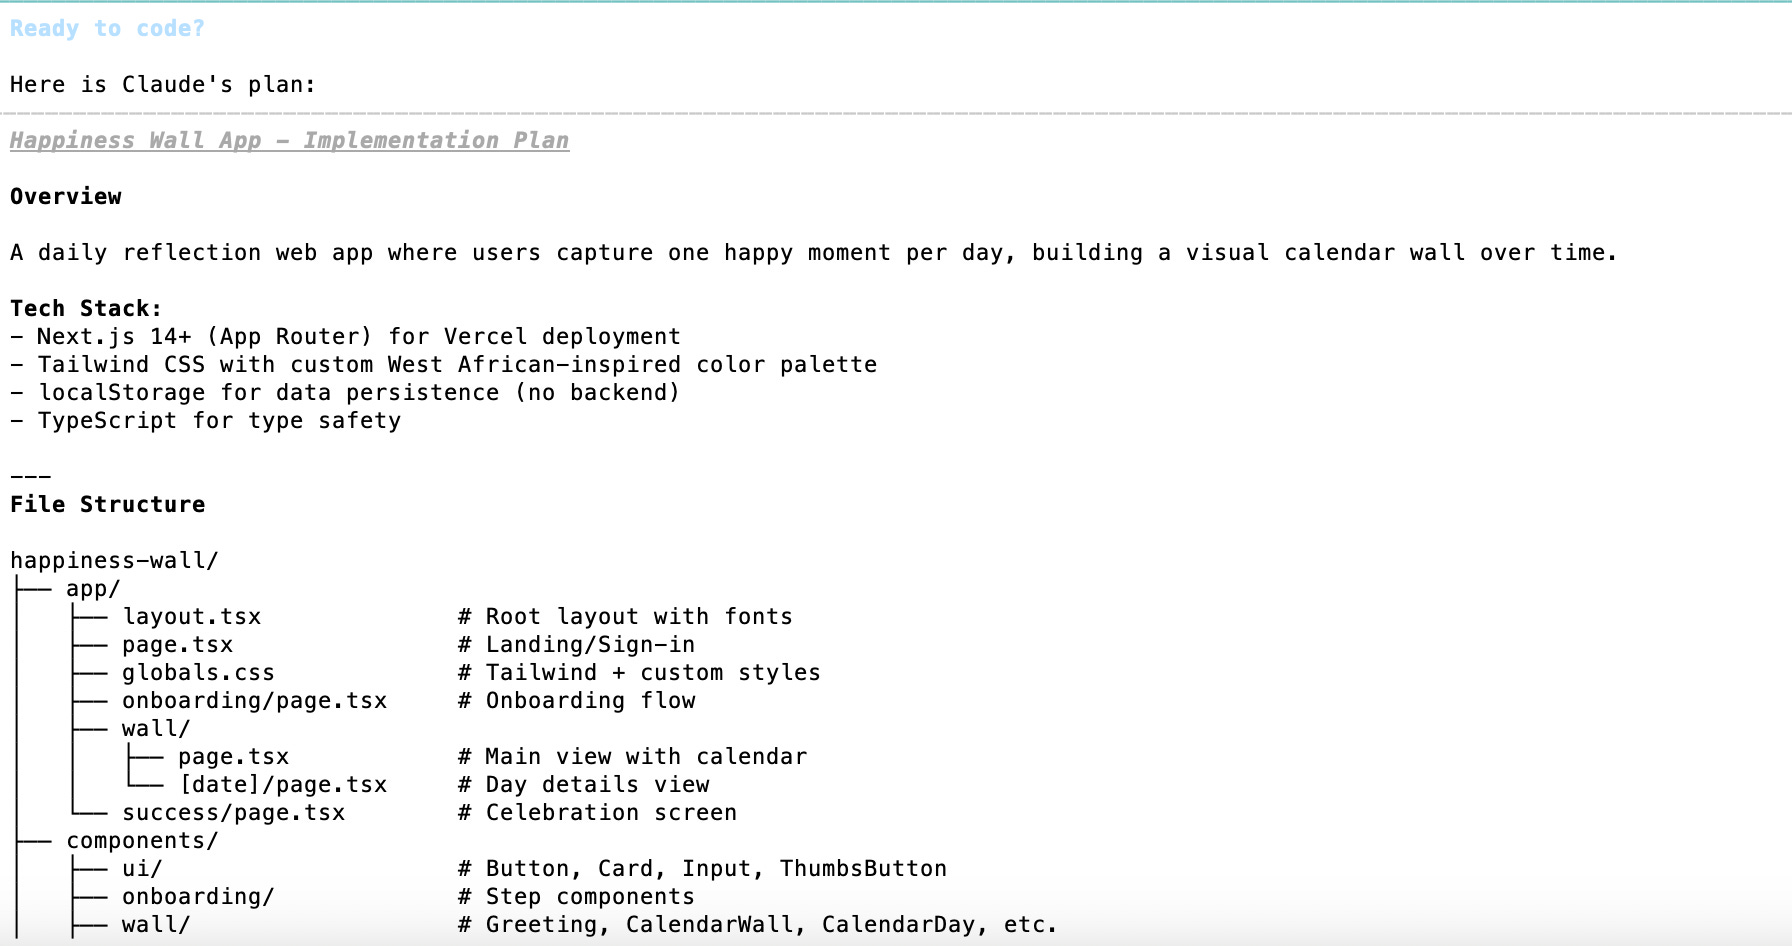
Claude can identify what it needs to install on your computer to make the app and will ask you for permission as necessary to do so. If an error occurs, you can ask Claude to diagnose the problem and find a solution. Depending on your risk tolerance levels, you can also give Claude permission to proceed without asking you each time (I don’t recommend this).
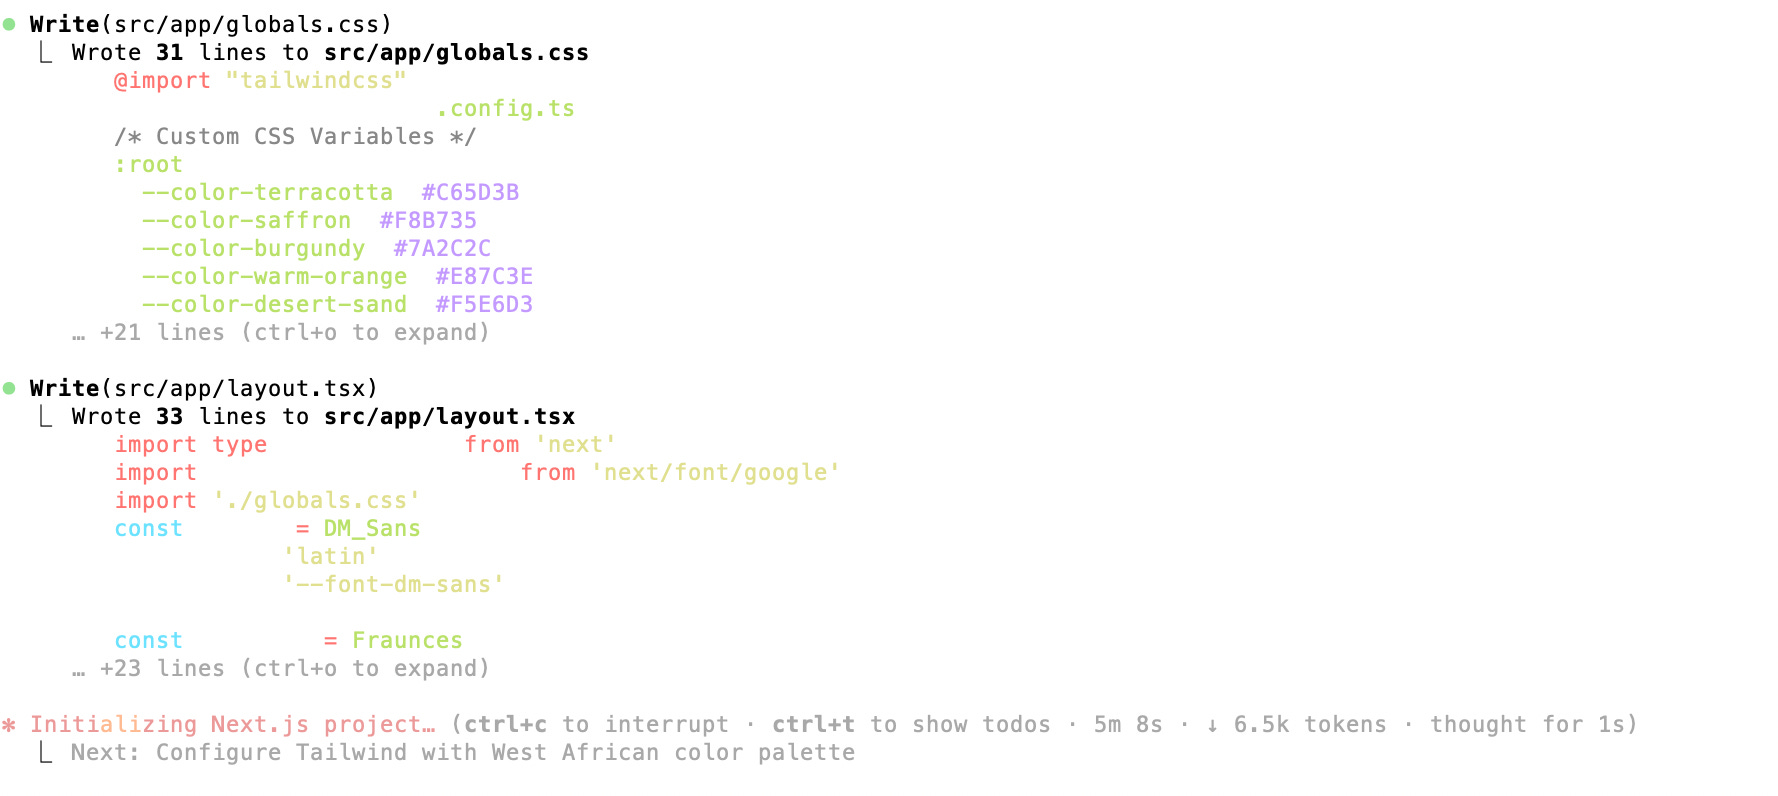
As it runs, you can watch “magic” happen as Claude will begin writing code and creating the files necessary to build your app.
Once Claude has finished, it should provide you a link to test your site locally on your computer (if not, ask Claude to run the code locally and give you a link to access it). This will let you see the site on your computer only (we’ll cover how to deploy a website so anyone with the link can access it in the next part of this guide).
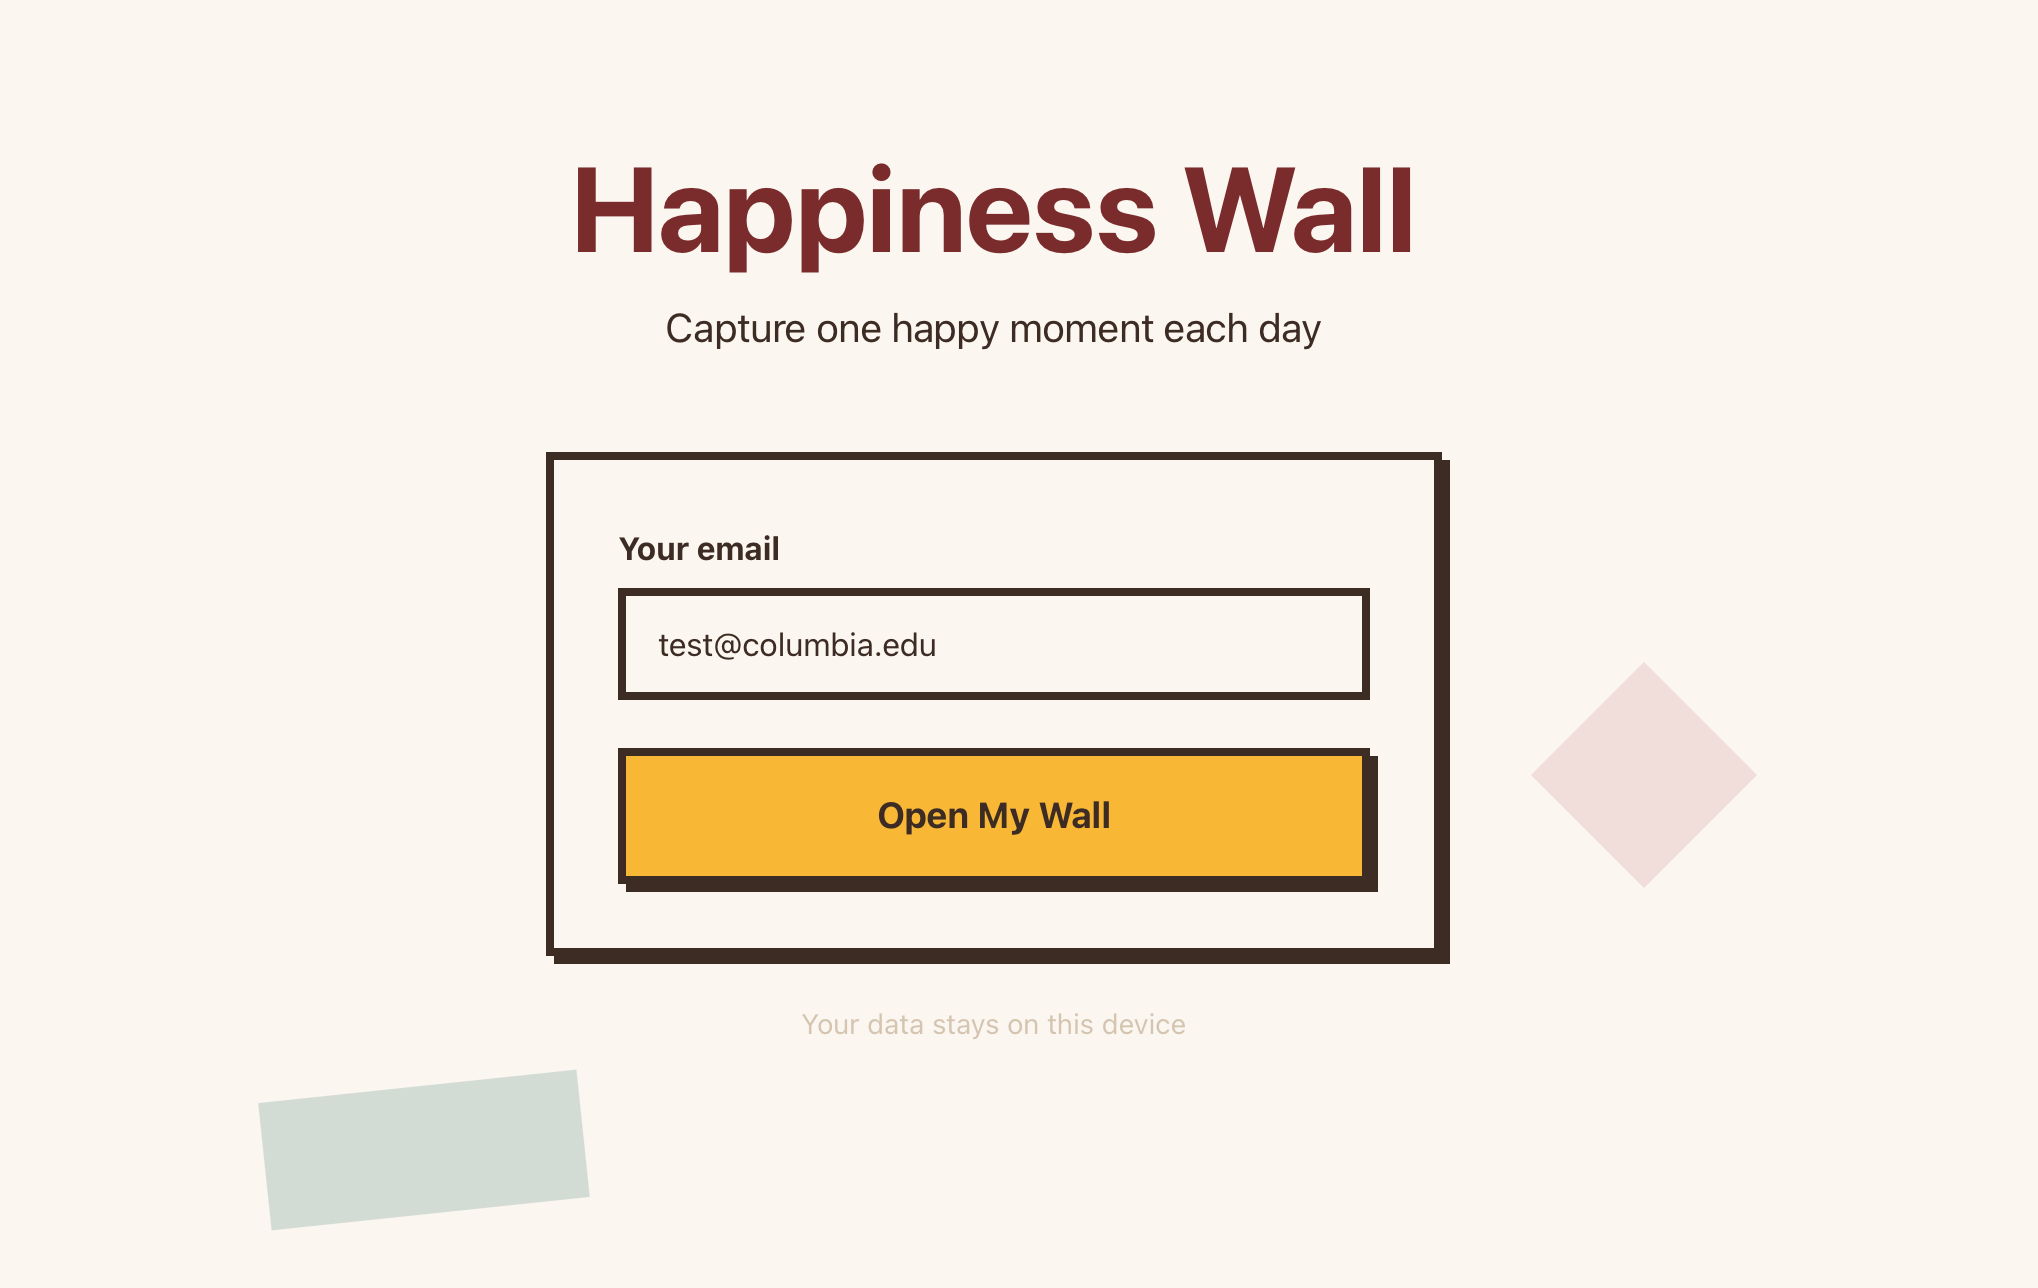
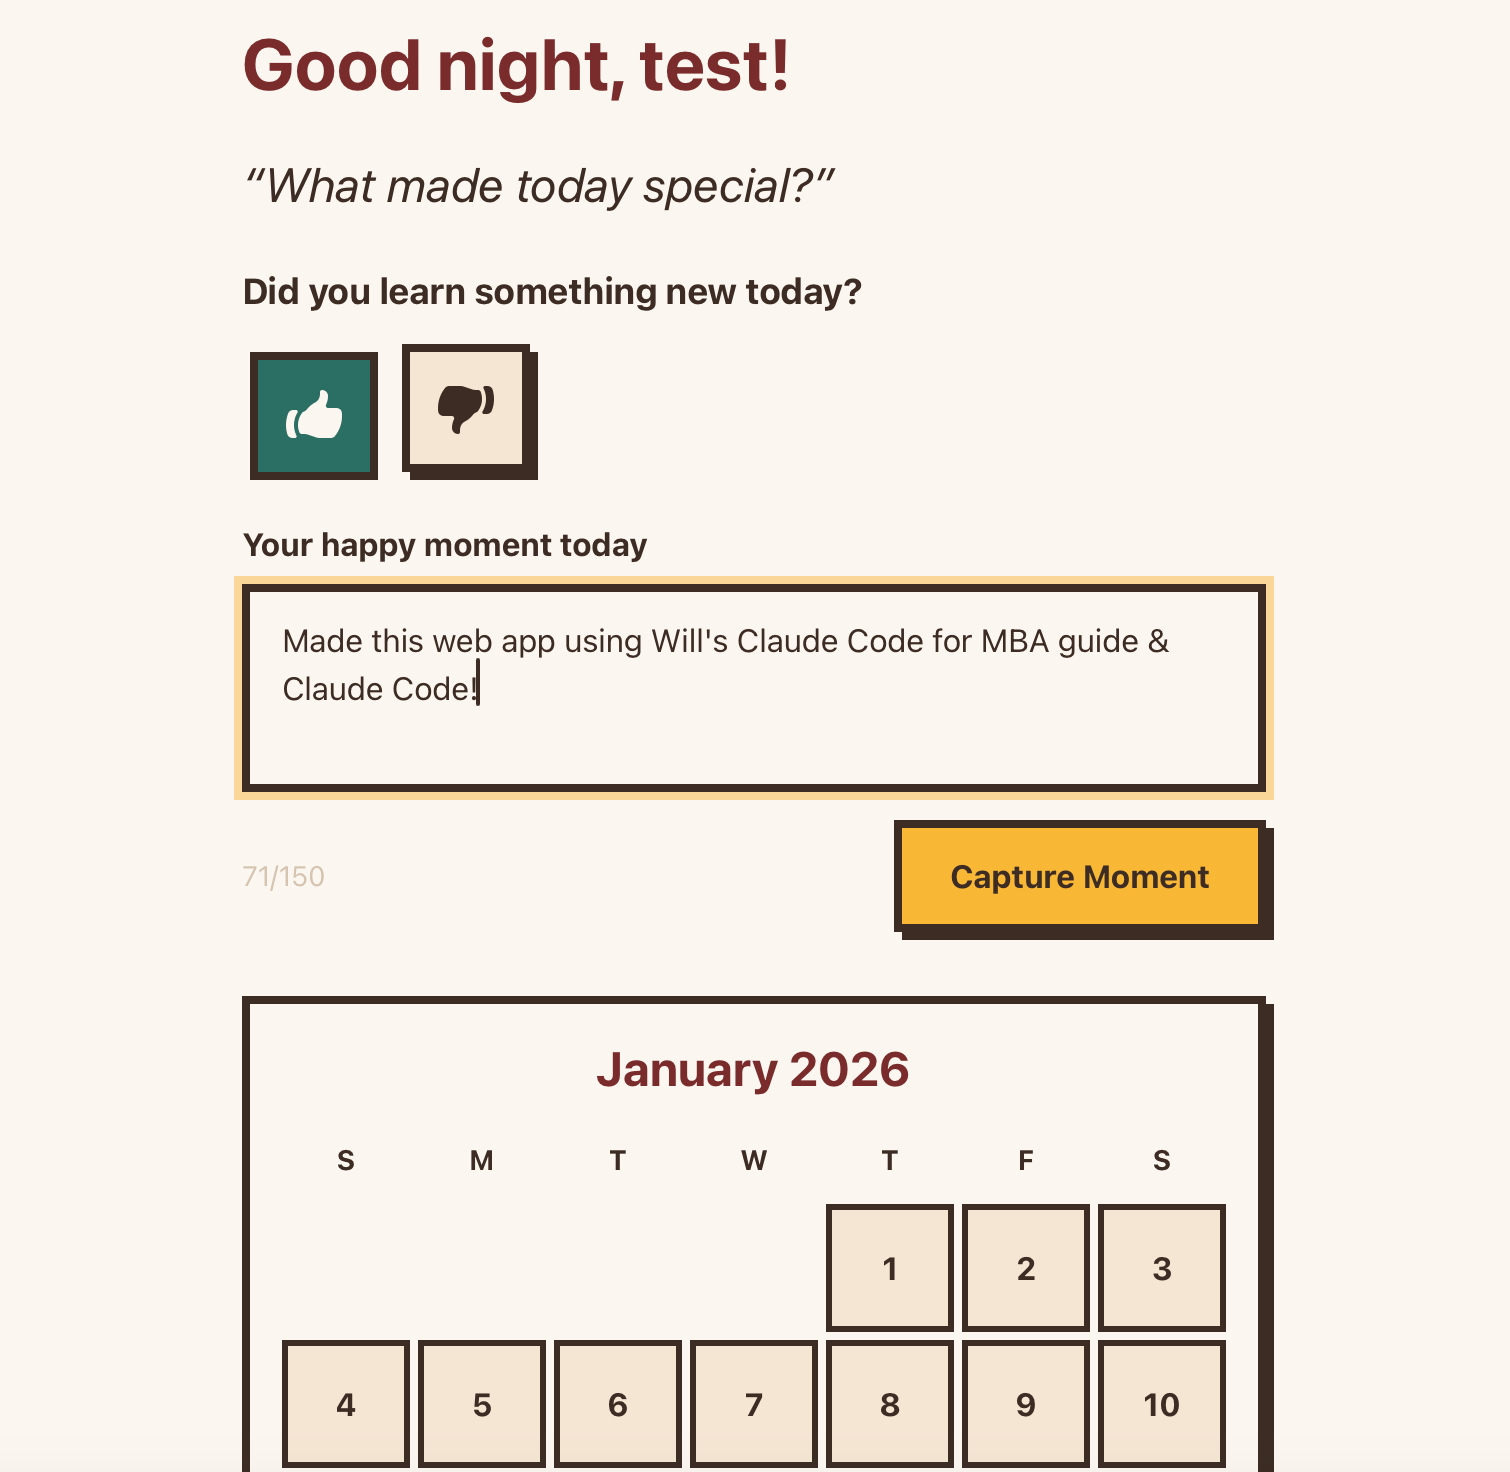
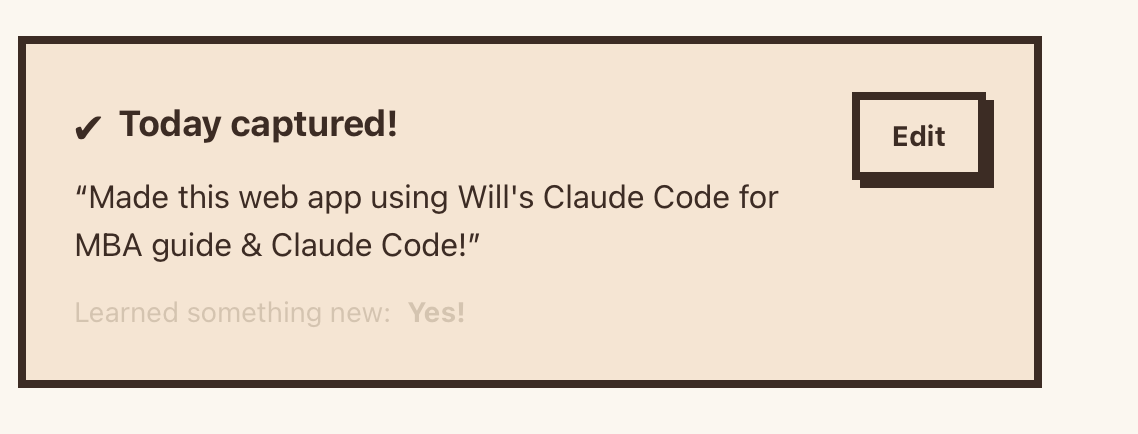
From just writing in plain text, we’ve generated a working app! That’s pretty incredible. Now, you can proceed to iterate and extend your app by either writing to Claude or writing new PRDs and going back to plan it mode for it to read its code and update it based on what you want to change. This should get you started exploring other tasks you can use Claude for including making a personal website, having it review and organize files on your computer, making a website laying out your next vacation with day by day recommendations. The possibilities are endless (and continue to grow by day as new models are released).
In the final post, we’ll cover how to deploy your app to the web with Vercel & Github so anyone can access your creation.
No posts
Comments
Nothing yet. Say the first thing.
Sign in to join the conversation.