
Month six of the zero waste zine-club has been released!
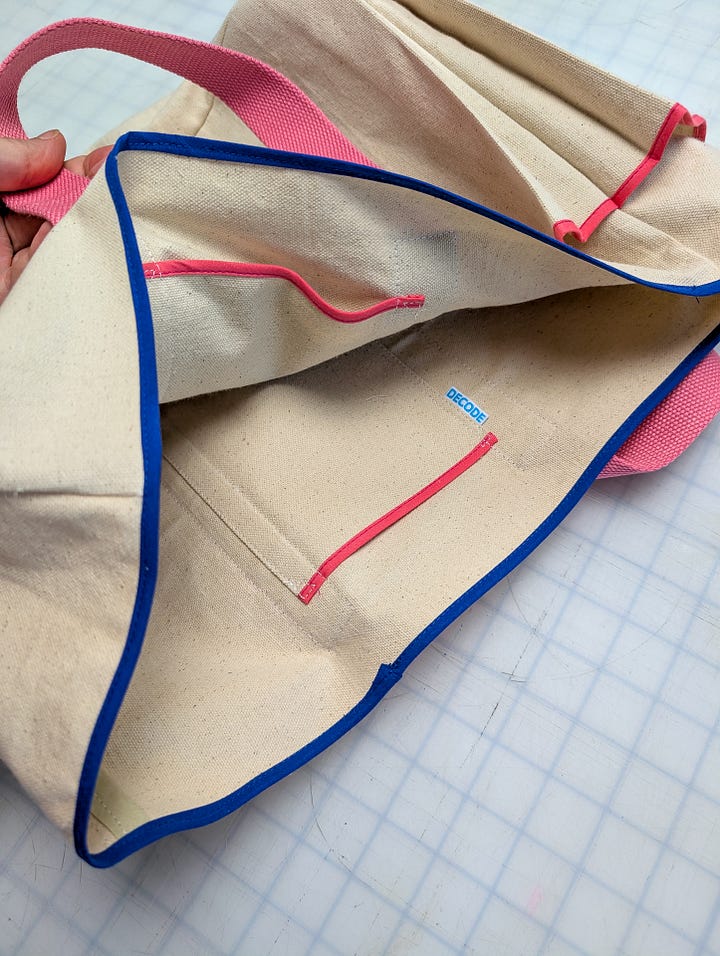
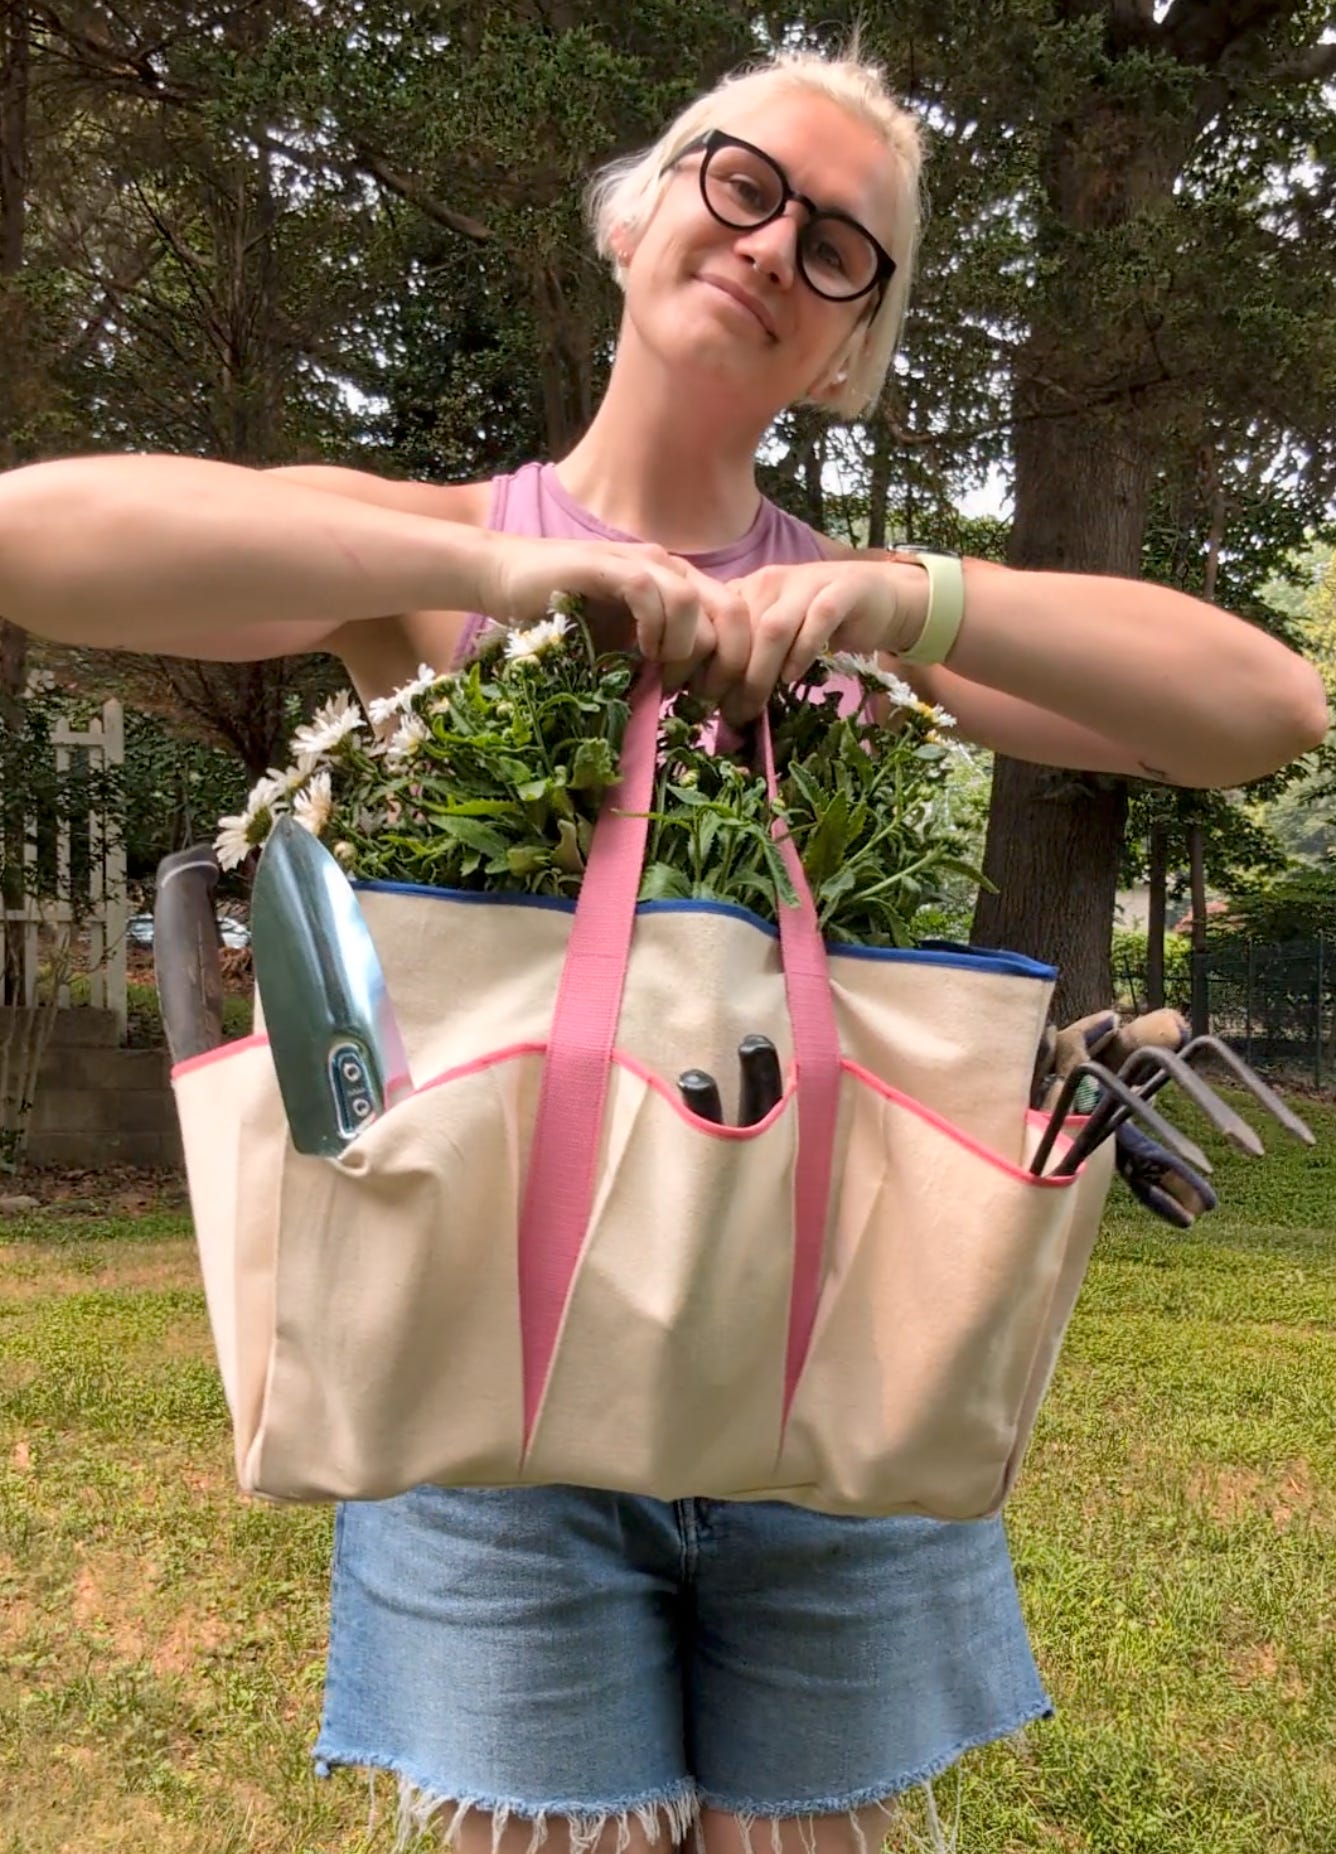
The Zero Waste Garden Tote bag is so fun and functional - work on perfecting your garden while making zero waste 😊. It features 8 exterior pleated pockets, two internal pockets, and unlimited options of make.
This is a deceivingly simple project, with lots of pleats and binding details, more tailored to an intermediate level sewer.
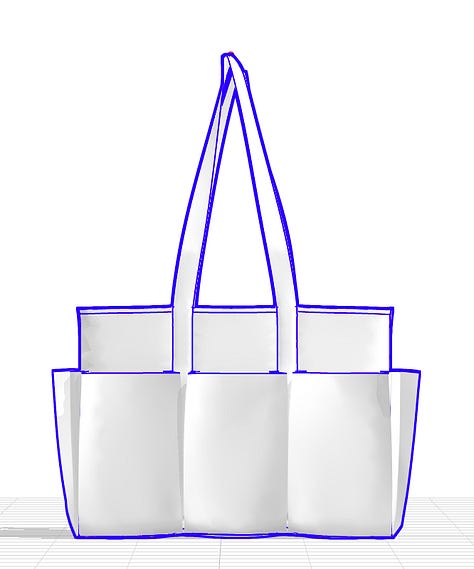
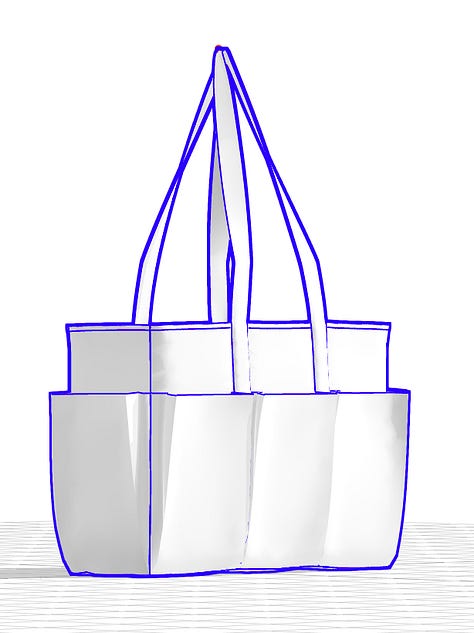
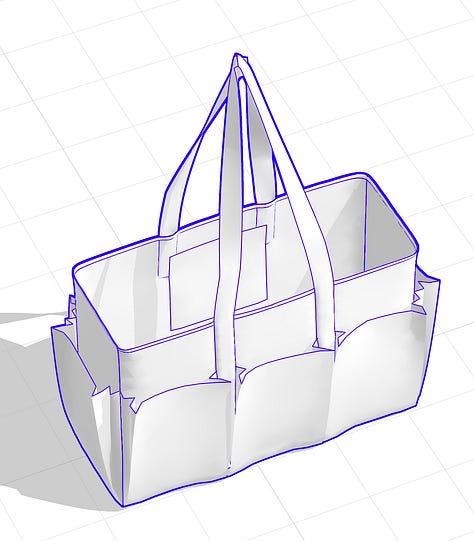
As always, I started designing it in Clo3D to test out scale and proportion.
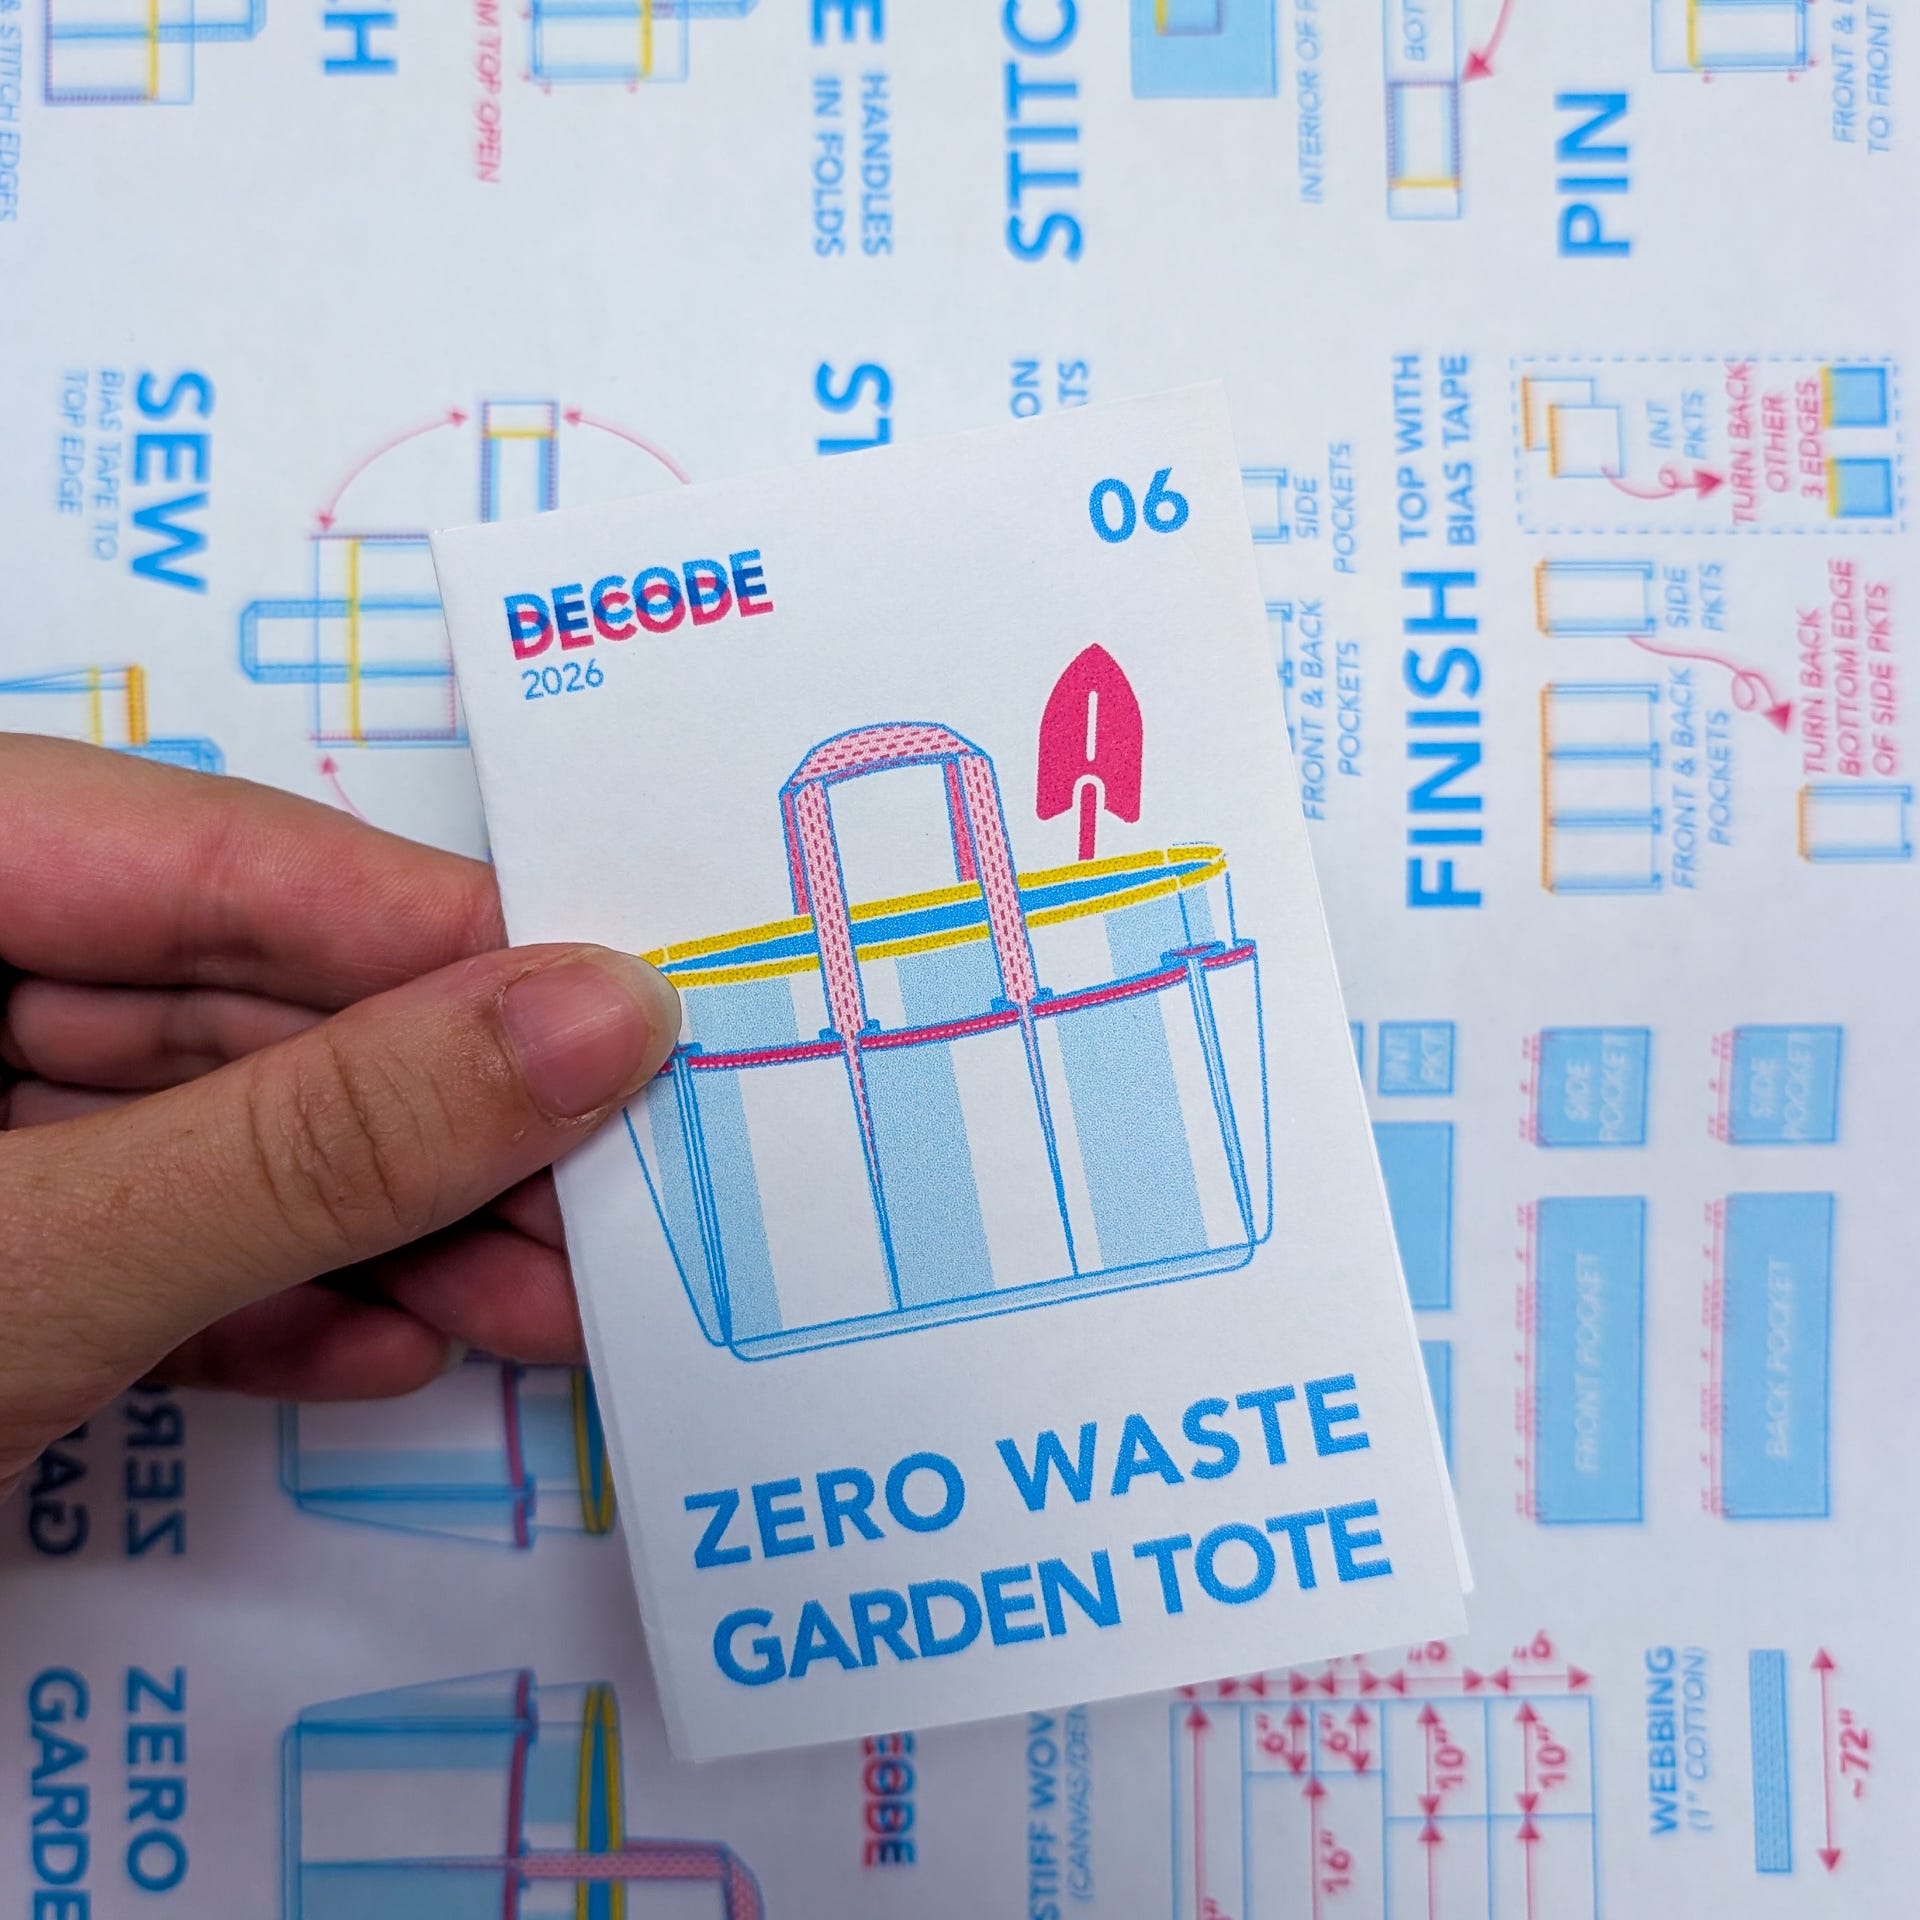
The physical copy of the mini Riso-zine I developed for this project is available for $12 here: RISO_ZINE_06
The digital copy of the zine that can be printed can be found here for $9: Digital Riso Zine
Please note - you will not be able to complete the tote as shown in these instructions without purchasing the zine as listed above. All measurements can be found in the downloadable PDF.
100% woven cotton/denim, something with some stiffness.
(1) 38” x 36” Rectangle
~120” (3.5 Yds) of 1/4” or 1/2” bias tape
~72” (2 Yds) of 1” cotton webbing
Cut the panels as shown in the zine instructions. (Note - you will not be able to complete this tote without purchasing the zine as listed above.)
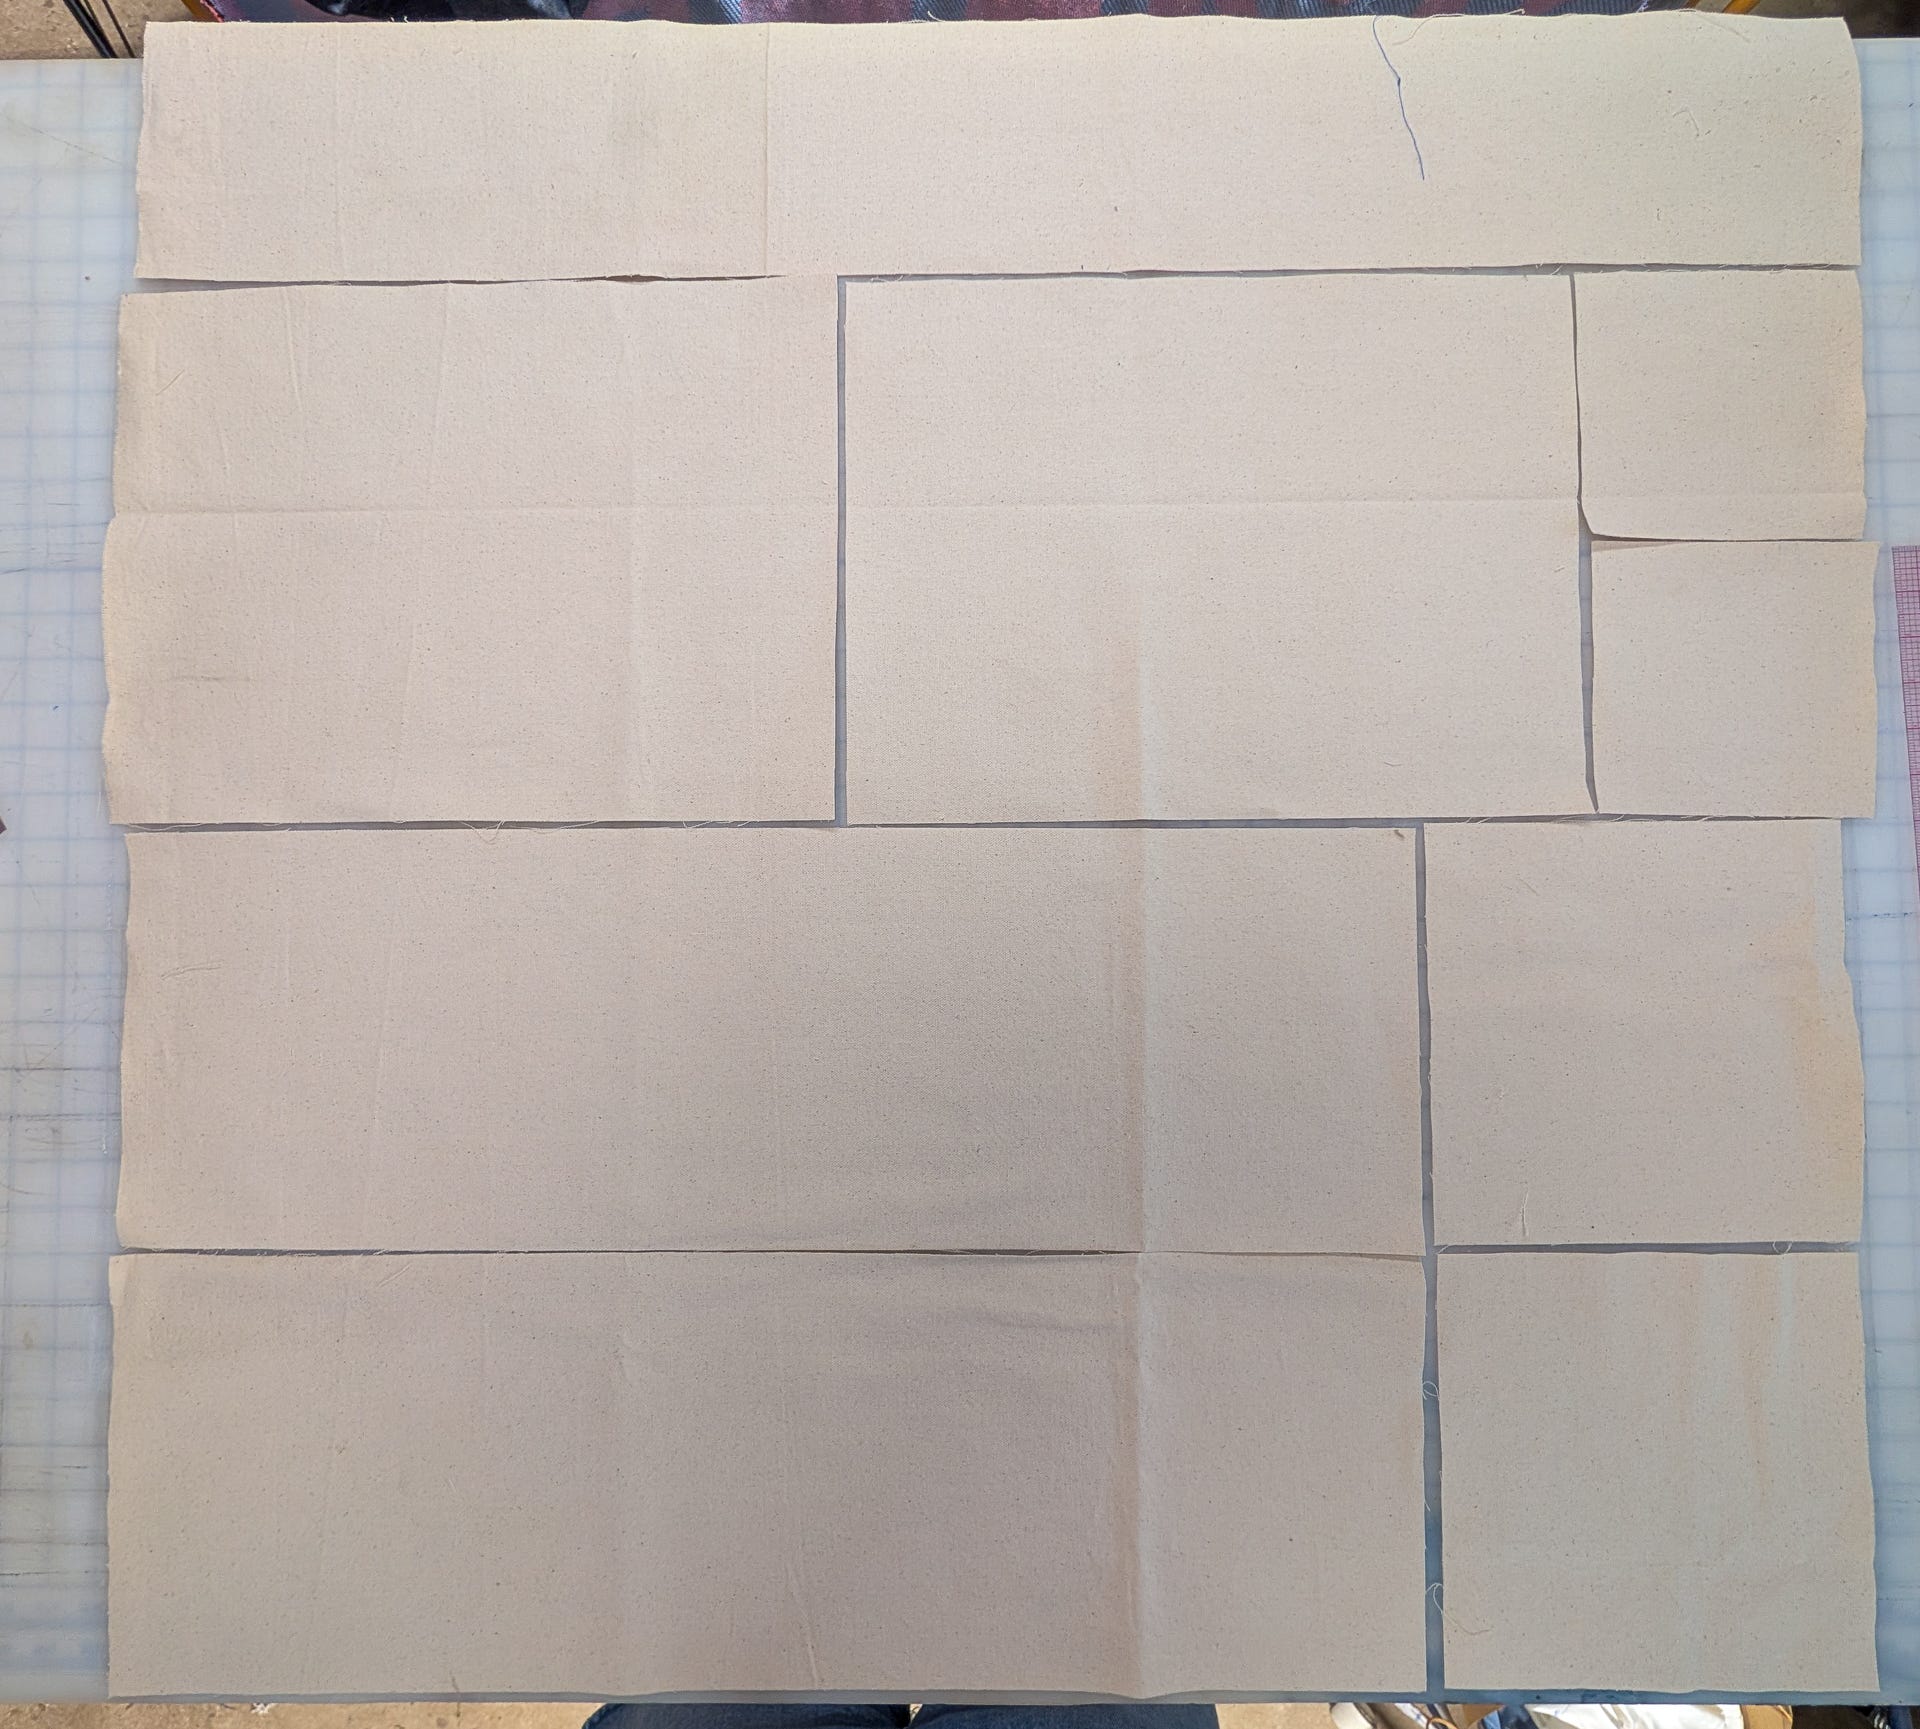
Add in all of the notches as marked in the zine. I use a heat erasable pen, but I would actually advise not doing that - I would suggest using tailors chalk so that the marks don’t disappear when ironing your pleats!
Note - this project has 1/2” seam allowance included.
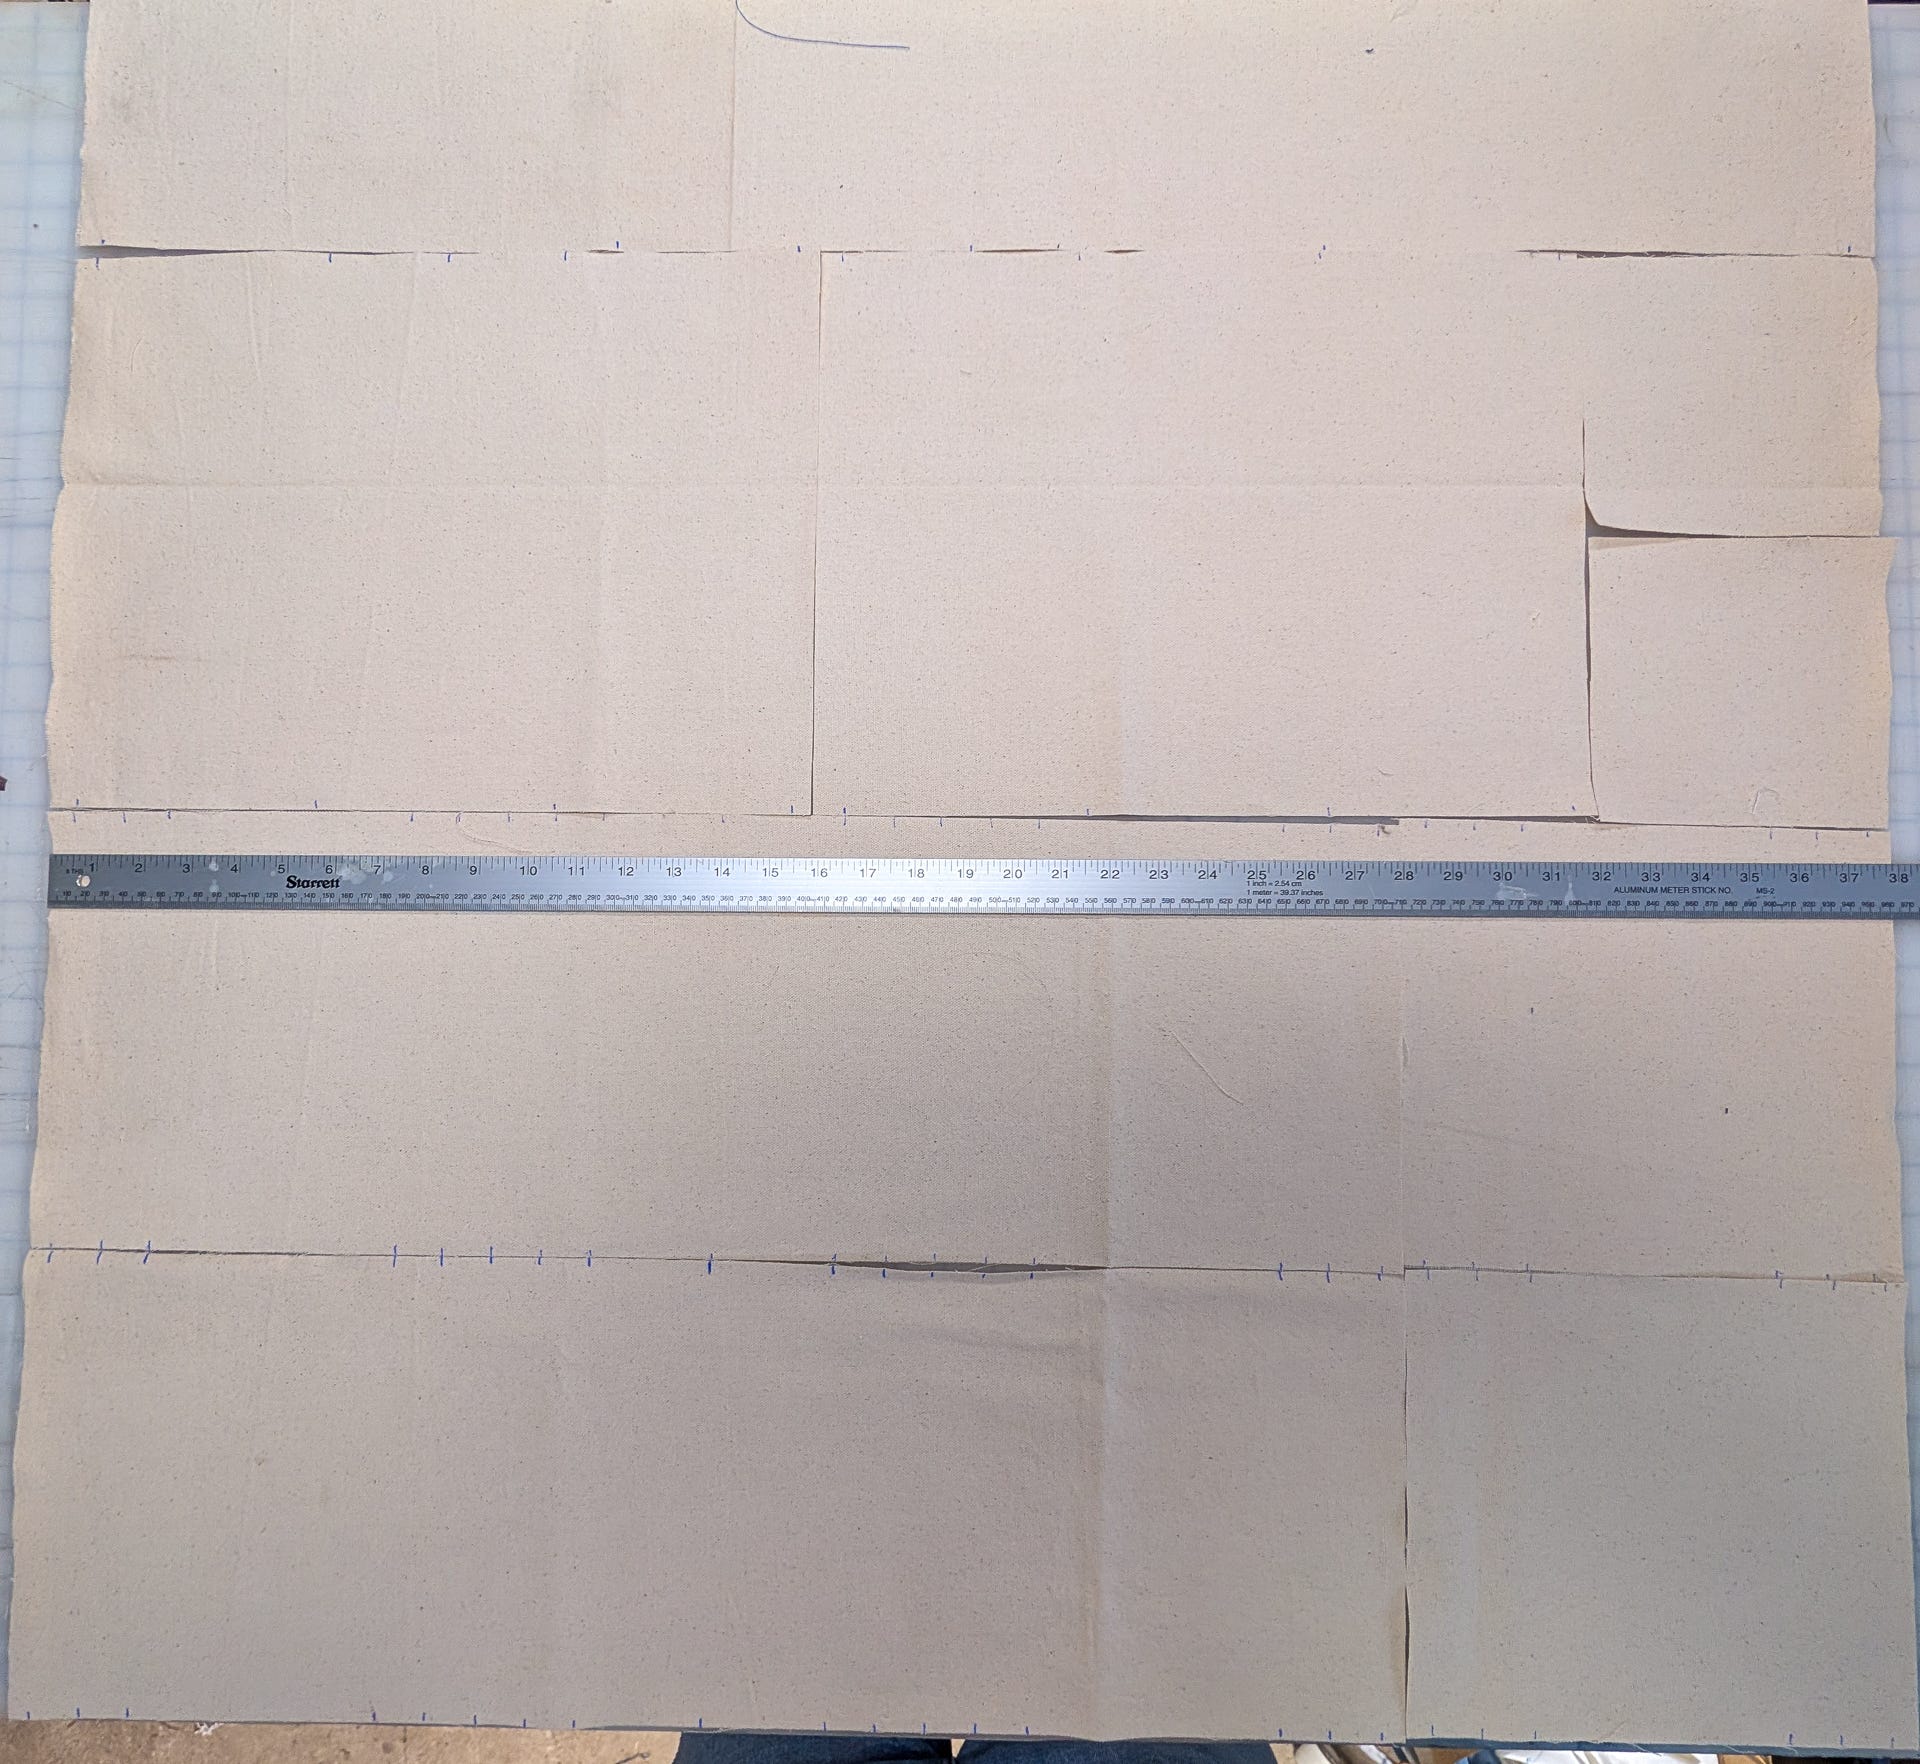
Pro tip - the notches are the same on the top and bottom of some of the pieces. Mark once and use as a template!
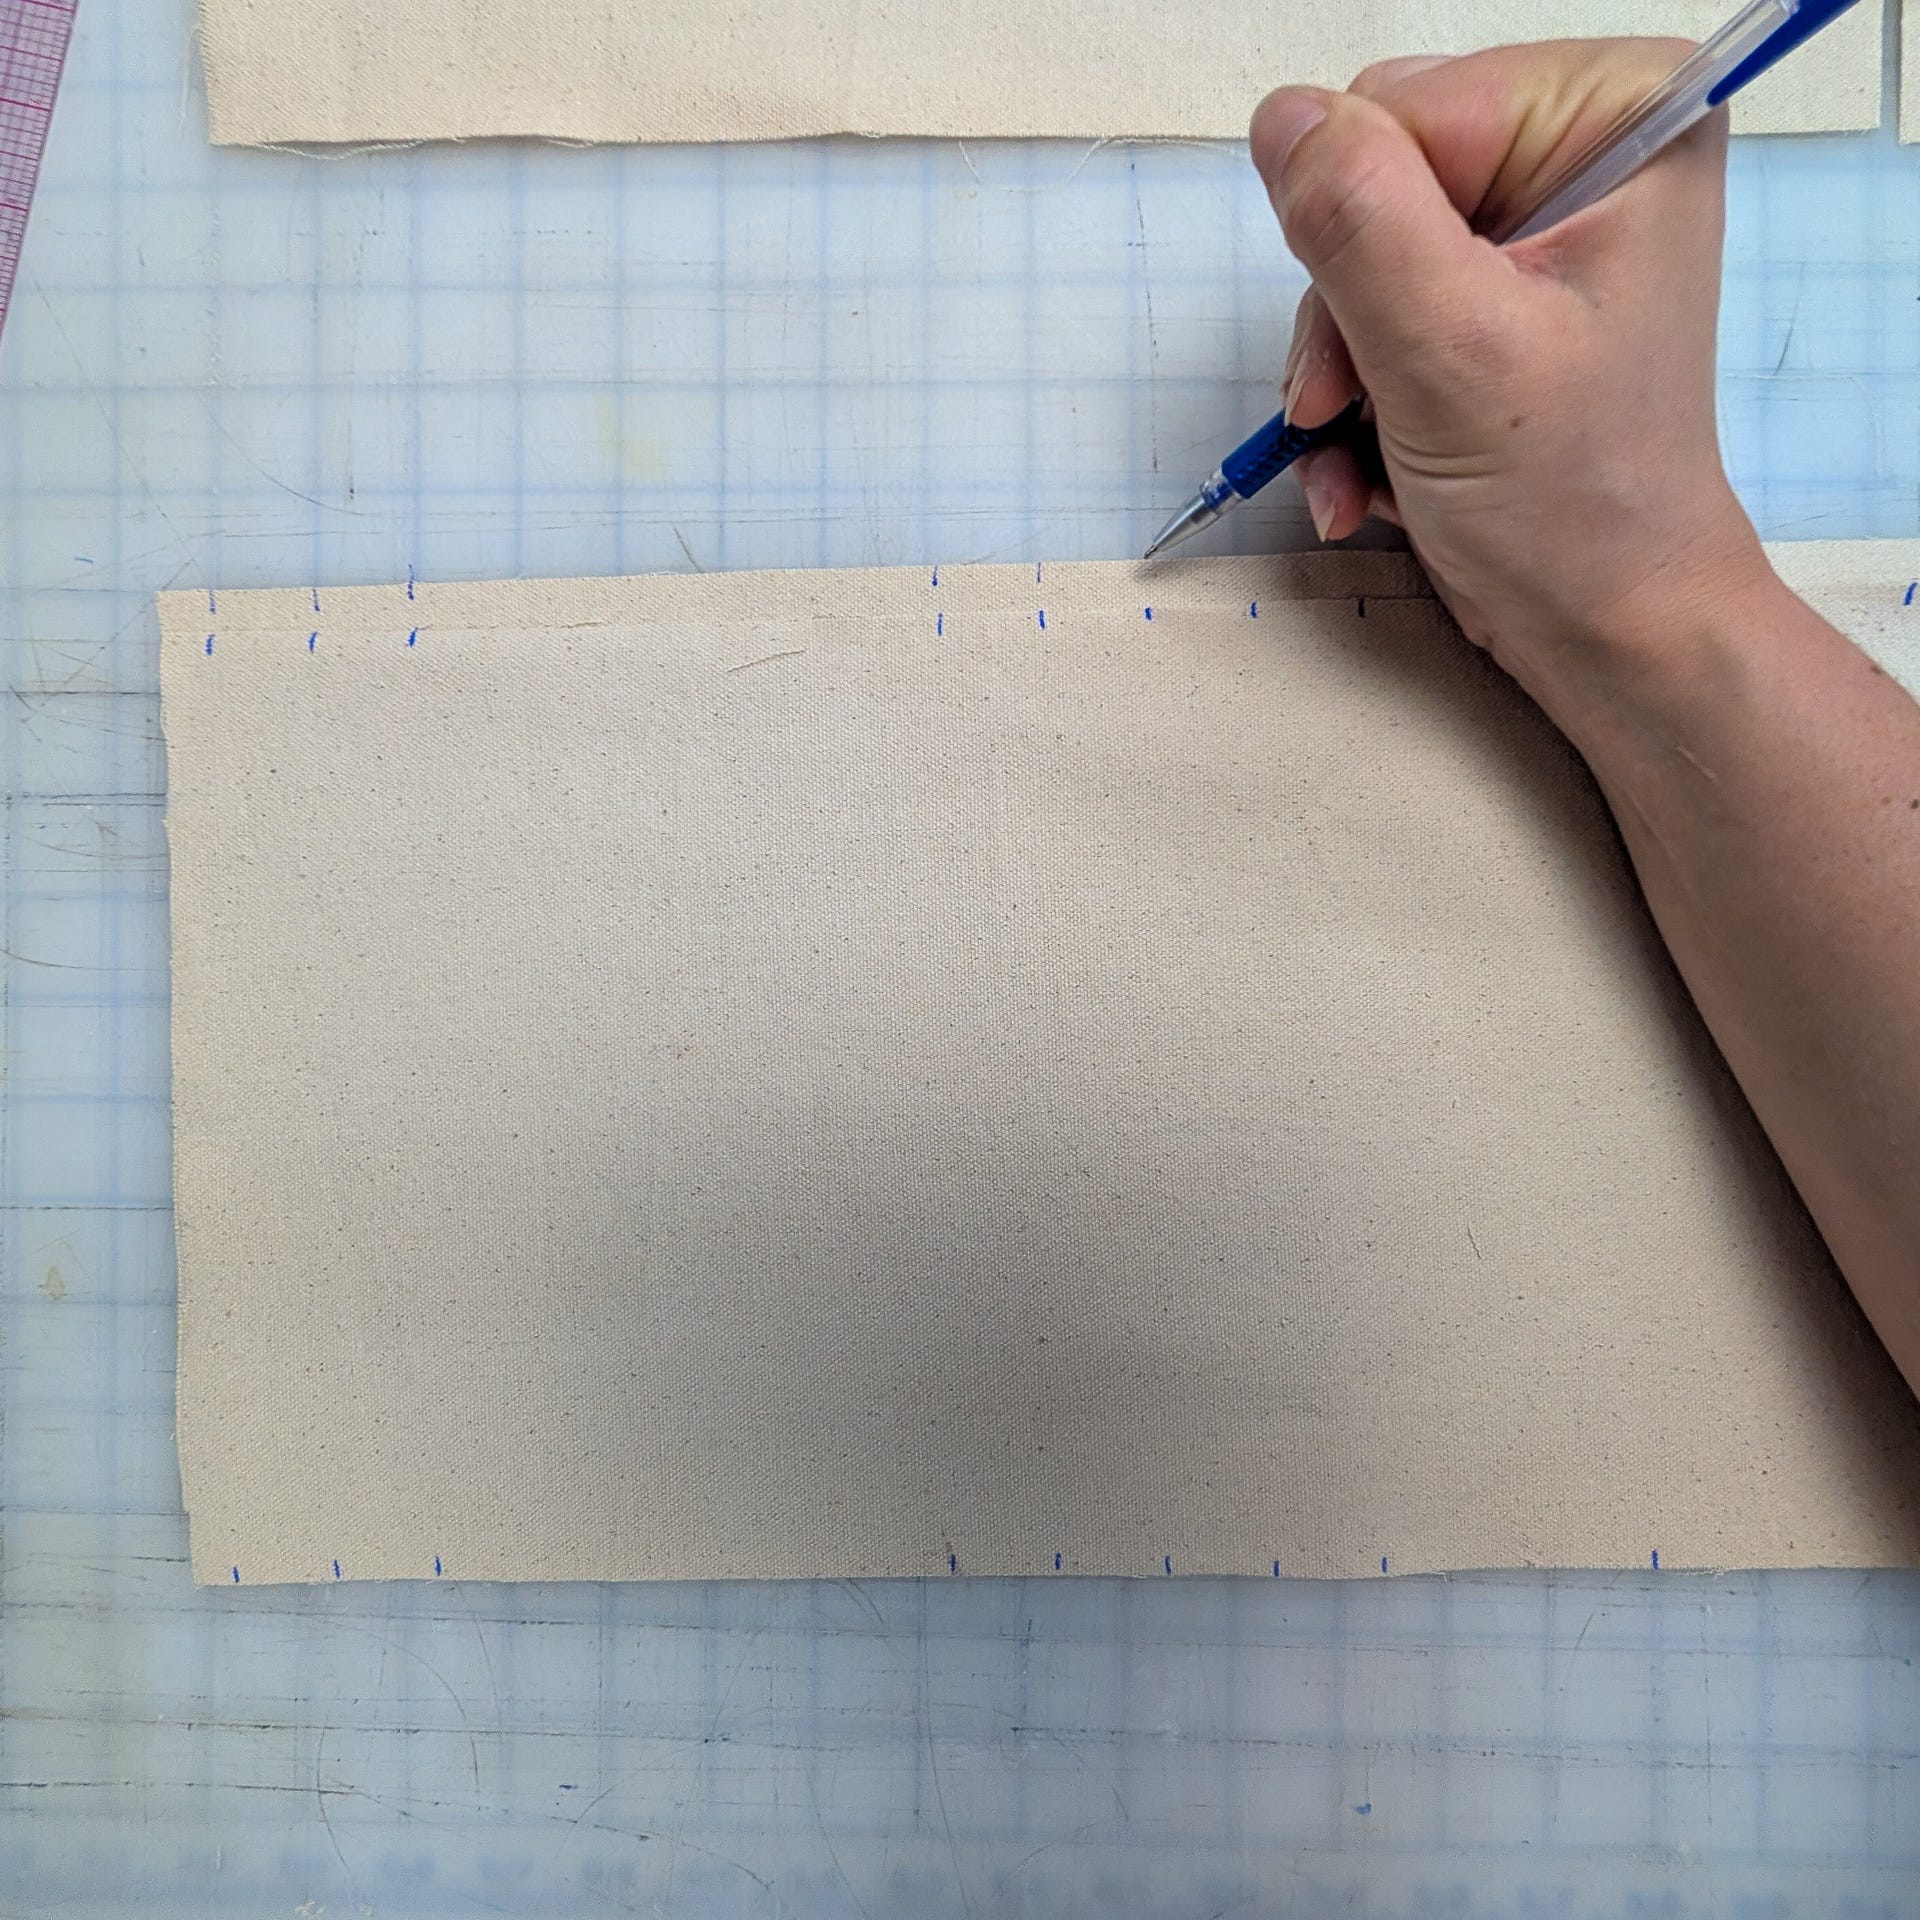
Fold and iron your pleats as marked by your notches. These are classic box pleats the folds should meet in the middle when folded flat. There will be 1/2” extended on the sides. Do this for both the front and back pocket pockets, and the side pockets.
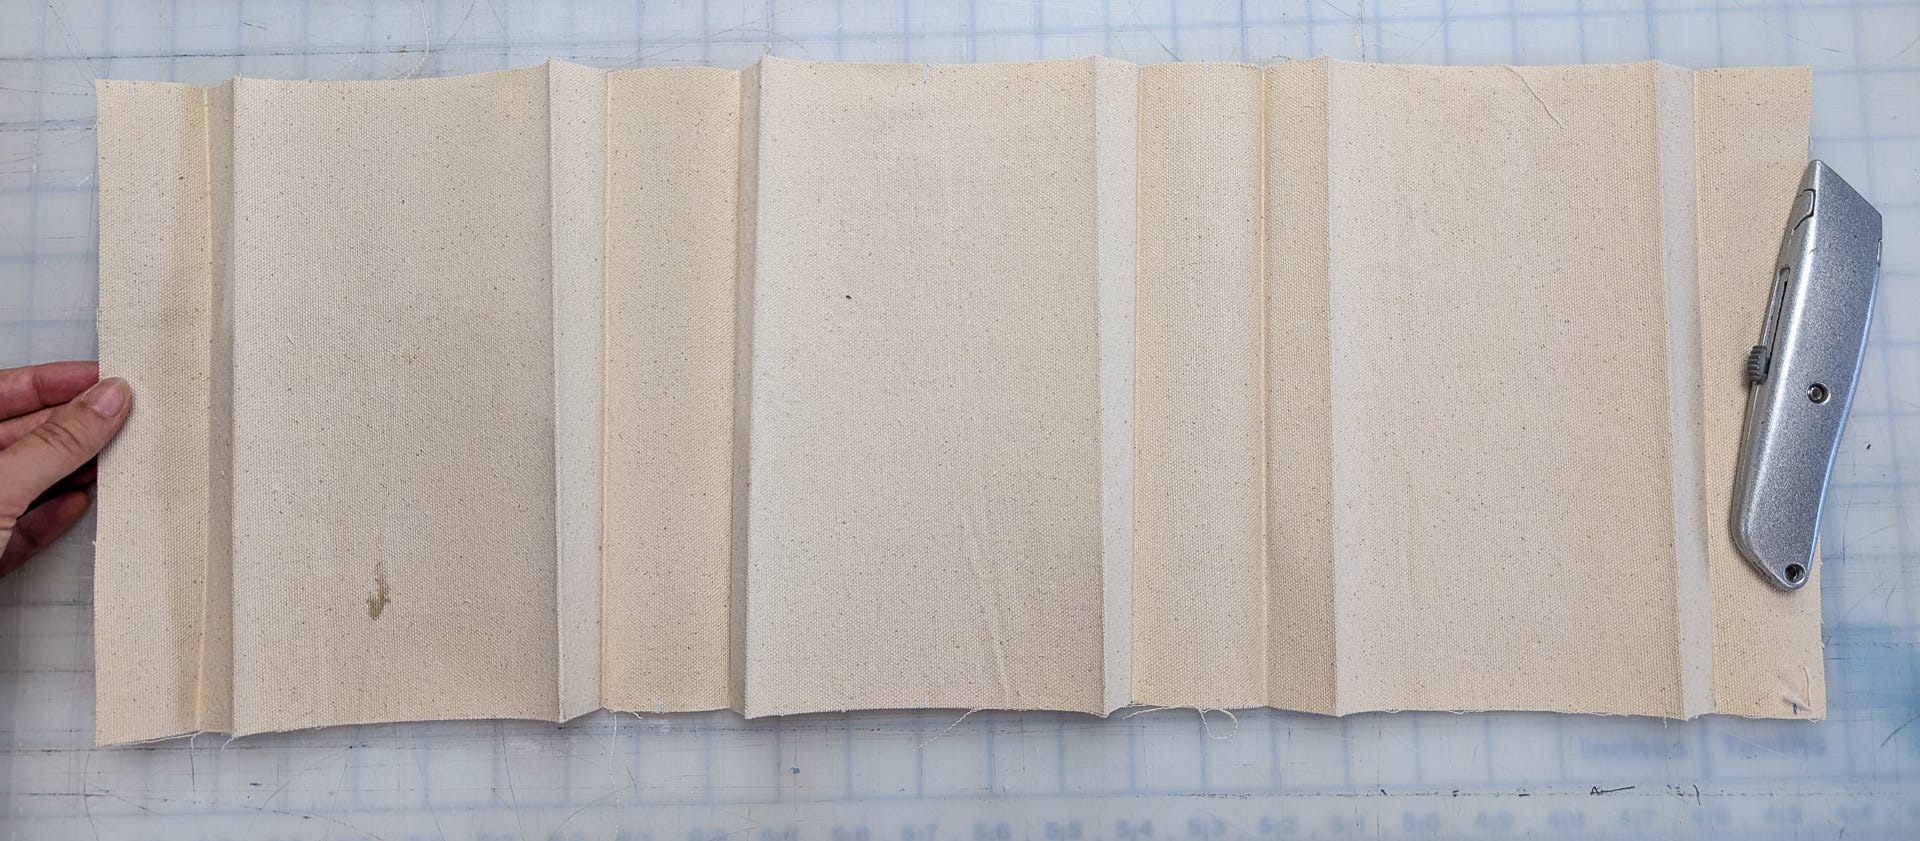
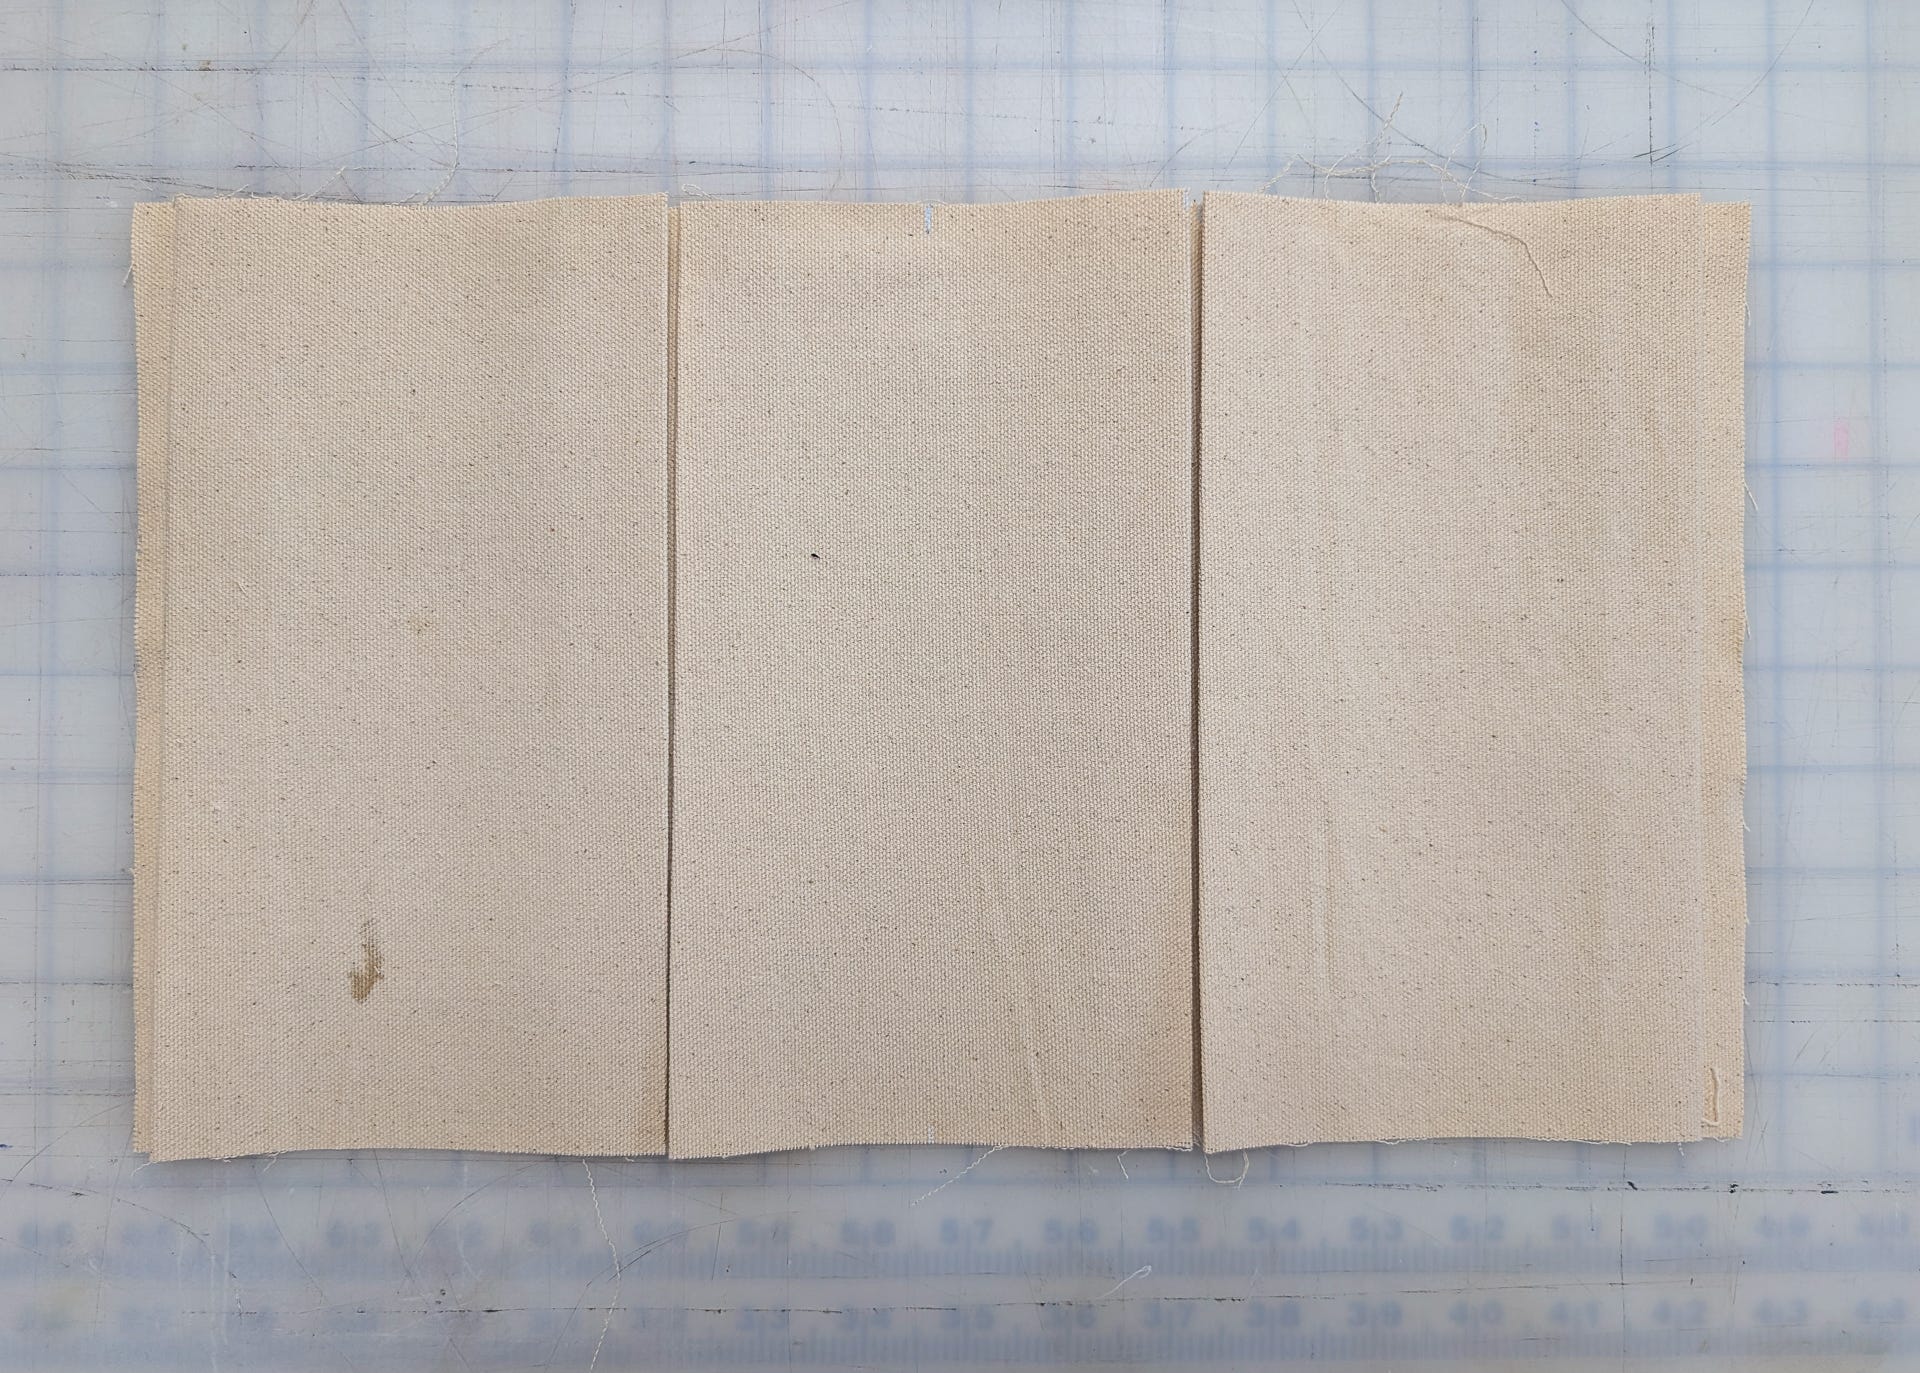
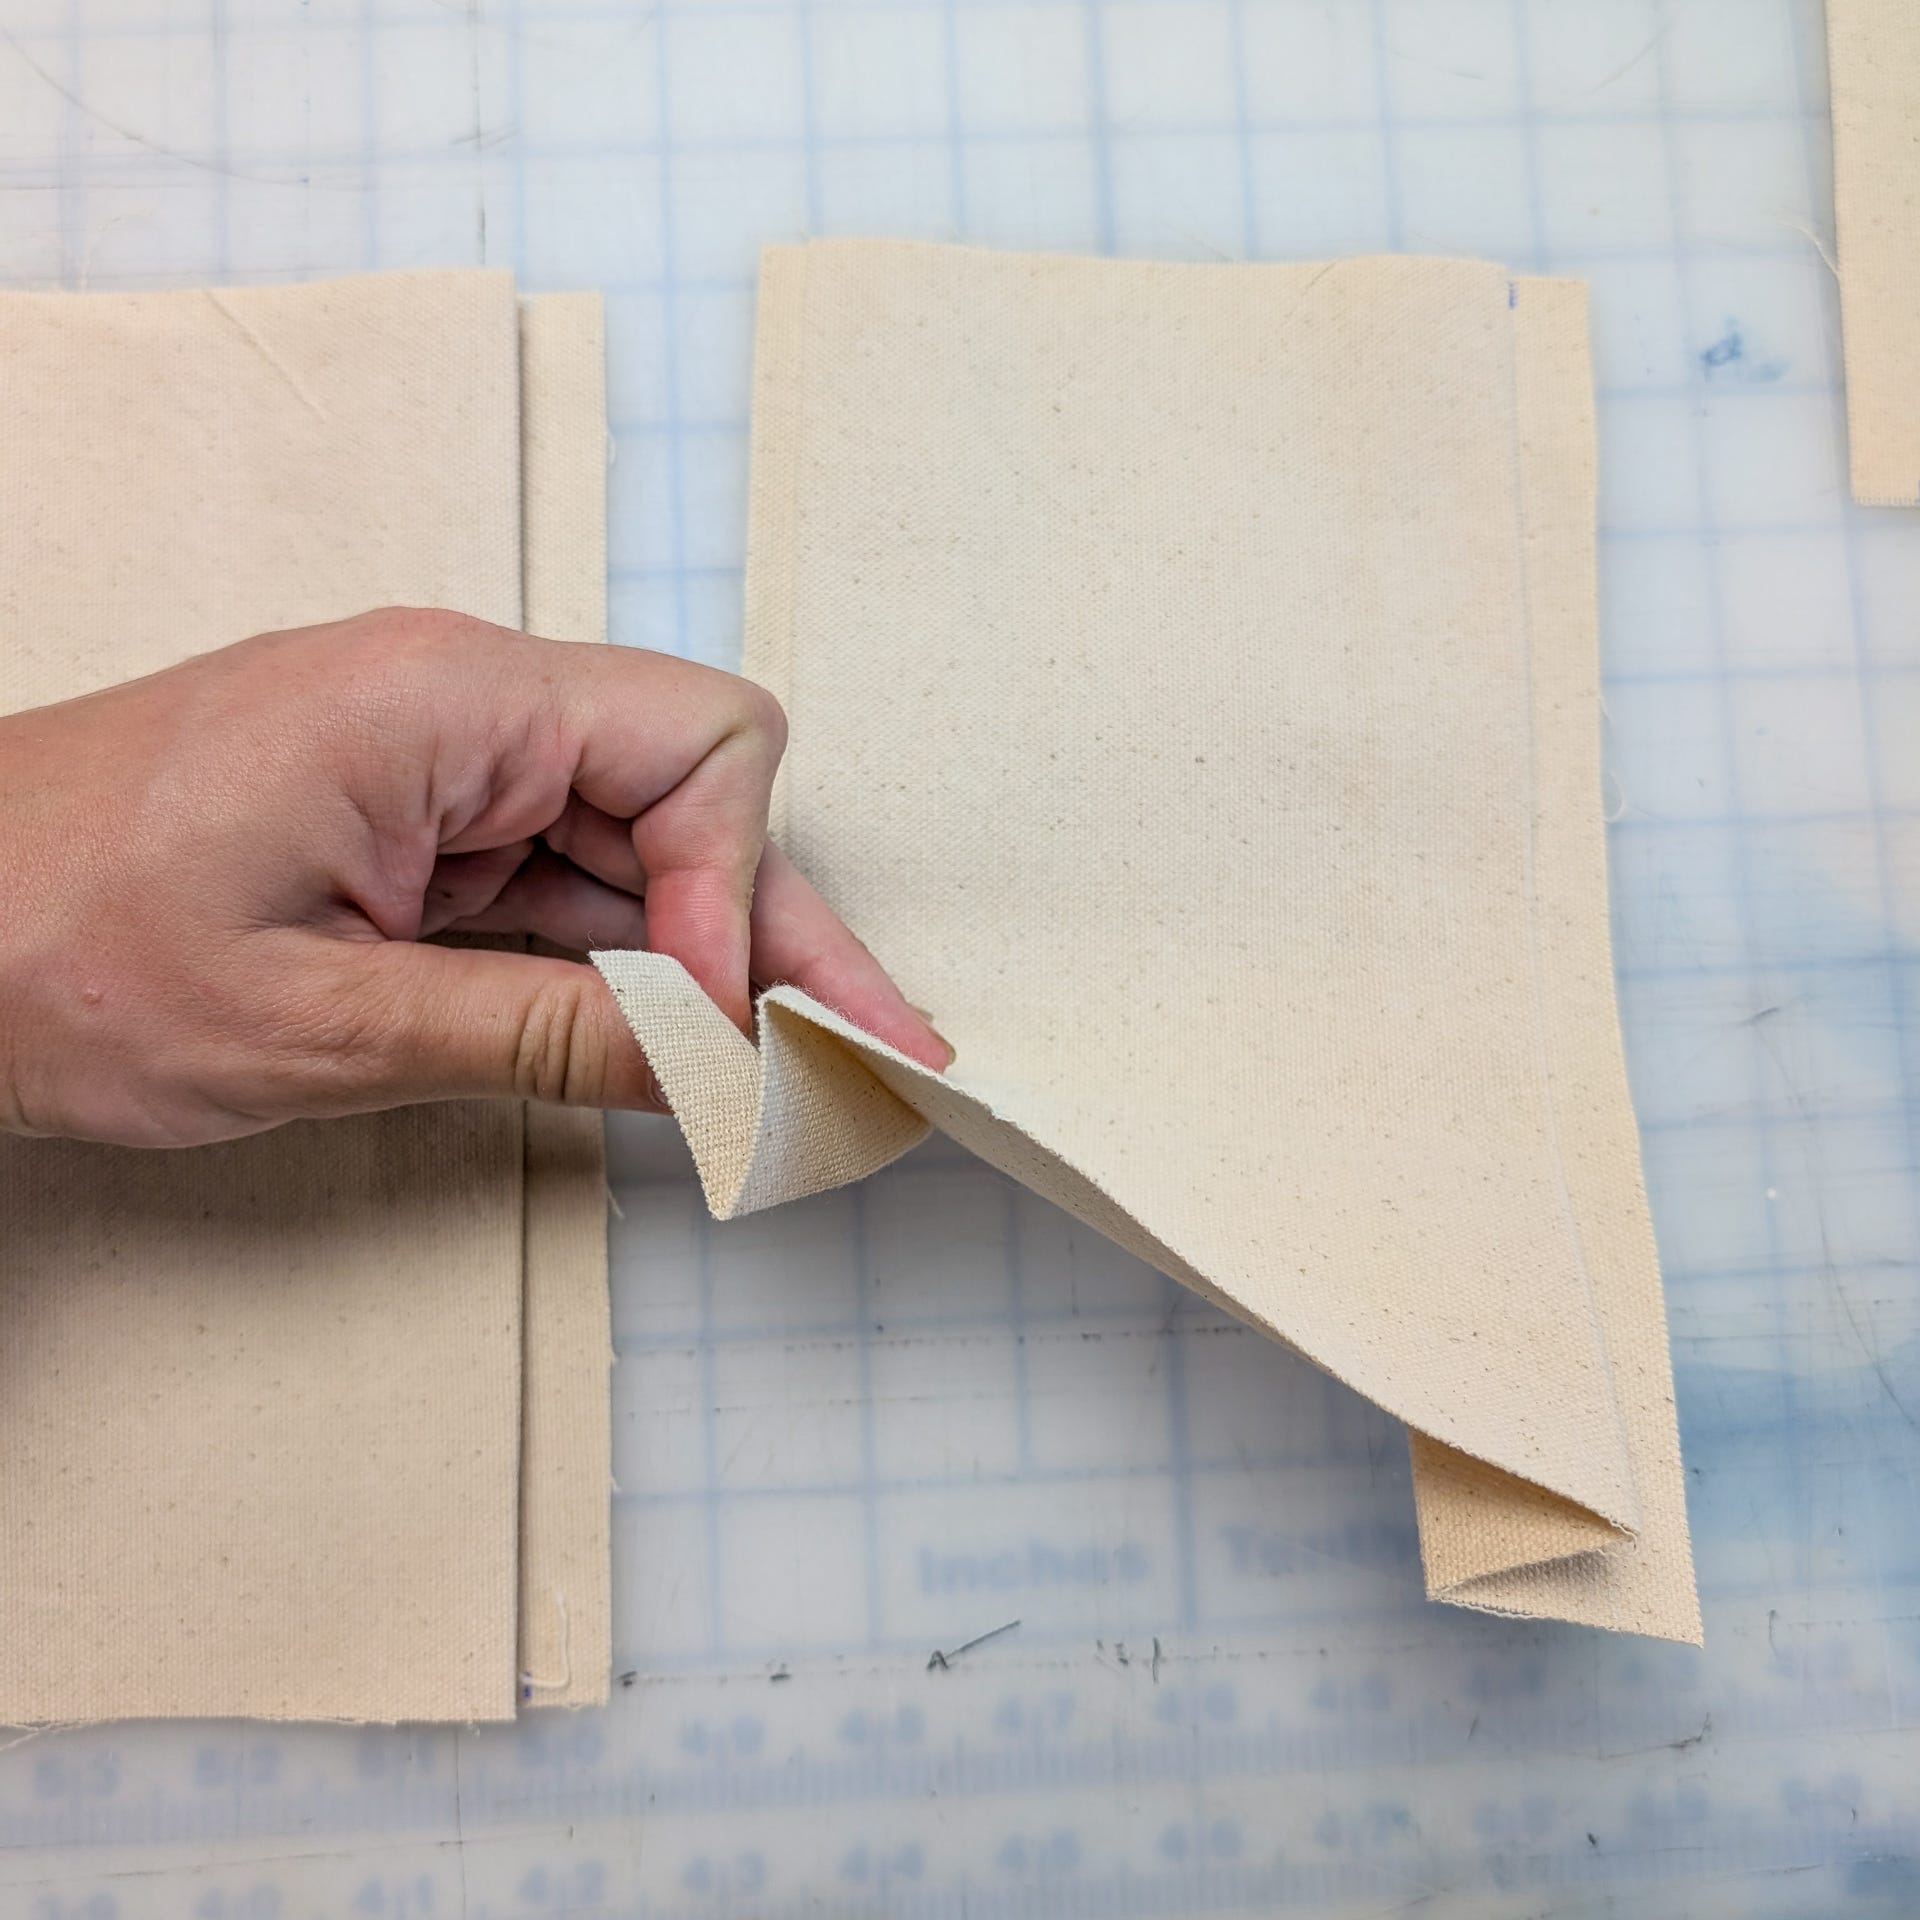
Pro tip - I found this lovely felt ruler when I was in Japan and it’s been such a lifesaver for folding straight pleats! If you ever come across one I definitely recommend picking one up.
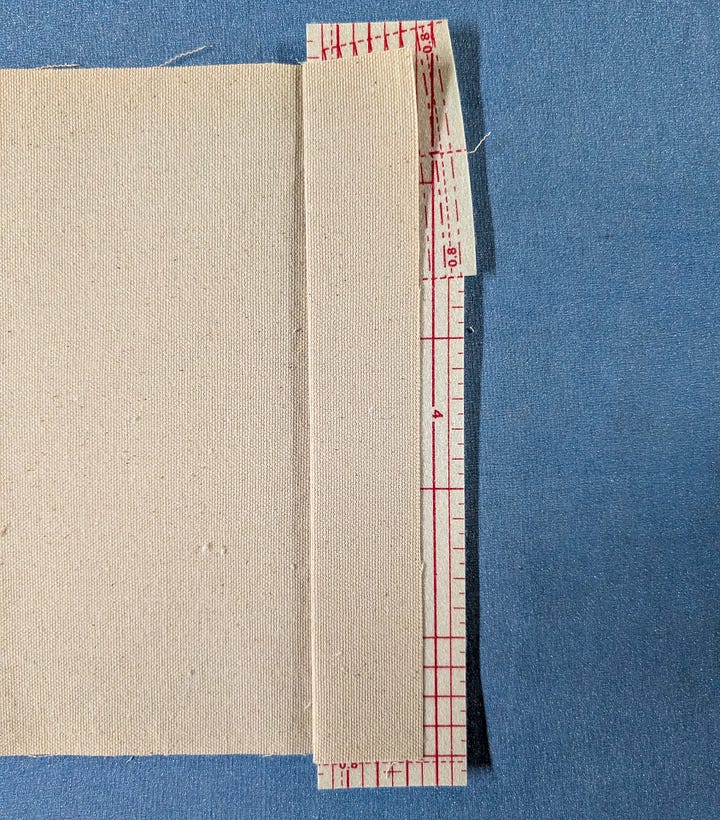
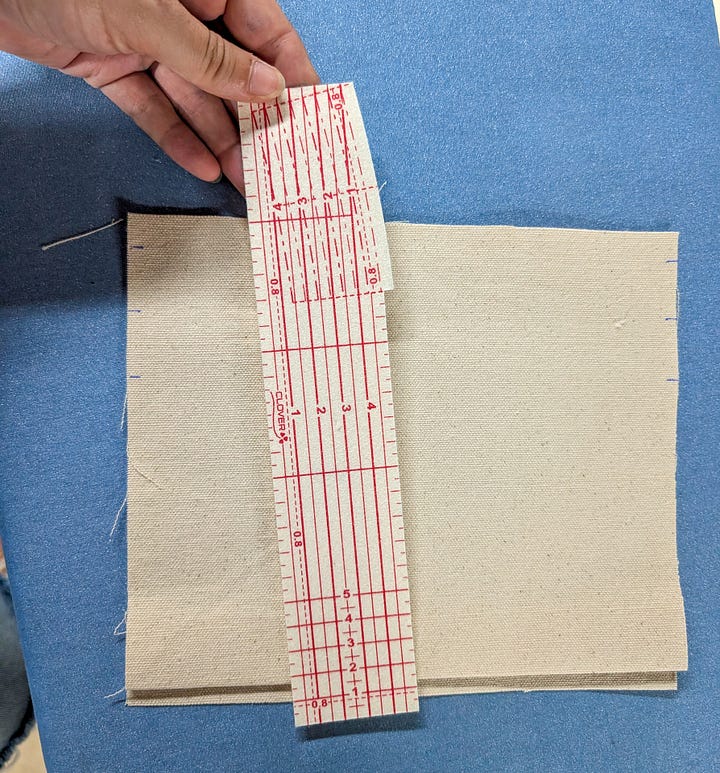
Sew your bias tape to the top of all of the pockets.
I prefer this order of operations - pleating after the bias tape can make it look just a tad messy. Another tip - I don’t sew bias tape all the way to the edges of my seams. I usually stop halfway through the seam allowances to reduce bulk. In this case, I cut it 1/4” shorter on each side.
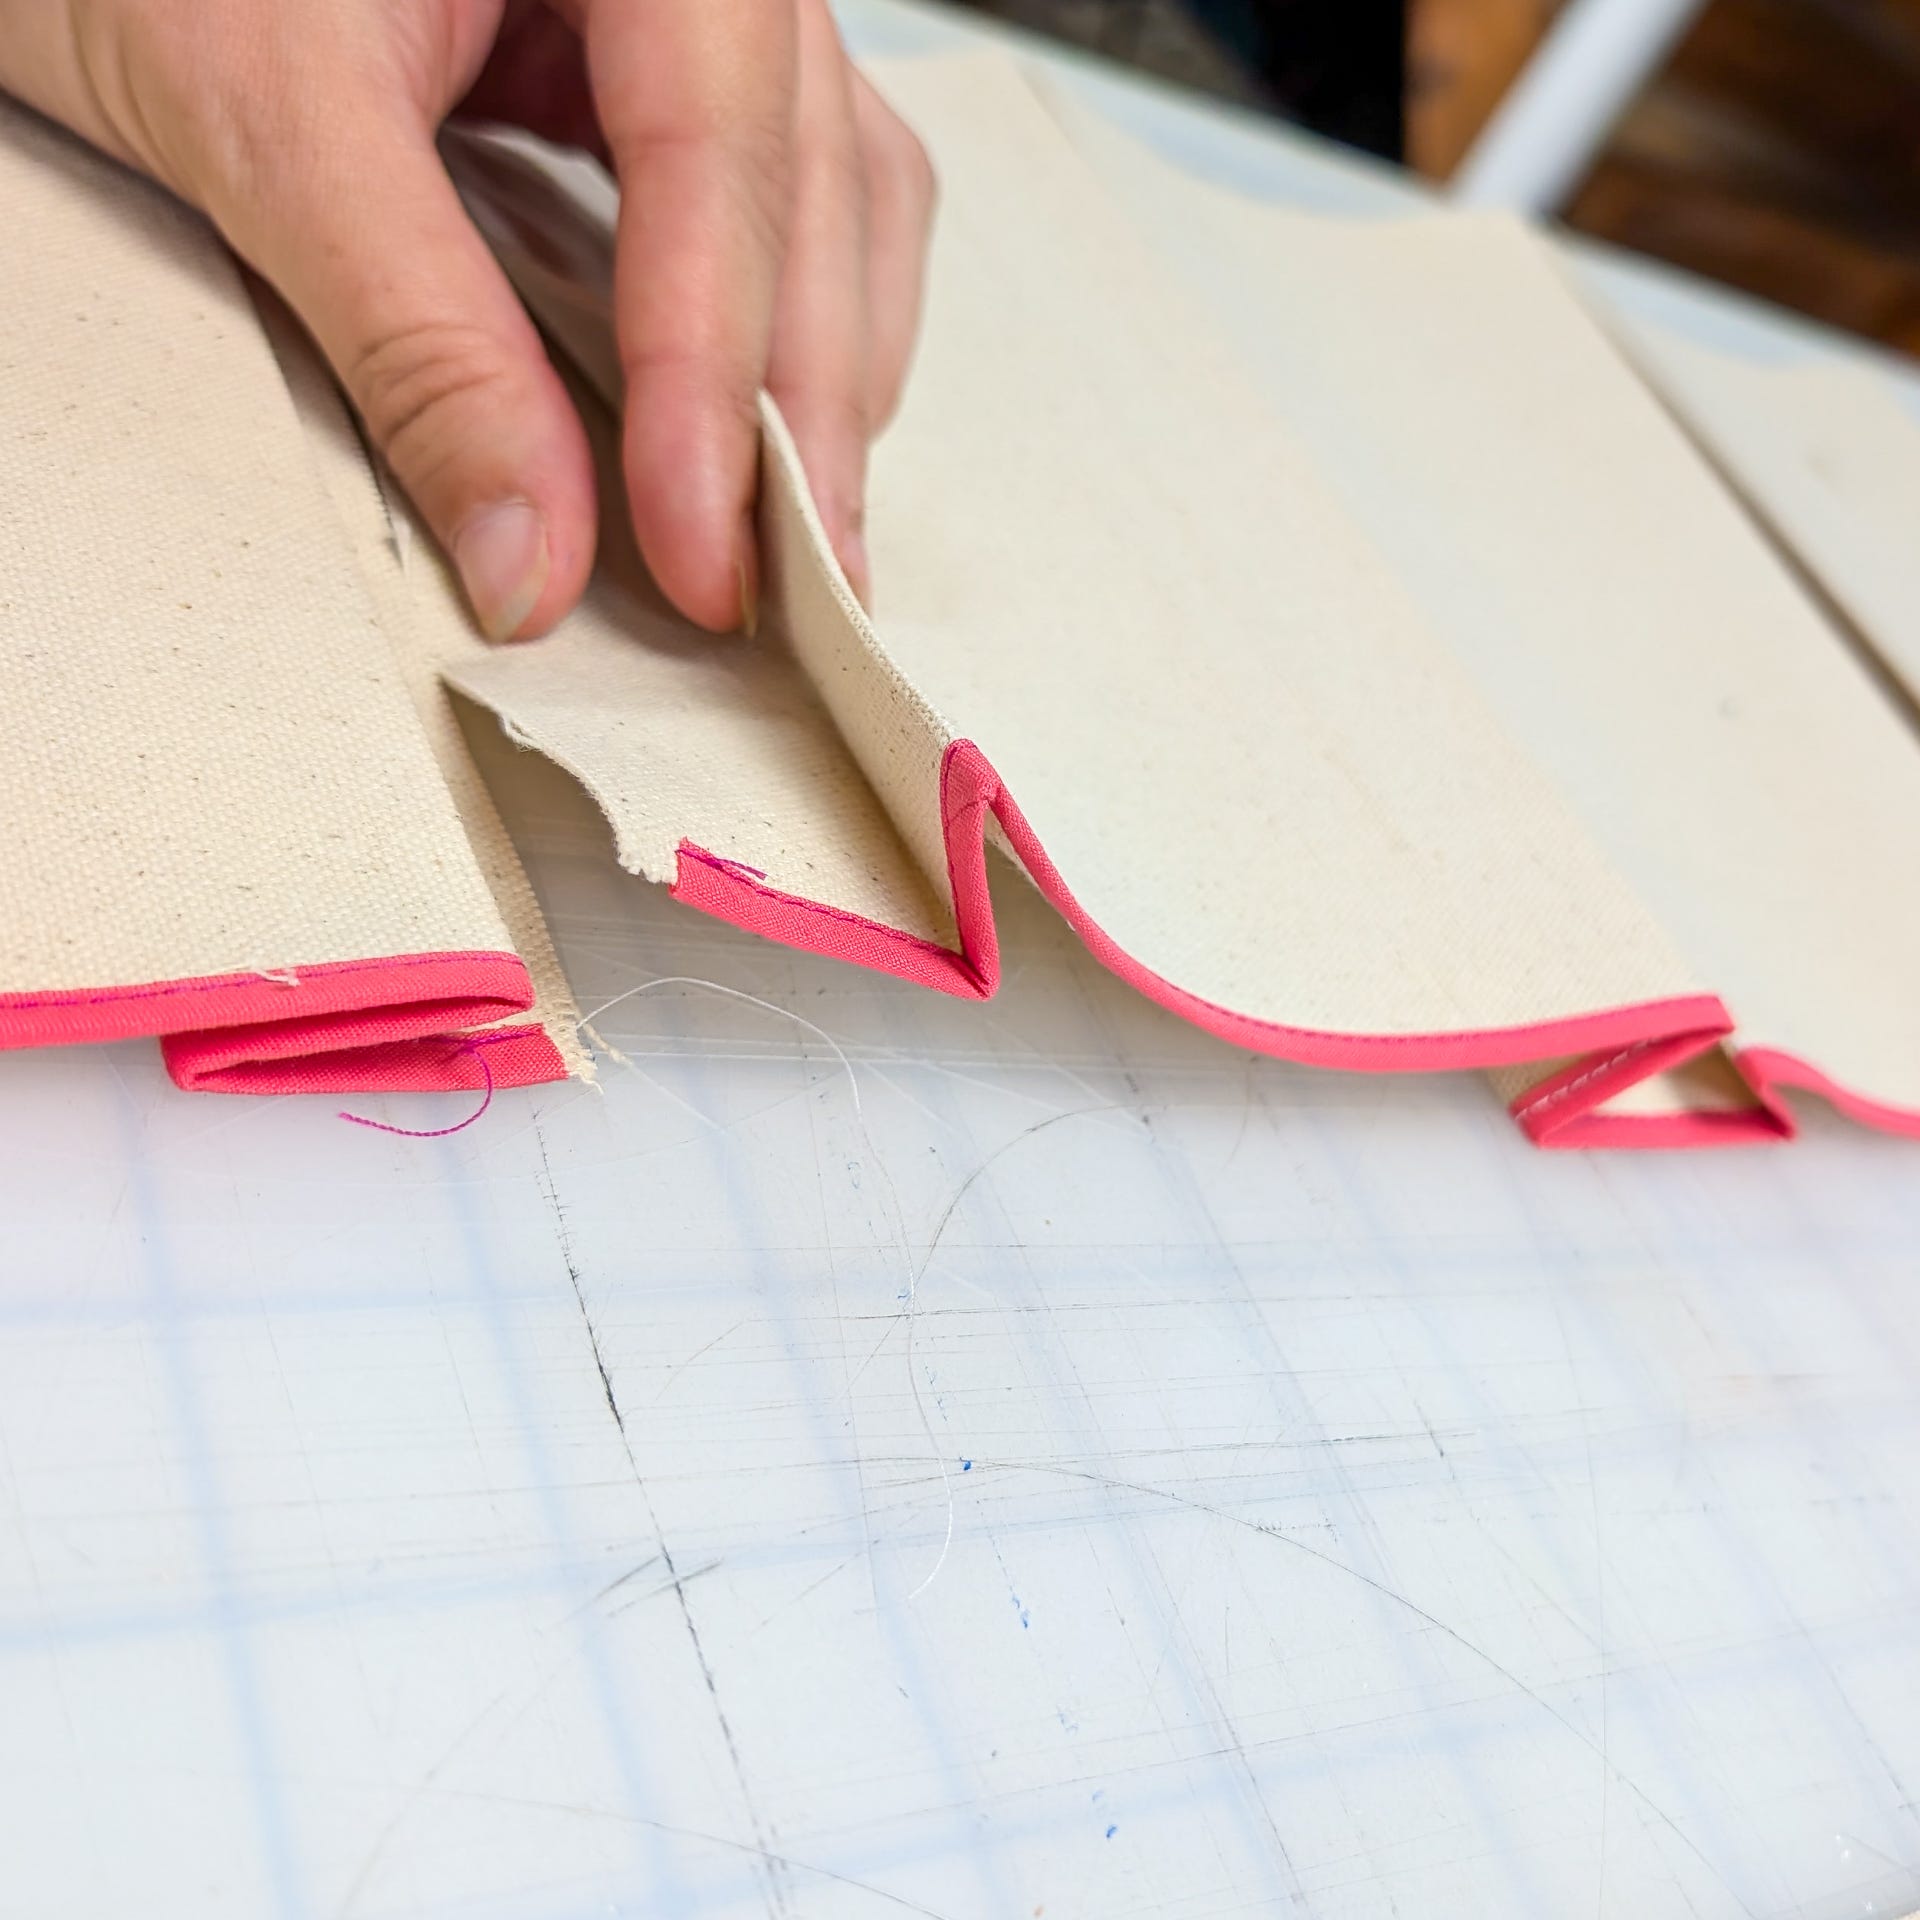
You also need to finish your interior pocket top with bias tape at this stage.
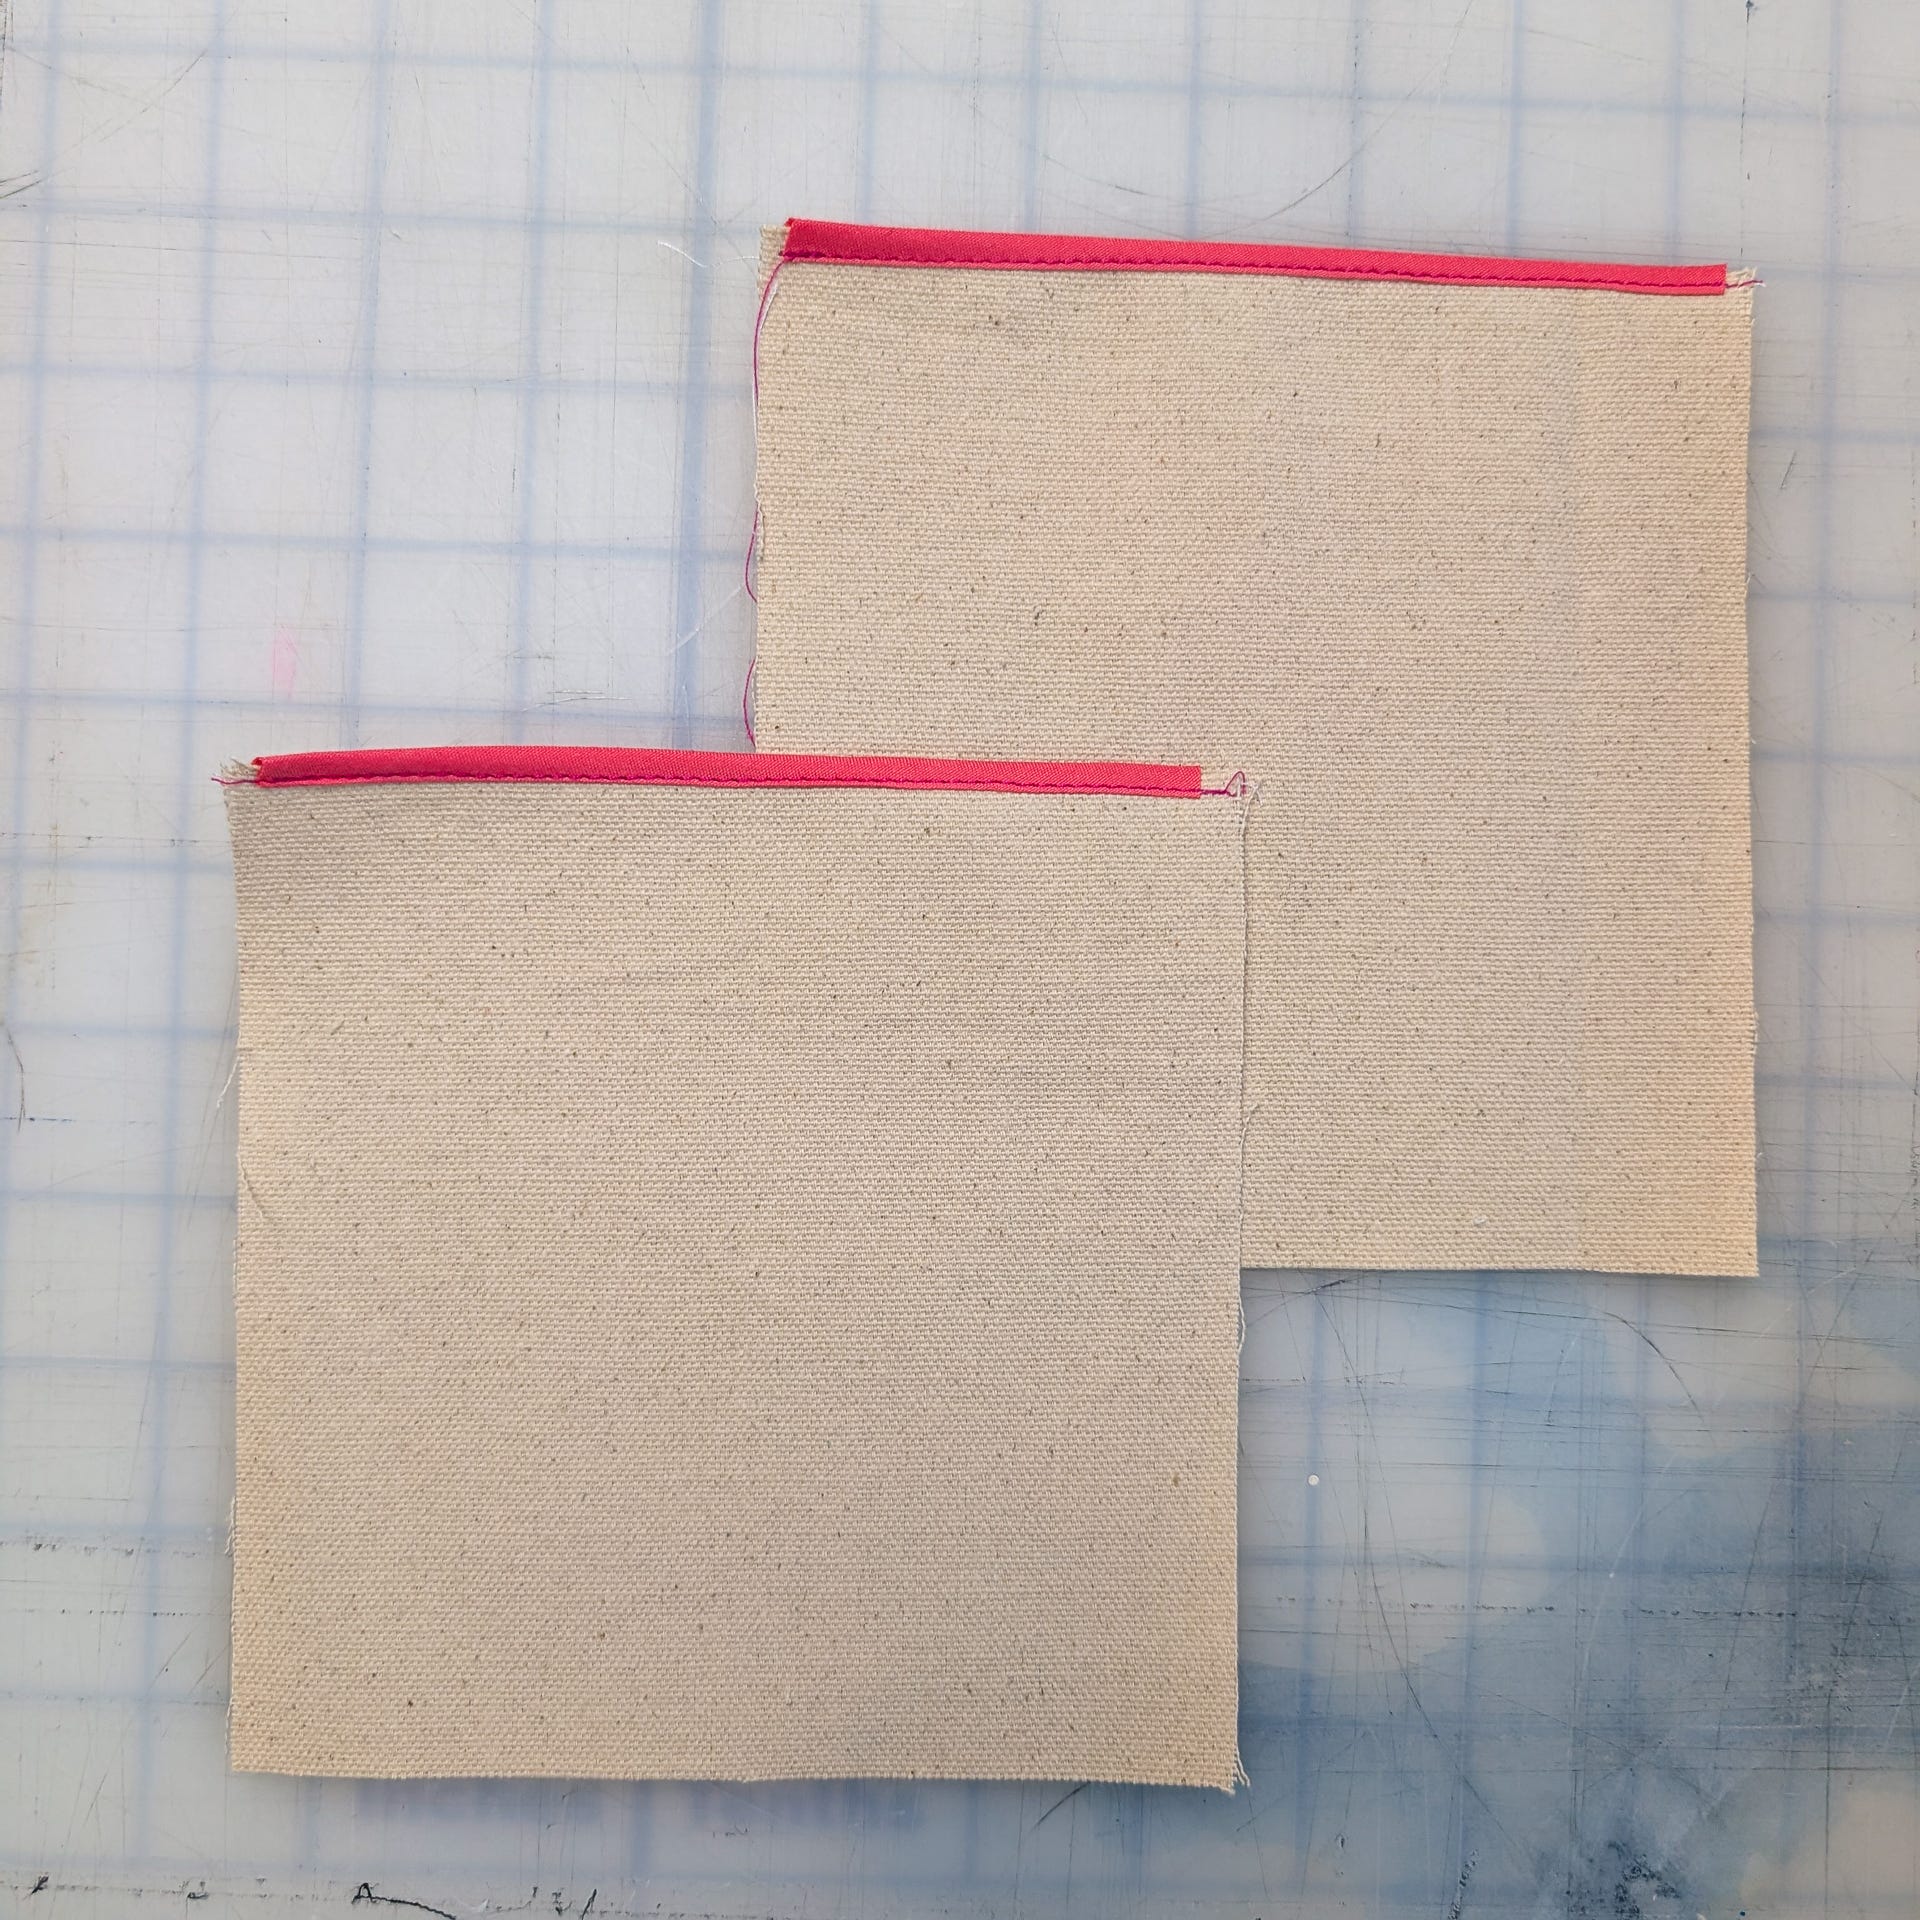
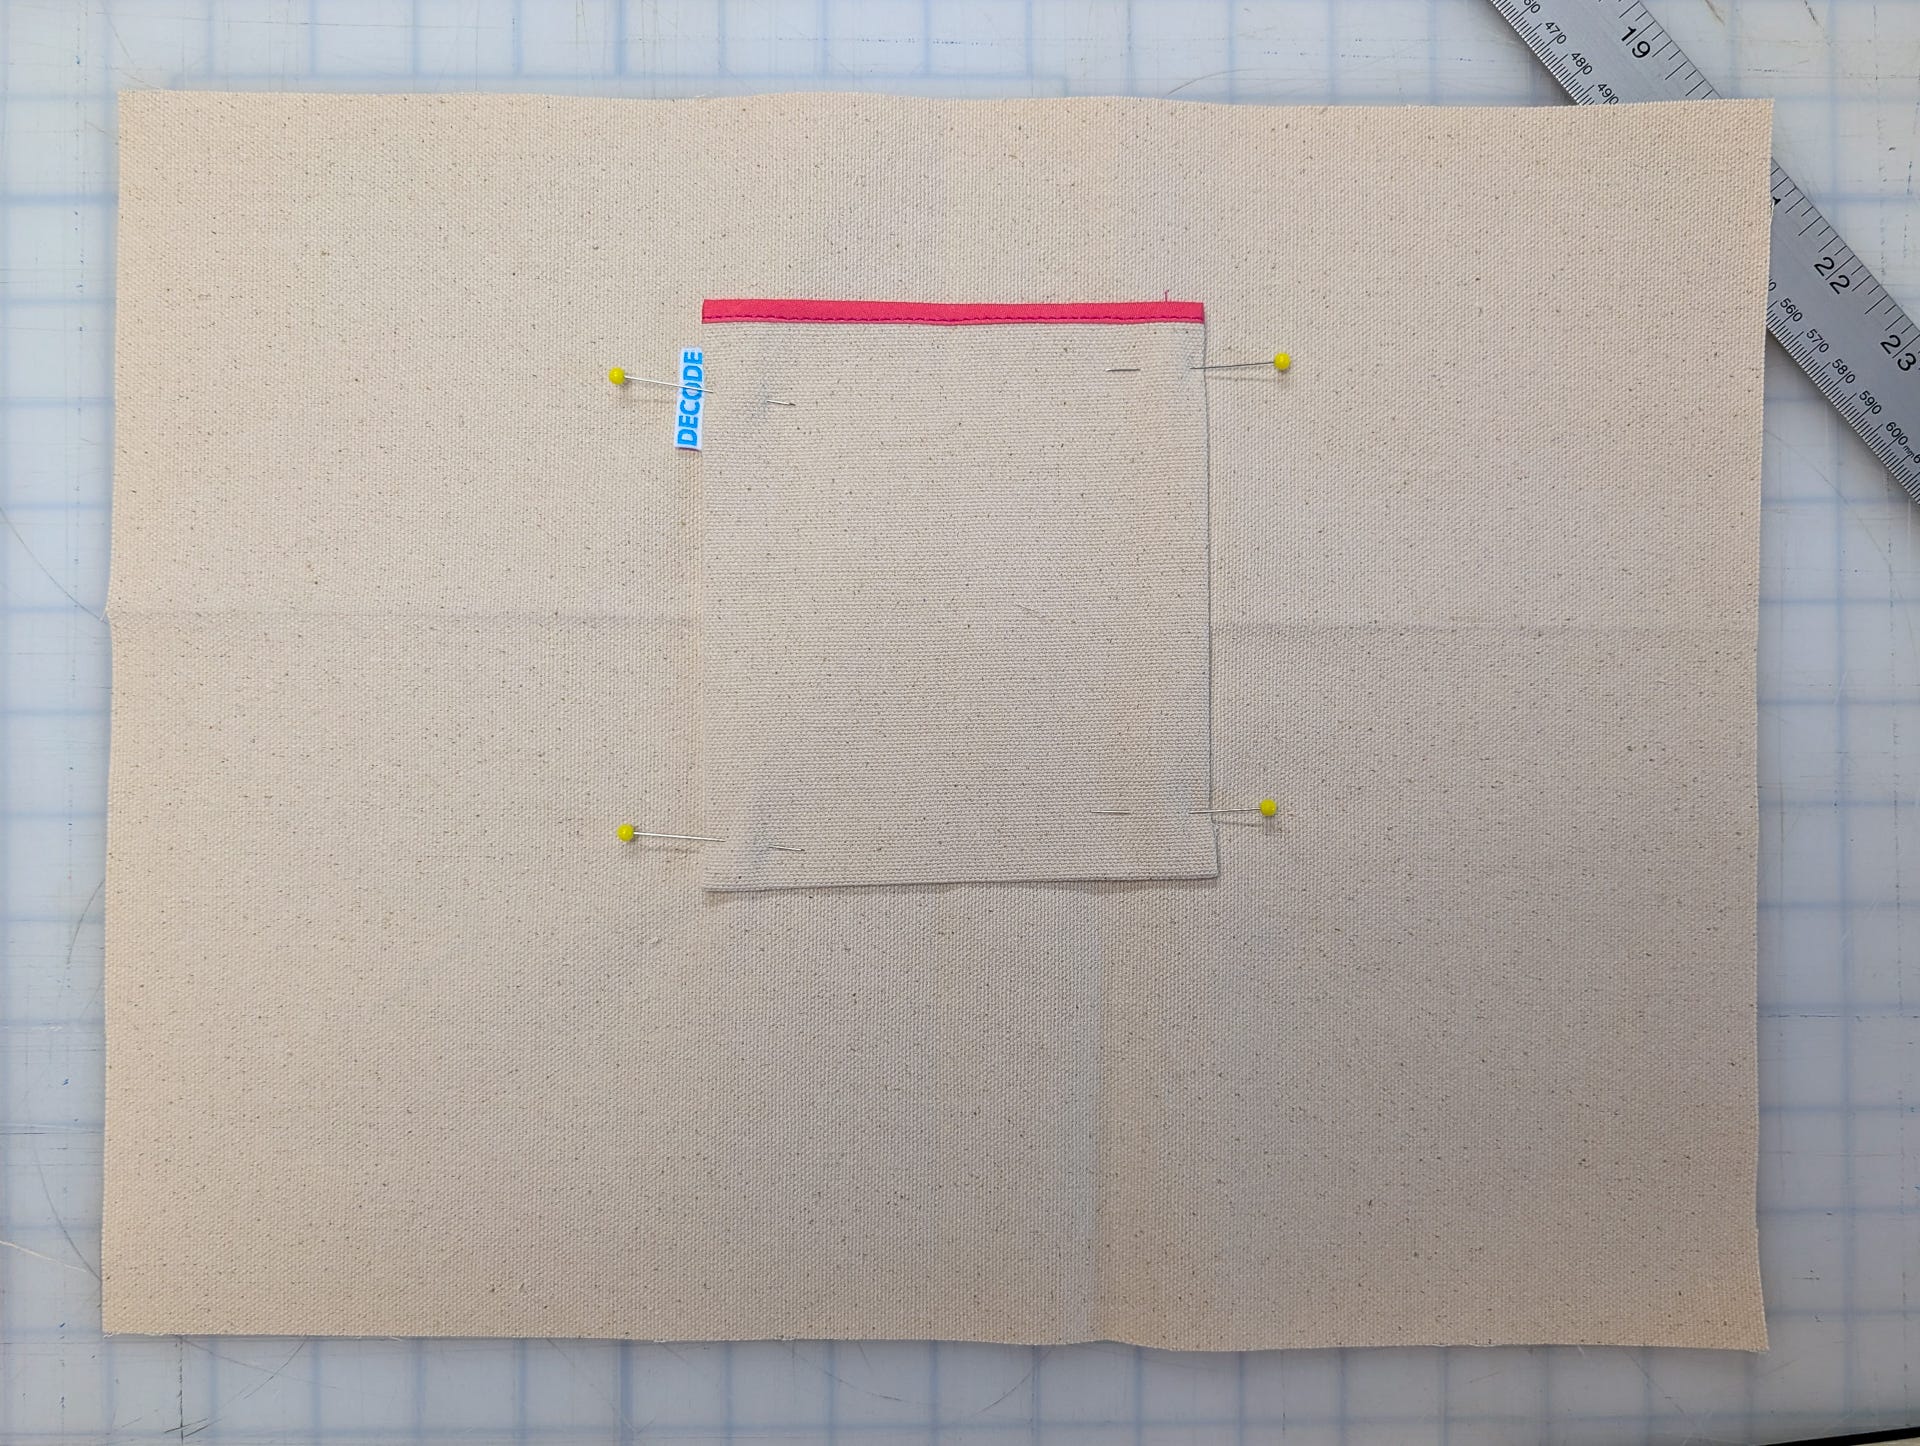
Fold back the sides and bottom (not pictured) and pin in place on the interior of your front and back body pieces. They should be centered and placed around 2” down from the top.
Stitch them in place and you’re good to go!
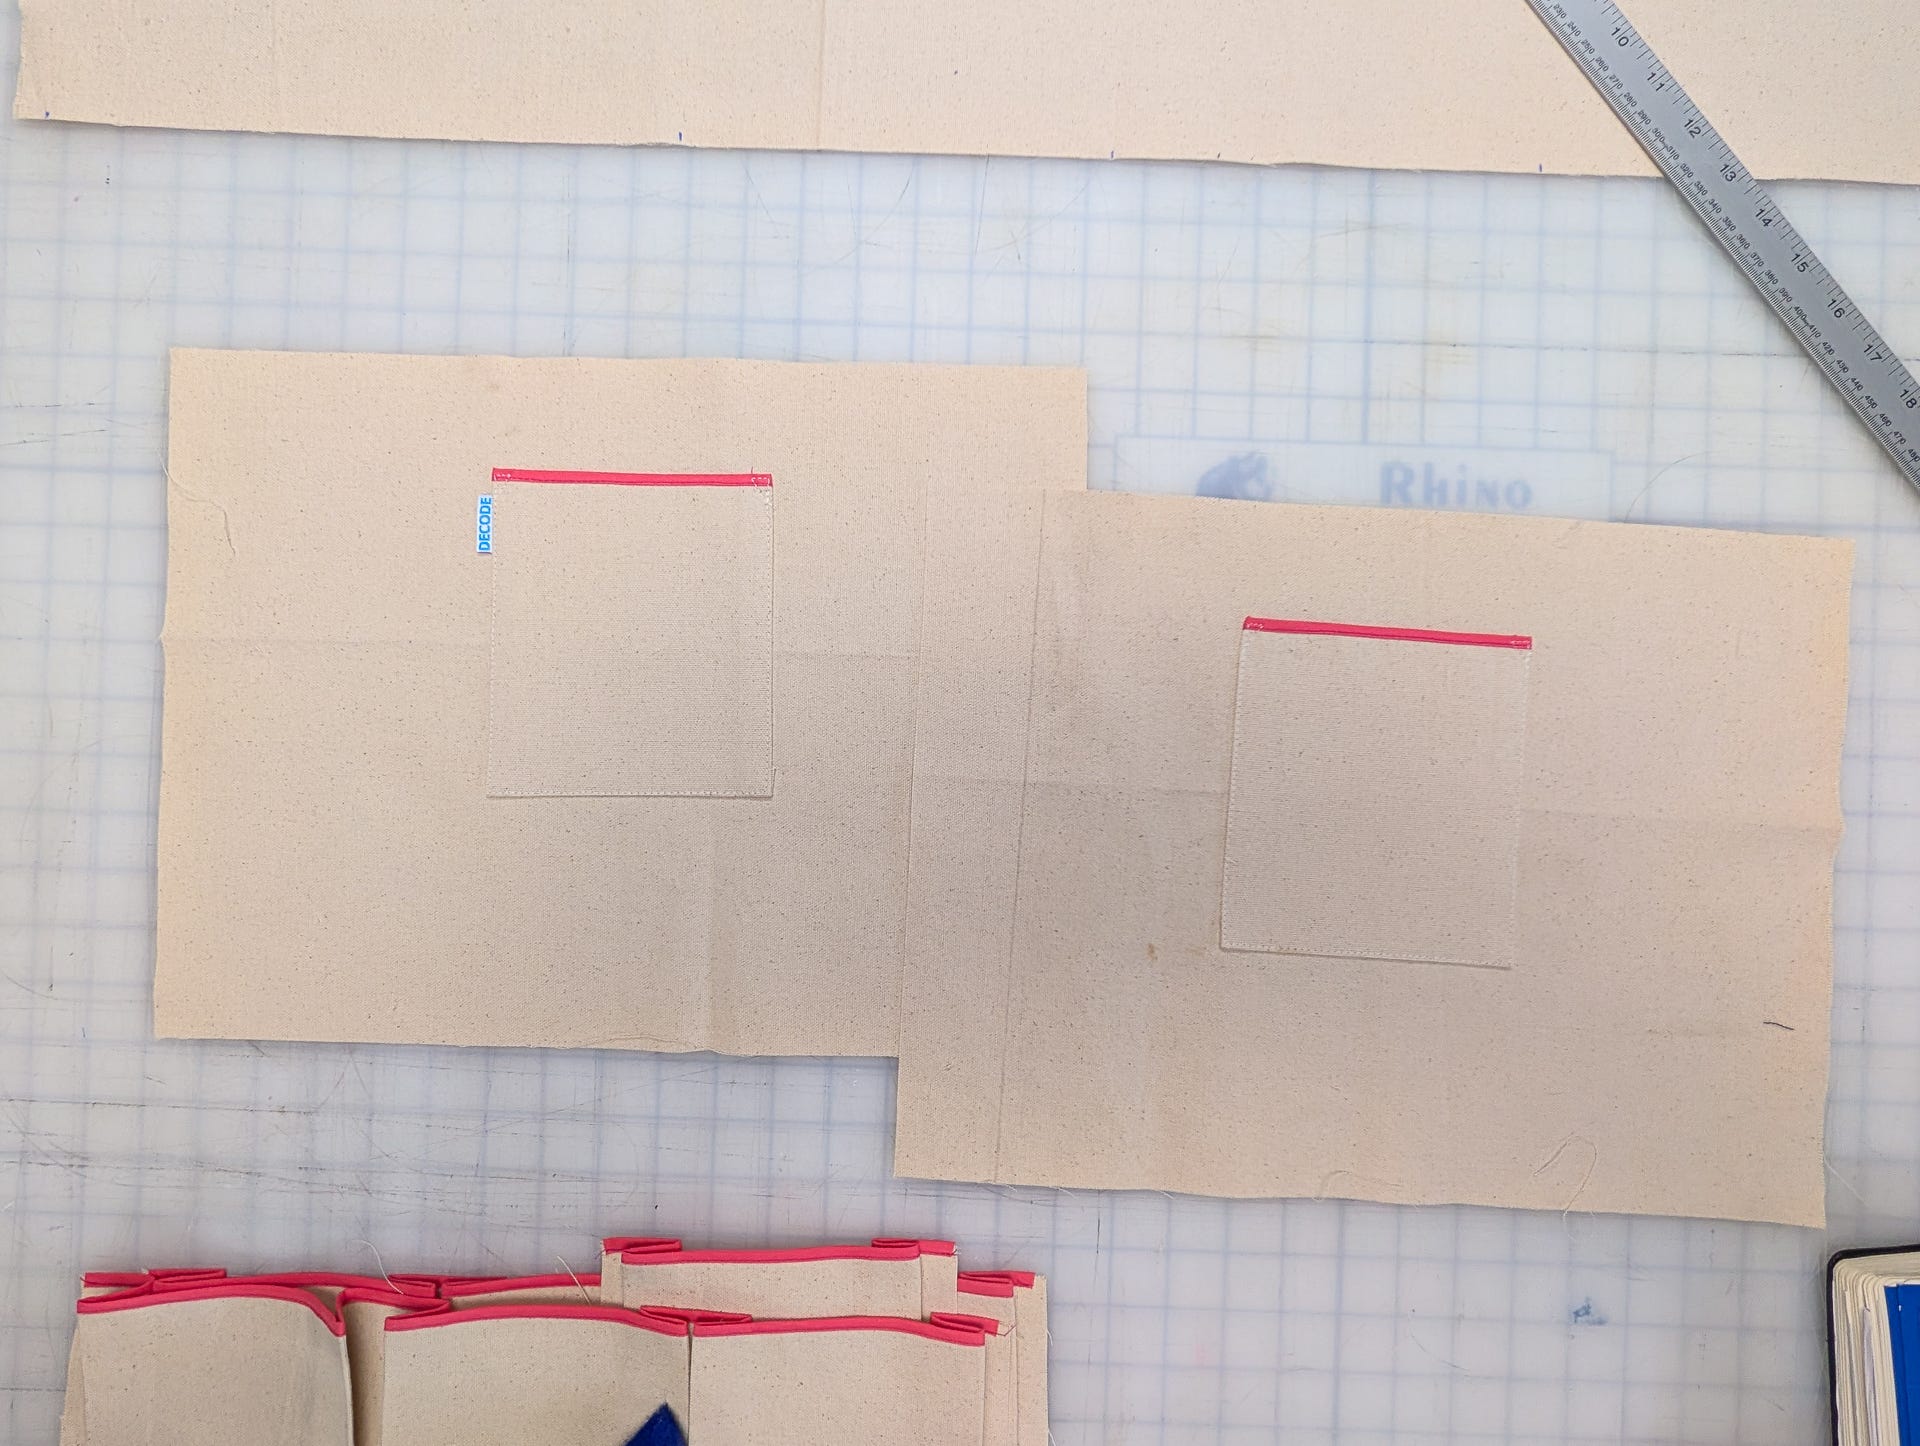
Here the zine and these instructions differ slightly. The zine calls for you to iron back the seam allowance on the bottom edge of the side pockets and top stitch it down.
In this sample I did a cleaner finished version, but it was one too many instuctions to fit into a 6 page zine!
Line your pockets up right side to right side, facing away from the intended direction. Use the notches to line up the placement. Stitch across.
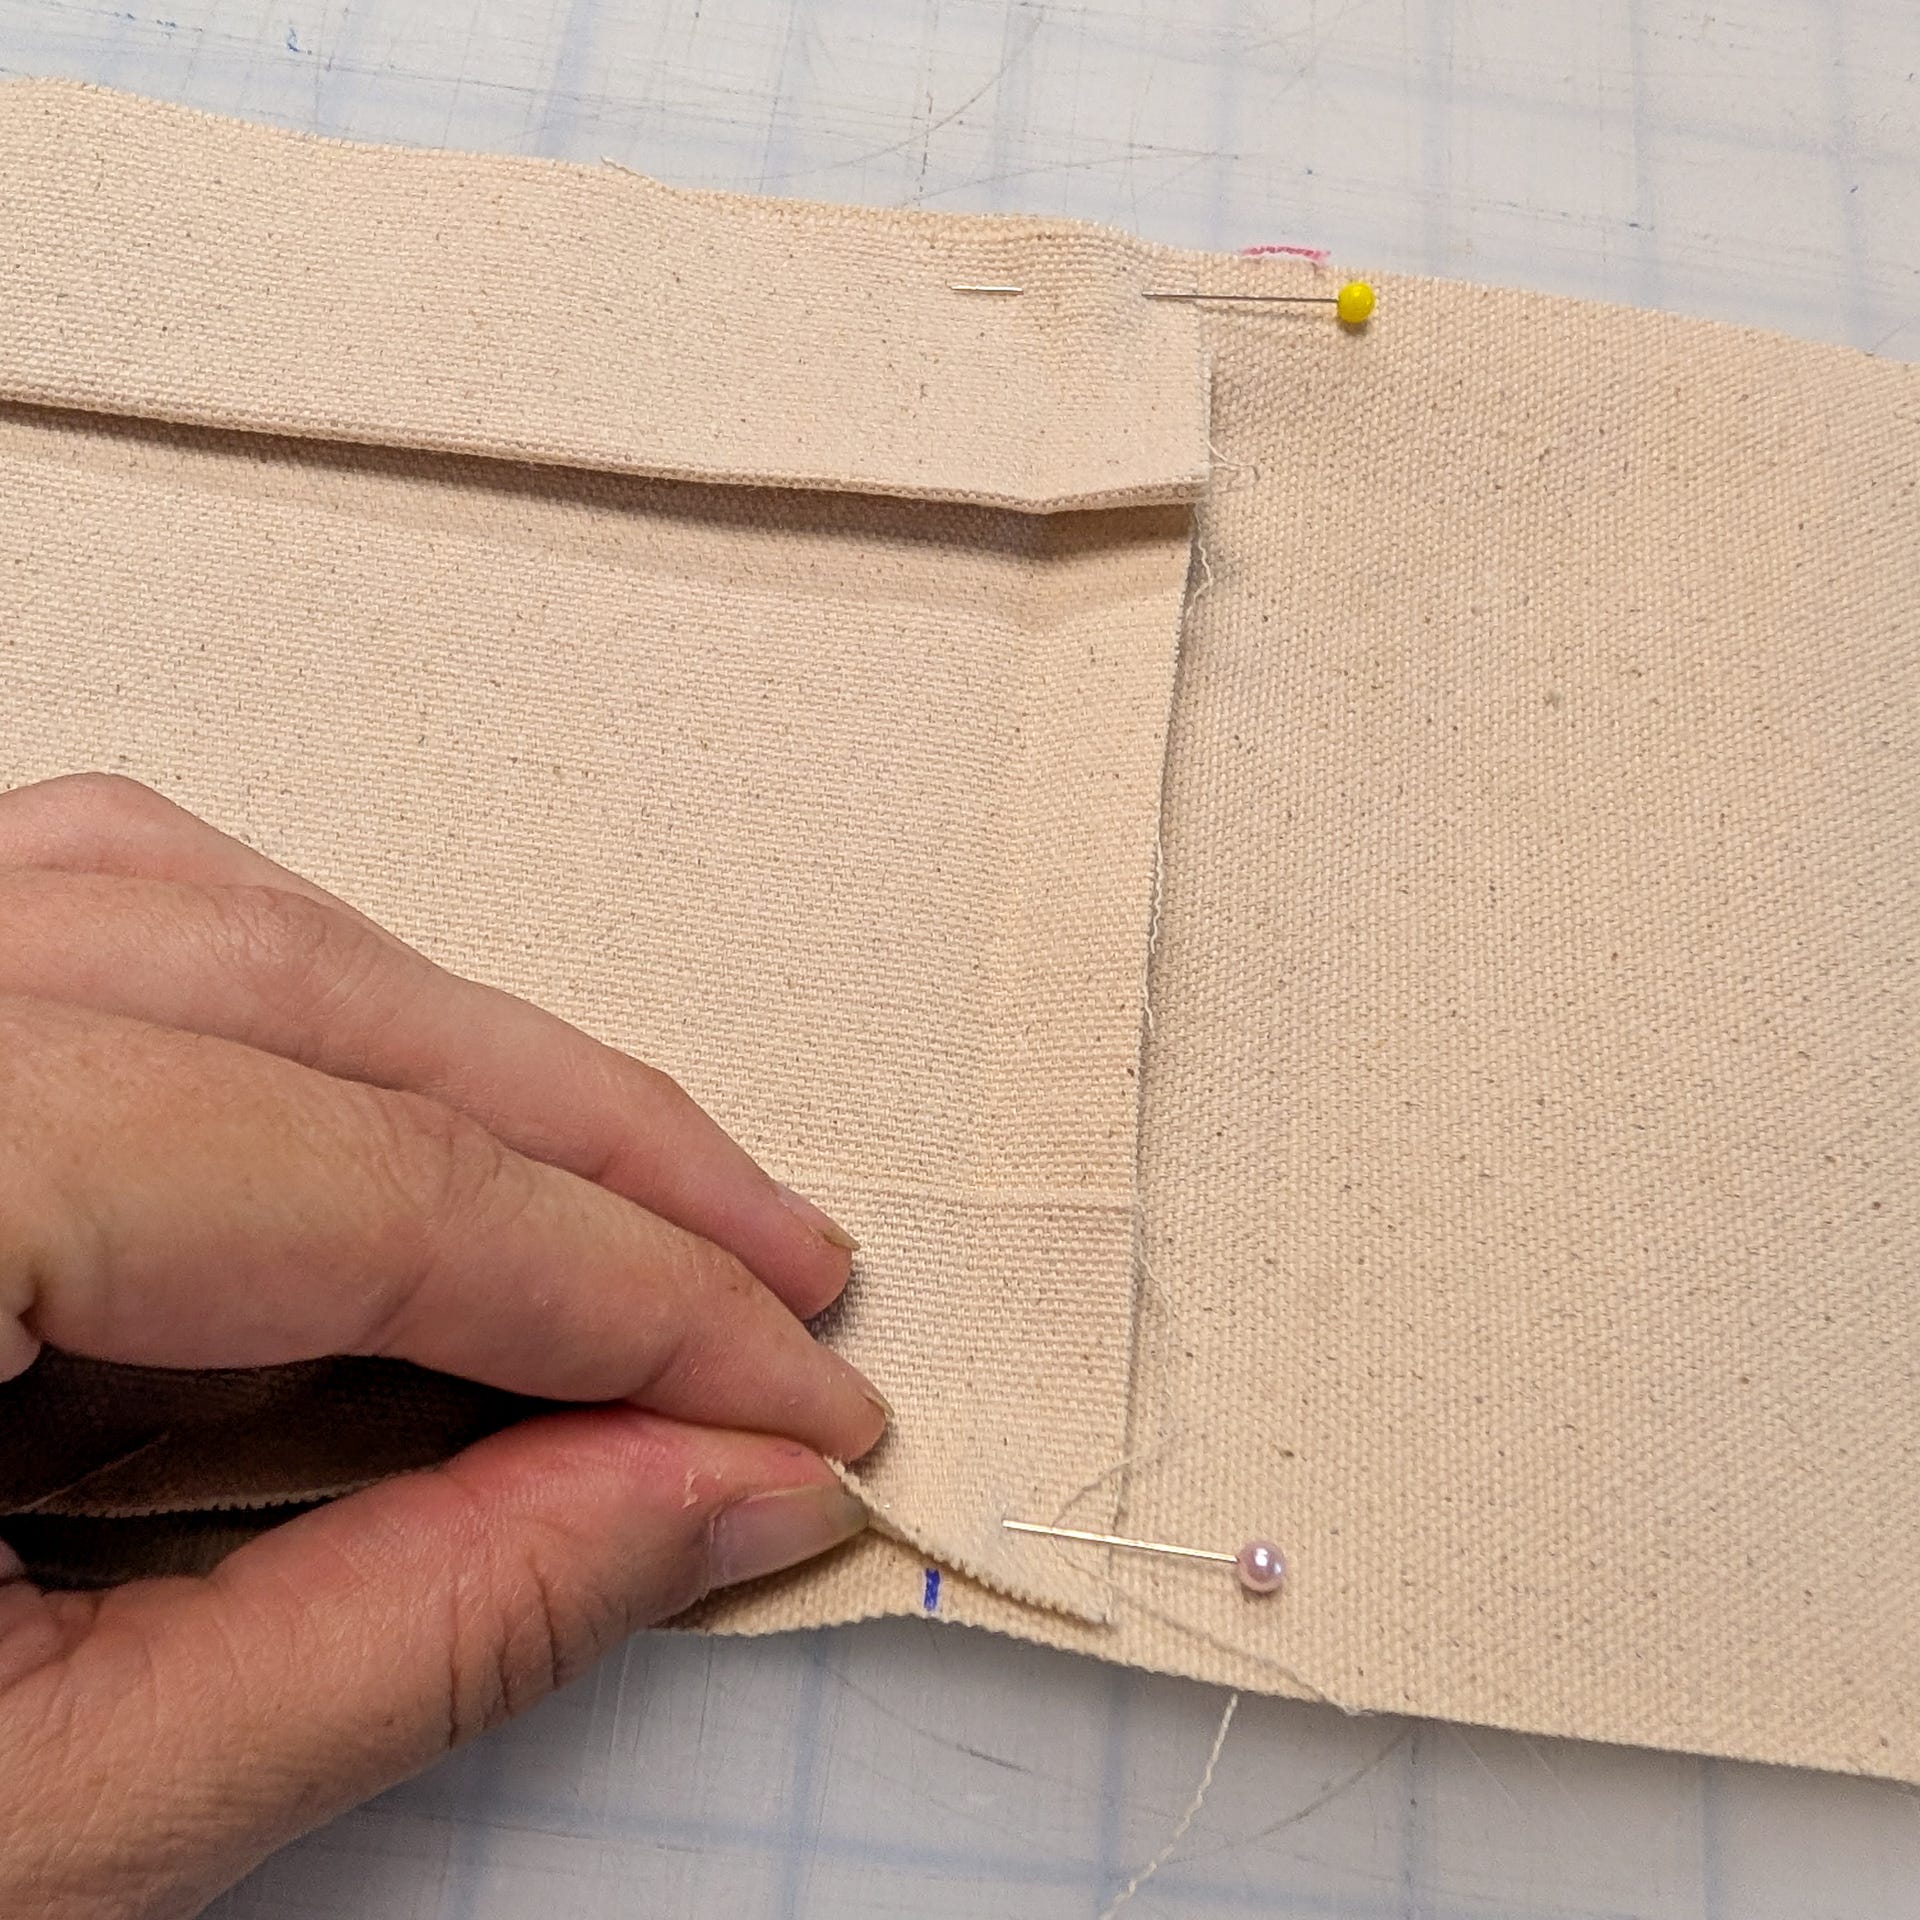
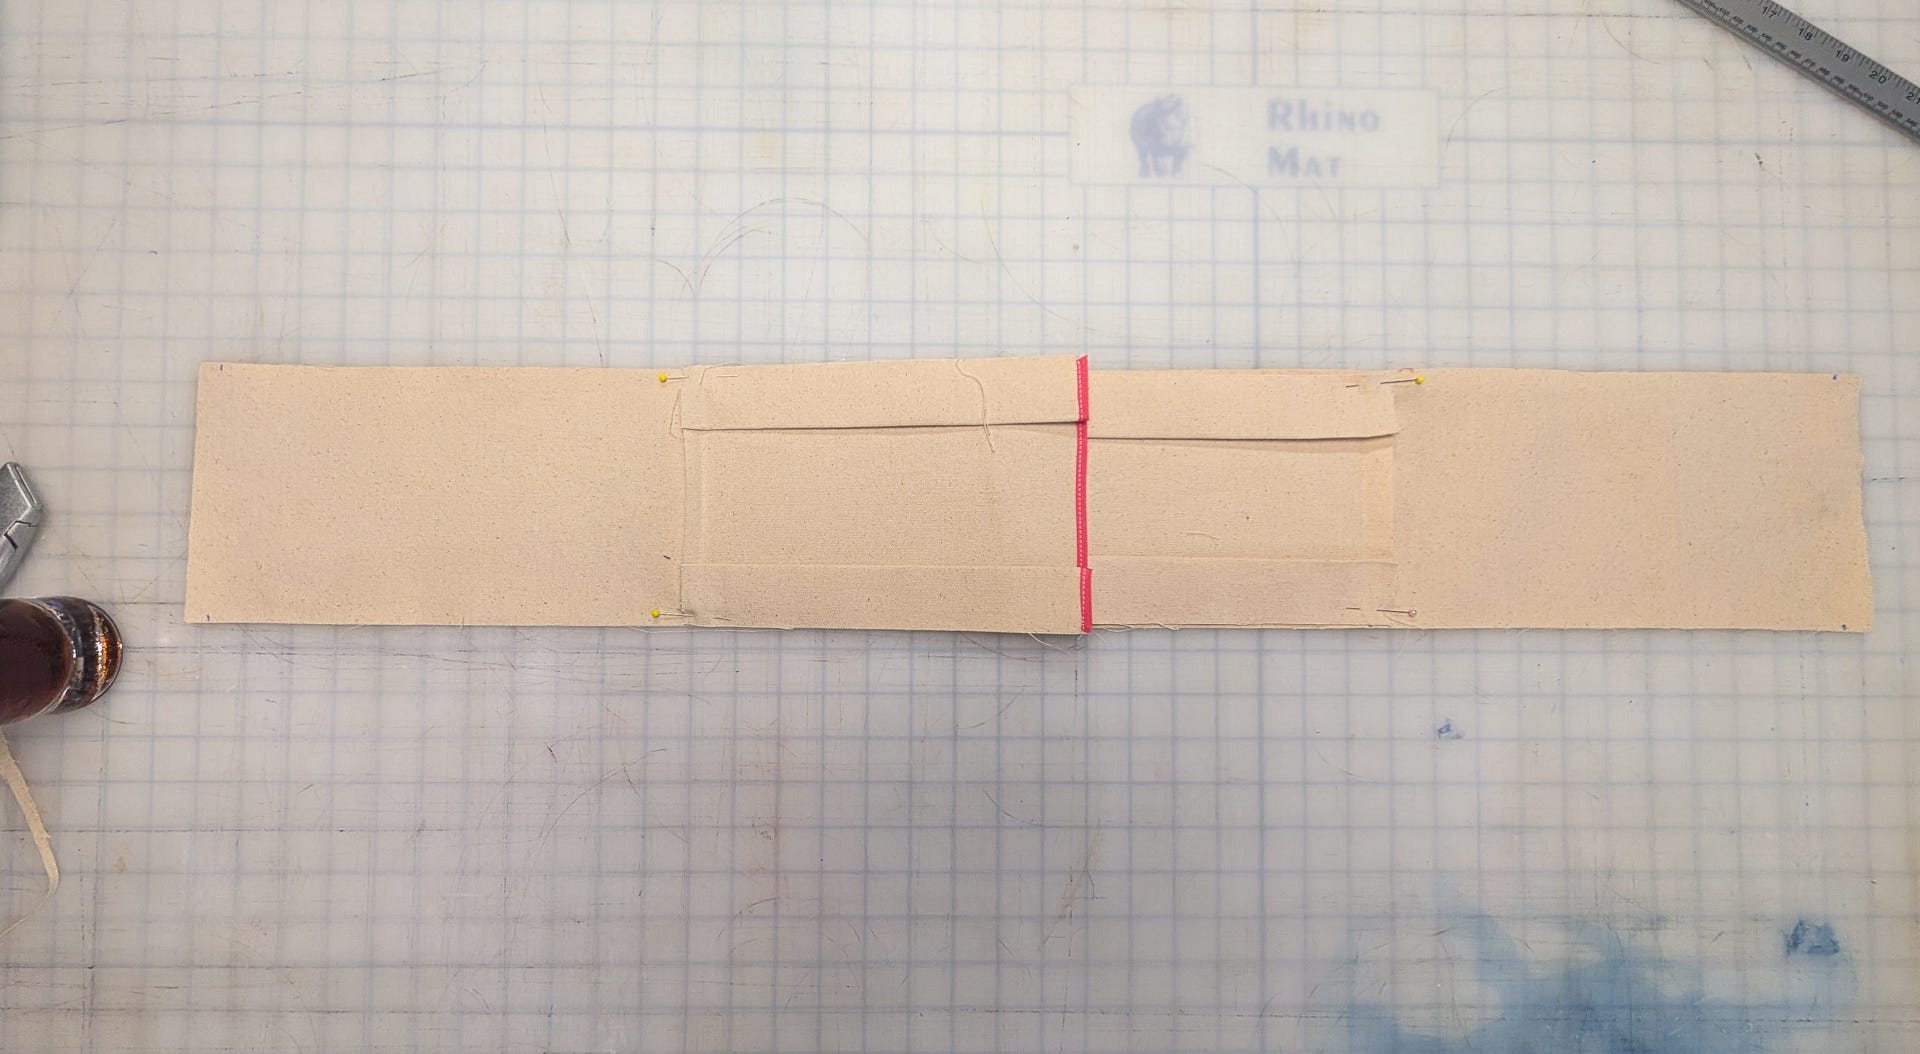
You can then flip the pockets into place, iron flat, and stitch the sides closed. Use a stay stitch within the .5” SA.
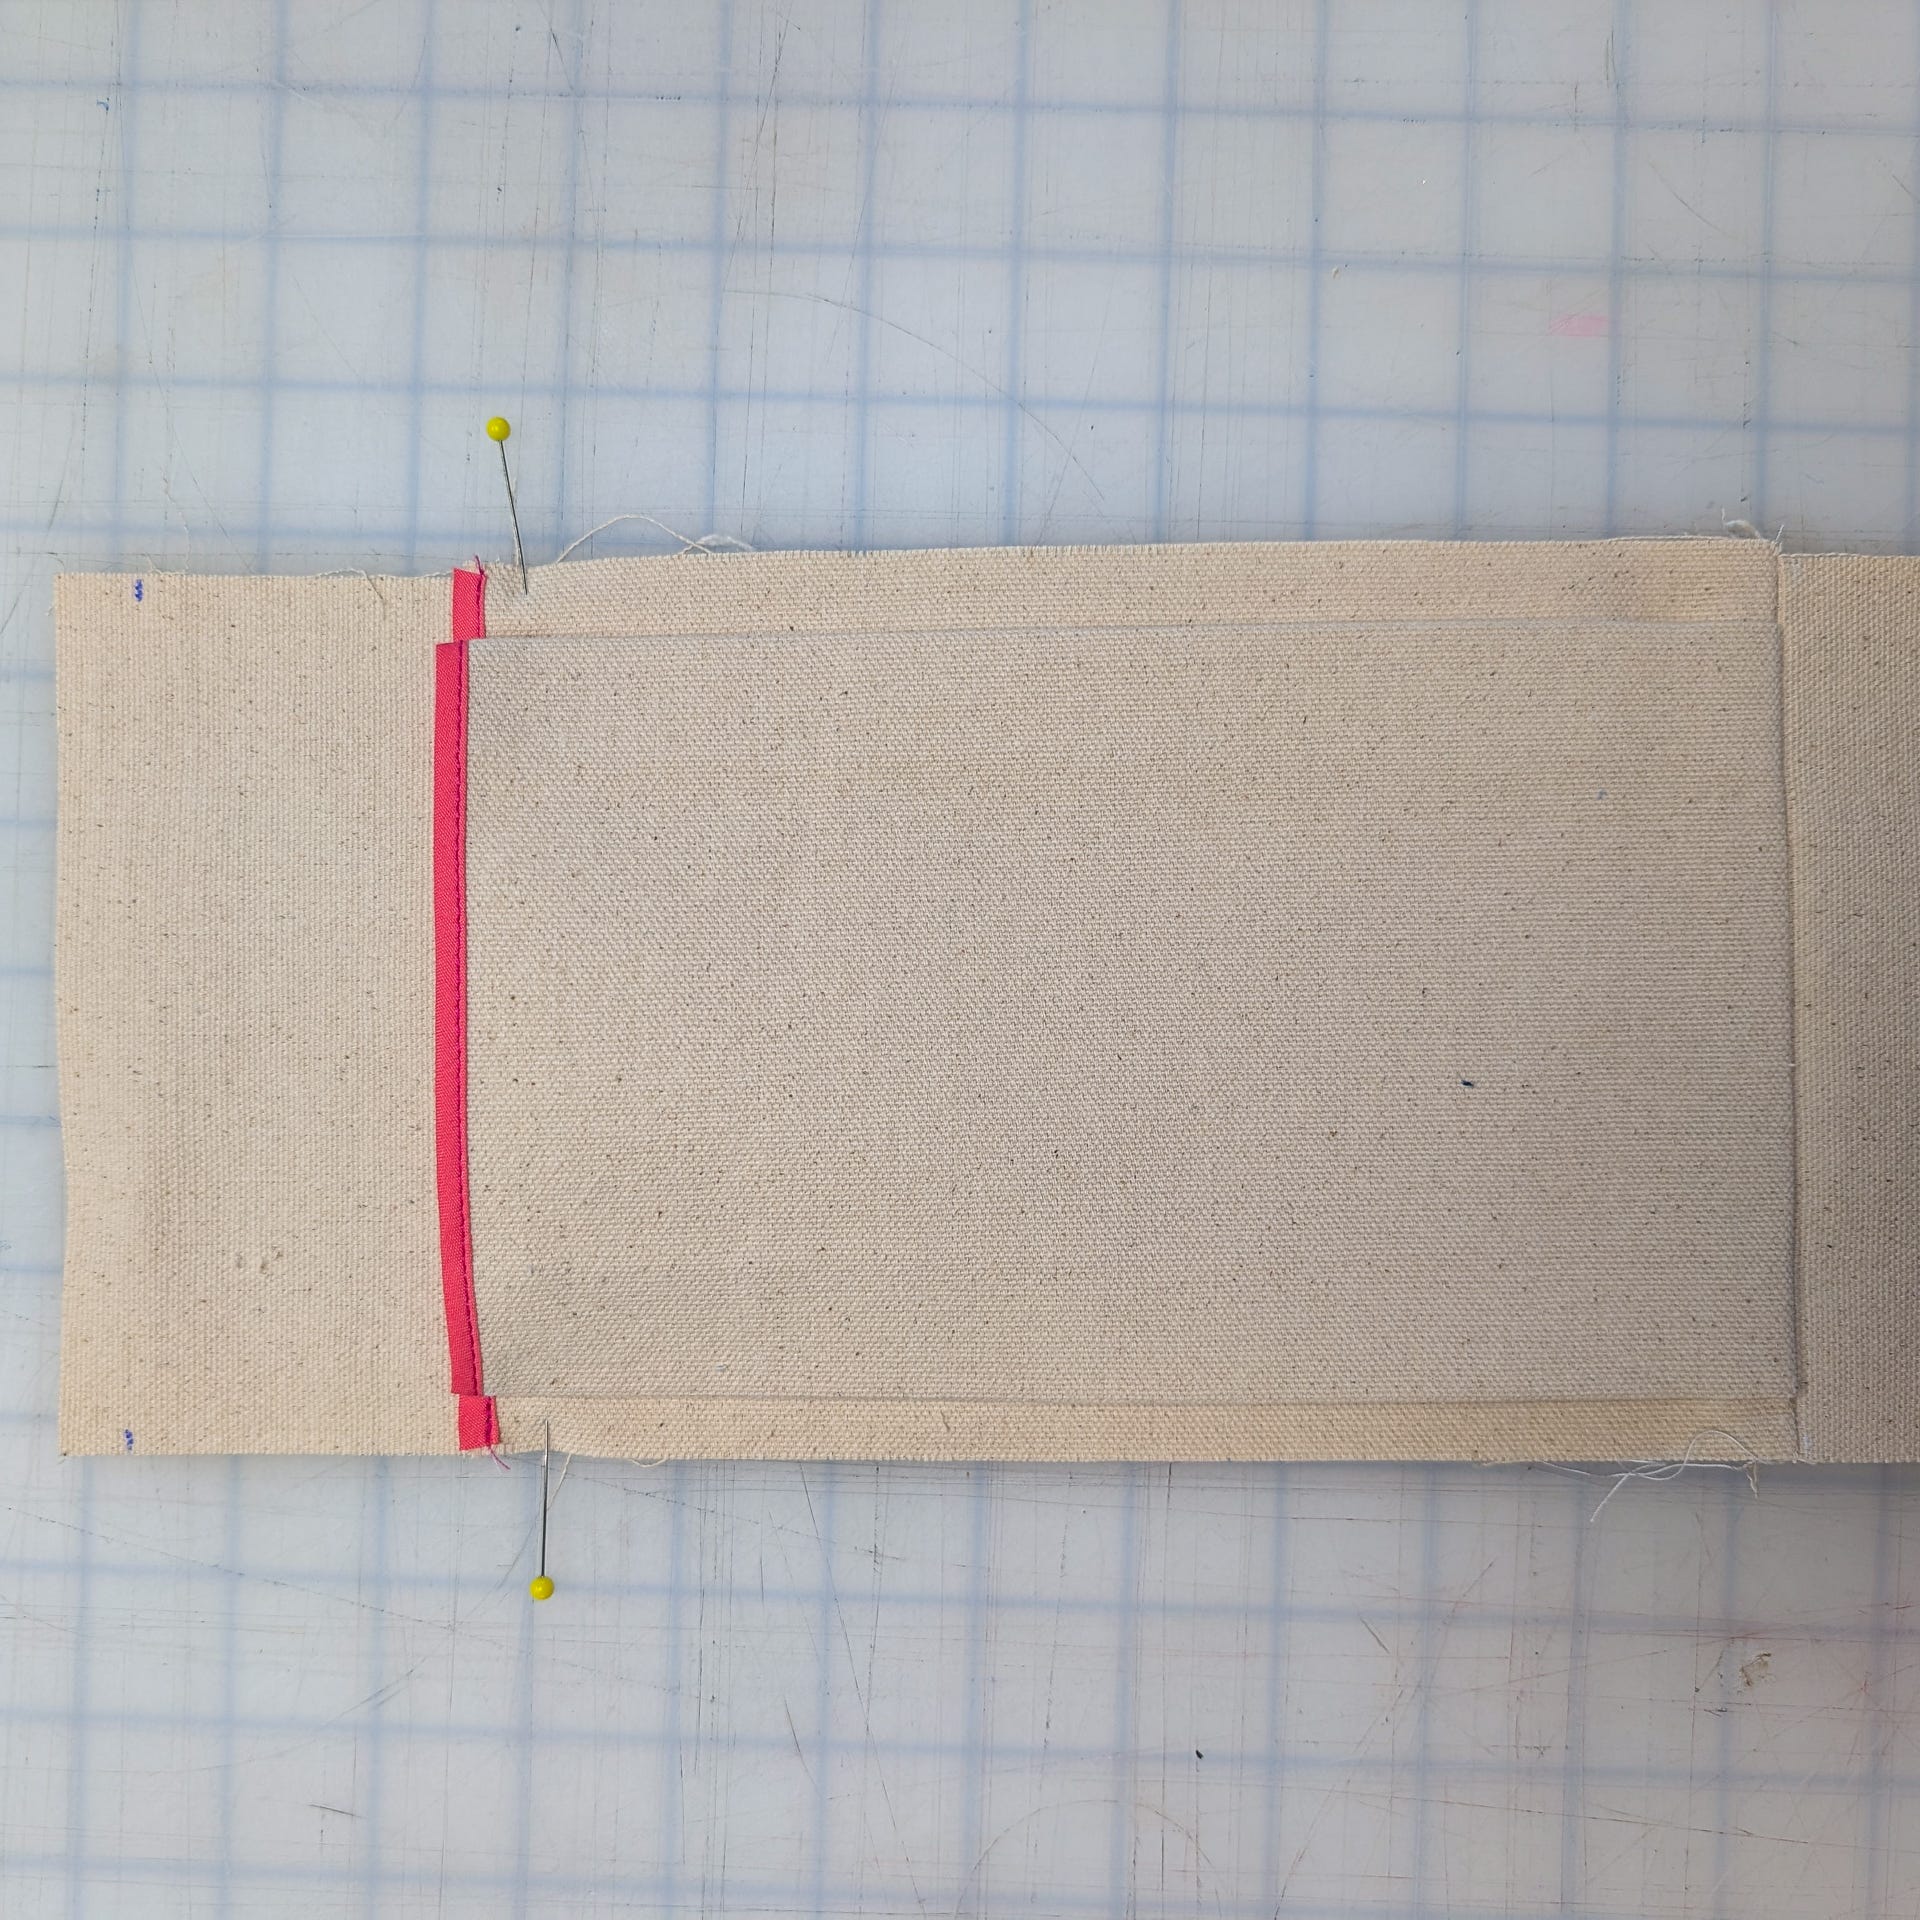
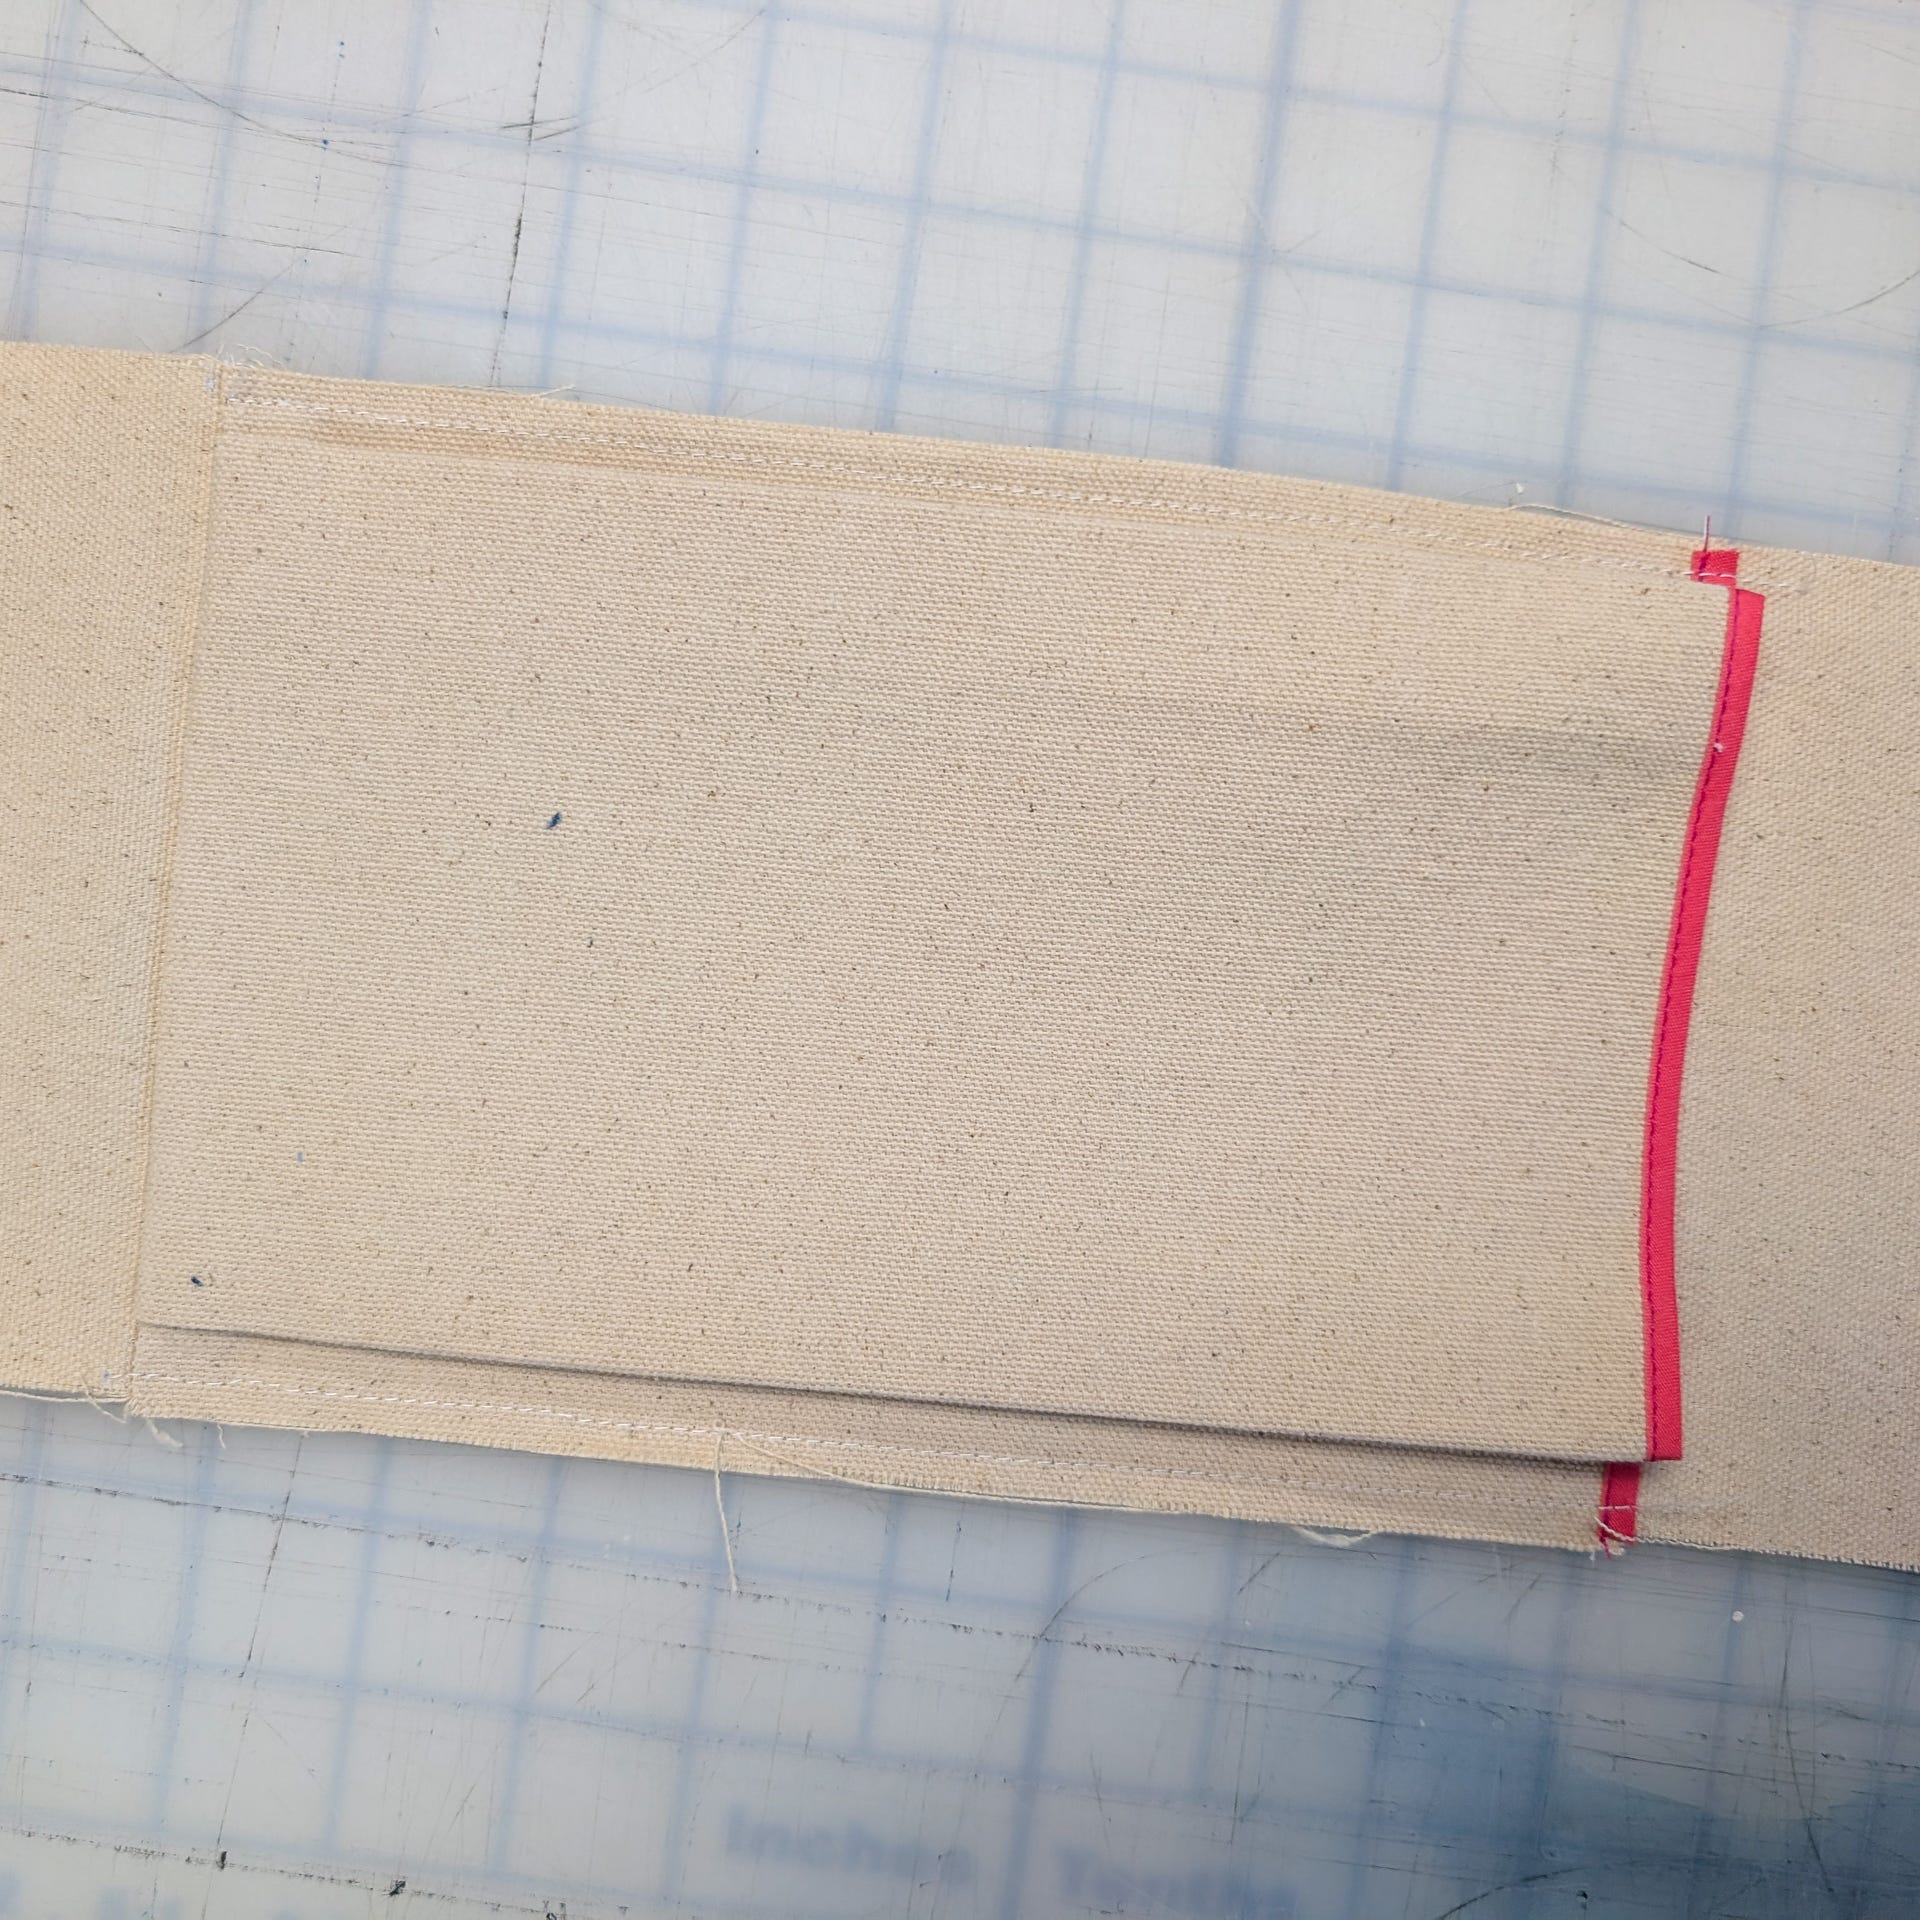
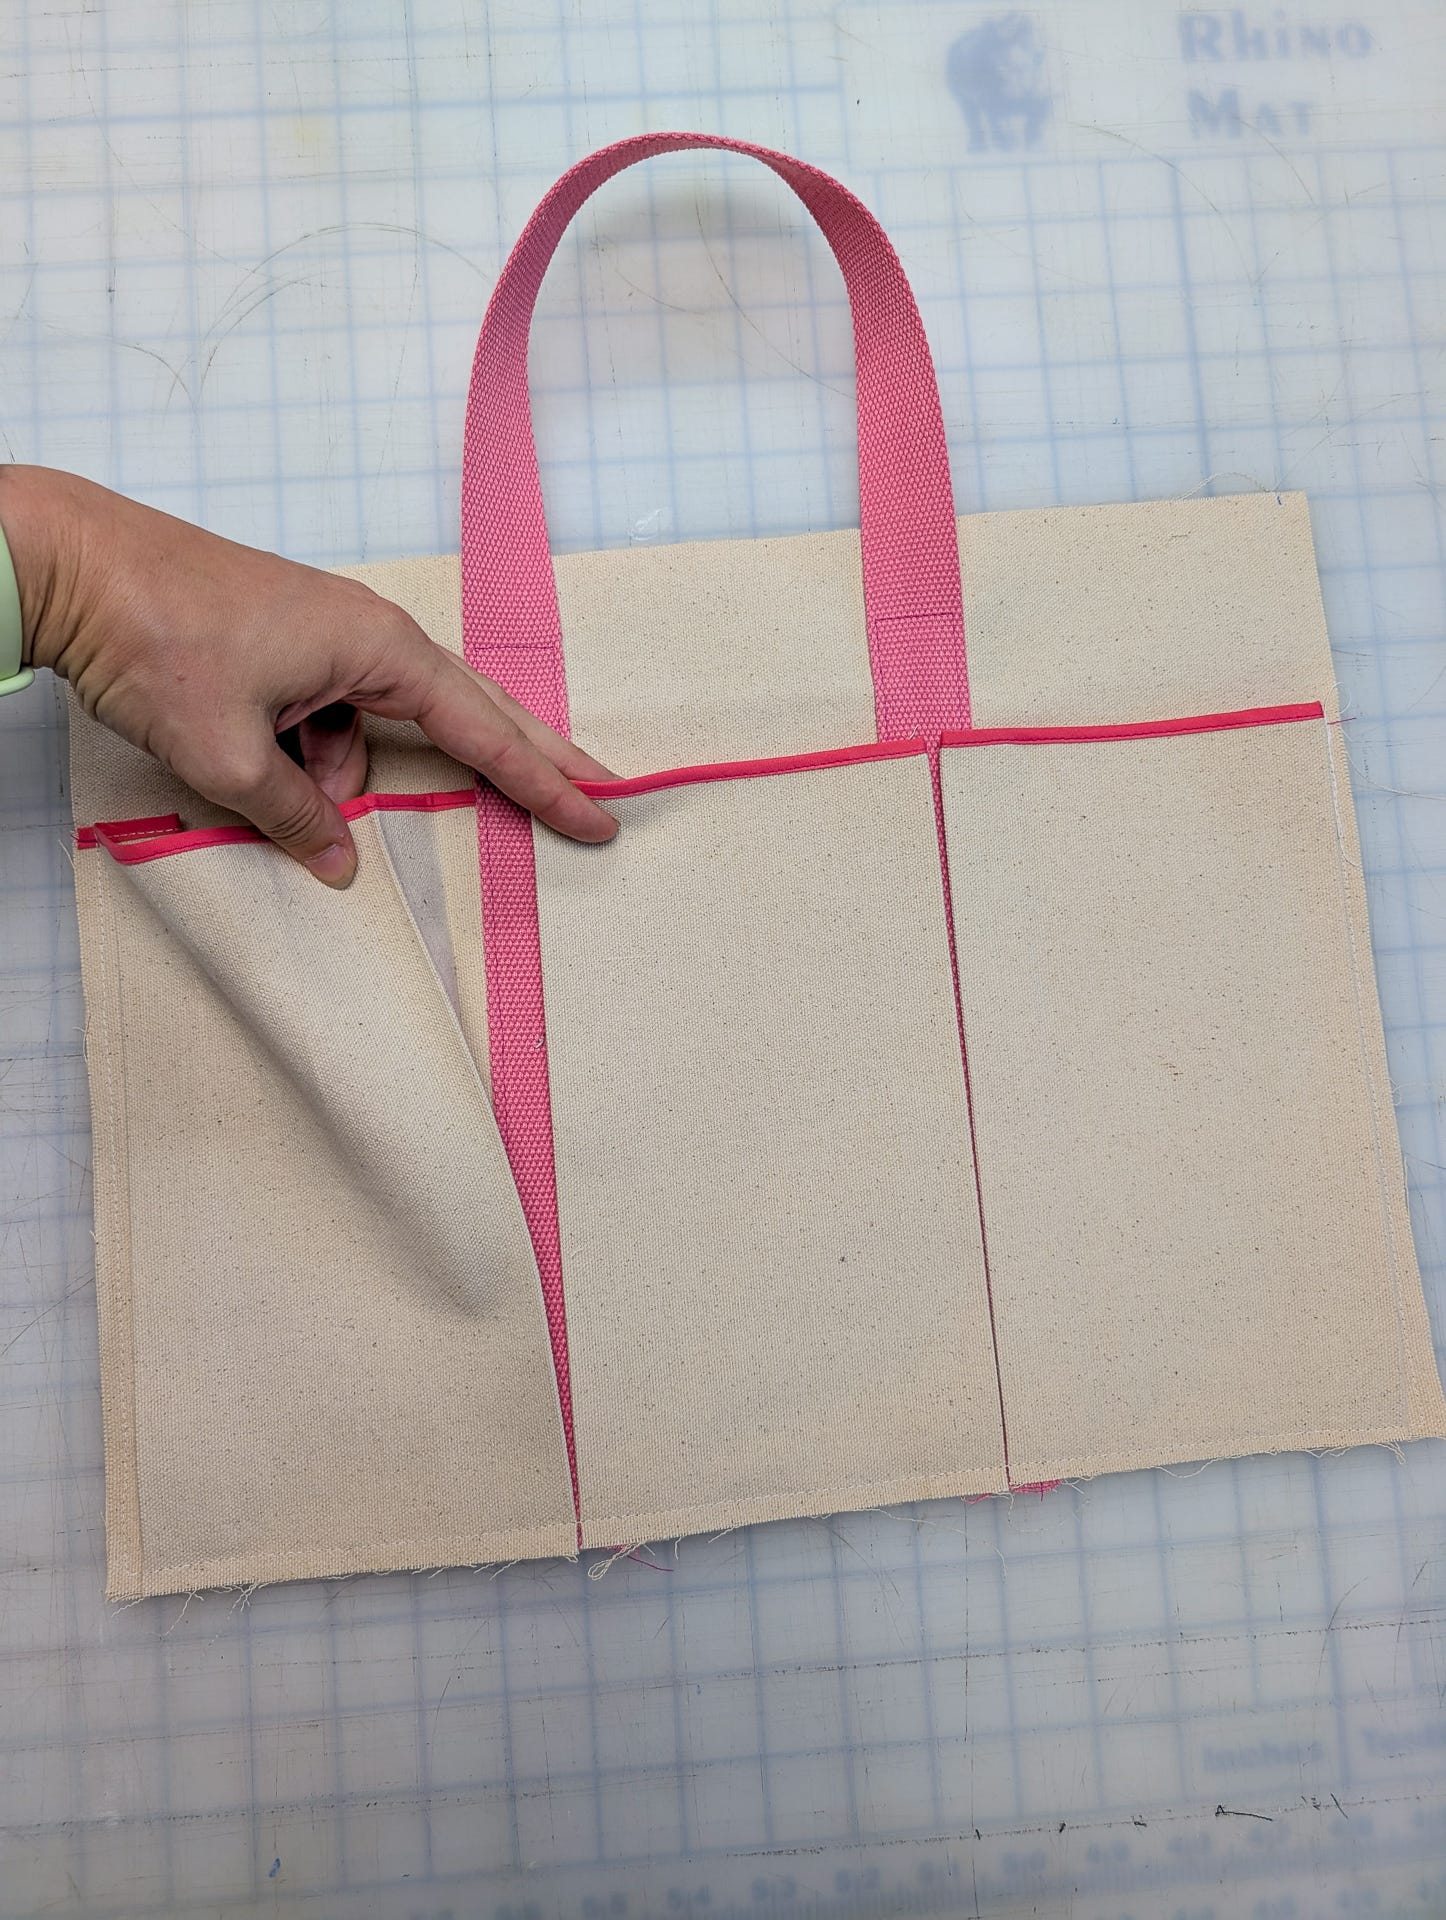
Pin the front & Back pleated pockets to the front & back panels. Don’t stitch down yet.
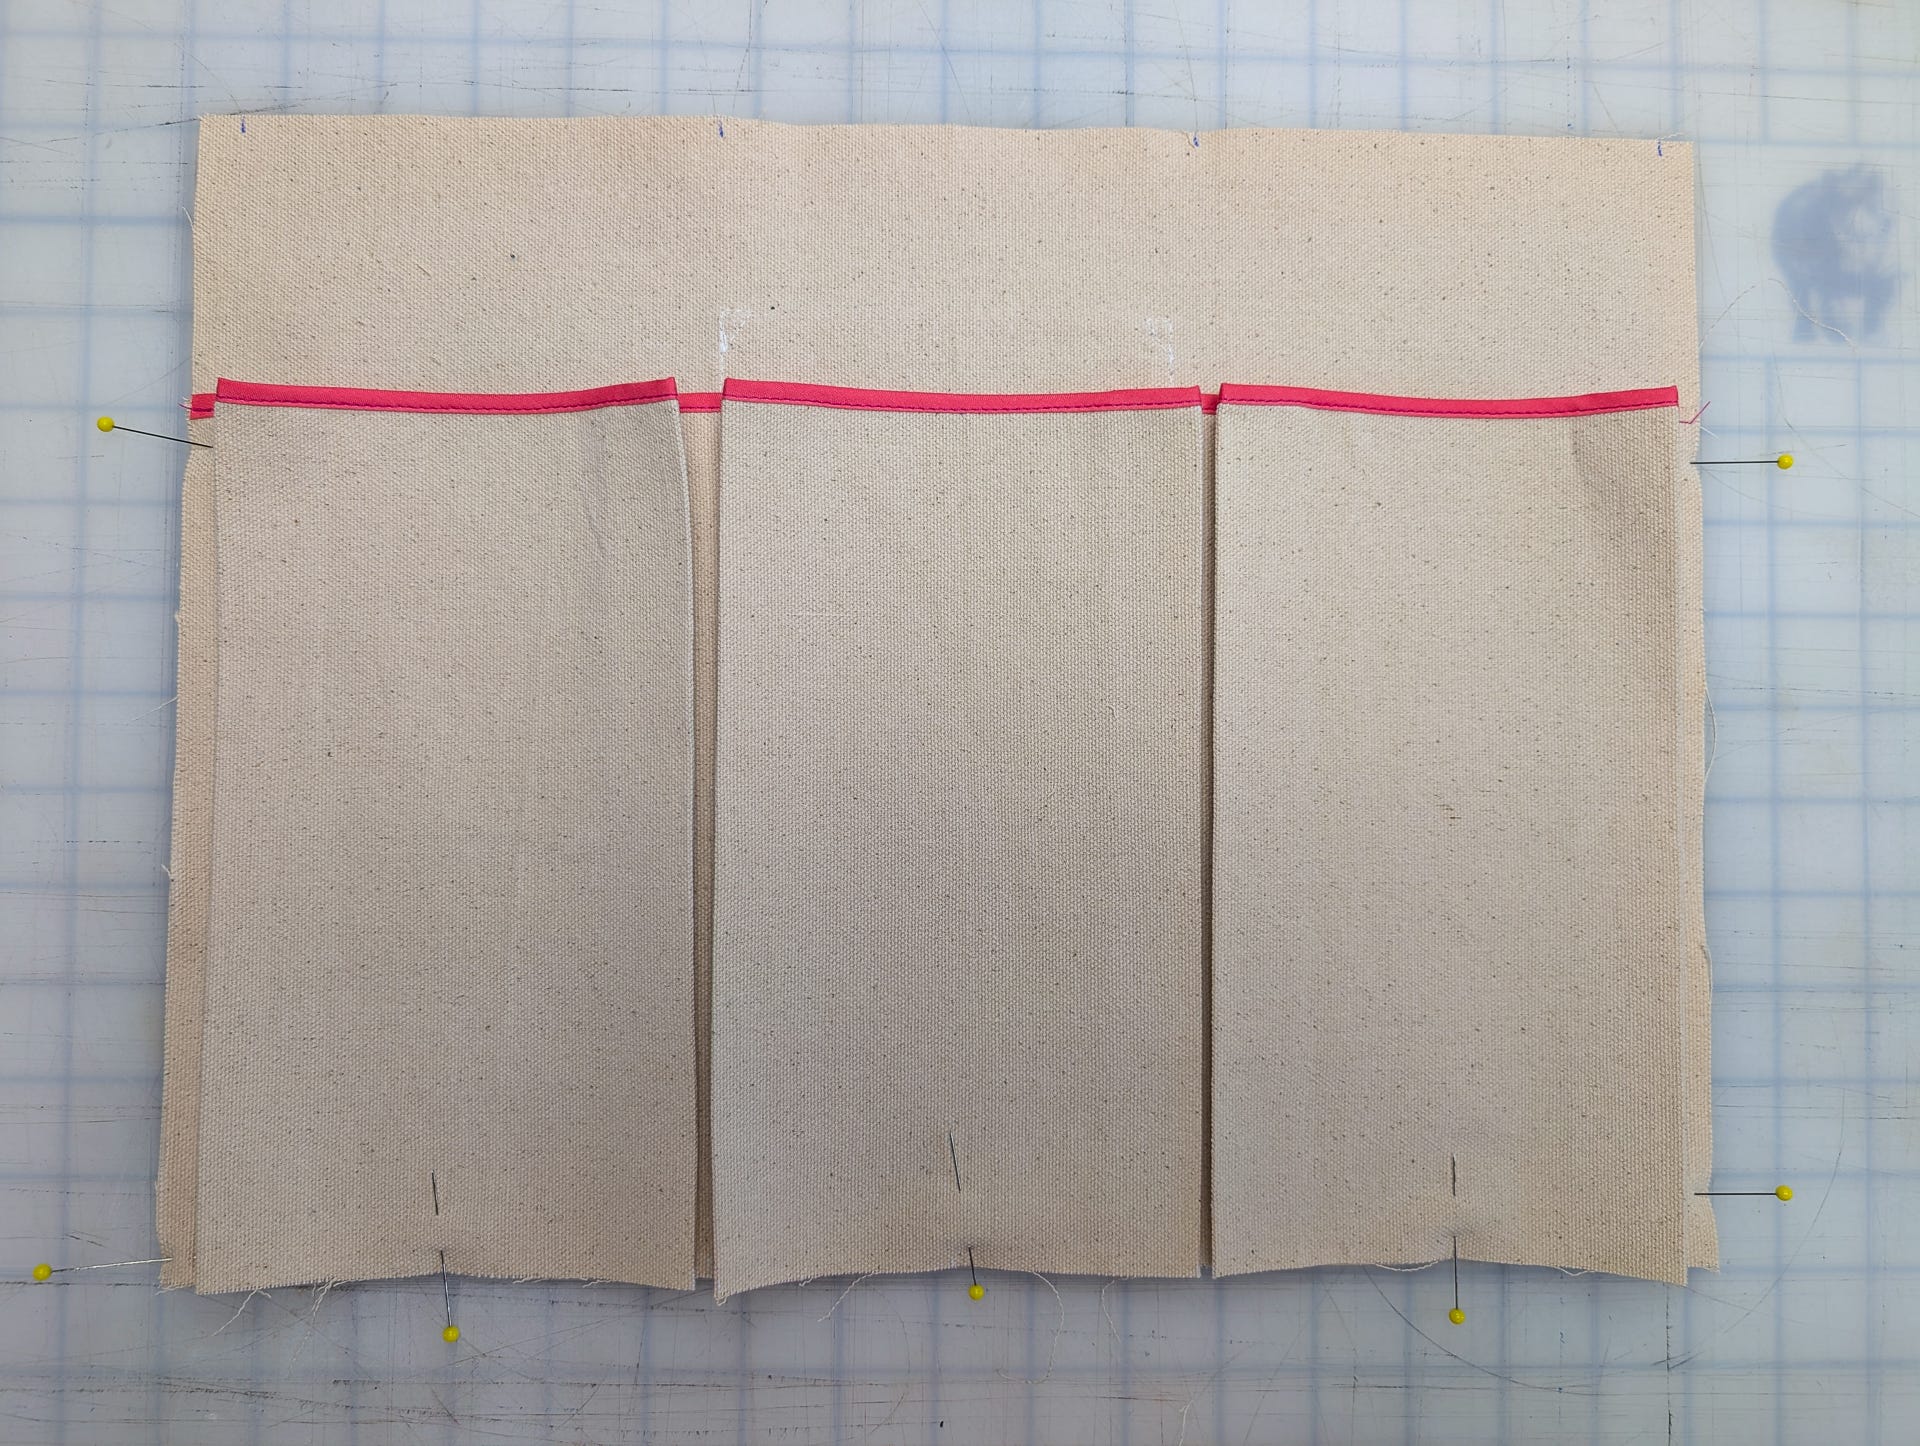
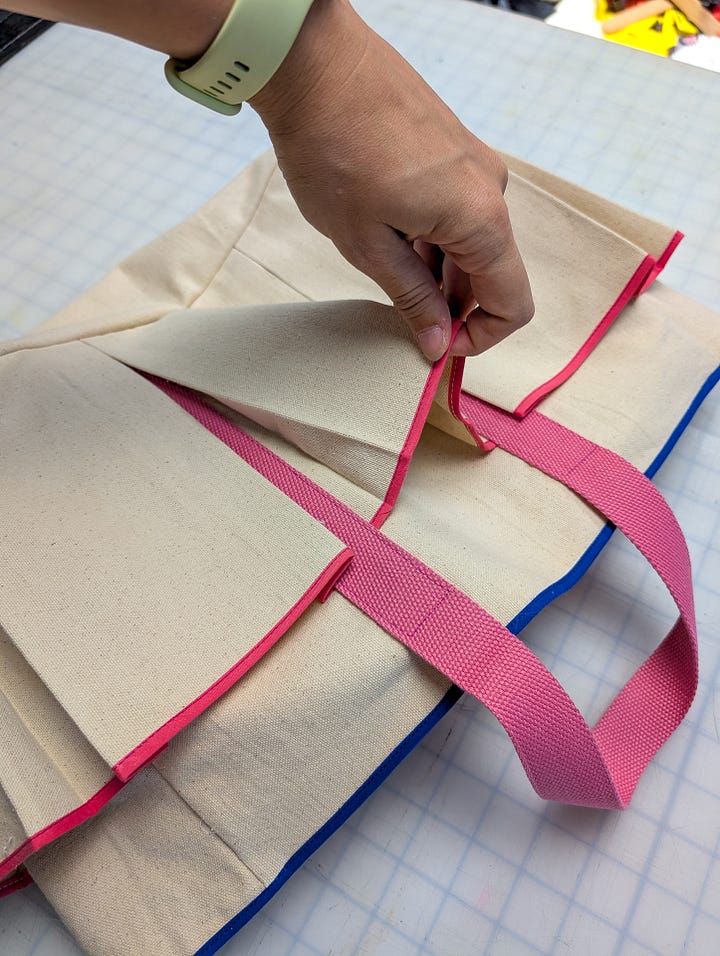
Use this as a guide for placing your straps! Sandwich your straps in between the folds and line them up in the center of each pleat. Pin in place.
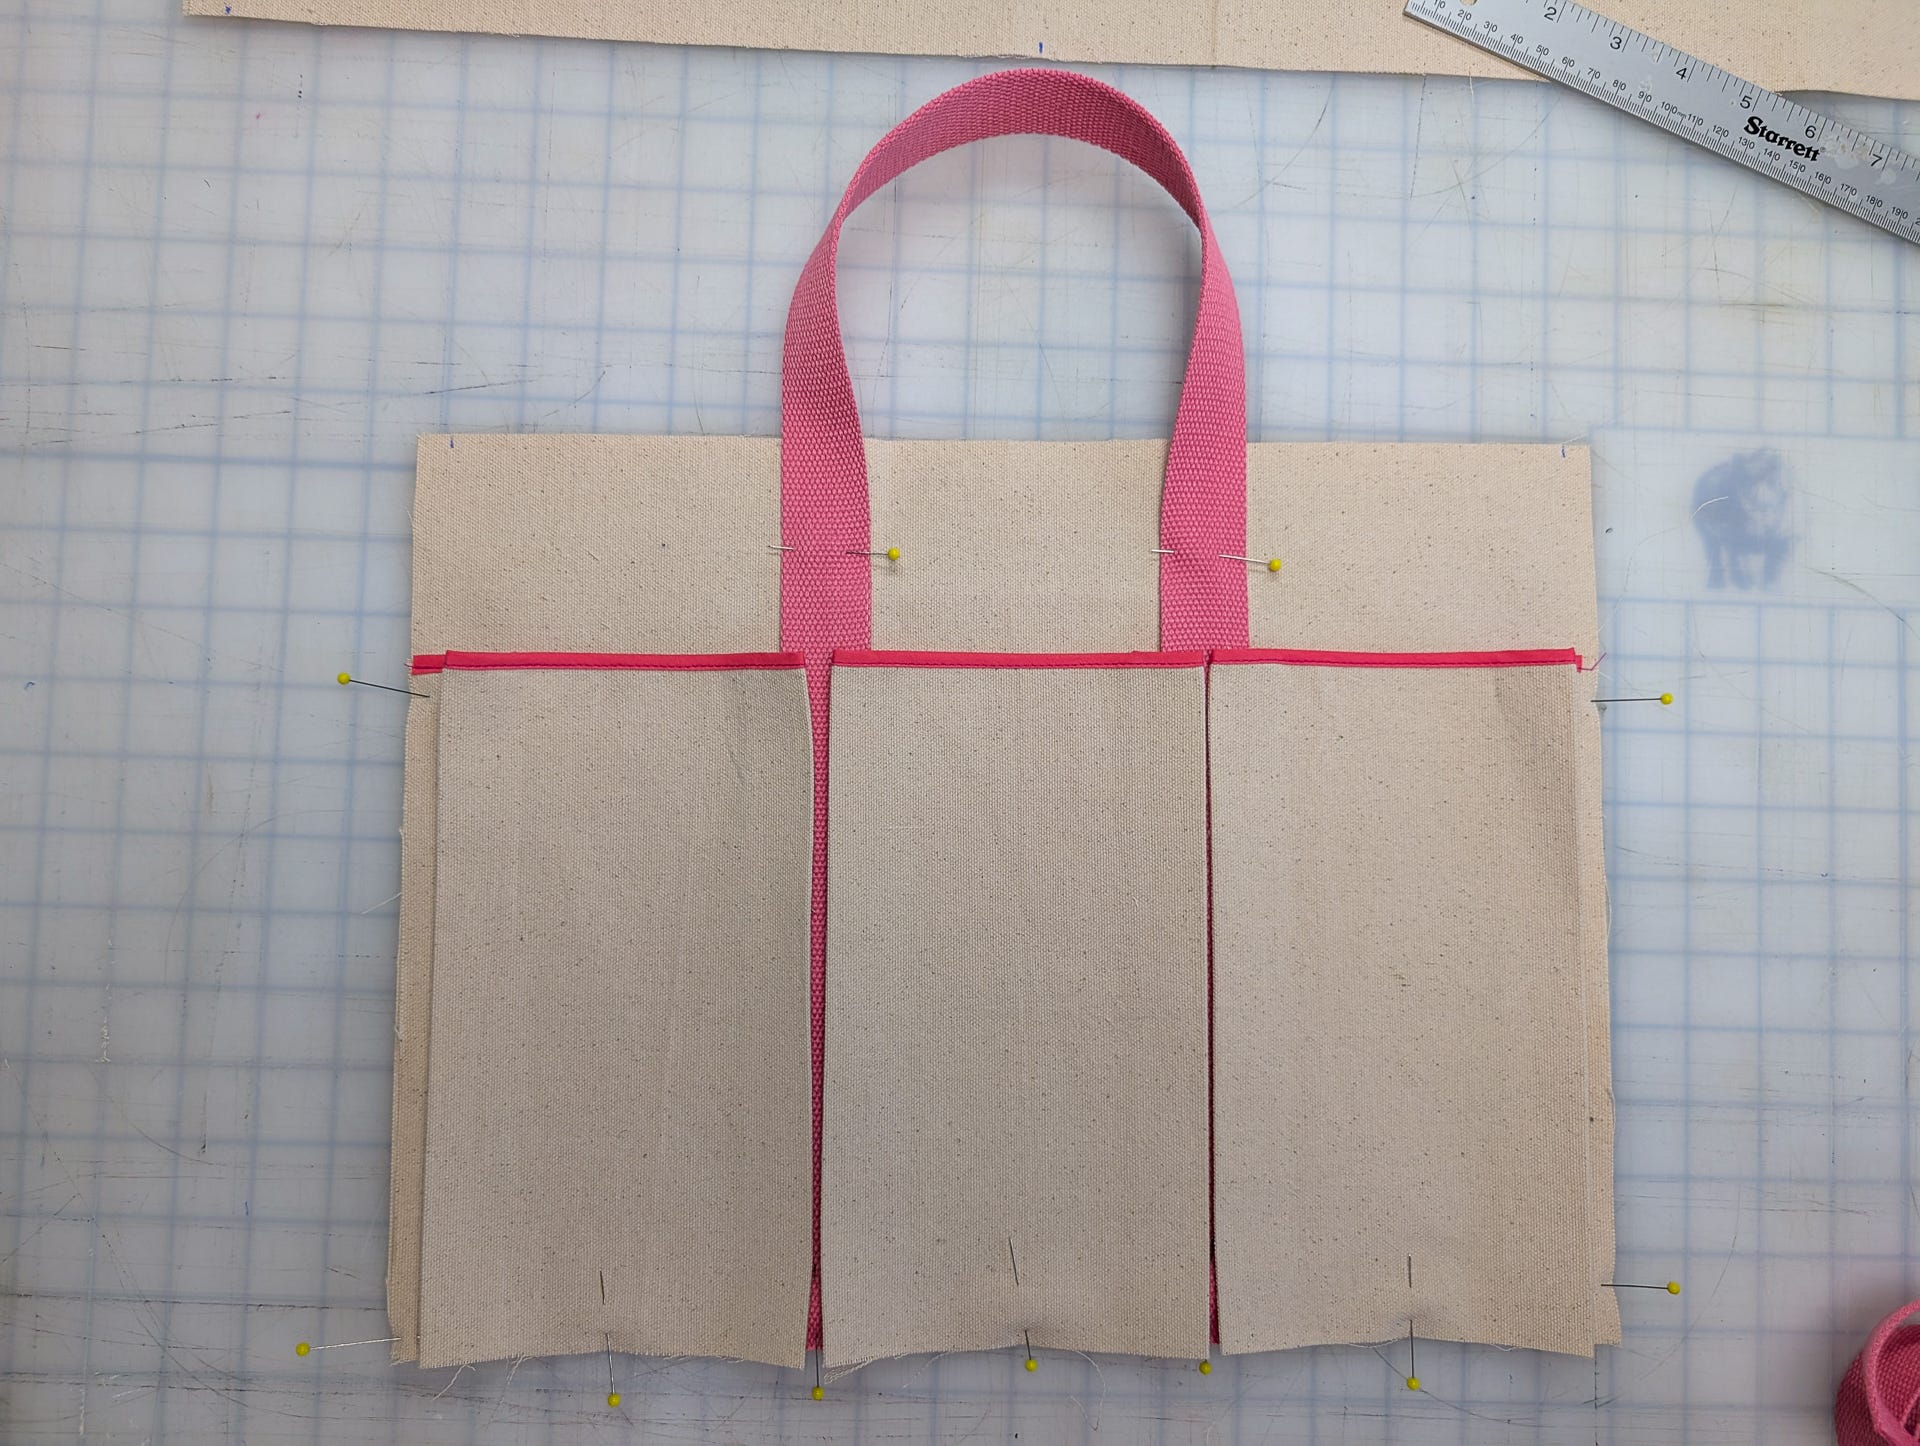
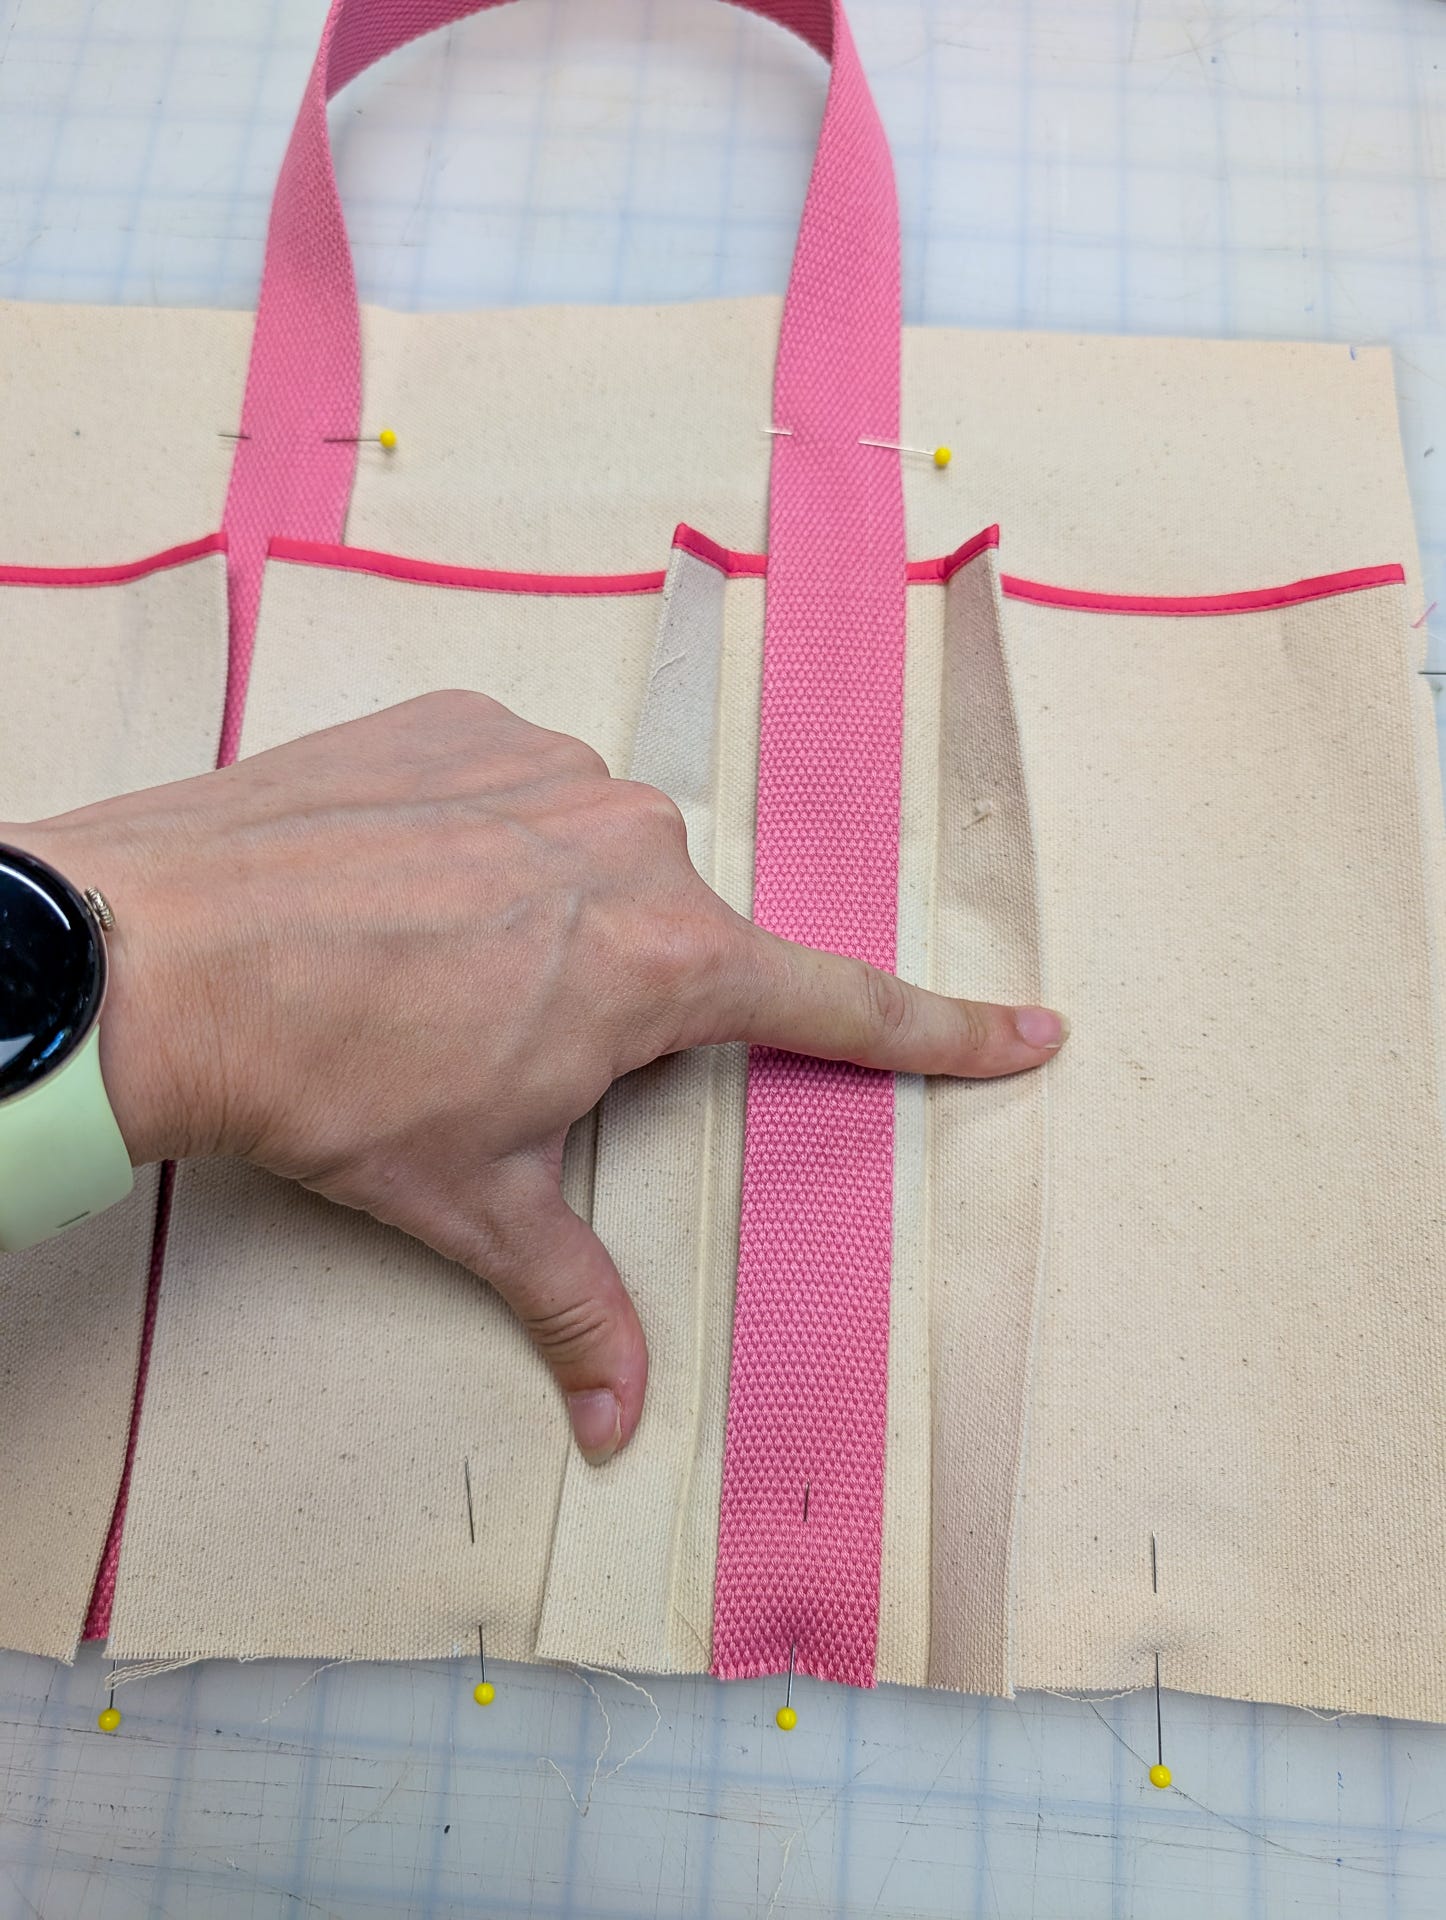
Stitch your handles down, stopping about 1” from the top. We need to leave room to finish the top opening later.
Once the handles are sewn, baste the pockets down around the three edges.
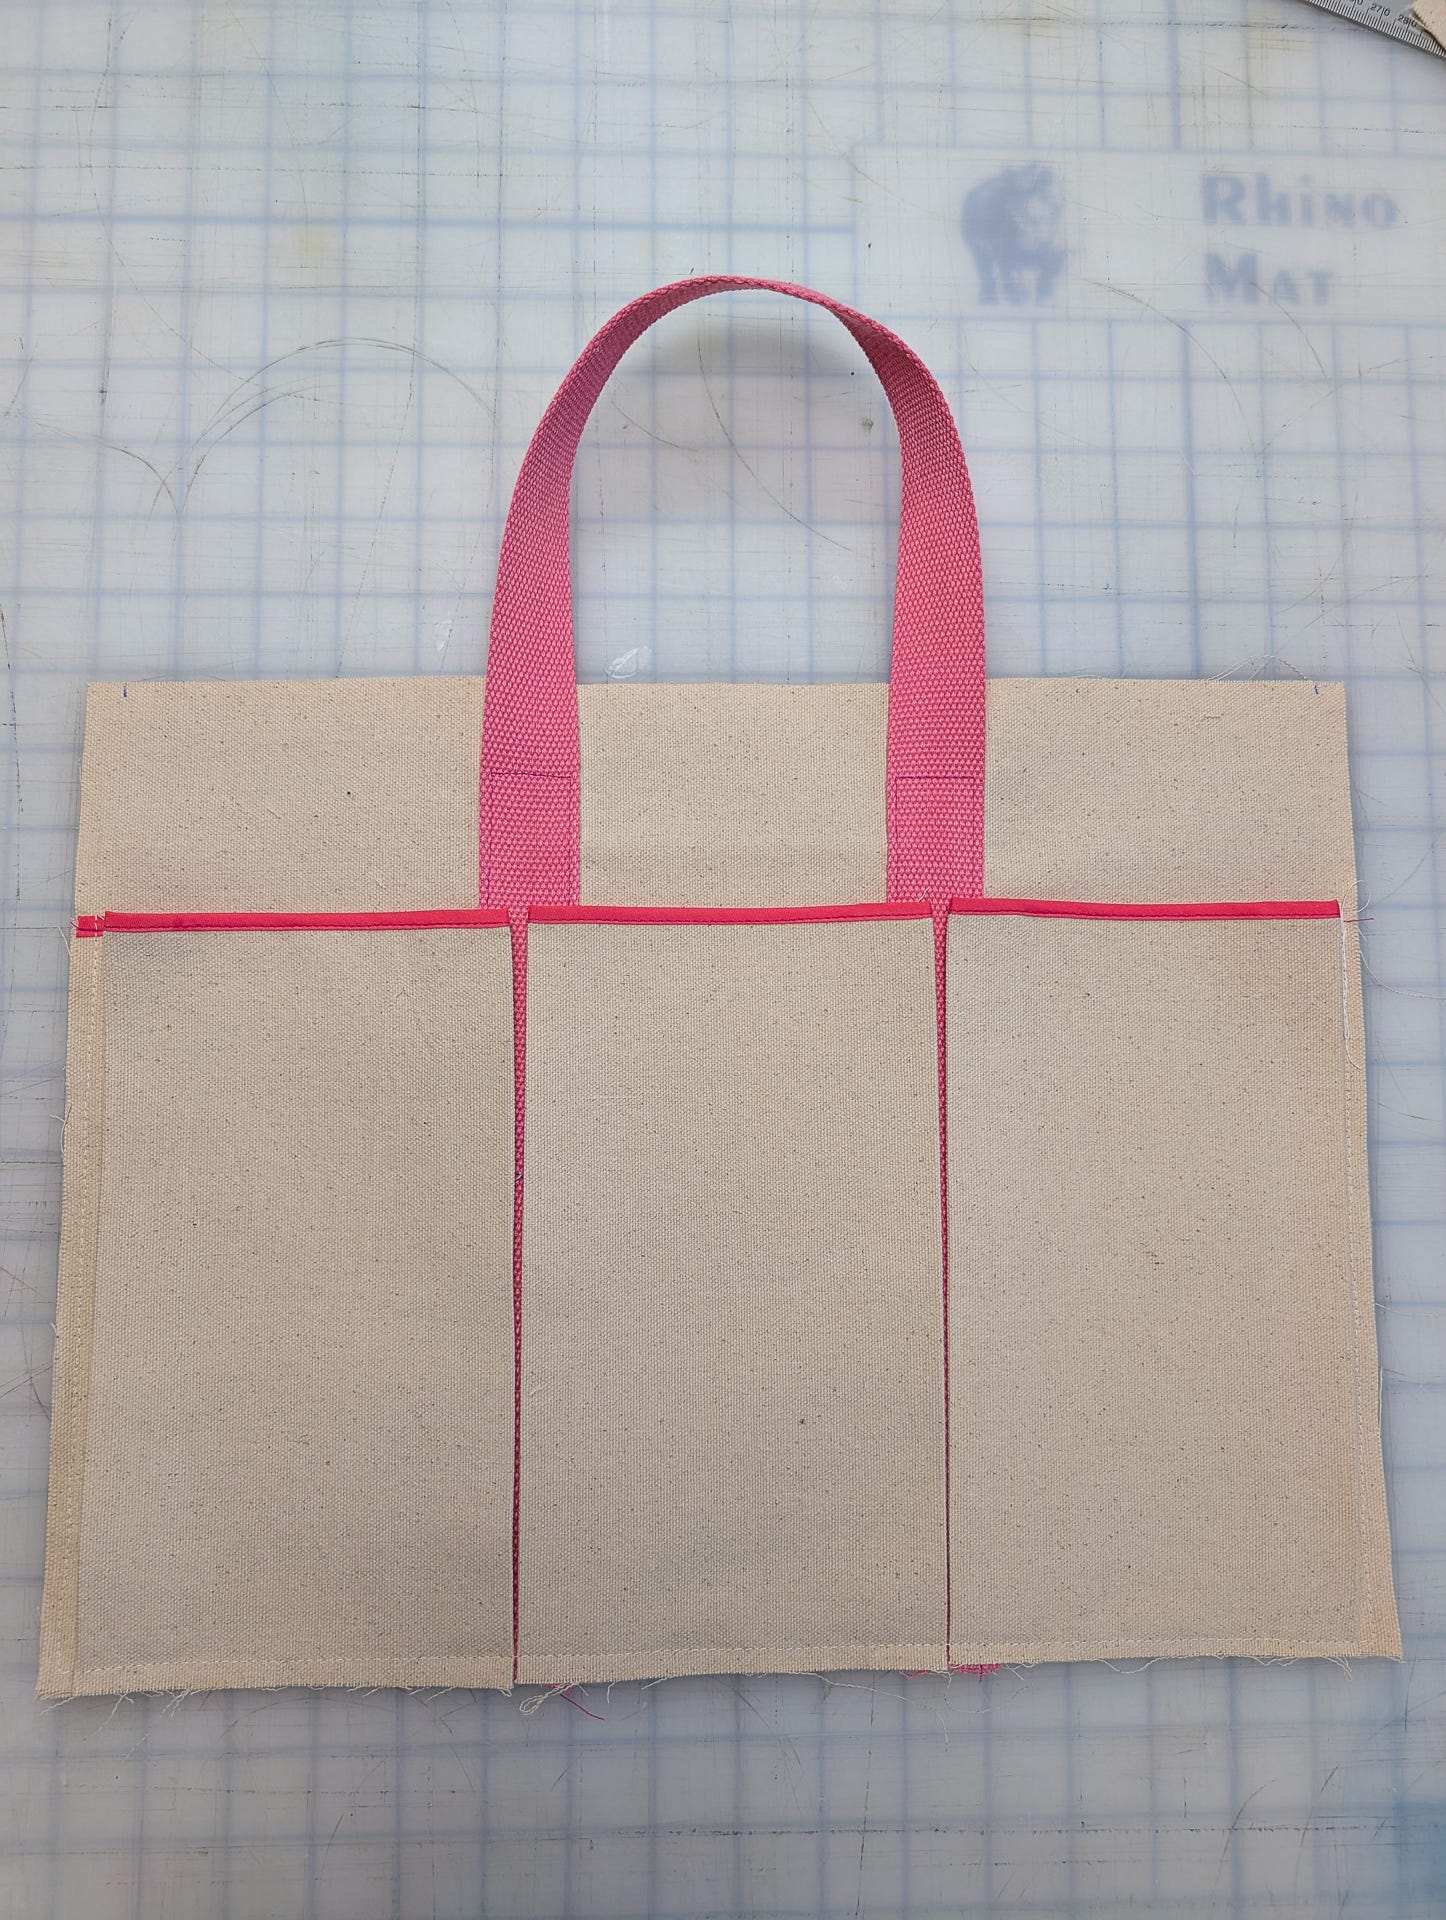
Pin in place and sew the front and back to the bottom/side panel.
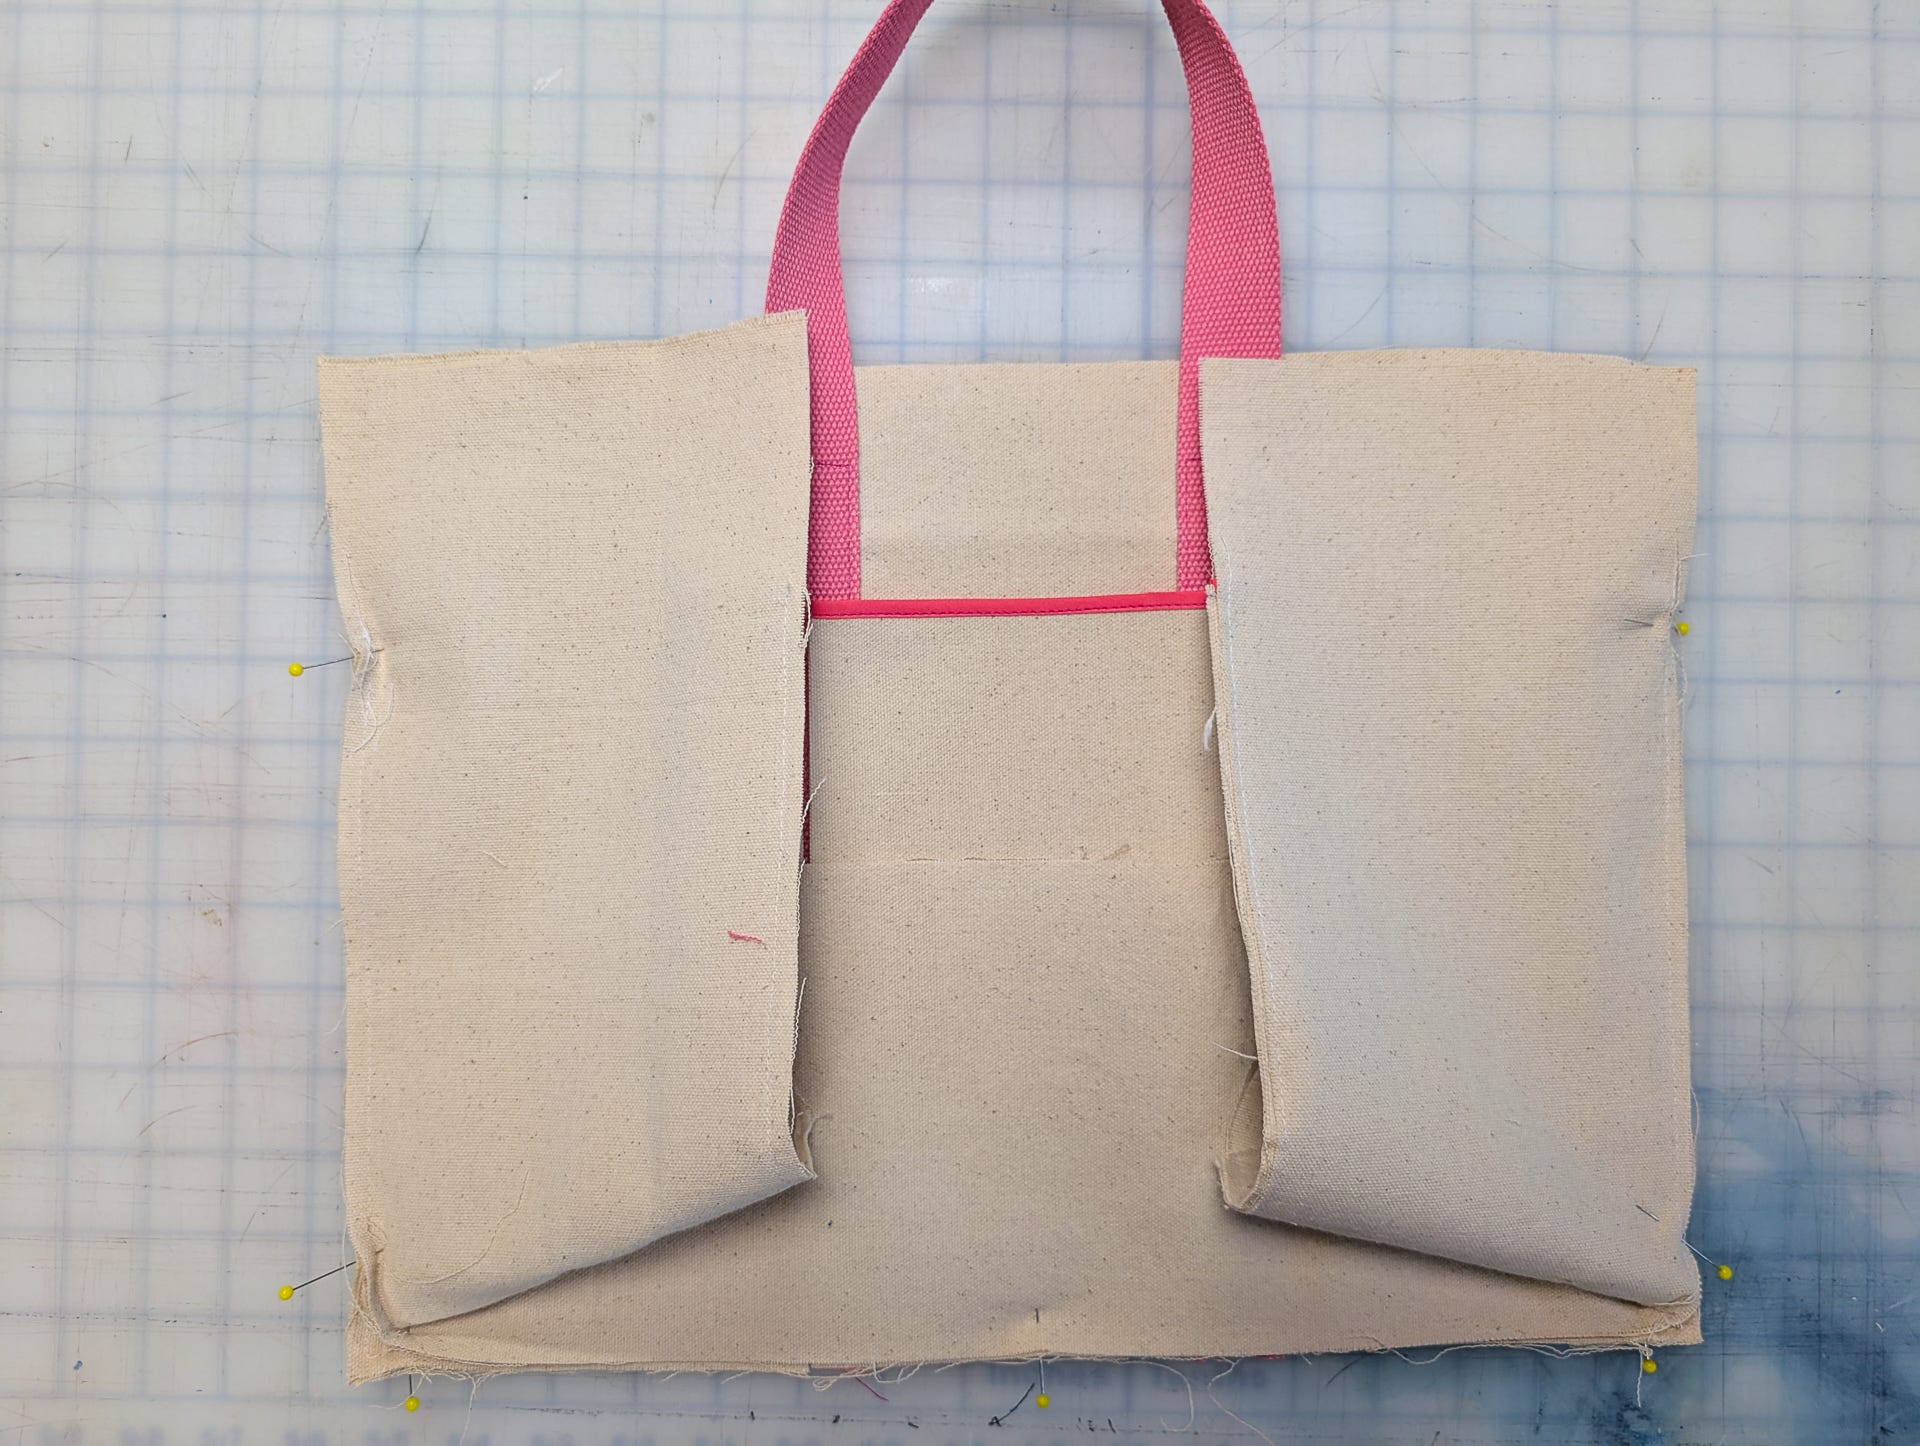
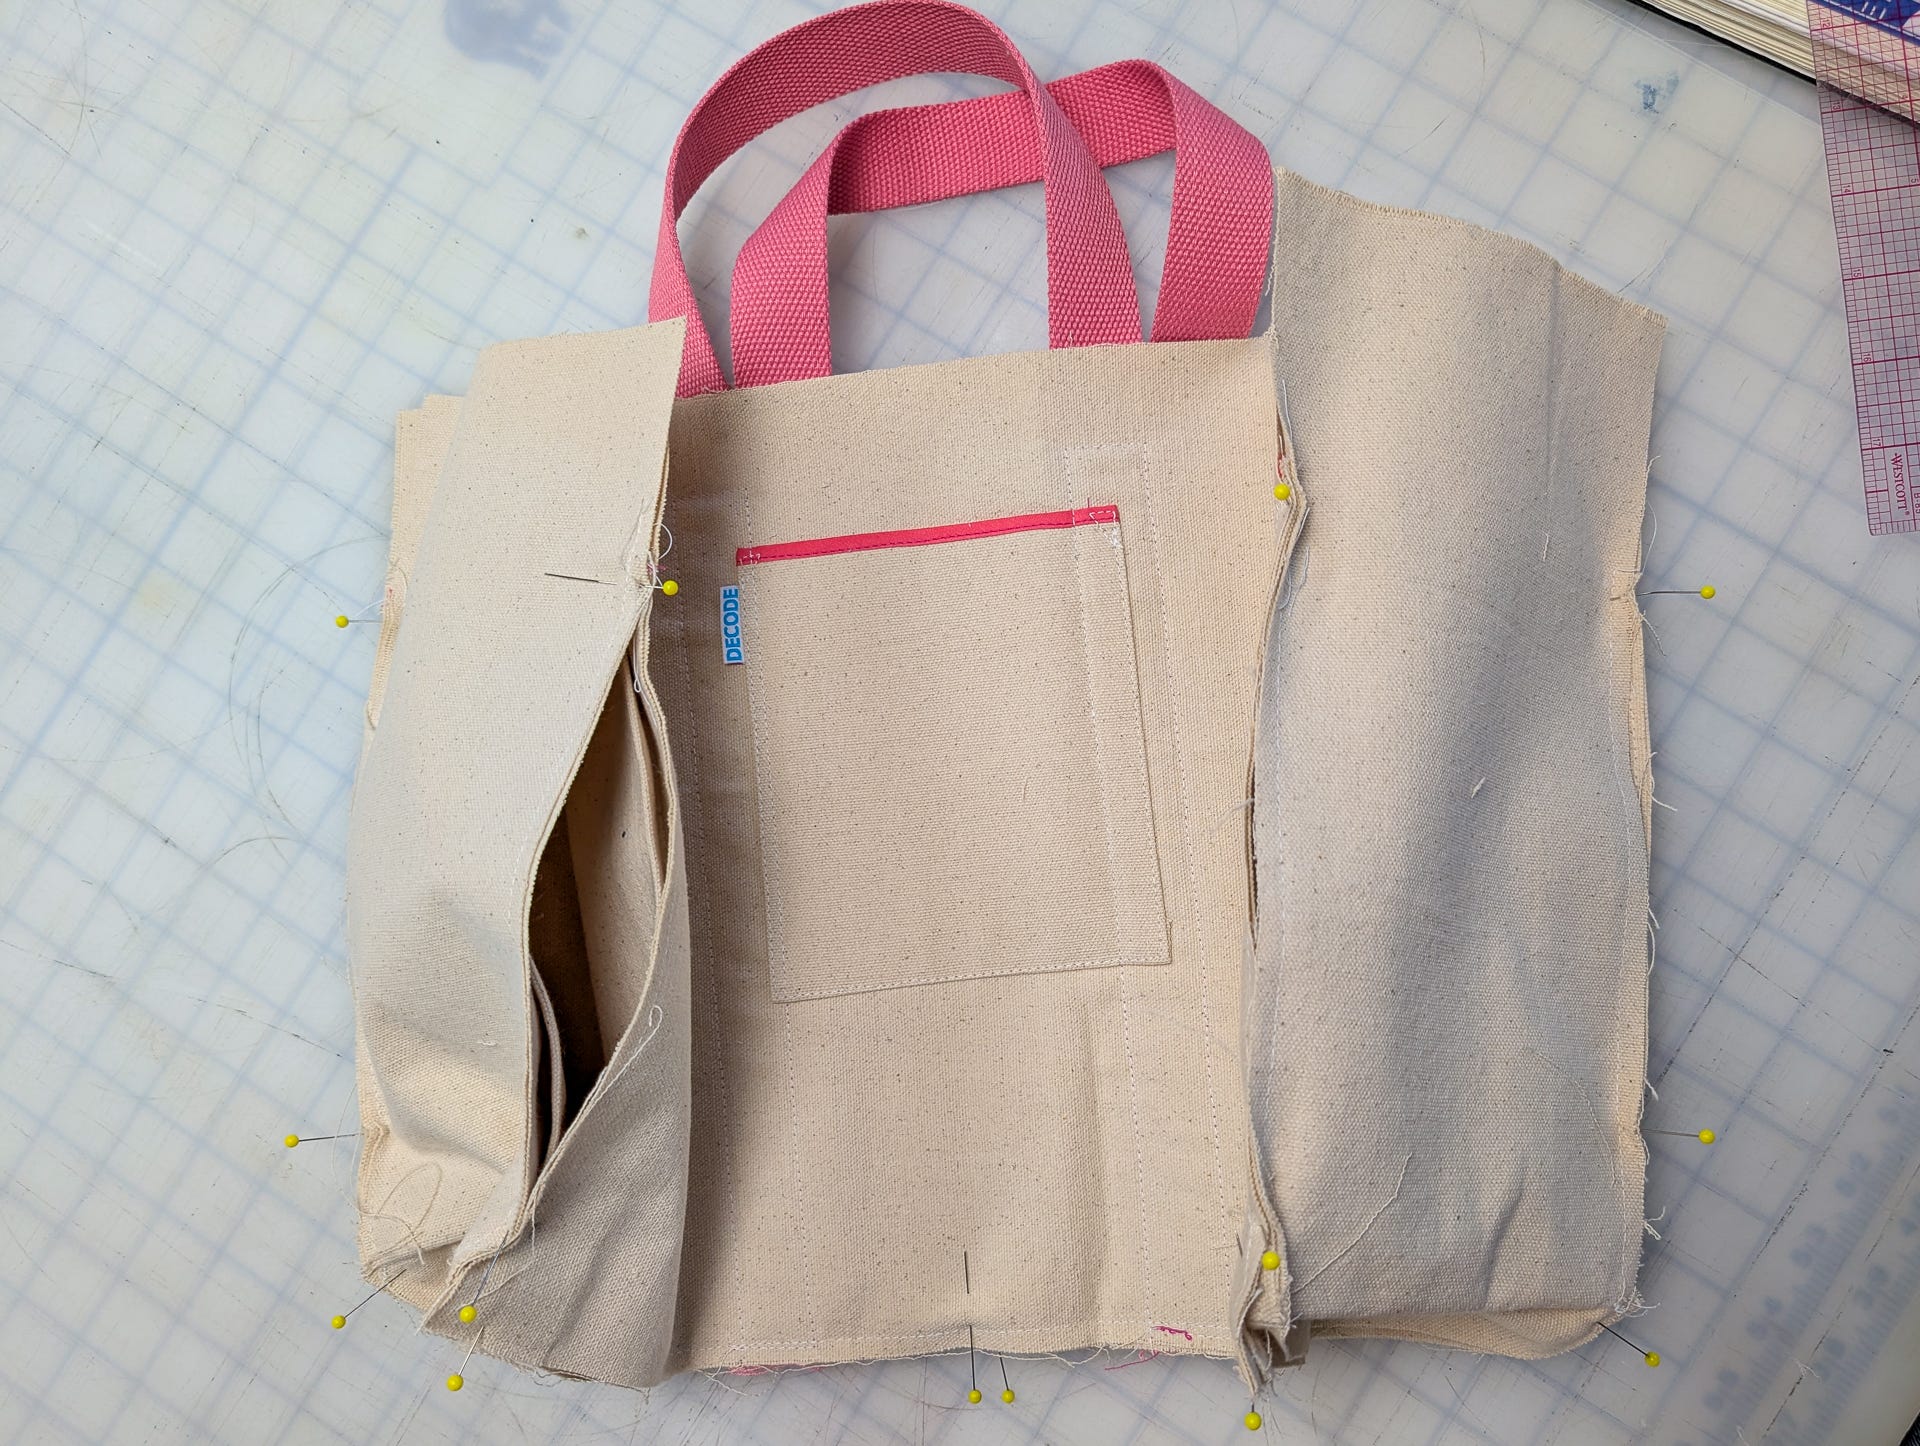
I chose to bias tape the inside edges of my tote rather than serge for a clean finish.
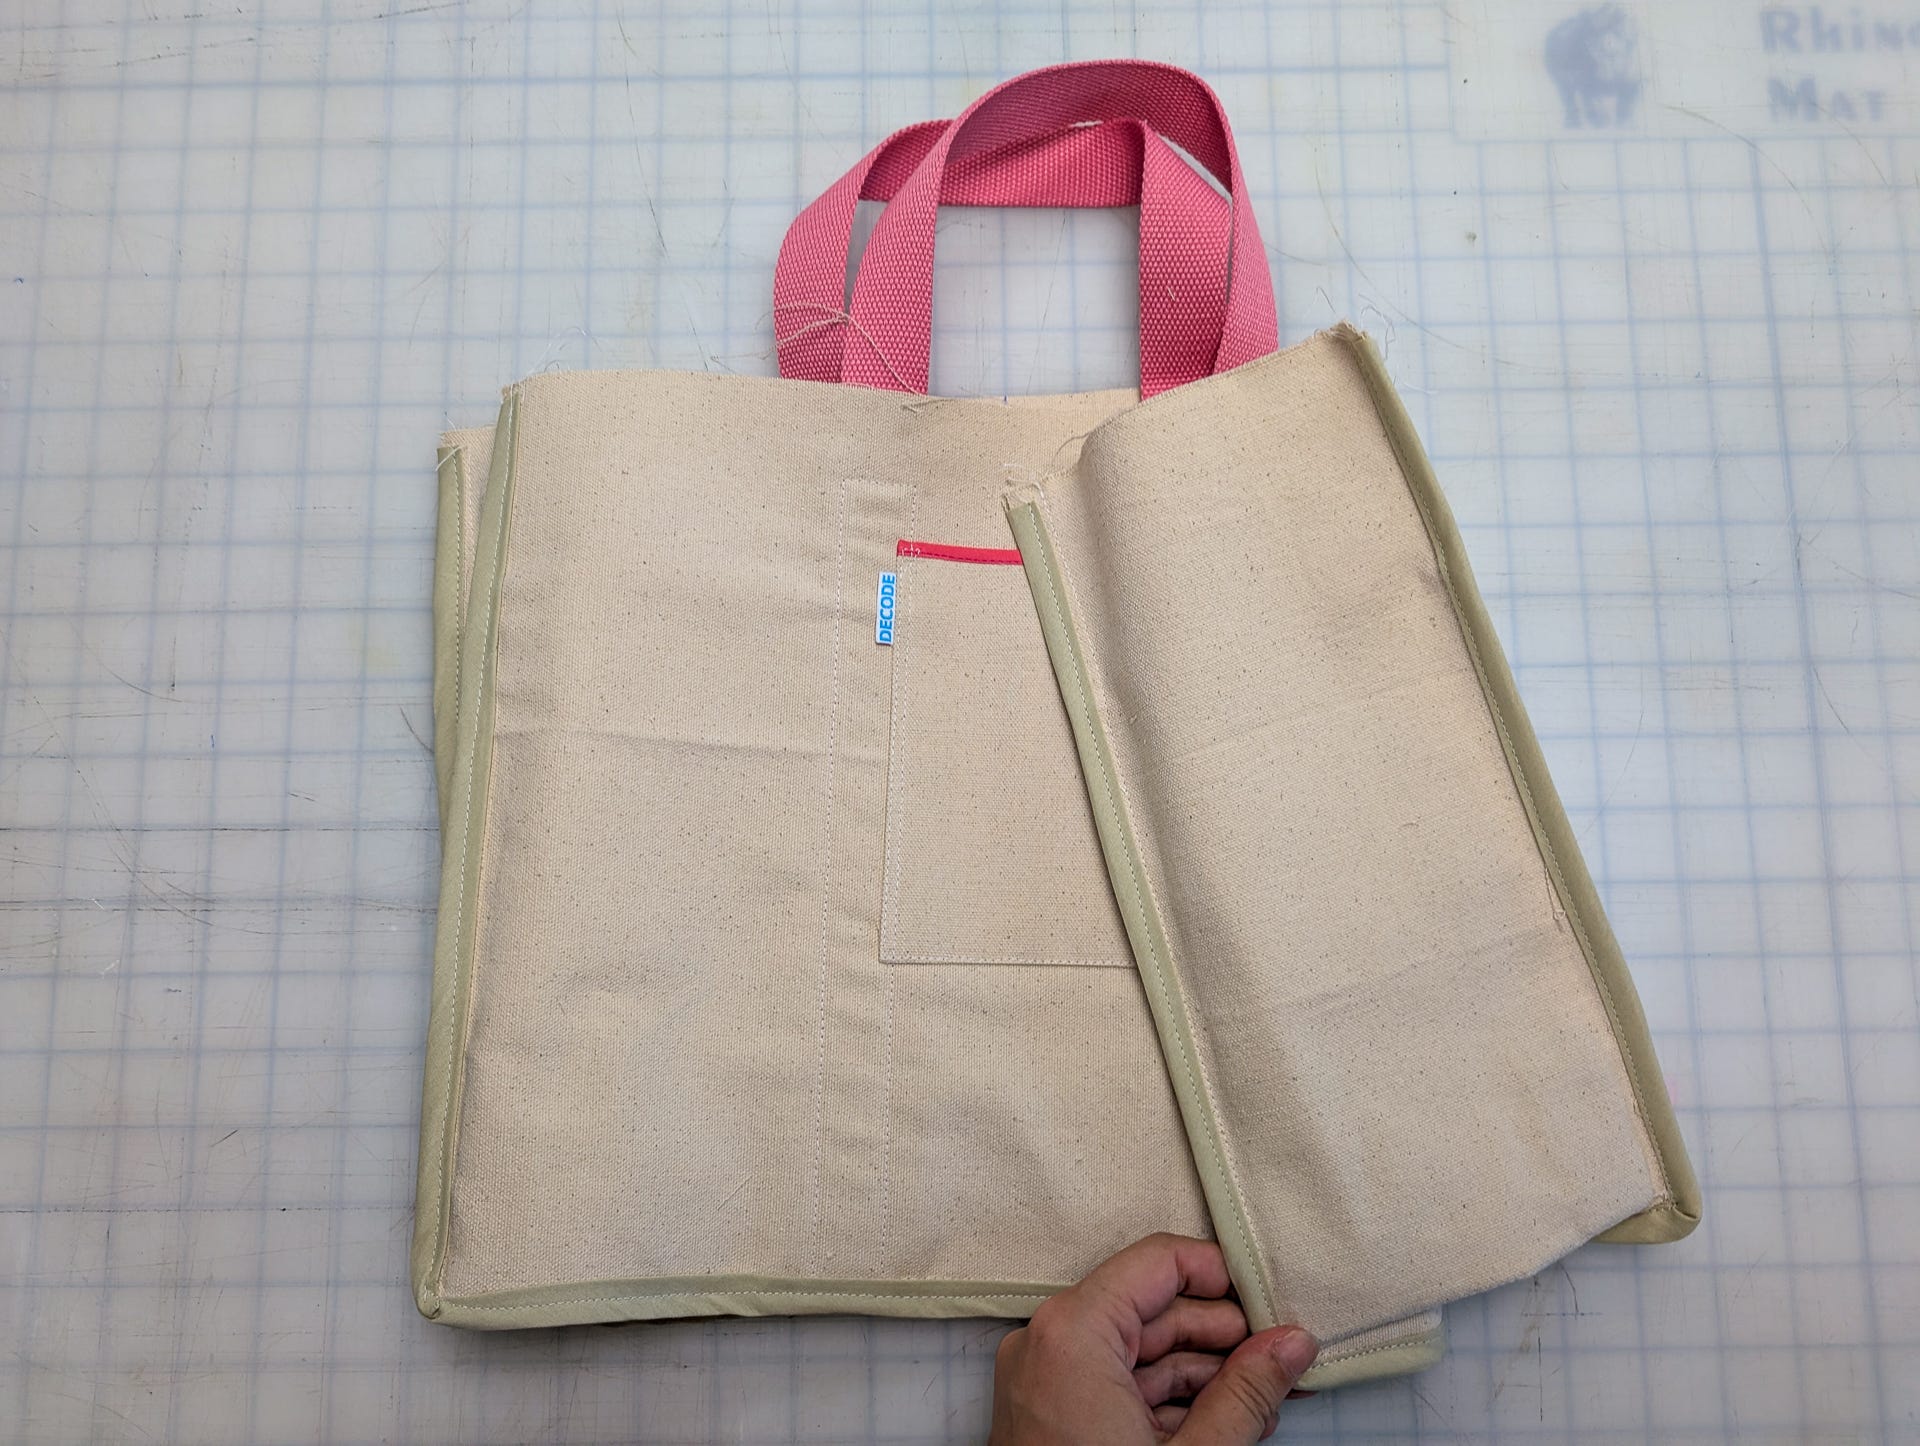
Finish the top of your tote with a bias strip along the edge.
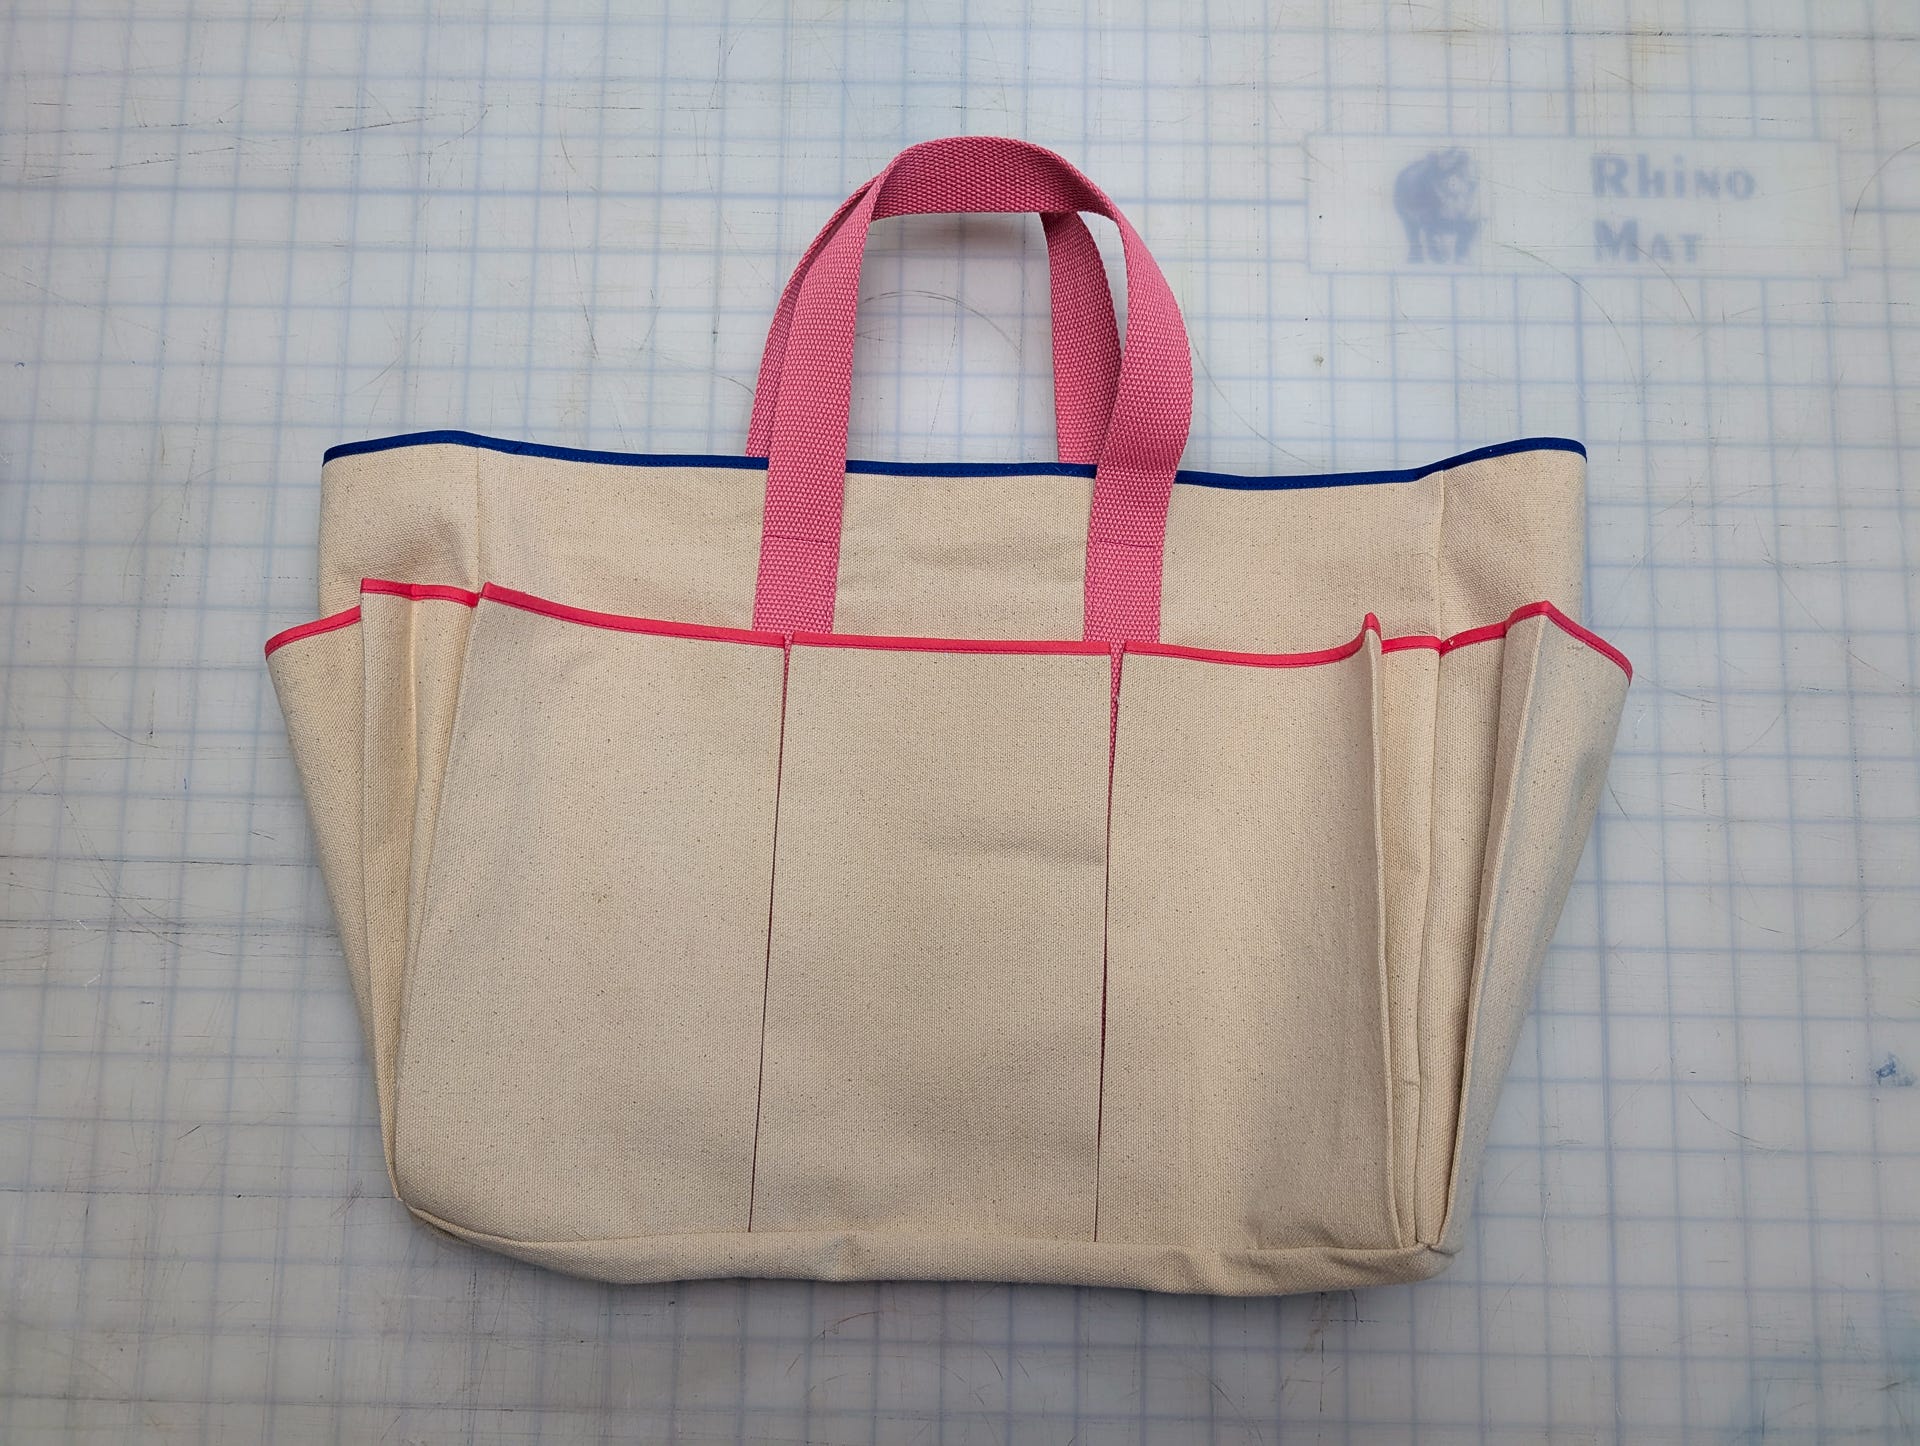
And voila! Enjoy your garden tote while you work on perfecting your garden
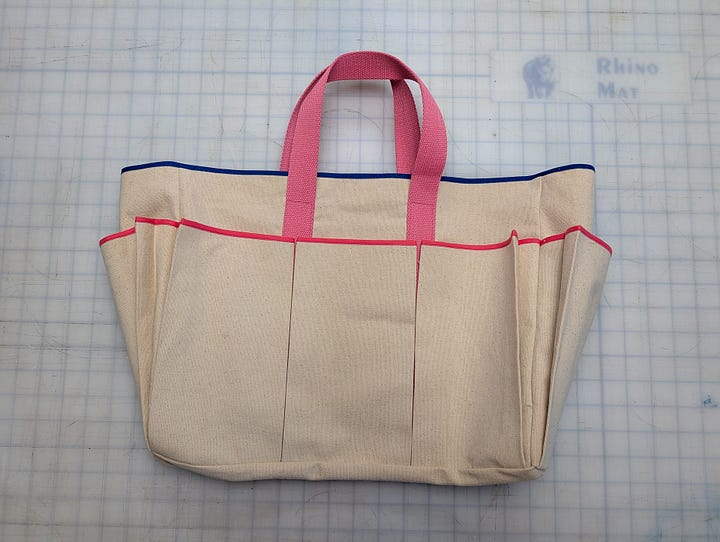
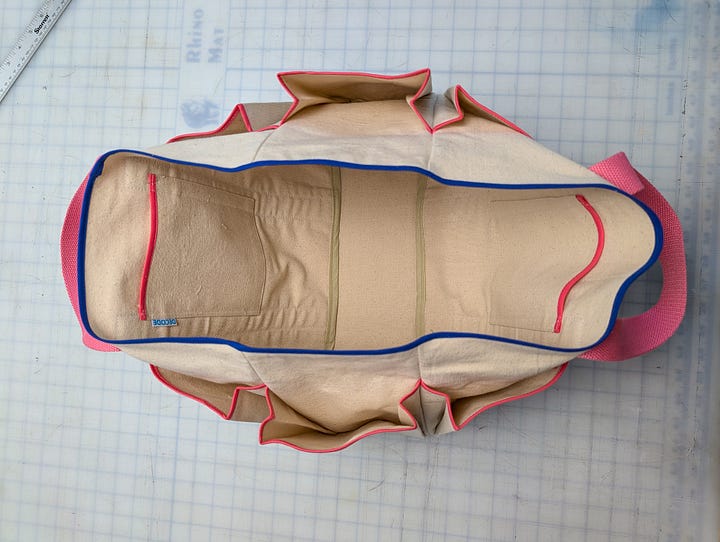
I hope you enjoy this project and please share your beautiful outcomes!
<3 Danielle
No posts
Comments
Nothing yet. Say the first thing.
Sign in to join the conversation.