
Month five of the zero waste zine-club has been released!
The Zero Waste Planter pattern was born out of a love of plants and a hatred of fabric waste. This planter is a seemingly simple solution to a complex problem - fitting a circle into a square. We get a structured, functional planter from a flat piece of fabric with not a scrap left.
As always, I started designing it in Clo3D to test out scale and proportion.
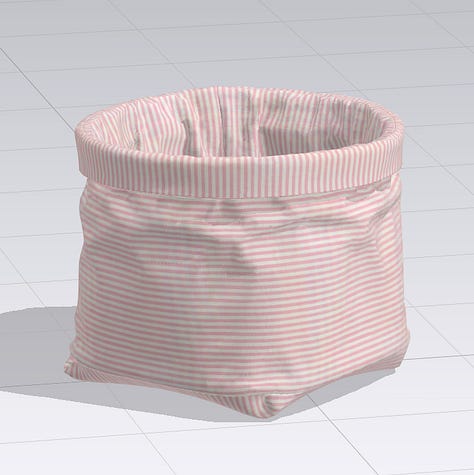
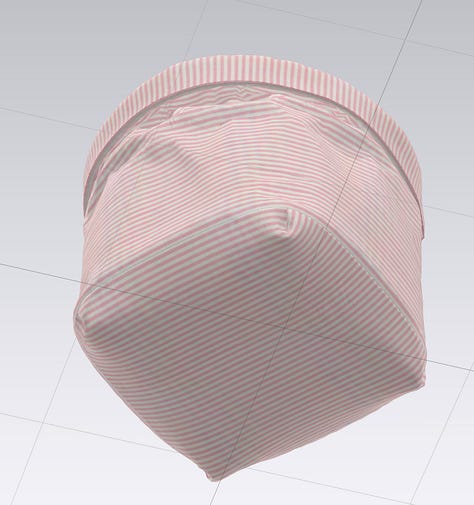
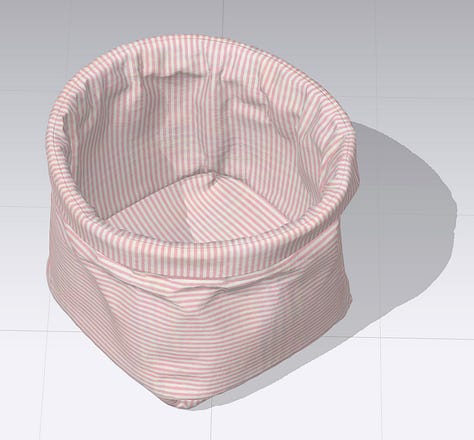
I had made a few versions of this over the years but wanted to start fresh with the simplest solution in mind.
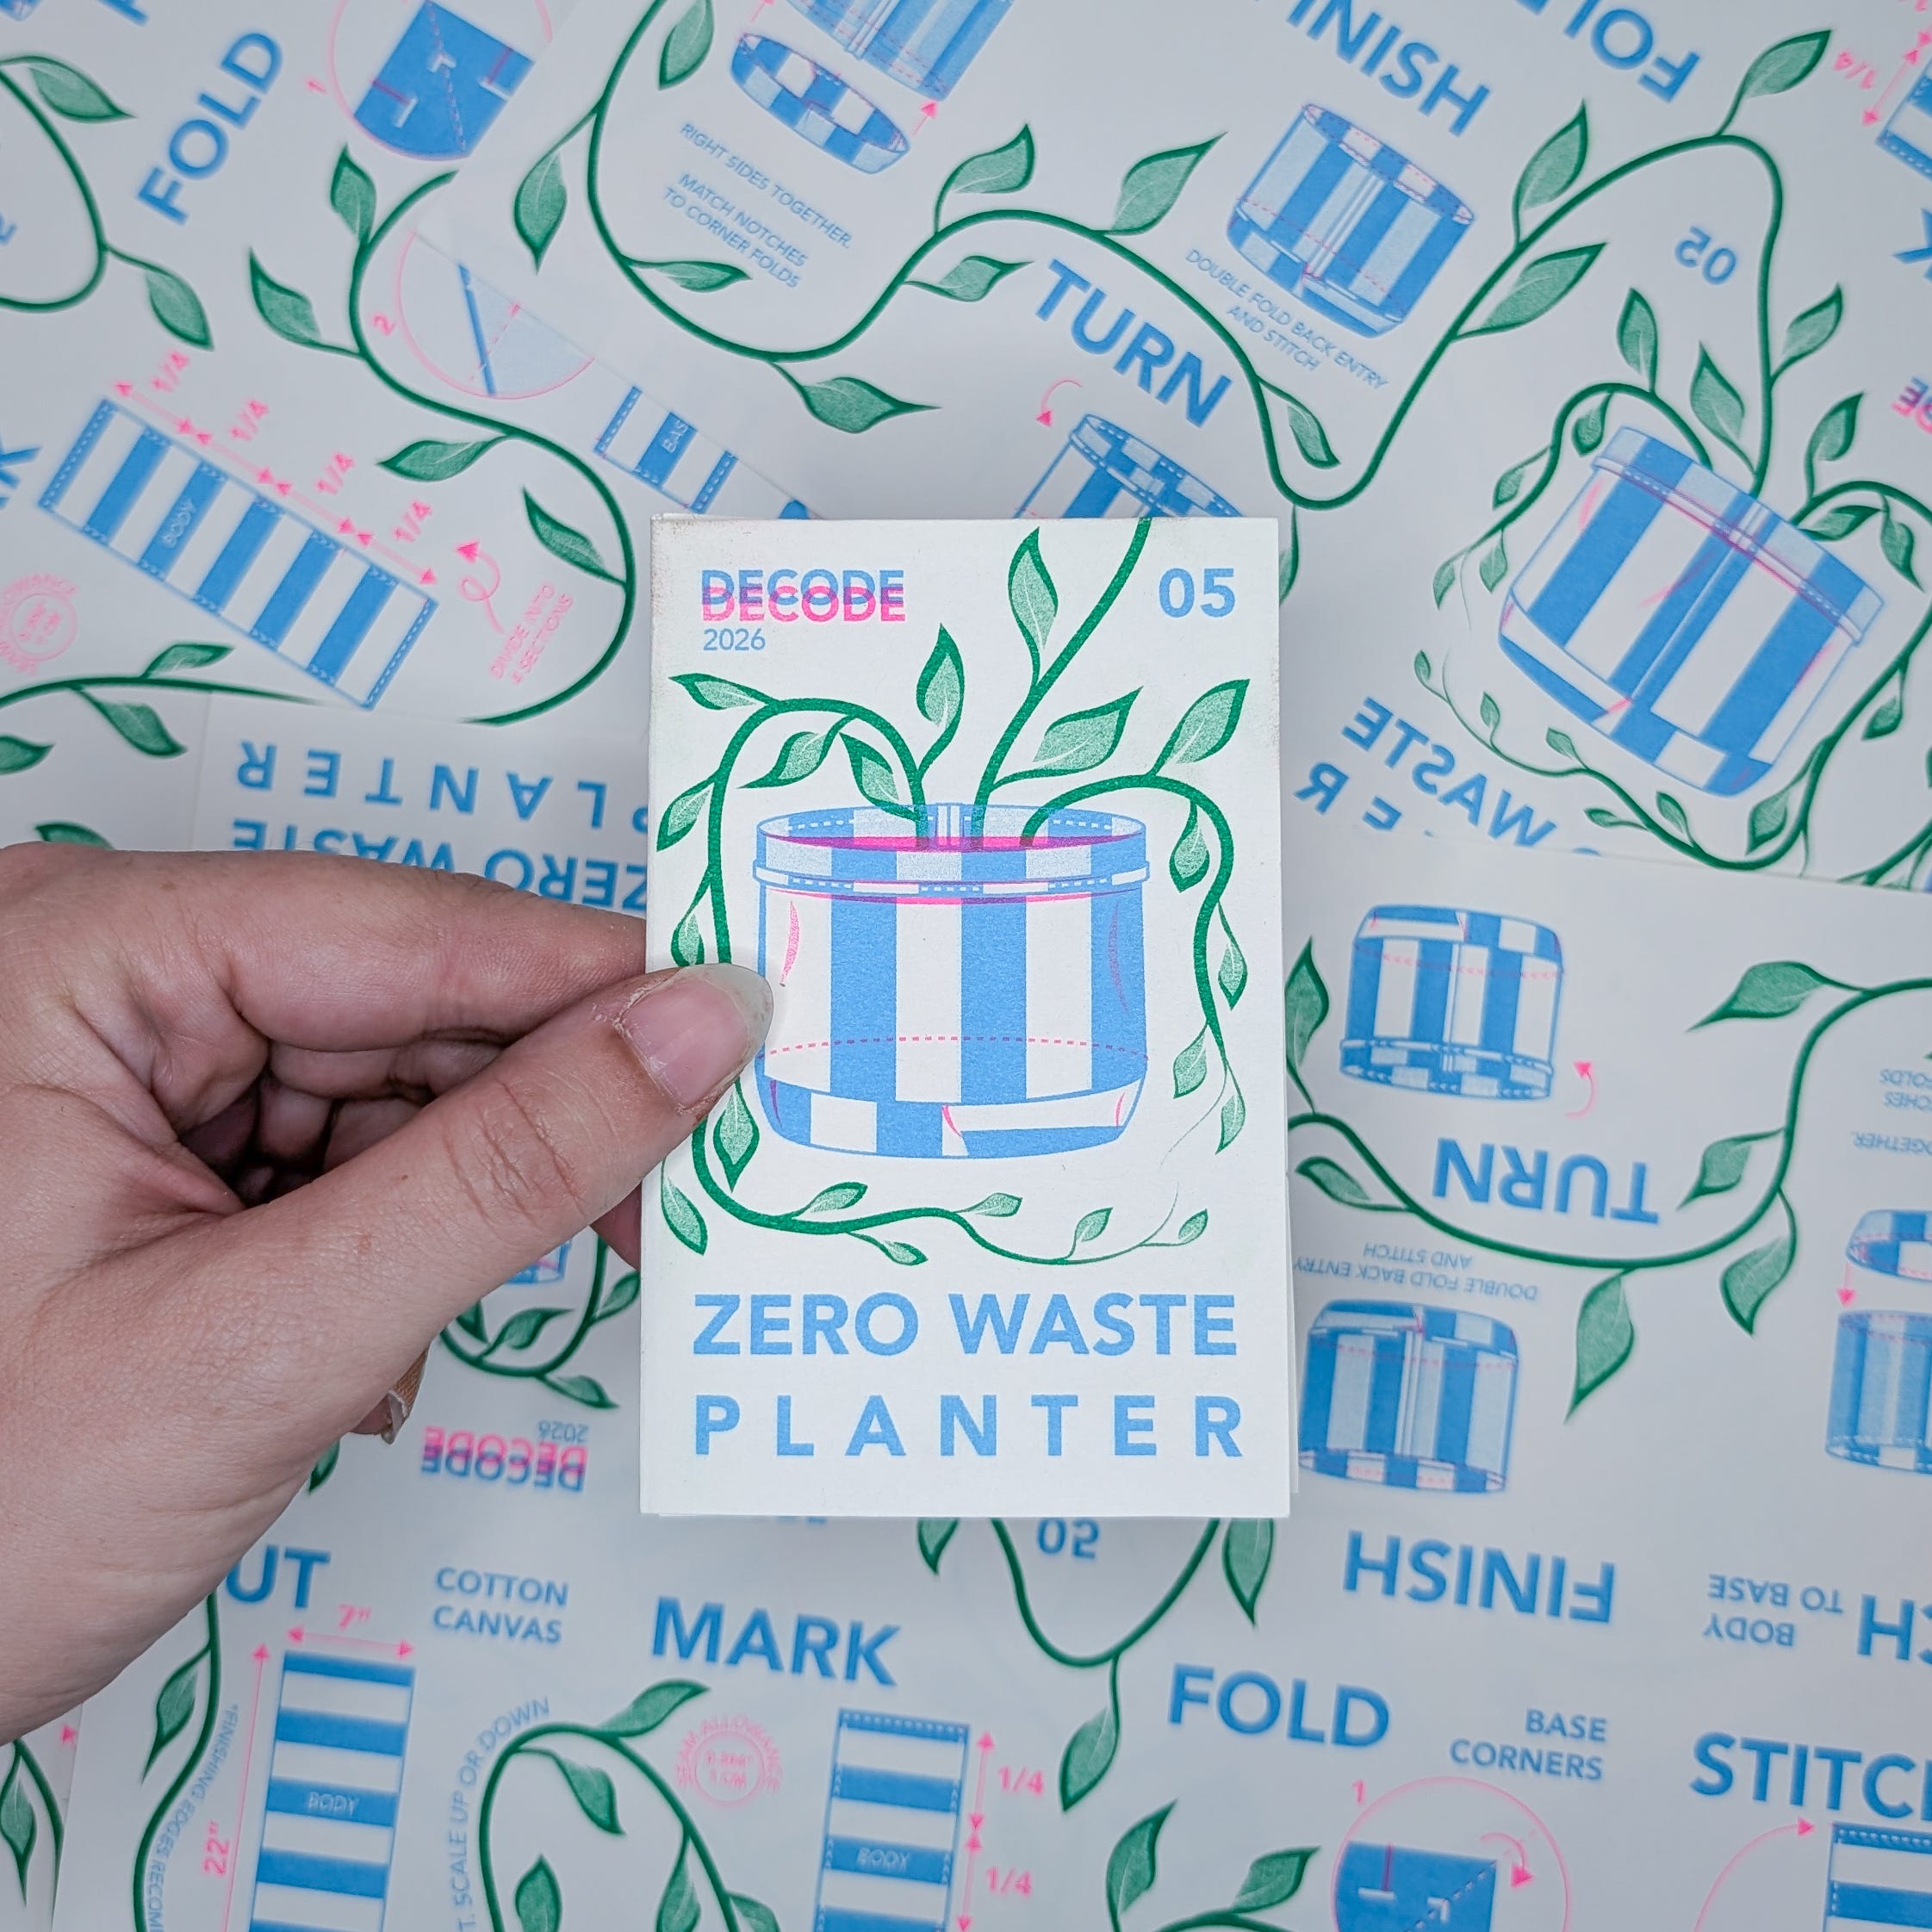
The physical copy of the mini Riso-zine I developed for this project is available for $12 here: RISO_ZINE_05
The digital copy of the zine that can be printed can be found here for $9: Digital Riso Zine
100% woven cotton/denim (something with structure is HIGHLY encouraged. That being said, I made this version in a 24 OZ canvas that was very thick and difficult to sew. This pattern can be scaled up or down depending on the size of your plant pot.
(1) 7” x 22” rectangle
(1)7” x "7” rectangle
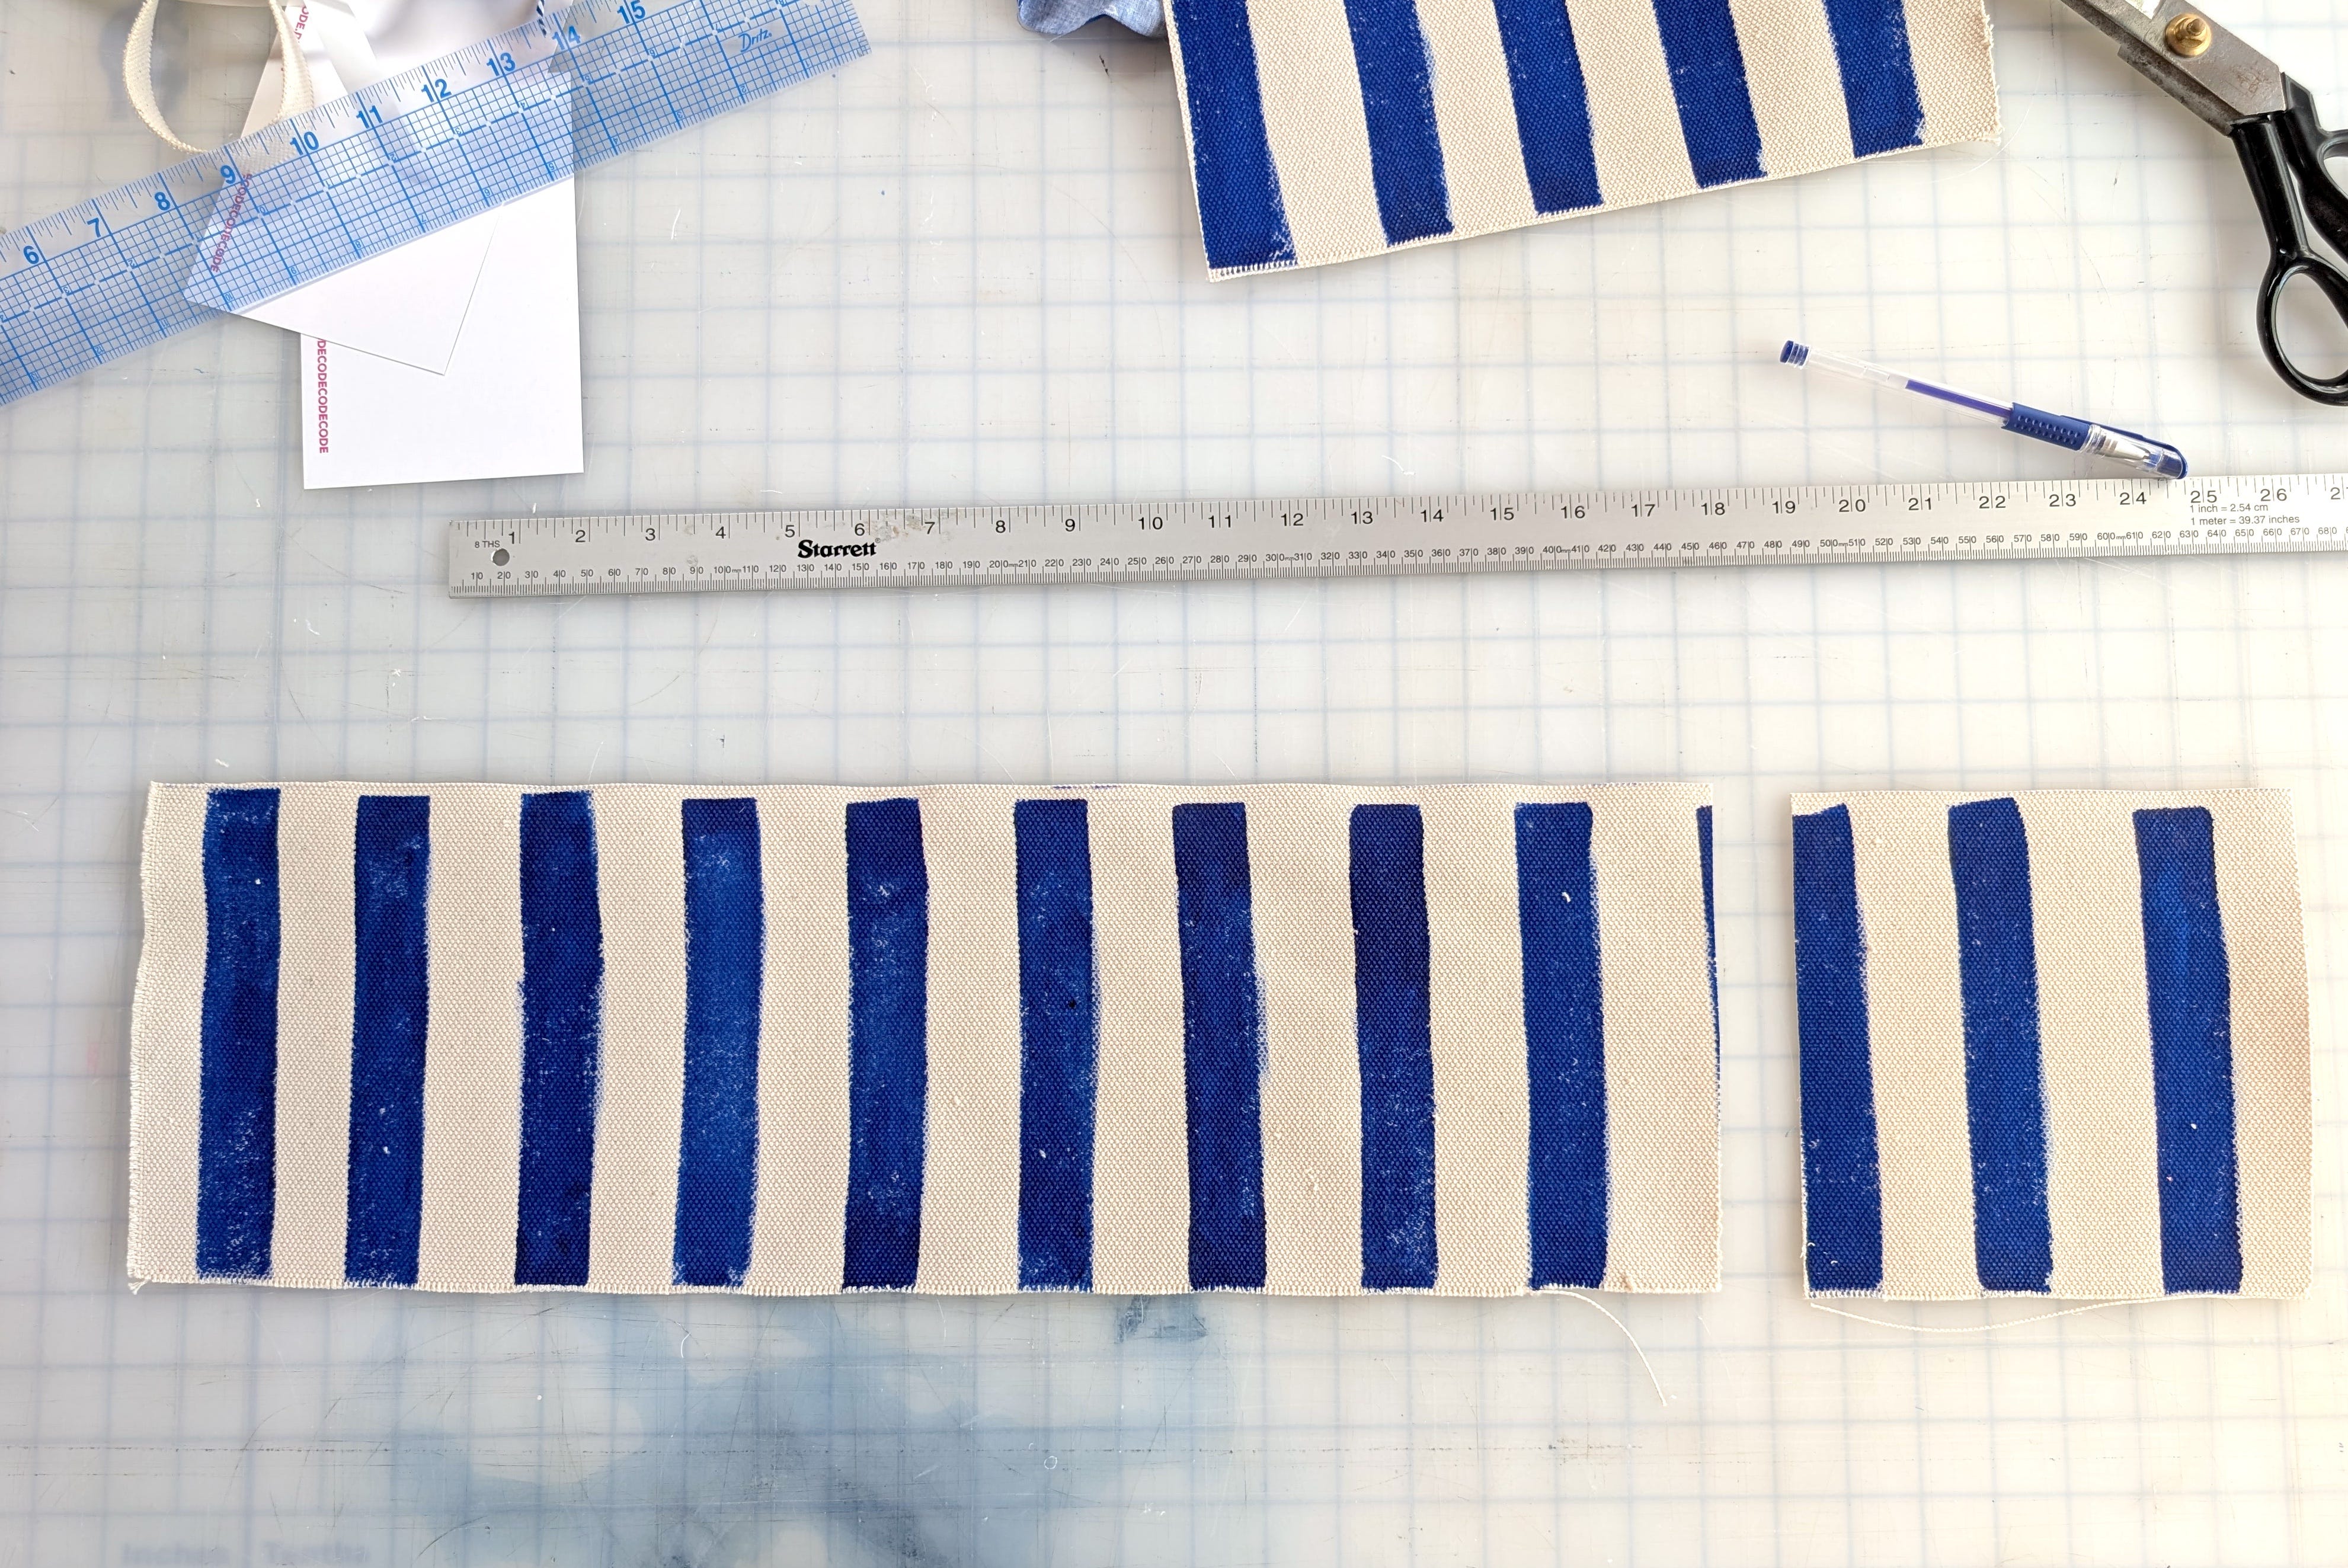
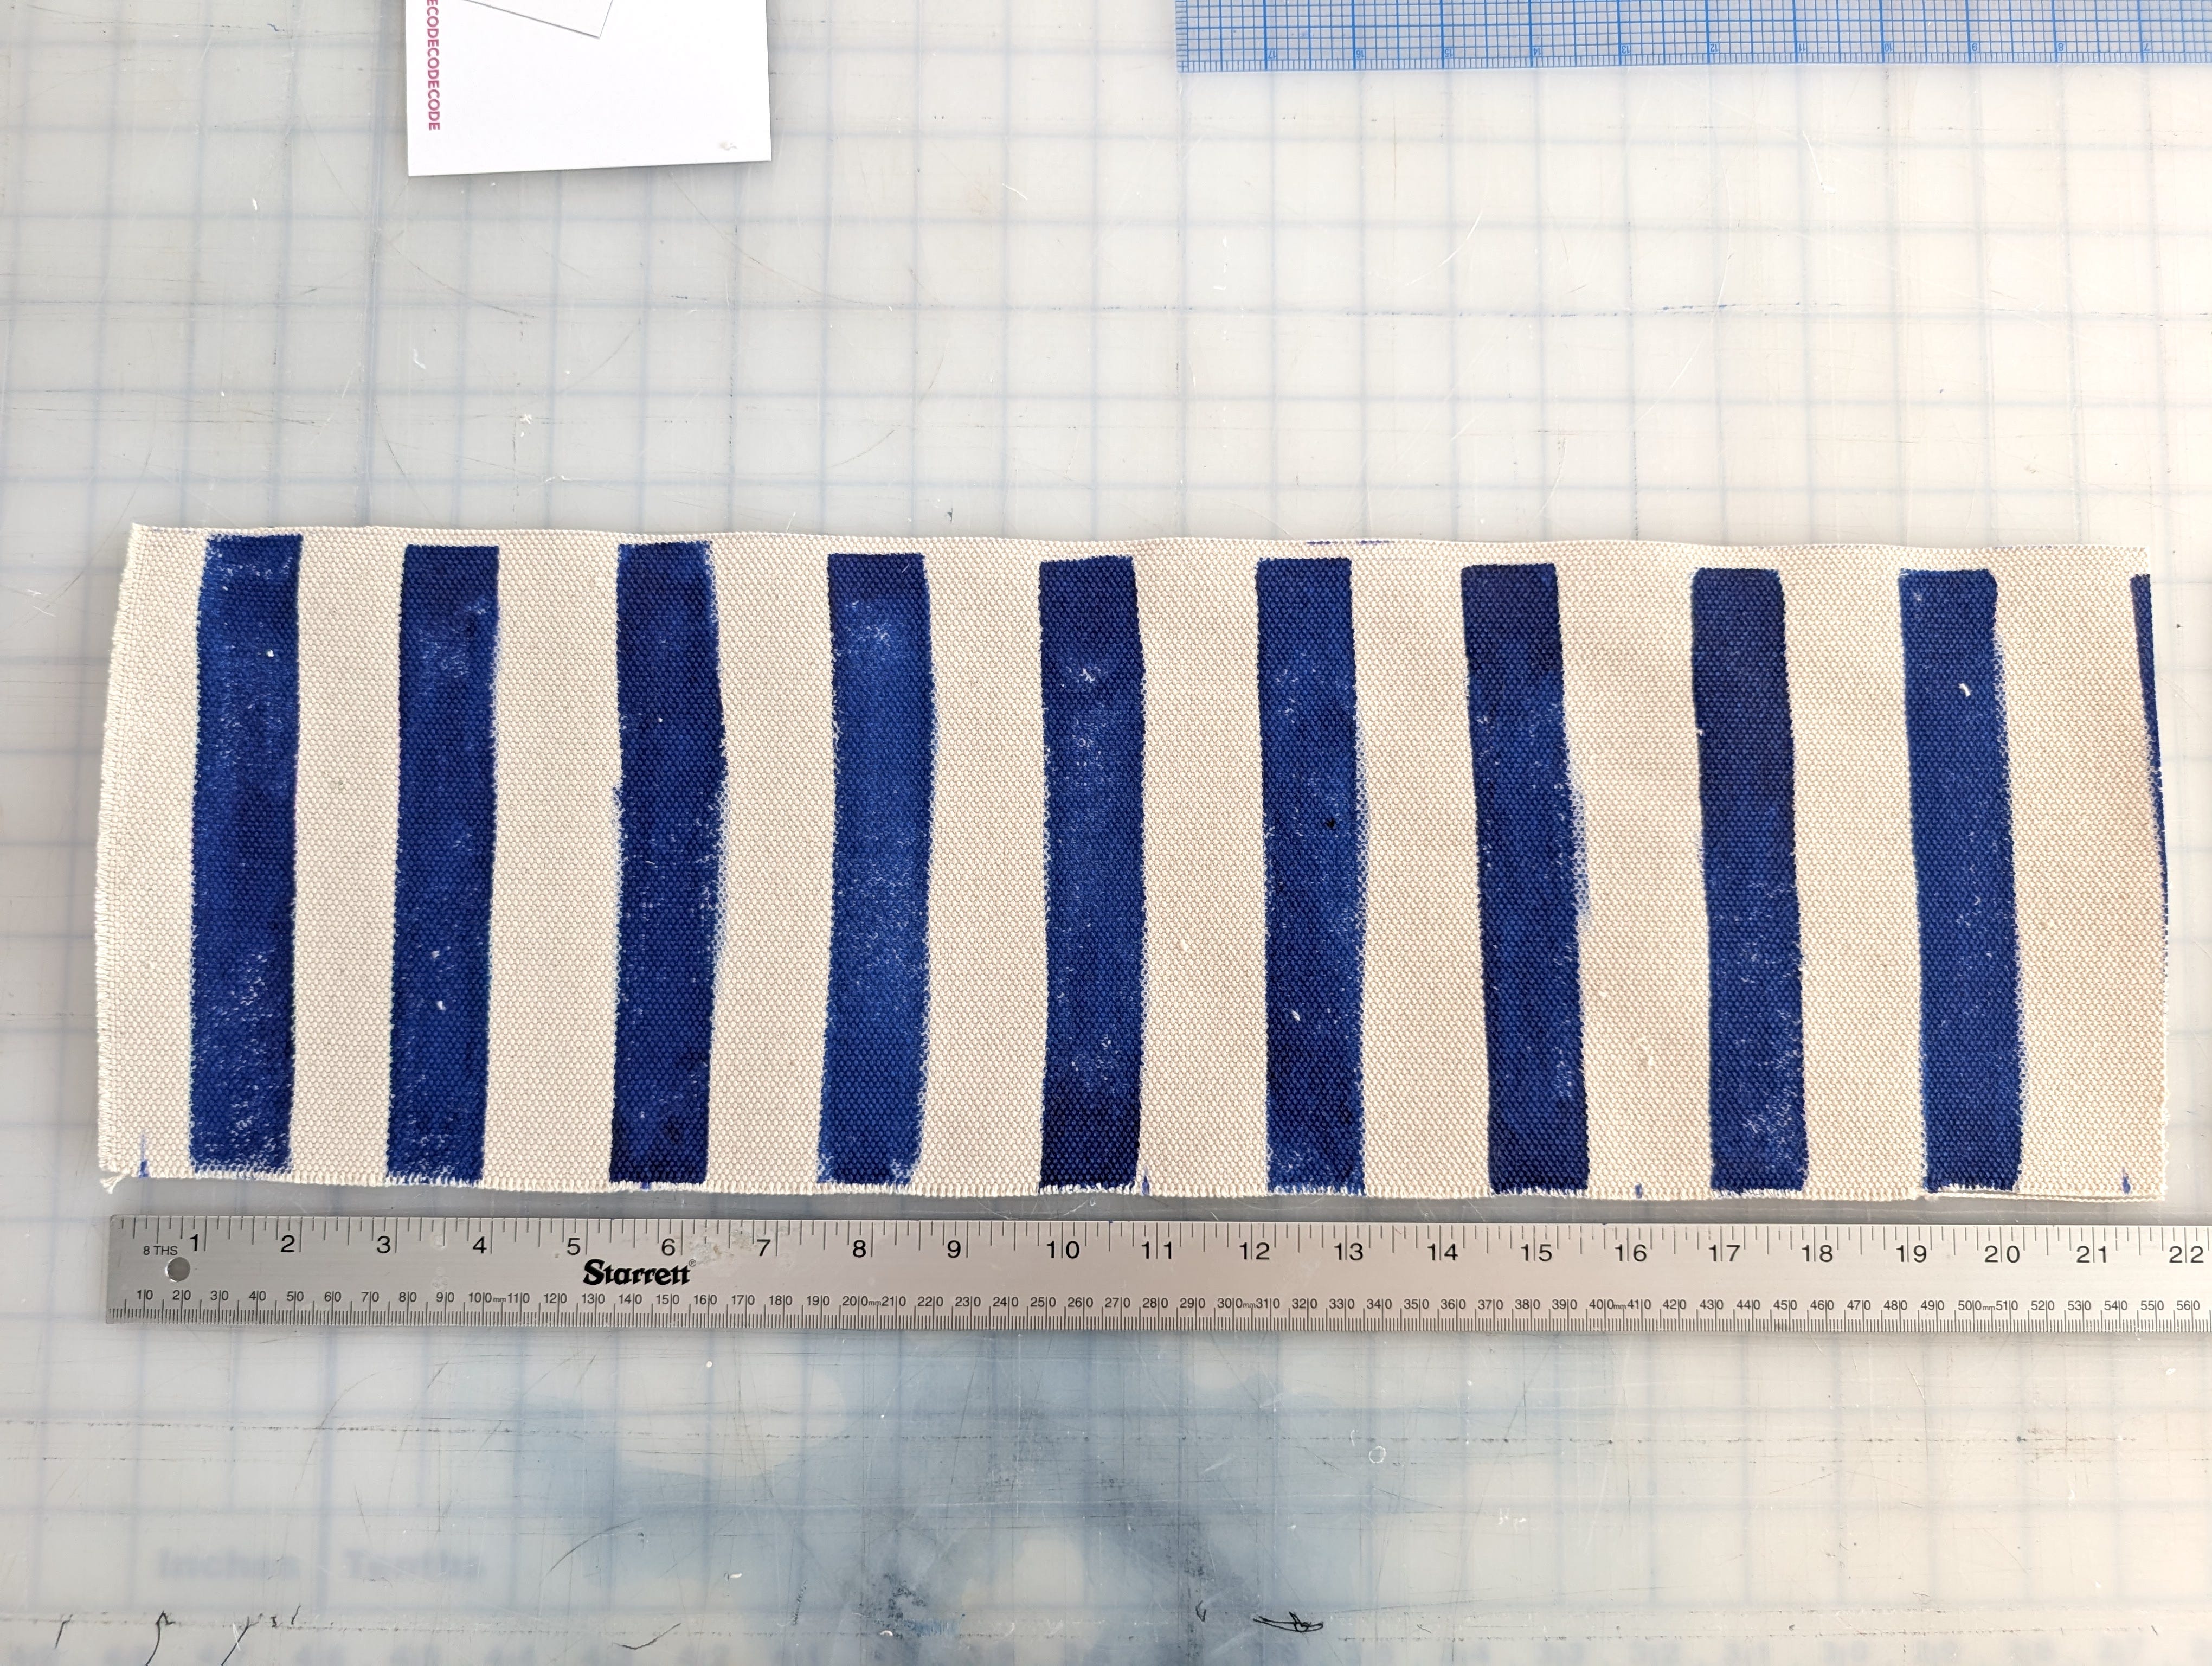
I kept up my painting on this months project as well, using Jacquard Textile screen printing ink and a 1” foam brush.
Divide your 7” x 22” rectangle into four sections and mark.
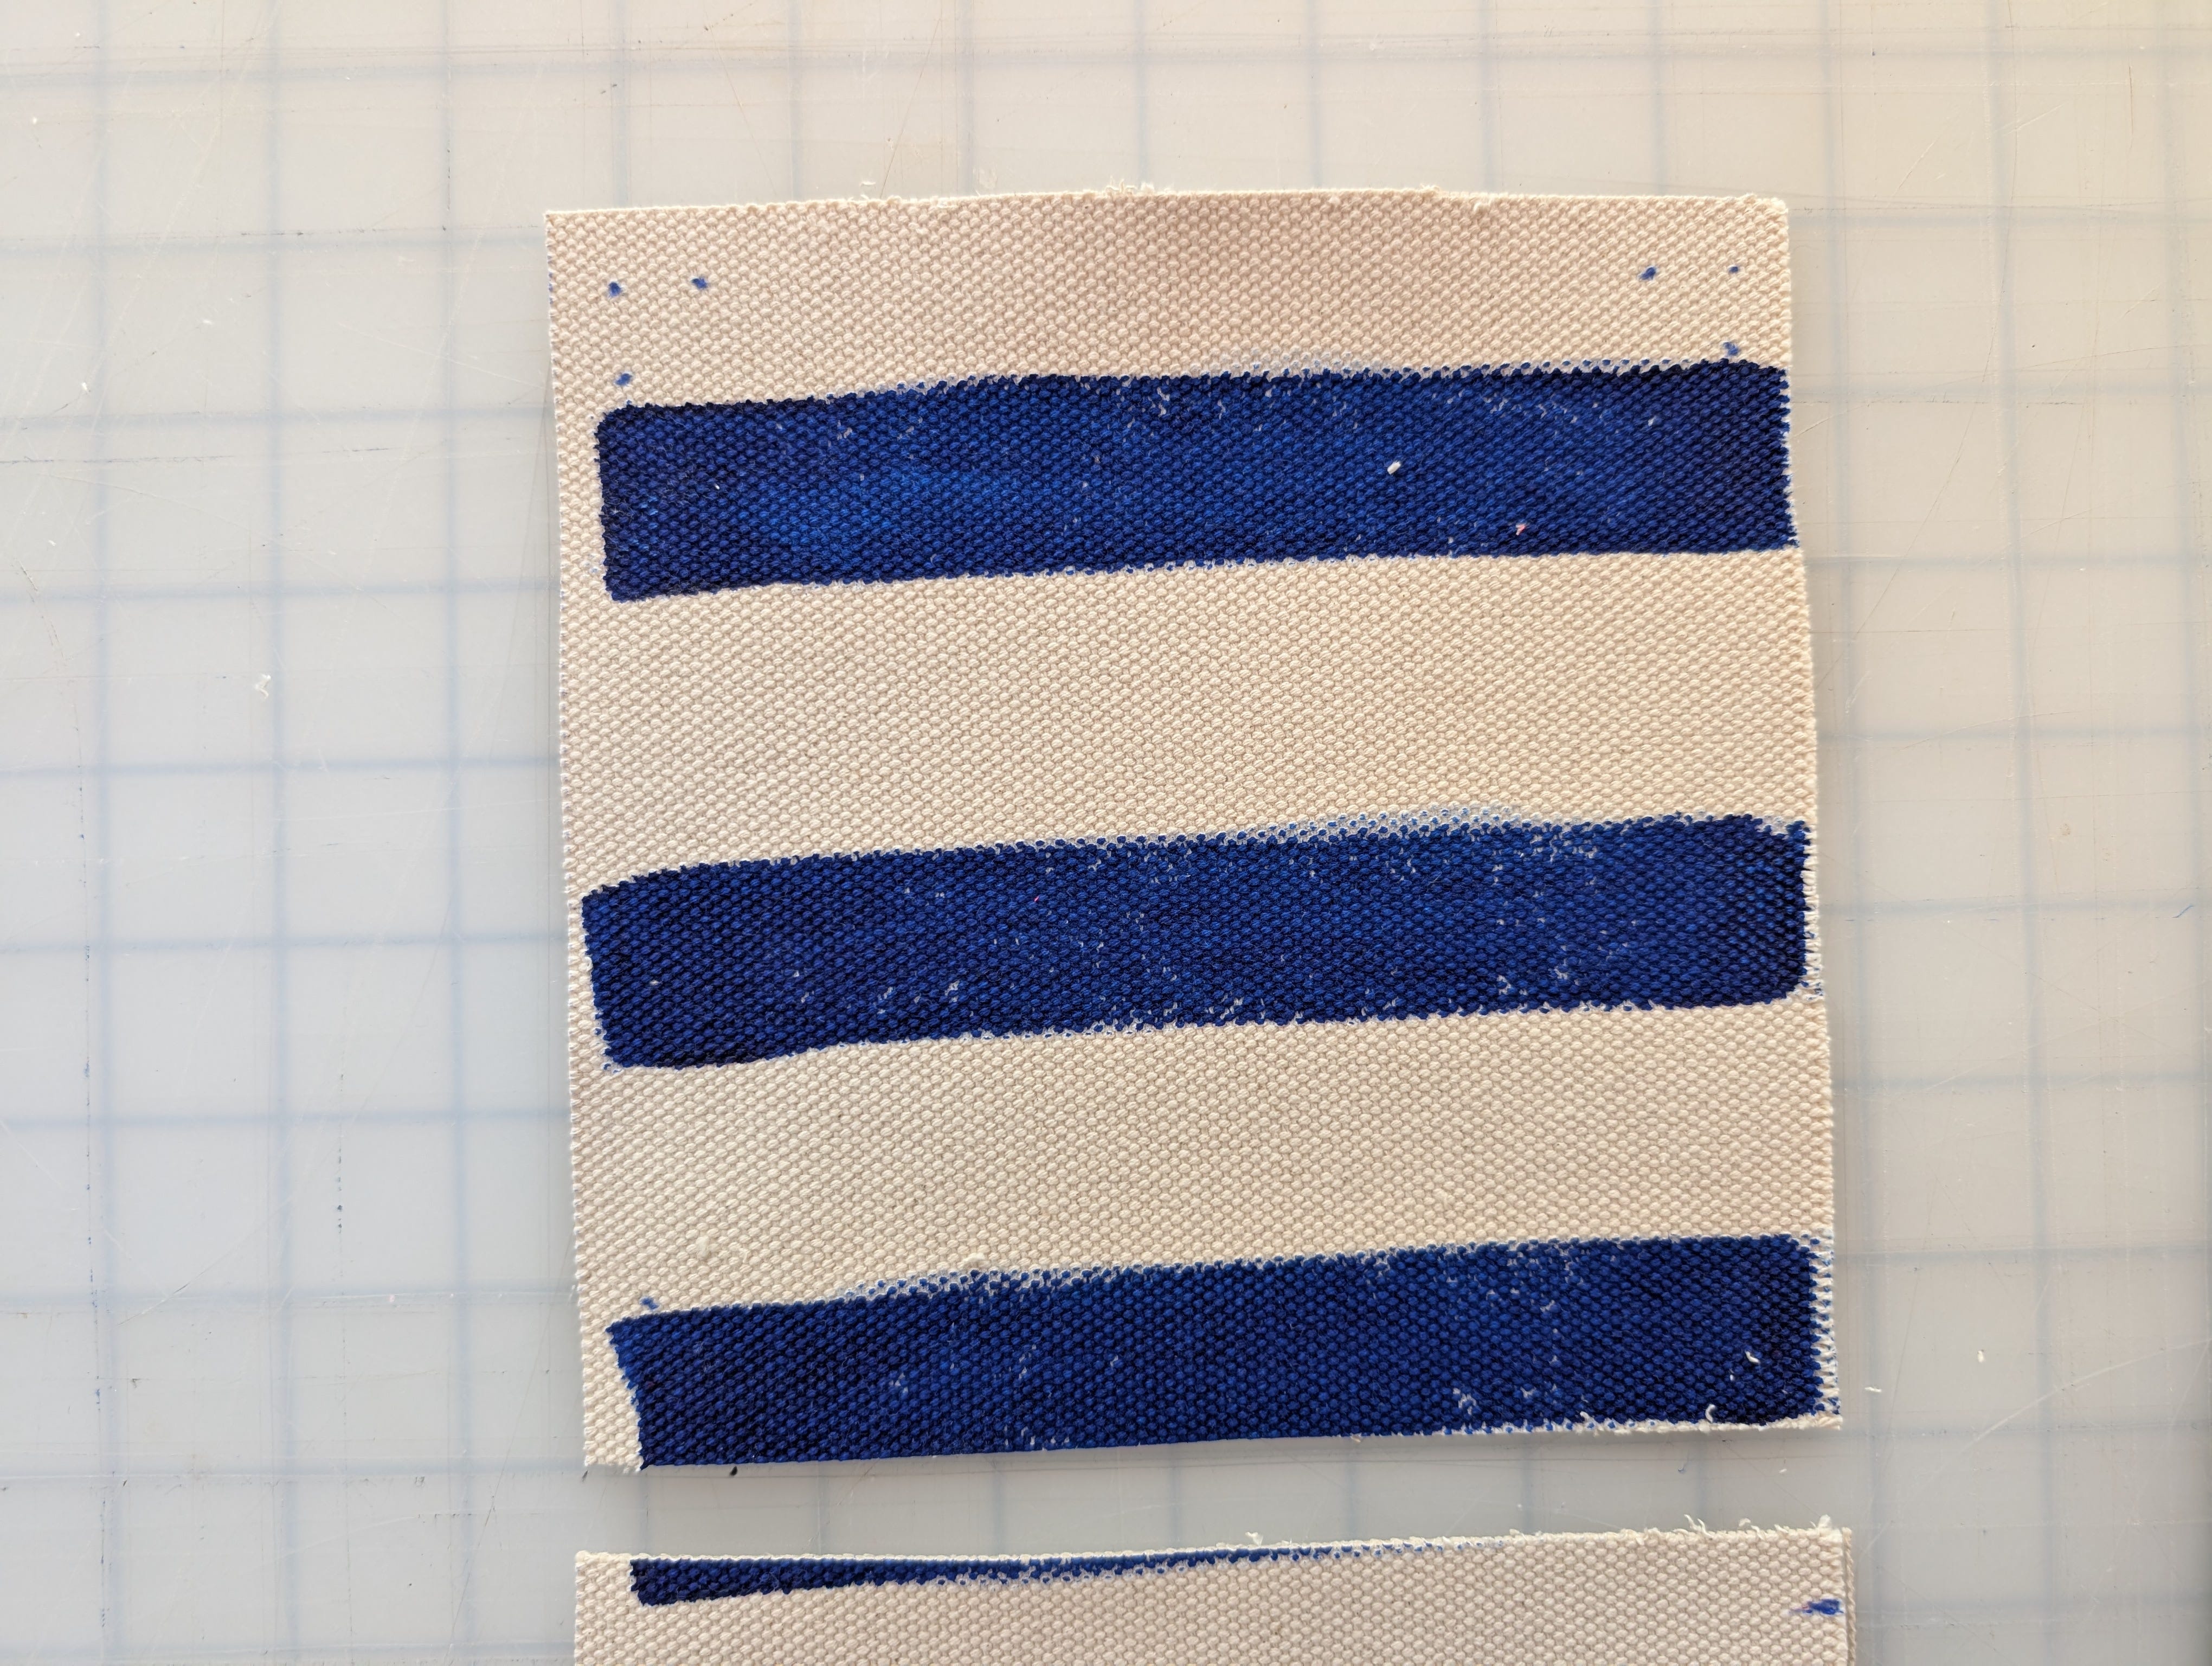
On your 7” x 7” square, mark .5” in from SA on each corner. That ends up being just under an inch (0.39” + .5” = .9”)
Fold a corner of your 7” x 7” square in half to make a point, then fold over the edge where you marked. stitch through the fold and one side of your fabric. This gives you a lovely corner tuck.
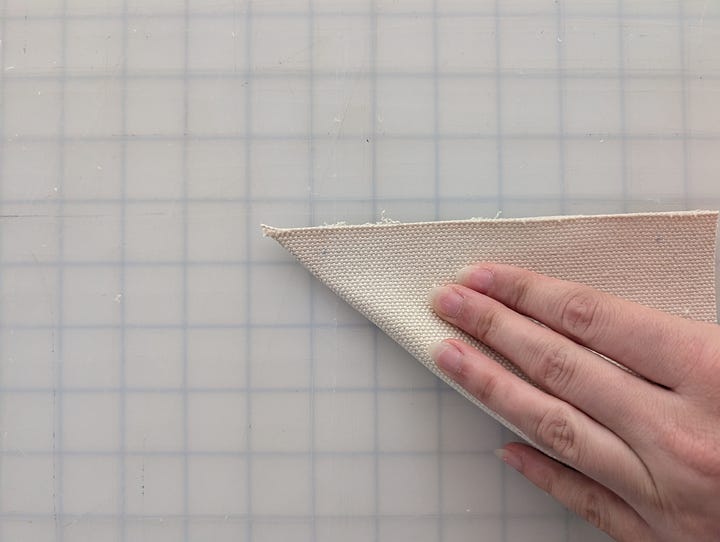
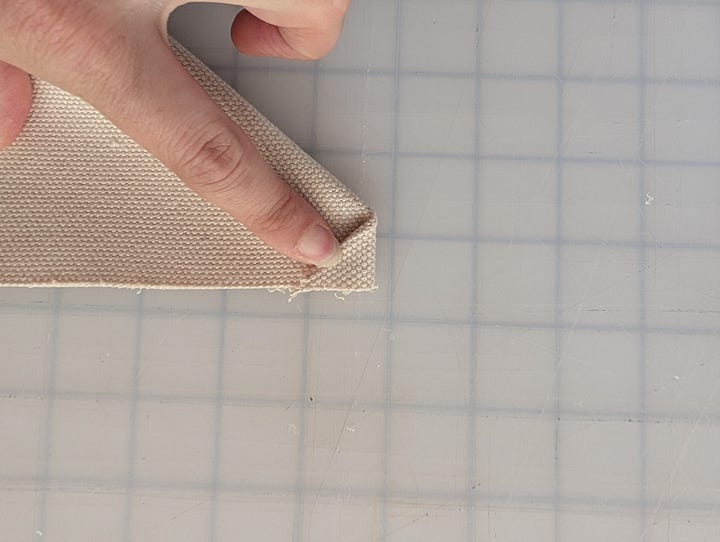
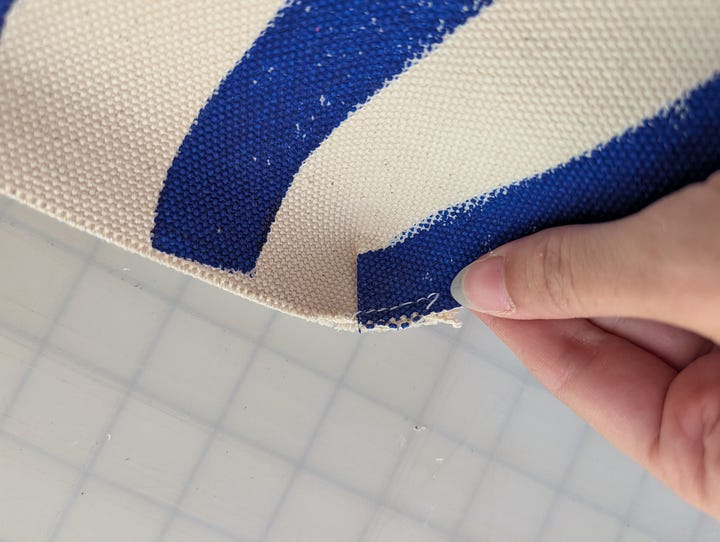
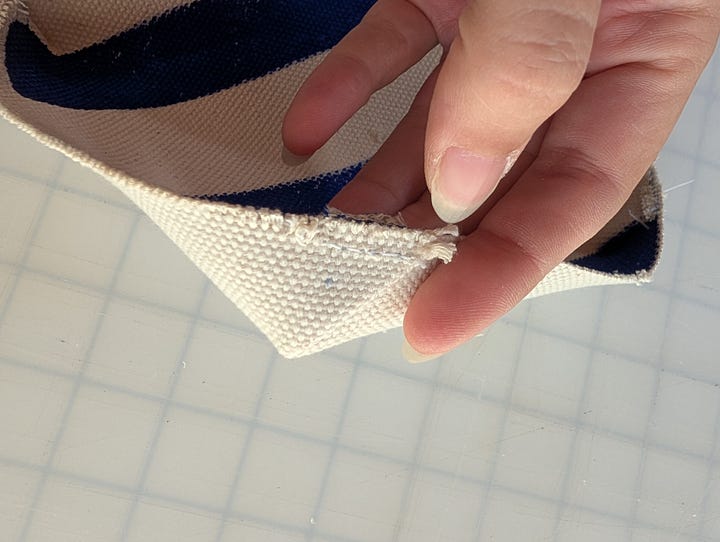
Repeat on all 4 corners.
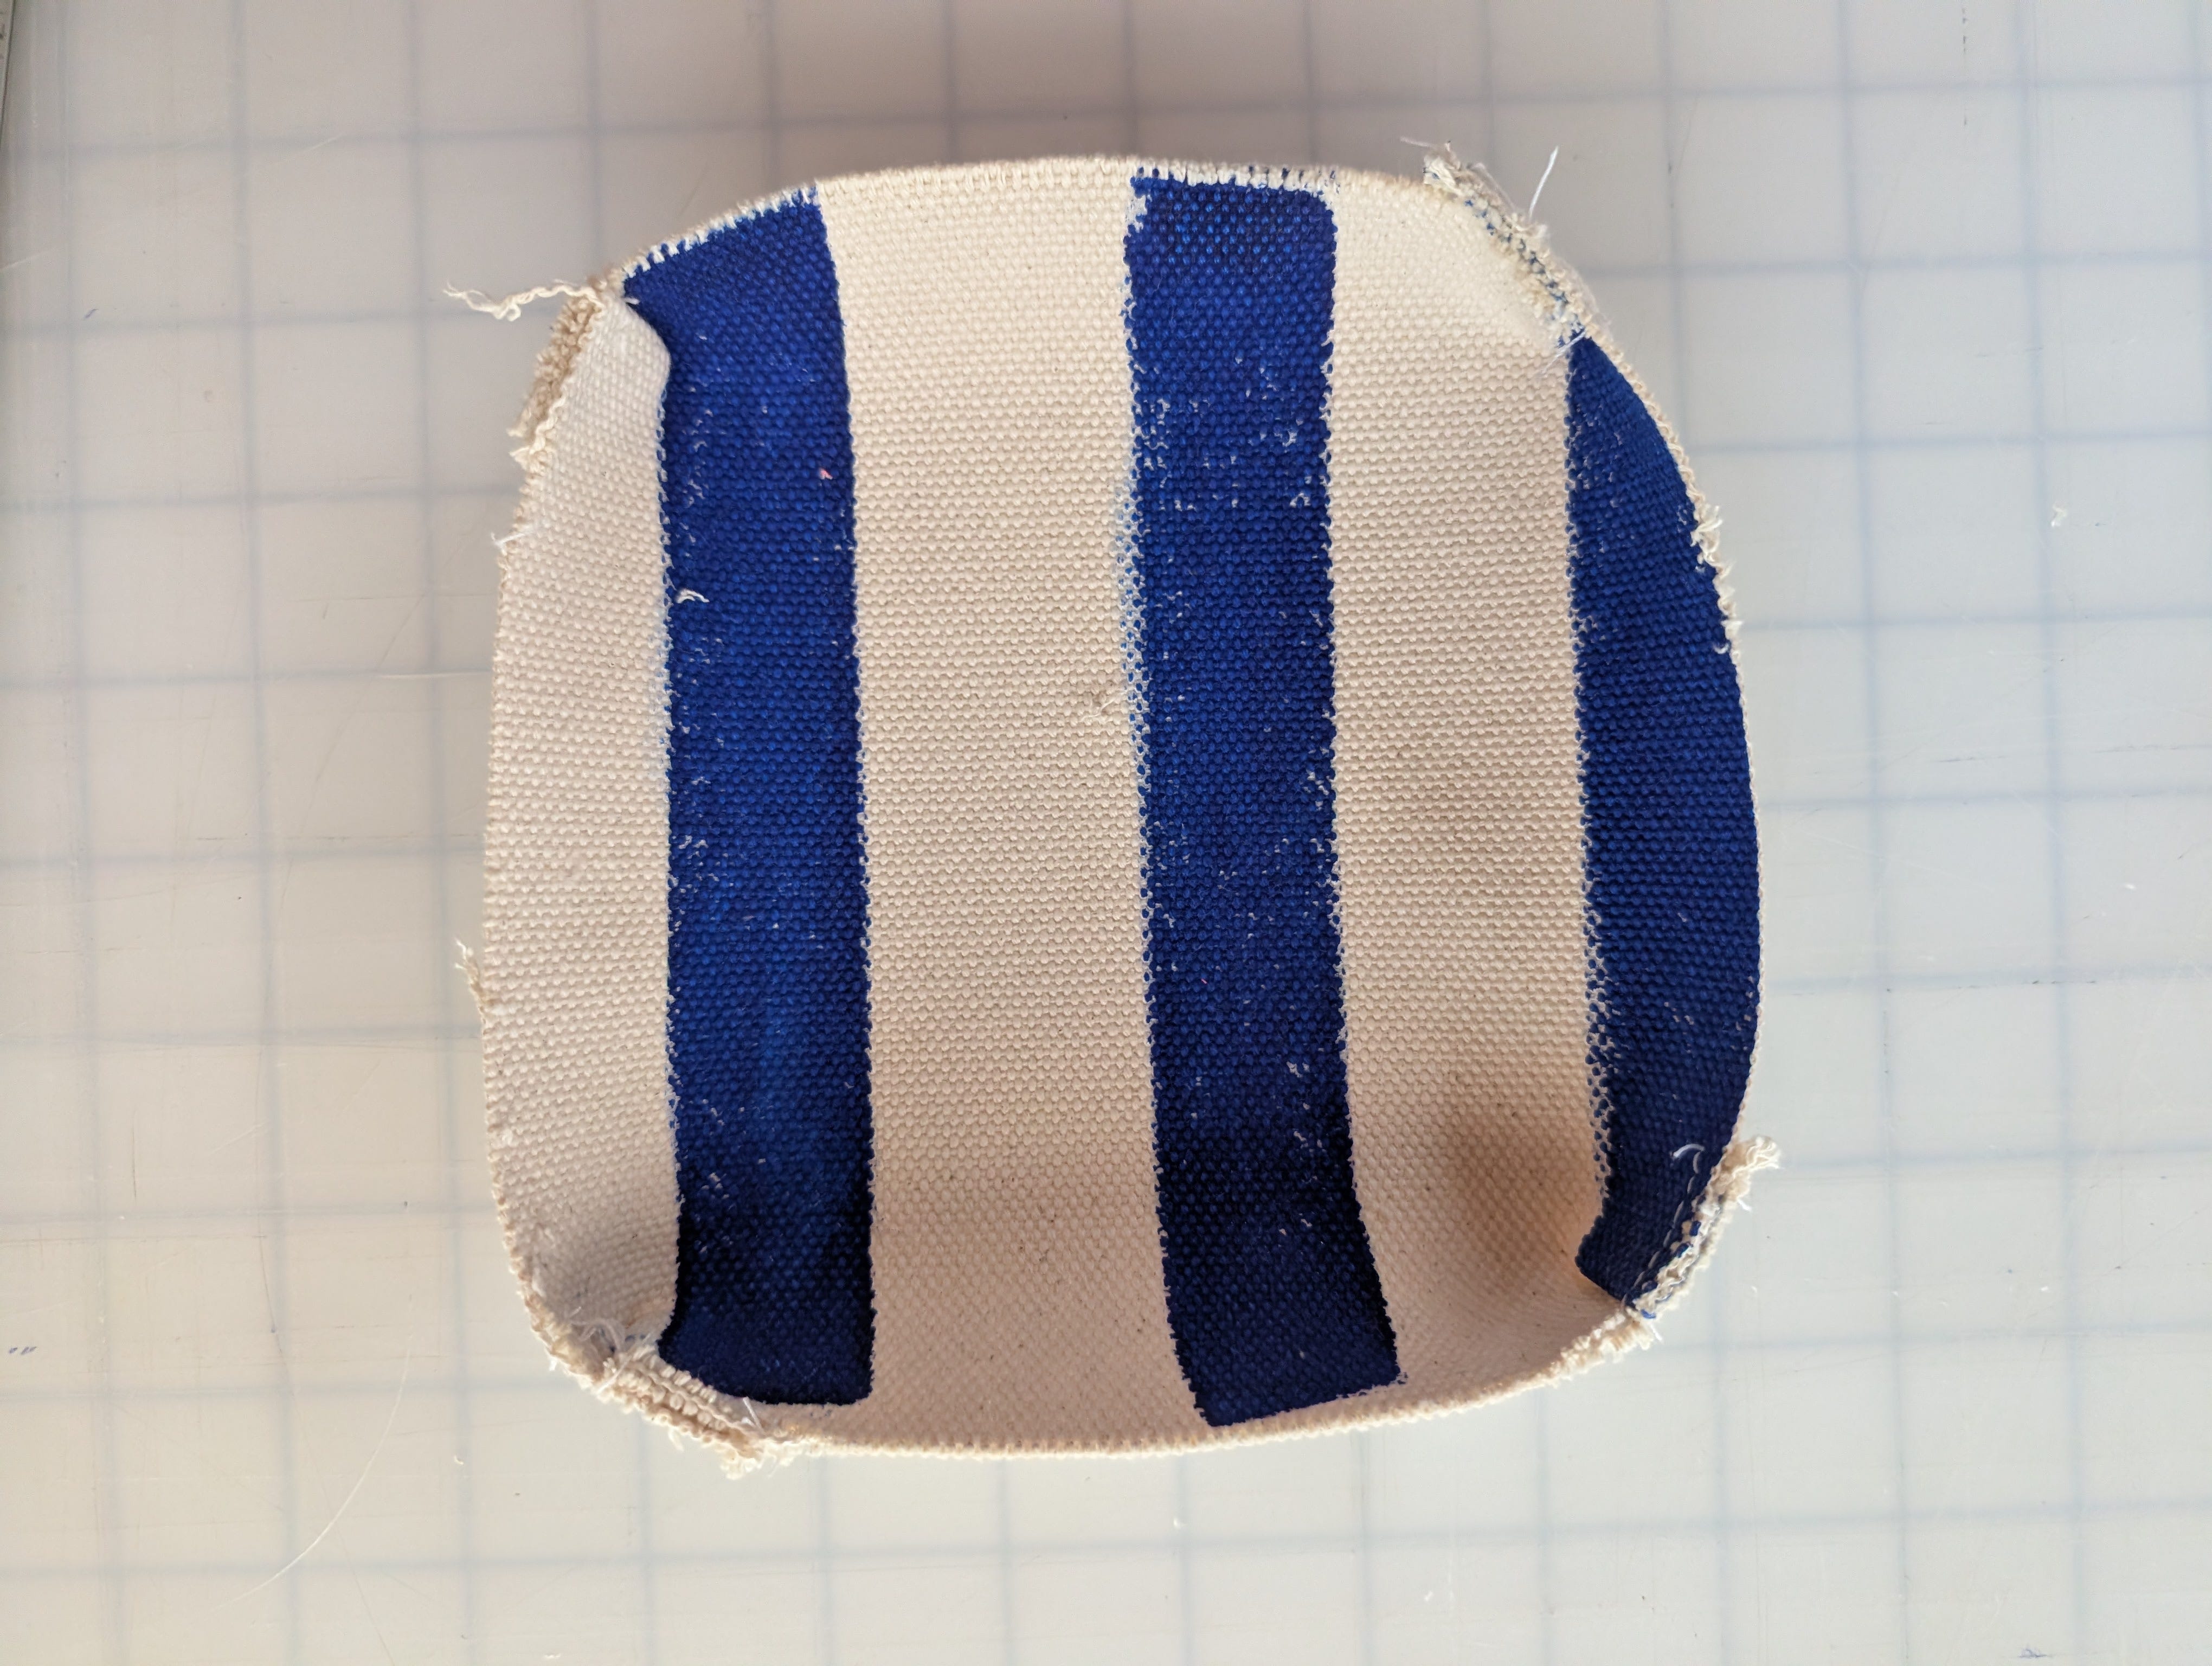
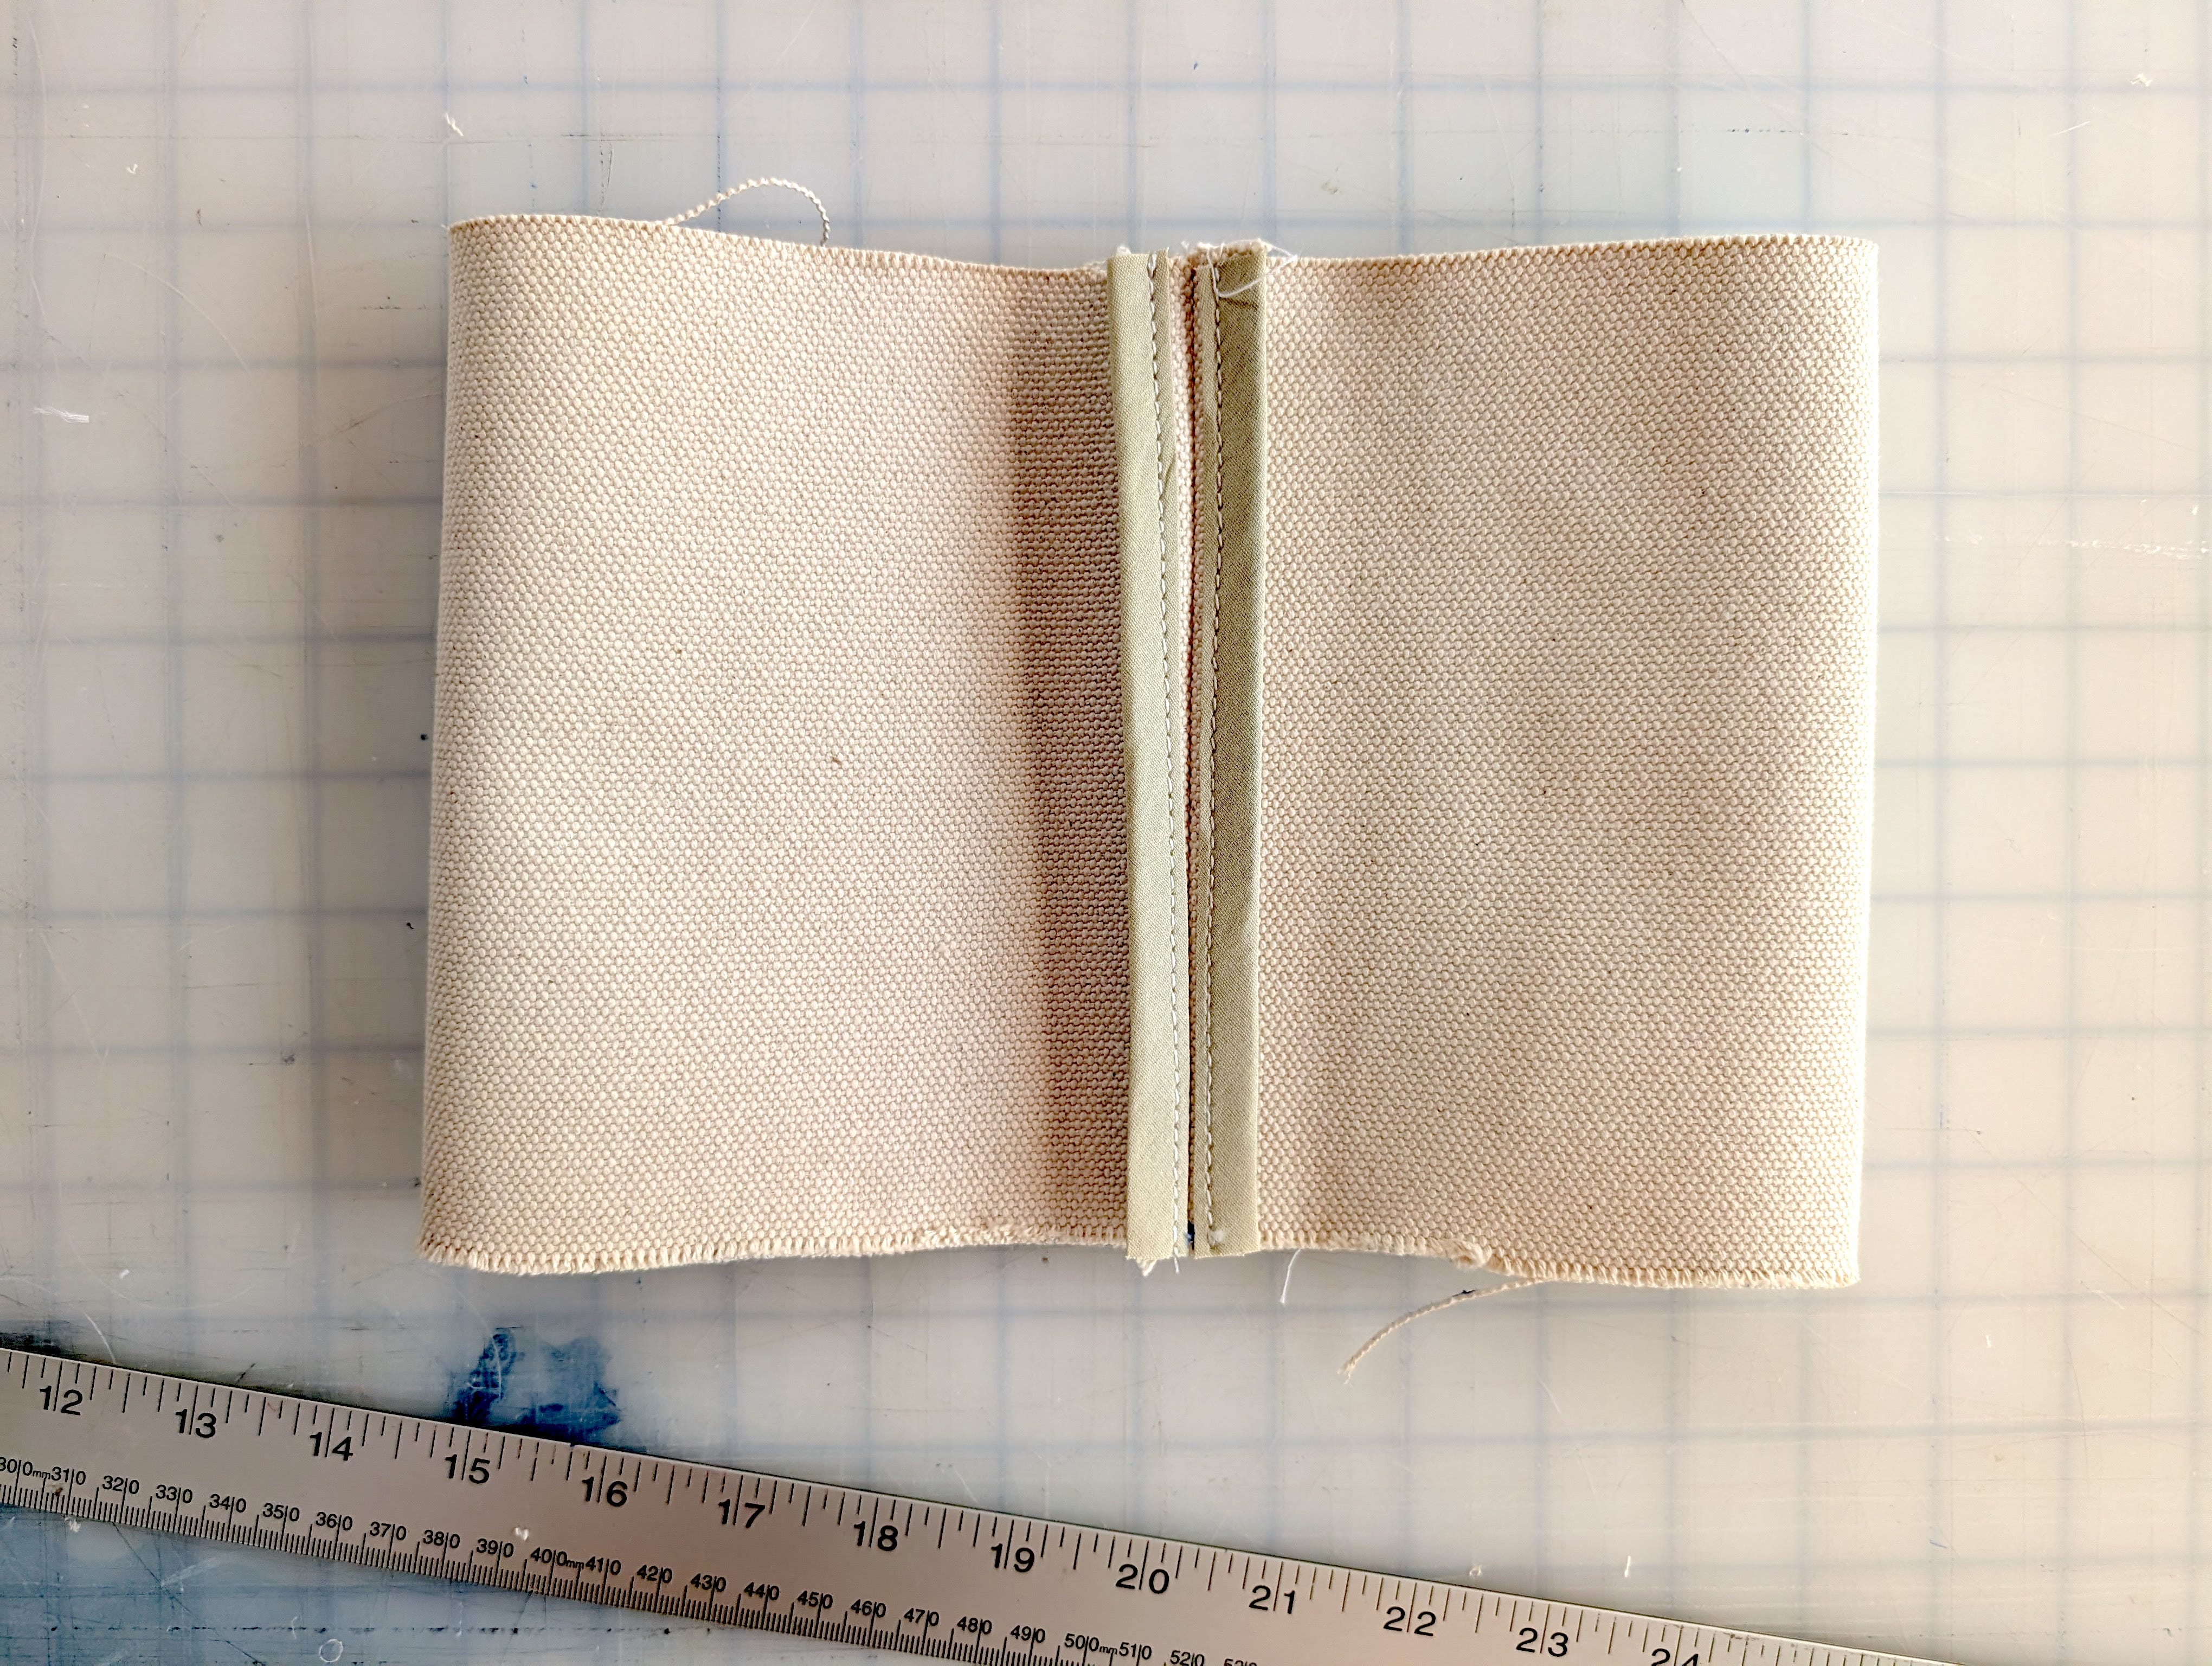
Stitch the short edges of your 7” x 22” rectangle together. Be sure to clean finish it, either with bias tape or a french/flat felled seam. Press your seam flat/open. Again, my fabric was very thick so I decided to finish with a bias tape.
Stitch your body to the base of your fabric, right sides together. The markings on your 7” x 22” fabric should line up with the corners of your base.
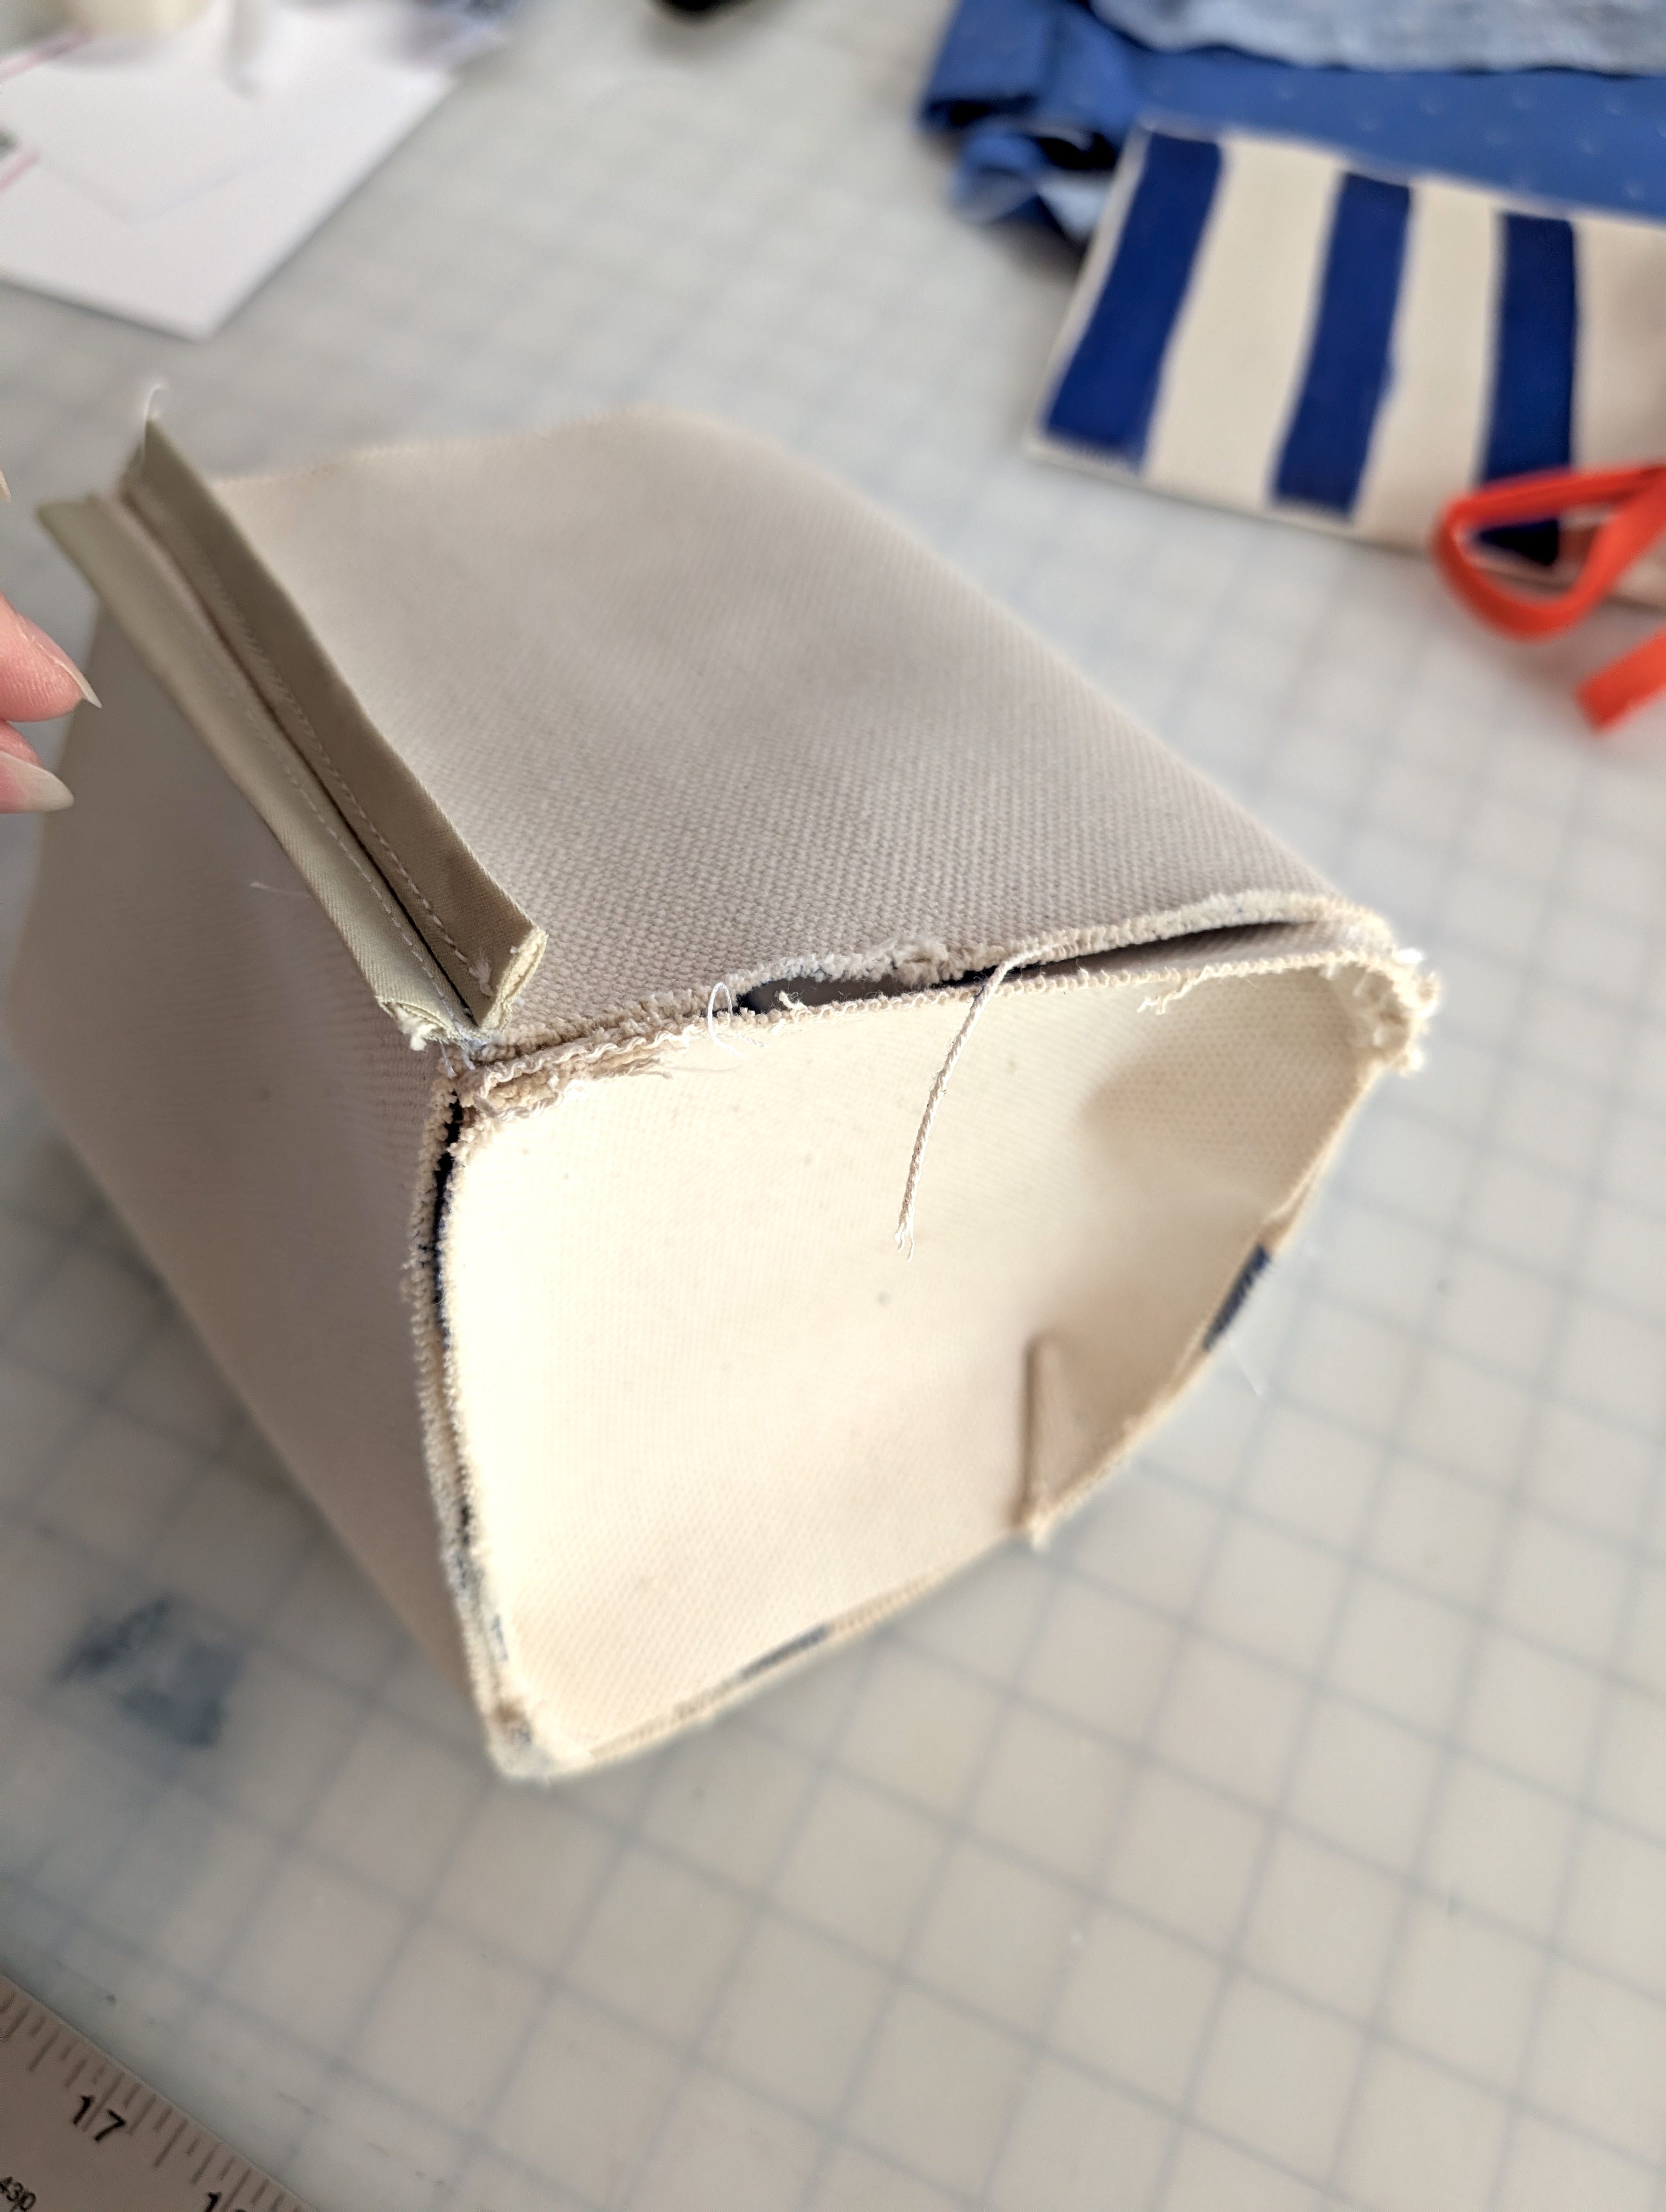
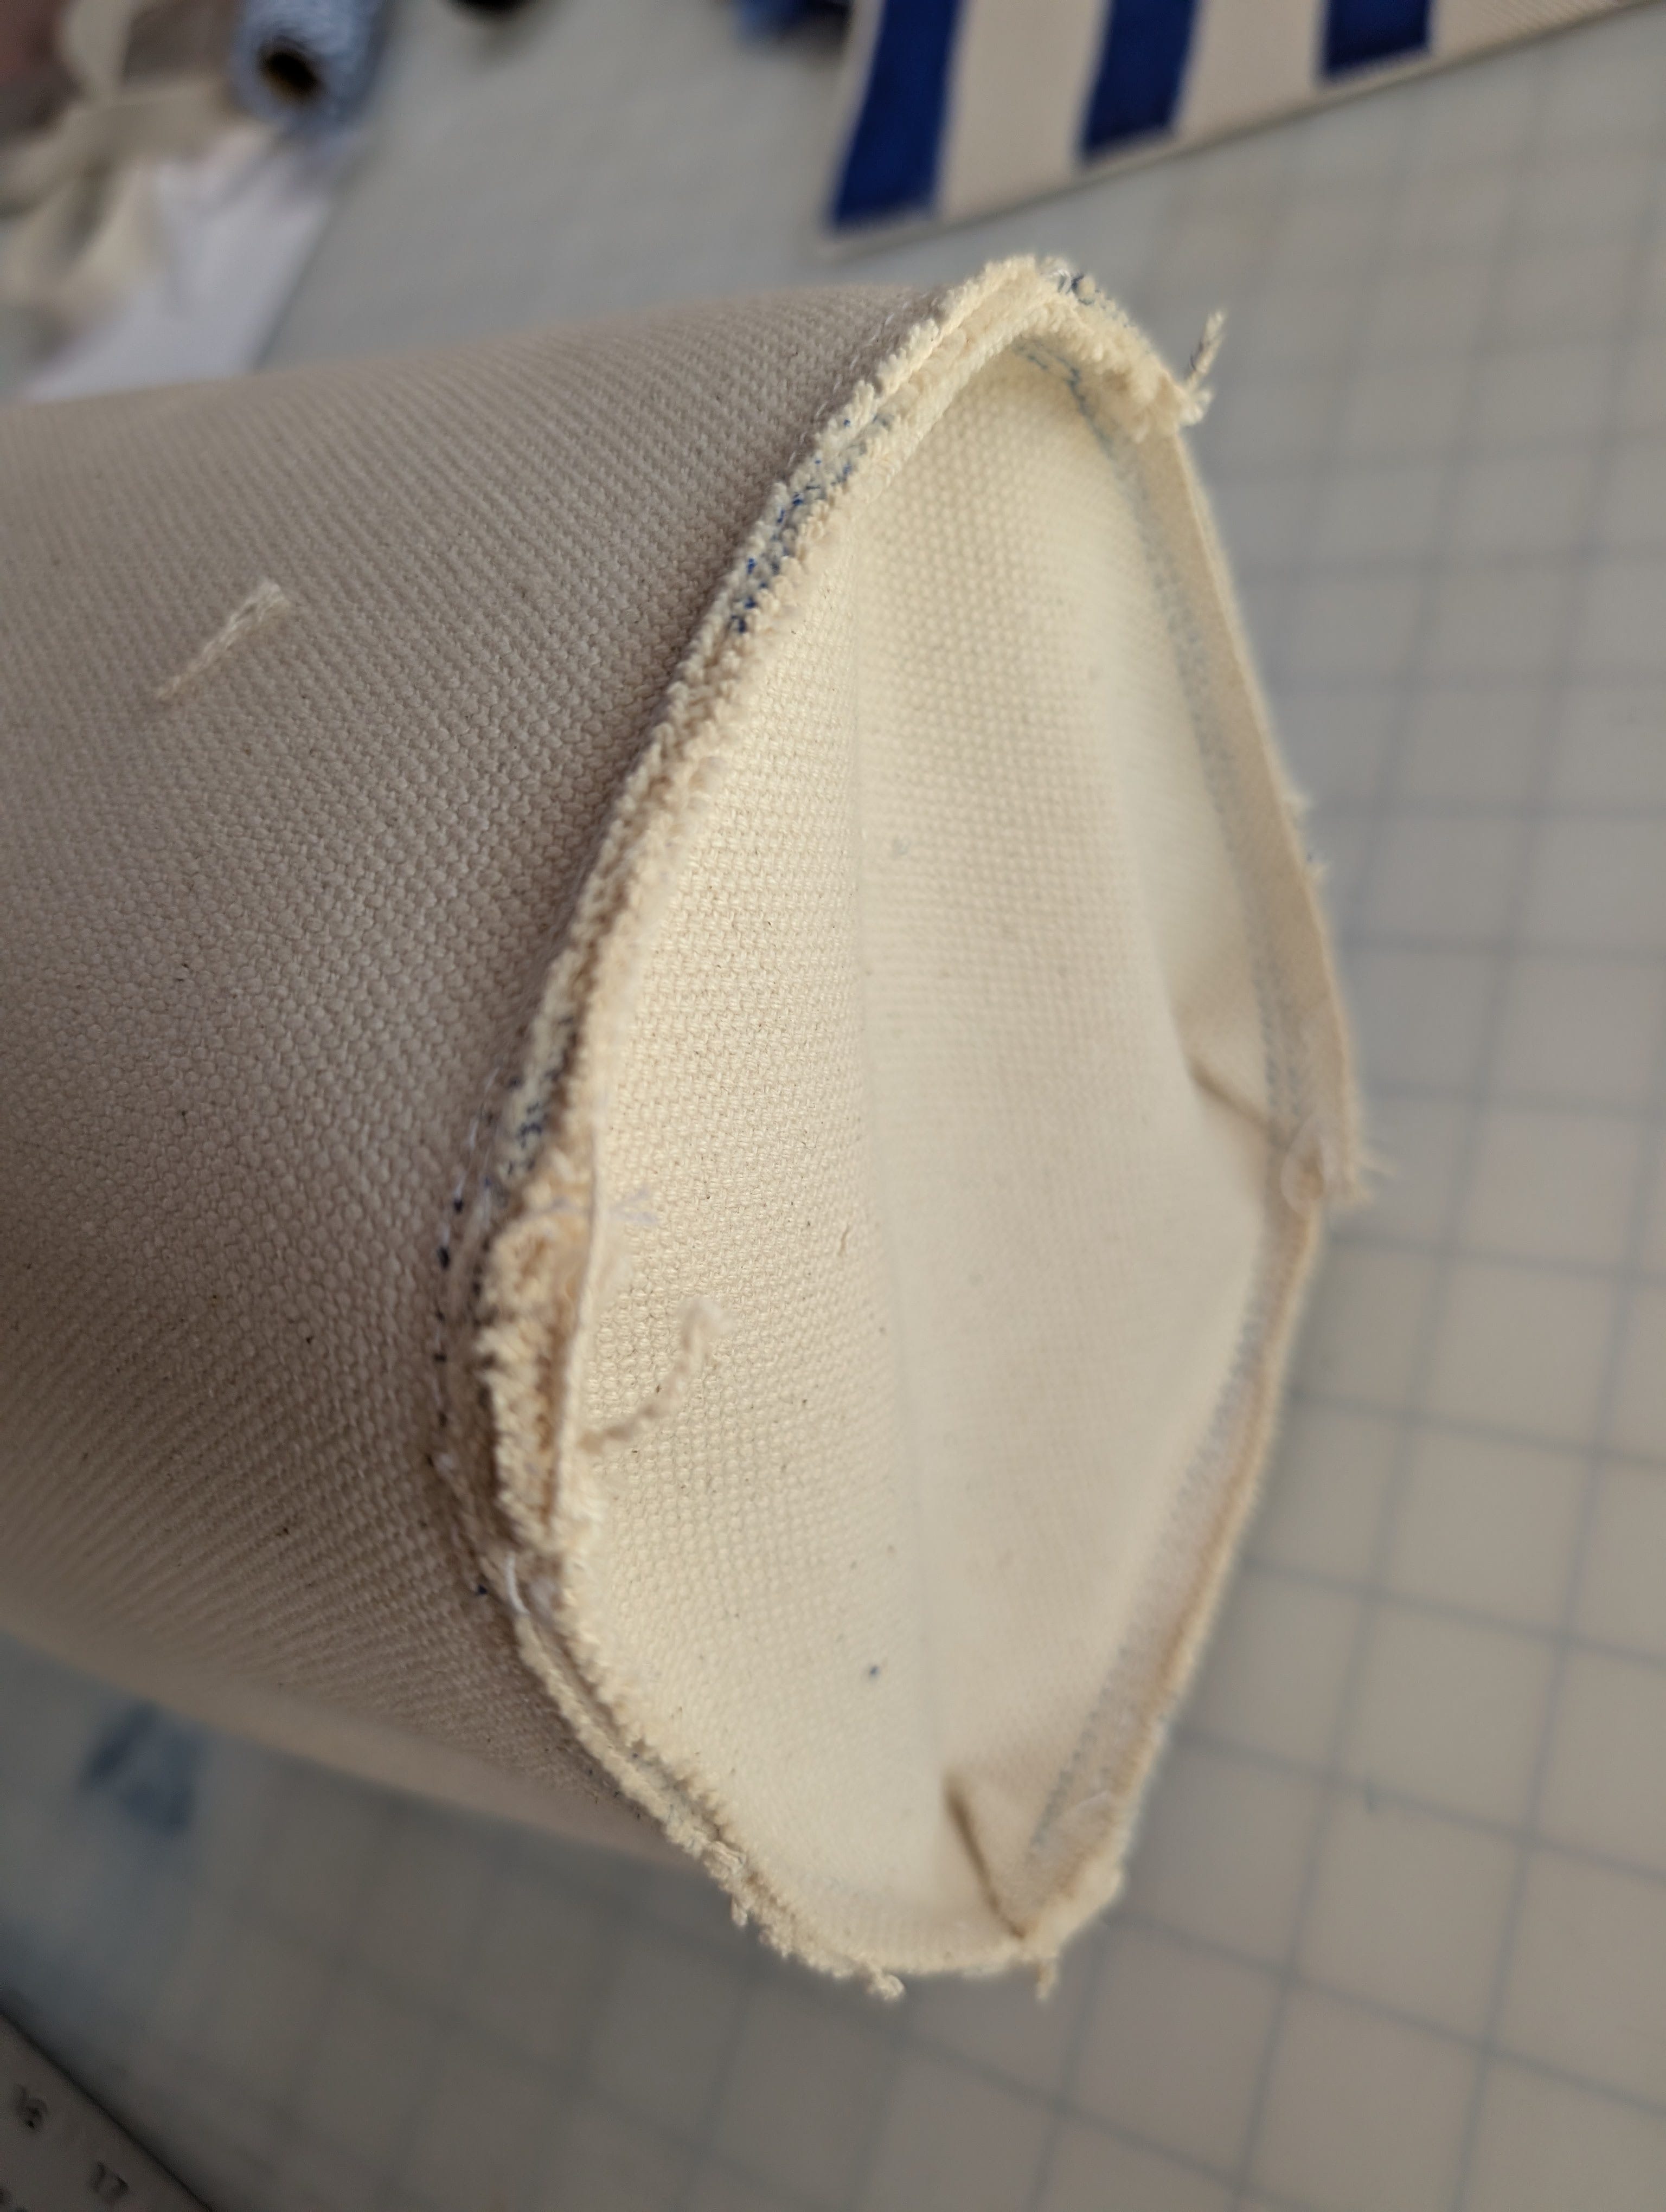
I highly recommend clean finishing the inside of this seam for a polished look. I didn’t because of fabric thickness…and I knew it would be completely hidden inside. Perfectionism didn’t win today!
Double fold the entry of the planter and stitch, or clean finish with a bias tape for a fun pop of color.
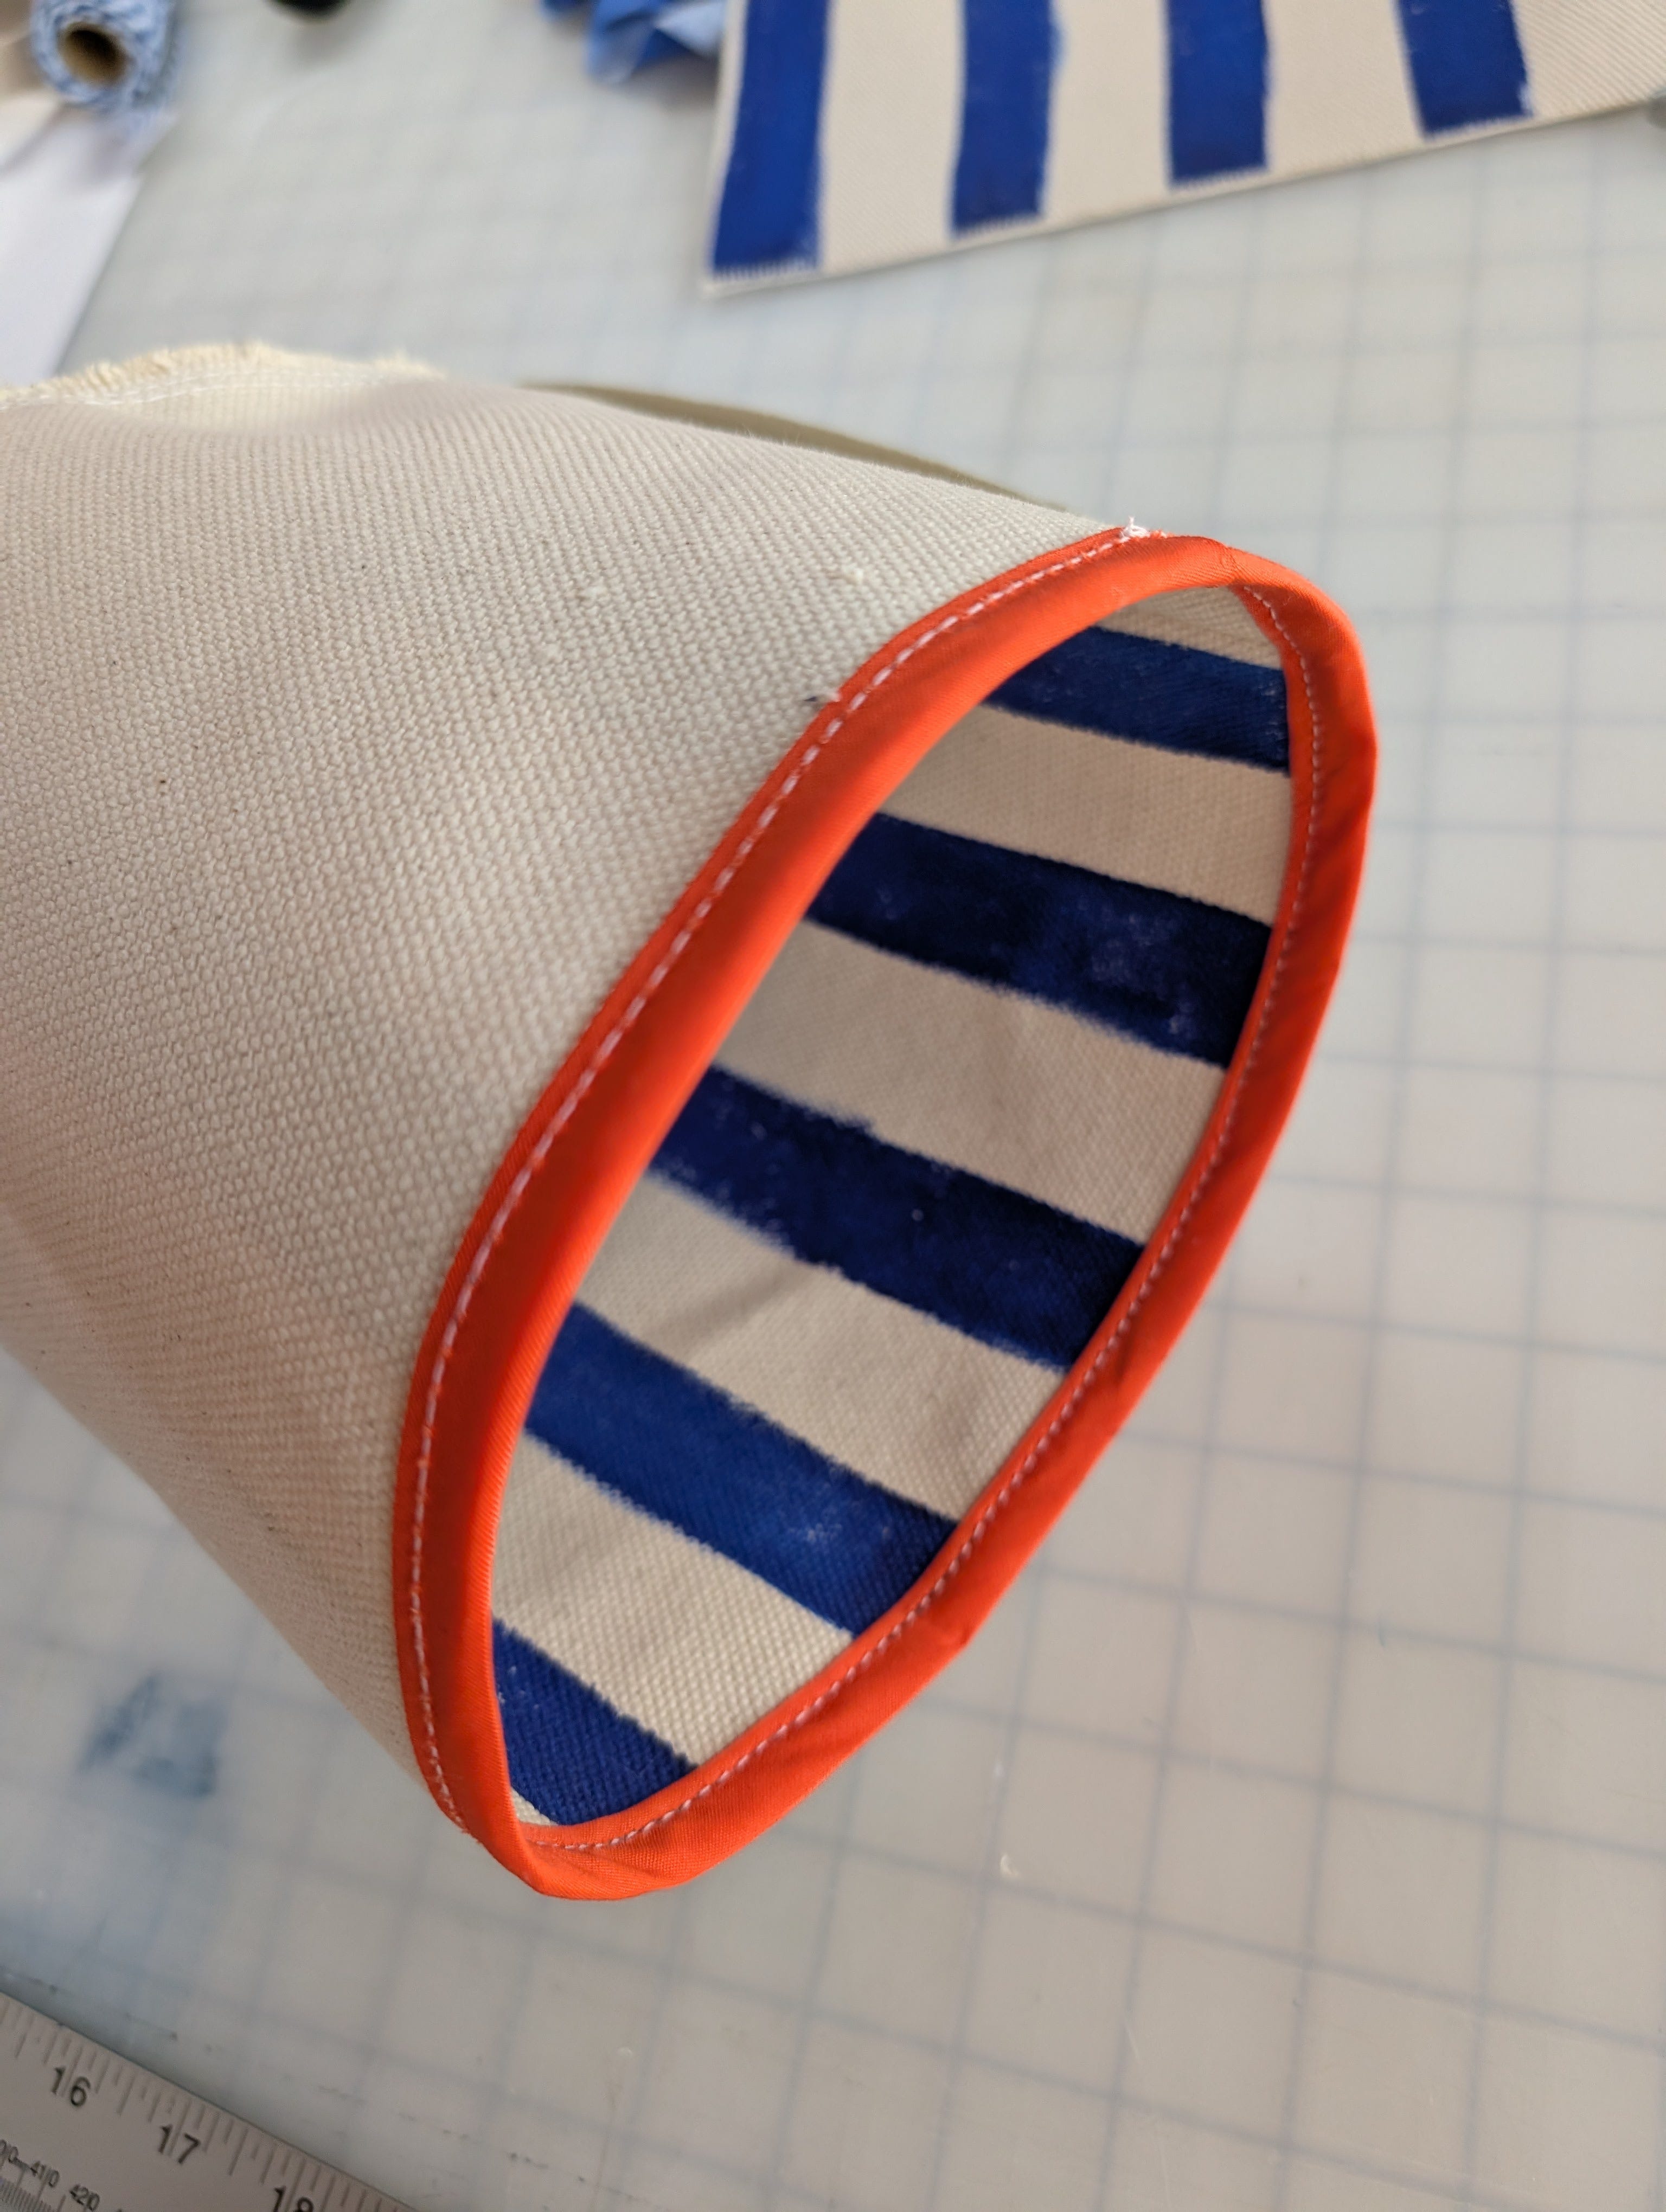
Turn right side out and enjoy!!
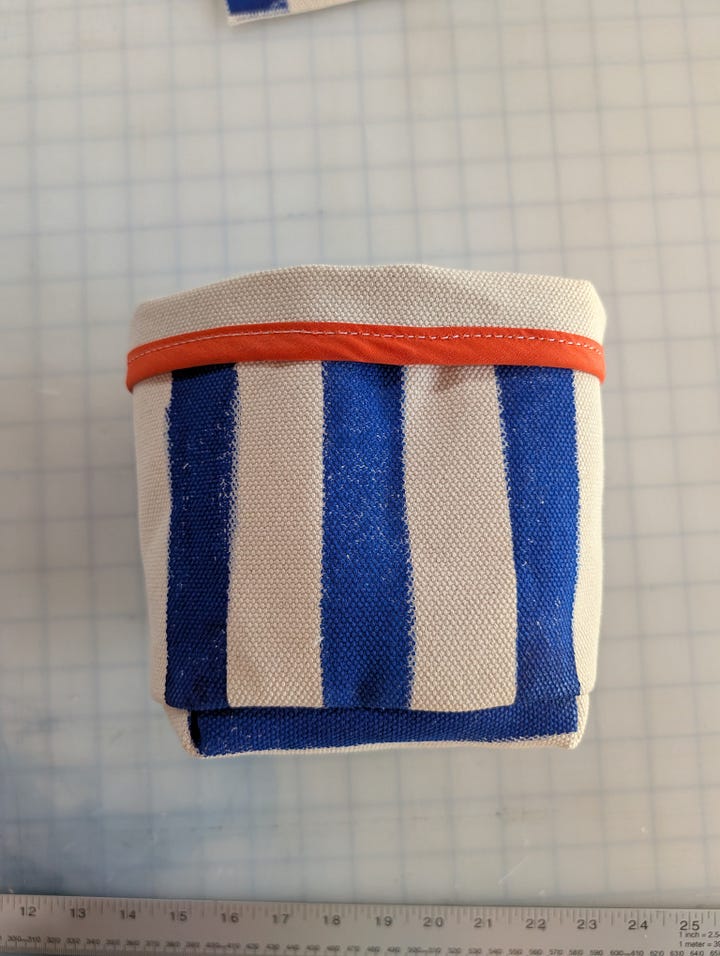
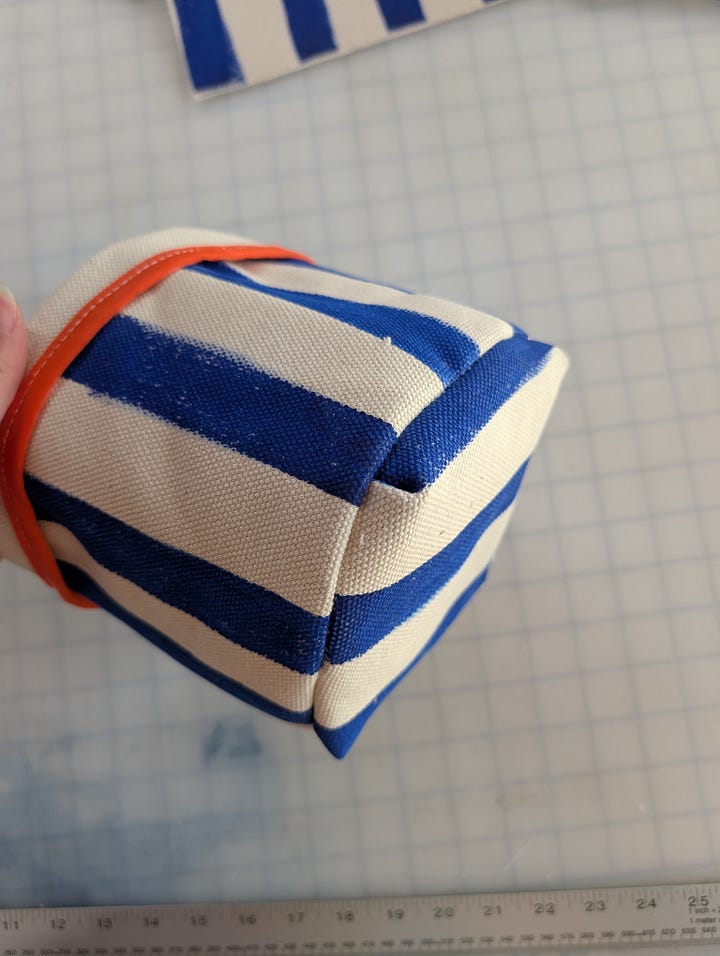
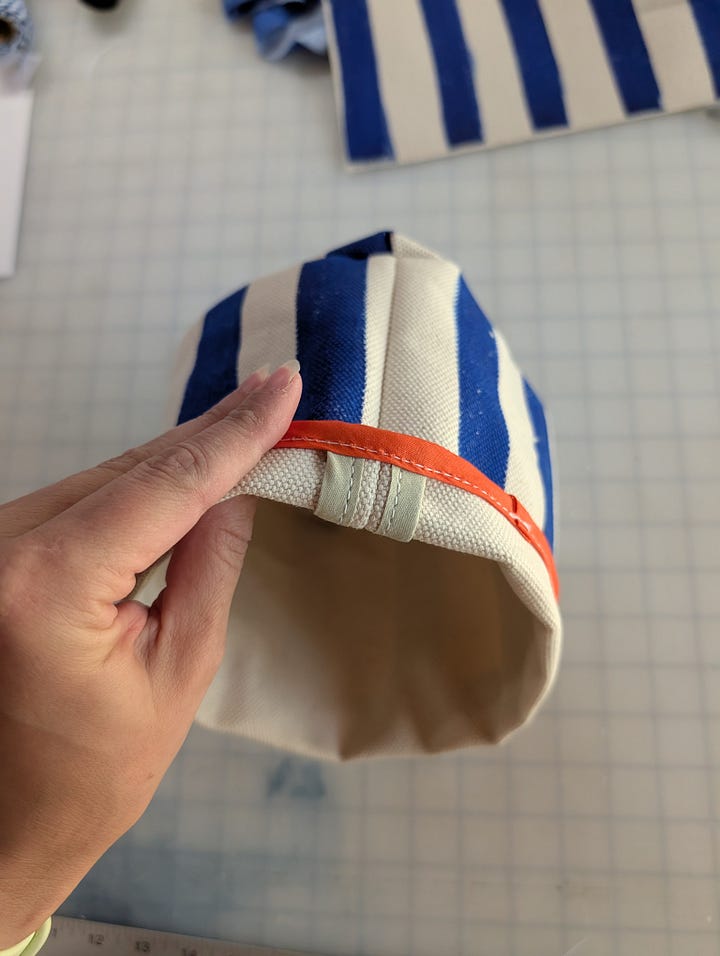
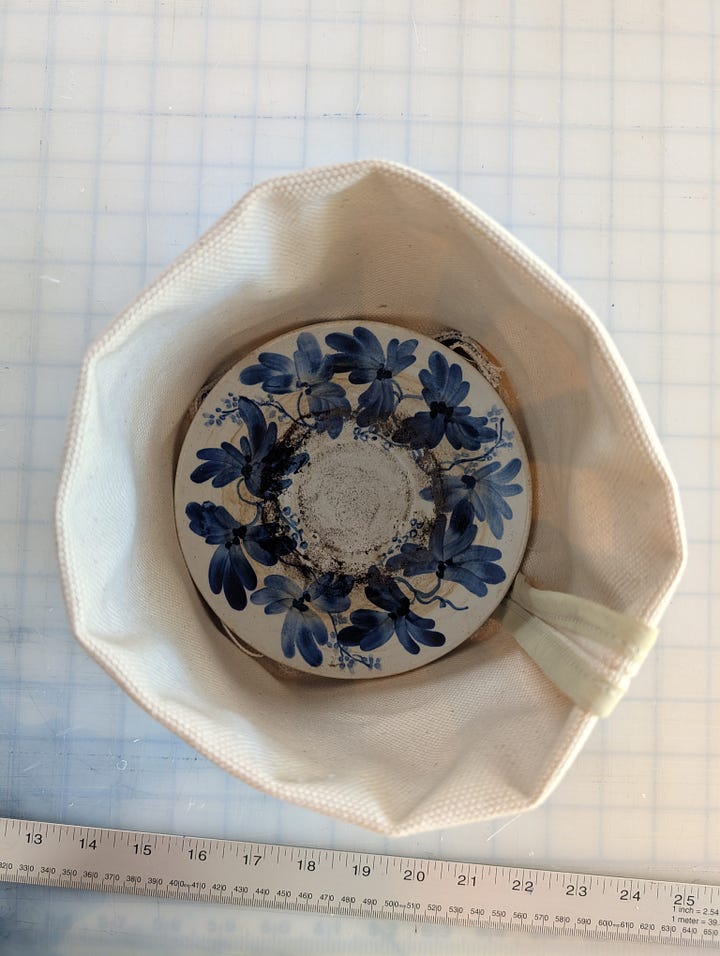
I use vintage plates as my water catch at the bottom, I chose one that was just slightly smaller than my measurements.
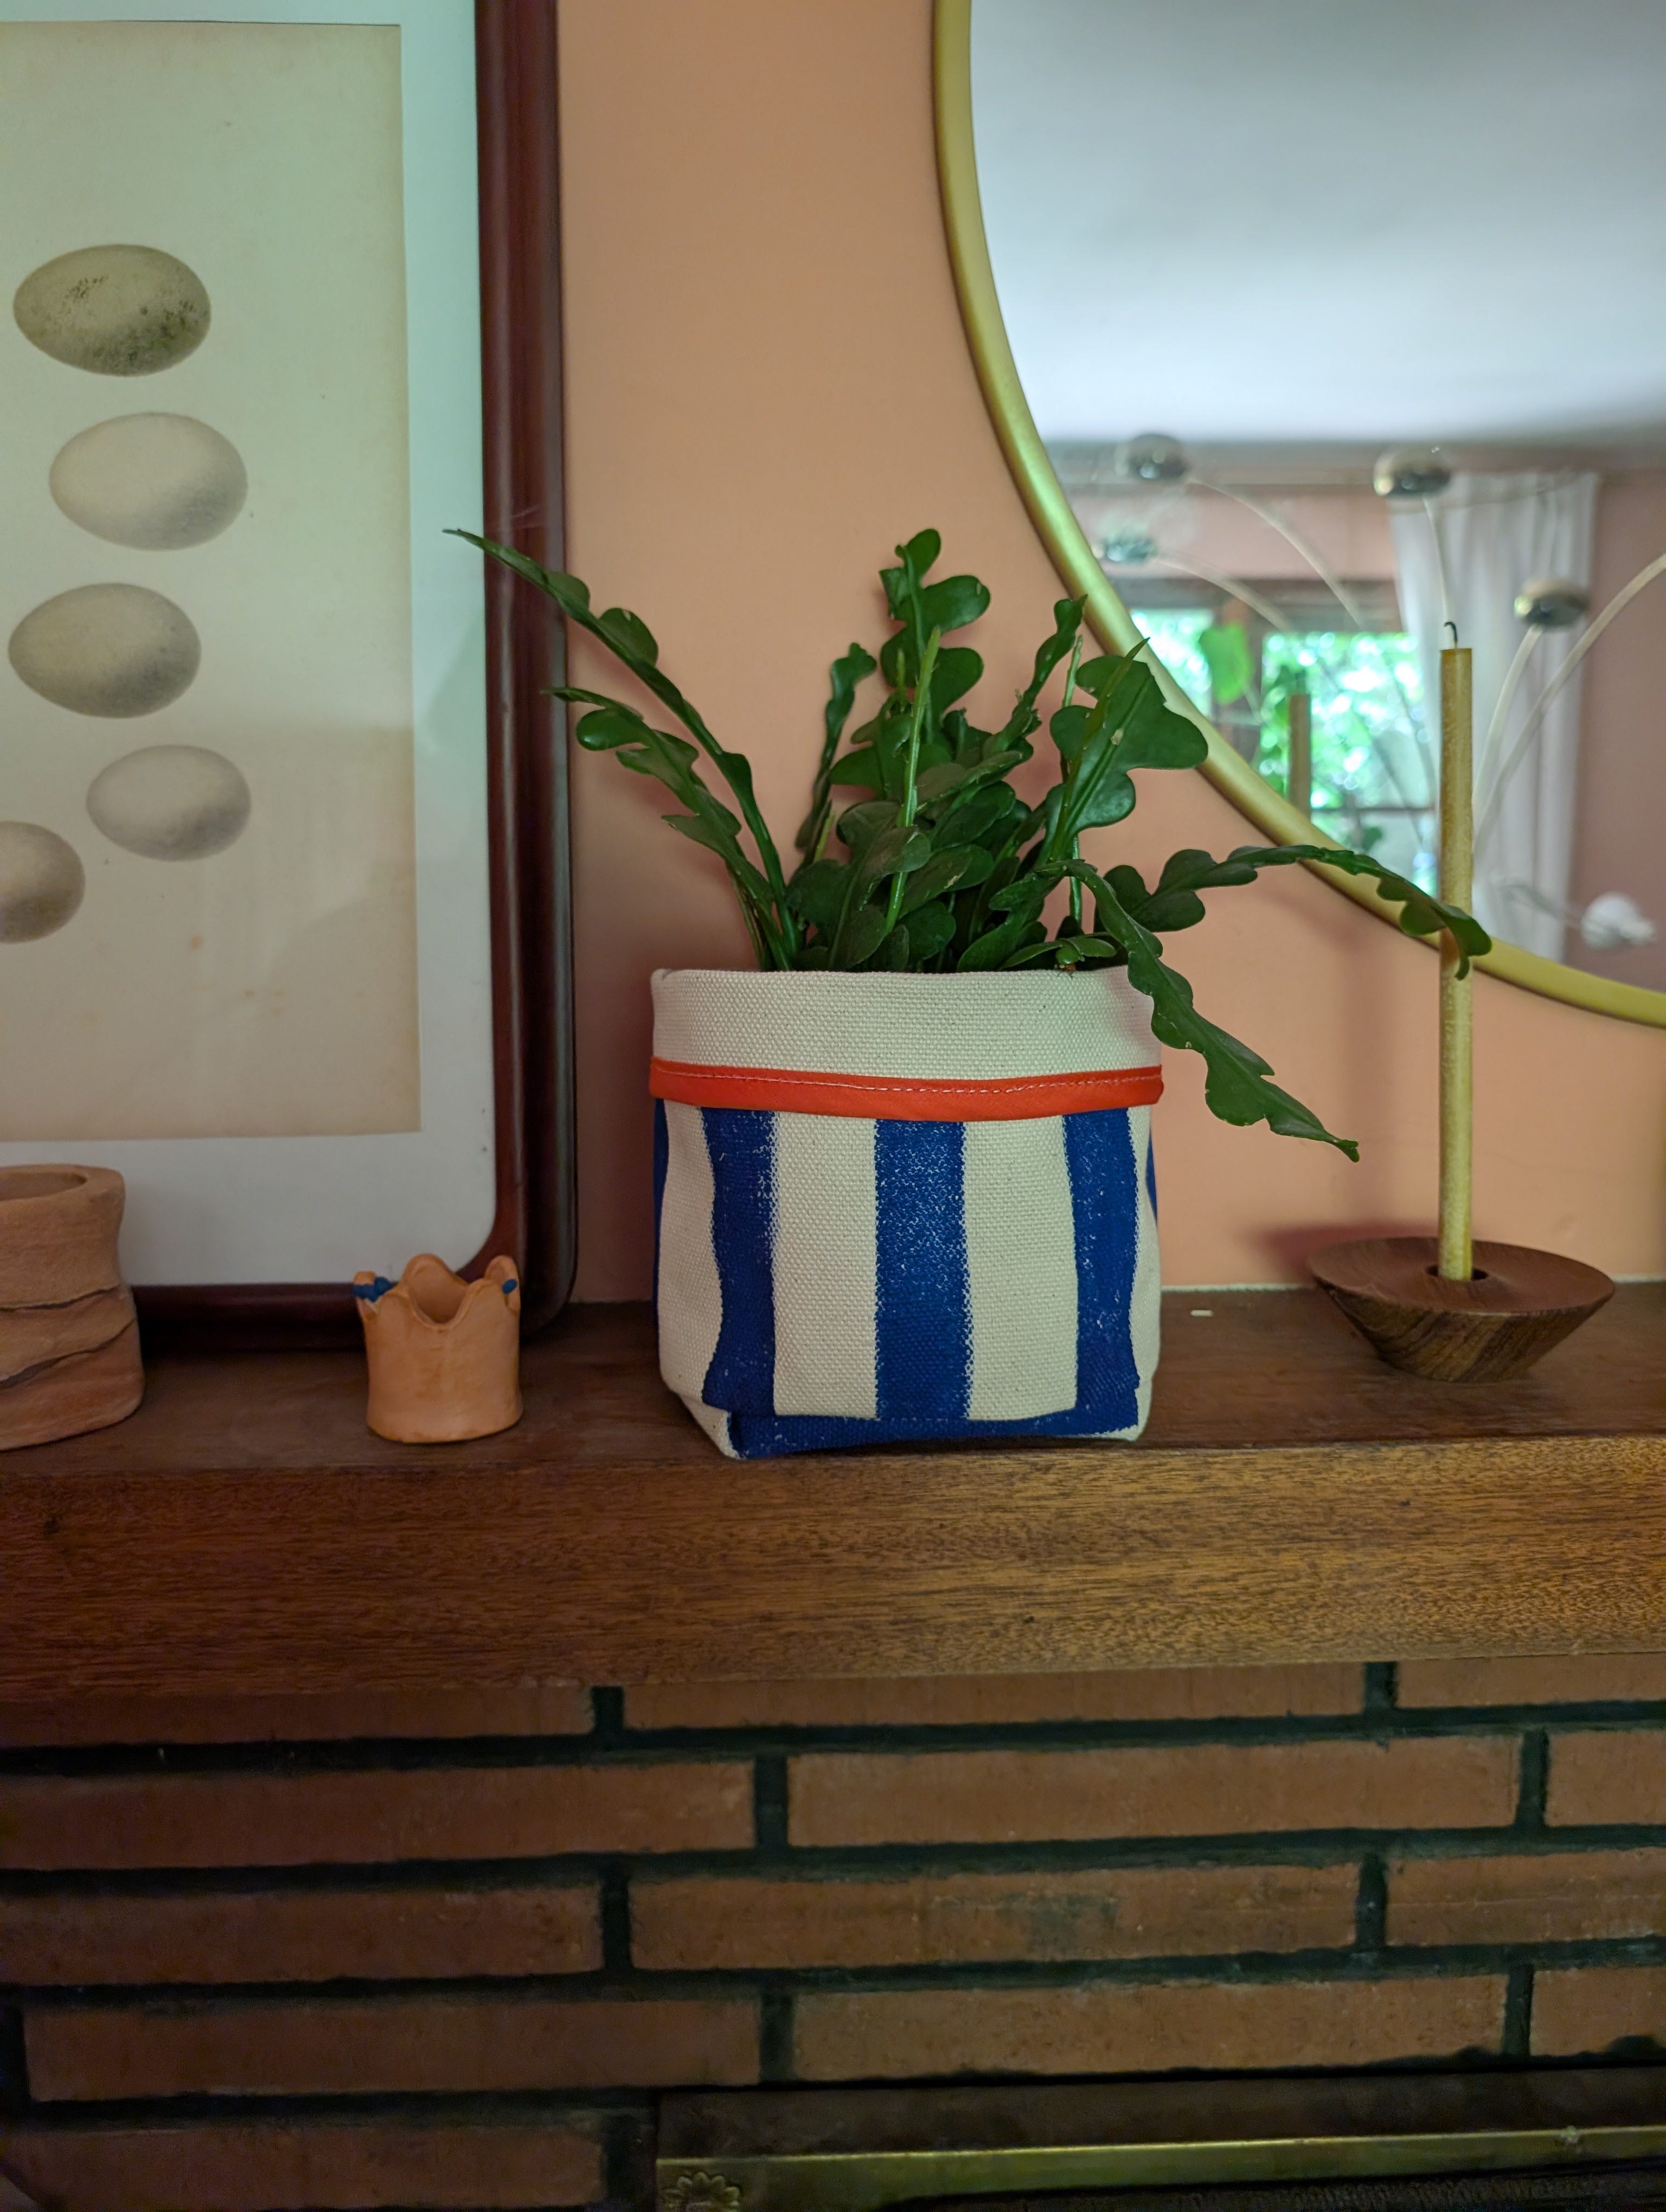
I really love how simple this project is, especially for larger plants when big pots get expensive!!
I hope you enjoy this project and please share your beautiful outcomes!
<3 Danielle
No posts
Comments
Nothing yet. Say the first thing.
Sign in to join the conversation.