
Month seven of the zero waste zine-club is here!
This one is a bit different and personal. For those of you that don’t know, I am a volunteer EMT! I spent 9 months rigorously training in a field that I was completely unfamiliar with. Though it was a challenge, it was a great experience and I’m grateful to have the lifelong skill.
This kit is a perfect collision of my passion of sewing with the practical nature of a simple first aid kit. Everyone should have on on hand, especially over the summer. With more outdoor adventures and free time comes many more bumps and scrapes!
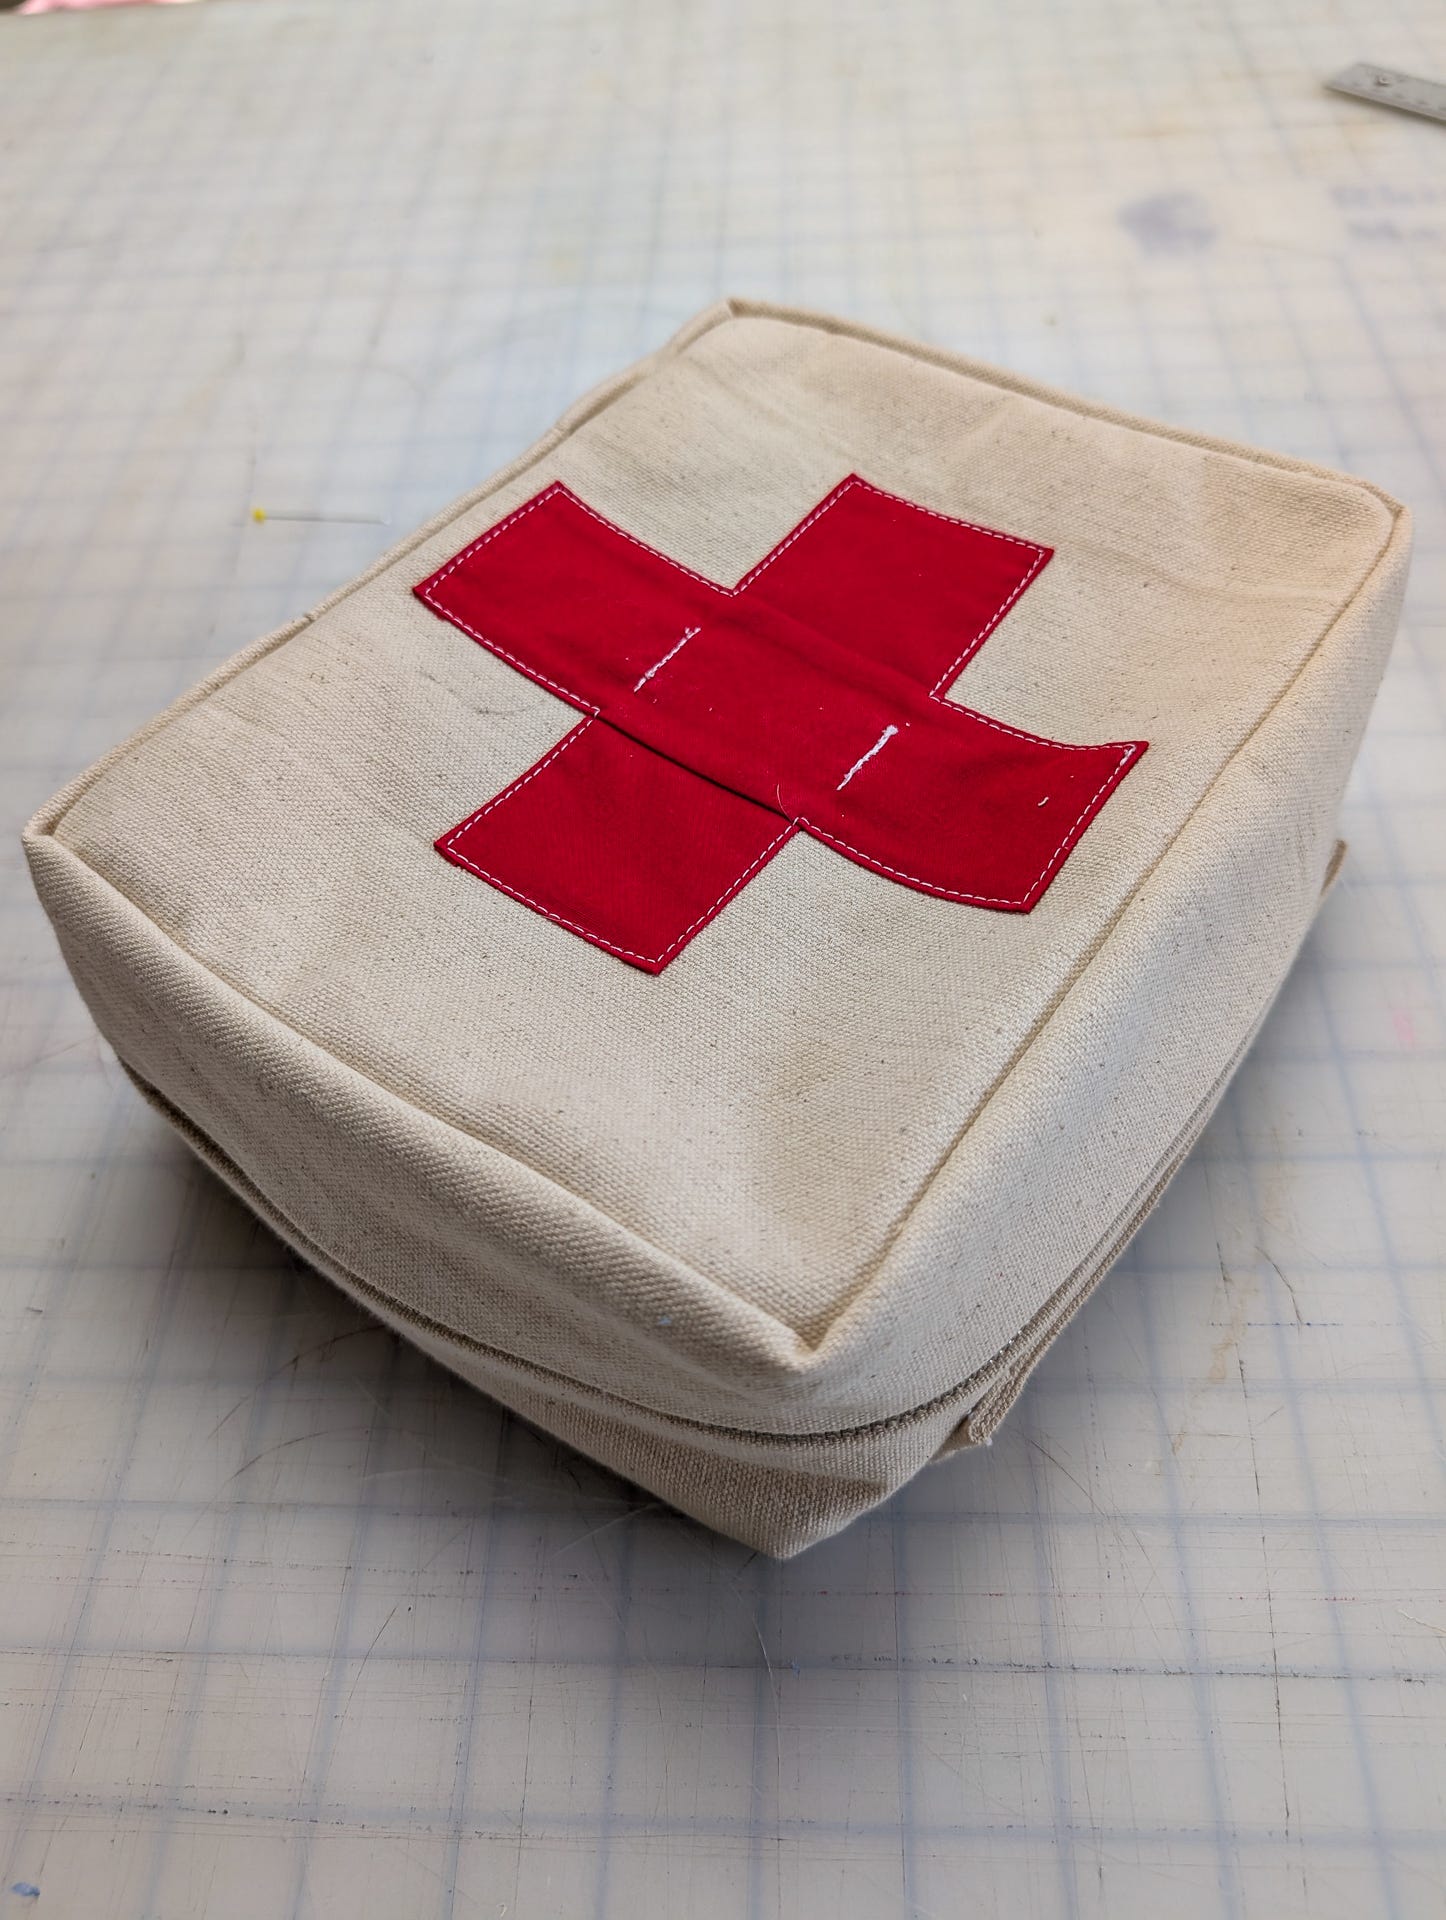
The Zero Waste First Aid Kit is comprised of rectangular pattern pieces that close with a zip, featuring elastic panels to keep your gear in check. The pattern can of course be repurposed as a bag for anything, but a first aid kit is something everyone should have!
Ingredients for a basic first aid kit:
Shears for cutting gauze, tapes, or clothing to access wounds
Bandages in a variety of sizes
Sterile gauze pads
Roller bandages
Adhesive tape
Antibiotic ointment /wipes
Disposable gloves
Instant cold pack
Mini flashlight
This is also my plug that everyone should know CPR. Take a class and get certified! You could save someones life.
Anyway. To the pattern!
As per usual, I designed the first iteration in Clo3D to test out scale and proportion.
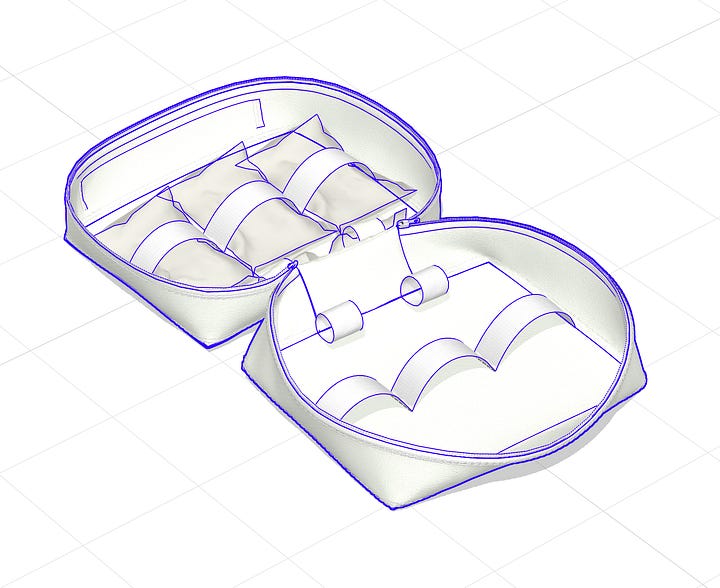
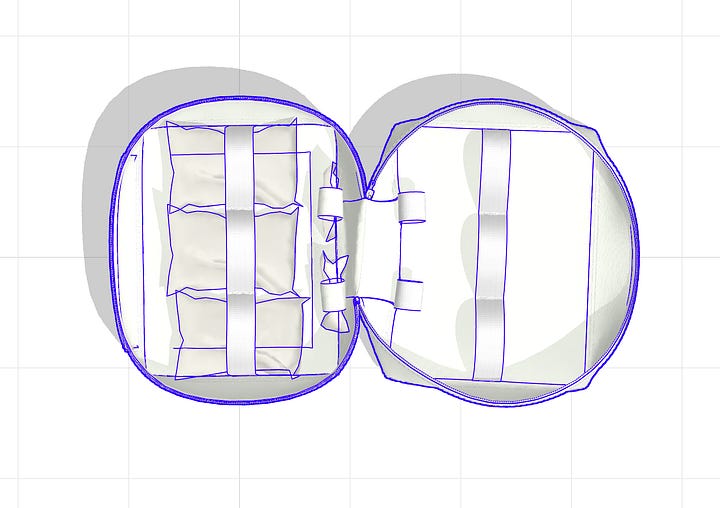
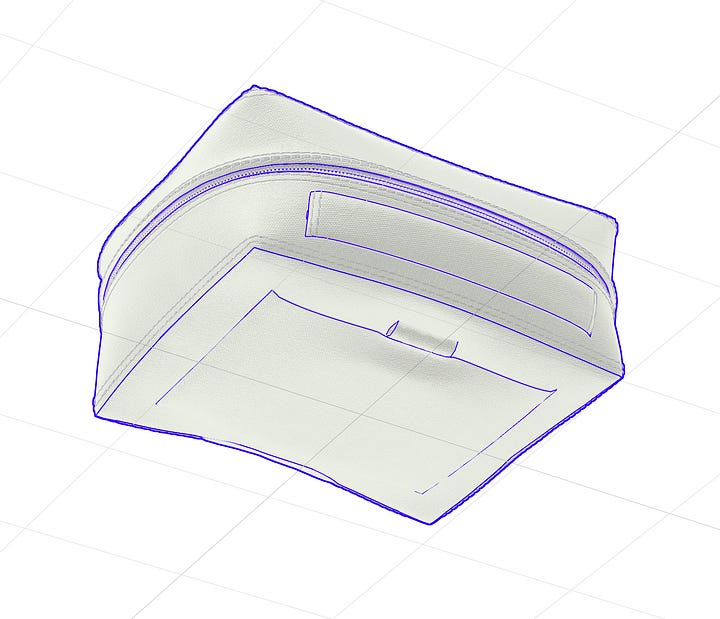
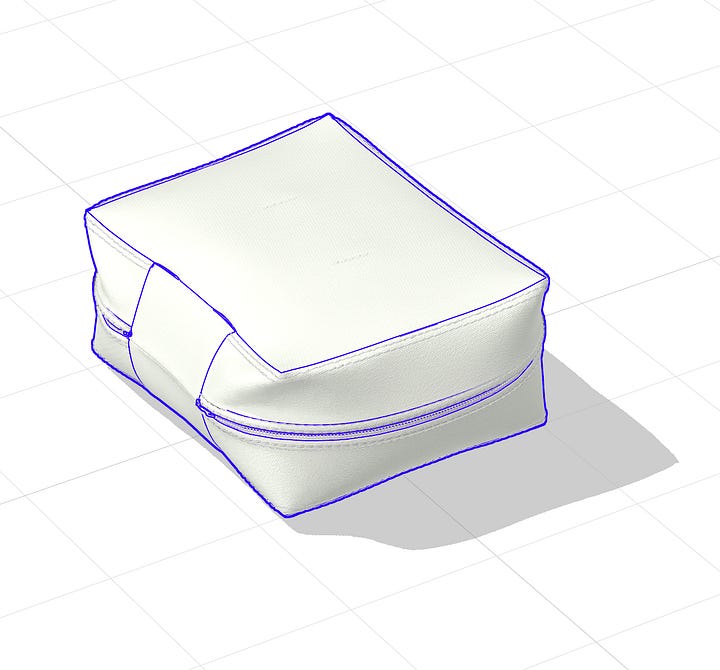
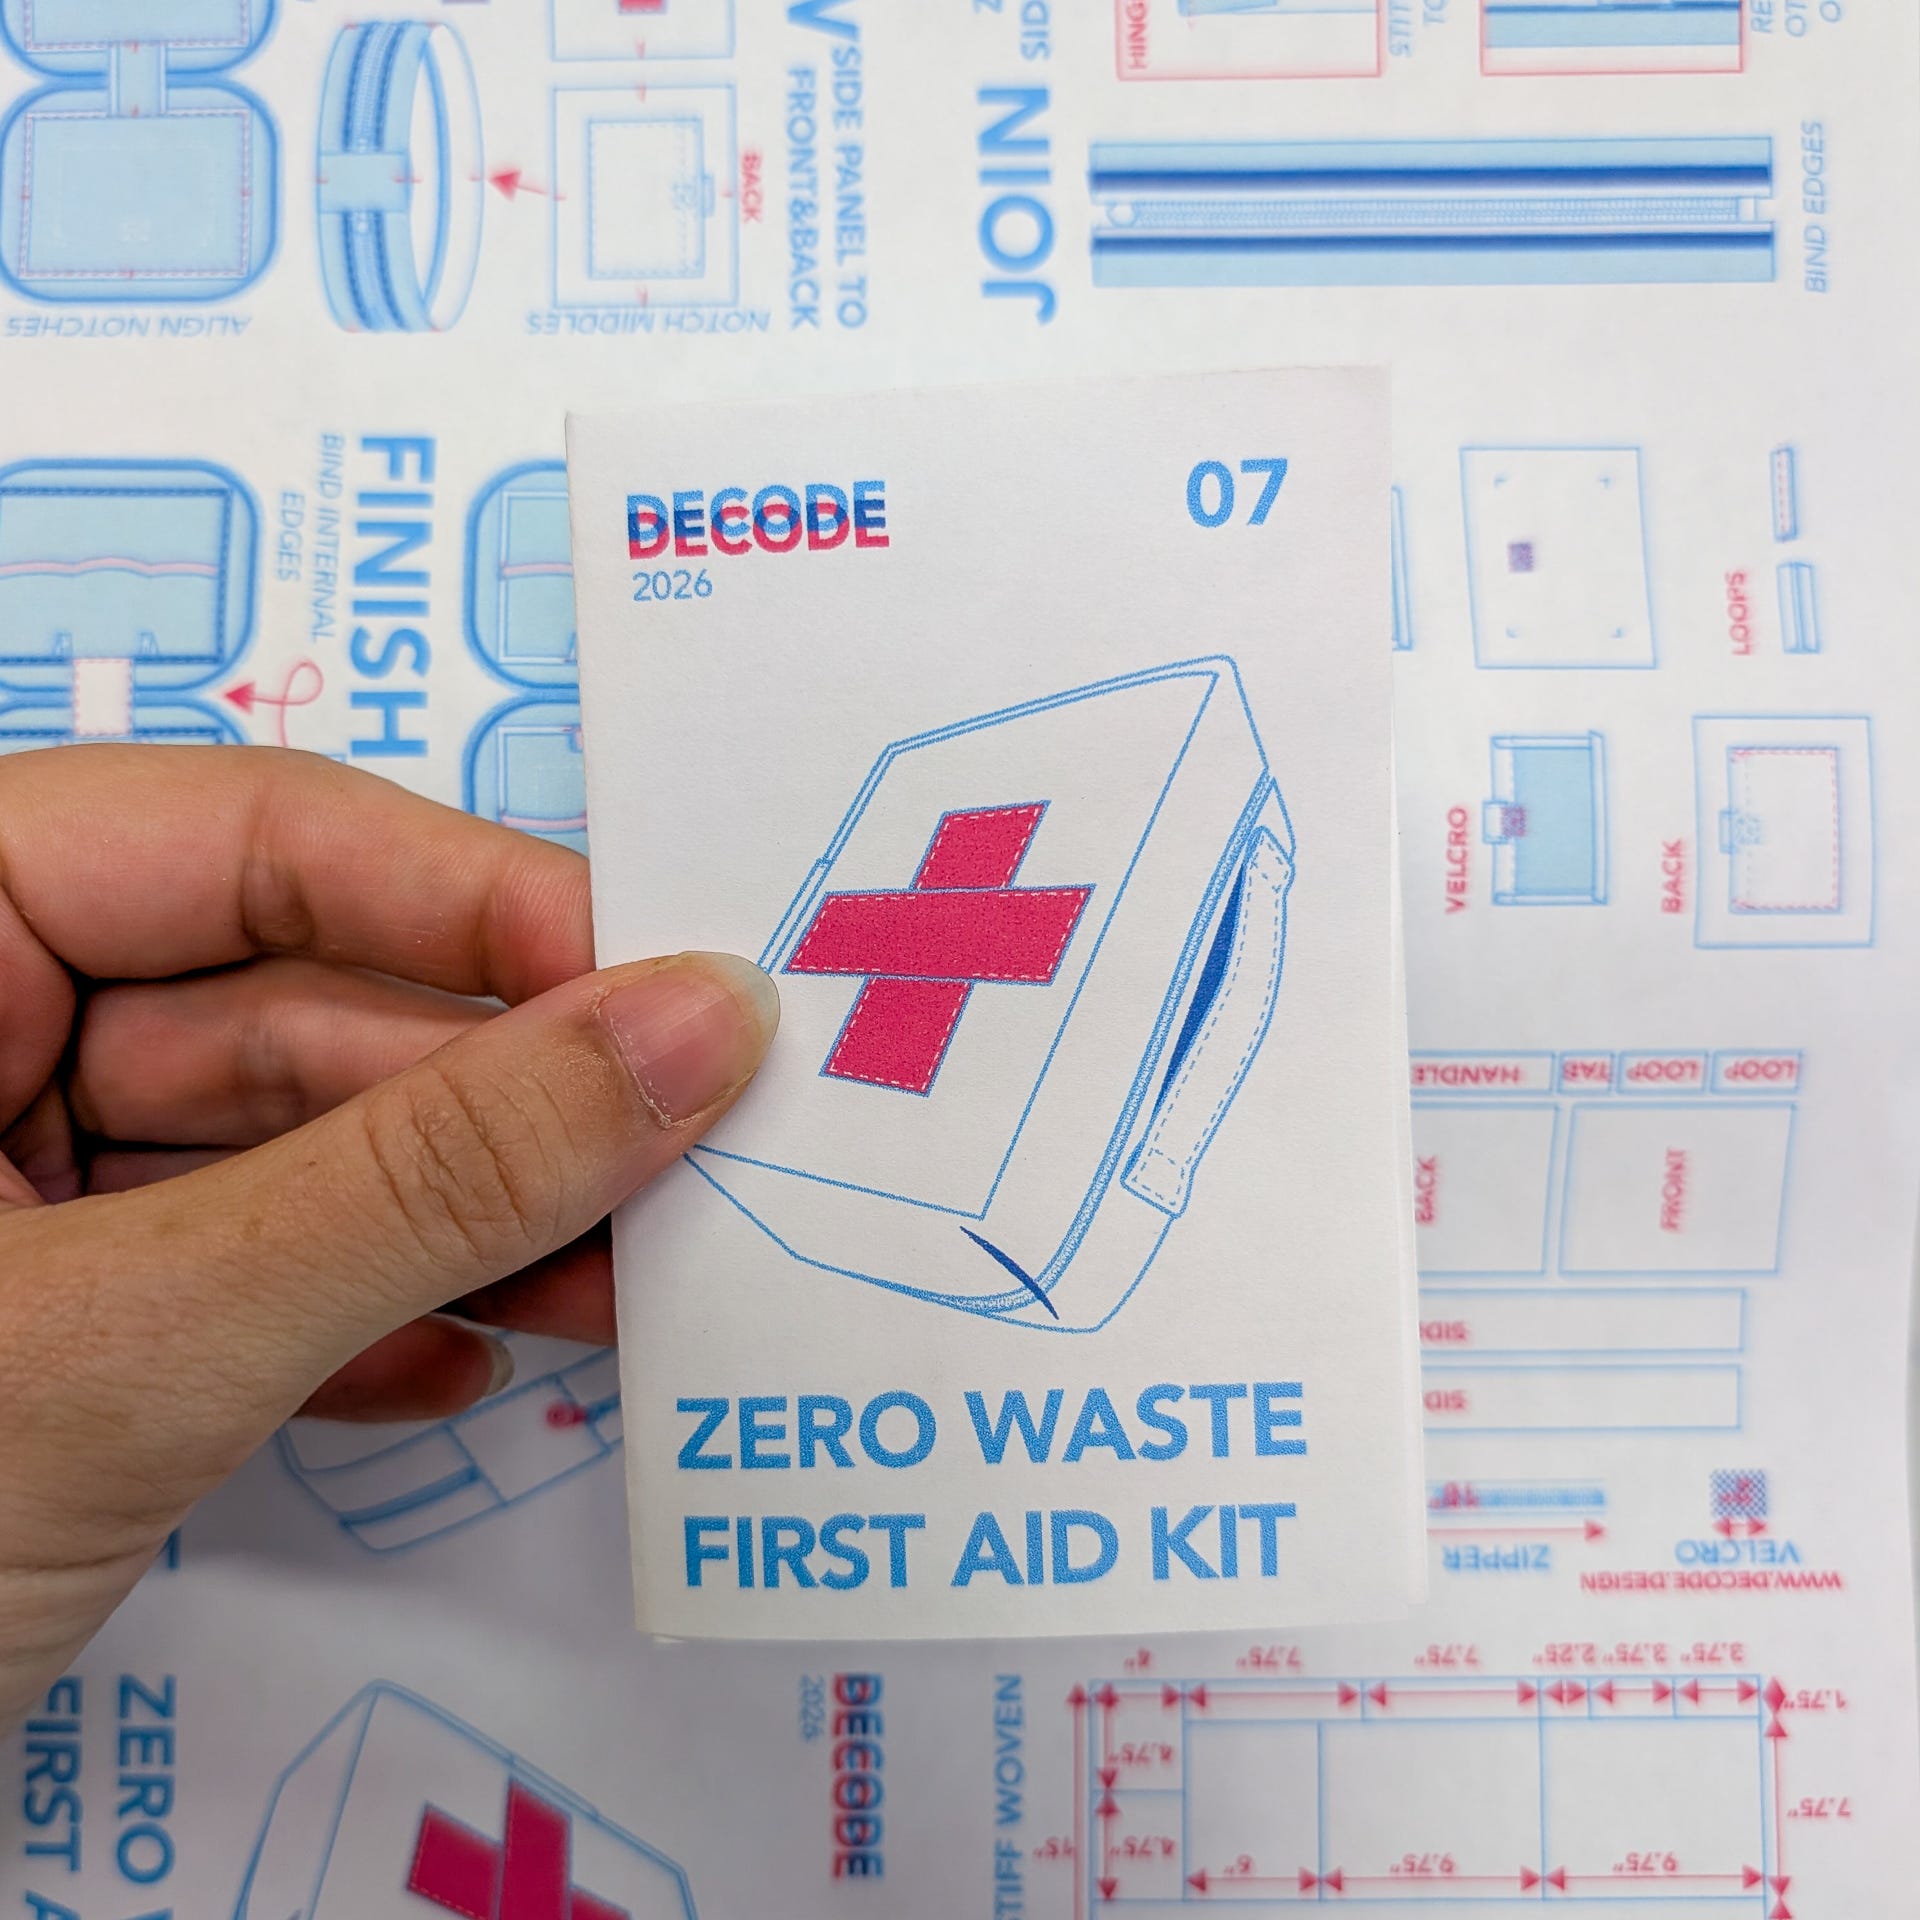
The physical copy of the mini Riso-zine I developed for this project is available for $12 here: RISO_ZINE_07
The digital copy of the zine that can be printed can be found here for $9: Digital Riso Zine
Please note - you will not be able to complete the first aid kit as shown in these instructions without purchasing the zine as listed above. All measurements can be found in the downloadable PDF.
Note - For those who may be frustrated by this - I’m sorry! While I try to make everything as accessible as possible, I do need to make a living. If you are having trouble making ends meet but would like to complete this (or any other of my patterns), please reach out directly and we will figure something out.
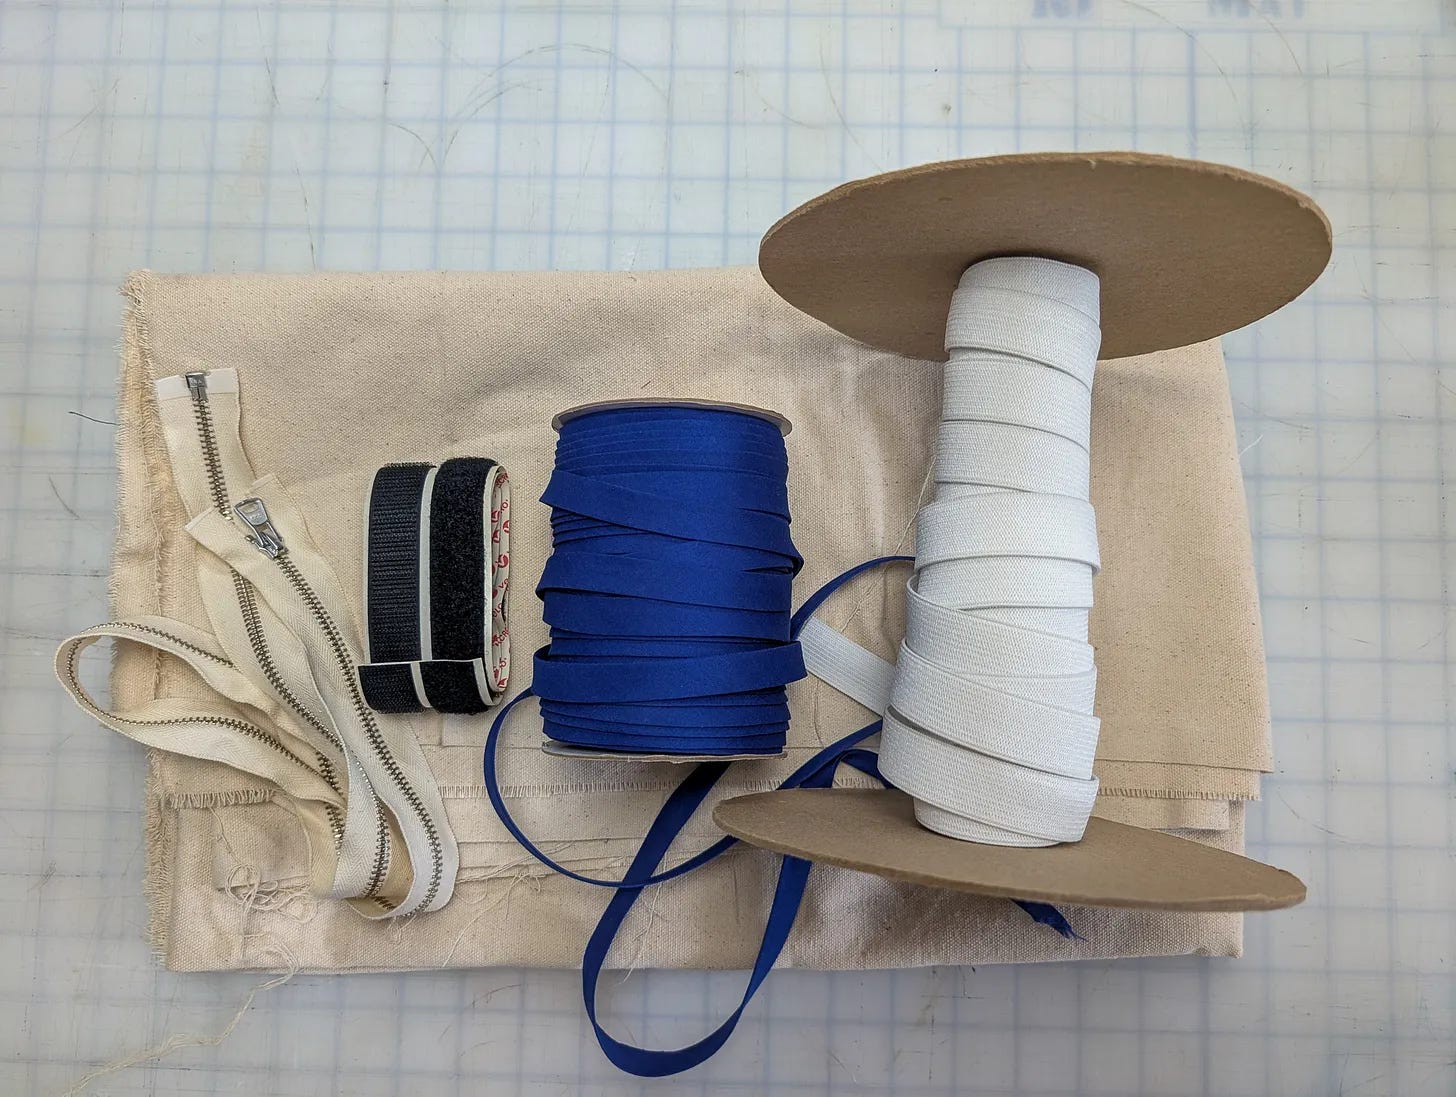
100% woven cotton/denim, something with some stiffness. I actually used this project as a stash busting project - I had a lot of misc rectangles left over from another project and cut them down to size. You can of course, as always, mix and match fabrics, or scale up or down to the size you like.
*Edit - I have made metric measurements available for our friends who don’t use imperial! Going forward I will make both measurements available.
(1) 29.5” x 15” (75 x 38 CM) Rectangle
30”(76 CM) of 1”(2.5 CM) elastic, divided into (2) 12”(30 CM) pieces and (2) 3”(8 CM) pieces
~28”(45 CM) Zipper (minimum, I used a longer one and tucked in the end)
~4 YDS (3.5 M) of bias tape (optional but suggested for a clean finish)
2”(5 CM) of 1”(2.5 CM) velcro
Note - this project has .4”/1 CM seam allowance included.
OPTIONAL - RED CROSS DETAIL (0.25” SA for cross only)
(1) 2.5”(6.5 CM) x 6.5”(16.5 CM) rectangle of red cotton fabric
(2) 2.5” (6.5 CM) squares of red cotton fabric
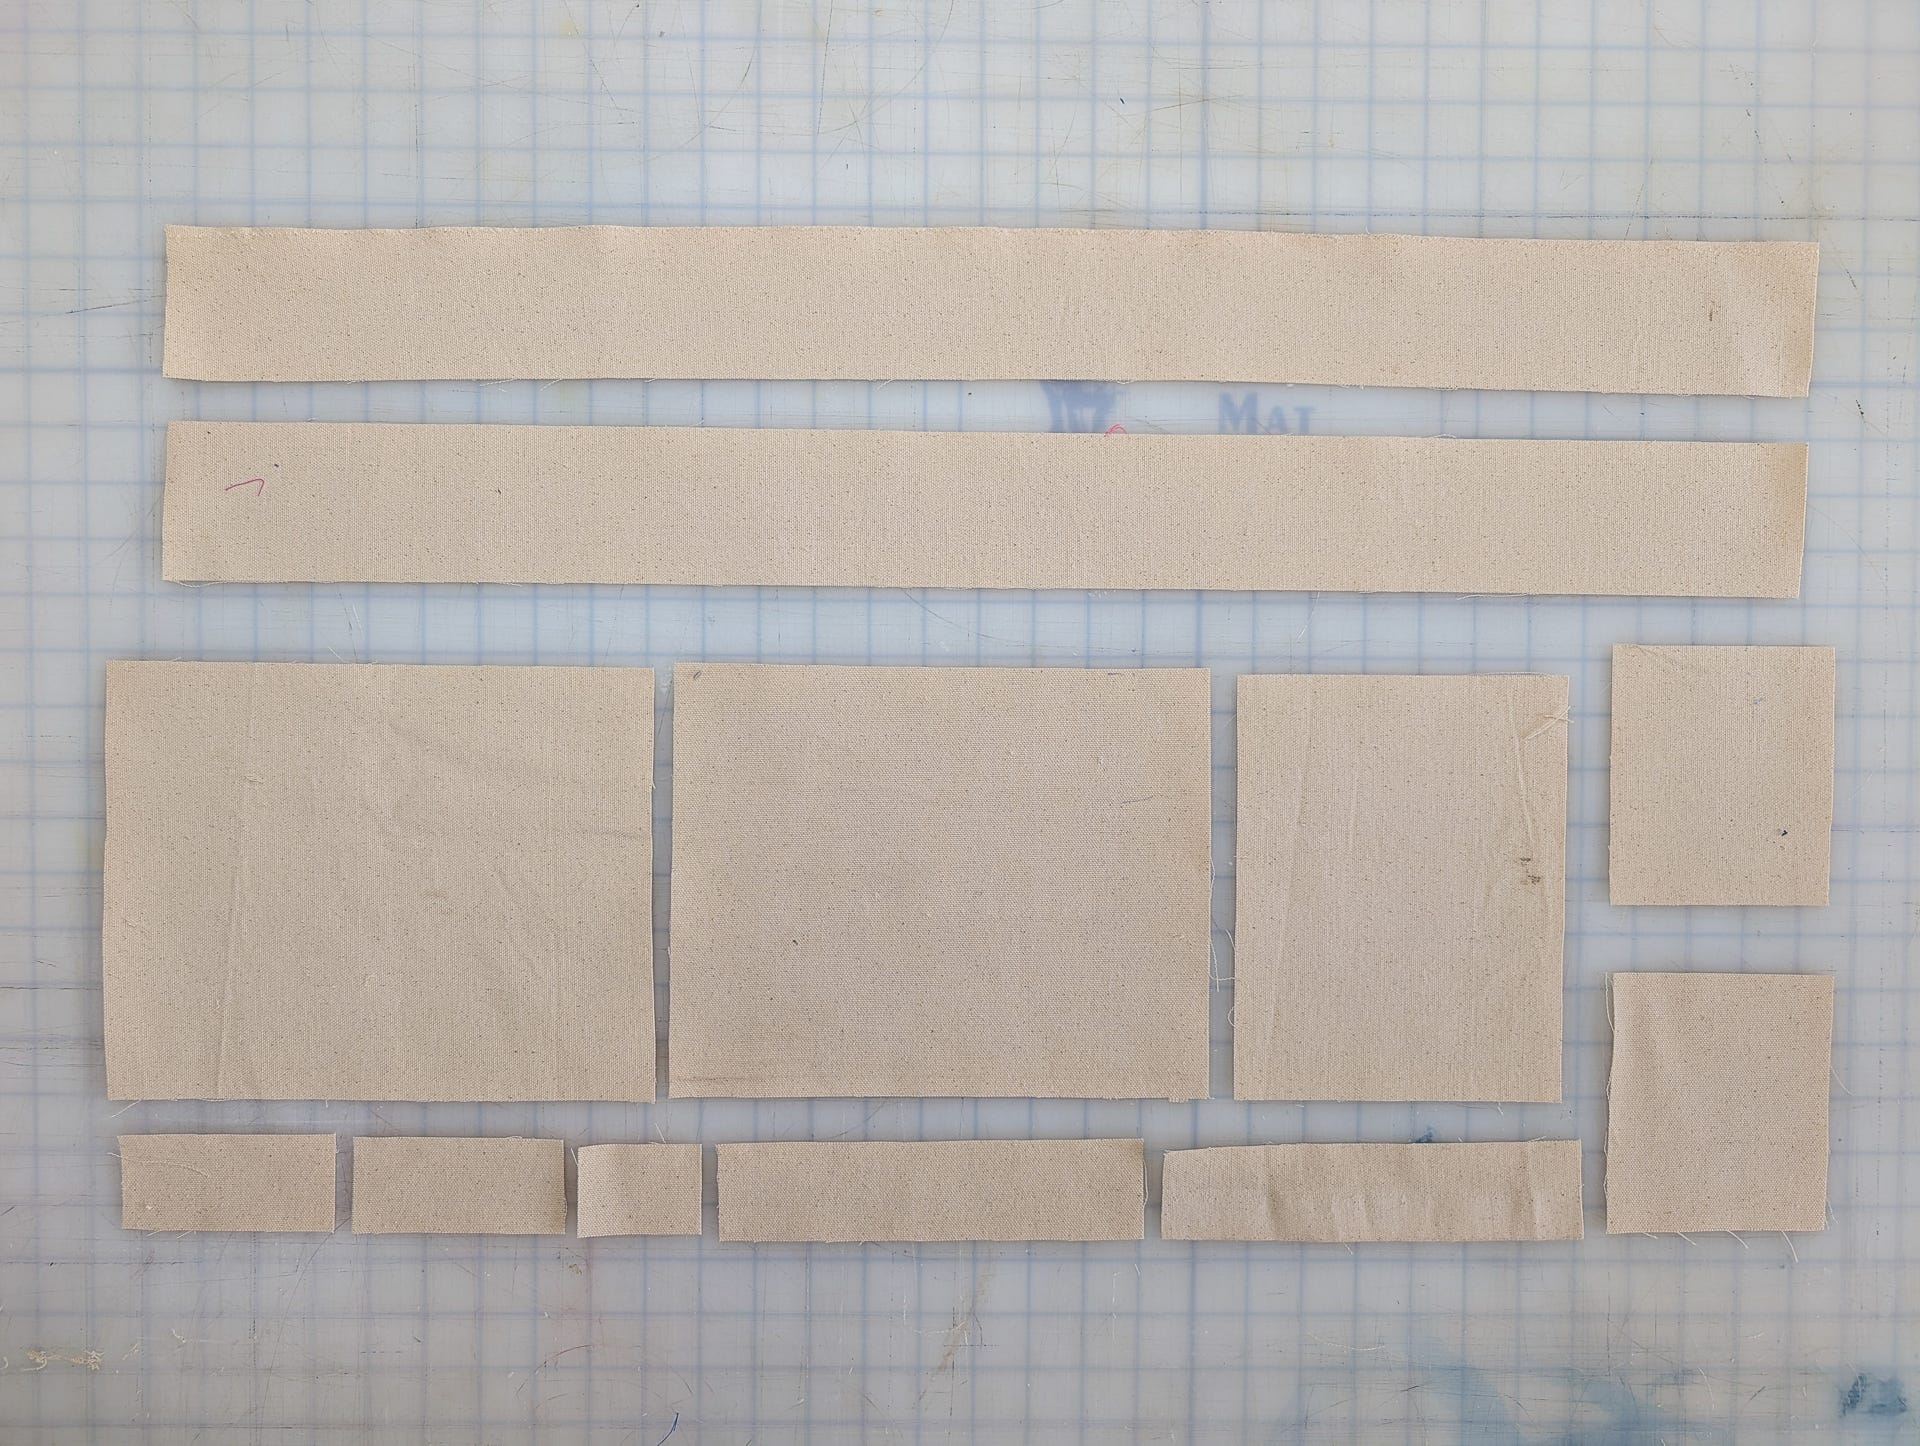
Cut the panels to the measurements as shown in the zine instructions. (Note - you will not be able to complete this project past this point without purchasing the zine as listed above. Unless you’re very clever and want to figure out the math yourself.)
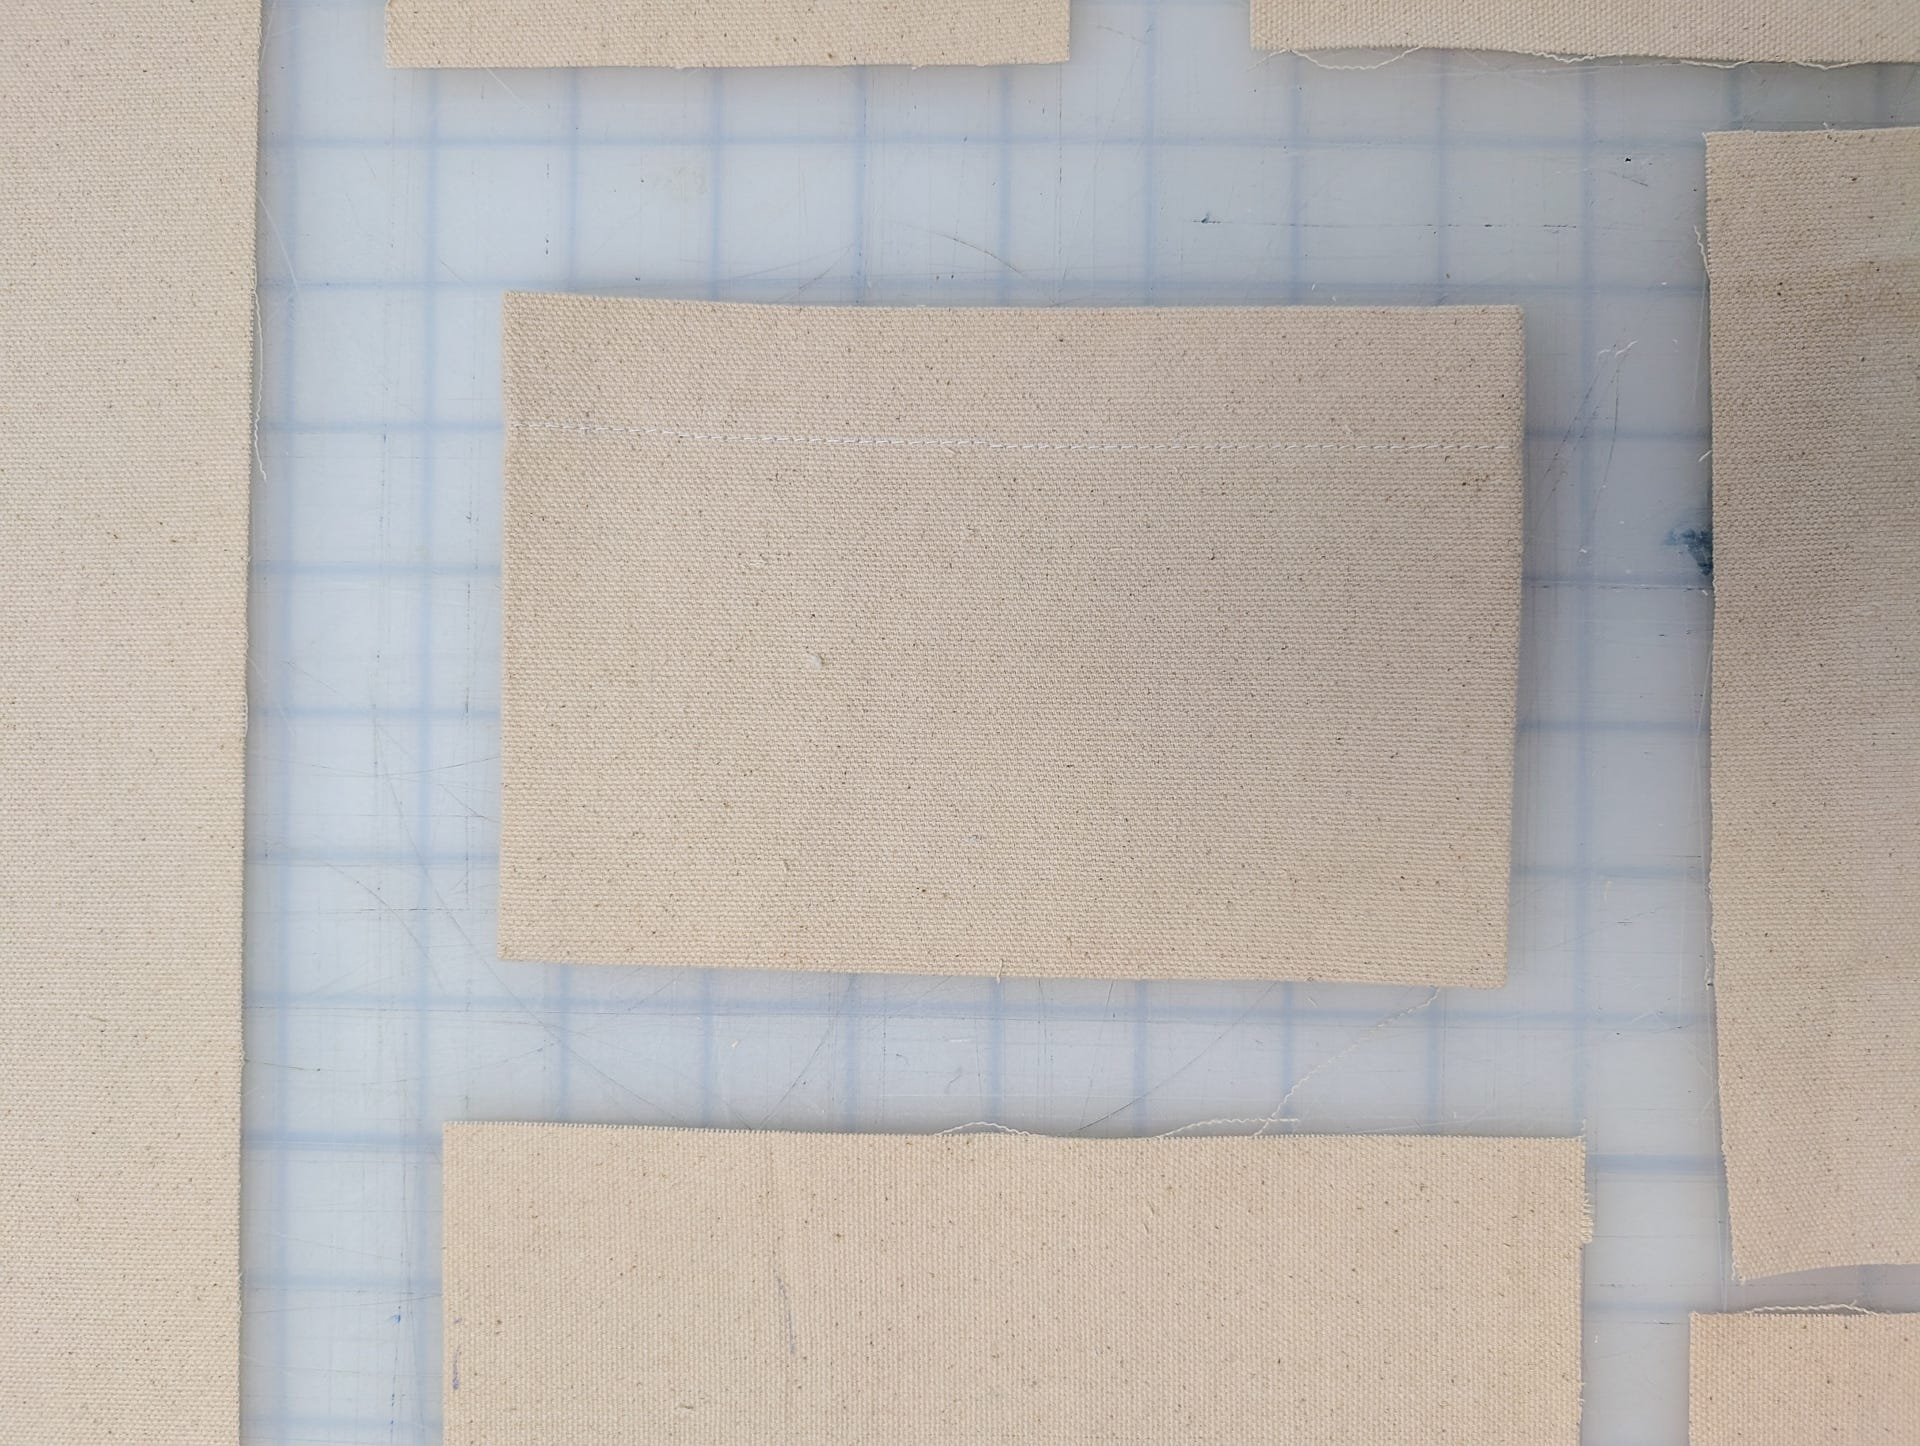
Fold down 1”(2.5 CM) for the pocket opening turn back, iron, and stitch.
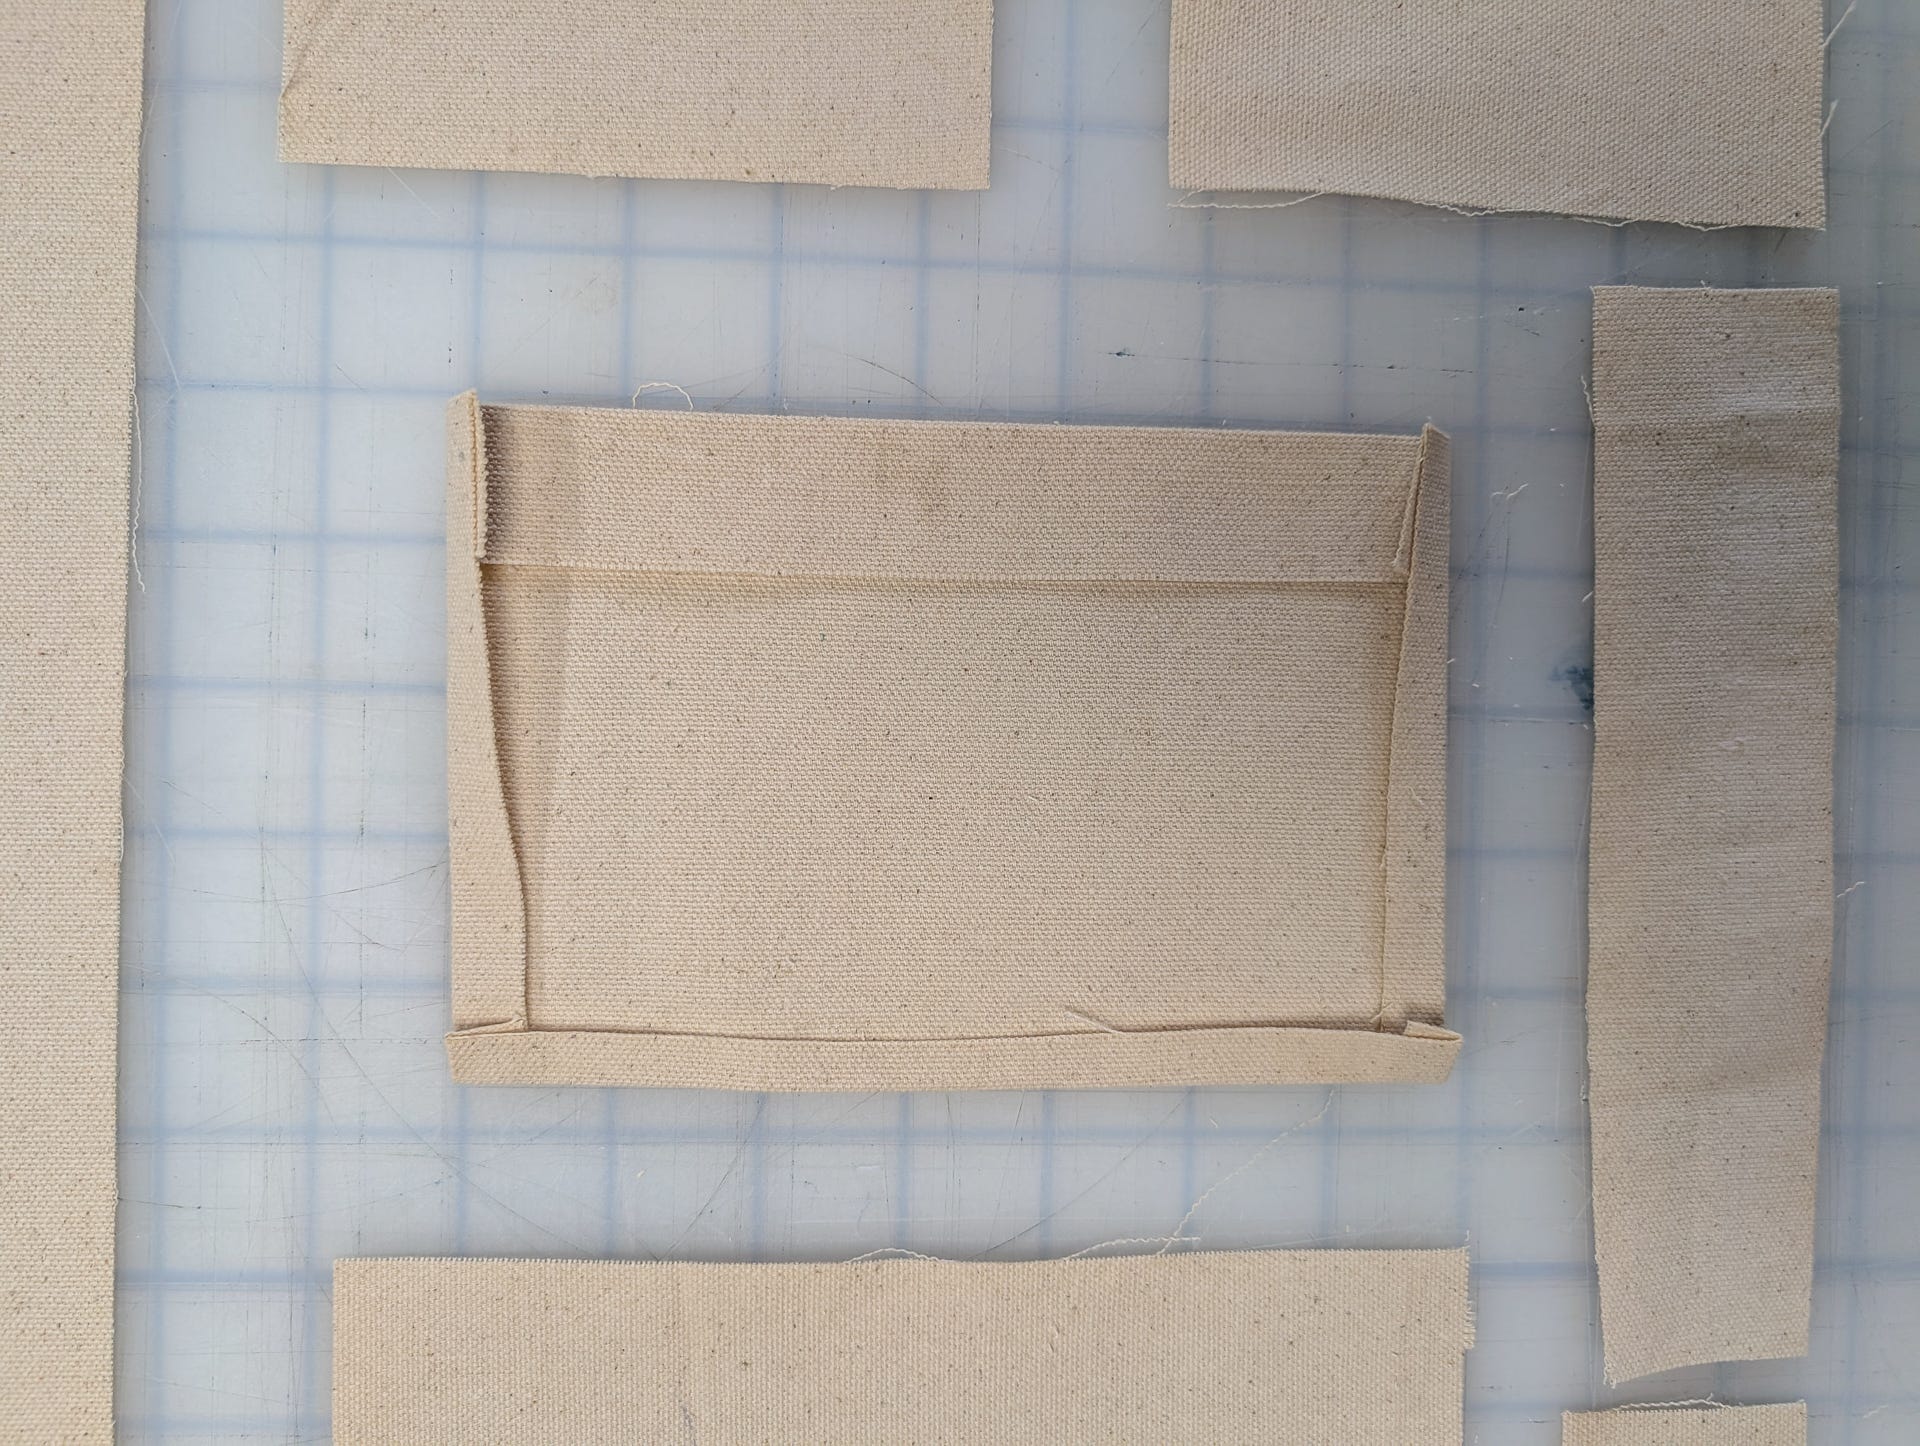
Iron back the seam allowance on the remaining three sides.
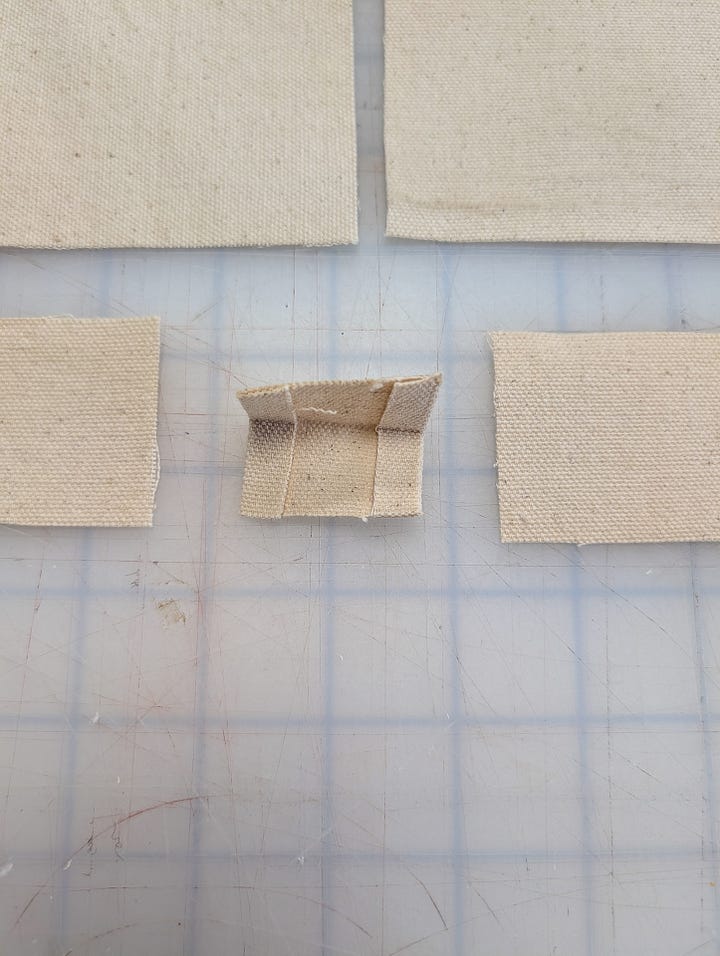
Iron and top stitch the side seam allowances of the tab piece.
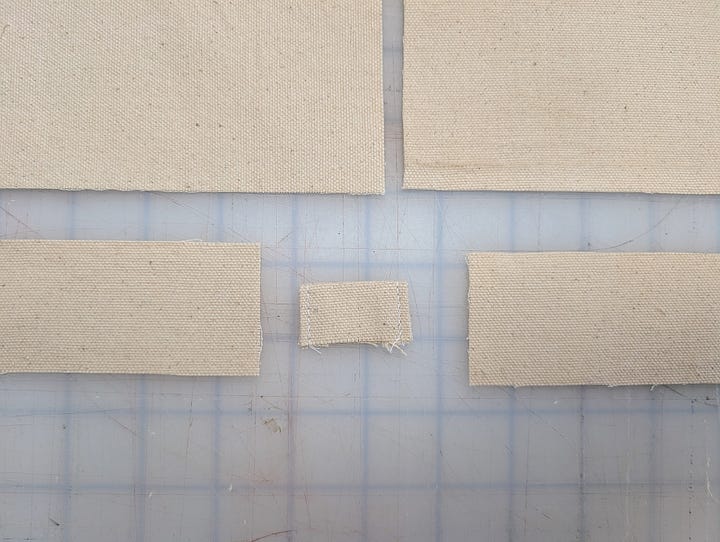
Stitch to the center of the pocket entry with around 1/4”(.5 CM) sticking out. This is going to help you open the pocket once velcro is stitched in.
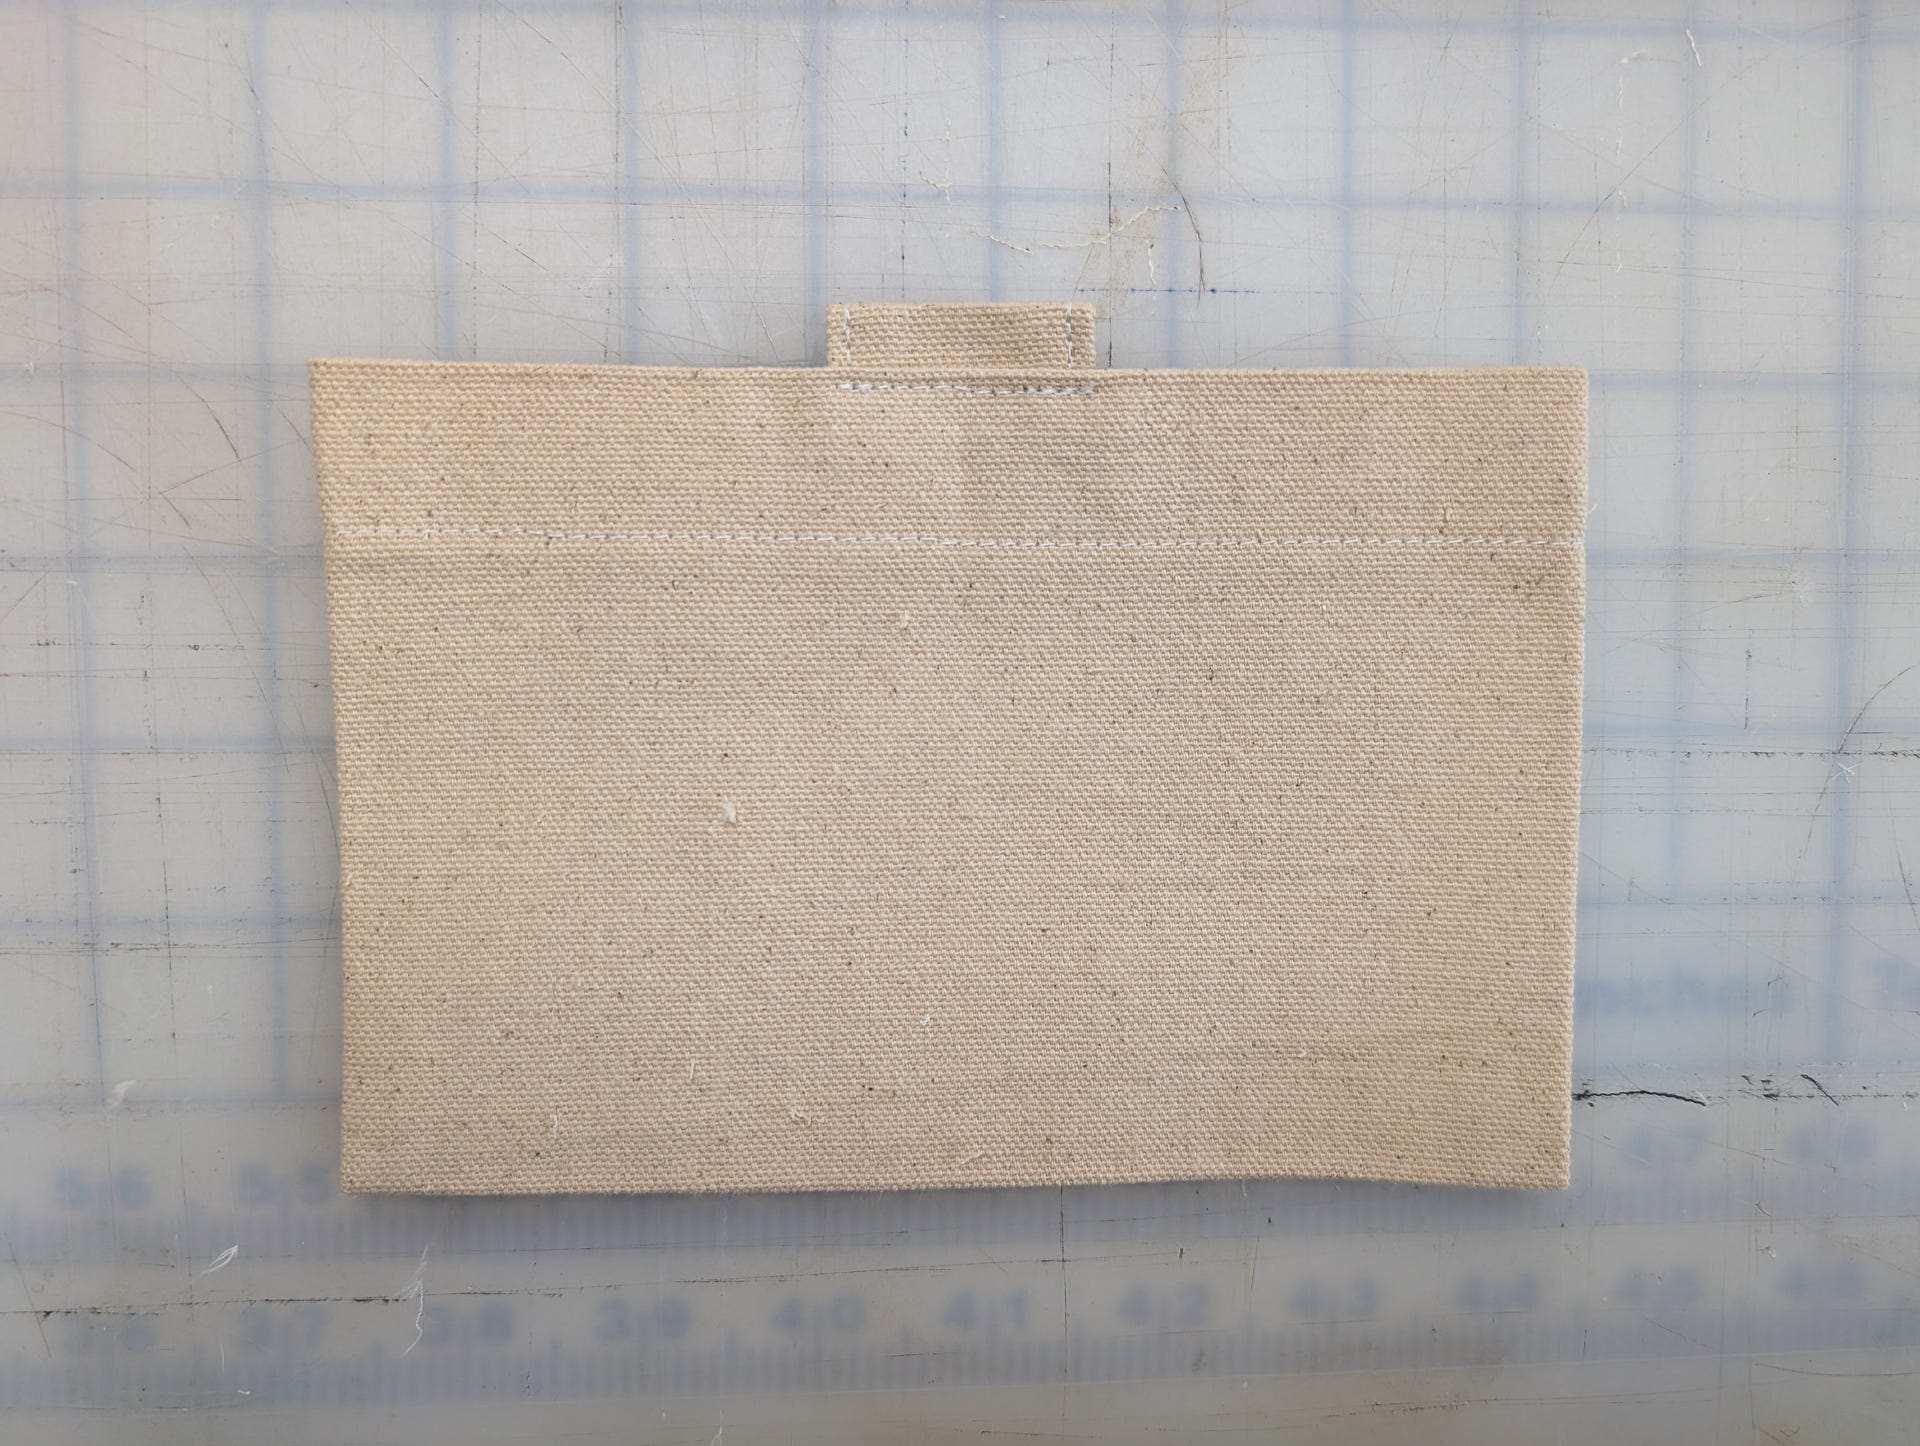
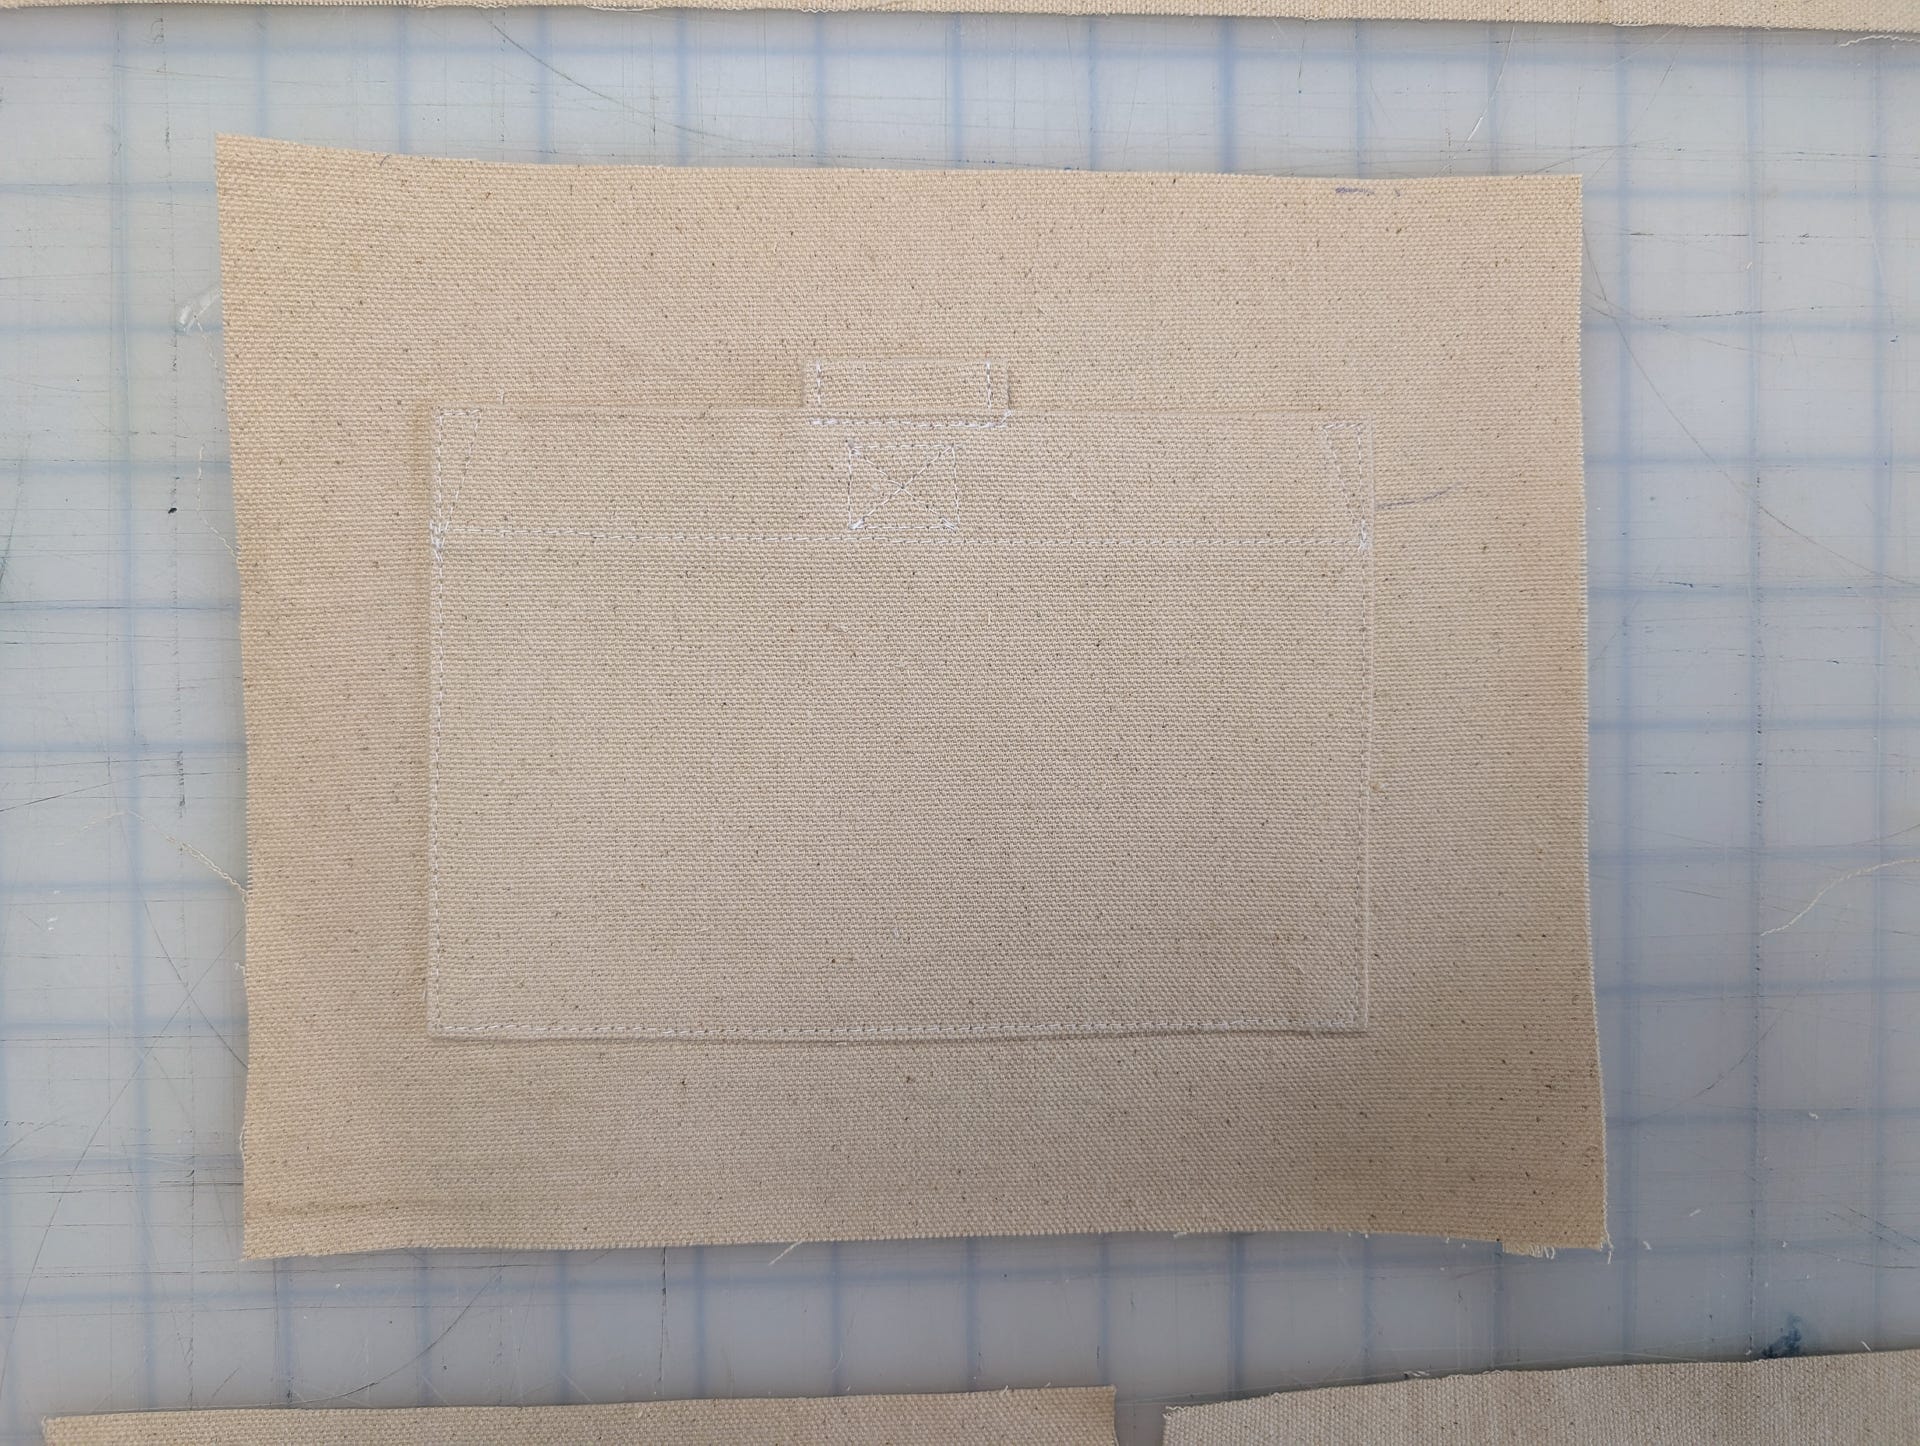
Align the pocket to the center of the back panel and pin in place on one side while you align the velcro. My velcro is sticky on the back which helps with placement. I basically just sandwich it between layers once aligned.
Place the velcro directly under the tab, one side on the pocket, one on the back panel. Stitch both sides of the velcro down.
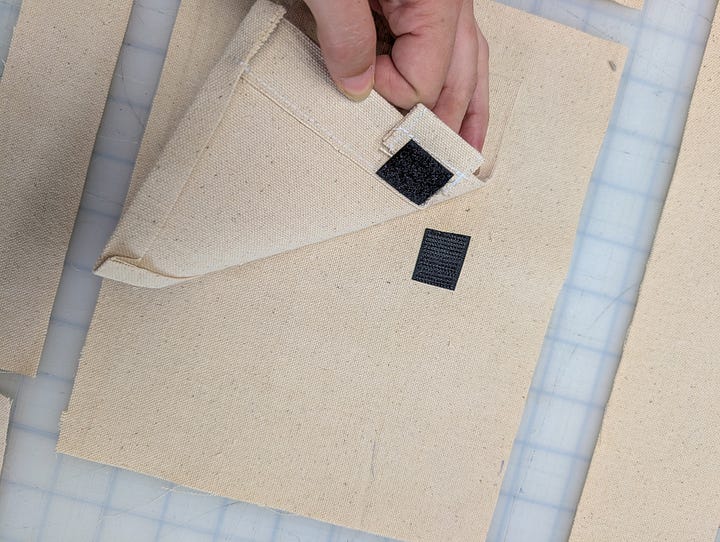
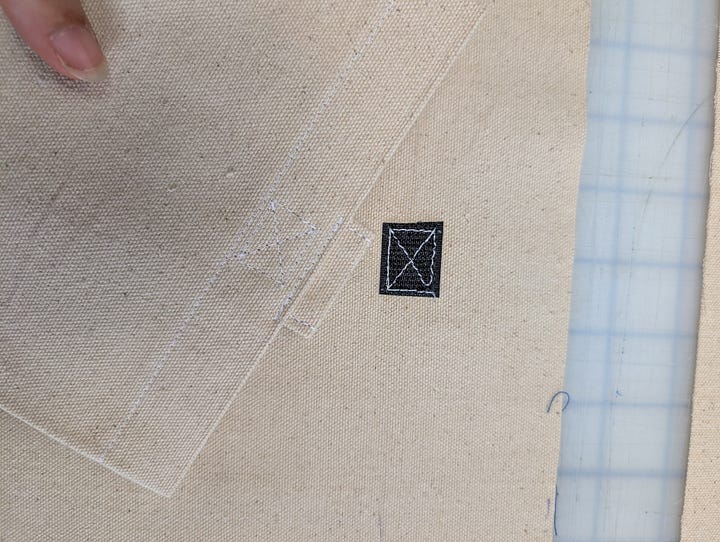
Top stitch the pocket down to the back panel.
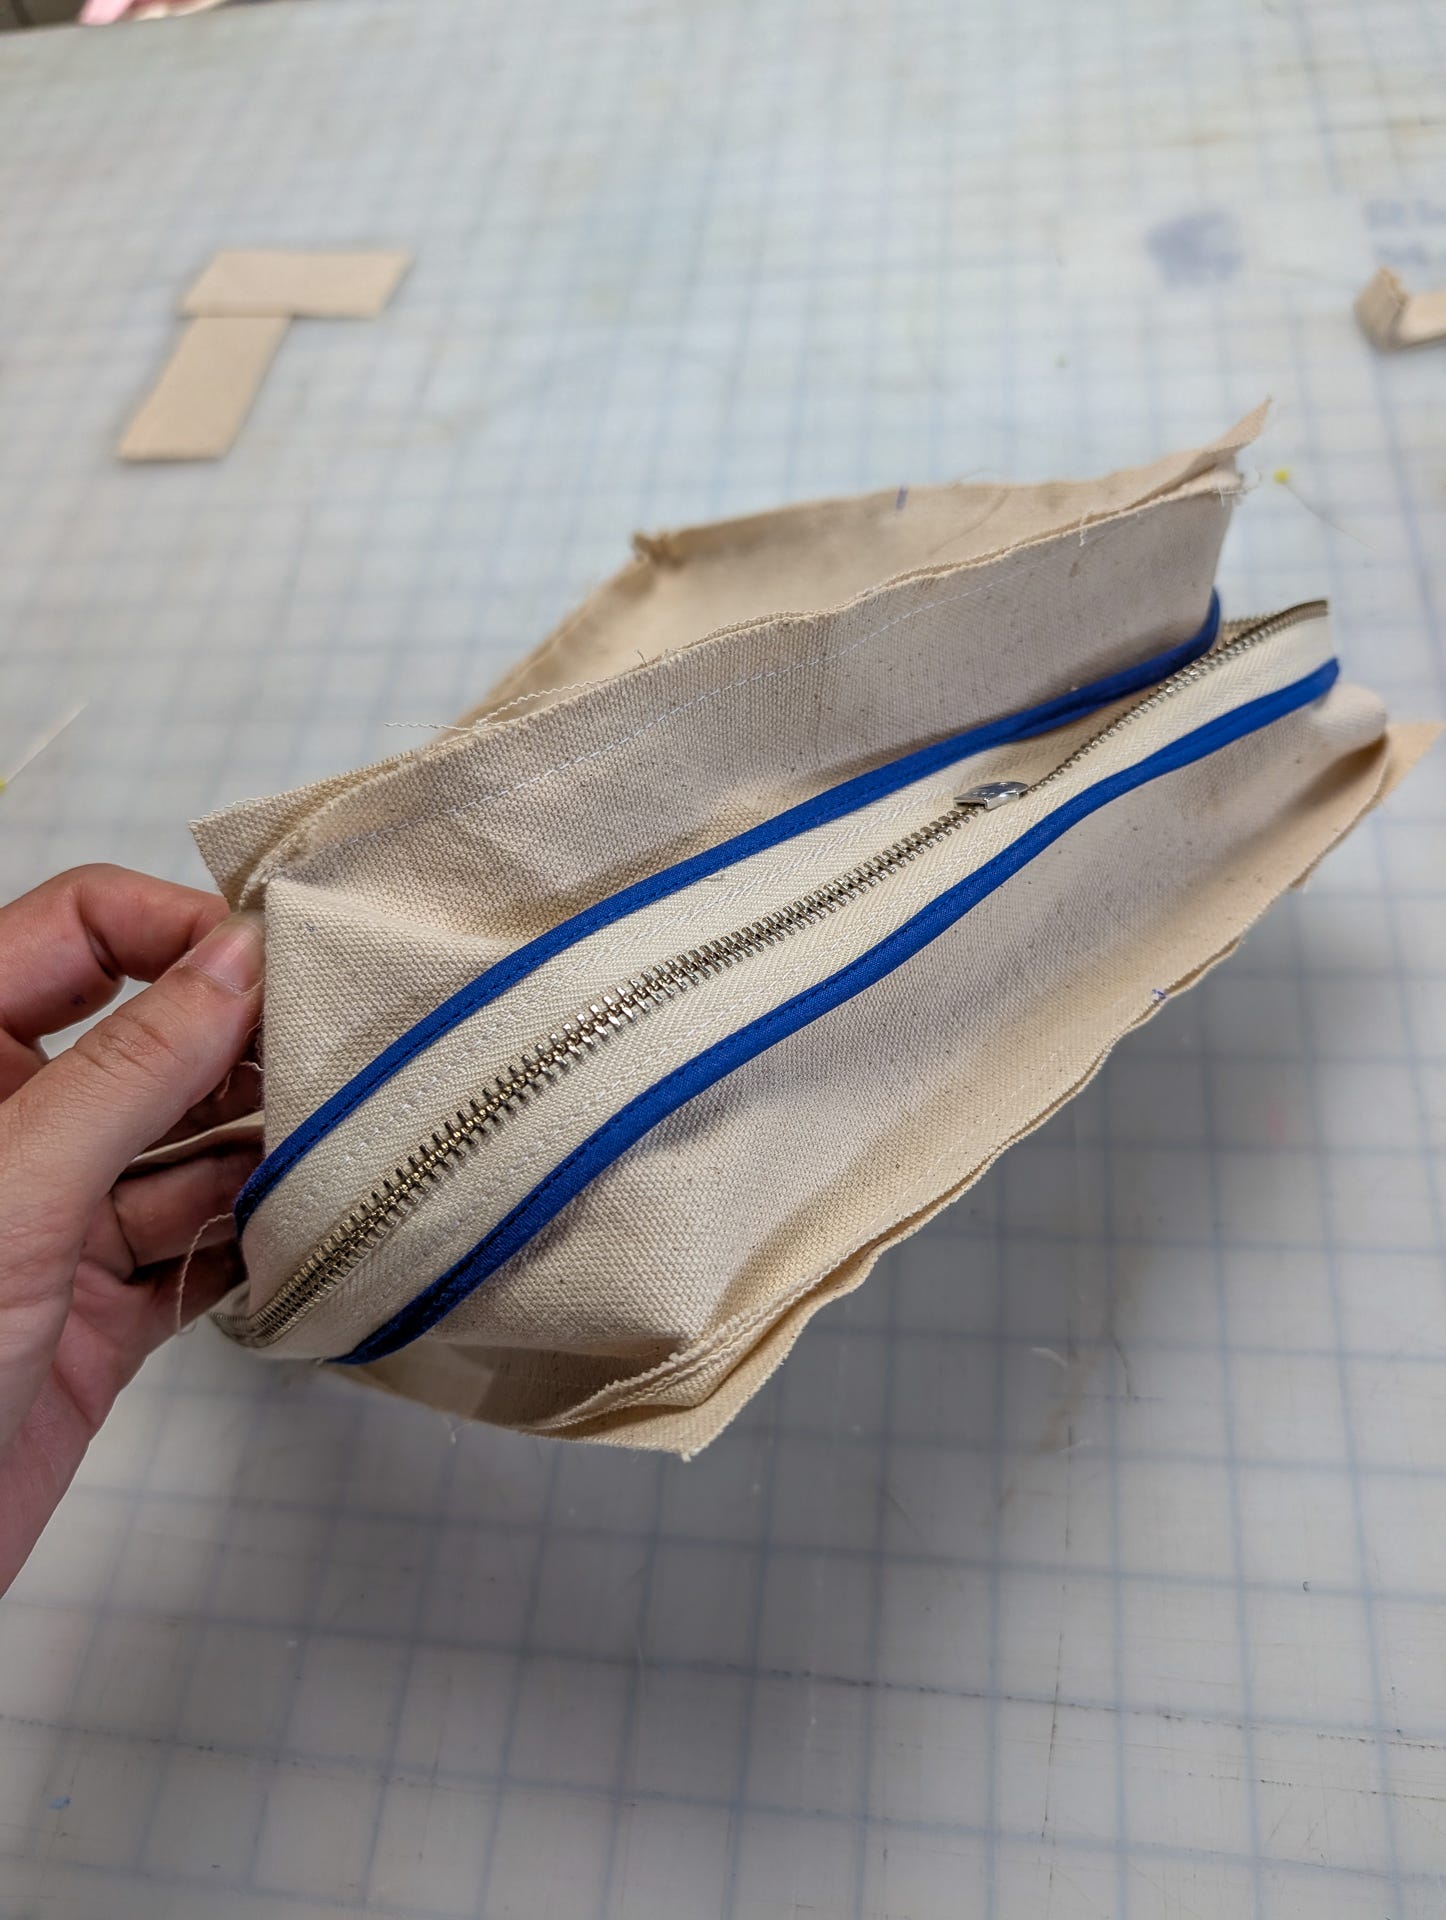
Sew your zipper between your side panels. If using a longer length zipper, be sure to stop your stitch line .4”(1 CM) from hem for SA.
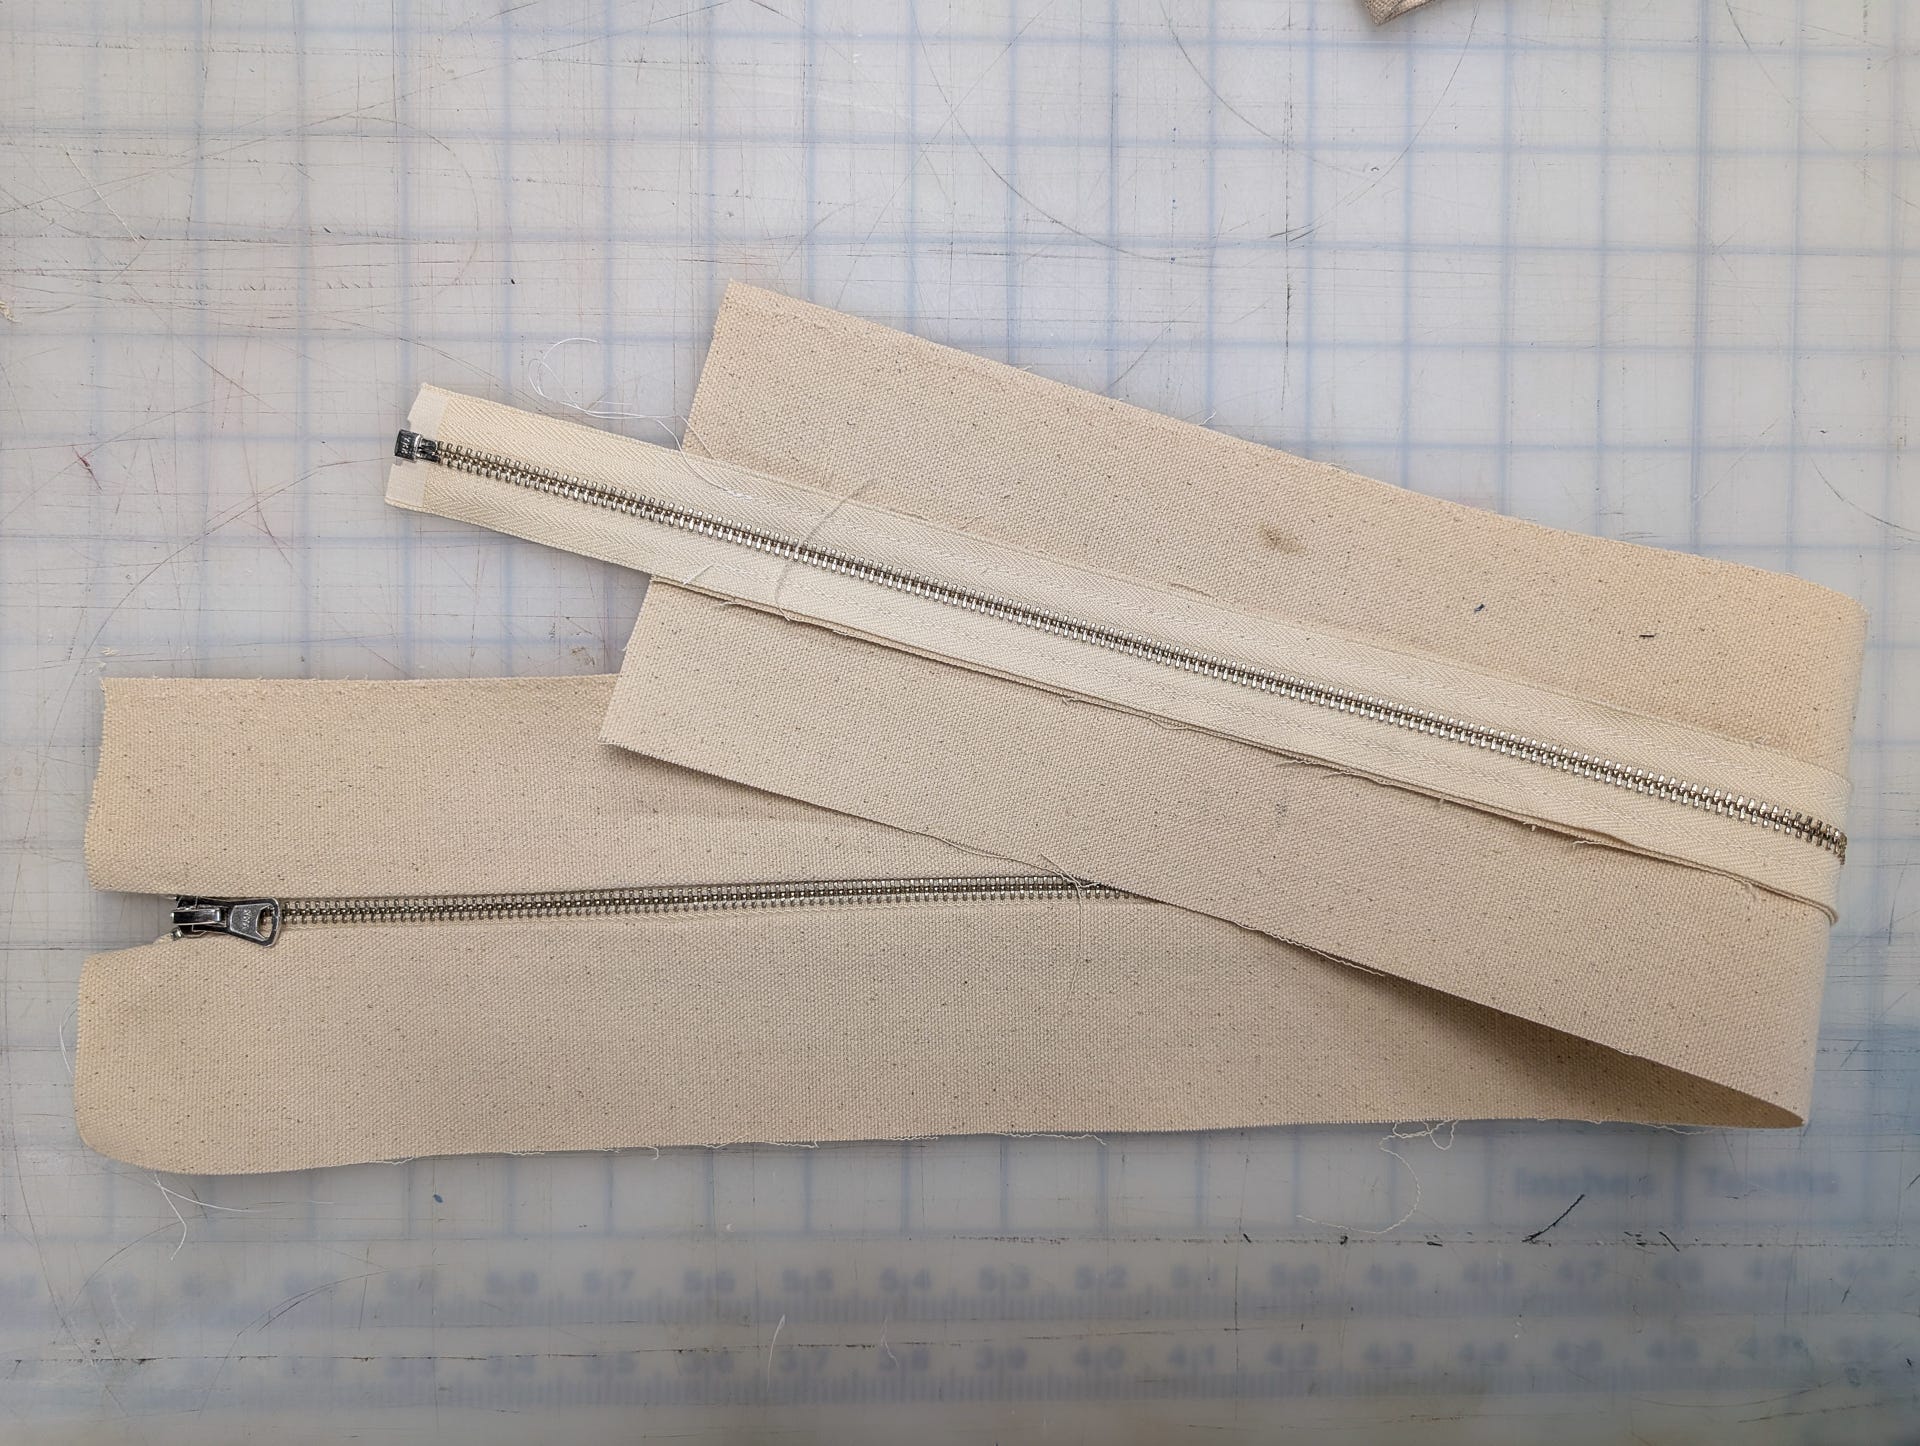
Bind the edges for a clean finish.
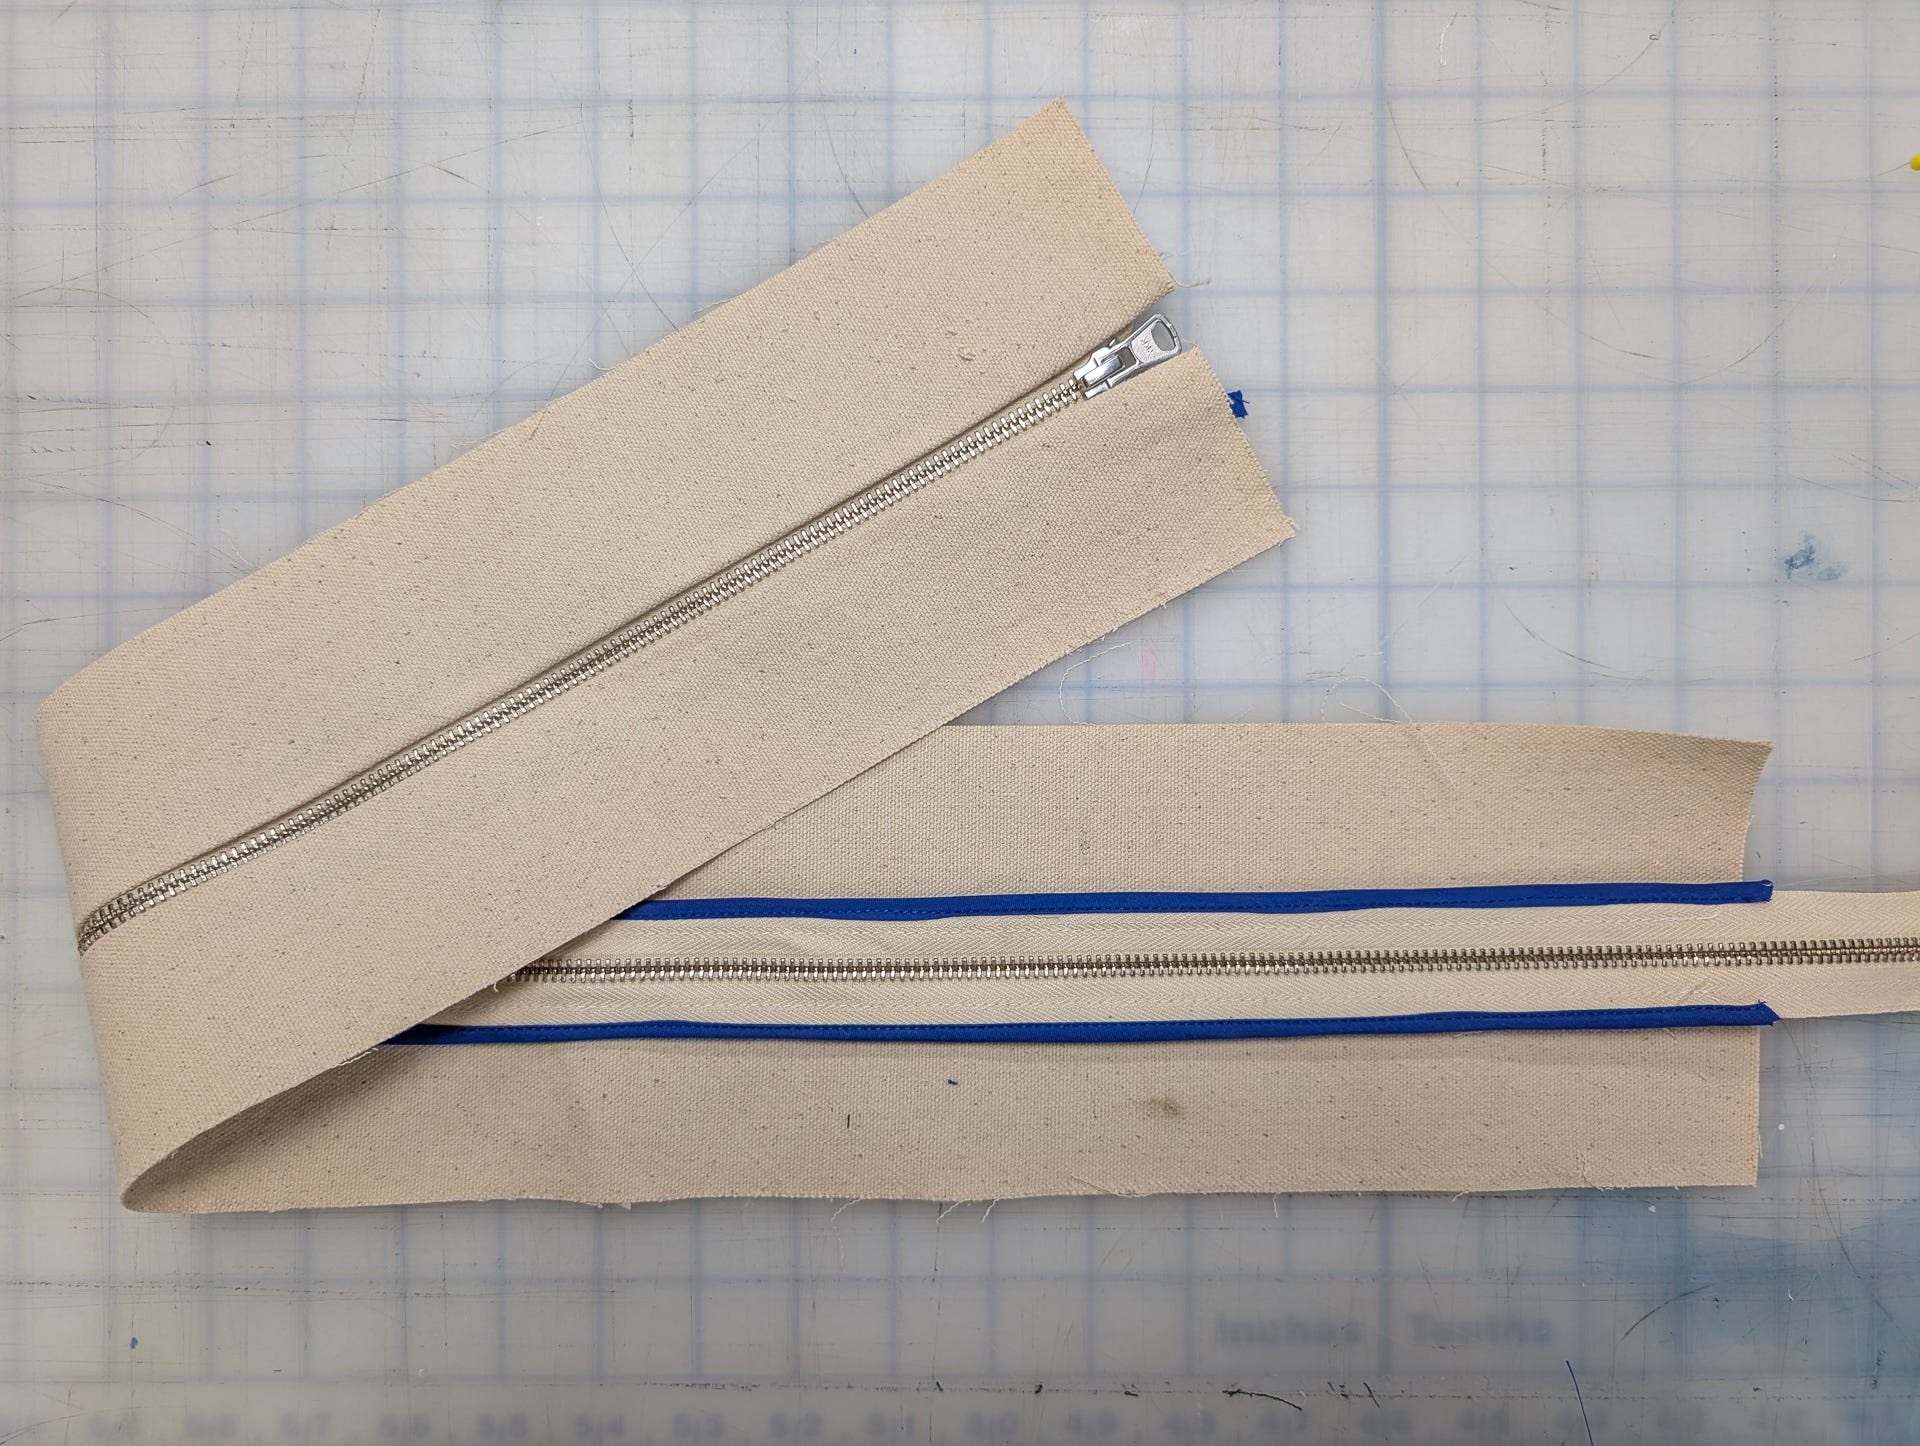
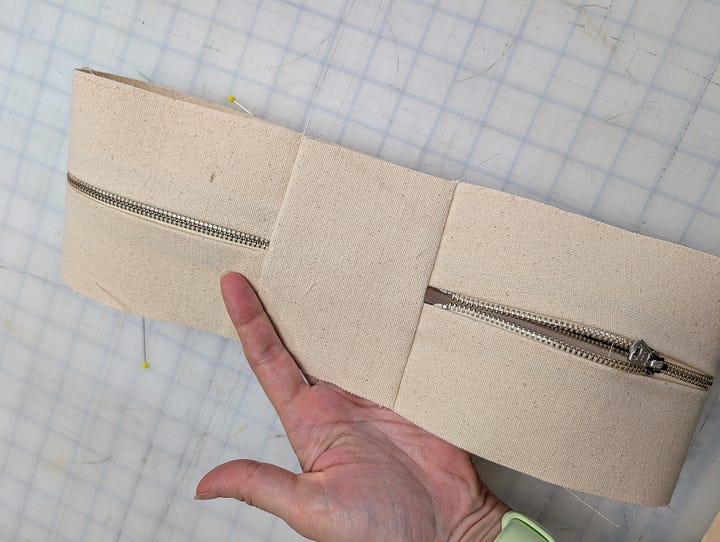
Pin your “hinge” piece to the end of your side panel and stitch.
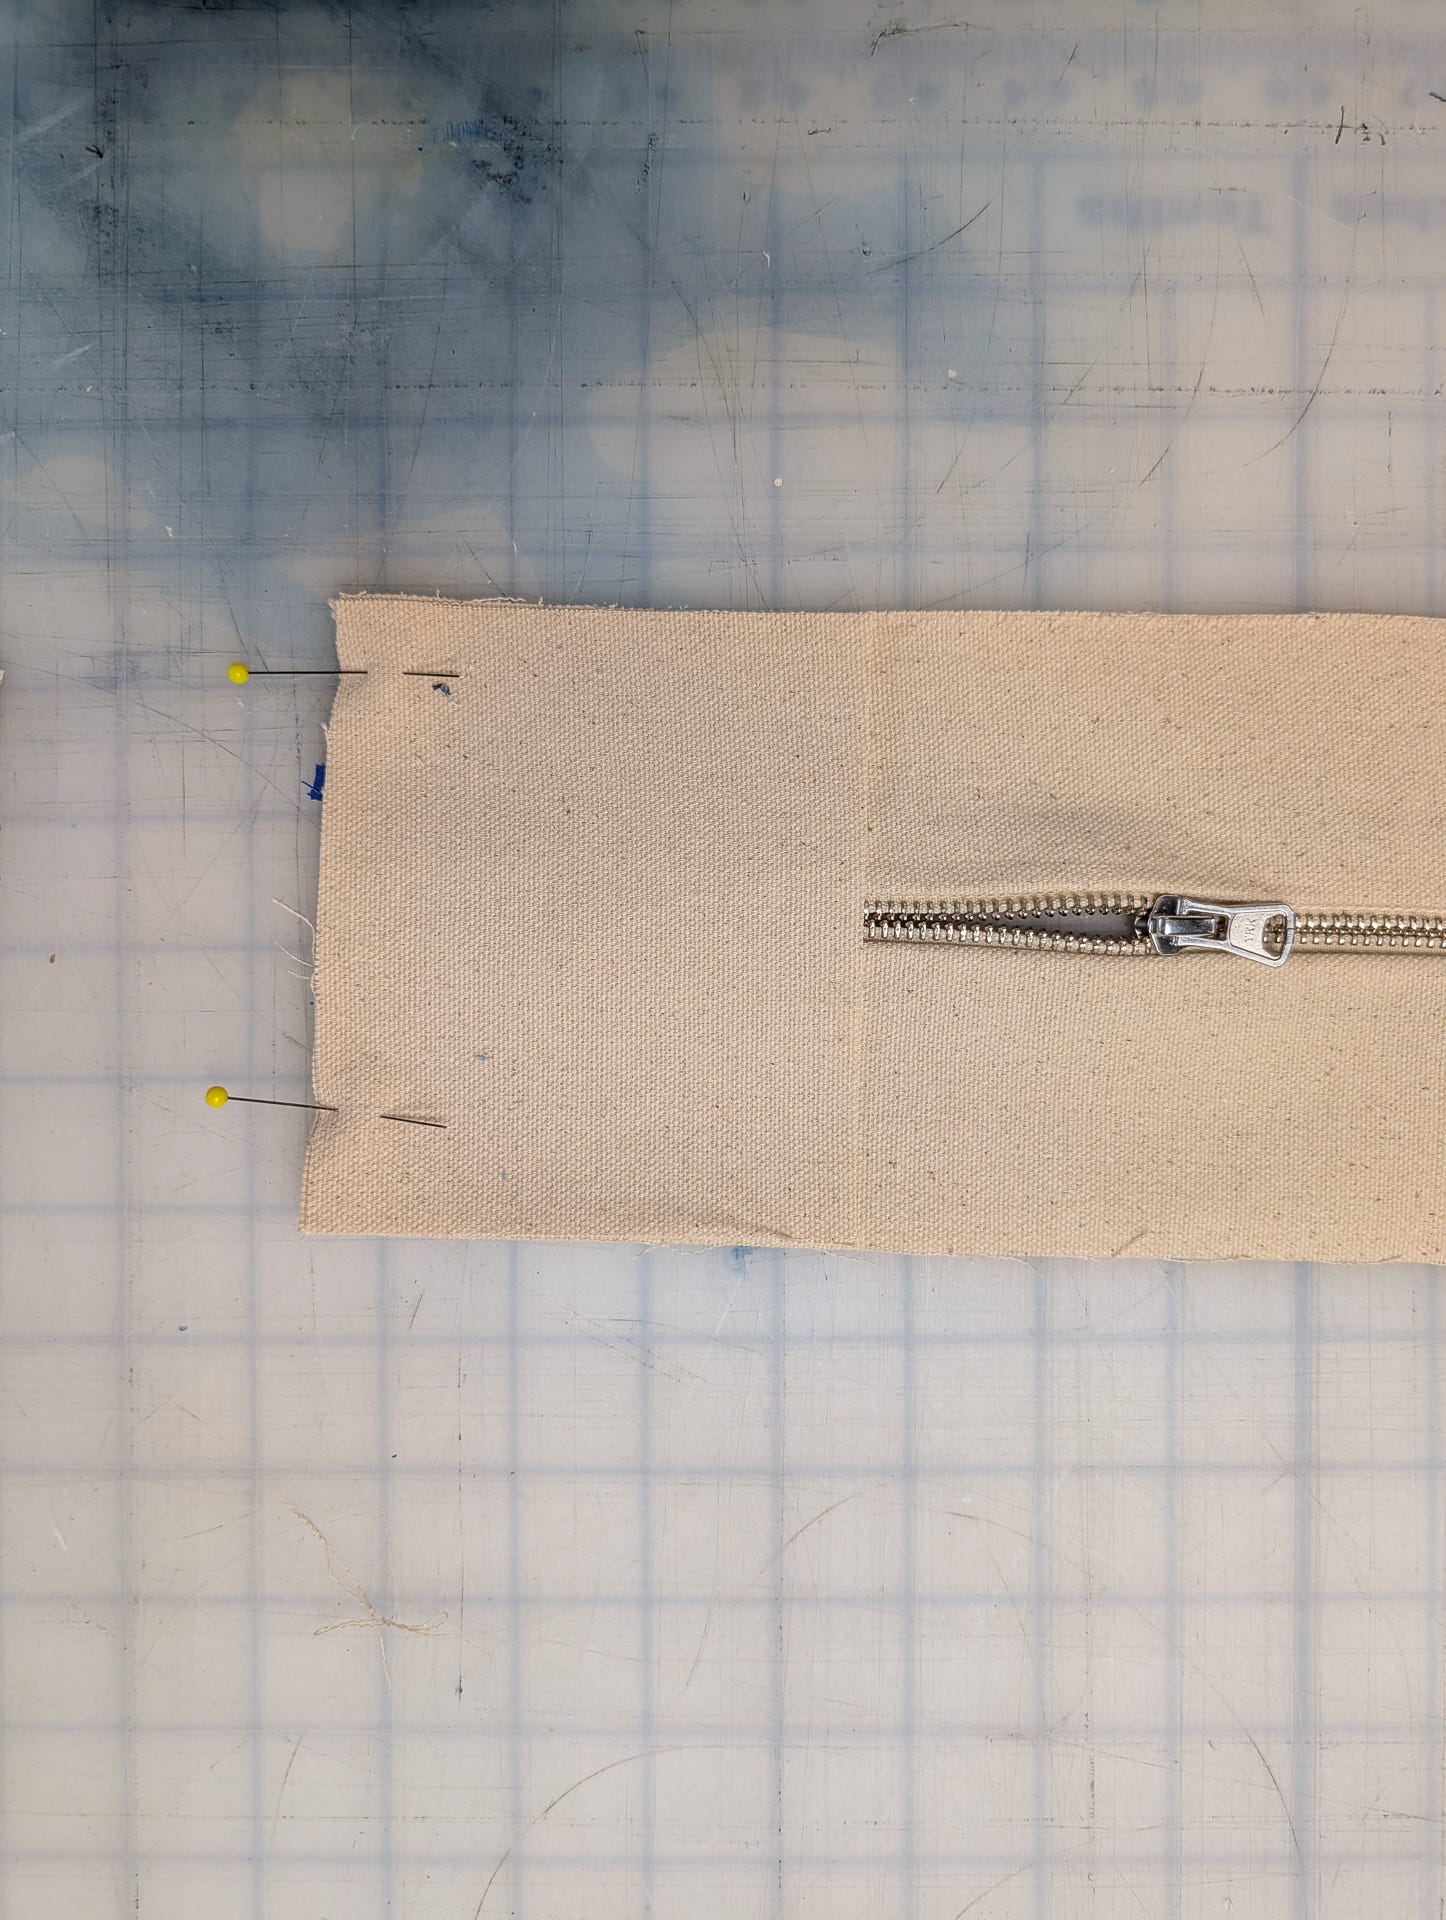
Repeat on the other side of the zip. You’ll now have one continuous piece. Don’t worry about clean finishing the “hinge", we’ll finish it later.
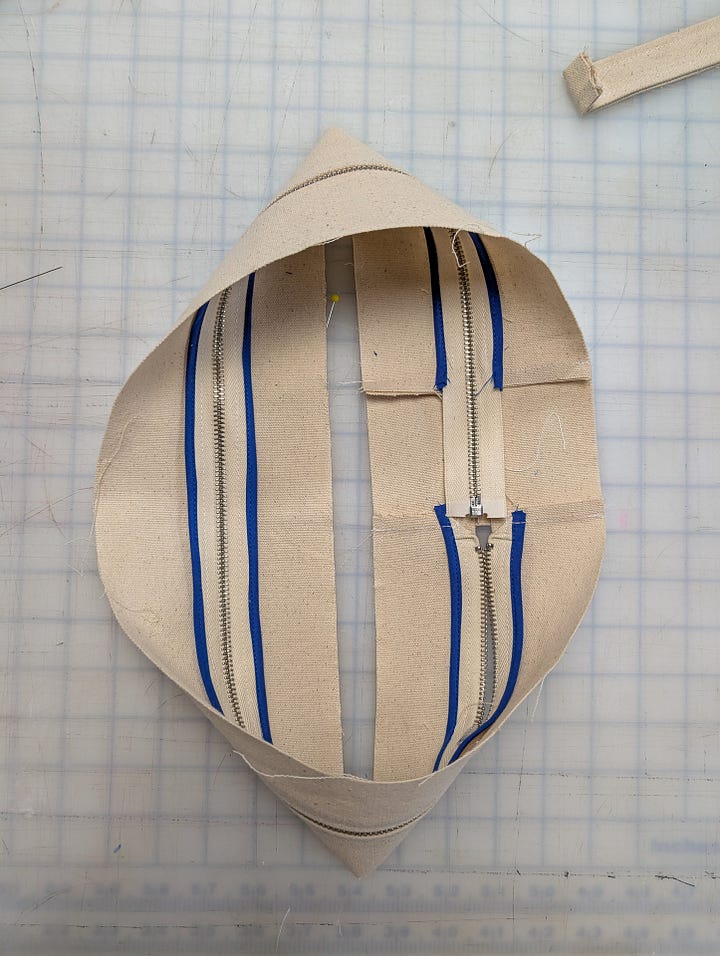
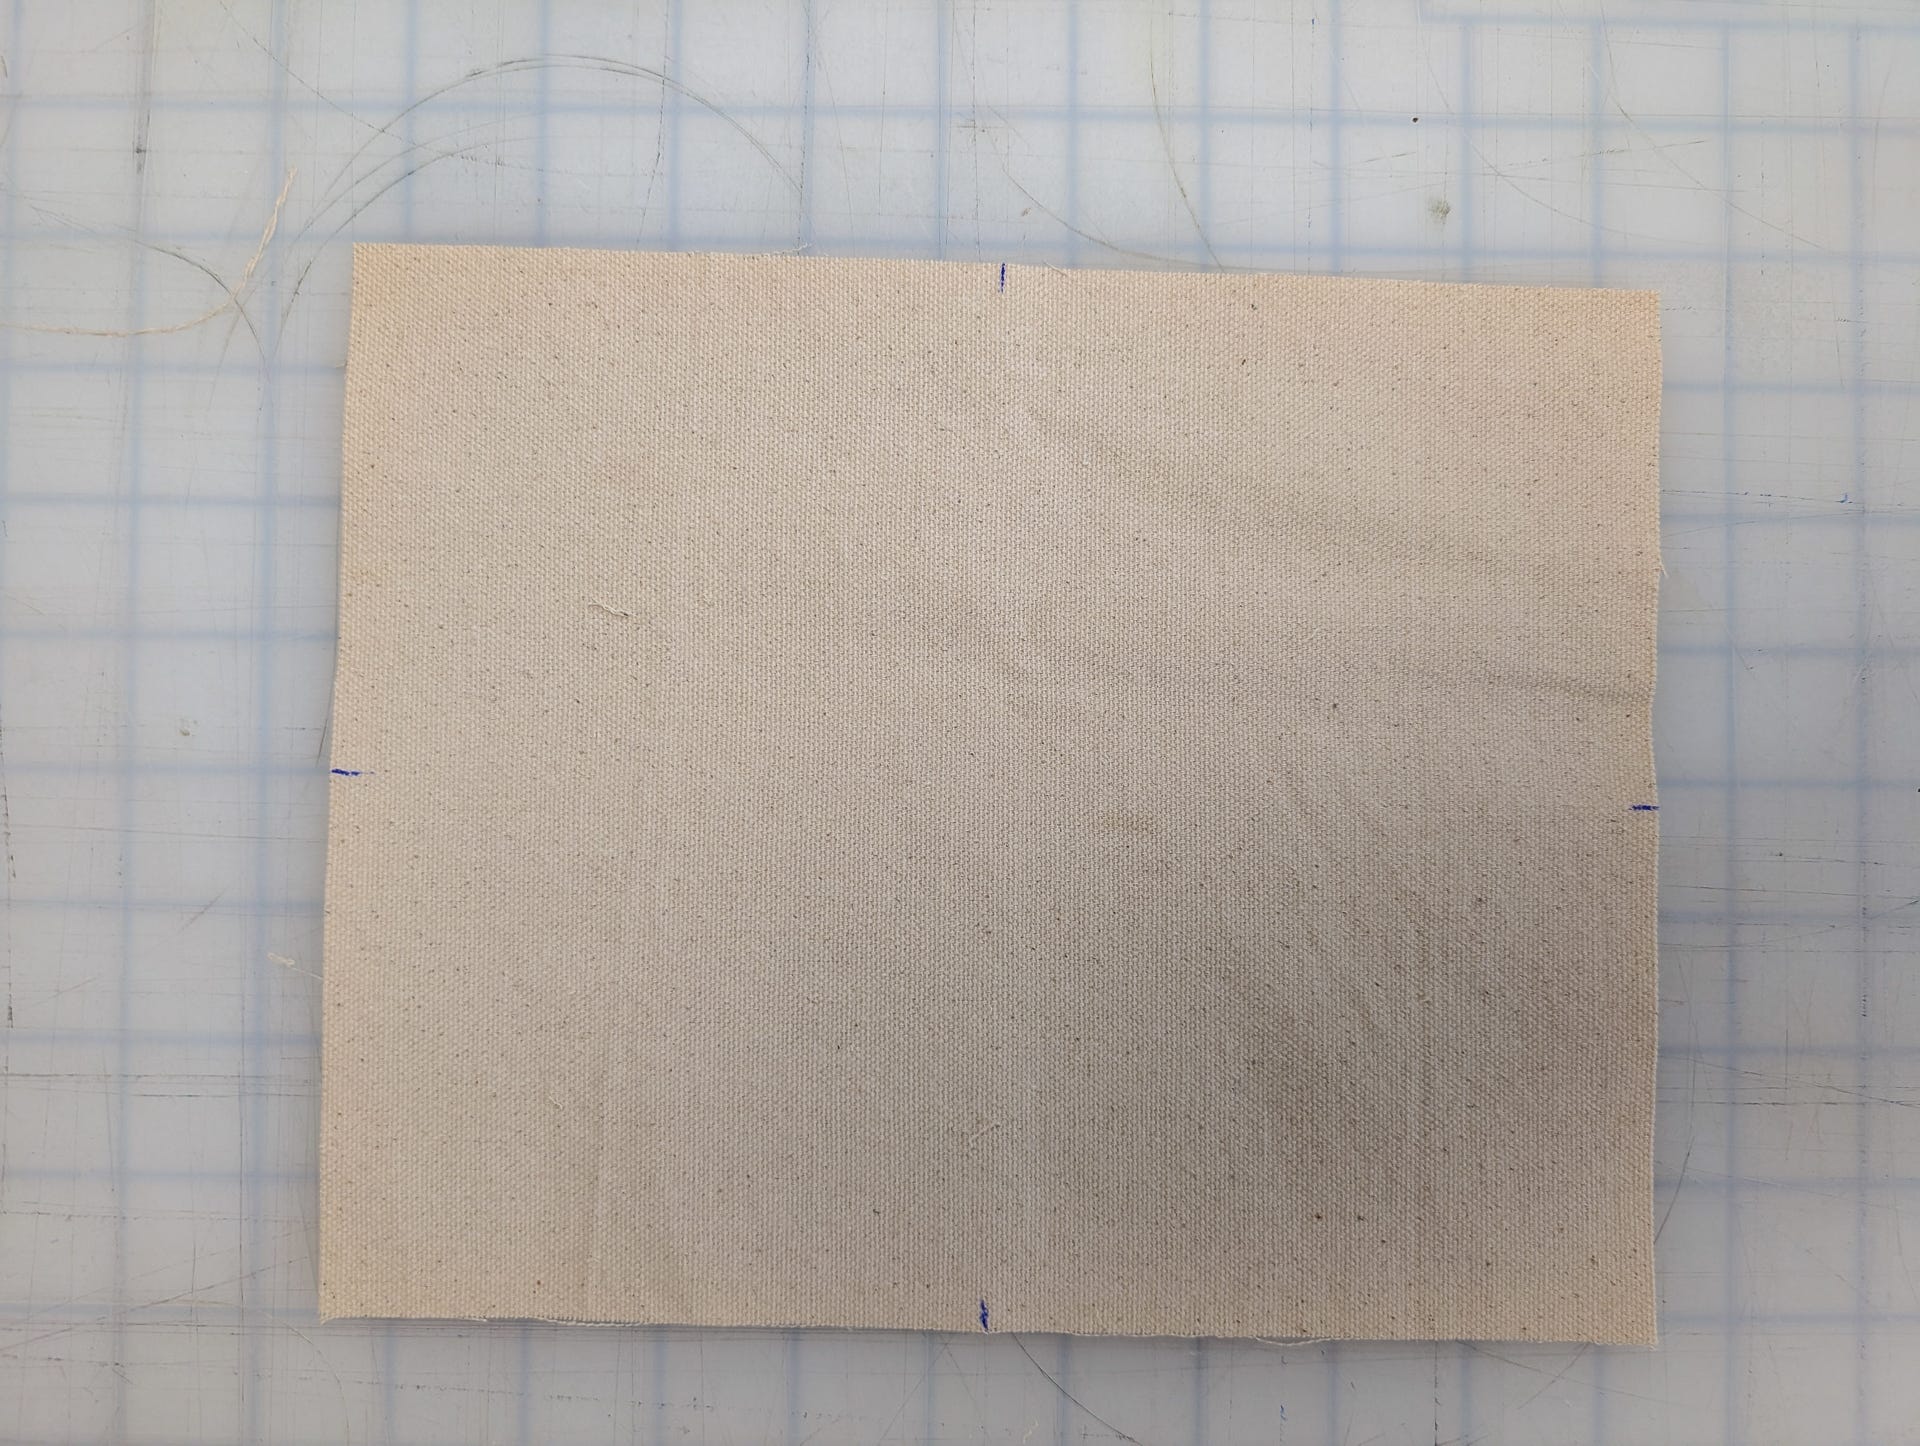
Mark the center of each edge of your front and back pieces.
Do this for the side panels as well. (Didn’t take a photo) Find the center of the hinge piece, and mark where it folds on the other side. Match the hinge mark to the opposite mark to find the mid points on the rest of the panel.
Pin the side panel and front and back pieces together, using the marks as a guide.
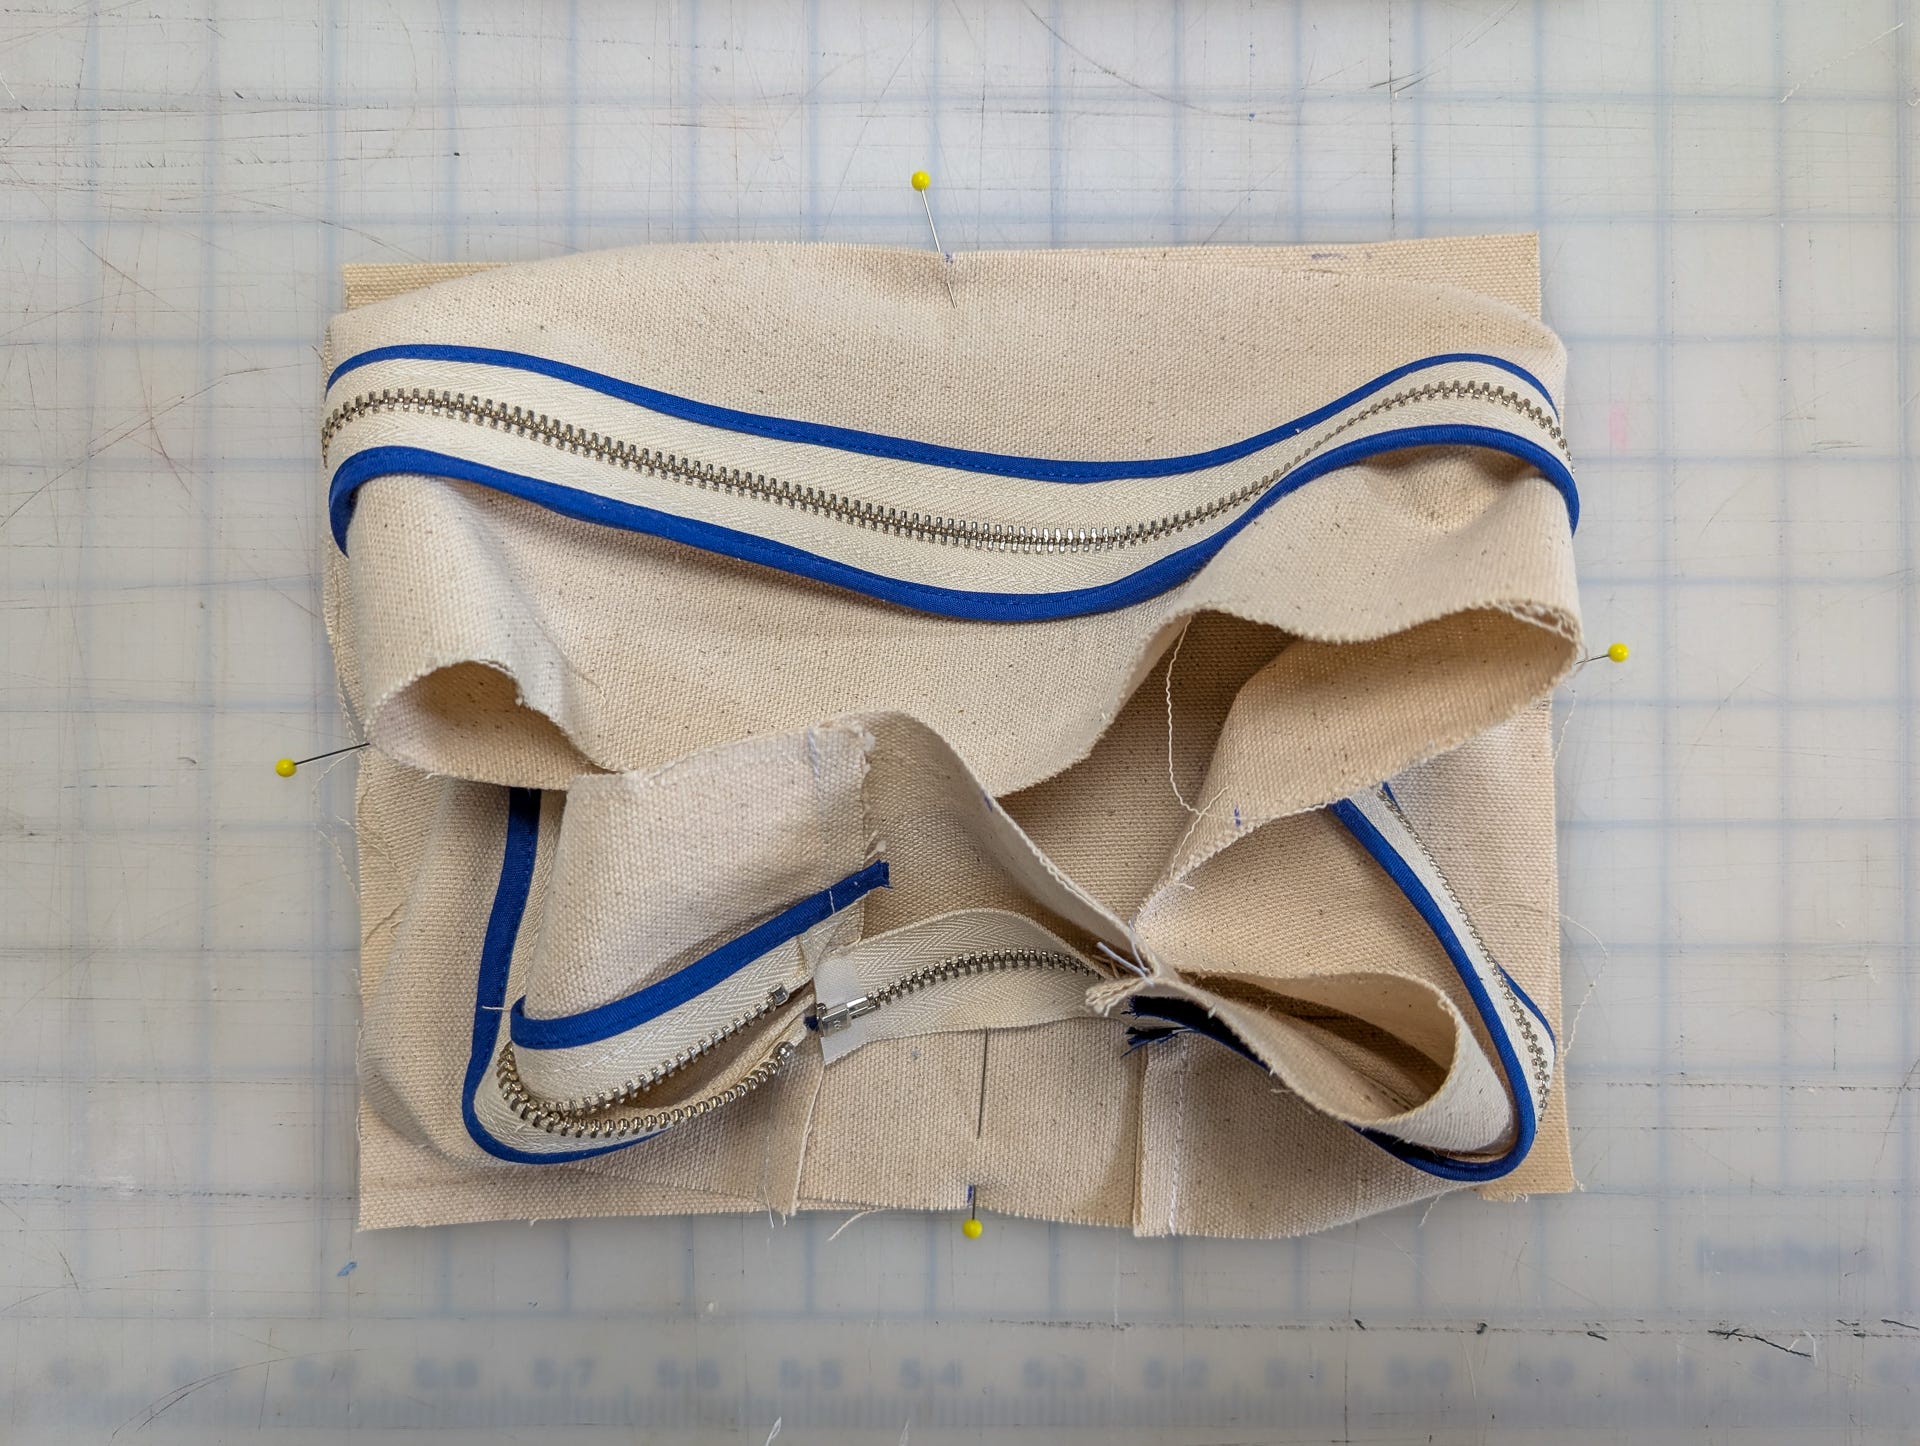
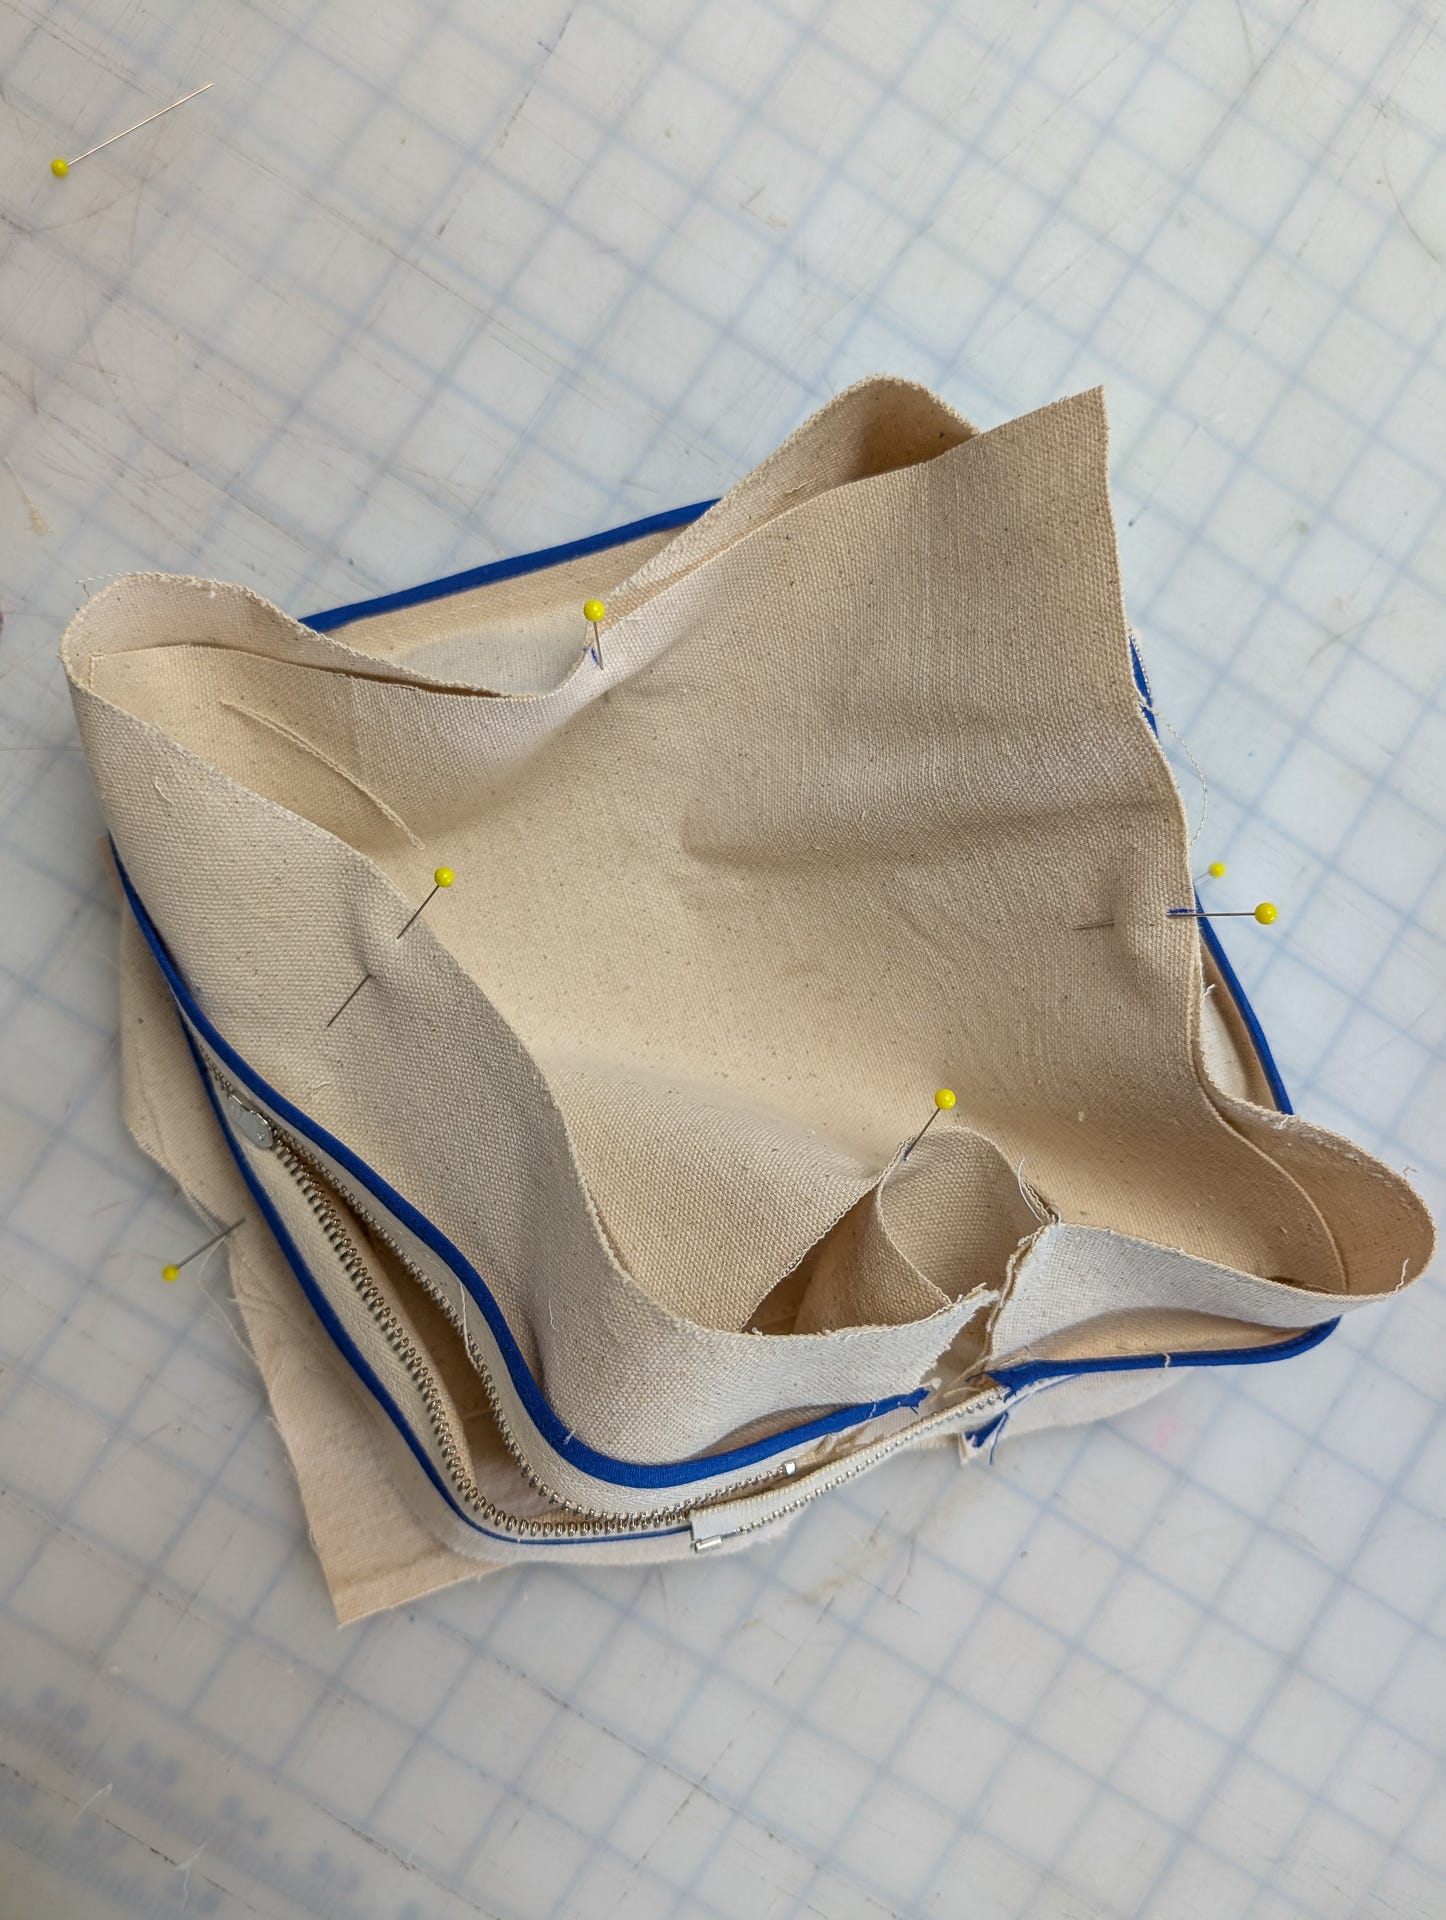
Stitch the panels together. Do not clean finish yet.
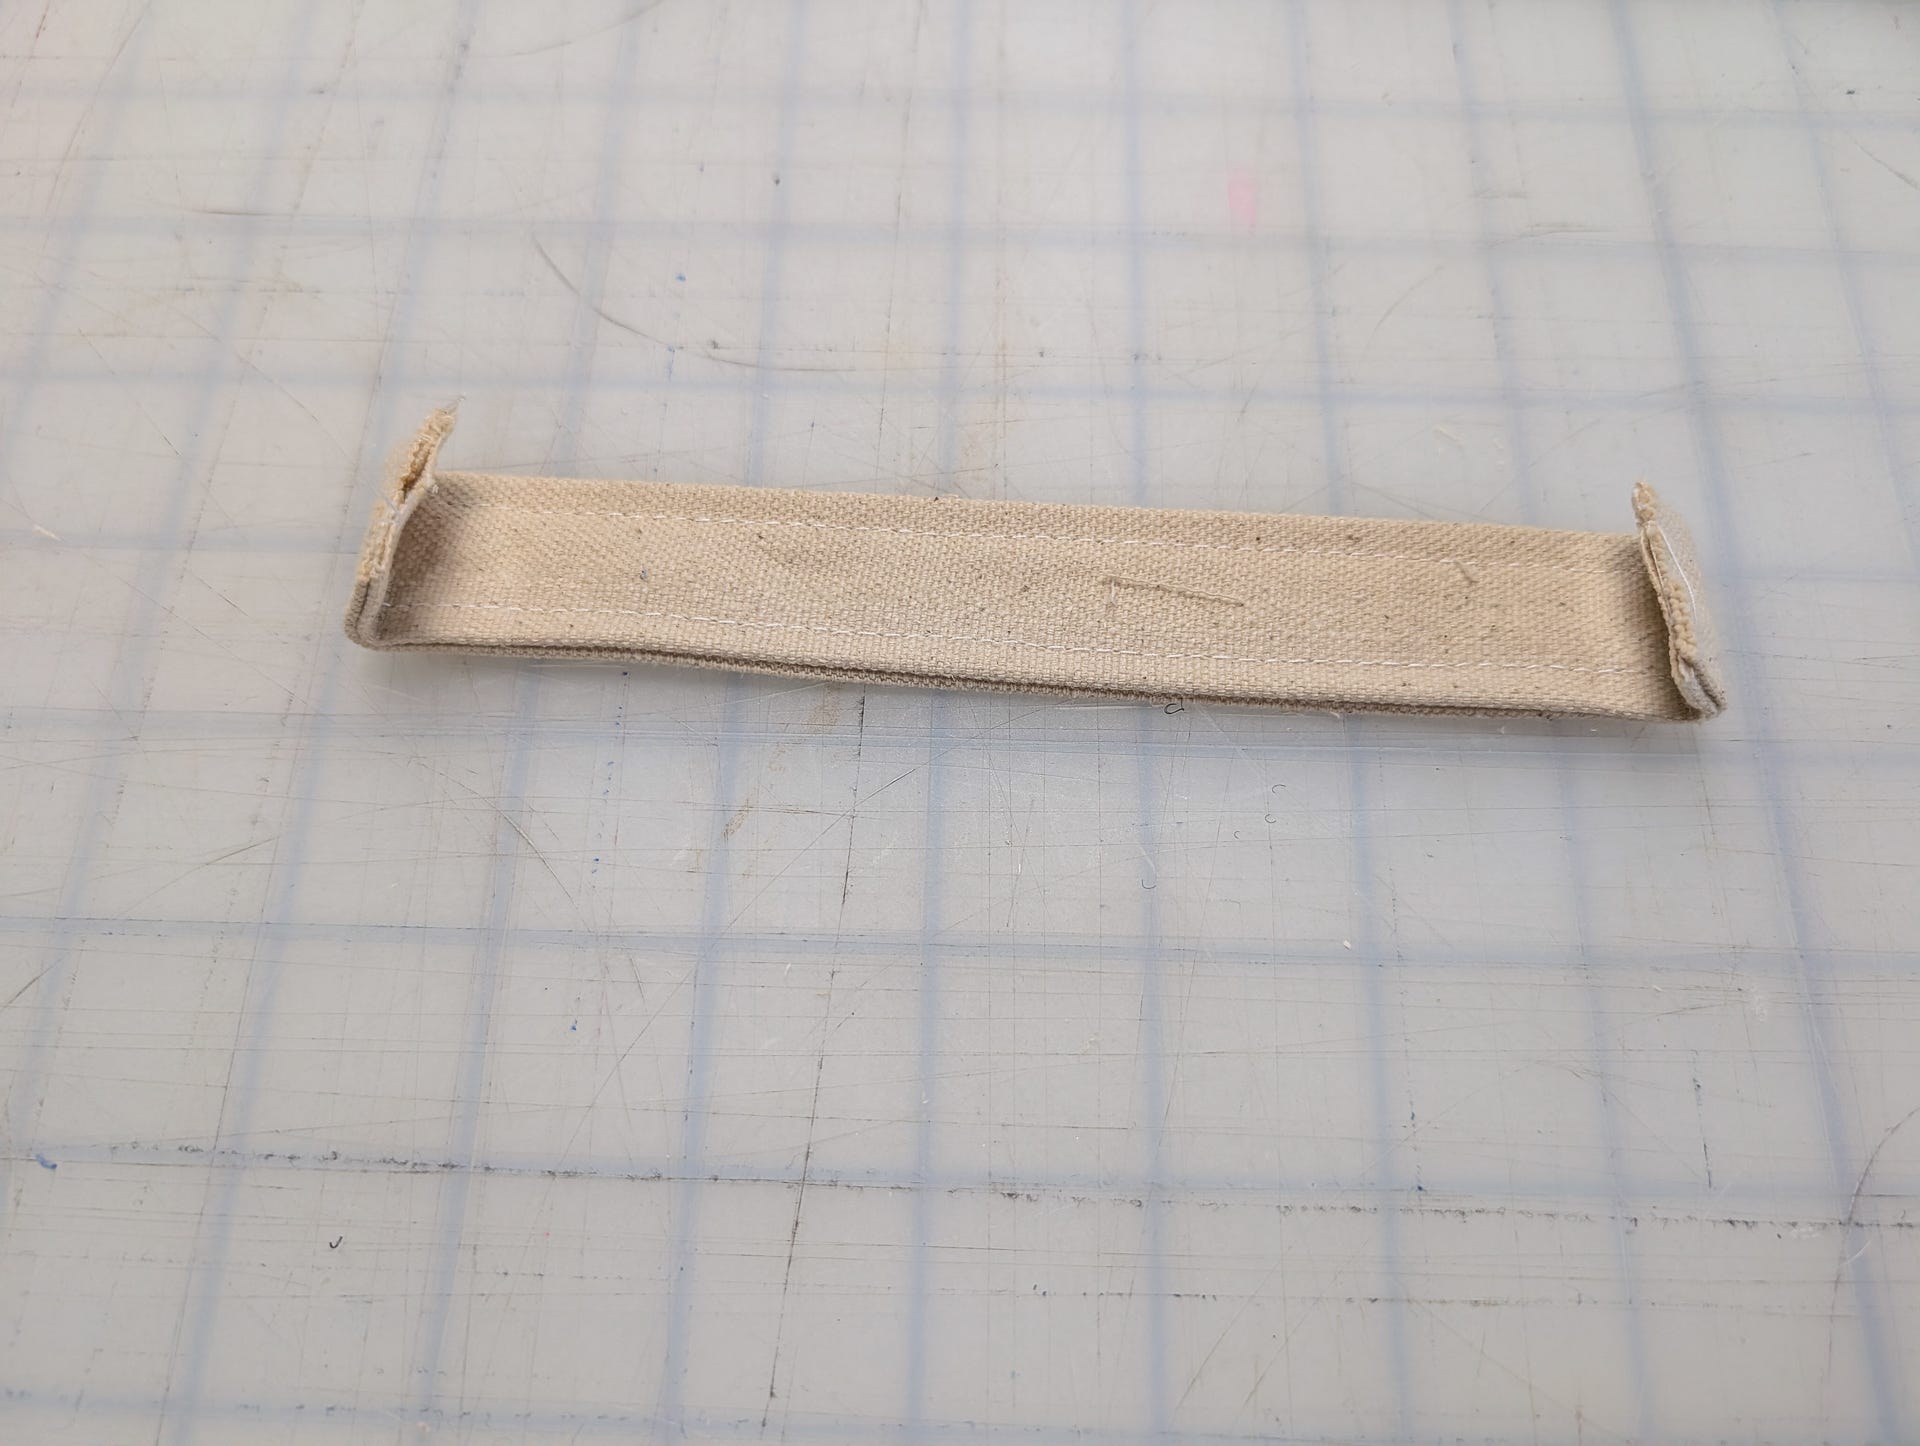
Join one long edge of the handle pieces together. Iron back the SA on the opposite sides. Flip wrong faces together and top stitch edges.
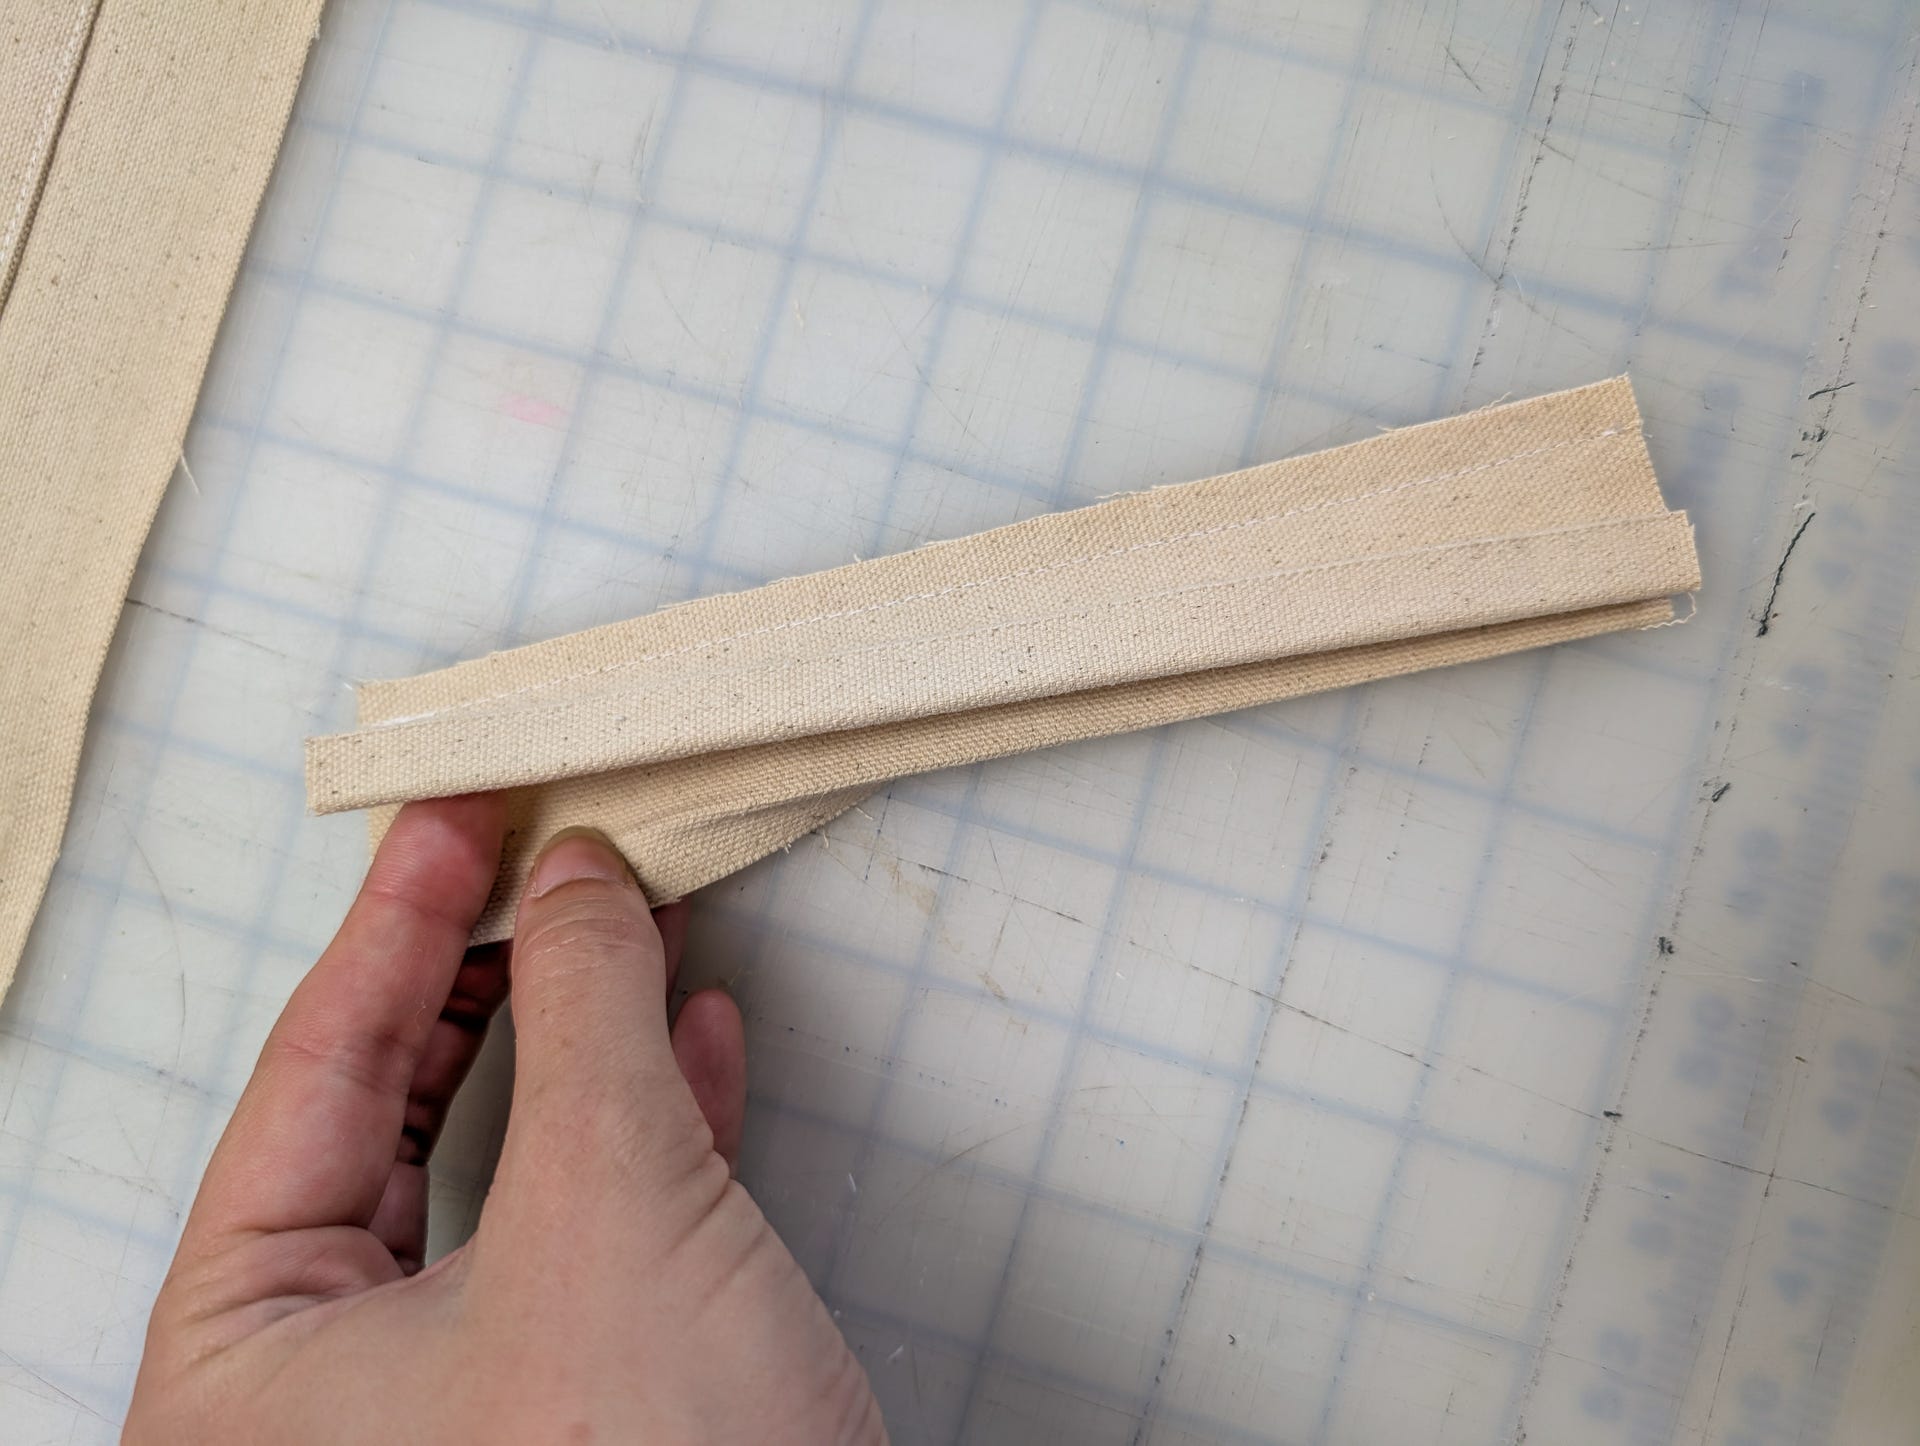
Fold back short edge SAs
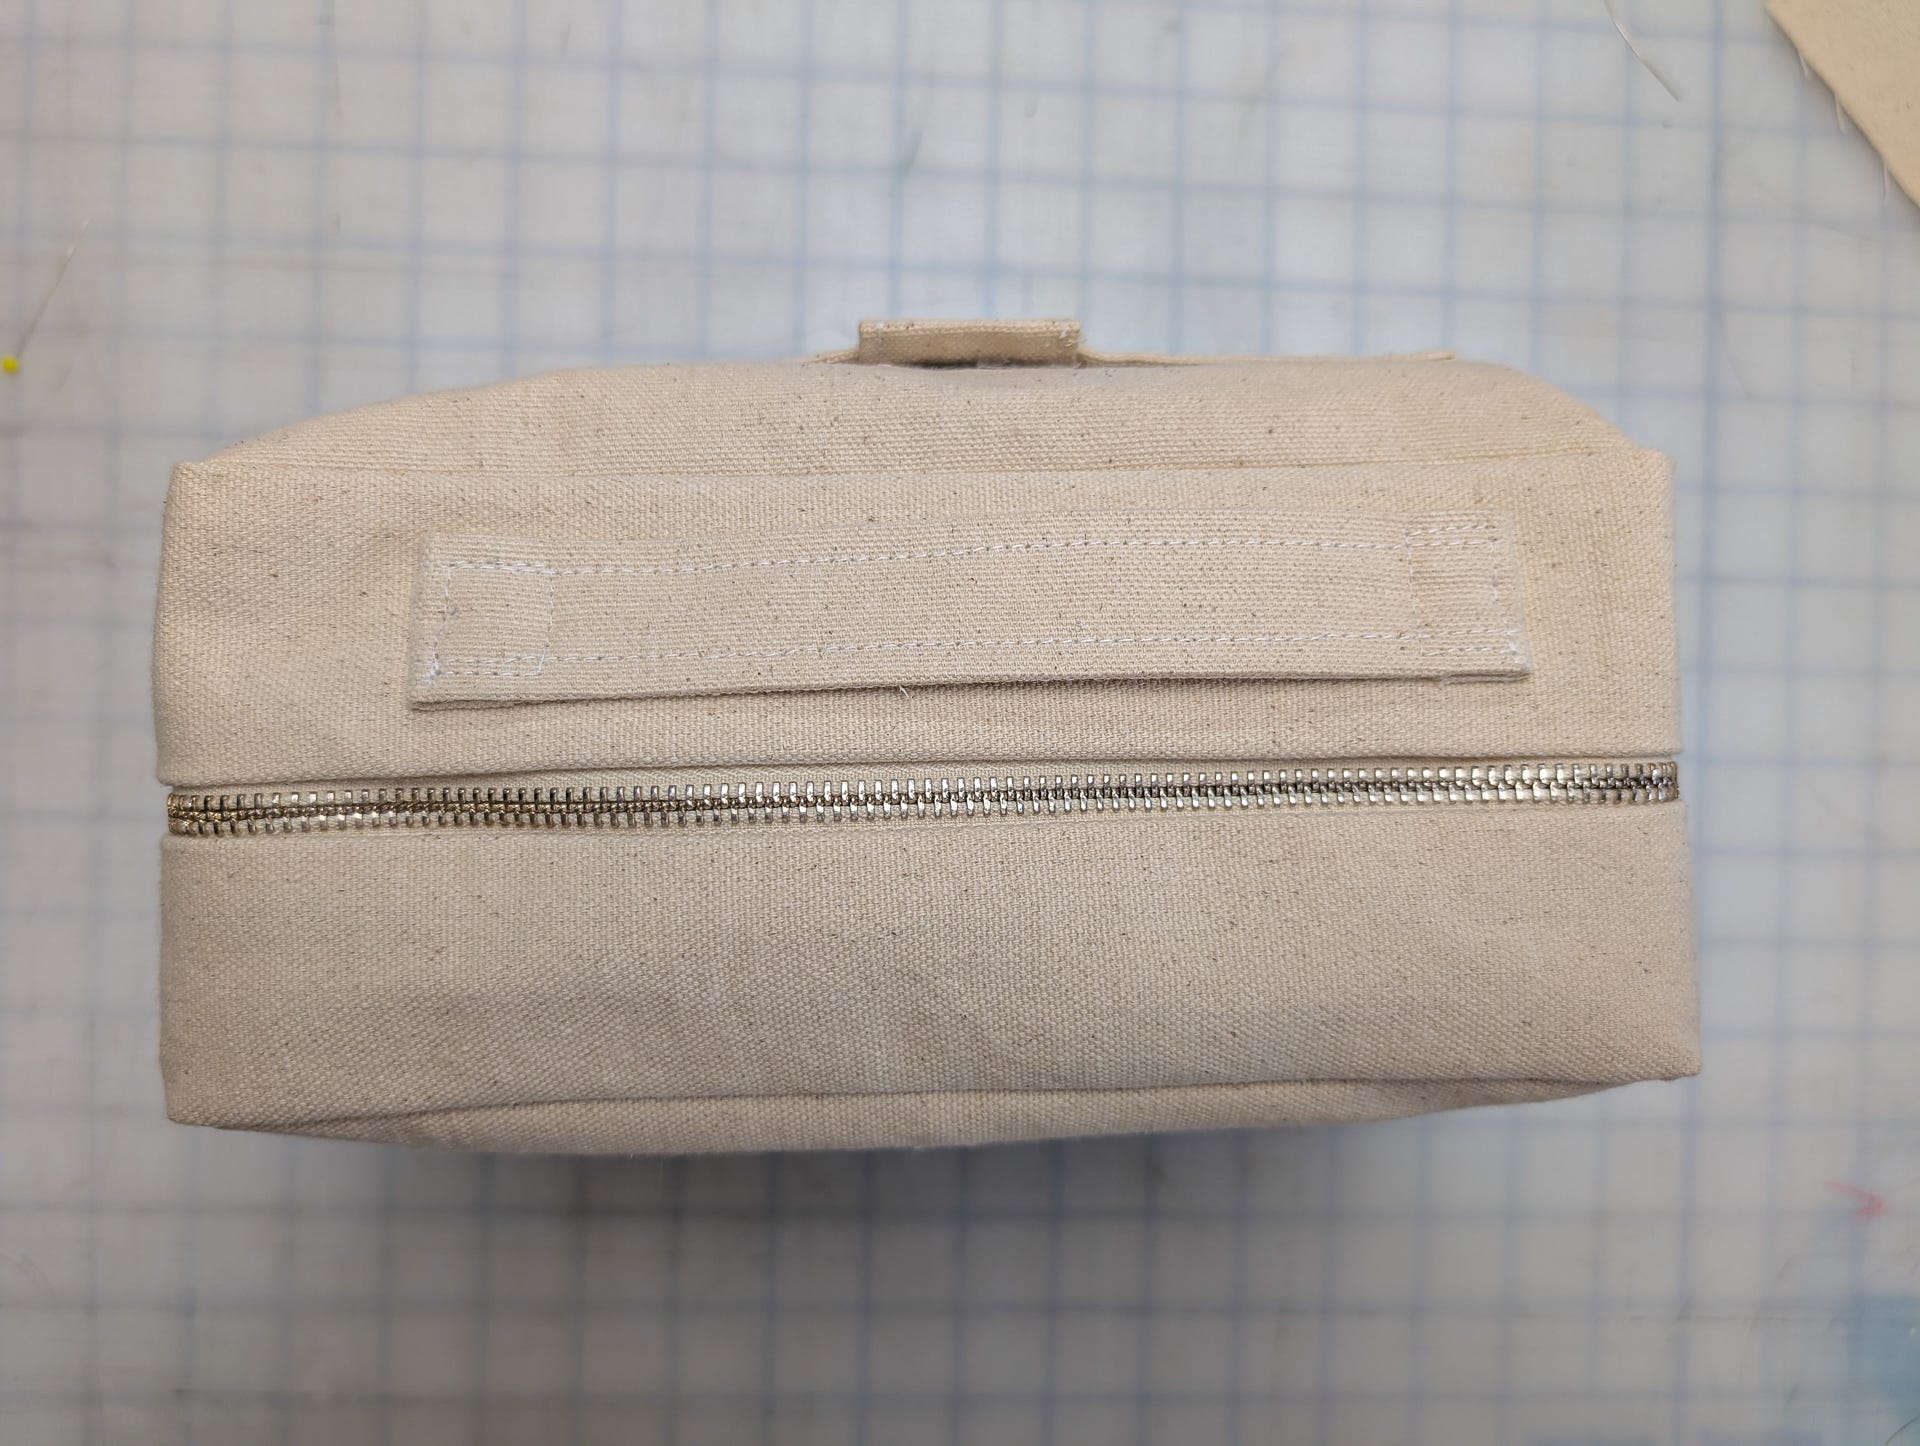
Pin on the long side of bag, on the piece of the side panel closest to the pocket.
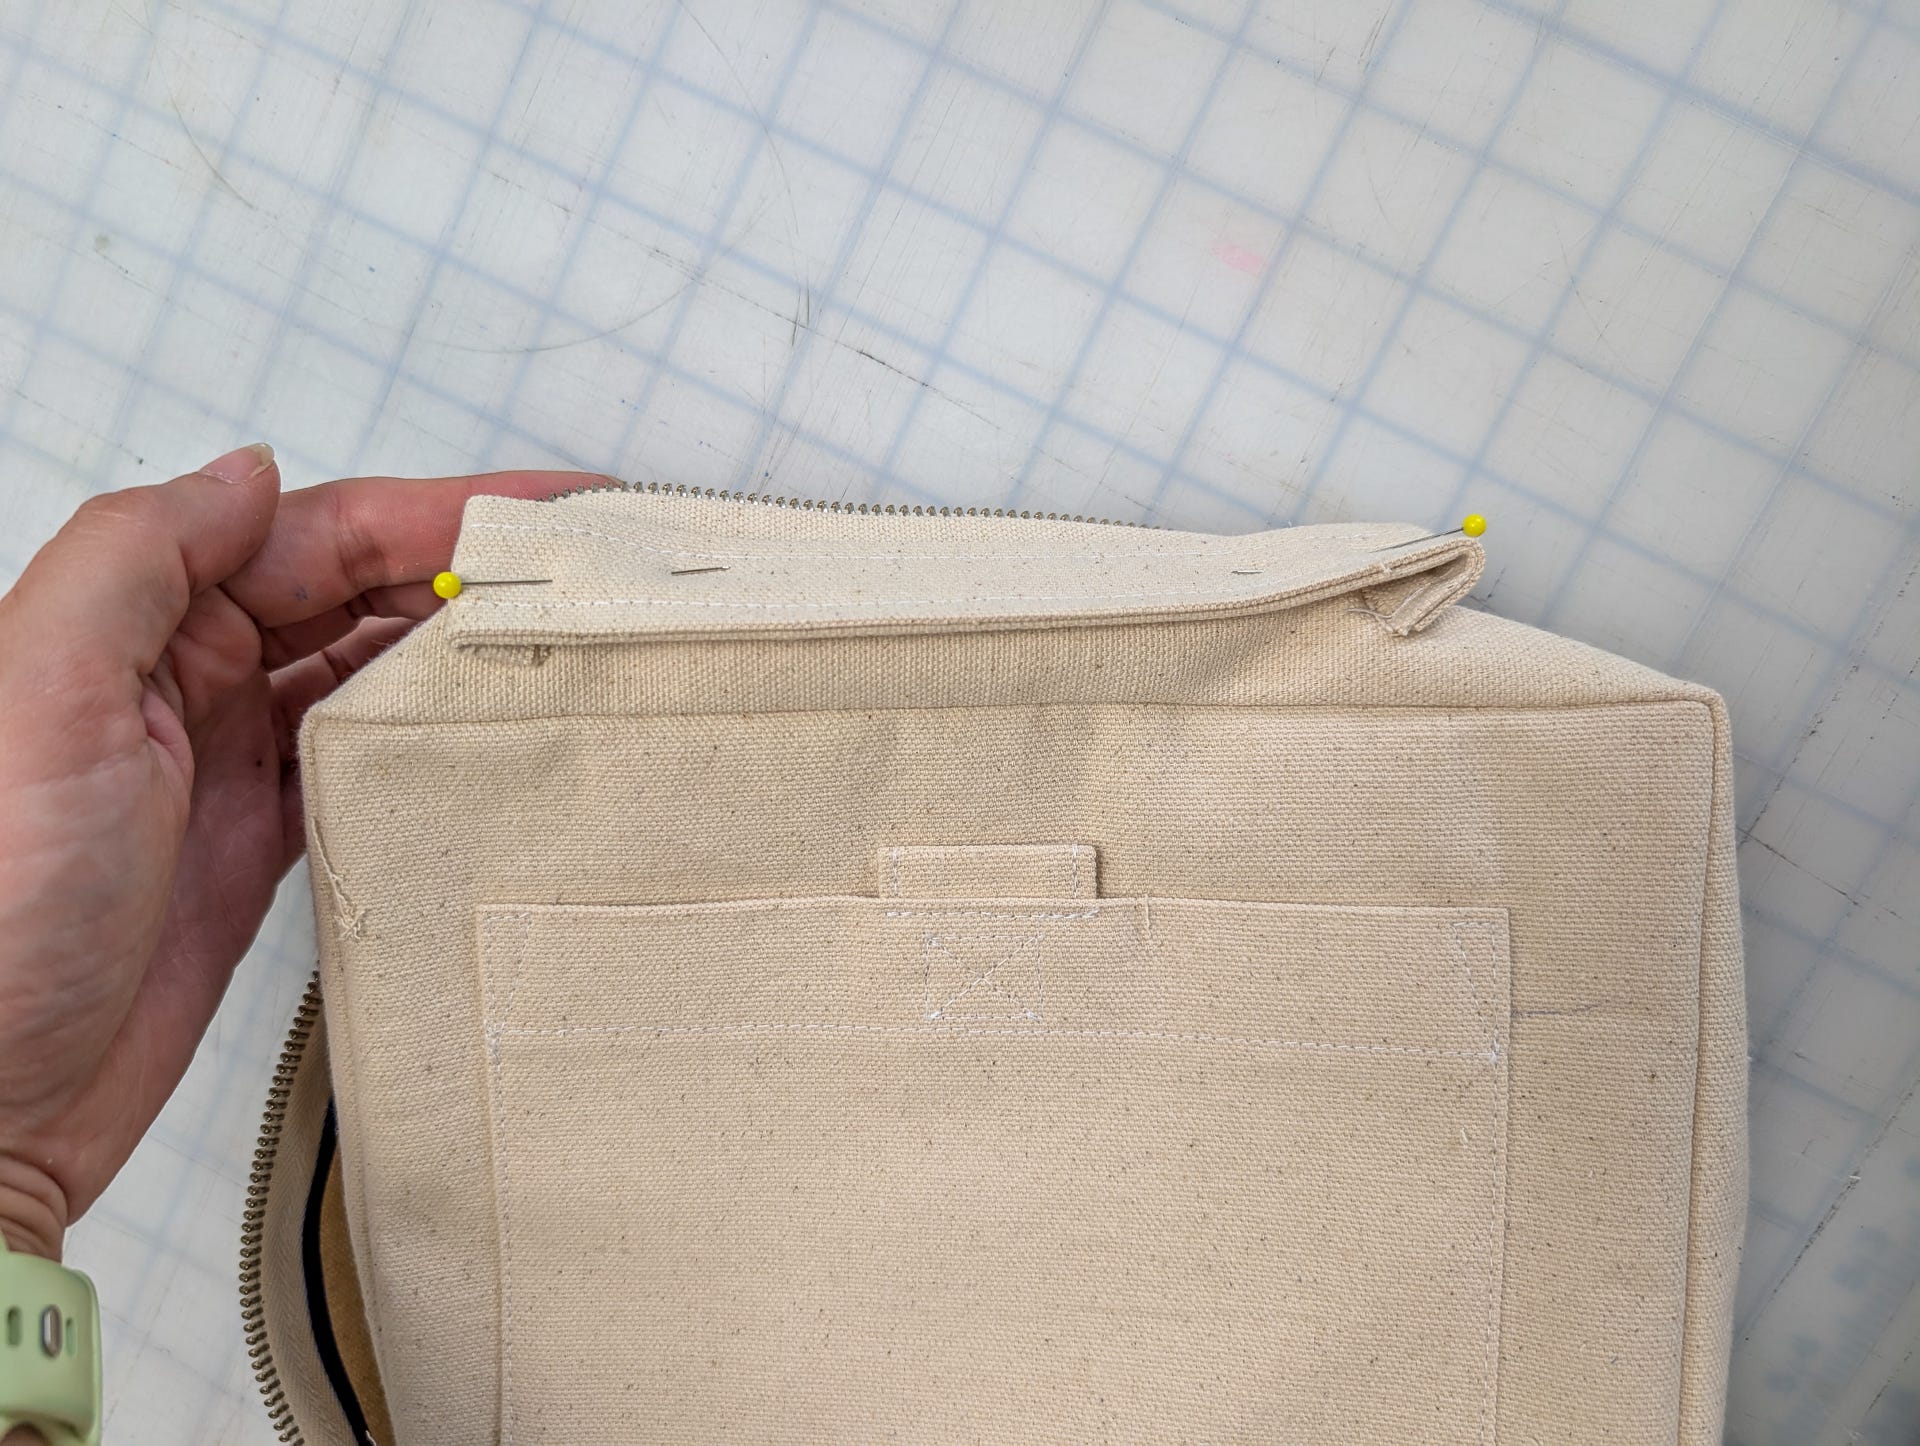
Stitch in place with a box in order to catch the seam allowance cleanly.
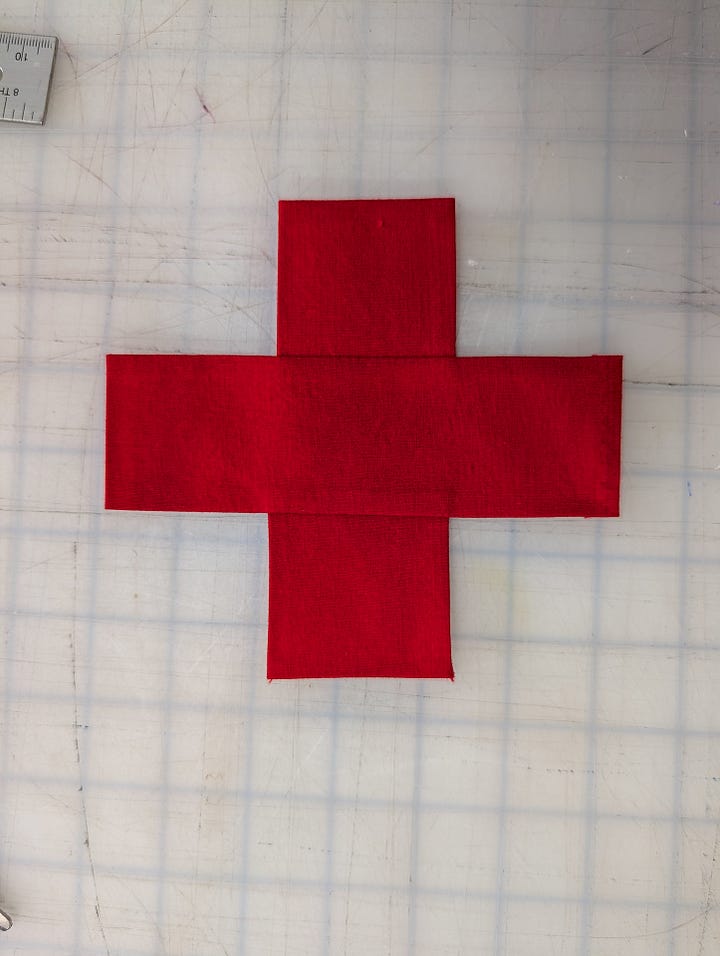
Find the center of your pieces to align placement of the squares on either side of your rectangle. Stitch squares to rectangle, leaving .25”(.5 CM) open on each side. Fold back and iron .25” (.5 CM) SA on all sides.
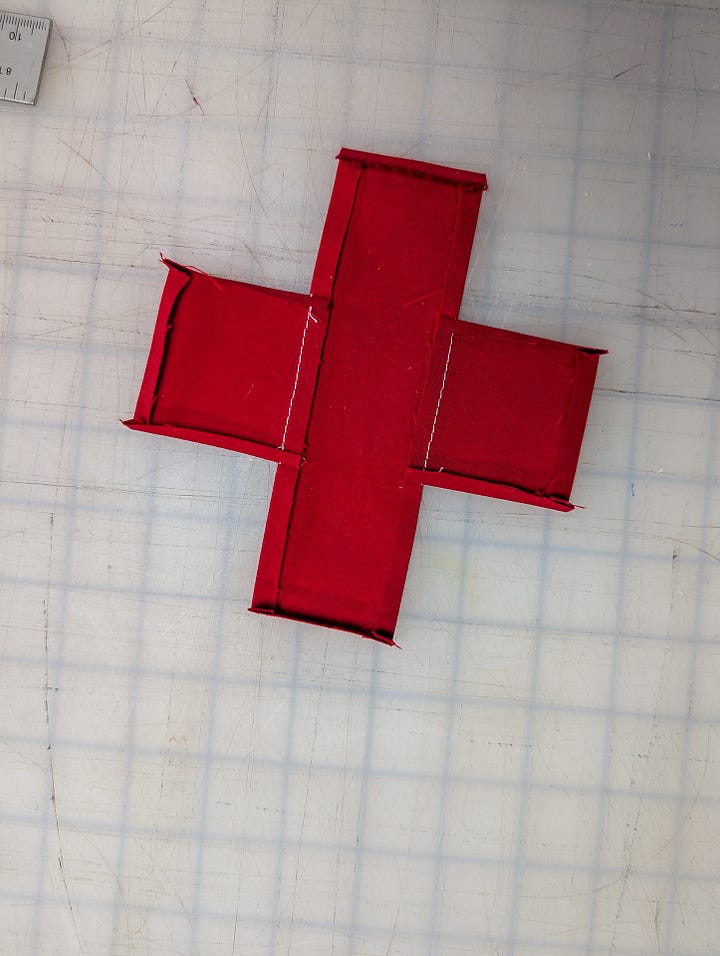
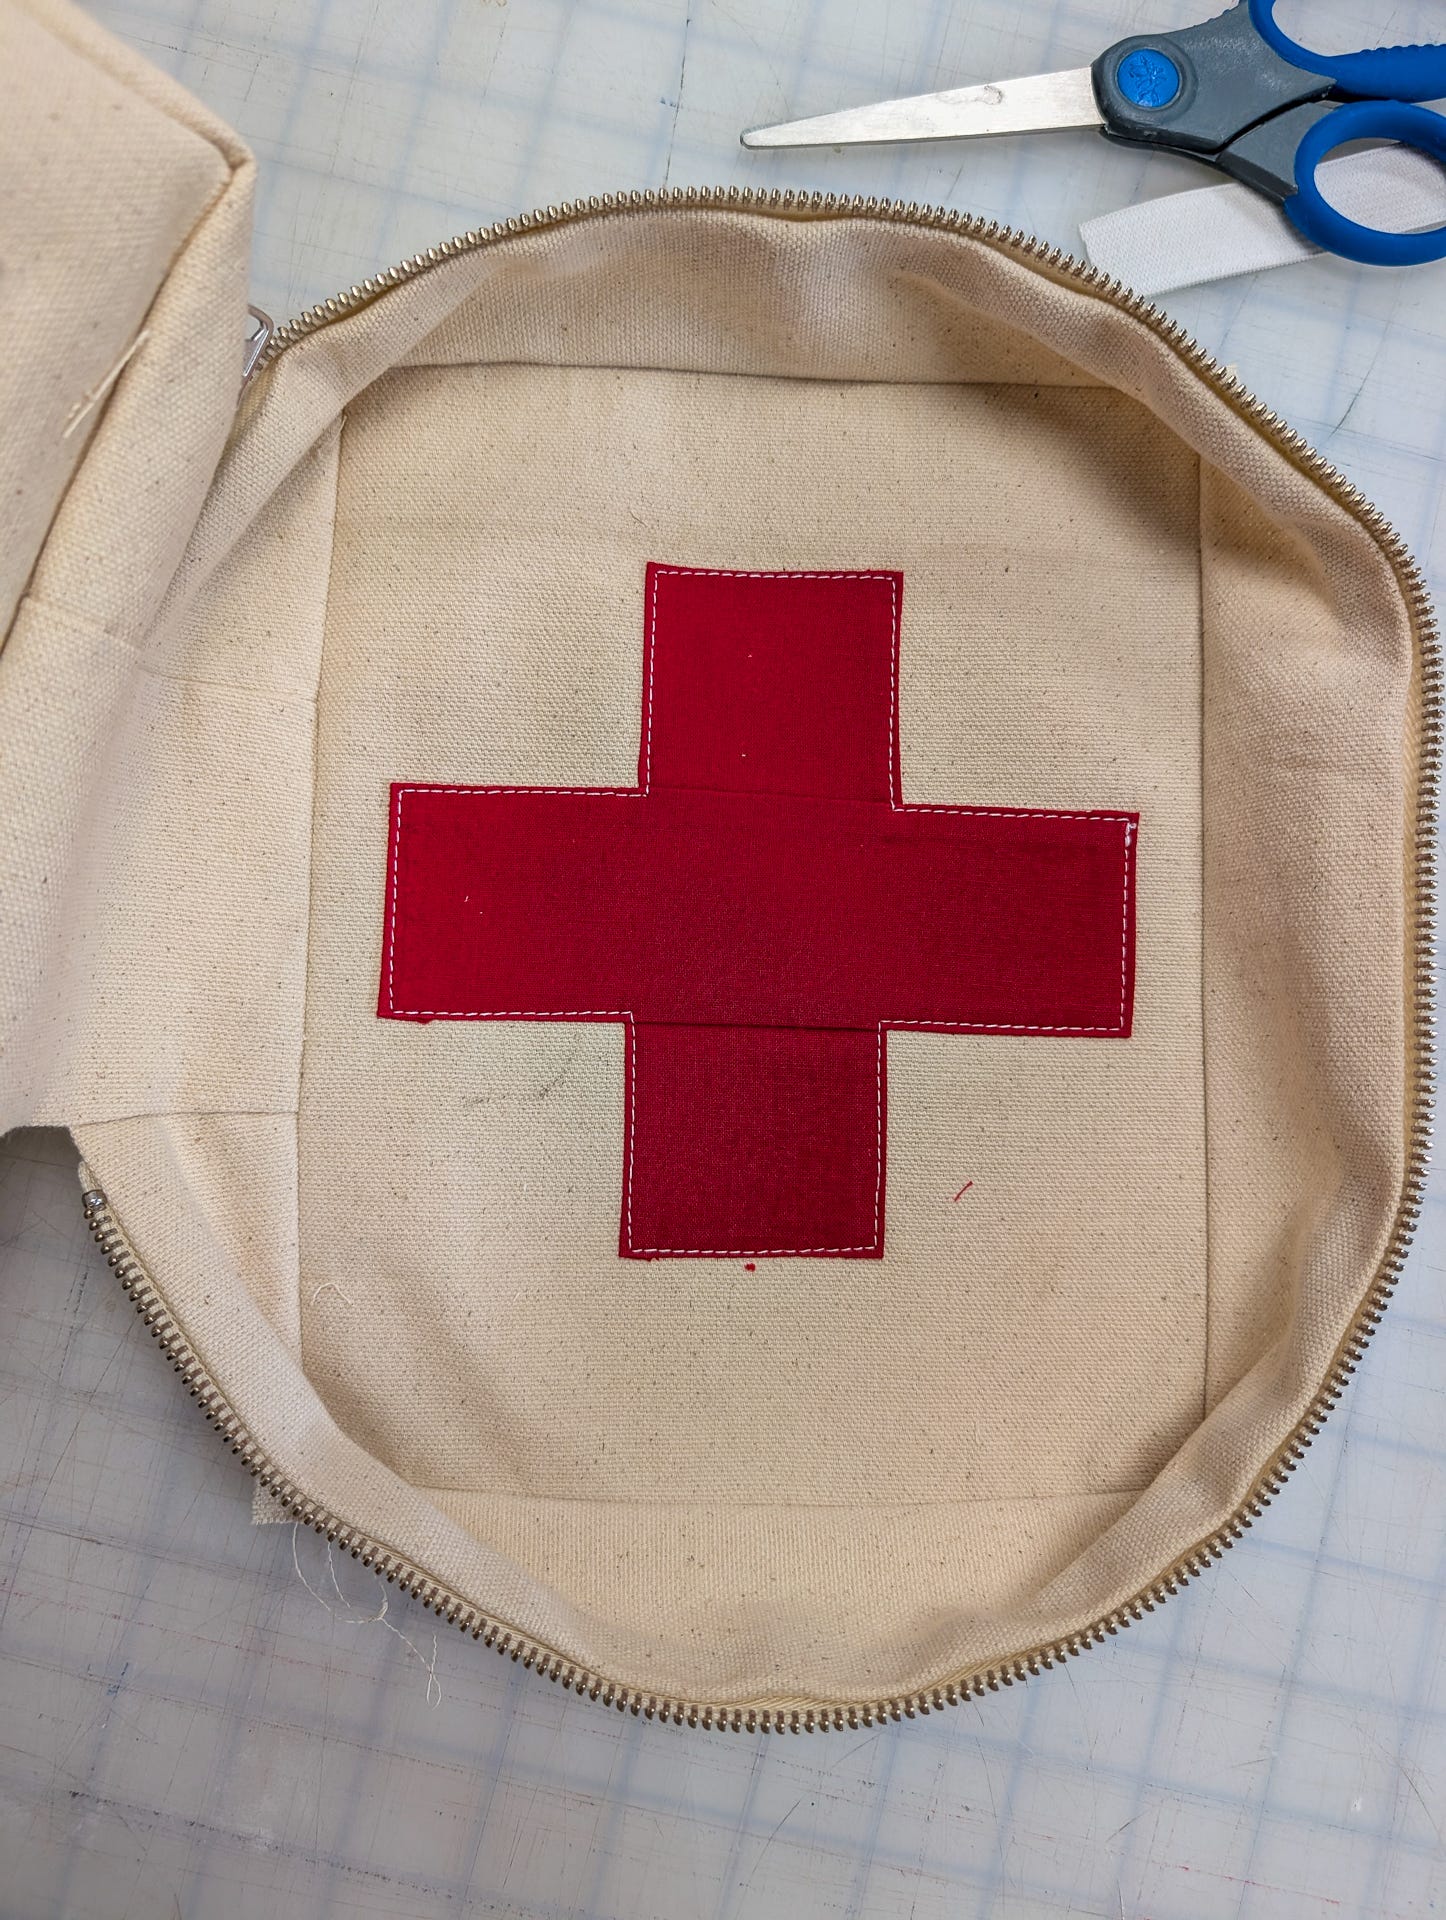
Pin to center of front panel and top stitch in place. (Yes, this step could be done earlier, I just chose to do it at this point.)
Double fold the loop pieces and top stitch closed
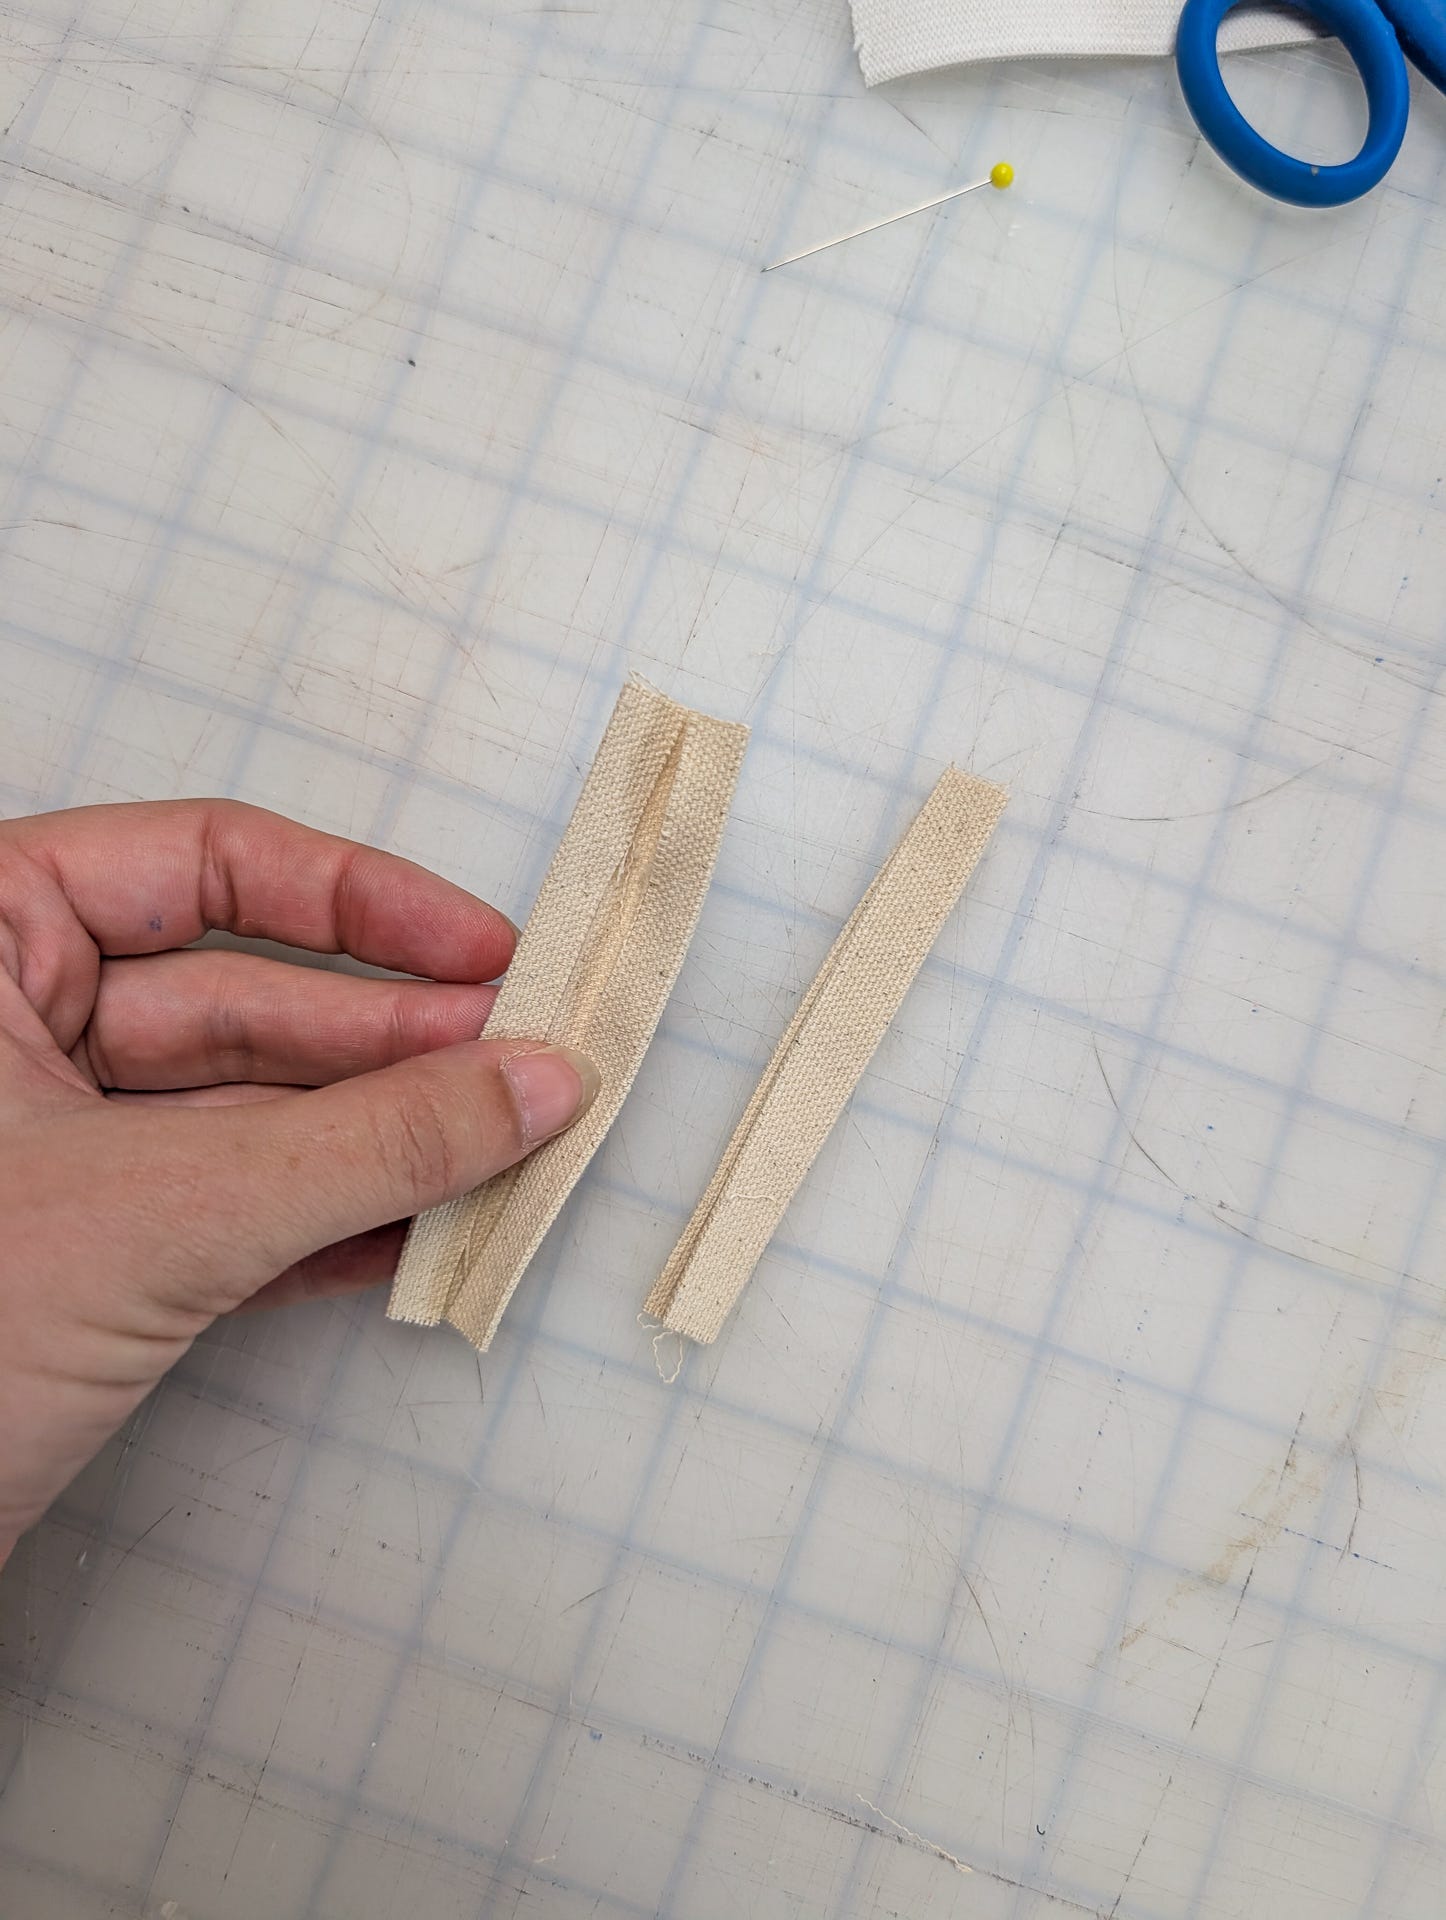
Stitch on either side of the hinge panel. I offset the ends in order to reduce bulk.
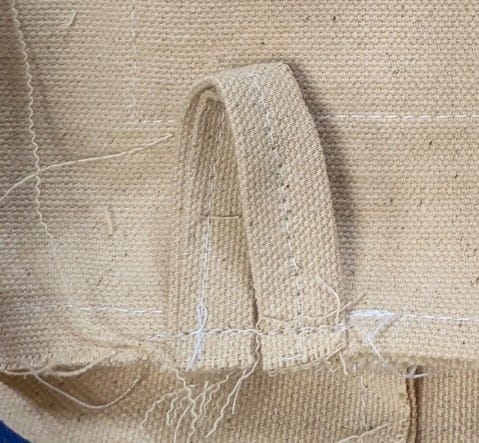
Divide 12”(30 CM) elastic strips into thirds and mark. Stitch ends of 12” elastic strips to edges of panel. Pin the two parks in place with the elastic bubbled evenly between them. Stitch across the elastic to hold in place.
Note - If you added the red cross to the front of the bag you will see the stitch lines on it. You can use red thread to make it less visible or embrace it.
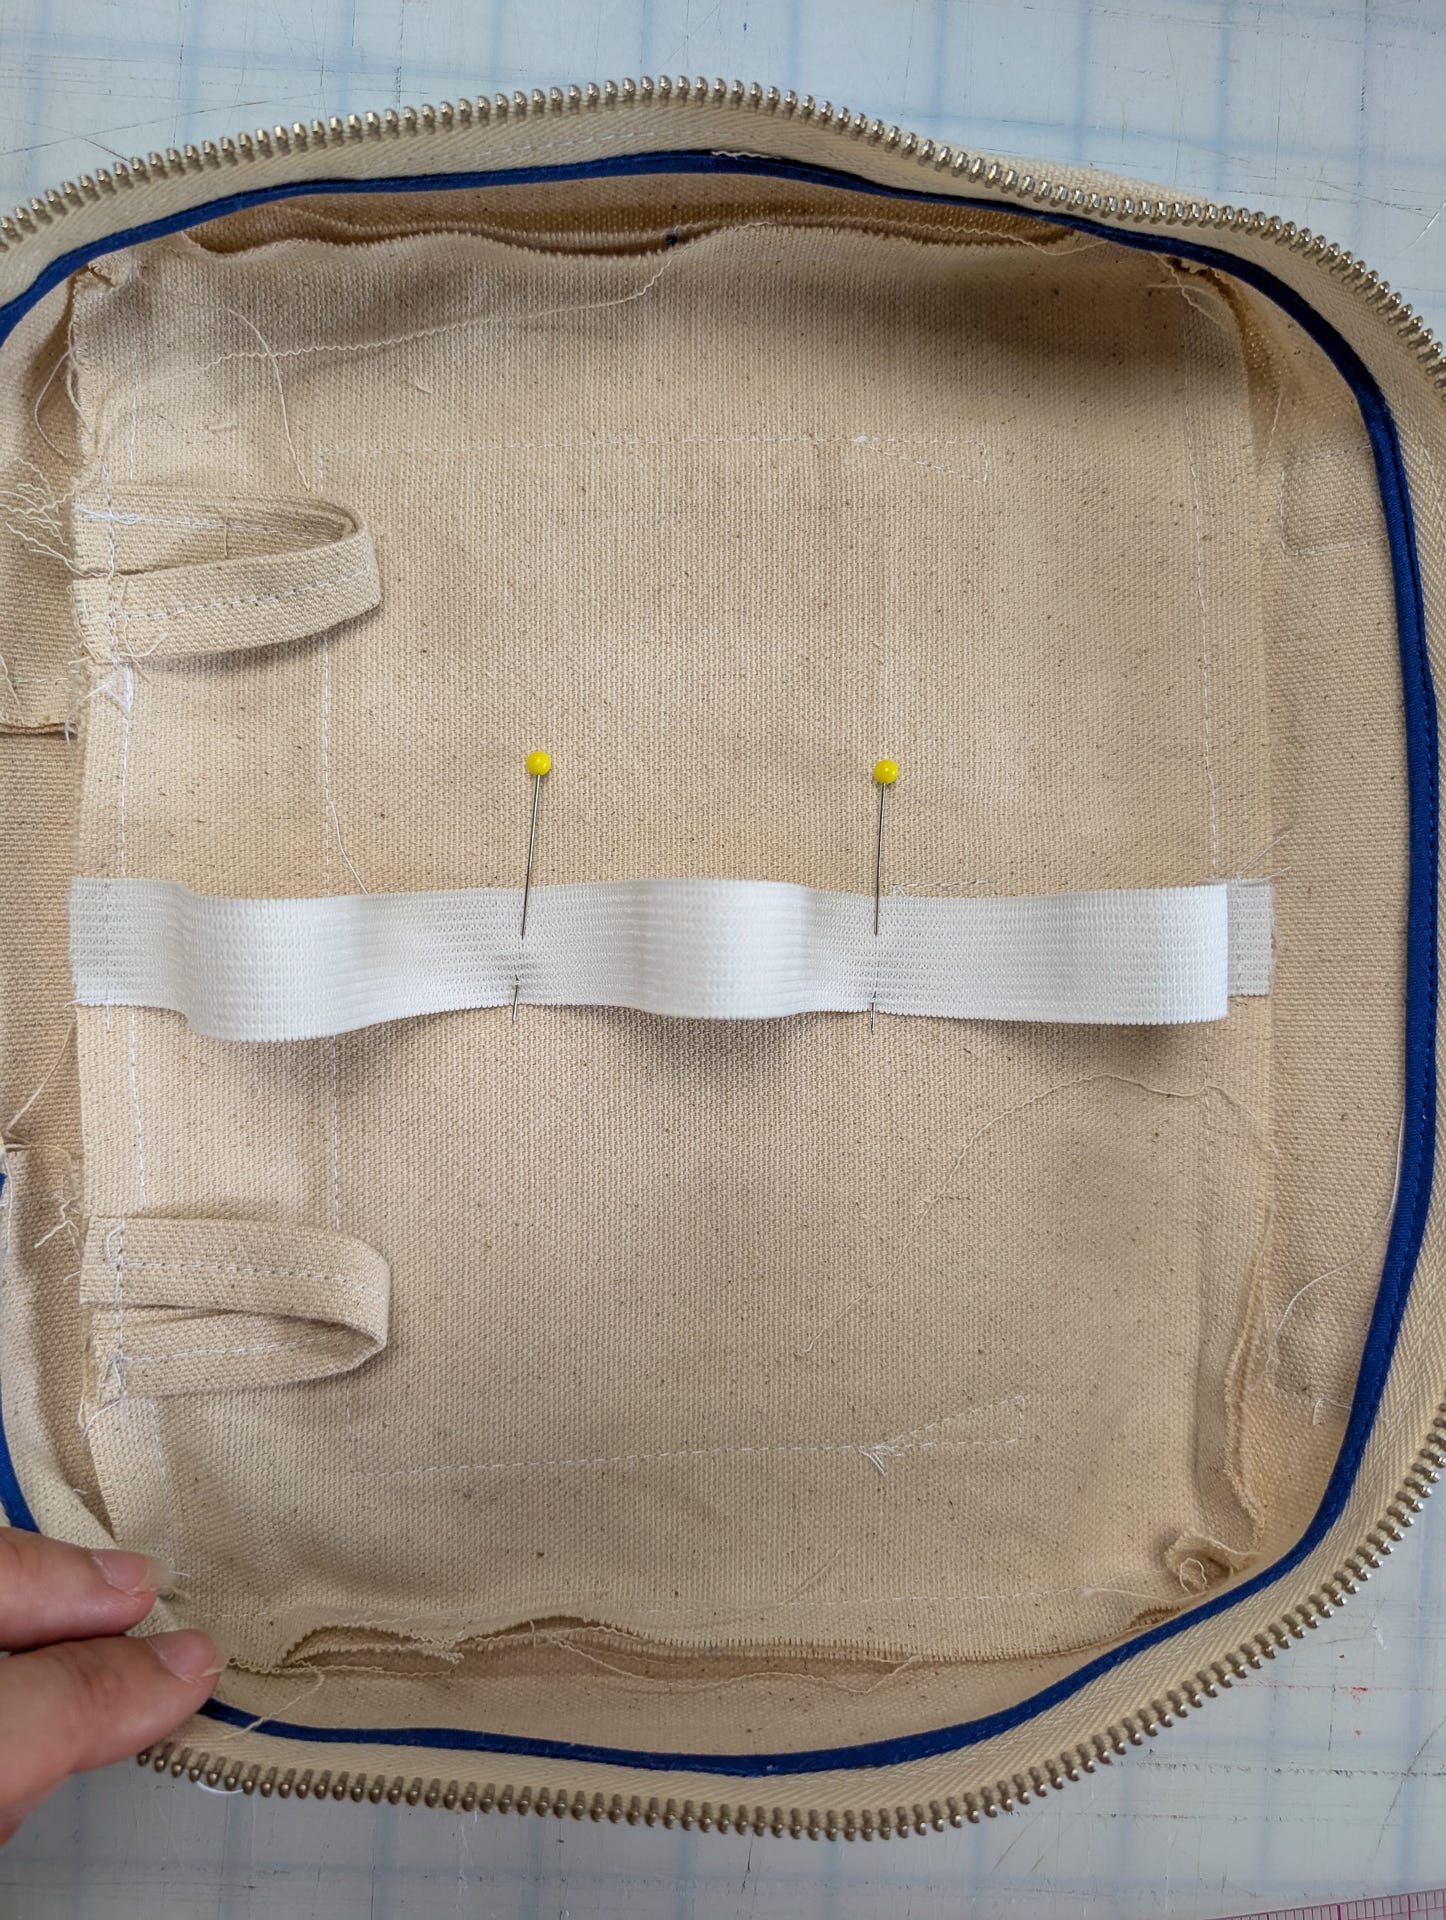
Repeat for back panel. You will have to move the pocket fabric out of the way to stitch it down.
Place the 3”(8 CM) elastic loops on the bag opposite from the tabs across the hinge and stitch.
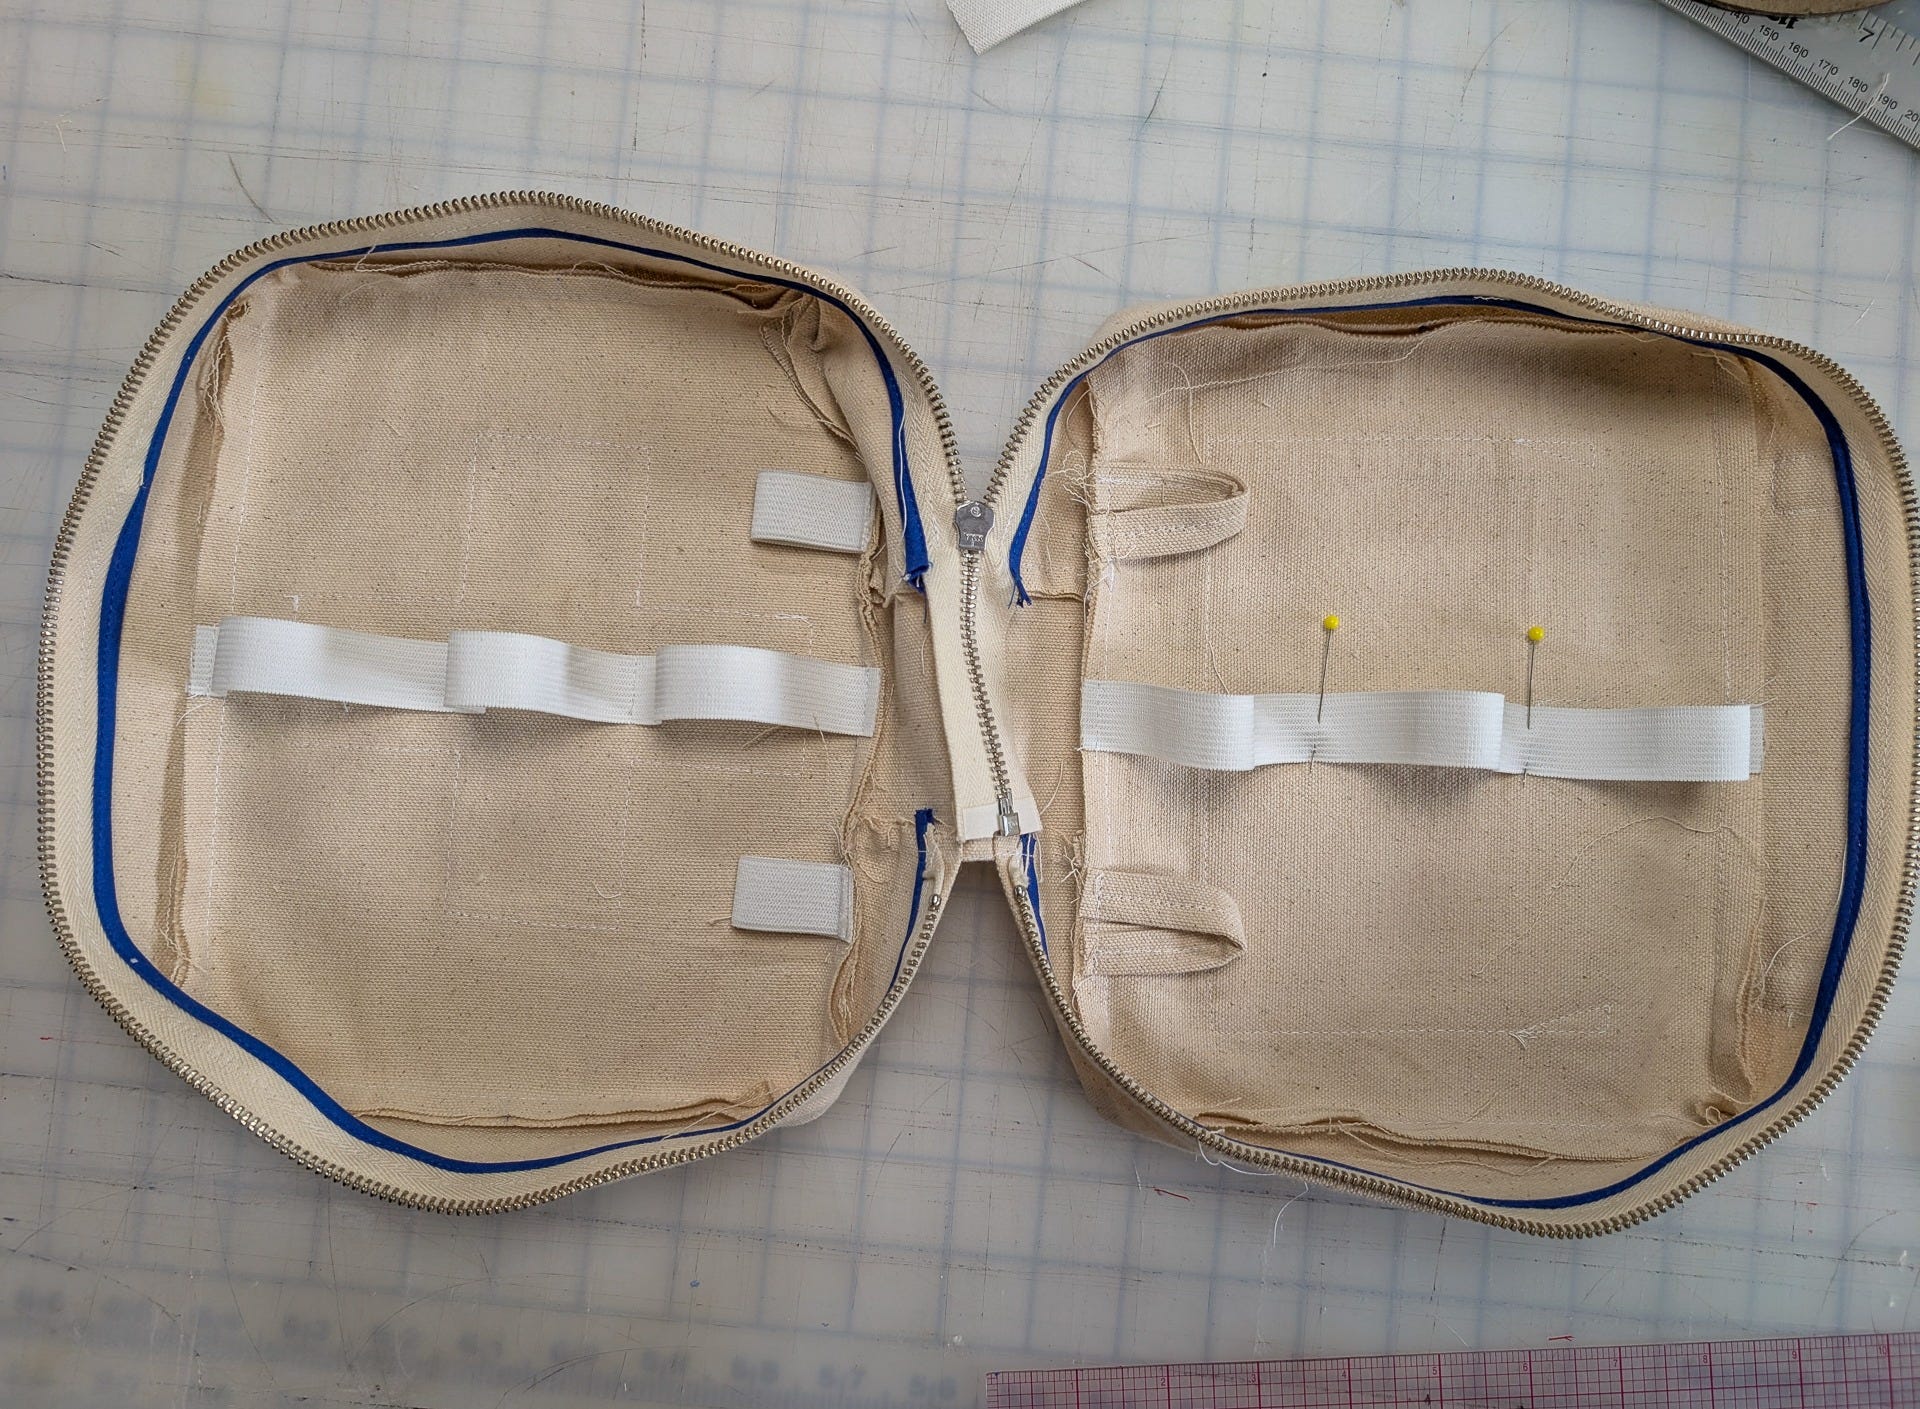
Bias tape the side panel/front/back seams, stopping at the hinge panel.
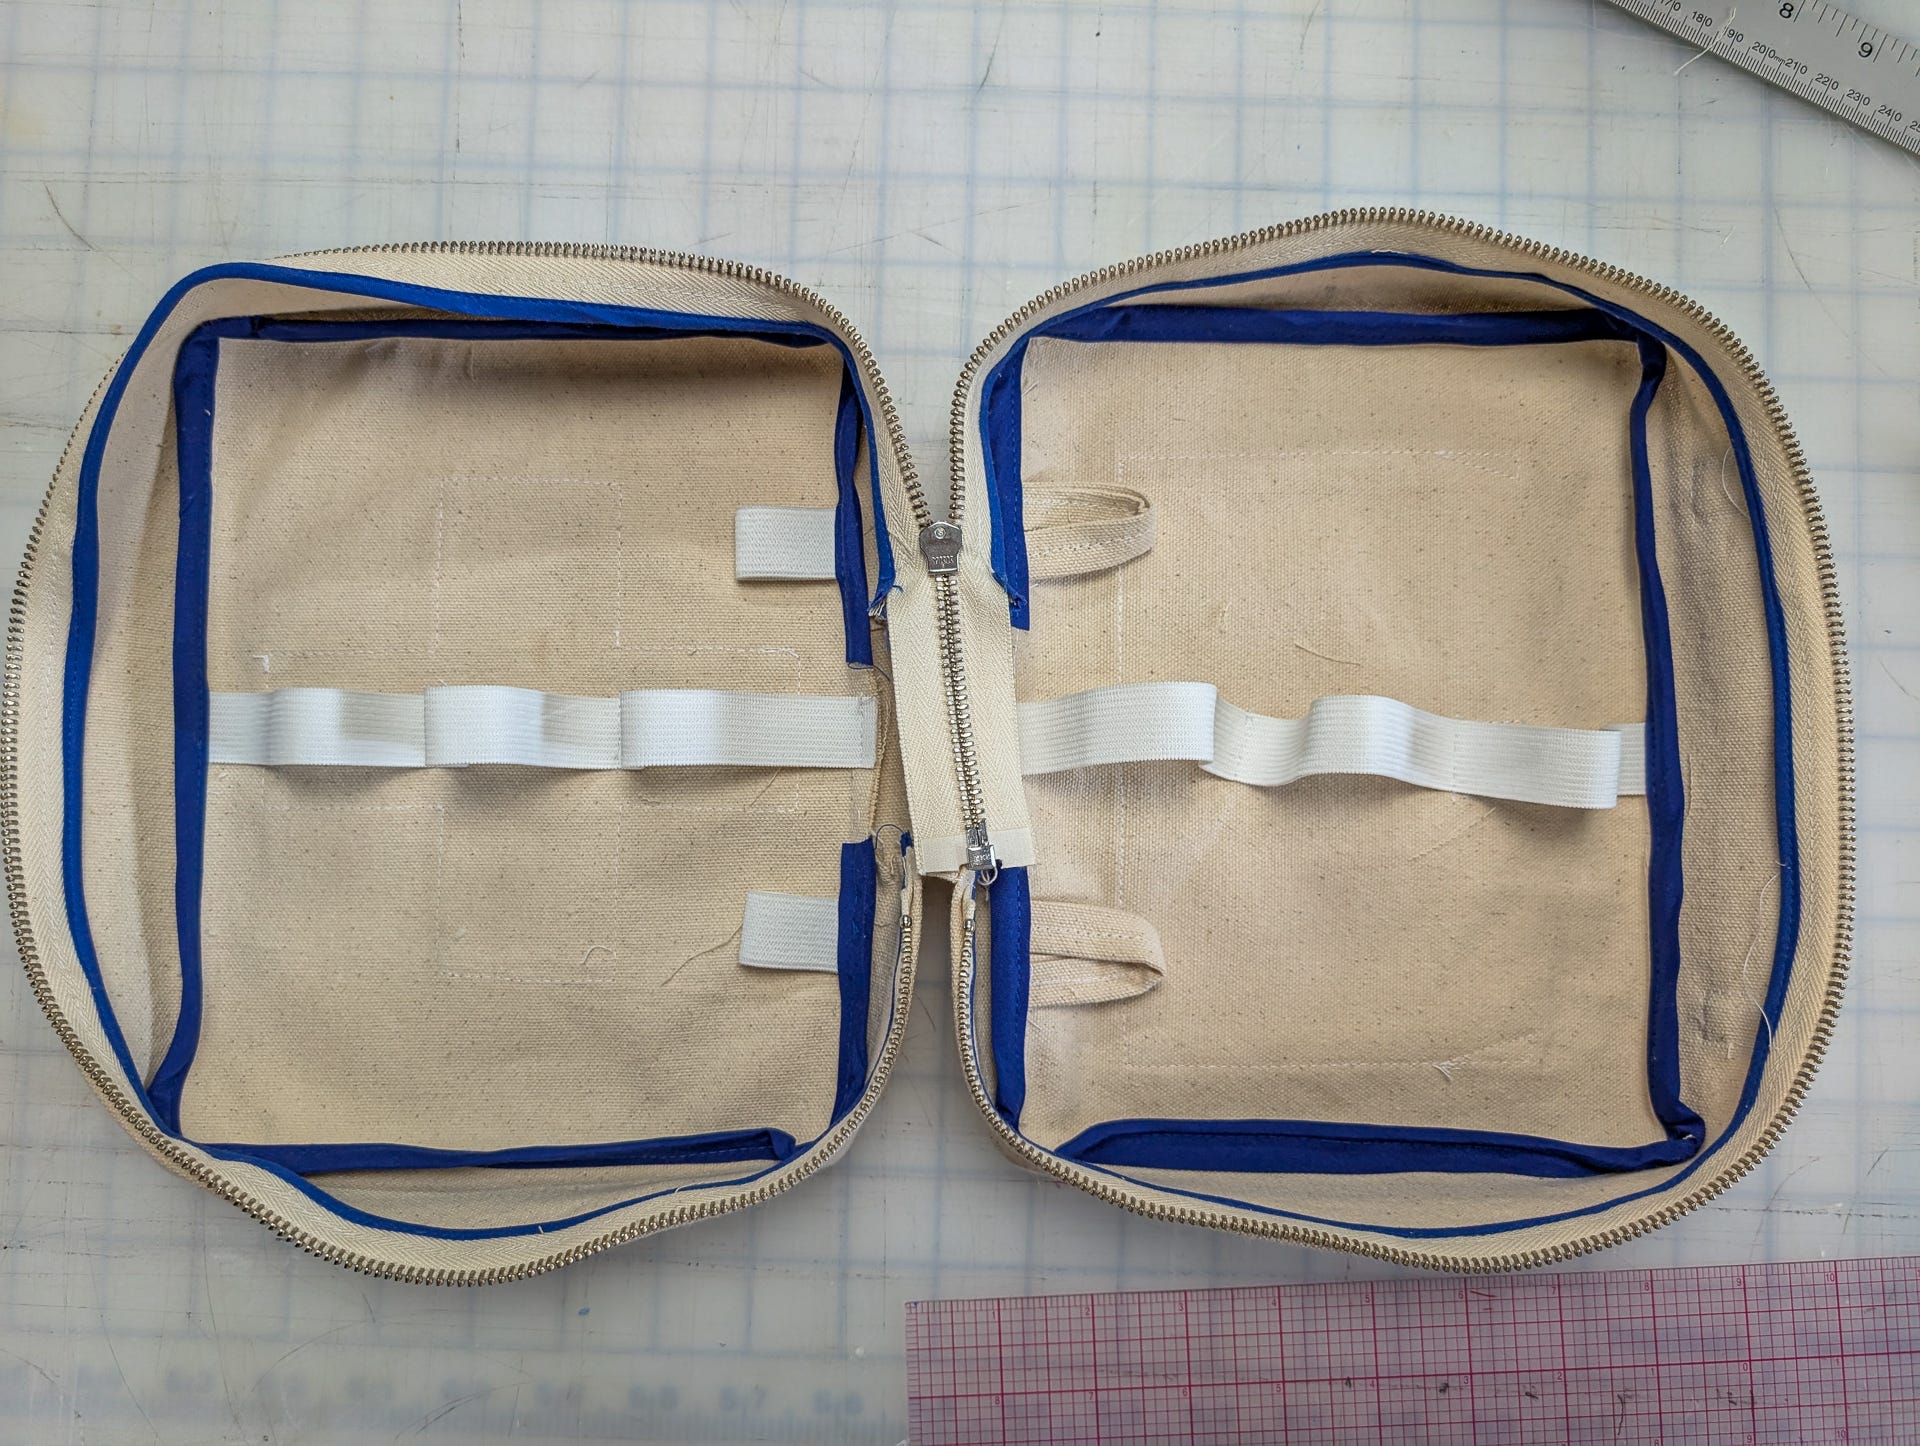
Fold back the two long sides and one short side of seam allowance of the hinge facing and iron.
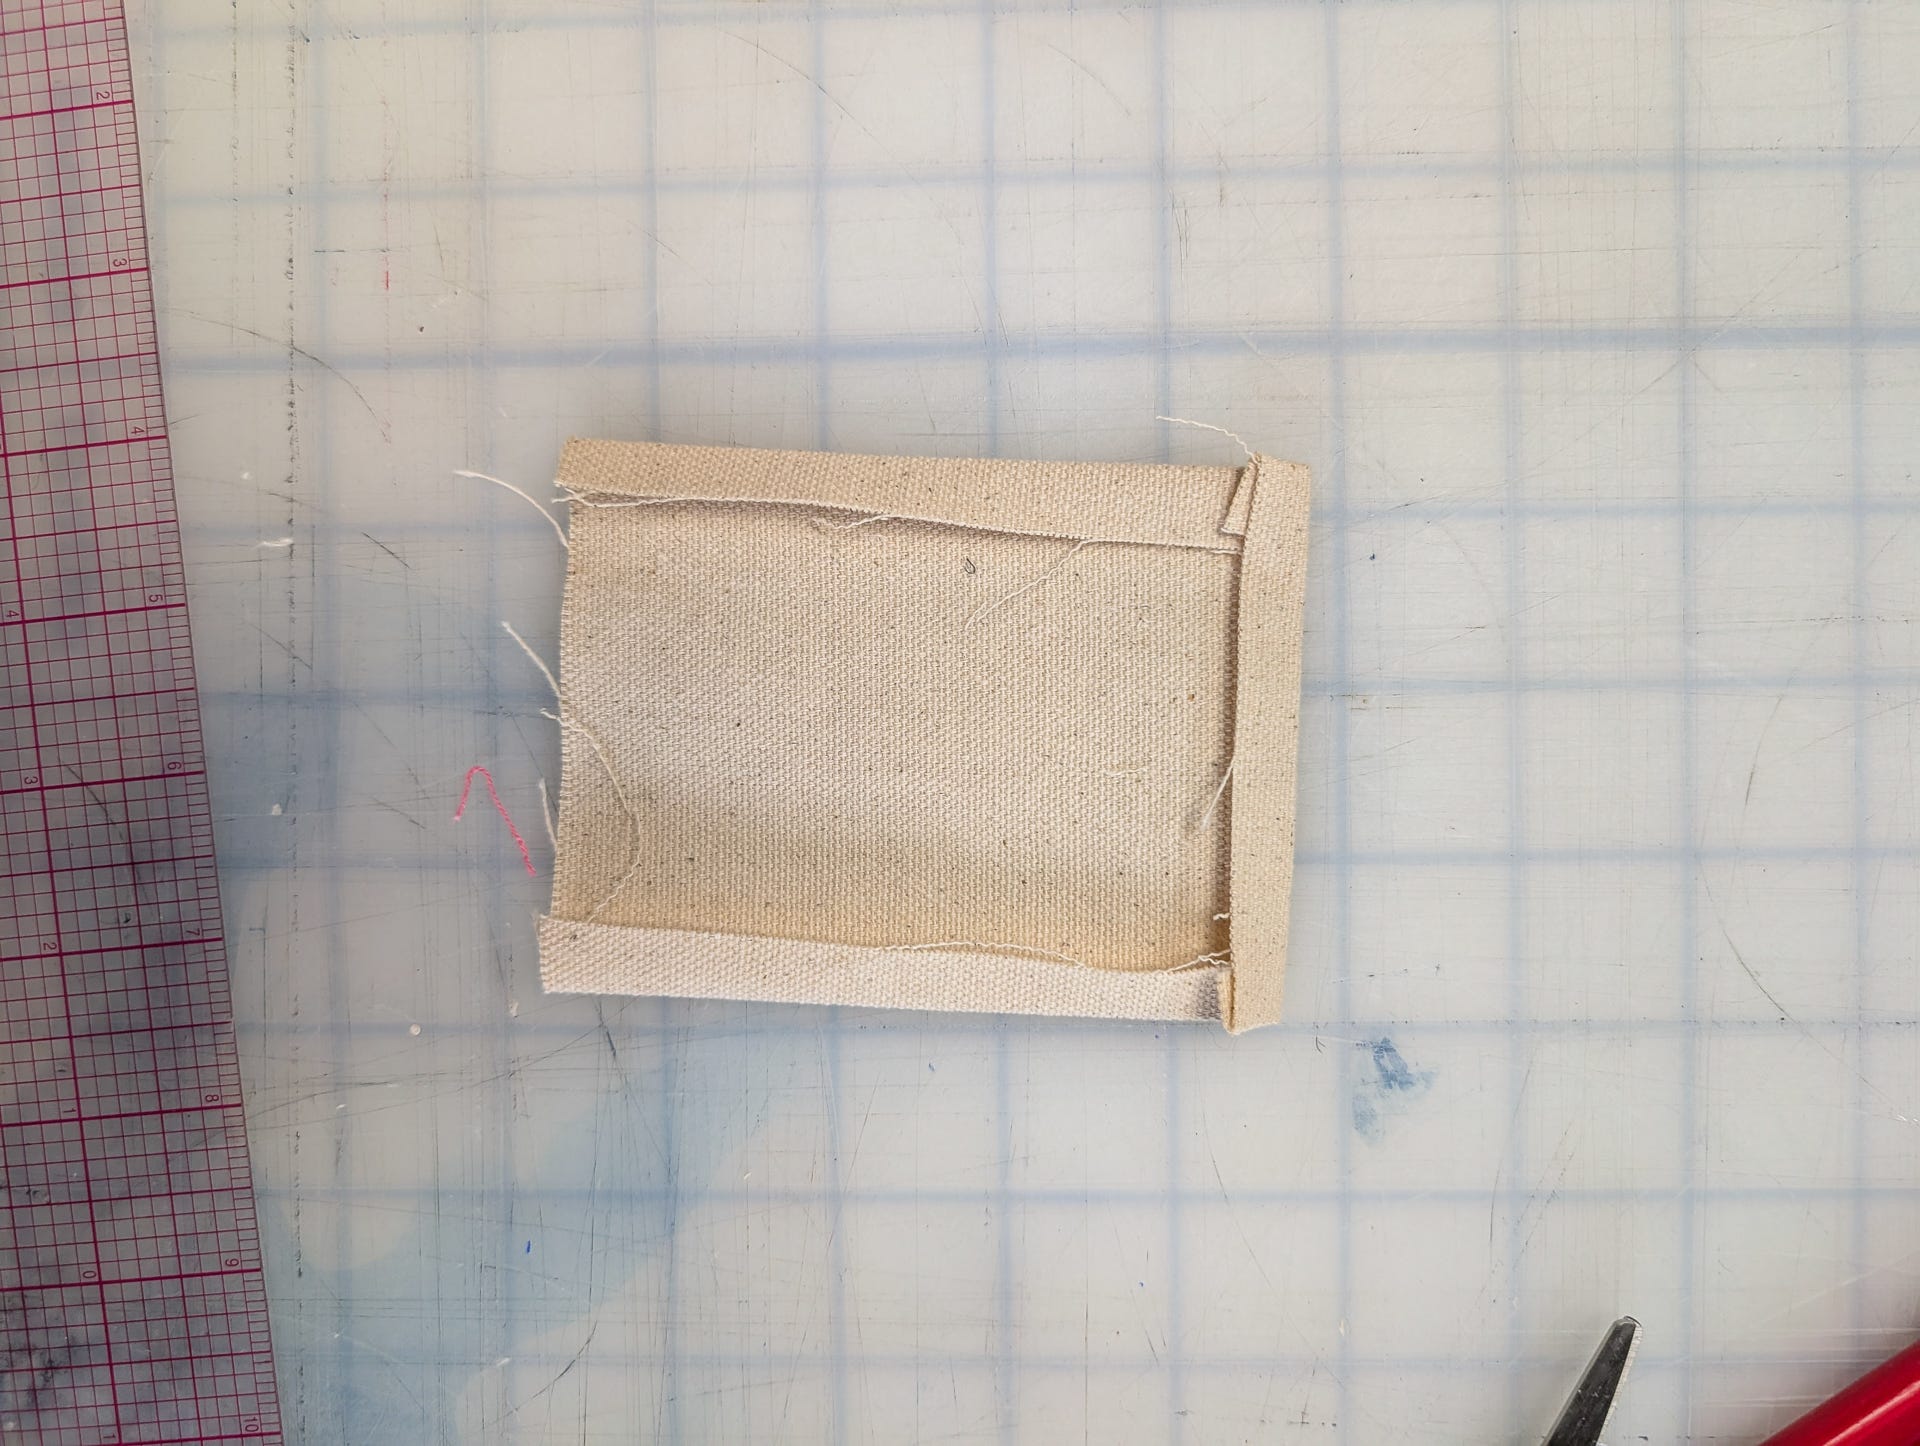
Pin the remaining seam allowance edge to the hinge seam allowance and stitch. I tried to stitch 1mm past the original stitch line to hide it.
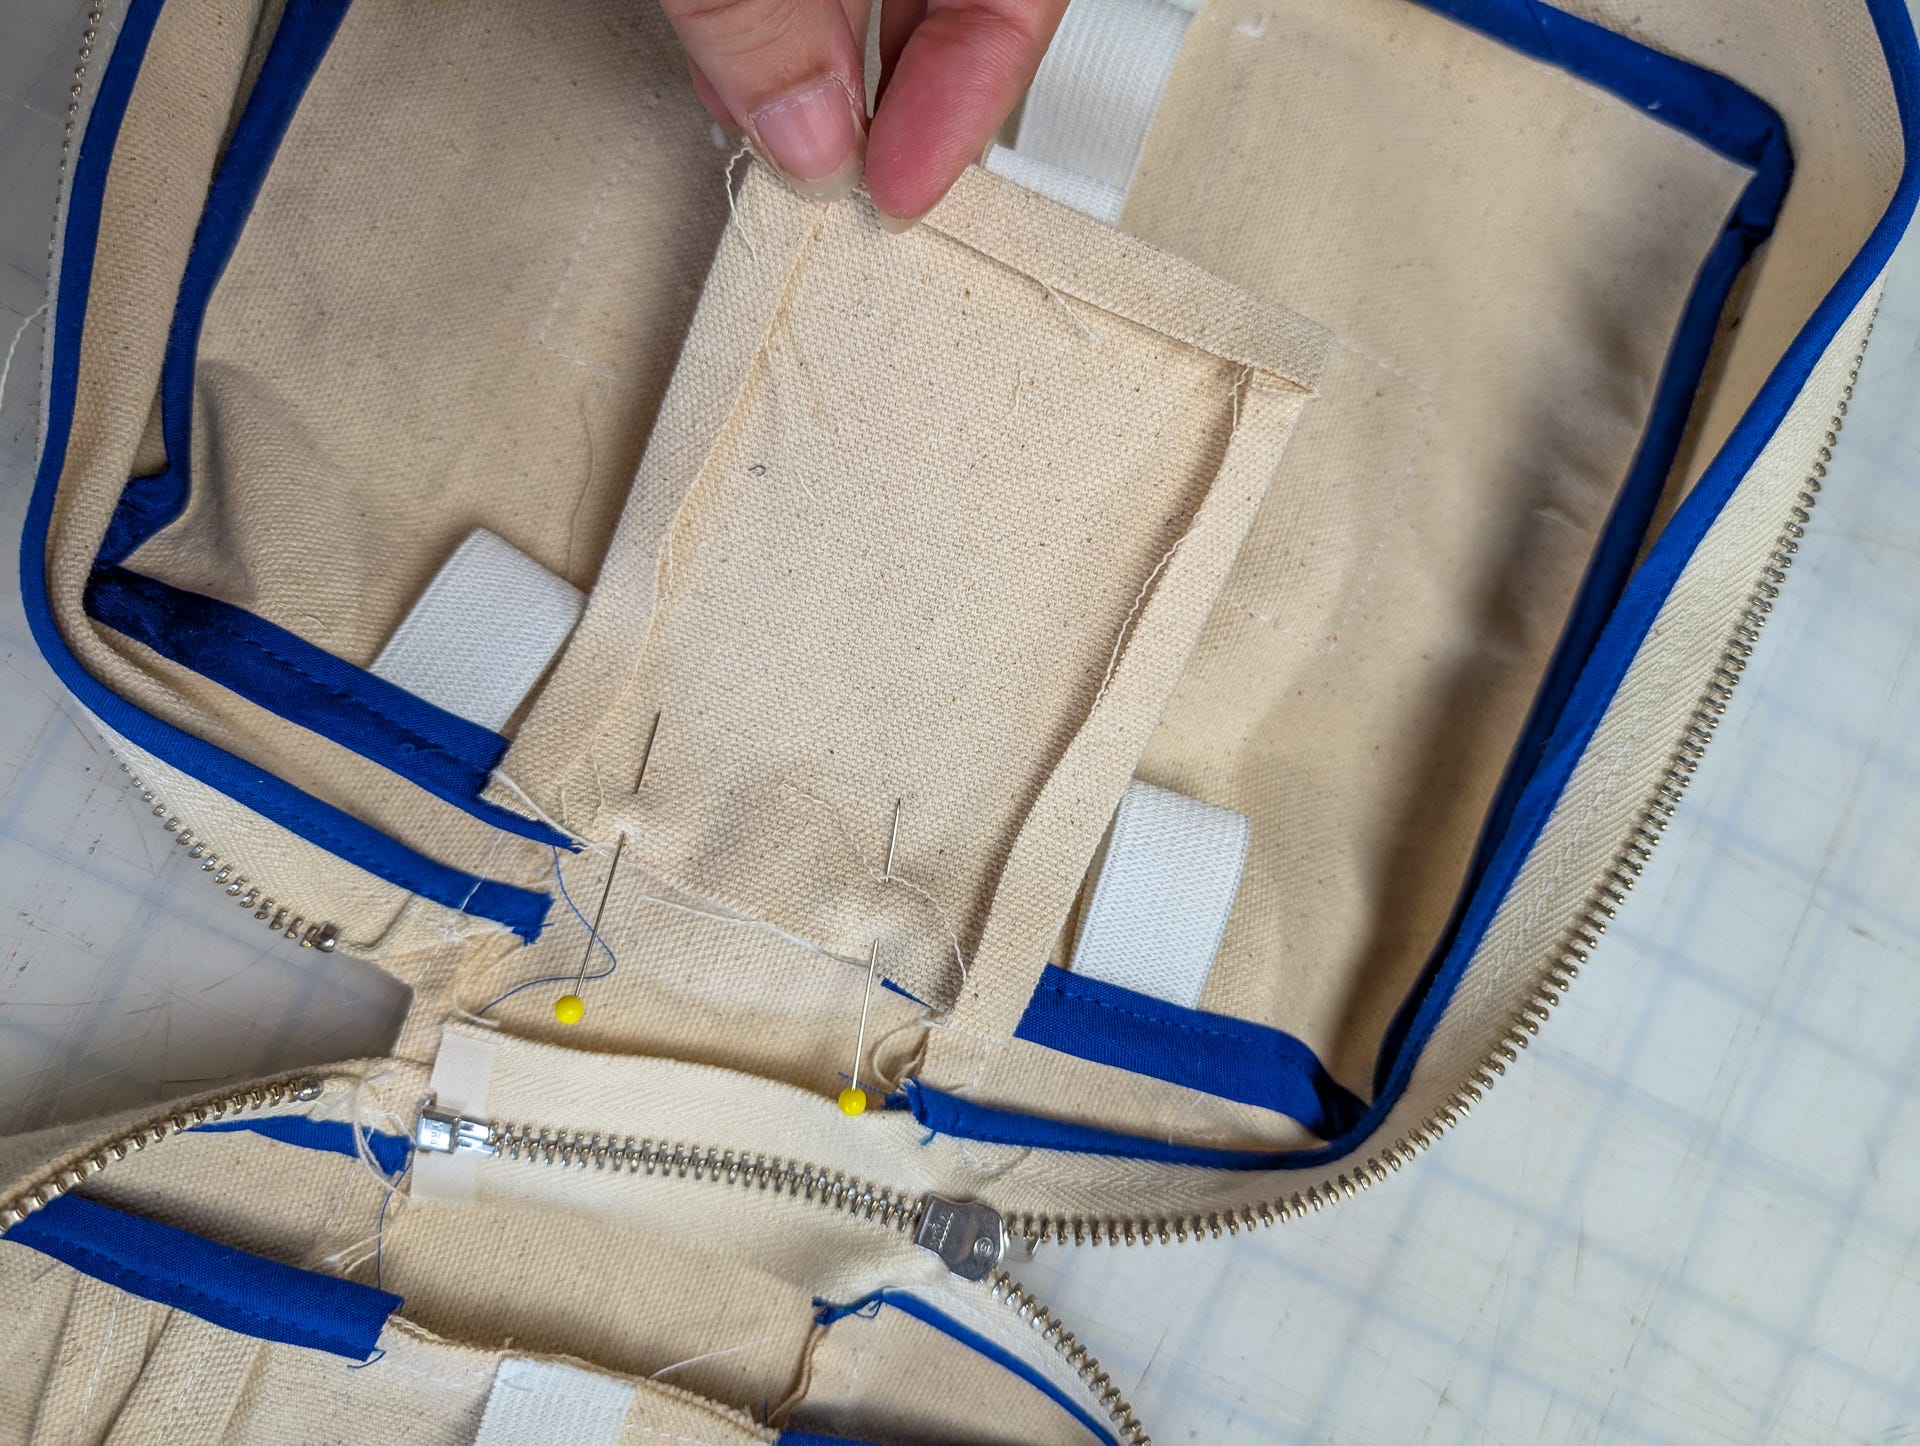
Flip the hinge over and iron flat. Pin the remaining three sides in place and top stitch.
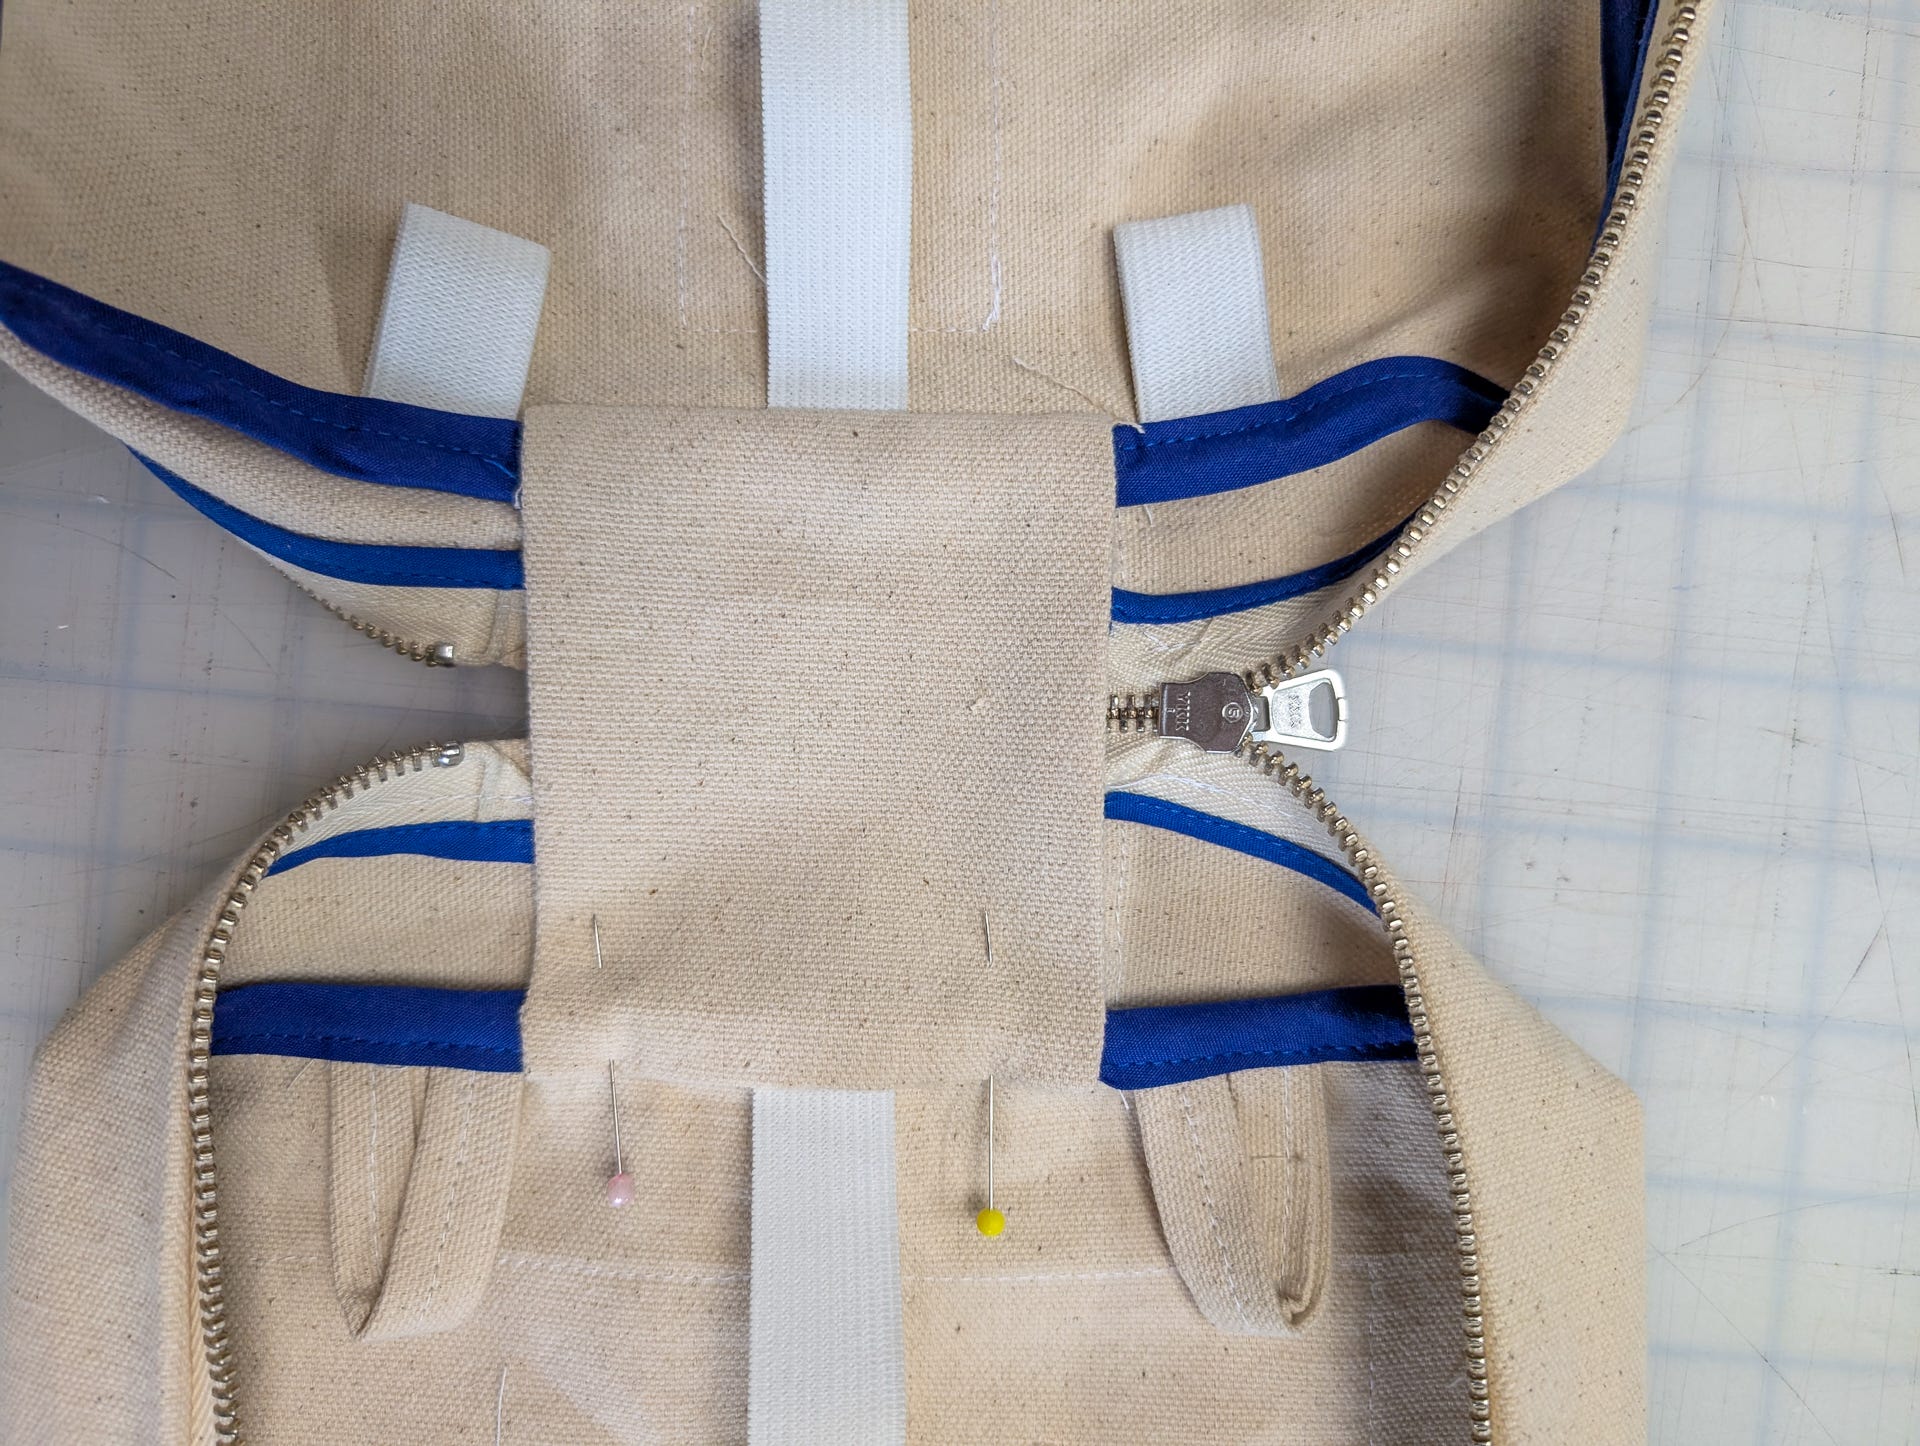
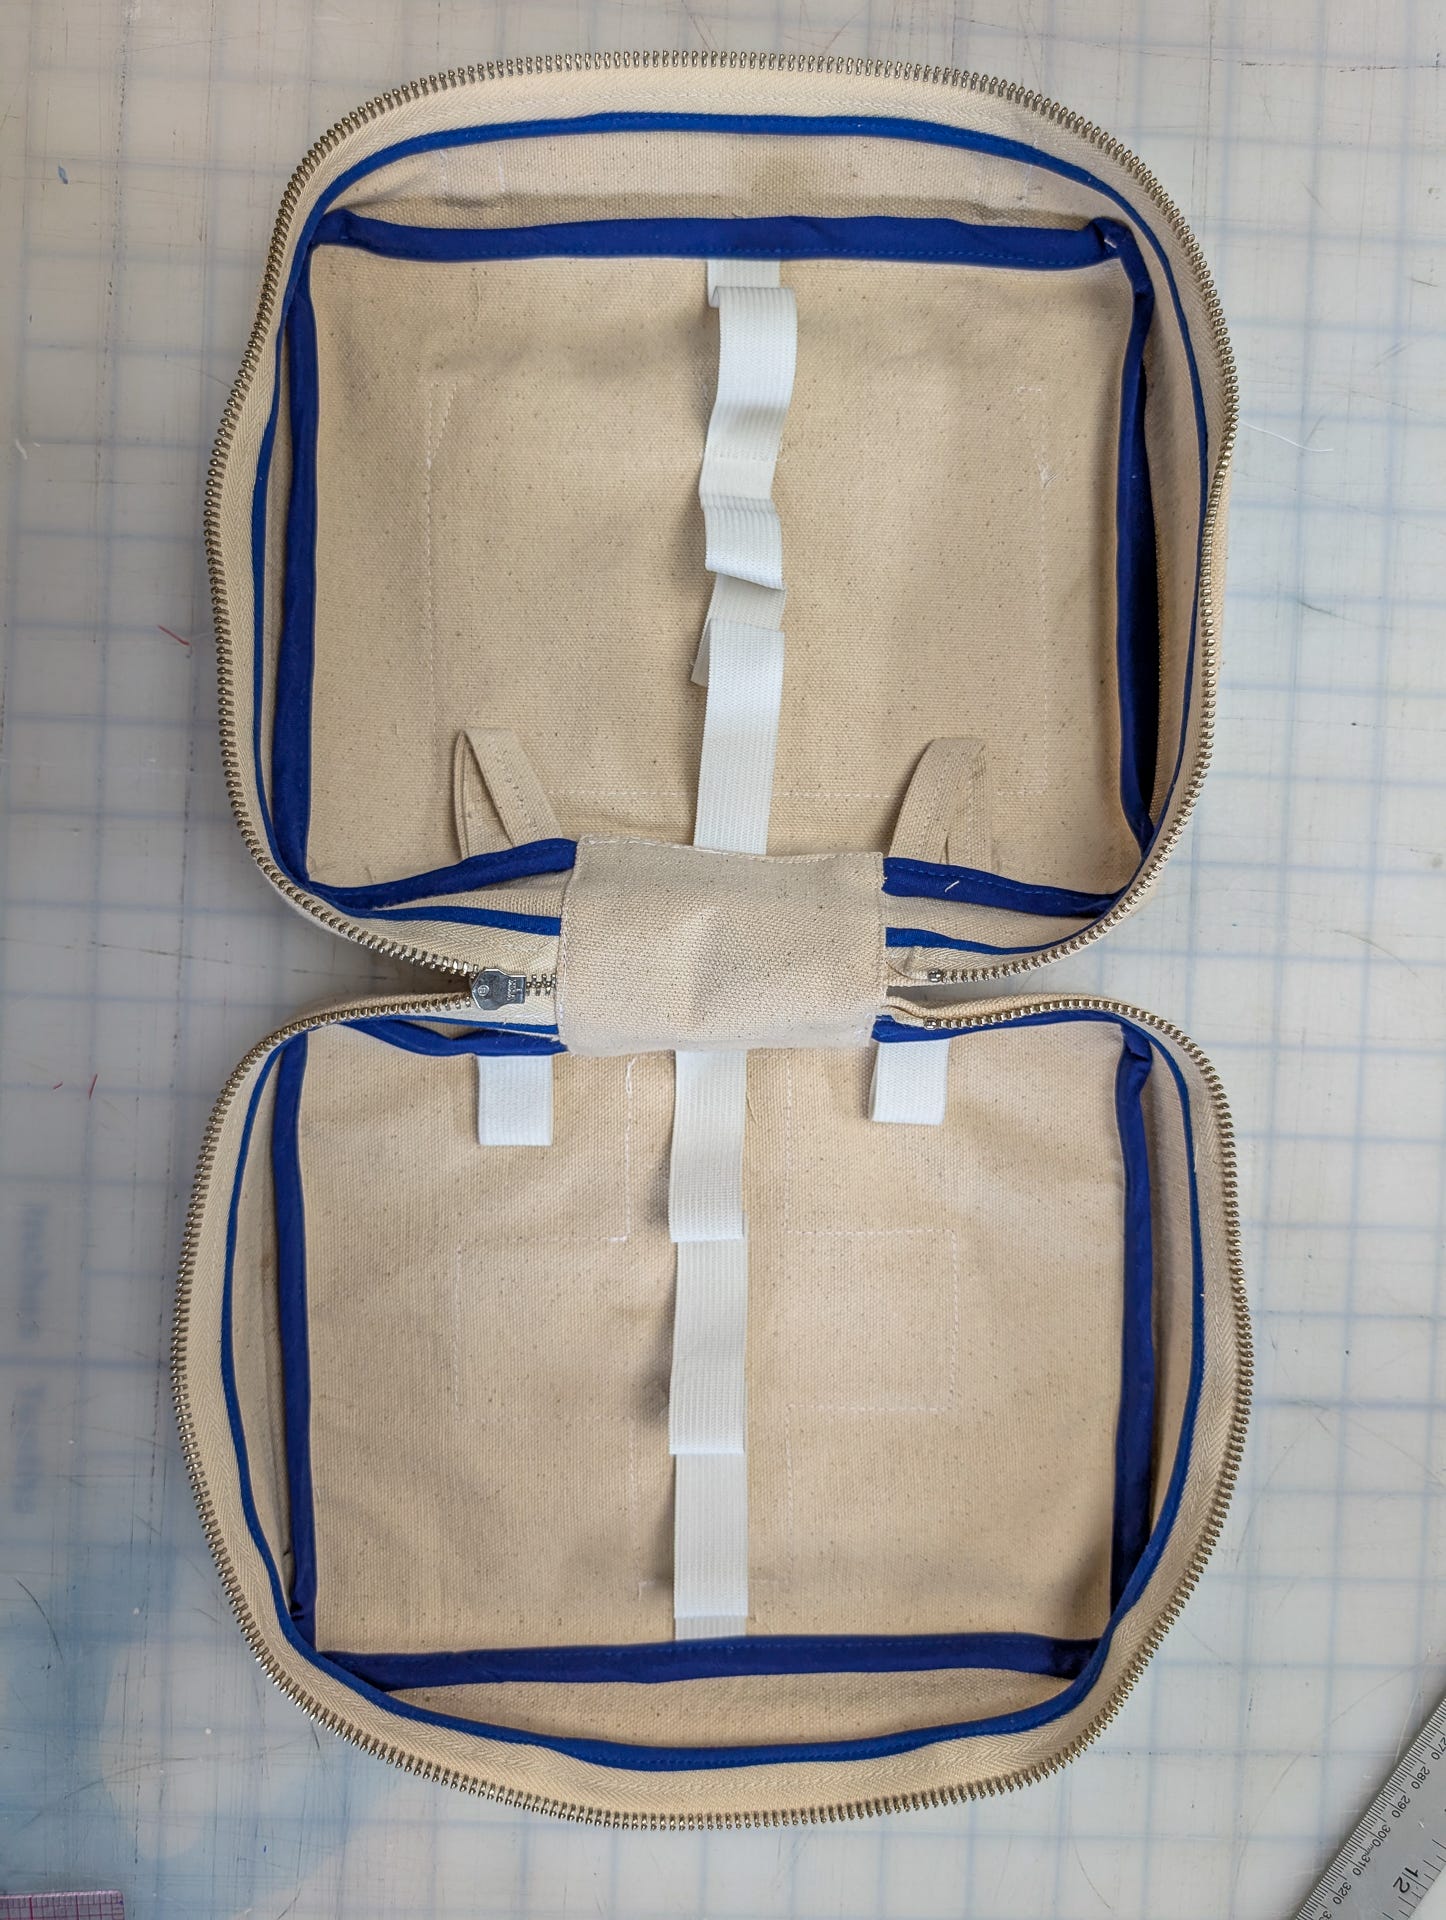
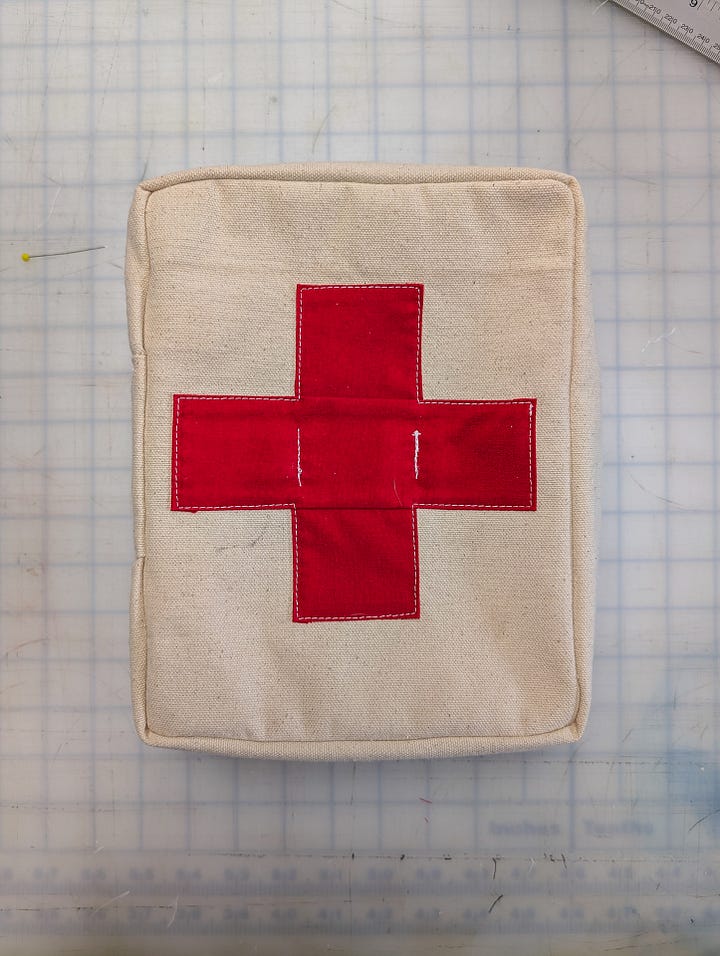
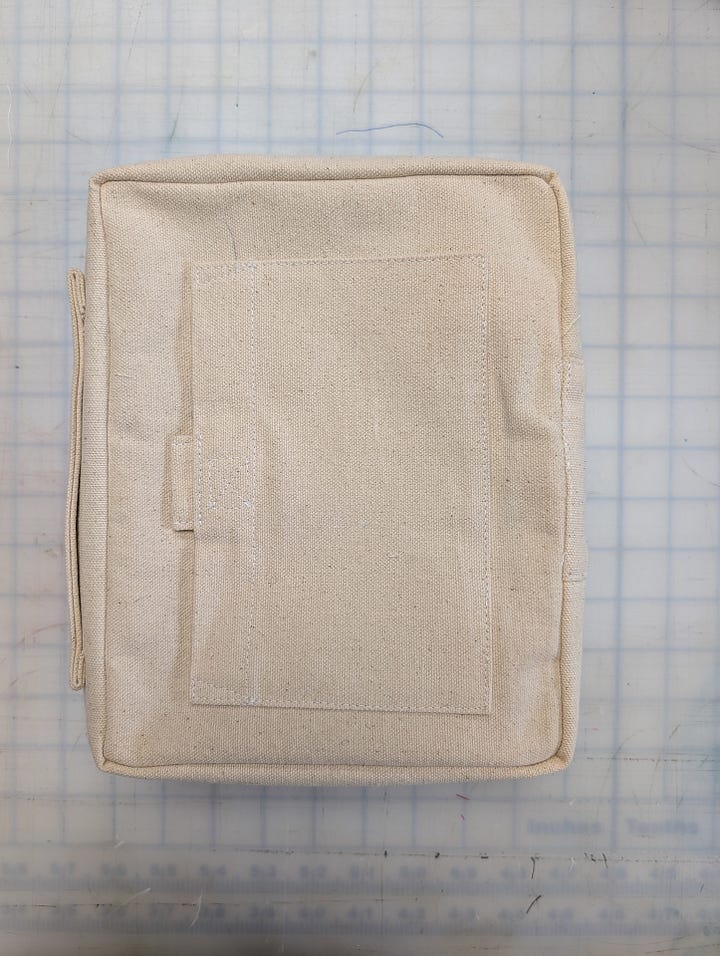
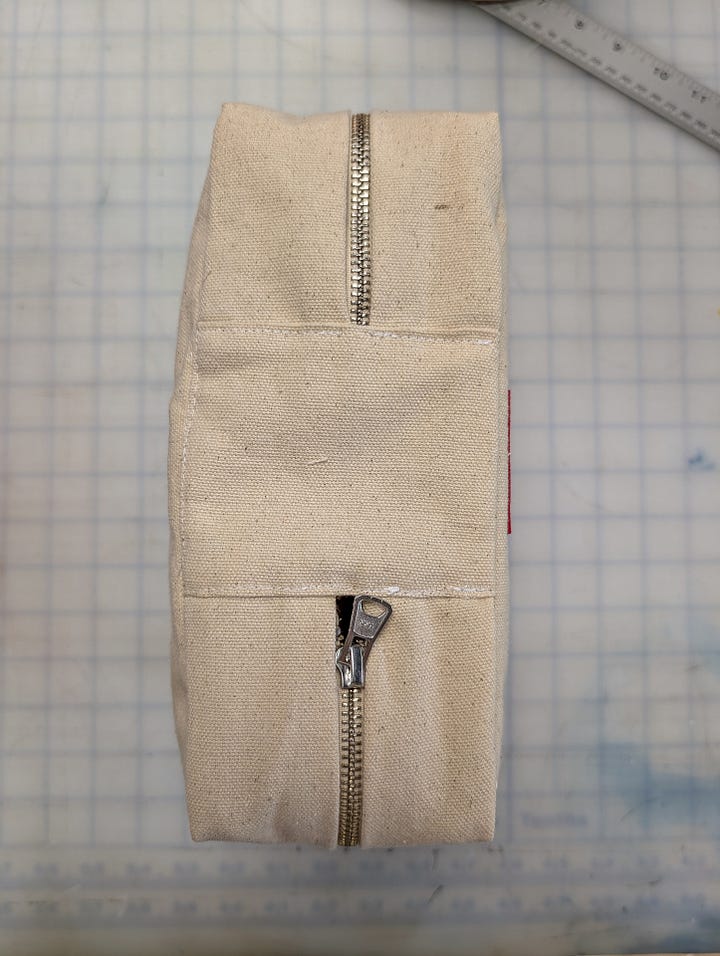
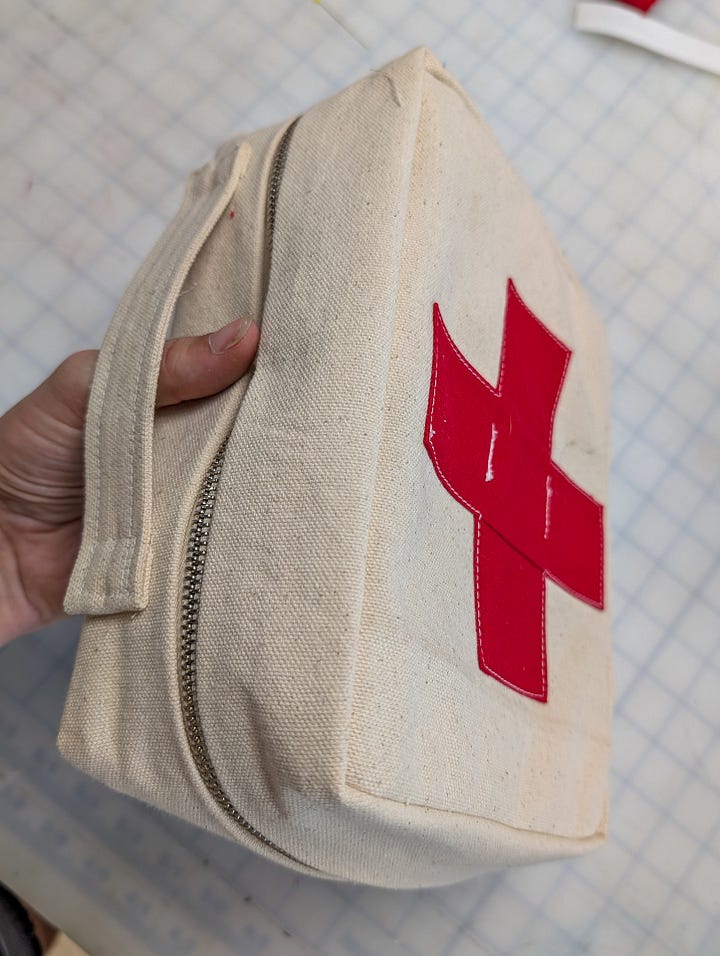
And voila! Enjoy your first aid kit, fill it with the essentials, and stay safe out there!
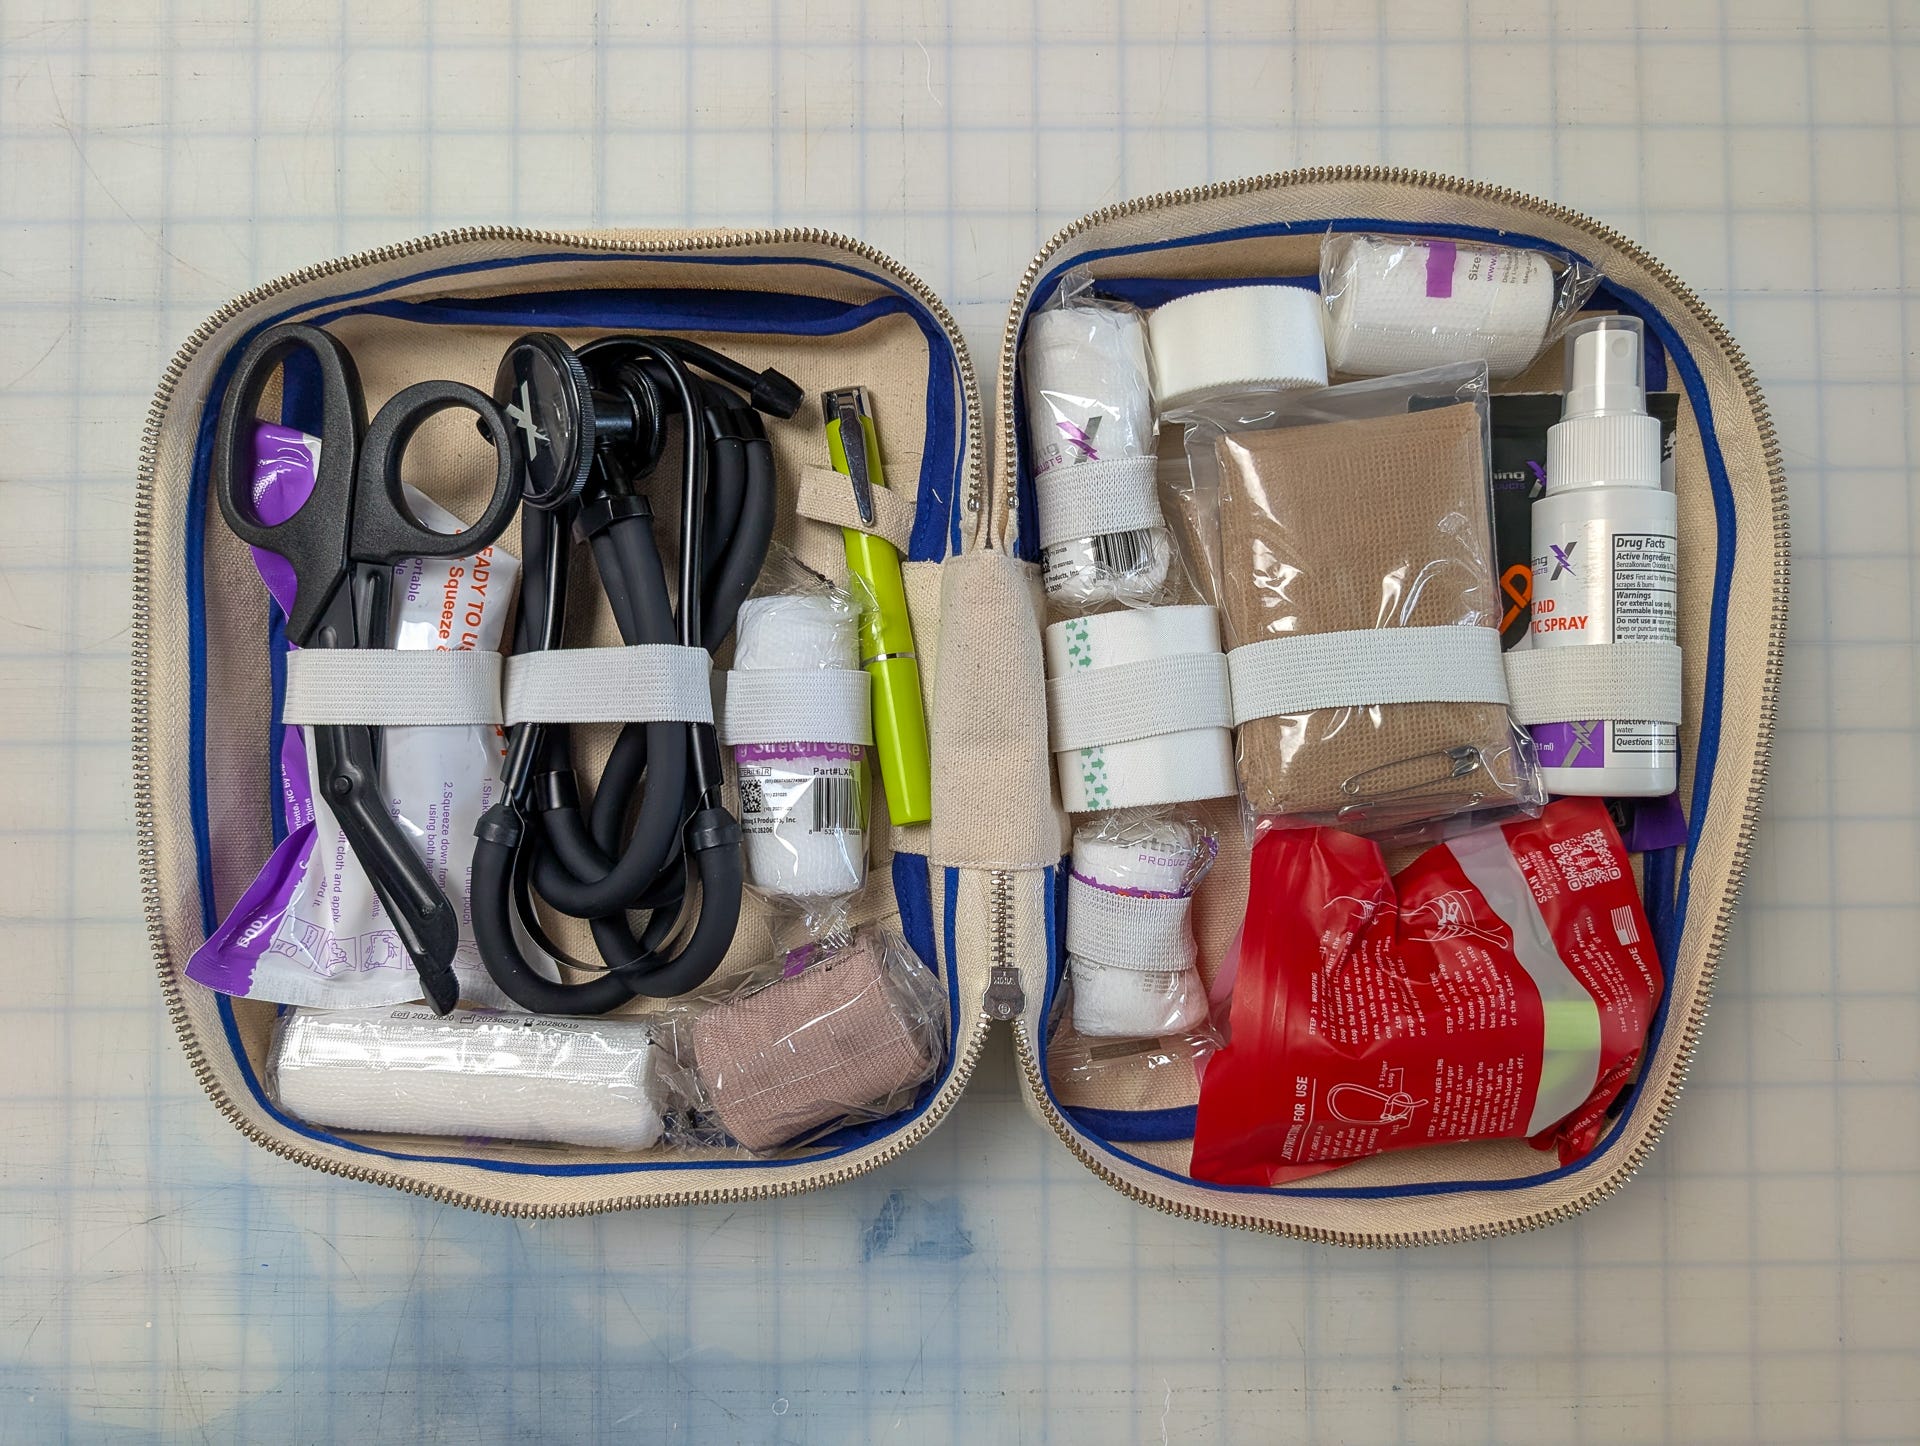
As always, I hope you enjoy this project and please share your beautiful outcomes.
<3 Danielle
No posts
Comments
Nothing yet. Say the first thing.
Sign in to join the conversation.