
Last Thursday I made the case that improving readability reduces cognitive load. Today we dig into audio, with a quick word at the end on visual content for those of you doing video. We need to make sure that what we say, along with any meaningful sounds that are present, can be understood by anyone who can’t hear the audio.
This is also the post where I get to talk about something I worked on for just over nine years. From 2015 through the end of 2024, I co-hosted the Big Gay Fiction Podcast with my husband. We made 470 episodes. We worked out a transcript-and-caption workflow that fit two creators with a very limited production budget. So everything in this post comes from a place of having done it myself.
Before we get to the workflow, let’s talk about definitions. Multimedia accessibility has several terms, some that might be familiar and some that might not be.
Transcript. The full text of what’s said in an audio program, with speaker names attached and any meaningful non-speech information noted (a door slamming, music playing, a long pause). If you make audio-only content, you must provide a transcript.
For an audio-only program like a podcast episode or a recorded speech, the transcript is the primary accessible alternative. It’s also the most flexible. People can read it, skim it, search it, or copy a quote.
If you’re doing video, having a transcript alongside the video is a great additional method for people to engage. YouTube offers a transcript by default and it’s a great way to search for something in a video.
Captions. Text shown on screen in time with a video’s audio. Like a transcript, but synchronized. Captions assume the viewer can’t hear the audio at all, so they include speaker labels and the non-speech sounds that matter for understanding the program. If you make video content with meaningful audio, you need captions. There are two kinds:
Closed captions that the viewer can toggle on or off. These should be your default whenever possible.
Open captions are burned into the video itself. Open captions should be a last resort, used only when the platform truly doesn’t support creating closed captions. This is what you’ll be stuck with on TikTok, Instagram Stories, and other platforms.
It’s worth noting there are a lot of things you need to do to make open captions as accessible as possible, so much so that it’ll be the topic of a future post. For now, I’ll simplify it by saying that simple styling is best because captions are informative, not decorative.Side note on captions: If you have a video with no spoken words and no meaningful audio (silent demos, instrumental music), you should note that on the page near the video. You could also set a caption that says “No spoken audio in this video, only instrumental music.” That tells your audience the lack of captions is intentional, not a mistake.
Subtitles are closely related to captions, but are different. Subtitles assume the viewer can hear the audio and needs translation into another language.
Let’s have a quick check on why this matters so much.
A 2019 study by Verizon Media and Publicis Media found that 80% of respondents are more likely to watch an entire video when captions are available.
Separate research has also shown that 80% of people who use captions aren’t deaf or hard of hearing. They’re watching with the sound off to not disturb others, reading along in their second language, or they might understand better by reading than listening.
Captions and transcripts are used by far more people than you might think, which makes getting them right all the more worth the effort.
Almost every platform you publish to now has some kind of auto-caption feature. YouTube has had one for years and Vimeo has one too. Instagram, TikTok, Facebook, and LinkedIn all auto-caption short videos by default. So do Zoom and Microsoft Teams for live webinars.
But it’s important to know that at their absolute best, auto-captions are about 95% accurate. That sounds great until you do the math on a 30-minute episode. Around 5% wrong across thirty minutes is hundreds of mistakes.
On Big Gay Fiction Podcast, our AI transcripts would routinely turn a romantic “meet cute” into “meat cute.” (And that is a very different thing!) They would mangle author names. They would drop punctuation or misunderstand a word in places that turned a sentence into something the speaker didn’t say. And that’s just a sampling of what can be wrong.
So treat auto-captions as a draft. The work is in the editing pass to turn them into a great resource for your audience.
There’s one place where auto-captions earn their keep and that’s a live event. A webinar, a livestream, a Zoom session. People who need captions would rather have imperfect ones than none. After the event, and before you publish a replay, you have to take the time to clean up the captions.
Here’s the workflow I settled into for the podcast. It isn’t the only way, but it scales for a solo operation.
Record and edit the audio first. Get the final audio file the way you want it.
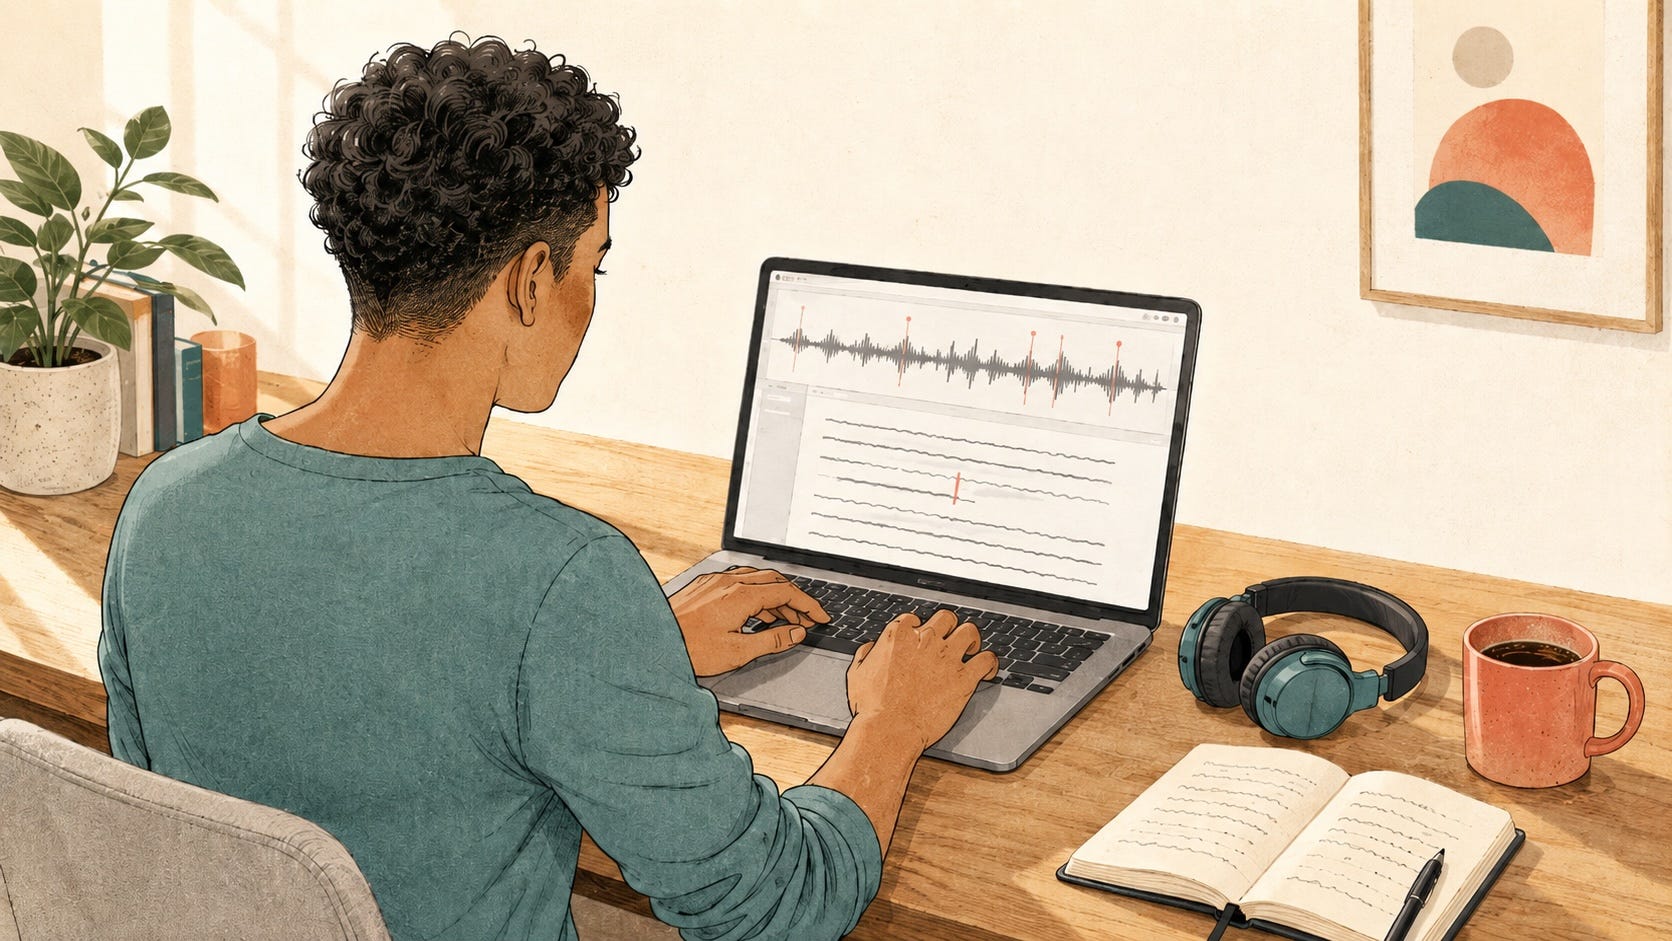
Run it through transcription software. I used Descript. There are others. Otter, Trint, Rev’s AI option, and OpenAI’s Whisper are worth a look to find the one that works best with your process. The output is a draft transcript that you can then edit.
Edit the transcript against the audio. This is the step you can’t skip. Play back the file with the transcript on screen and fix what the AI got wrong. Names, technical terms, punctuation, capitalization, the works. For our show, this took me roughly half the runtime of the episode itself. So a 60-minute episode was about 30 minutes of cleanup. Also make sure each speaker’s name is correct for the labels.
Publish the transcript on the same page as the audio. Or link to it clearly from the page the audio player is on. Either is fine. Many podcast distribution platforms now include a transcript field as part of an episode’s upload, which makes things even easier. If you’re running your own podcast website, having the transcript right on the page alongside any show notes and links is perfect.
For video, export the cleaned transcript as a caption file. Descript and some other tools will give you a .srt or .vtt file. YouTube and Vimeo both accept these. Upload the file instead of relying on the auto-caption layer. (But, if you have to rely on the auto-captions, you can usually edit them right on the platform and then export them if you need to use them somewhere else.)
Of course, if you’re not sure how to edit and manage captions with the platforms you use, check the support documentation.
That’s it. The hardest part isn’t any single step—it’s committing to the editing pass as part of your workflow.
Here’s the short list I’d hand a creator starting from zero today.
Descript is what I used. It does transcription, audio and video editing, and caption file export in one tool. The interface treats audio like a text document, which is a very friendly way to edit and streamlined my workflow considerably.
Otter is great for the transcription side, especially for spoken-word recordings and interviews. You can clean transcripts inside the app.
OpenAI Whisper is free and reports indicate it’s quite accurate, but you have to be technically comfortable running it locally or using a hosted wrapper.
YouTube Studio lets you upload a caption file directly, or edit YouTube’s auto-captions inside the platform.
Most of these tools offer free or low-cost trial periods so you can see what works best for you.
Captions cover the audio side of video. The visual side needs its own treatment.
If your video has text on screen, demonstrations, or visual cues that carry meaningful information, viewers who can’t see the screen need that information another way.
The simplest path is to build all that information into your spoken script. Don’t just say “this slide shows the four-step framework.” Say what the four steps are. Don’t say “as you can see in this clip.” Describe what’s happening in the clip. For most solo creatives, this single habit covers the bulk of the visual description work without adding a second production layer.
The harder path is a separate audio description track, or a written descriptive transcript on the page near the video. These are both more work, but you’ll need to do one of them to make sure your audience can understand what’s in the video.
I’ll have more for you on visual descriptions in a future post.
Pick one piece of audio or video content you’ve already published in the last month. Open the page where it lives. Does it have a transcript or caption or both? If neither is there, that’s your starting point.
If a transcript or captions are already in place, pull them up and read the first five minutes against the audio. Are the names right? Are the punctuation breaks where you actually paused? Are speakers labeled correctly? Fix what you find.
The goal isn’t to retroactively caption or transcribe your entire archive in one afternoon. It’s to know what’s there, and to add this work to your production workflow going forward. Progress, not perfection. (As a side note, we didn’t start doing transcription and captions for Big Gay Fiction Podcast until we were a couple of years into the show. Over time we added transcripts to our most popular episodes, and always offered to transcribe shows if someone needed one we hadn’t created yet.)
Next Thursday (July 2) is the first Thursday of Disability Pride Month. I’ll talk about the history, the flag, and what the month can mean for the one-person creative operation.
See you next Thursday.
— Jeff
Digital Accessibility – Content for Everyone is a free weekly post from Jeff Adams about making your digital content—your site, your podcast, your newsletter, your social media—usable by everyone who shows up to it. Built on the foundation of Content for Everyone, the book Jeff co-wrote with Michele Lucchini. Companion site: contentforeveryone.info.
No posts
Comments
Nothing yet. Say the first thing.
Sign in to join the conversation.