
Hi there,
Today, I wanted to share with you that the recipe illustrations I make all start the same way: with painted paper and scissors. And yes, I do sketch and plan out the artwork, but the rest happens in major flow state where I accept that what happens, happens. I just paint some paper in the colors I need, let it dry, then cut shapes and layer them until they look like... well, like a tomato or a basil leaf or whatever I’m trying to make.
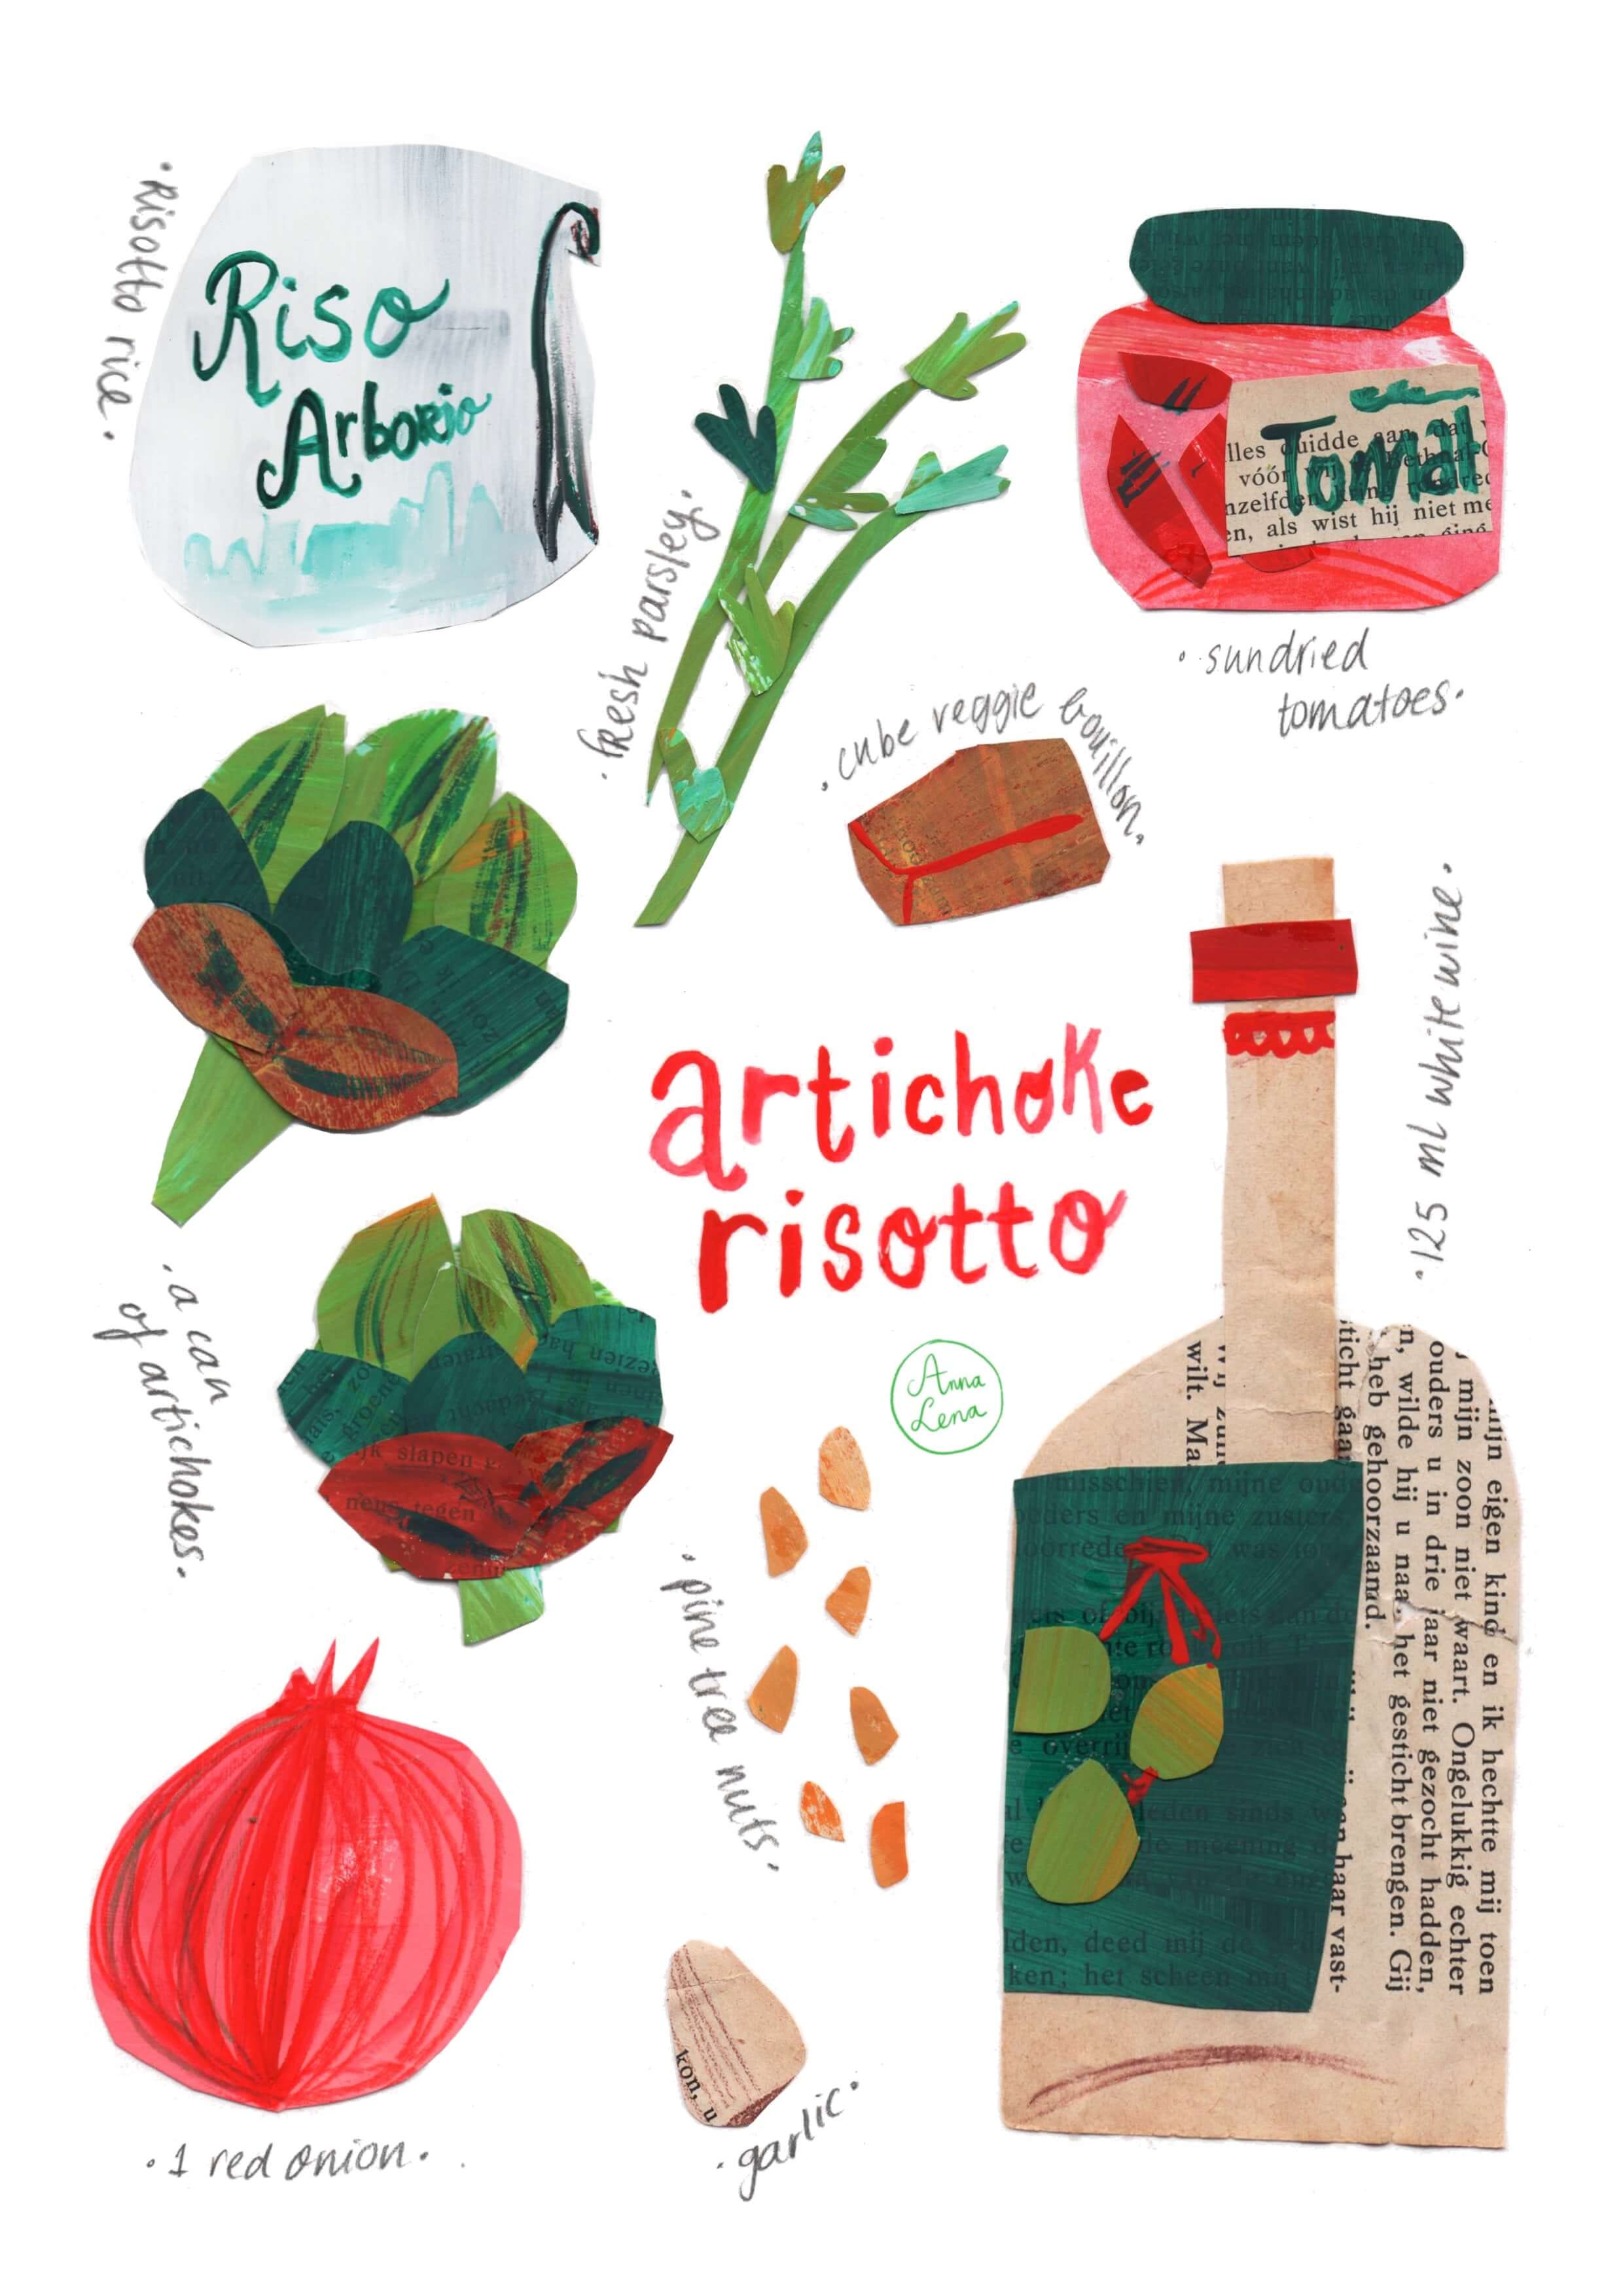
Of course, I’ve worked with this medium for quite some time, but there is some magic in the control that you give away when working like this! And so, I decided to record four video workshops you might like.
It is a very forgiving way to make art. If something’s not working, you just move it. There’s no “ruining” anything because everything’s fixable, and you quite clearly see what the problem is when it arises!
And so, I’ve been teaching this technique in a small online course: focused on four flowers (cosmos, sunflowers, violets, and peonies), each one showing you a different way to think about layering and composition. Once you understand how to build a peony, you can build anything botanical. Carrots, fennel fronds, whatever you want to illustrate.
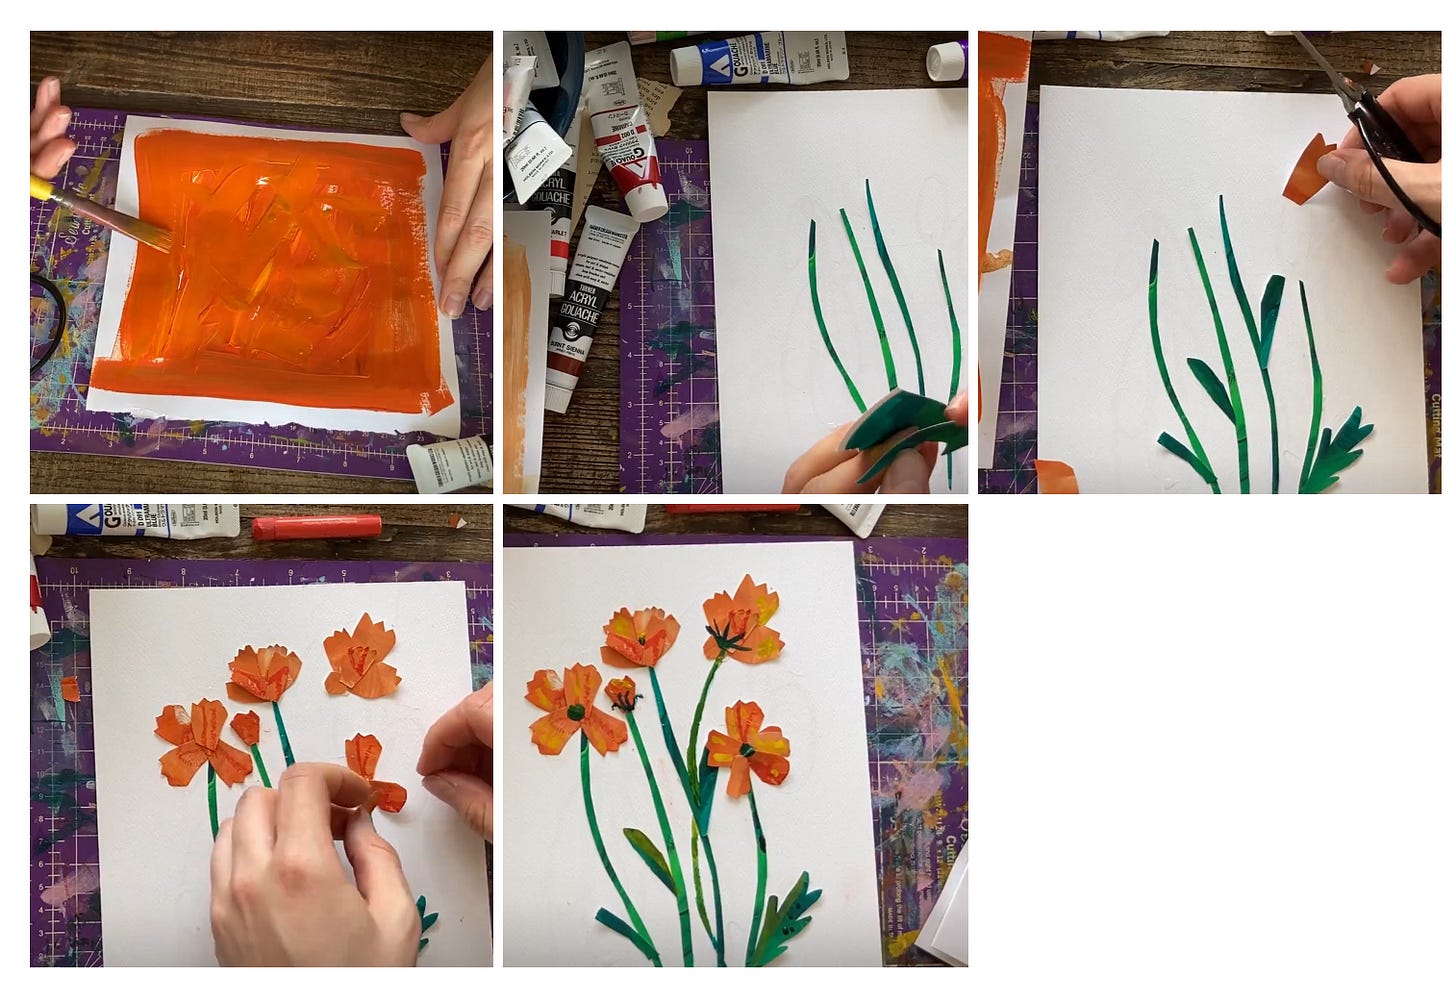
What’s in it:
90+ minutes of video broken into short workshops (approx. 25 minutes each)
Materials guide with budget-friendly options
Lifetime access; learn whenever you have time
Bonus through January: a hydrangea tutorial
The course is €42, and you can start with supplies you probably have or can grab for around €15.
Just wanted to share it in case you’ve ever looked at the recipe art and thought “I wonder how she makes that.” Now you know!
x, Anna Lena
P.S. Next newsletter: back to your regularly scheduled recipe illustration! I’m thinking dumplings. Who’s hungry?
Comments
Nothing yet. Say the first thing.
Sign in to join the conversation.