
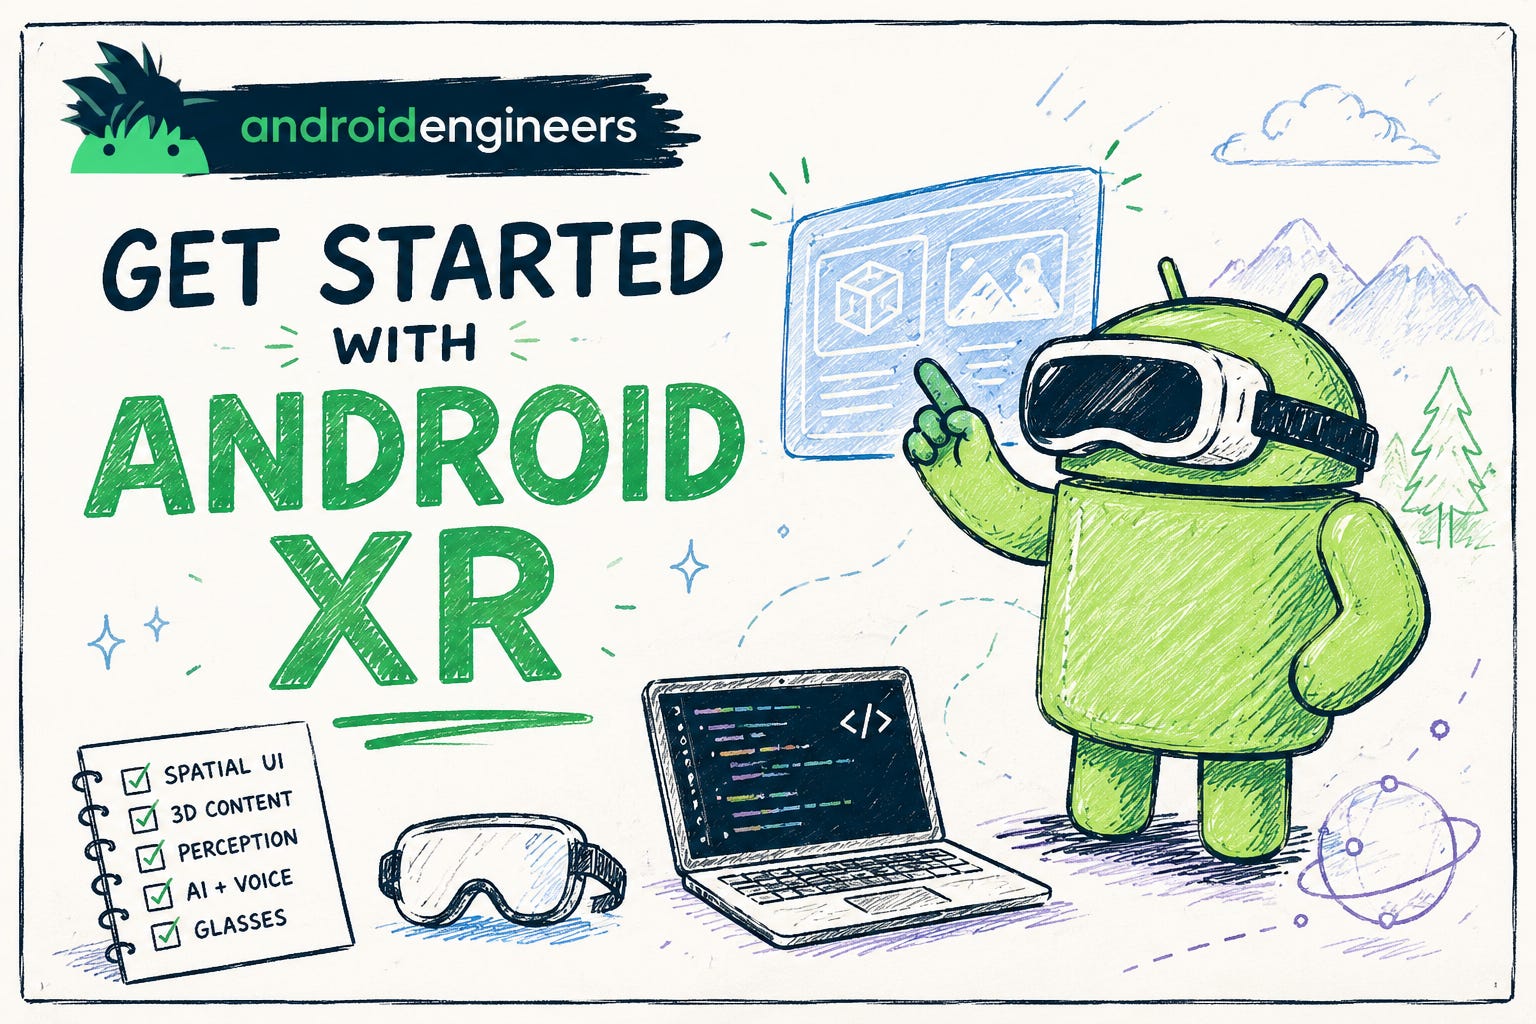
A practical roadmap for Android developers - from your first emulator to spatial UI, 3D content, perception, and intelligent glasses
Android development is no longer limited to the rectangular screen in your hand.
With Android XR, developers can build applications that extend across spatial panels, immersive environments, XR headsets, wired glasses, audio glasses, and display glasses. Existing Android applications can continue running as traditional two-dimensional interfaces, while developers can progressively introduce spatial layouts, three-dimensional objects, real-world understanding, and hands-free interactions.
The important part is this:
You do not need to become a game developer before you can start building for Android XR.
If you already understand Kotlin, Jetpack Compose, Android Studio, lifecycle management, and adaptive layouts, you already have much of the foundation required.
This guide explains what Android XR is, which tools you should choose, what concepts you should learn, and the order in which you should learn them.
Android XR is an extension of the Android platform designed for a growing range of extended-reality devices.
These devices currently fall into two broad experience categories:
These are primarily built for XR headsets and wired XR glasses.
An immersive application can:
Transport the user into a completely virtual environment
Blend digital content with the physical world
Place multiple application panels around the user
Render interactive 3D objects
Understand surfaces, depth, hands, faces, anchors, and device position
Transition between traditional multitasking and a fully spatial experience
These are designed for devices such as audio glasses and display glasses.
Instead of replacing the user’s surroundings, augmented experiences add lightweight information and assistance to everyday activities.
Examples include:
Live directions
Translation
Notifications
Voice assistance
Contextual information
Checklists for field workers
Navigation instructions
Camera-assisted AI
Hands-free communication
Android XR supports both categories, but they involve different design constraints, device capabilities, and development libraries.
One of the first decisions you need to make is which development path fits your application.
Android XR supports several familiar technologies:
Jetpack XR SDK
Kotlin and Jetpack Compose
Android Views
Unity
Godot
Unreal Engine
OpenXR
WebXR
That flexibility is useful, but it can also make the starting point confusing.
Here is a simple decision rule.
You are already an Android developer
You are extending an existing mobile or large-screen application
Your application is primarily UI-driven
You want to use Kotlin, Compose, Android architecture, and Jetpack
You need spatial panels, 3D models, environments, or Android integrations
You are building companion experiences for intelligent glasses
Your application is primarily a game
You need complex real-time 3D rendering
Your team already has an existing engine-based XR project
You need advanced physics, animation, shaders, or game-engine workflows
You need a lower-level, cross-platform XR standard
You want greater control over rendering and device capabilities
You are building an engine, framework, or deeply immersive application
You are building a browser-based experience
You want users to enter XR through a web page
Your team is more familiar with web technologies than native Android
For most existing Android developers, Jetpack XR SDK is the best first path. Android officially supports bringing existing mobile and large-screen applications into XR by spatializing familiar layouts and adding immersive capabilities incrementally.
Before touching an XR-specific API, make sure you are comfortable with the following Android concepts:
Kotlin
Coroutines and Flow
Jetpack Compose
State management
Android lifecycle
ViewModel
Material Design
Adaptive layouts
Navigation
Permissions
Media and camera APIs
Android Virtual Devices
You do not need to master every Android API.
However, Jetpack Compose is particularly important because the official Android XR fundamentals codelabs are Compose-based. Google recommends prior experience with Kotlin, Compose, Android Studio, and virtual devices before starting them.
A developer who can already create a Compose application, manage UI state, and run it on an emulator is ready to begin.
Do not treat “XR” as a single device type.
Android XR supports:
These provide a wide field of view and can create fully immersive virtual environments.
Typical inputs include:
Hand tracking
Eye tracking
Motion controllers
Gaze
Voice
Mouse and keyboard
These can provide spatial and immersive experiences while being connected to another computing device.
They may support:
Spatial UI
Passthrough
Real-world anchoring
Hand and eye input
High-quality visual content
These may not have a visual display. Experiences are driven through sound, speech, sensors, notifications, and AI assistance.
These provide lightweight visual information over the user’s real-world view.
Their interfaces must be minimal, readable, glanceable, and comfortable. Android provides Jetpack Compose Glimmer, a Compose-based toolkit specifically optimized for display-glasses experiences.
This device distinction matters because an interface designed for a headset should not simply be copied onto display glasses.
You do not need physical XR hardware to begin experimenting with native Android XR applications.
Android’s current tooling lets you build and test many interactions through Android Studio and the Android XR emulator. The Android XR SDK is presently available as a developer preview, so you should expect APIs and setup requirements to evolve. As of July 2026, the official documentation identifies Developer Preview 4 as the current SDK preview.
The latest supported Android Studio preview or Canary build
A machine capable of running the XR emulator
The appropriate Android XR system image
A matching emulator architecture for your computer
For example, an ARM-based Mac should use an ARM-compatible image rather than an x86 image.
Inside Android Studio:
Open SDK Manager.
Enable Show Package Details.
Install the latest Android XR system image compatible with your machine.
Open Device Manager.
Select the XR device category.
Create an Android XR virtual device.
Launch the emulator.
Run a basic Android application on it before introducing XR-specific code.
The official fundamentals codelab walks through this setup and recommends confirming that the base application runs in the emulator before spatializing it.
The exact Android Studio version, system-image name, SDK level, and Jetpack XR dependency versions can change during the preview period.
Use the versions shown in the latest official documentation instead of copying old alpha-version numbers from articles or older sample projects.
A useful property of Android XR is that you do not always need to rebuild your application from zero.
Most existing Android mobile and large-screen applications can appear as two-dimensional panels inside XR headsets and wired XR glasses. A well-designed adaptive large-screen application provides an especially good starting point.
Your first experiment should therefore be simple:
Open an existing Compose application.
Run it on the Android XR emulator.
Observe how the application appears as a panel.
Test resizing and interaction.
Identify which parts of the experience could benefit from spatial separation.
At this stage, do not immediately add floating objects everywhere.
First ask:
Does the application work properly as a normal panel?
Is the interface adaptive?
Are buttons large enough to target comfortably?
Does text remain readable?
Does the user need to move their head excessively?
Would spatialization make the task easier, or merely more impressive?
A strong XR application usually begins with a useful Android application.
The first major Android XR concept is space.
Android XR applications can operate in two primary modes.
Home Space is the multitasking environment.
Multiple applications can exist beside one another, similar to windows on a desktop or large-screen device. A regular Android app can run here without needing XR-specific changes.
Home Space is appropriate when:
The user is multitasking
The experience is primarily two-dimensional
The application should not take over the environment
The user may need other applications at the same time
Full Space allows your application to use the surrounding three-dimensional environment.
In Full Space, an application can:
Create multiple spatial panels
Add 3D models
Control spatial layouts
Introduce depth
Show immersive environments
Blend virtual and physical surroundings
The transition between Home Space and Full Space should be intentional.
For example, a video application might remain in Home Space while the user browses content, then enter Full Space when they begin an immersive viewing session.
The first Android XR fundamentals codelab introduces both spaces and demonstrates how an application can begin in Home Space and provide a richer experience in Full Space.
A spatial panel is one of the fundamental building blocks of an Android XR interface.
Think of a spatial panel as an Android UI surface placed inside three-dimensional space.
Instead of placing every component inside one flat screen, you can separate application content into meaningful panels.
For example, a productivity application could use:
A primary work panel
A tools panel
A contextual information panel
A communication panel
In Jetpack Compose for XR, you will also encounter the concept of a Subspace.
A Subspace represents a portion of three-dimensional space in which you can:
Create spatial layouts
Add spatial panels
Position 3D content
Introduce depth
Organize immersive elements
The fundamentals codelab demonstrates how to add a Subspace and place existing Compose content inside spatial panels.
Focus on:
SubspaceSpatial panels
Spatial layout modifiers
Panel dimensions
Positioning in 3D space
Moving and resizing panels
Home Space and Full Space transitions
XR capability checks
Do not attempt to master perception, anchoring, and 3D rendering before you understand spatial UI.
Jetpack Compose for XR extends familiar declarative UI concepts into three-dimensional space.
It provides:
XR-aware Compose components
Spatial layouts
Spatial panels
Automatic layout behaviour
Preset arrangements
Interaction recommendations
Support for combining 2D UI and spatial content
This is the natural bridge between conventional Android UI development and XR development.
One existing Compose screen
A button to transition into Full Space
Two spatial panels
An orbiter
One 3D object
A way to return to Home Space
This project is intentionally small, but it exposes you to the primary XR application model.
The official fundamentals codelabs provide one of the clearest starting paths.
Part 1 teaches:
Home Space
Full Space
Compose for XR dependencies
Subspaces
Spatial panels
Spatial layouts
Running and testing in the XR emulator
Adapting an existing Compose application
The codelab starts with a basic single-screen application and gradually turns it into a more spatial experience.
Part 2 continues from the first project and introduces:
Orbiters
Floating controls
Spatial environments
Environment assets
Skyboxes
glTF and GLB content
SceneCore
Environment preferences
Mixing virtual content with passthrough
An orbiter places related controls around a spatial panel without consuming the panel’s primary content area.
A spatial environment changes the world surrounding the user. It may include:
A panoramic skybox
3D foreground or background geometry
Image-based lighting
Controlled passthrough opacity
The second codelab also demonstrates an important architectural principle: applications express a preferred environment through the scene rather than directly owning the complete system environment.
Complete these two codelabs in order. Part 2 assumes that you already understand the concepts introduced in Part 1.
After completing the codelabs, clone the official sample repository:
git clone https://github.com/android/xr-samples.gitThe repository’s Hello Android XR sample demonstrates several core capabilities:
Spatial panels
Orbiters
Spatial environments
3D object rendering
Material overrides
Texture overrides
Object animation
Changing a 3D object’s position
The project can be imported directly into Android Studio. Its documentation currently recommends using the latest compatible Canary version of Android Studio and updating the XR emulator image before running it.
Do not only run the sample.
Study it using this sequence:
Find where the application enters Full Space.
Locate the Subspace.
Identify each spatial panel.
Find how the orbiter is attached.
Trace how the 3D model is loaded.
Find how its material and texture are changed.
Inspect how animation state is managed.
Change the model position.
Replace one asset.
Remove one feature and rebuild it yourself.
Samples become useful when you modify them rather than merely compile them.
Once spatial Compose layouts feel familiar, move into Jetpack SceneCore.
SceneCore provides lower-level building blocks for immersive content, including spatial entities and environment-related APIs.
Topics to study include:
Spatial entities
Entity hierarchies
Transformations
Position
Rotation
Scale
3D model loading
Materials
Textures
Animation
Spatial environments
Passthrough
Scene capabilities
Lifecycle management
Android developers entering XR should understand:
X, Y, and Z axes
Translation
Rotation
Scale
Local and world coordinates
Mesh
Material
Texture
Lighting
Camera pose
Field of view
Bounding box
Anchor
Ray
Hit testing
You do not need to become a professional 3D artist, but these concepts will help you reason about spatial behaviour.
Android XR workflows commonly use:
glTF for 3D scenes and models
GLB as a binary form of glTF
EXR for high-dynamic-range environment imagery
Image-based lighting assets for realistic illumination
Tools such as Blender, Maya, and Spline can be used to create or export compatible assets.
After you can render and position content, the next step is helping your application understand the physical world.
ARCore for Jetpack XR provides perception capabilities such as:
Plane detection
Anchors
Hand tracking
Face tracking
Depth estimation
Device pose
Semantic understanding
These capabilities enable experiences such as:
Placing a virtual object on a real table
Keeping an object fixed as the user moves
Understanding nearby surfaces
Building hand-driven interfaces
Blending digital content with physical environments
The Android XR SDK documentation organizes these perception topics as a distinct learning area, which is a useful signal: learn spatial UI and scene construction before perception APIs.
Device pose
Planes
Anchors
Depth
Hand tracking
Face tracking
Semantic or geospatial capabilities
Build one focused experiment for each capability rather than adding all of them to a single application.
Users do not interact with XR applications in the same way they interact with phones.
Possible input methods include:
Gaze
Pinch gestures
Hand tracking
Motion controllers
Voice
Mouse
Keyboard
Touchpads on glasses
Head movement
Physical device buttons
OpenXR support on Android XR includes hand interaction, eye-gaze interaction, 6DoF motion controllers, and mouse interaction for immersive applications.
Do not assume that every user will use their hands.
For every important action, consider:
Can it be reached through gaze?
Can it be performed through a controller?
Is there a voice alternative?
Can keyboard users access it?
Does the target provide clear hover or focus feedback?
Can the user recover from an accidental selection?
Input flexibility is part of accessibility, not merely device compatibility.
Spatial interfaces are not mobile interfaces floating in the air.
Good XR design should consider:
Avoid forcing users to repeatedly turn their heads, reach too far, or focus on content placed at uncomfortable distances.
Text must remain readable across varying backgrounds, depths, display technologies, and lighting conditions.
Not every button needs to float. Not every screen needs to become a 3D environment.
Depth should communicate hierarchy or context rather than create visual noise.
Users should remain aware of their surroundings when appropriate.
Panels and controls should appear where users expect them to remain.
Support multiple input methods, readable typography, clear focus states, captions, audio alternatives, and reduced-motion needs.
Android provides separate design guidance for immersive XR experiences and augmented glasses experiences because their interaction models differ substantially.
After learning headset-oriented XR fundamentals, investigate intelligent eyewear.
Android’s projected-experience stack allows an existing mobile application to provide complementary experiences on audio and display glasses.
Relevant topics include:
Device availability
Device lifecycle
Projected activities
Audio input
Automatic Speech Recognition
Text-to-Speech
Notifications
Hardware permissions
Projected context
Gemini Live integrations
Jetpack Compose Glimmer
The latest Android XR updates also introduce device-availability APIs that work with standard Android lifecycle states, allowing applications to respond when supported glasses are available or being worn.
Compose Glimmer is designed for minimal, comfortable display-glasses UI.
Its component set includes concepts such as:
Buttons
Cards
Lists
Icons
Surfaces
Text
Toggle buttons
Title chips
Vertical stacks
Focus handling
Indirect pointer input
The goal is not to recreate your complete phone application on the glasses.
The phone application should handle complex interaction, while the glasses experience provides the smallest useful amount of contextual information.
XR and AI are a powerful combination, but AI should not be the first dependency you introduce.
First make sure the experience works with deterministic interactions.
Then consider adding:
Voice agents
Real-time translation
Scene understanding
Object explanation
Contextual assistance
Hands-free workflows
Meeting summaries
Accessibility assistance
Guided learning
Spatial search
Gemini Live interactions
The Jetpack XR documentation includes dedicated guidance for adding Gemini-powered AI experiences, while the glasses documentation covers speech recognition, text-to-speech, and live AI integrations.
A useful rule is:
XR decides where and how the experience appears. AI decides how intelligently it responds.
Do not let the AI layer compensate for a confusing spatial interface.
Performance problems in XR can cause more than a slow interface. They can affect user comfort.
Pay attention to:
Frame rate
CPU usage
GPU usage
Thermal behaviour
Memory consumption
Asset size
Texture resolution
Model complexity
Animation cost
Startup time
Input latency
Network latency
Audio latency
OpenXR support on Android XR exposes performance-related features such as eye-tracked foveation, space warp, frame timing, GPU utilisation, CPU frequency, and frames-per-second metrics.
Your application should behave safely when:
XR capabilities are unavailable
The application cannot enter Full Space
An asset fails to load
Hand tracking is unavailable
A permission is denied
Glasses disconnect
Network connectivity drops
Voice recognition fails
The application returns to the background
The user moves outside the tracked area
XR capability detection should be part of your application architecture—not an afterthought.
Learn or refresh:
Kotlin
Compose
State
ViewModel
Coroutines
Adaptive layouts
Android Studio emulator workflows
Build a simple adaptive Compose application.
Learn:
Device categories
Immersive versus augmented experiences
Home Space
Full Space
Android XR tooling choices
Run your existing app in the XR emulator.
Complete:
Emulator setup
Compose for XR dependency setup
Subspace
Spatial panels
Full Space transitions
Rebuild the main exercise without copying the solution.
Learn:
Orbiters
Spatial environments
SceneCore
GLB and environment assets
Passthrough blending
Create one custom environment.
Clone and modify the official XR sample.
Change:
One 3D model
One material
One texture
One animation
One spatial position
Build small experiments using:
Planes
Anchors
Device pose
Hand tracking
Keep every experiment in a separate module or project.
Explore:
Projected experiences
Device availability
Compose Glimmer
Speech input
Text-to-Speech
Notifications
Build a small phone-and-glasses companion experience.
Build one complete project that solves a real problem.
Potential ideas:
A spatial code-review room
A guided equipment-repair assistant
A hands-free warehouse checklist
An immersive learning application
A spatial media dashboard
A real-time translation companion
An accessibility assistant
A 3D product-exploration application
A spatial remote-support experience
The goal should be a useful workflow—not a collection of disconnected XR effects.
Here is the complete Android XR learning sequence:
Kotlin and Jetpack Compose
Adaptive Android layouts
Android XR device categories
Immersive versus augmented experiences
Android XR emulator
Home Space and Full Space
Compose for XR
Subspace
Spatial panels
Spatial layouts and modifiers
Orbiters
Material Design for XR
SceneCore
3D coordinate systems
glTF and GLB assets
Materials, textures, and animation
Spatial environments
Passthrough
Device pose
Planes and anchors
Depth estimation
Hand and face tracking
Gaze, gestures, controllers, and voice
Compose Glimmer
Projected experiences for glasses
Speech recognition and Text-to-Speech
AI and Gemini integrations
Performance and comfort
Accessibility
Packaging, quality, and distribution
You do not need to learn all 30 topics before building something.
The learning sequence should alternate between theory and small projects.
Build one spatial interaction first.
Spatial computing introduces depth, position, environment, gaze, movement, and new input models.
A 3D component should make the experience easier to understand or use.
Not every task deserves Full Space.
The Android XR emulator is sufficient for learning many native concepts and testing early prototypes.
Always check the latest official documentation because the SDK remains under active development.
XR applications still need proper state management, lifecycle handling, testing, networking, accessibility, and error recovery.
Support multiple appropriate ways to interact.
Start with a clear user workflow, then add intelligence.
Change the code until you understand why it works.
Here is the condensed route:
Install the latest compatible Android Studio preview.
Configure the Android XR emulator.
Run one existing Compose app in Home Space.
Complete Android XR Fundamentals Part 1.
Complete Android XR Fundamentals Part 2.
Clone the official Android XR sample.
Replace its 3D model and modify its spatial layout.
Build one project using panels, an orbiter, and a 3D entity.
Add one ARCore perception feature.
Explore Compose Glimmer and intelligent eyewear.
Add AI only where it improves the workflow.
Test comfort, accessibility, performance, and fallback behaviour.
Android XR may look like an entirely new development world, but its on-ramp is deliberately familiar.
Android Studio is still your IDE.
Kotlin is still your language.
Jetpack still provides your application foundation.
Compose still defines your interface.
The difference is that your application is no longer constrained to one physical screen.
The best way to start is not by building a virtual universe. Start by taking one useful Android workflow and asking:
Which information should remain on a normal panel?
Which content benefits from depth?
Which controls should remain nearby?
When should the experience enter Full Space?
What could the user accomplish through hands, gaze, or voice?
Could the application provide value through lightweight glasses instead?
Build one spatial panel.
Then add an orbiter.
Then load one 3D object.
Then understand one real-world surface.
That progression will teach you far more than attempting to build a complete XR platform on your first weekend.
Android XR is still evolving, which makes this an especially valuable time to explore it. The platform is new enough that developers can help shape its patterns, but familiar enough that experienced Android developers can begin building without abandoning the ecosystem they already understand.
The next generation of Android applications may not live inside a screen. But they can still begin inside Android Studio.
Comments
Nothing yet. Say the first thing.
Sign in to join the conversation.