
Before we start, thank you for the many wonderful answers you left on issue 250. I have loved reading them. That giveaway is open for one more week: my signed first edition of Richard Avedon's In the American West, along with goodies from friends like Harman/Ilford, Moment, Kodak, and more. Enter here before it closes.
Dear friends,
Today I will talk about one of the least glamorous and most important parts of making a photo book or zine: Step 2 — Choosing which images stay and which ones go.
The Ukraine prints are coming out of the folder and onto the table, and I have to start letting go of a lot of photos I really like.
Last week, in Step 1, we talked about the idea, and the one sentence that holds a whole book together. Mine is this:
This book is about how one extended Ukrainian family holds onto ordinary life during a time of war.
Now that we have our sentence we know the story we are telling and can judge all our photos against that to measure whether they fit or not. This is a difficult part of the process, because I have to look at everything I shot and accept that most of it will not make the book.
A lot of people get stuck here, because they have have too many photos they like, and cutting the ones they love feels like admitting those photos are not “good enough”.
That is, of course, not true. A photo can be beautiful, and mean a lot to me, and be technically strong, and still not belong in this particular book. Leaving it out is not a verdict on the photo, but rather a decision about this particular story.
I have to keep reminding myself of that this week. Here’s a picture of me on a train from Poland to Ukraine, which took about 11 hours. Not a keeper, but fun to share.
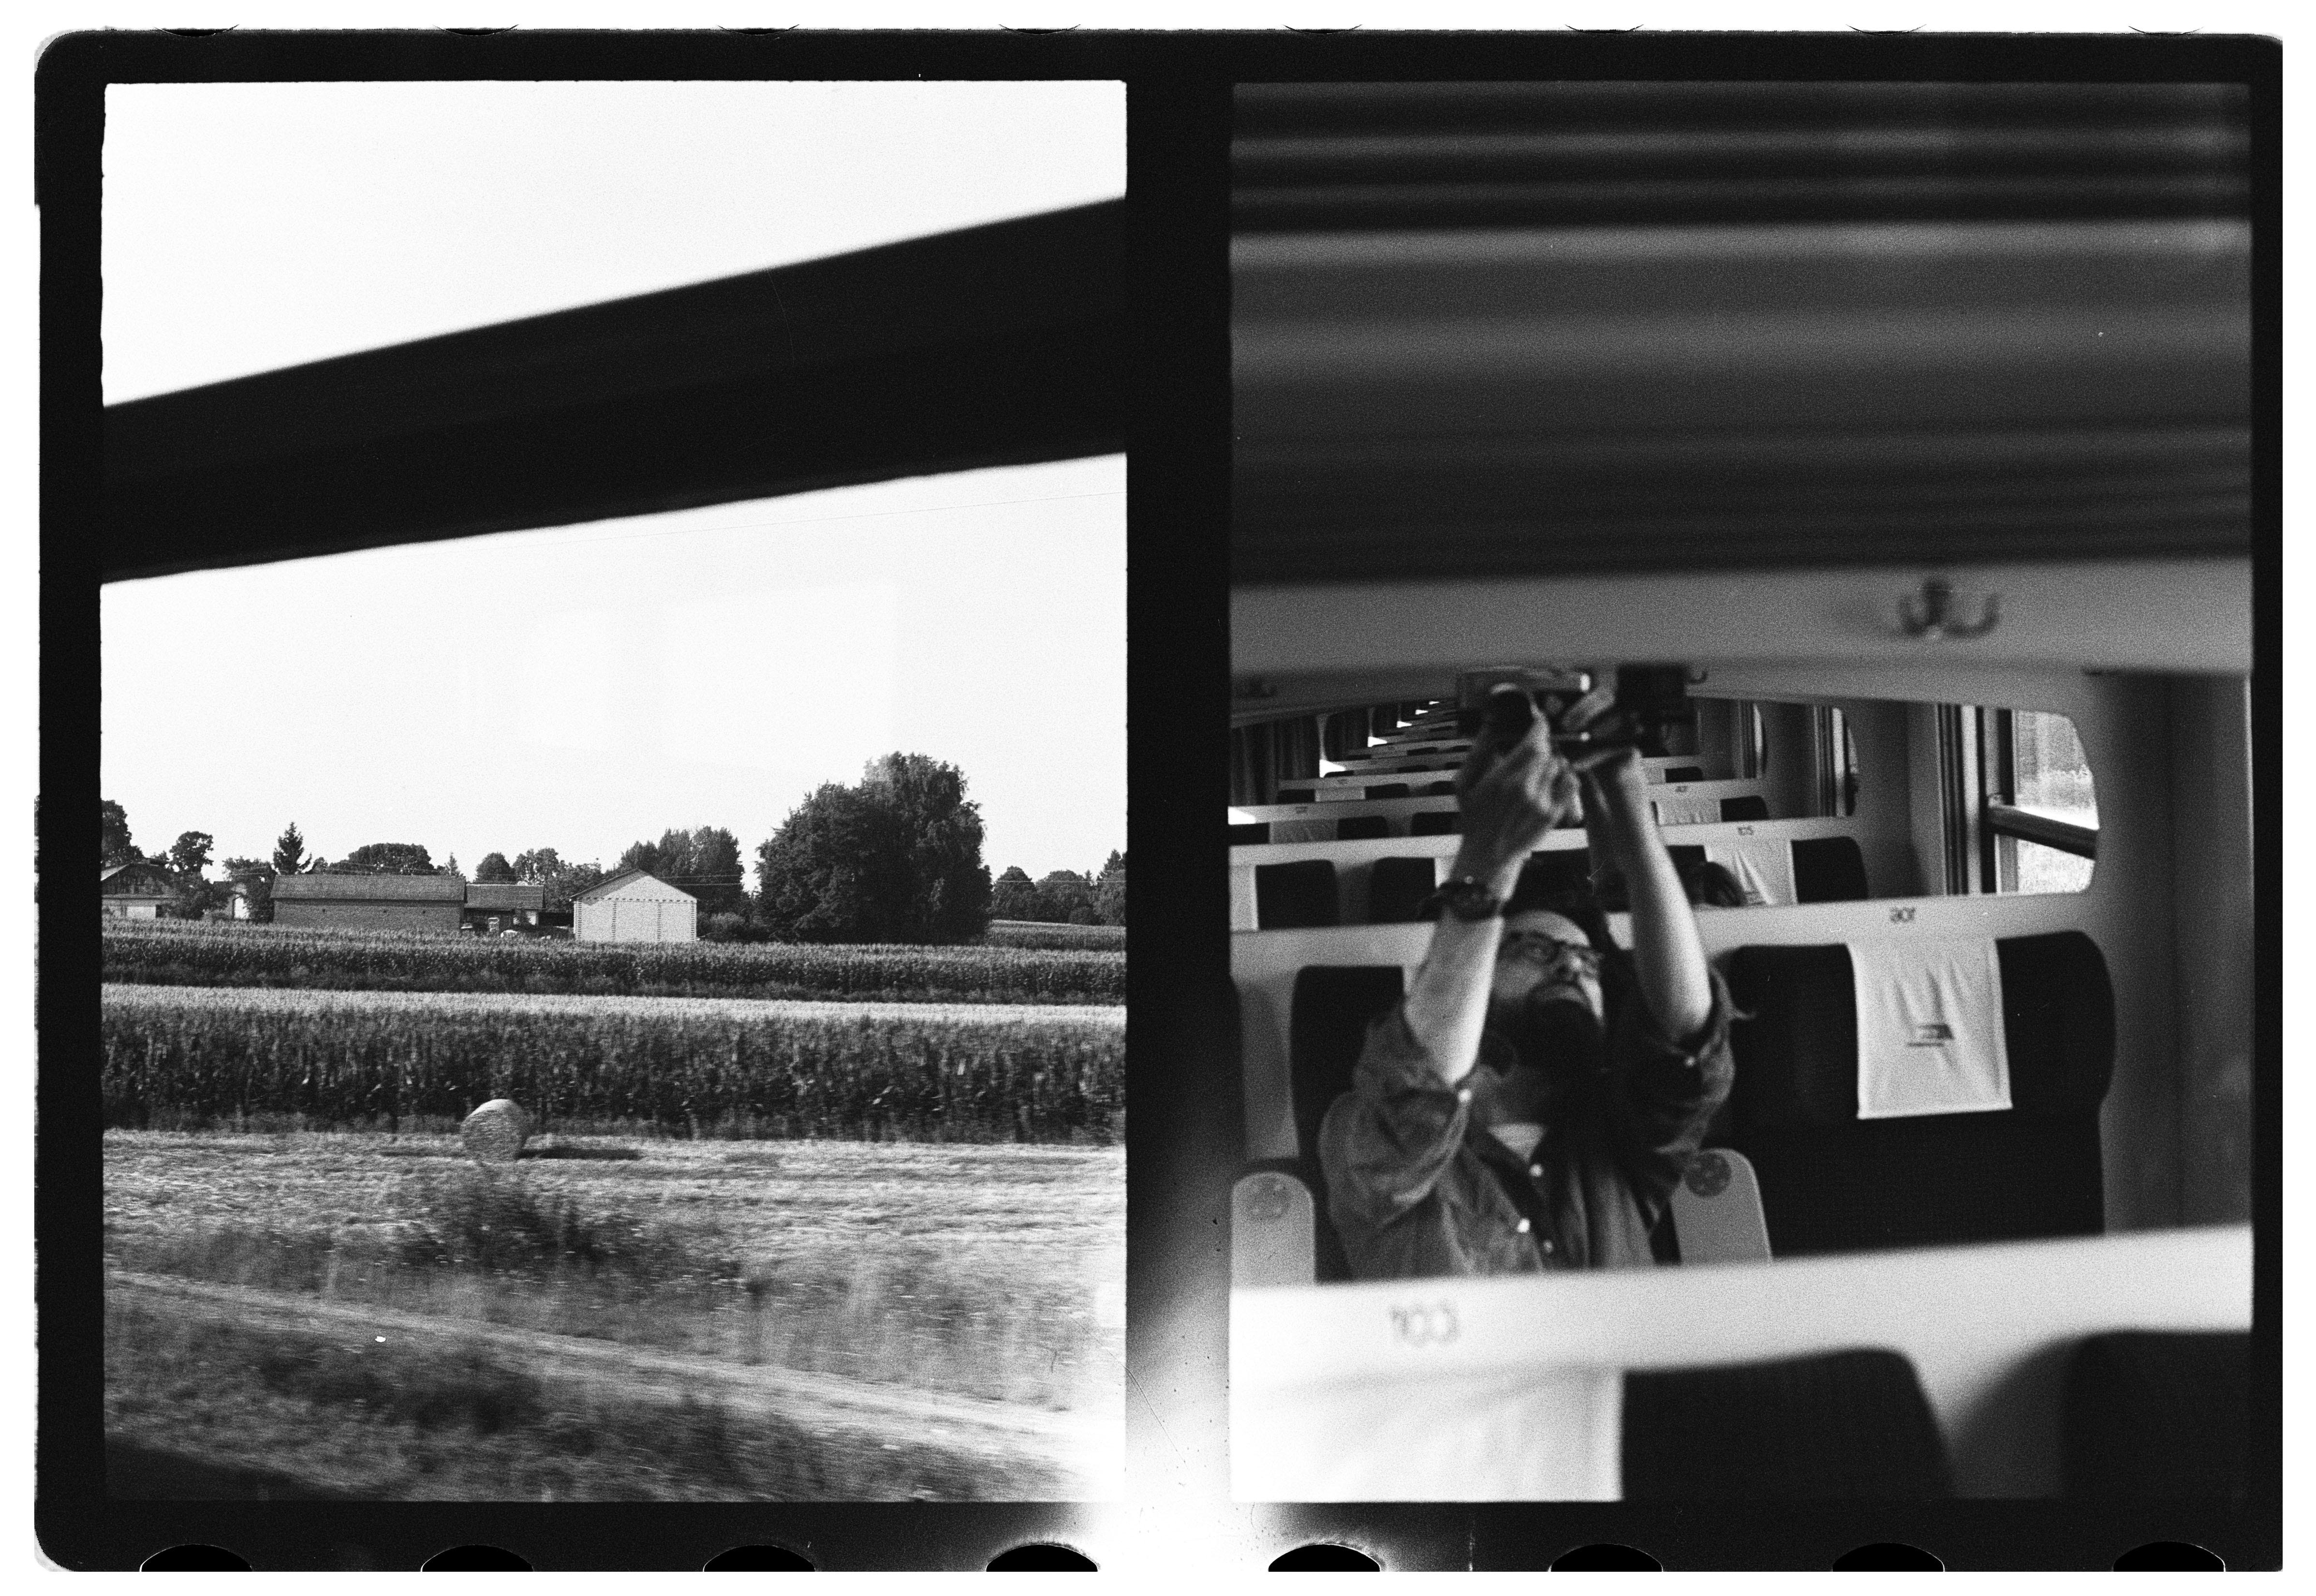
As you might remember, I shot this entire body of work on a half-frame camera, which means each frame on the roll of film has two vertical images next to each other, separated by a black line. These are pairings created in-camera, simply by shooting two images onto the same frame of film, not in the edit afterwards. In this case, a picture out the window of the moving train, and then one into the mirror inside the train.
When I laid all the images from Ukraine out on the floor, my problem was not a gap. It was the opposite. I have an overflow of images that tell different versions of the same story: the wonderful family members I stayed with, the small routines, the table, the ordinary days, life in the city and the countryside.
They are good pictures, and suit the theme, which is “the problem” of course. If I keep all of them, that one thread takes over the whole book, and the book is wider than that one thread. So I have to keep a certain number and move the rest, strong photos included, into a folder I do not delete. Never delete anything!
Here is one I was grappling with:
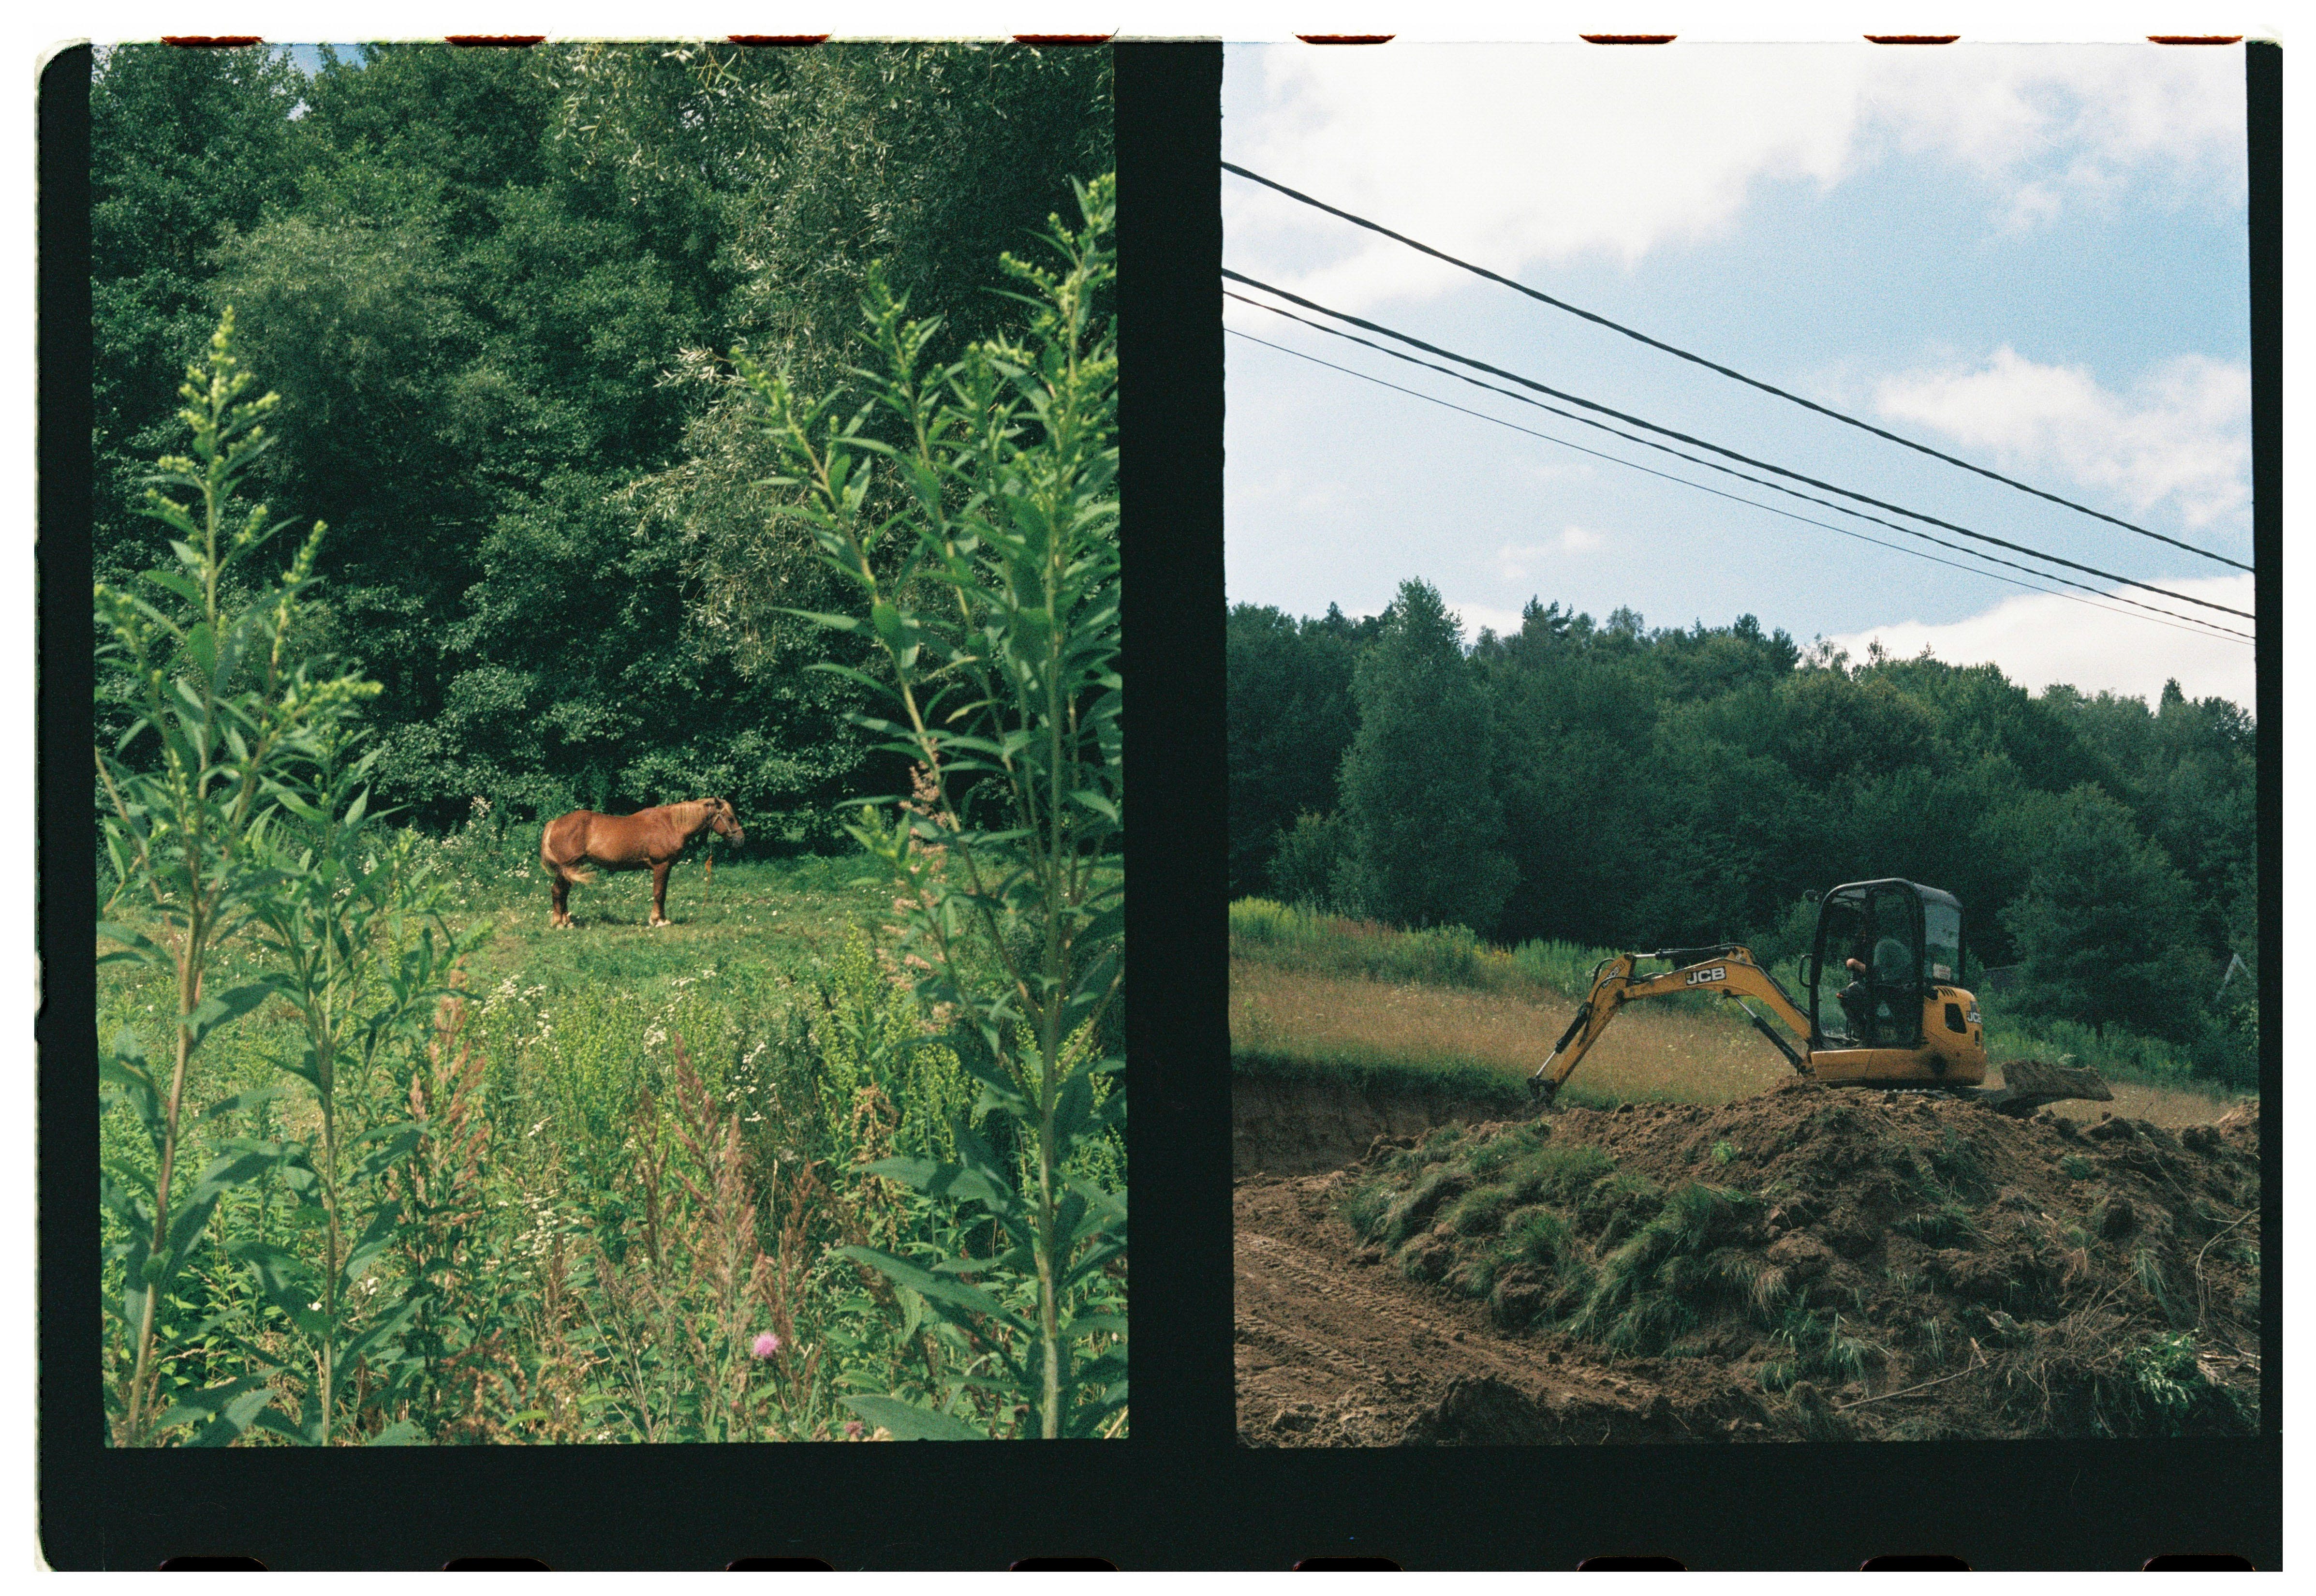
I love this juxtaposition of the horse and the modern day labor machine sort of taking its place. They were not actually facing each other, I took these two pictures a minute or two apart, but it feels like such a lovely metaphor for certain aspects of life in 2026, but that’s not what this book is about. Also, I have this horse in a few other shots, and those shots are more in service of our story and also better, BUT it’s still hard to let this one go.
As a I mention, I shot this work half-frame, so my images already come in pairs. Therefor, my unit is not a single photo, it is the pair.
Later, in layout, some of those pairs will end up talking to other pairs across a spread, but I do not get to know that yet. For now I am choosing pairs, not pictures. Here is a spread from my previous book, NOTICE Journal Vol. 1, shot on the same camera, so you can see what that looks like.
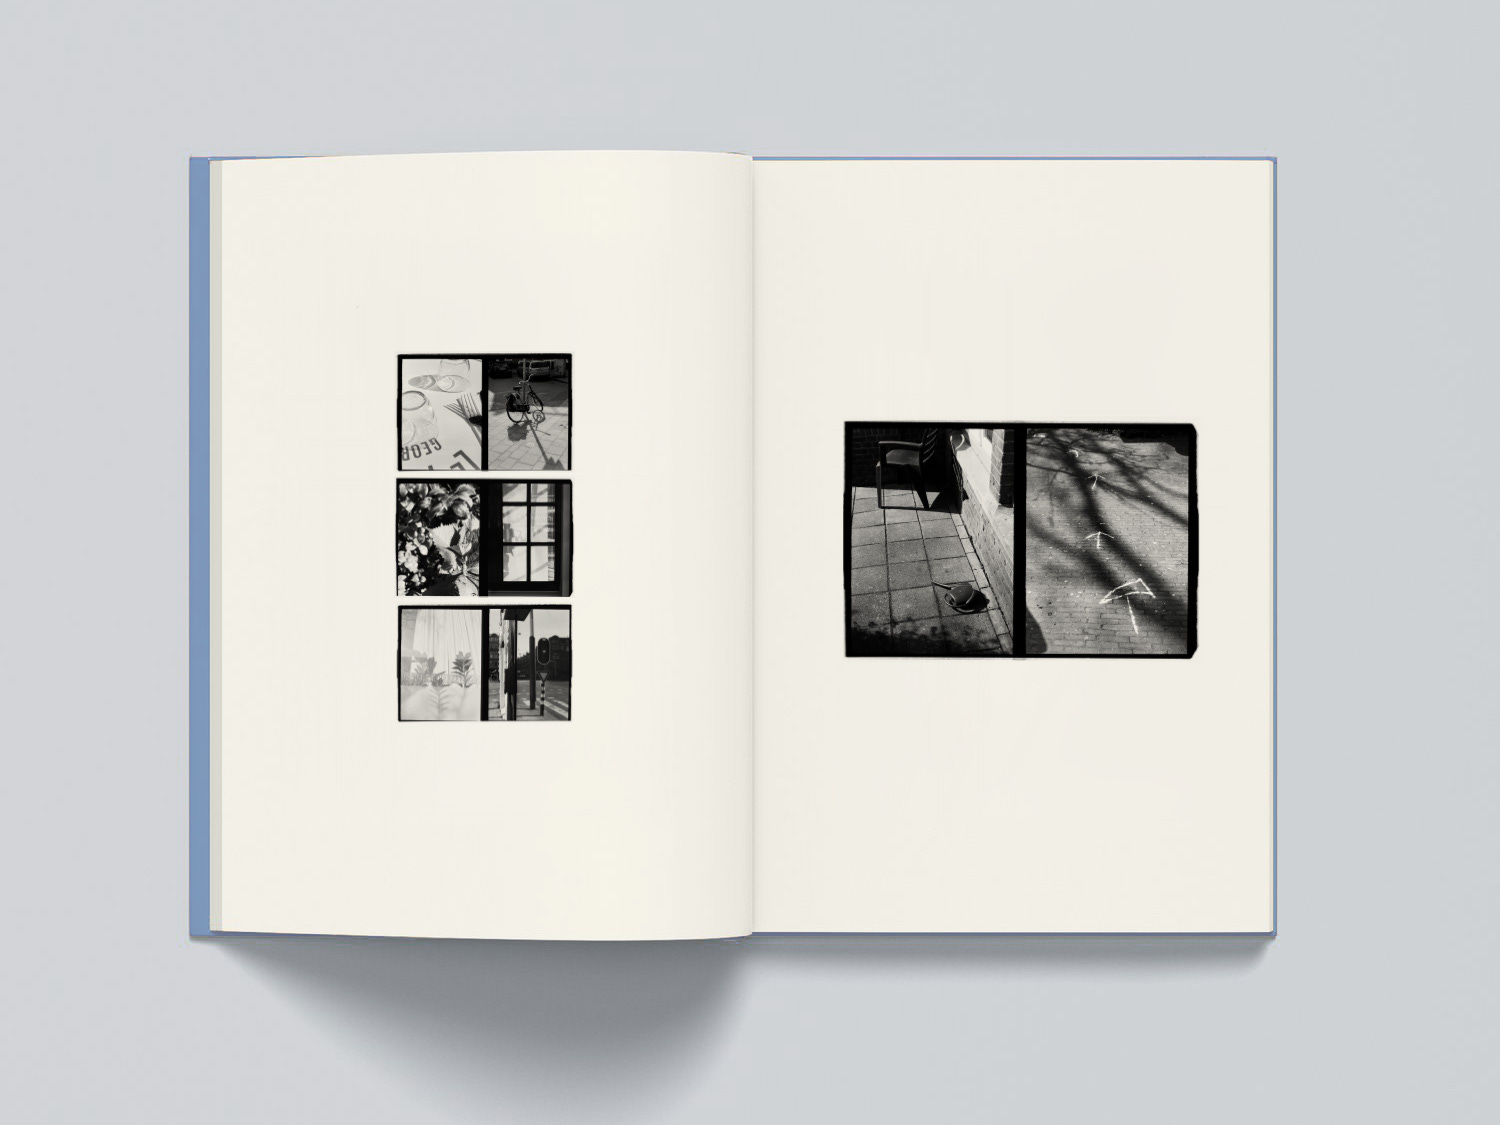
Your version of this is probably simpler, one frame at a time, and that is actually a bit easier and more pure in a sense. Work with whatever your camera gives you.
If you want to try this on your own project, here is the method I use.
Get organized first — Make one folder with your project name, and three folders inside it: All Images, Selected, and Not This Book. That last one matters. Nothing gets deleted. What does not fit this project is often the seed of the next one.
Print them, small and cheap — Nothing fancy, a copy shop and printer paper works. Something happens when you can see everything at once and push it around with your hands that never happens on a screen. You start to see patterns, and gaps, and what your eye keeps returning to.
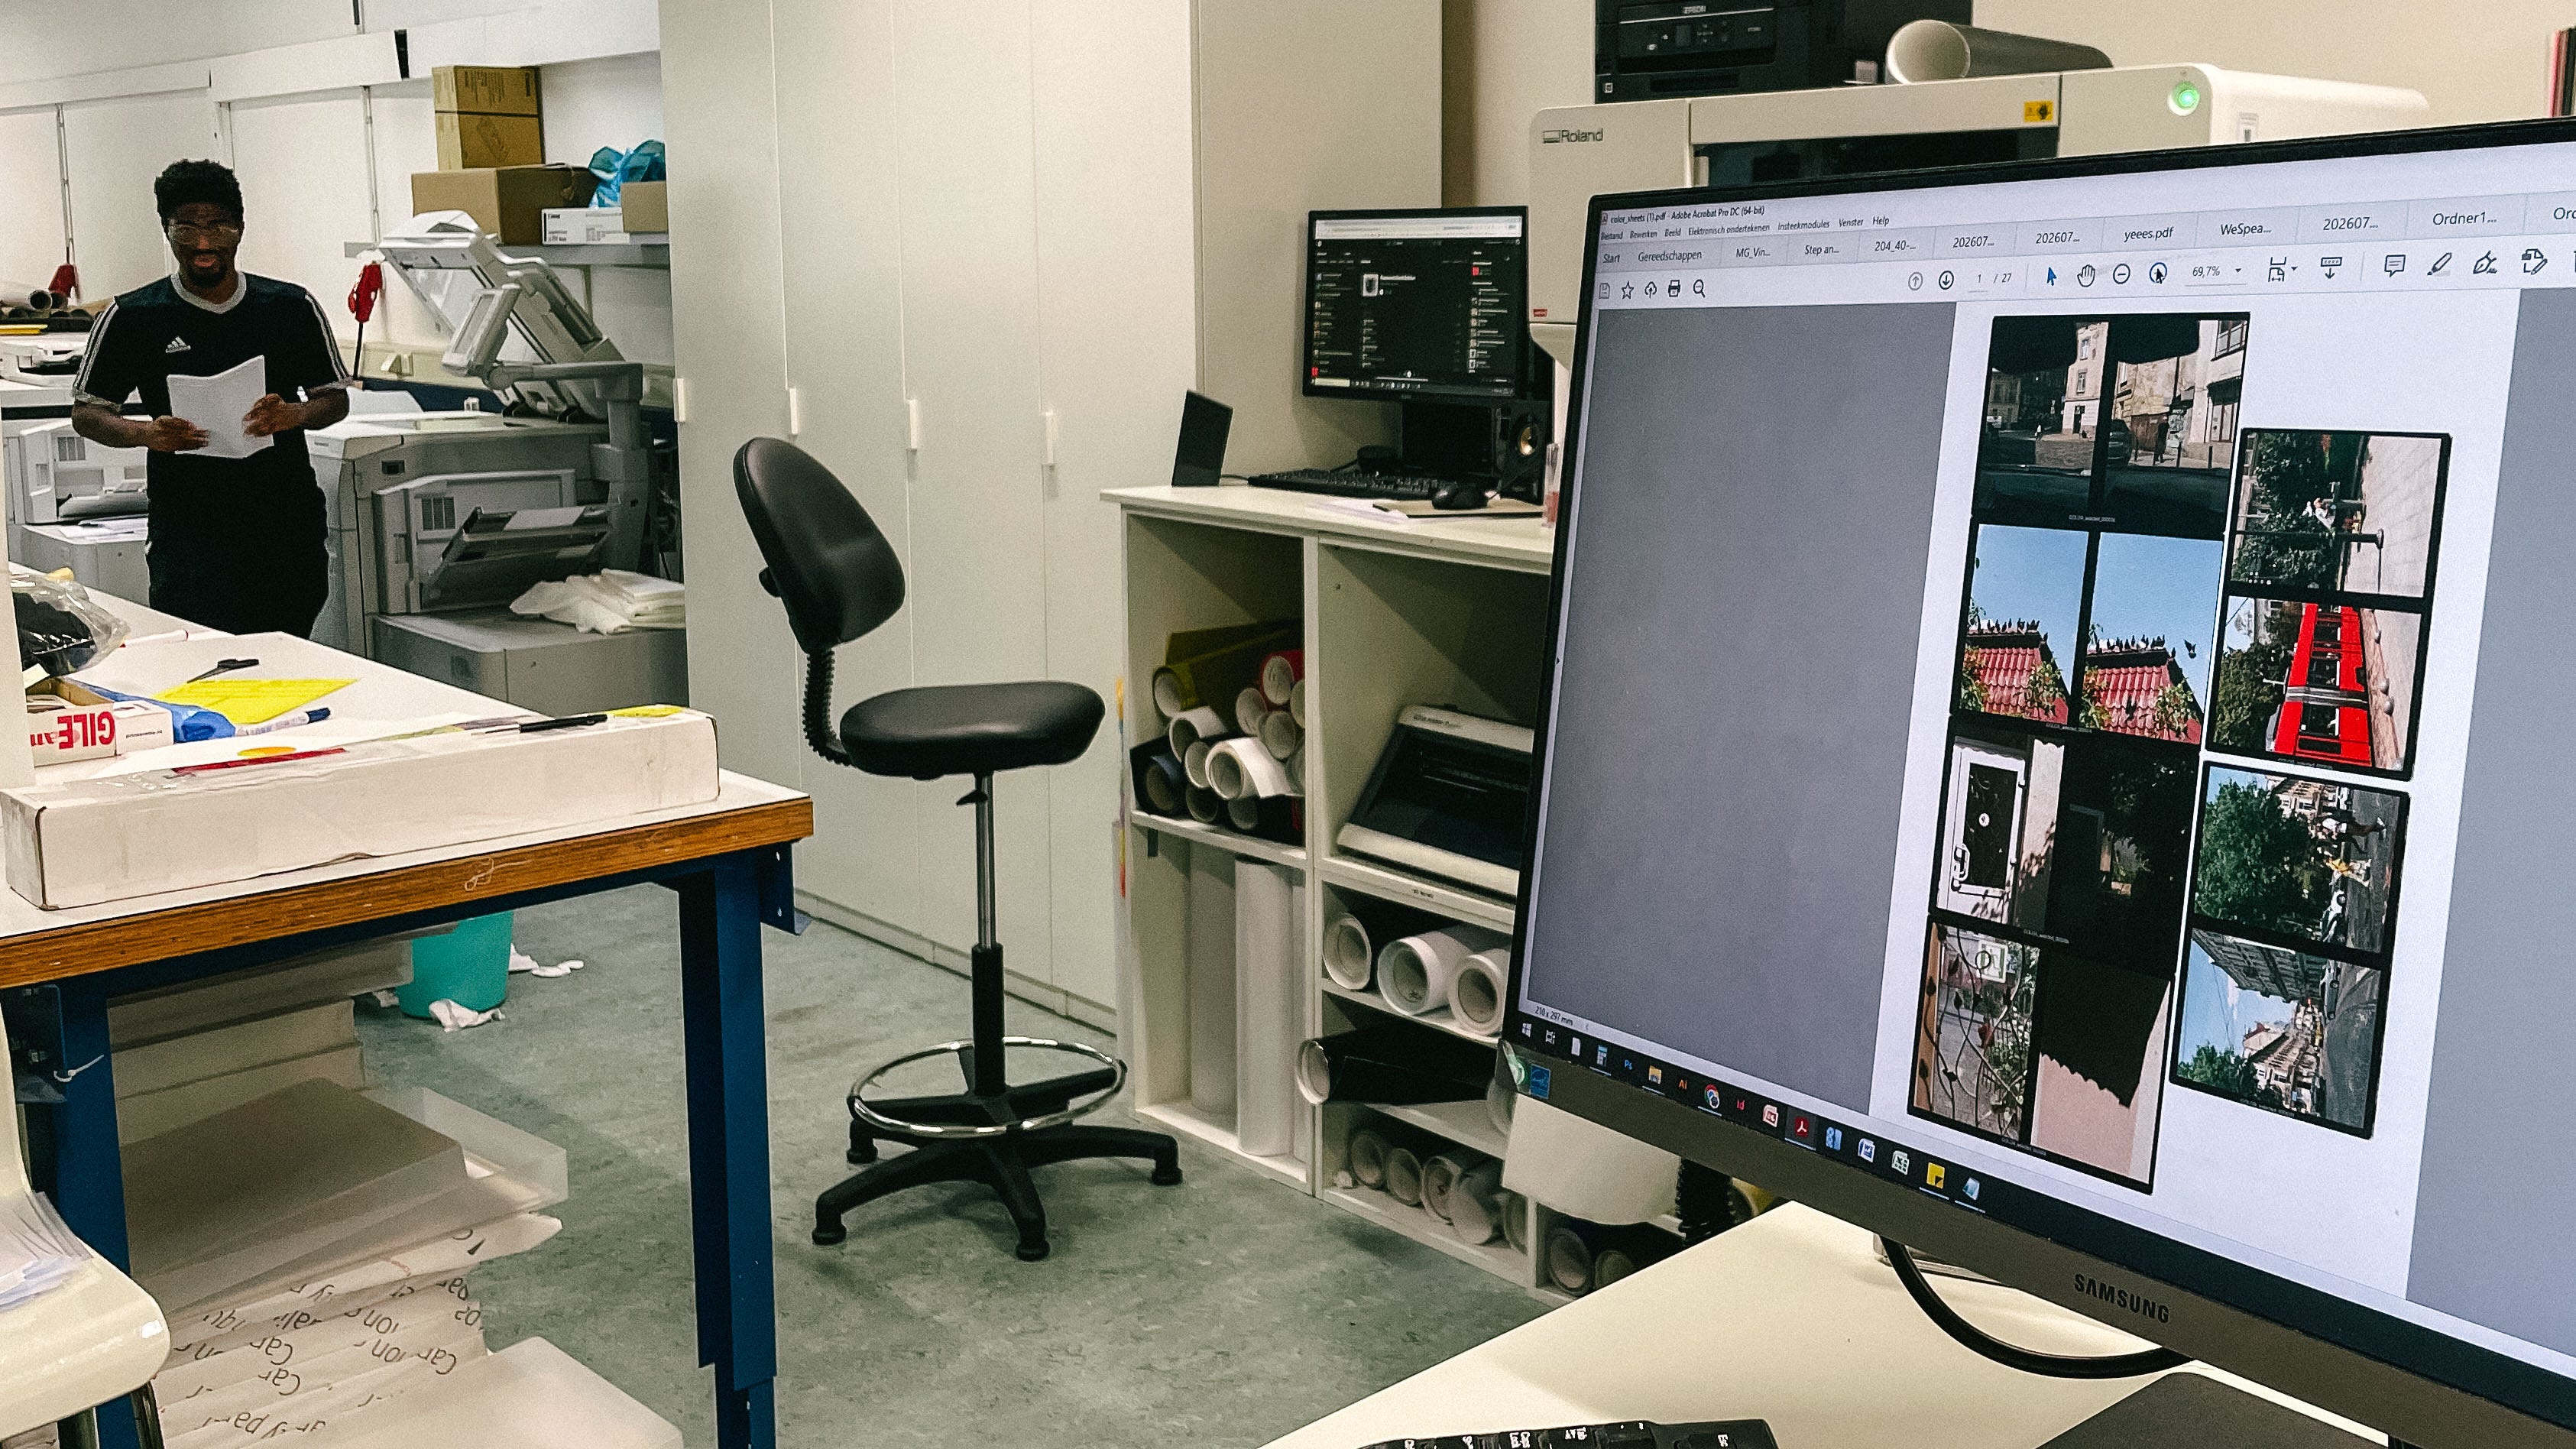
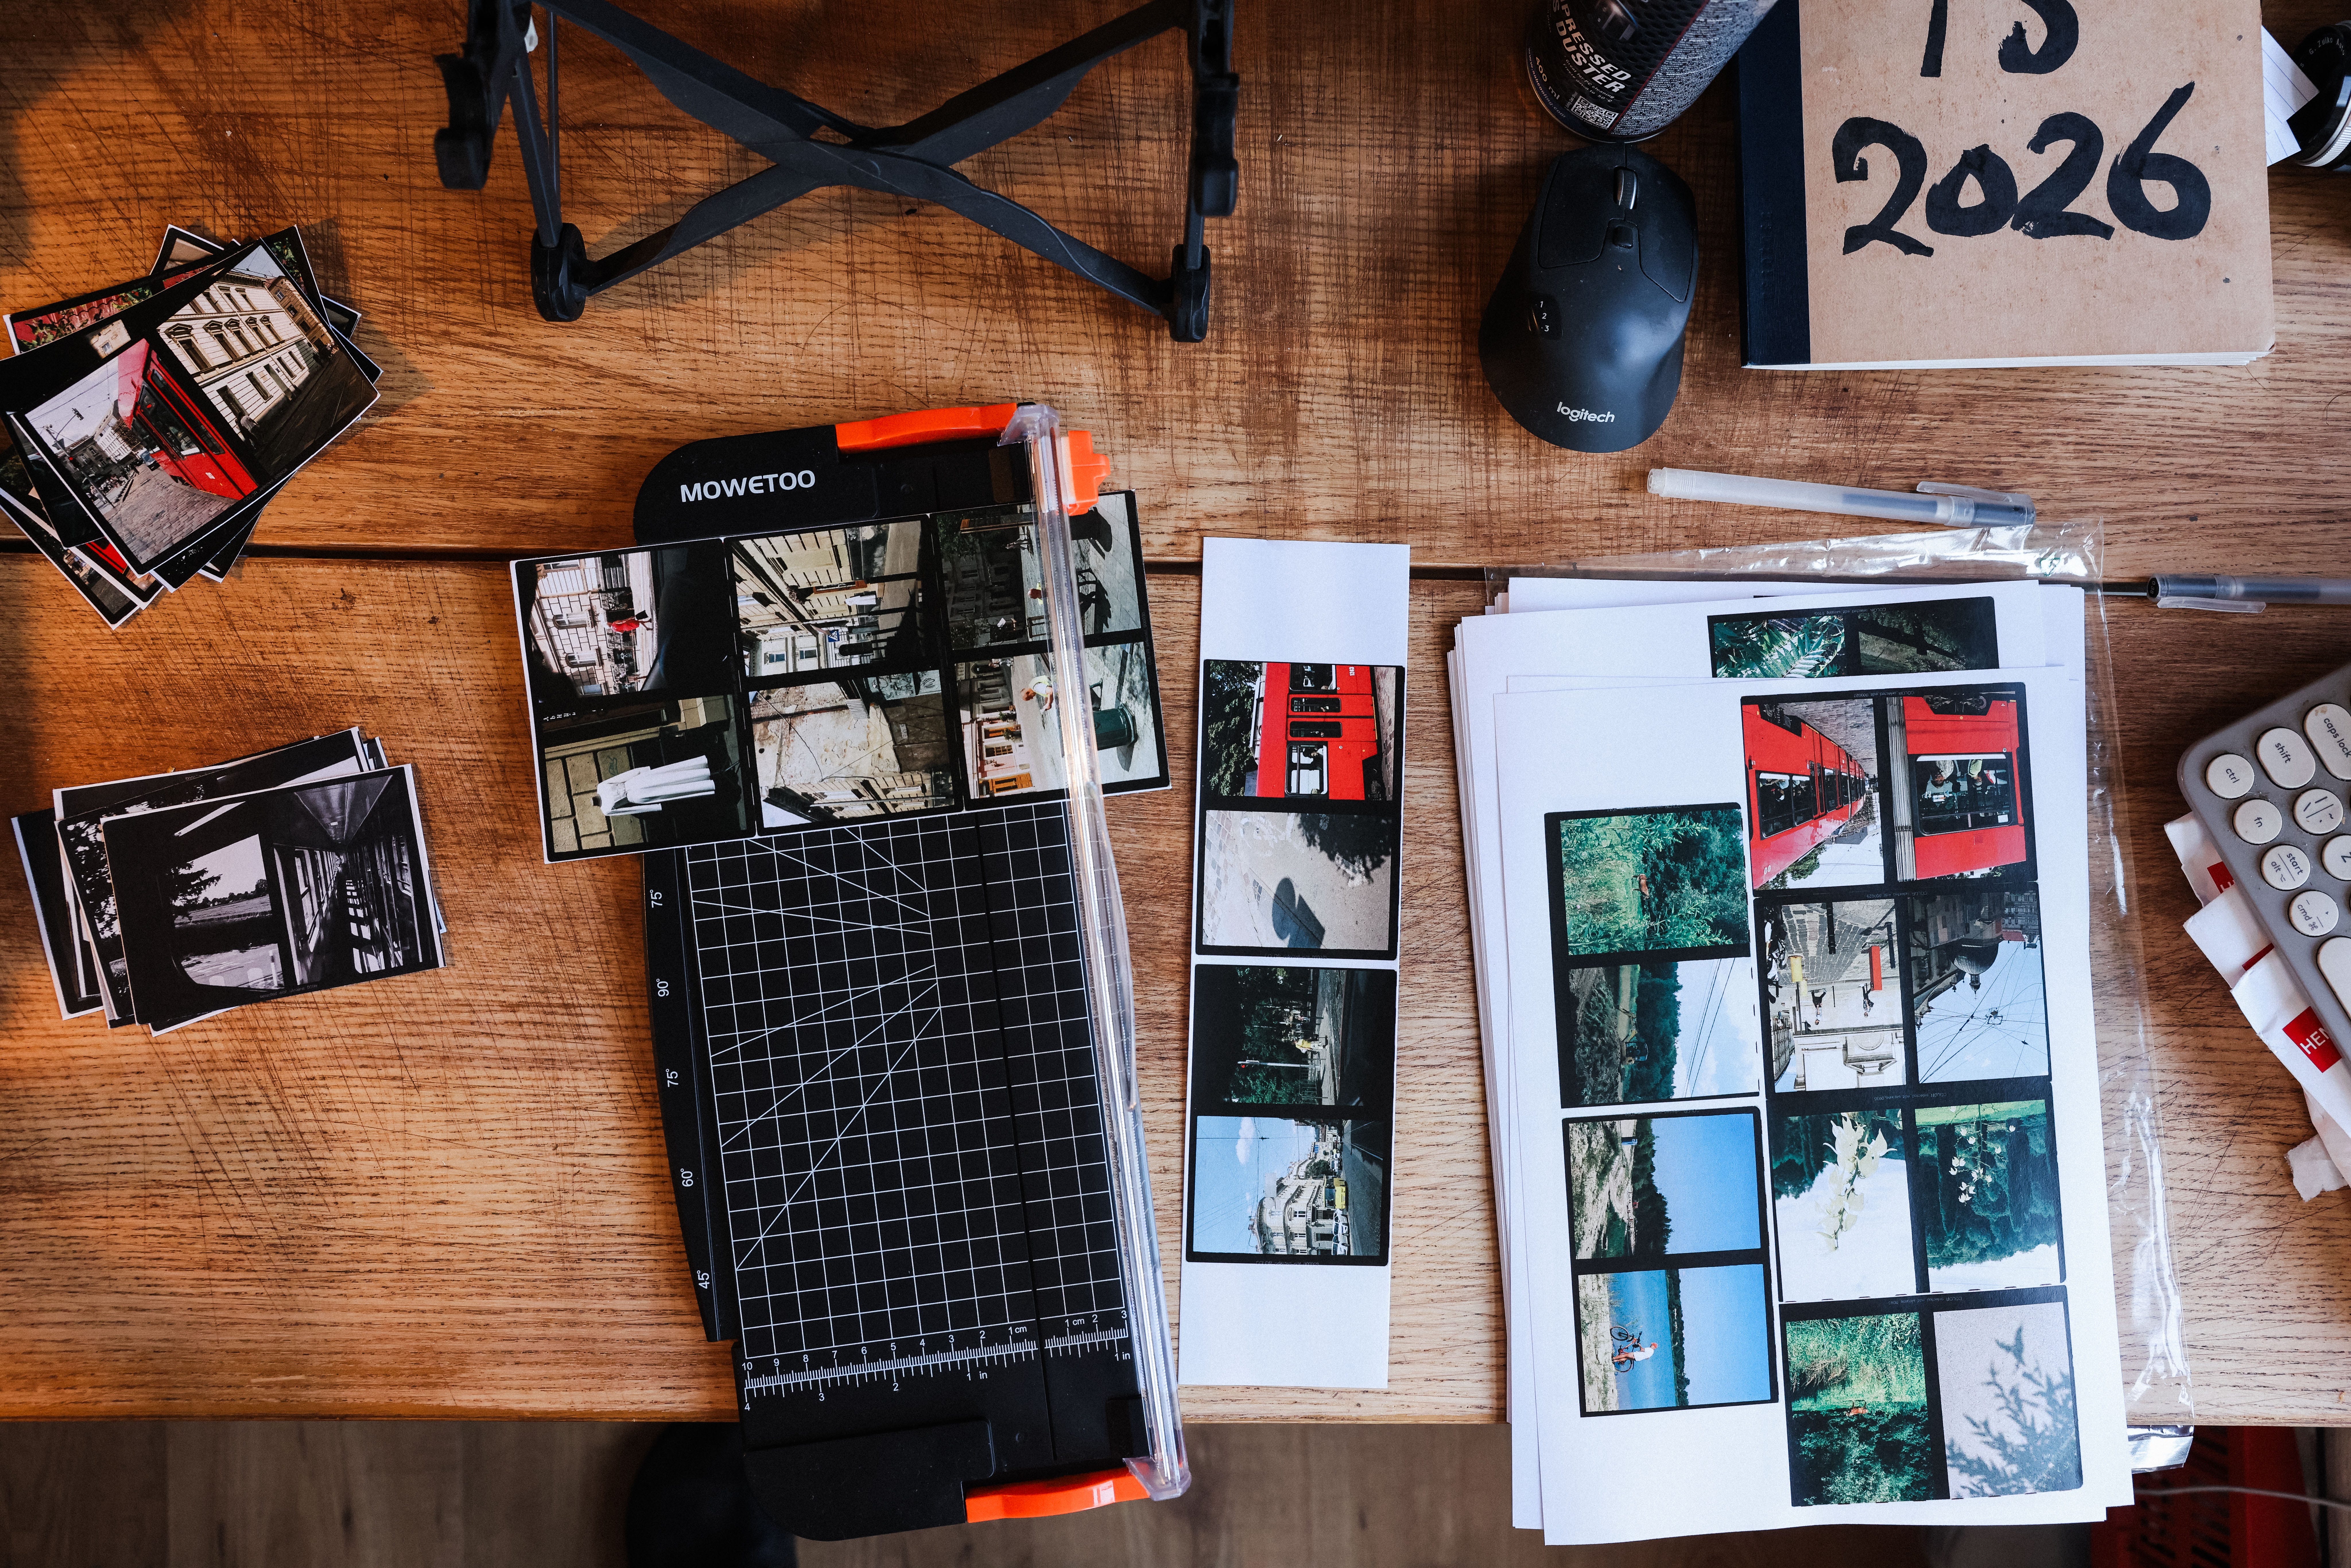
Sort into two piles — A-sides are the ones you know belong. They connect to your sentence and you would be sad to leave them out. B-sides are the ones you like but are not sure about. Do not throw out the B-sides. A quiet B-side can turn out to be the bridge between two louder photos further down the line.
You are not choosing your best standalone photos. You are choosing the images that work best together to tell your story. A photo that is a star on its own can throw off the rhythm of a book. A simpler, quieter one can be essential because of what it does between the two photos around it. Keep going back to your sentence. Ask whether an image adds something or repeats what you have already shown. If it repeats, one of them has to go.
You do not need a finished eye for any of this. You do not need a gallery, or years of practice, or the right camera. You need to be willing to be honest about what serves the story, even when honesty means leaving good work behind. That willingness is the real skill, and you have it today, at your kitchen table, with whatever you have already made.
If you want to do me a small 3-second favor, share this issue with your friends who may get a bit of inspiration and motivation out of it. Thank you, it means a lot.
We all take more photos than we ever show. In the comments, tell me about one you love that did not make the cut somewhere, and what you still like about it. A photo or a sentence, either is welcome. You can share a link to an image too!
NEXT WEEK: Step 3, sequencing. Once the cut is made, the order is everything. This is where those pairs start talking to each other across a spread, and where a book finds its rhythm.
I hope you’re having an excellent summer!
Warmly,
Wesley
P.S. This was Step 2 in Process Workbook Vol. 5, How to Make a Photo Book or Zine. If you would rather not wait week to week and want to work ahead on your own project, the full workbook has all twelve steps. It is €14.99, or totally free if you are a Process Photo Club member.
Process is a free and weekly newsletter, and always will be. The Process Photo Club is how the free part keeps happening, and every Process Workbook, including this one, comes free with your membership.
P.P.S. All my film is developed by Carmencita Film Lab. They’re the best and love what they do. Use code PROCESS for a free upgrade.
Browse the Process Archive for more articles.
Comments
Nothing yet. Say the first thing.
Sign in to join the conversation.