
Building a game in any engine will inevitably result in a degree of complexity that requires management. If you’re working as part of a team, this complexity can quickly multiply, and as time goes on and features are added, you’ll invariably find that interests begin to compete.
Developers working on different systems may begin to step on each other’s toes: level designers may want the world to populate with enemies, but they might not necessarily want the player to be able to take damage whilst testing the flow of a level. The team tasked with implementing combat mechanics might want to make enemies behave particularly aggressively, or passively, whilst iterating on their systems, but your player character’s default health makes testing a chore. Perhaps your crafting system team would benefit from collectable items being highlighted with a bright green shader that renders through walls, but your GDD demands that your game is a dark, moody adventure where resources are difficult to find, and requires players to thoroughly investigate every nook and cranny.
In this post, I’ll walk through a simple pattern I’ve become fond of lately, that helps to allow different teams to specify their own preferences during development and test with ease.
During the early days of development, it can be very tempting to hard-code certain values, or define them once in a prefab and then just modify your component’s settings before entering play-mode (or even afterwards!) to test particular scenarios.
For a solo developer or a very small team, this workflow is ‘OK’ for the most part, but any reasonably sized project or team may begin to notice that collectively, they spend an awful lot of time working around the game’s default configuration, manually tweaking values at runtime, or inventing team or scenario-specific tools and utilities which allow the developer to hack a path through the game’s various systems and set things up to more easily iterate on their own particular feature.

This kind of ad-hoc (ad-hack?) or limited configuration process will only compound the complexity problem over time, and as the project grows, your developers will likely end up spending a not-insignificant amount of time fiddling and tweaking things every time they want to test a particular feature. This kind of wasted time quickly becomes routine, and therefore incredibly dangerous: you almost certainly didn’t budget for ‘messing about’ when you estimated how long a particular feature would take to implement, and even 20 seconds wasted every time you enter play-mode will very quickly add up.
Failure to grasp the nettle early on means it becomes more and more difficult to keep iteration times down as the project grows, so it’s wise to continuously think about the scenarios you and your development teams would like to be able to test, and to build your systems in a way that supports overriding the default configuration.
What we’re aiming to achieve is a simple system whereby developers in a Unity project are able to launch playmode, and have the system detect their specific configuration preferences during startup.
Anyone who’s used Unity will be intimately familiar with the Playmode button. Press it, and within a few seconds, you’re in the game. It does one job, and it does it well! Unfortunately, game development usually requires a bit more flexibility than the Playmode button allows. In our case, we’re interested in entering playmode, but with a bunch of configuration overrides we can parse at runtime, in order to support whatever workflow we’re currently engaged in.
What we will achieve in this post is a very simple system which allows Unity developers to:
Create a Scenario asset, which contains a few configuration options
Click a button on the Scenario asset’s inspector which caches it for later usage, and then immediately enters playmode.
Retrieve the selected Scenario asset at runtime, and use it to override our default configuration
Though the example I’ll demonstrate is very basic, you should be able to immediately identify how useful this simple setup could be for you and your team.

In order to define a Scenario, we first need to think about the kinds of things we’d like to be able to configure. In this example, imagine a simple ‘defeat the enemies to earn points’ style game. The obvious targets for configurability here are enemy and player health: perhaps we want to play through a level, but we only want enemies to have 1 HP so that it’s trivial to kill them. Or perhaps we’d like our player to have infinite health, so we can’t be damaged as we test how enemies react to the player’s presence or as we run and jump around the level.
Let’s define a simple Scriptable Object to contain some these configuration values:

You’ll notice I also added configuration options for player and enemy colours, just for fun.
In the Unity editor, we can now create as many instances of this PlaymodeScenario scriptable object as we like, by opening the Assets menu and selecting ‘Create/Velocity/Playmode Scenario’:

We can now select and modify our new Scenario asset. In this case, I’ve created two different scenarios:
Indestructible Enemies
Indestructible Player
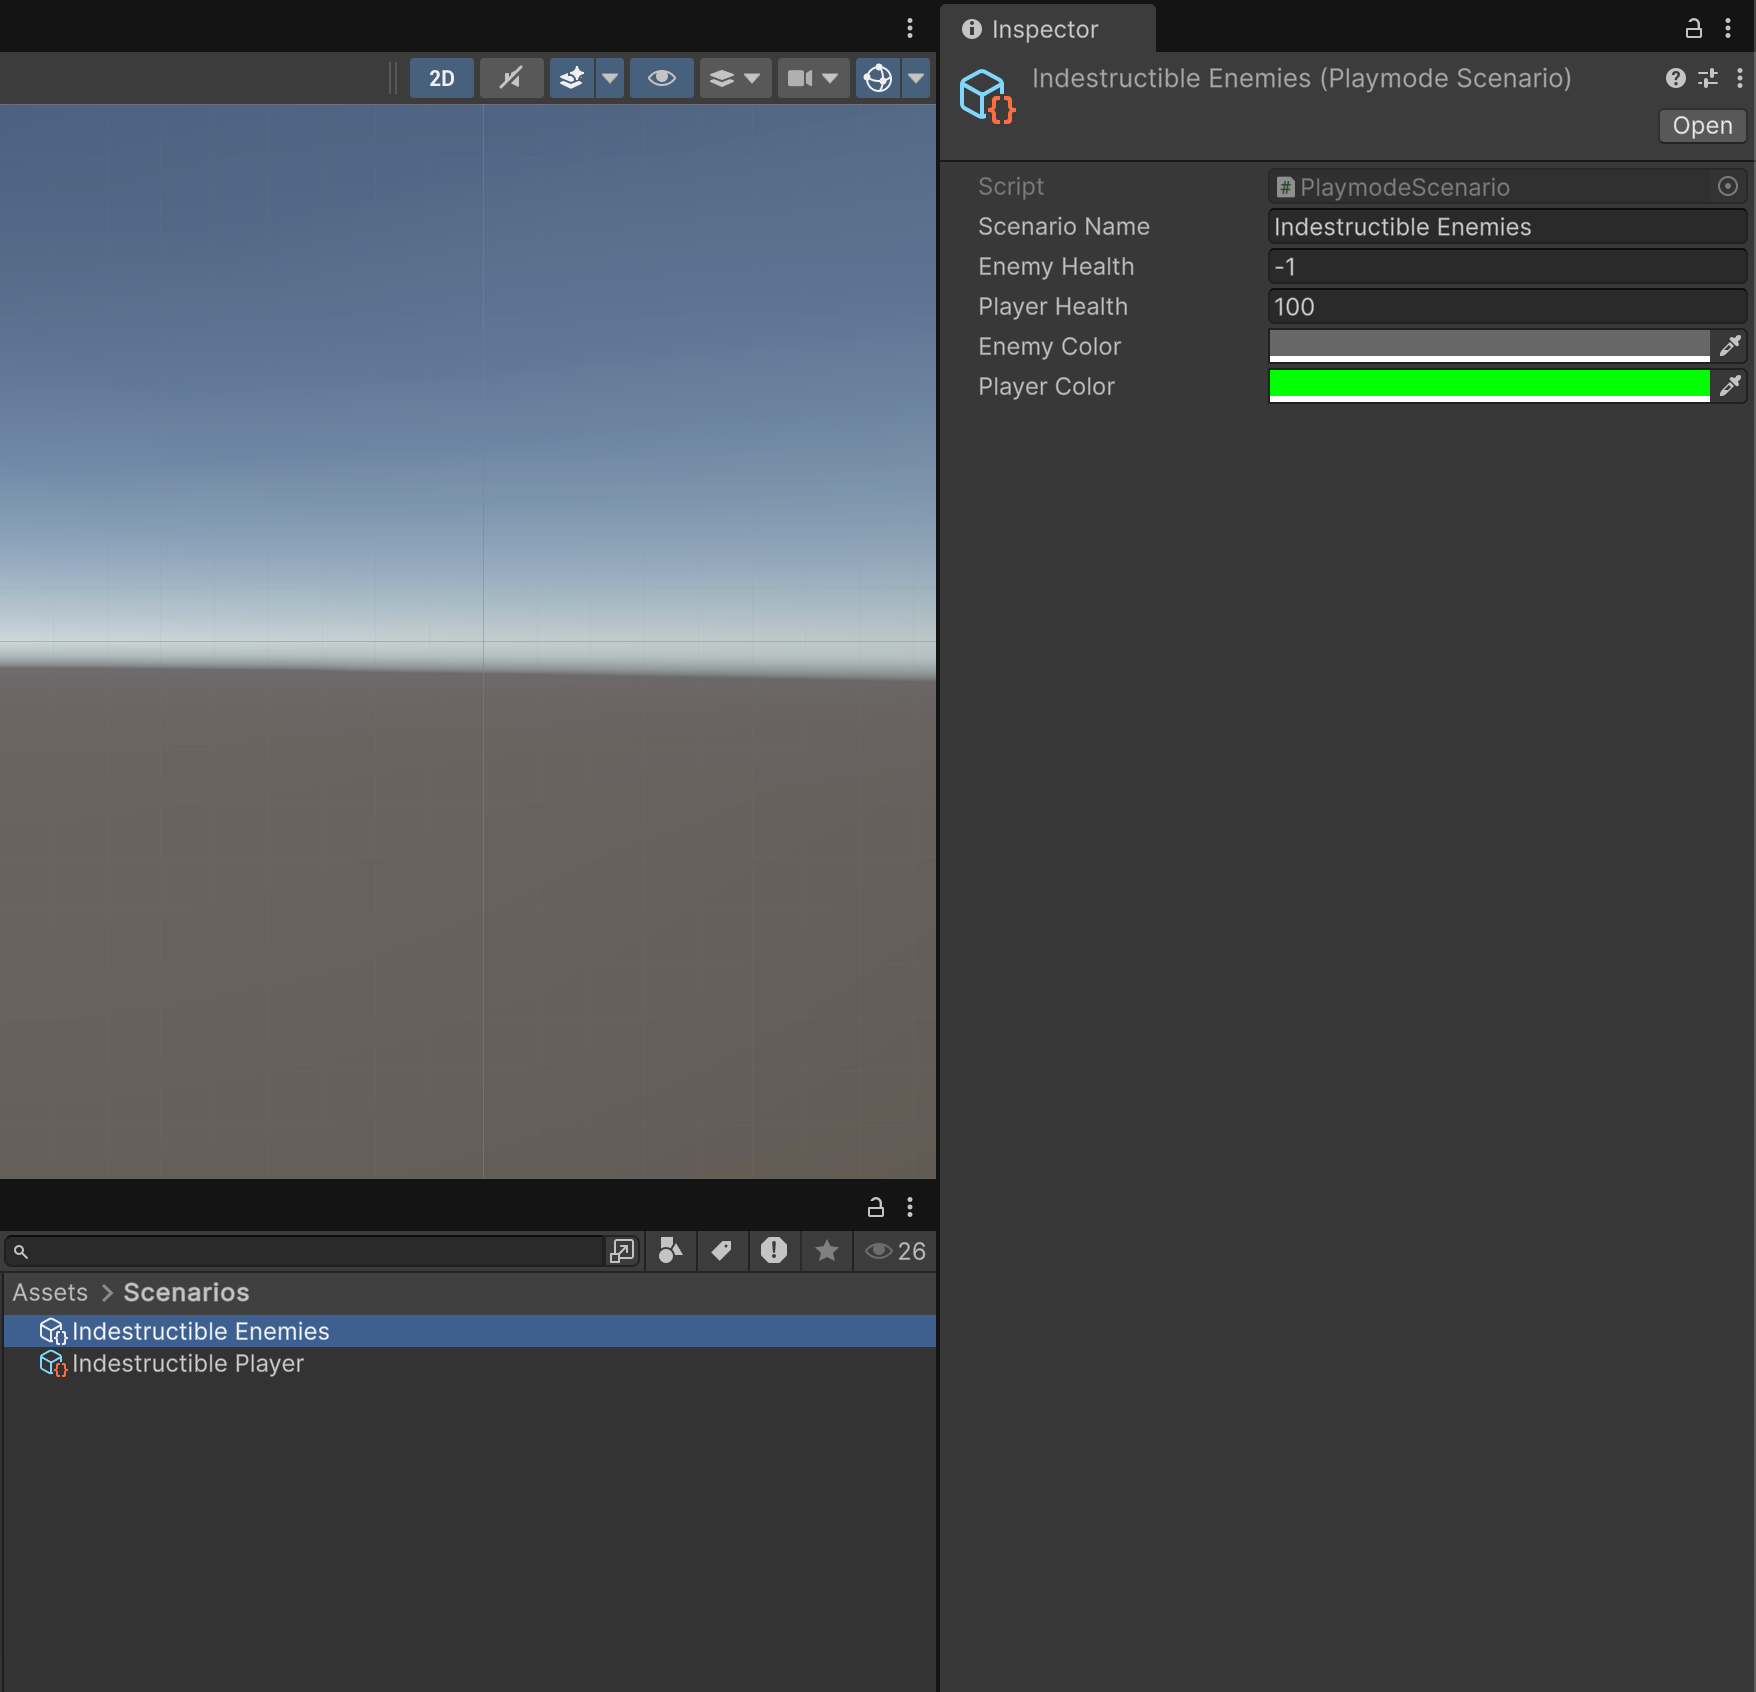
In this case, a value of -1 for health means ‘infinite’, but the details here are irrelevant: our only goal is to make sure the values from the Scenario asset are used when appropriate.
Now that we have a few Scenario assets ready to go, let’s move on.
If you find my scribblings informative, helpful, or interesting, then please consider subscribing - either for free, or enjoy a 20% discount forever!
Comments
Nothing yet. Say the first thing.
Sign in to join the conversation.