
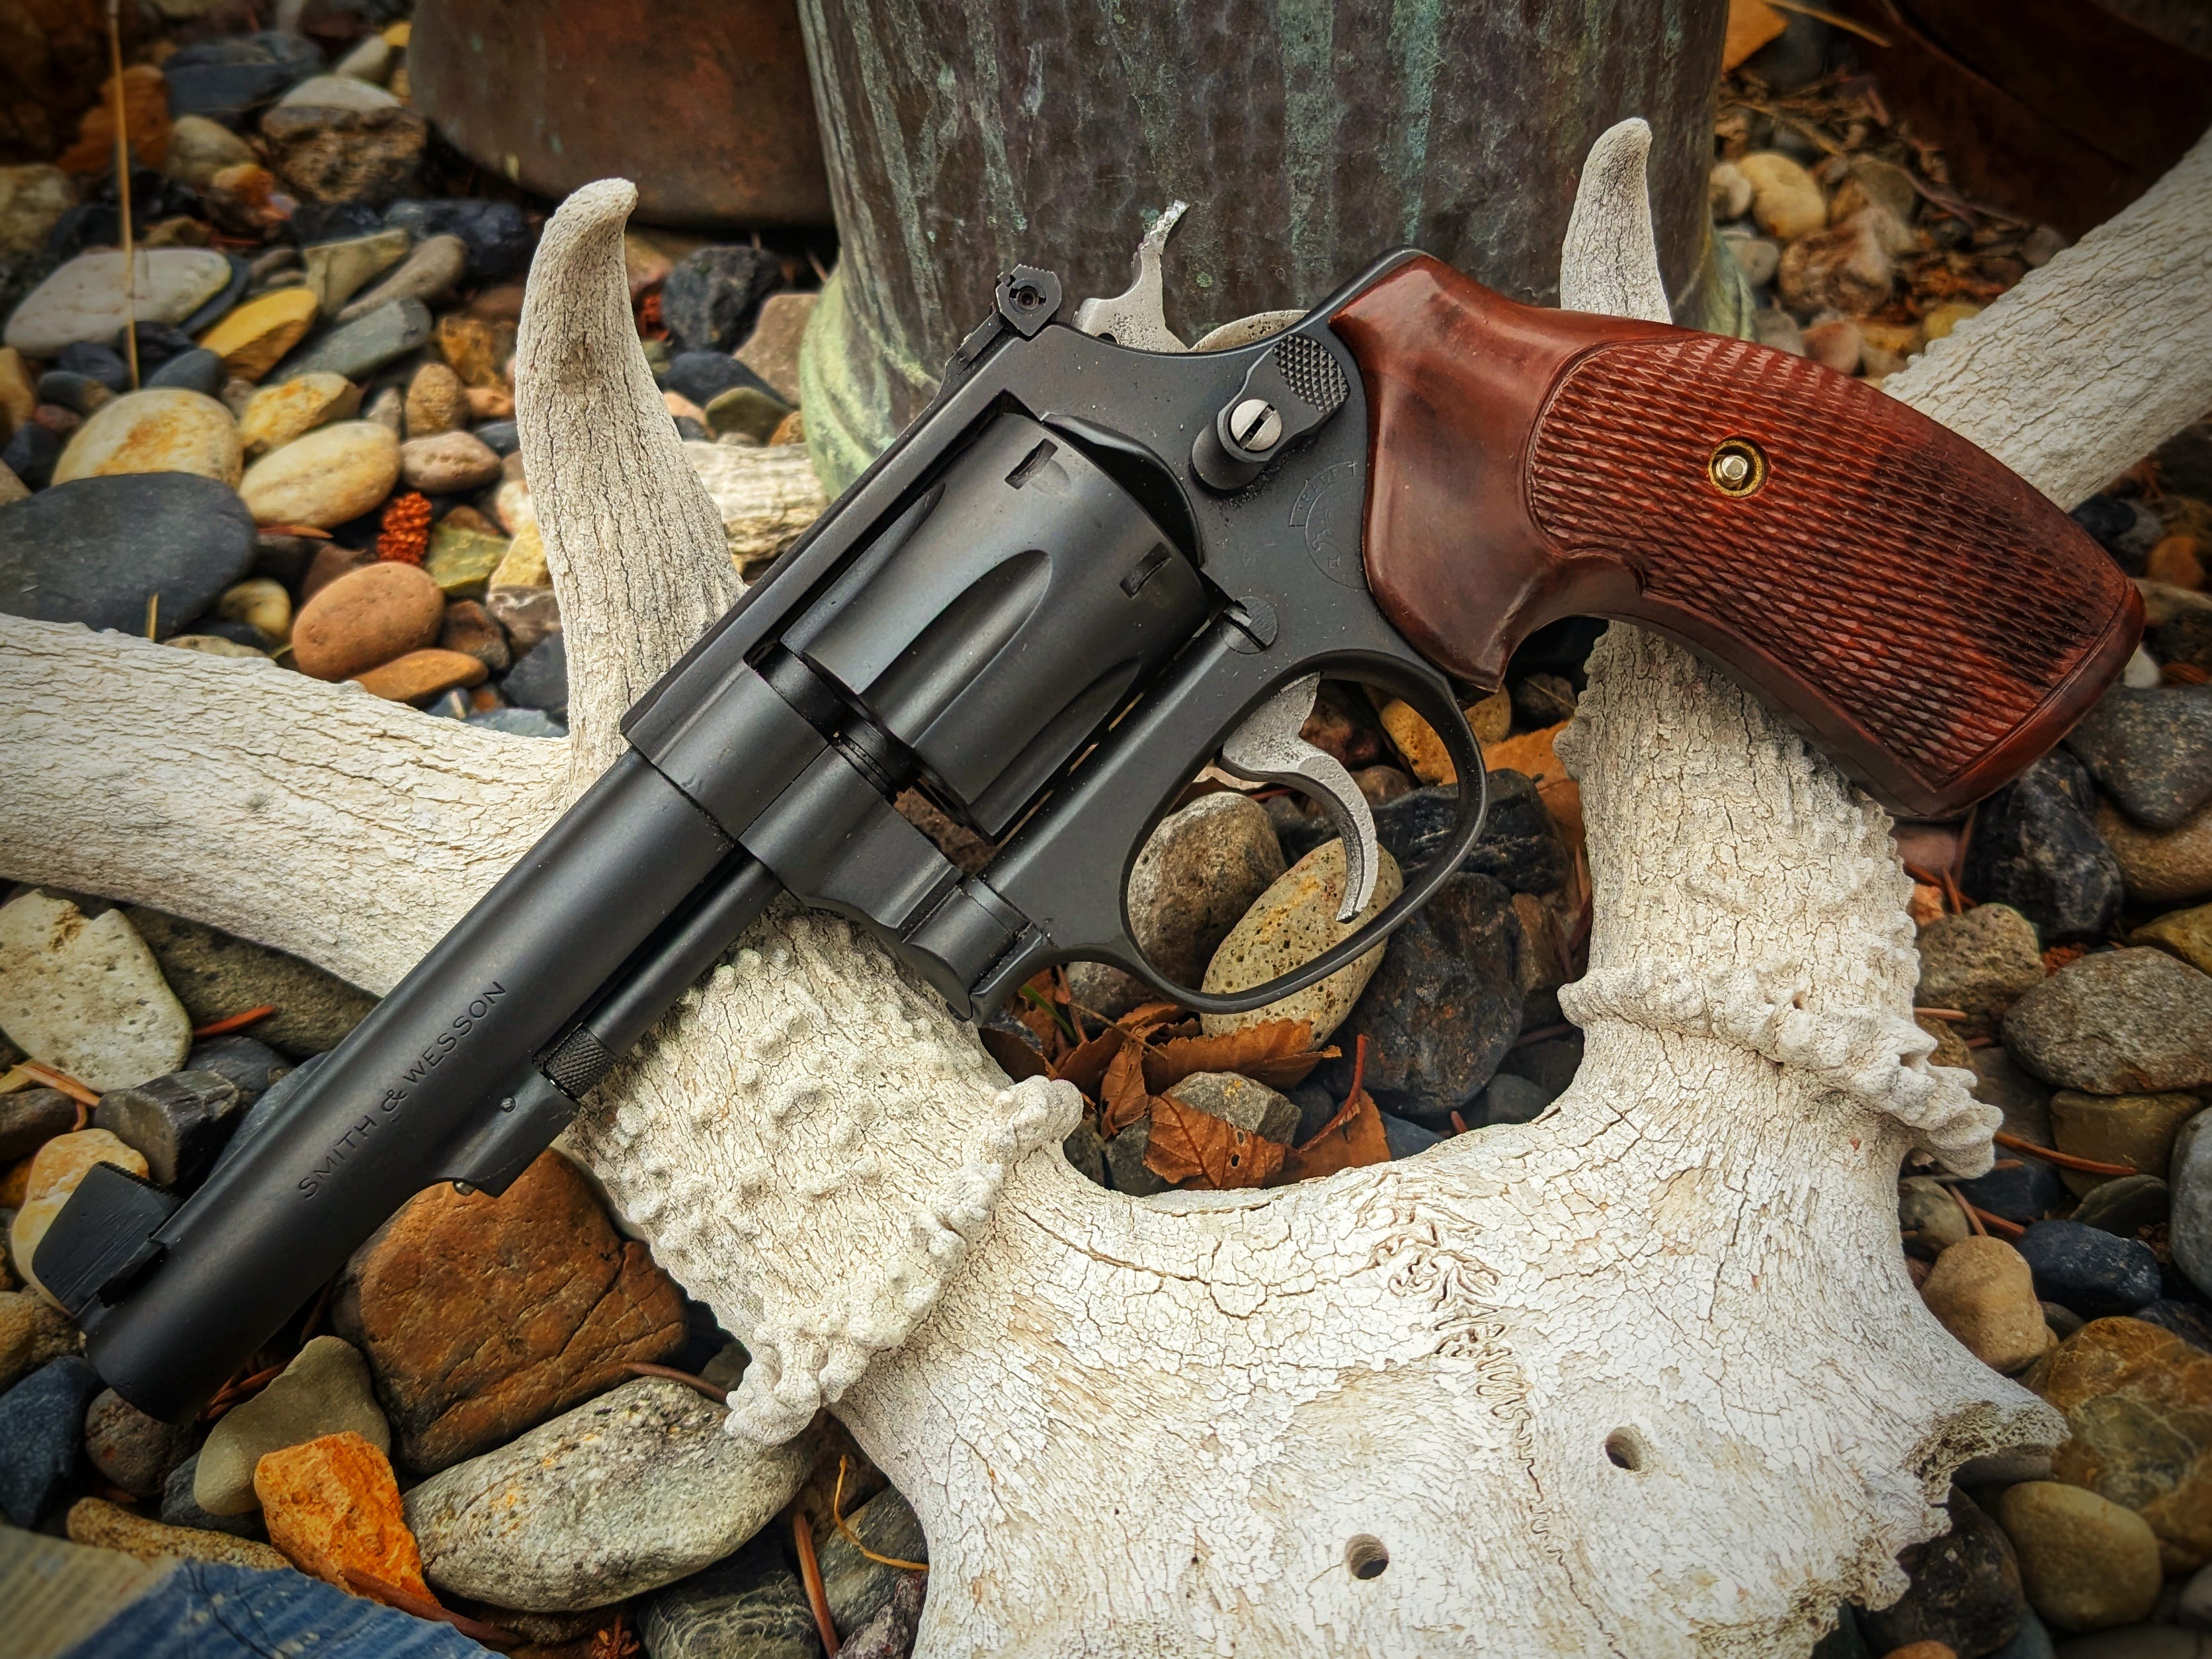
Welcome back to the second half of my.32 Magnum grail build. In case you missed the first half of the project, you can read it HERE. When I left you, I had just reinstalled the 2-inch barrel after doing some more work on it, and was rudely interrupted by the arrival of the ejector rod I needed to make the 4-inch barrel function.
Parts.
Before I could make it back out to the range, I got a package with the ejector rod that I needed for the 4-inch barrel. I couldn’t wait, I had to see if it would work. So off came the 2-inch barrel and on went the 4-inch barrel. I was smart this time and went ahead and cut the dovetail for the new sight, as well as crowned and recut the forcing cone, before even leaving the house.
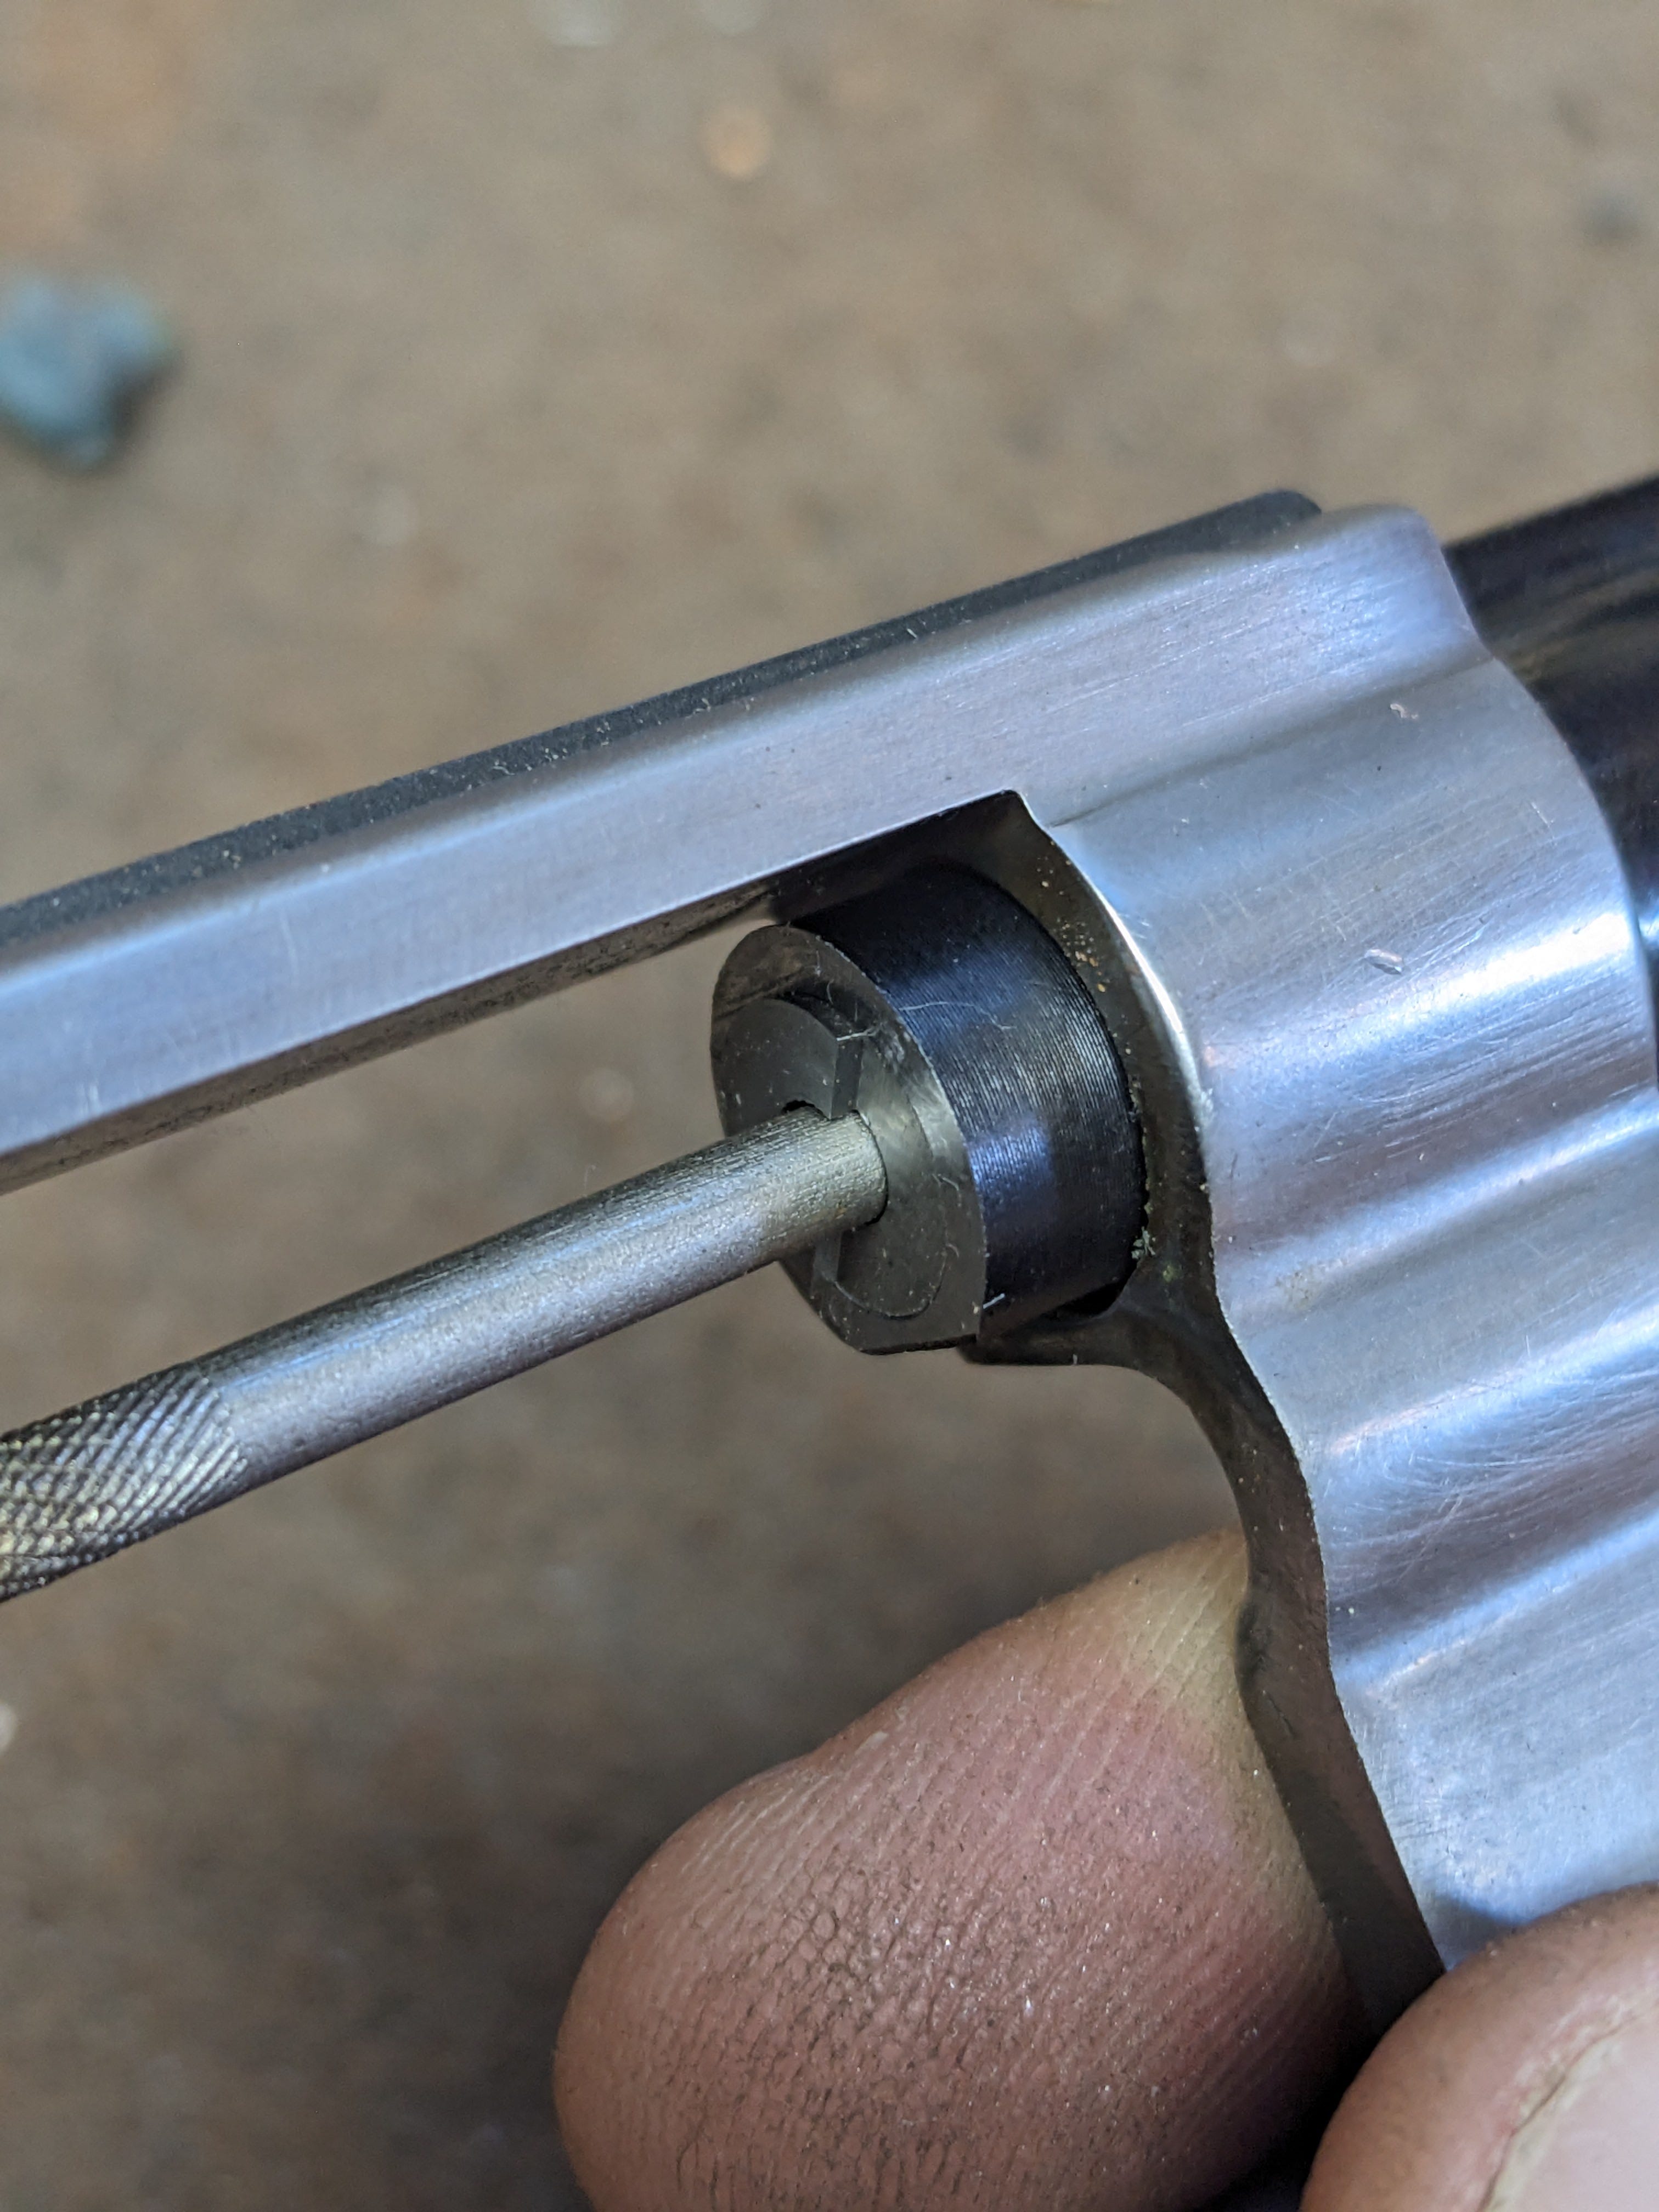
As luck would have it, the new ejector rod worked! Well, almost. The ejector rod worked, but when I inserted the center pin from the 3-inch Model 60 cylinder, it was set up incorrectly. The lug on the pin was positioned differently to accommodate the unusual ejector rod. So, back to the parts bin I went and found a center pin from a pre-Model 10, which was too long. Too long, I can work with. A slight modification, and we were in business. This pin, by the way, needs to be just the right length so it depresses the front lockup point on the barrel when the cylinder release is moved forward. Now I was staring at a complete 4-inch .32 Mag revolver. Effectively identical to the Model 631 I had been drooling over for years. Let’s hit the range.
Shooting.
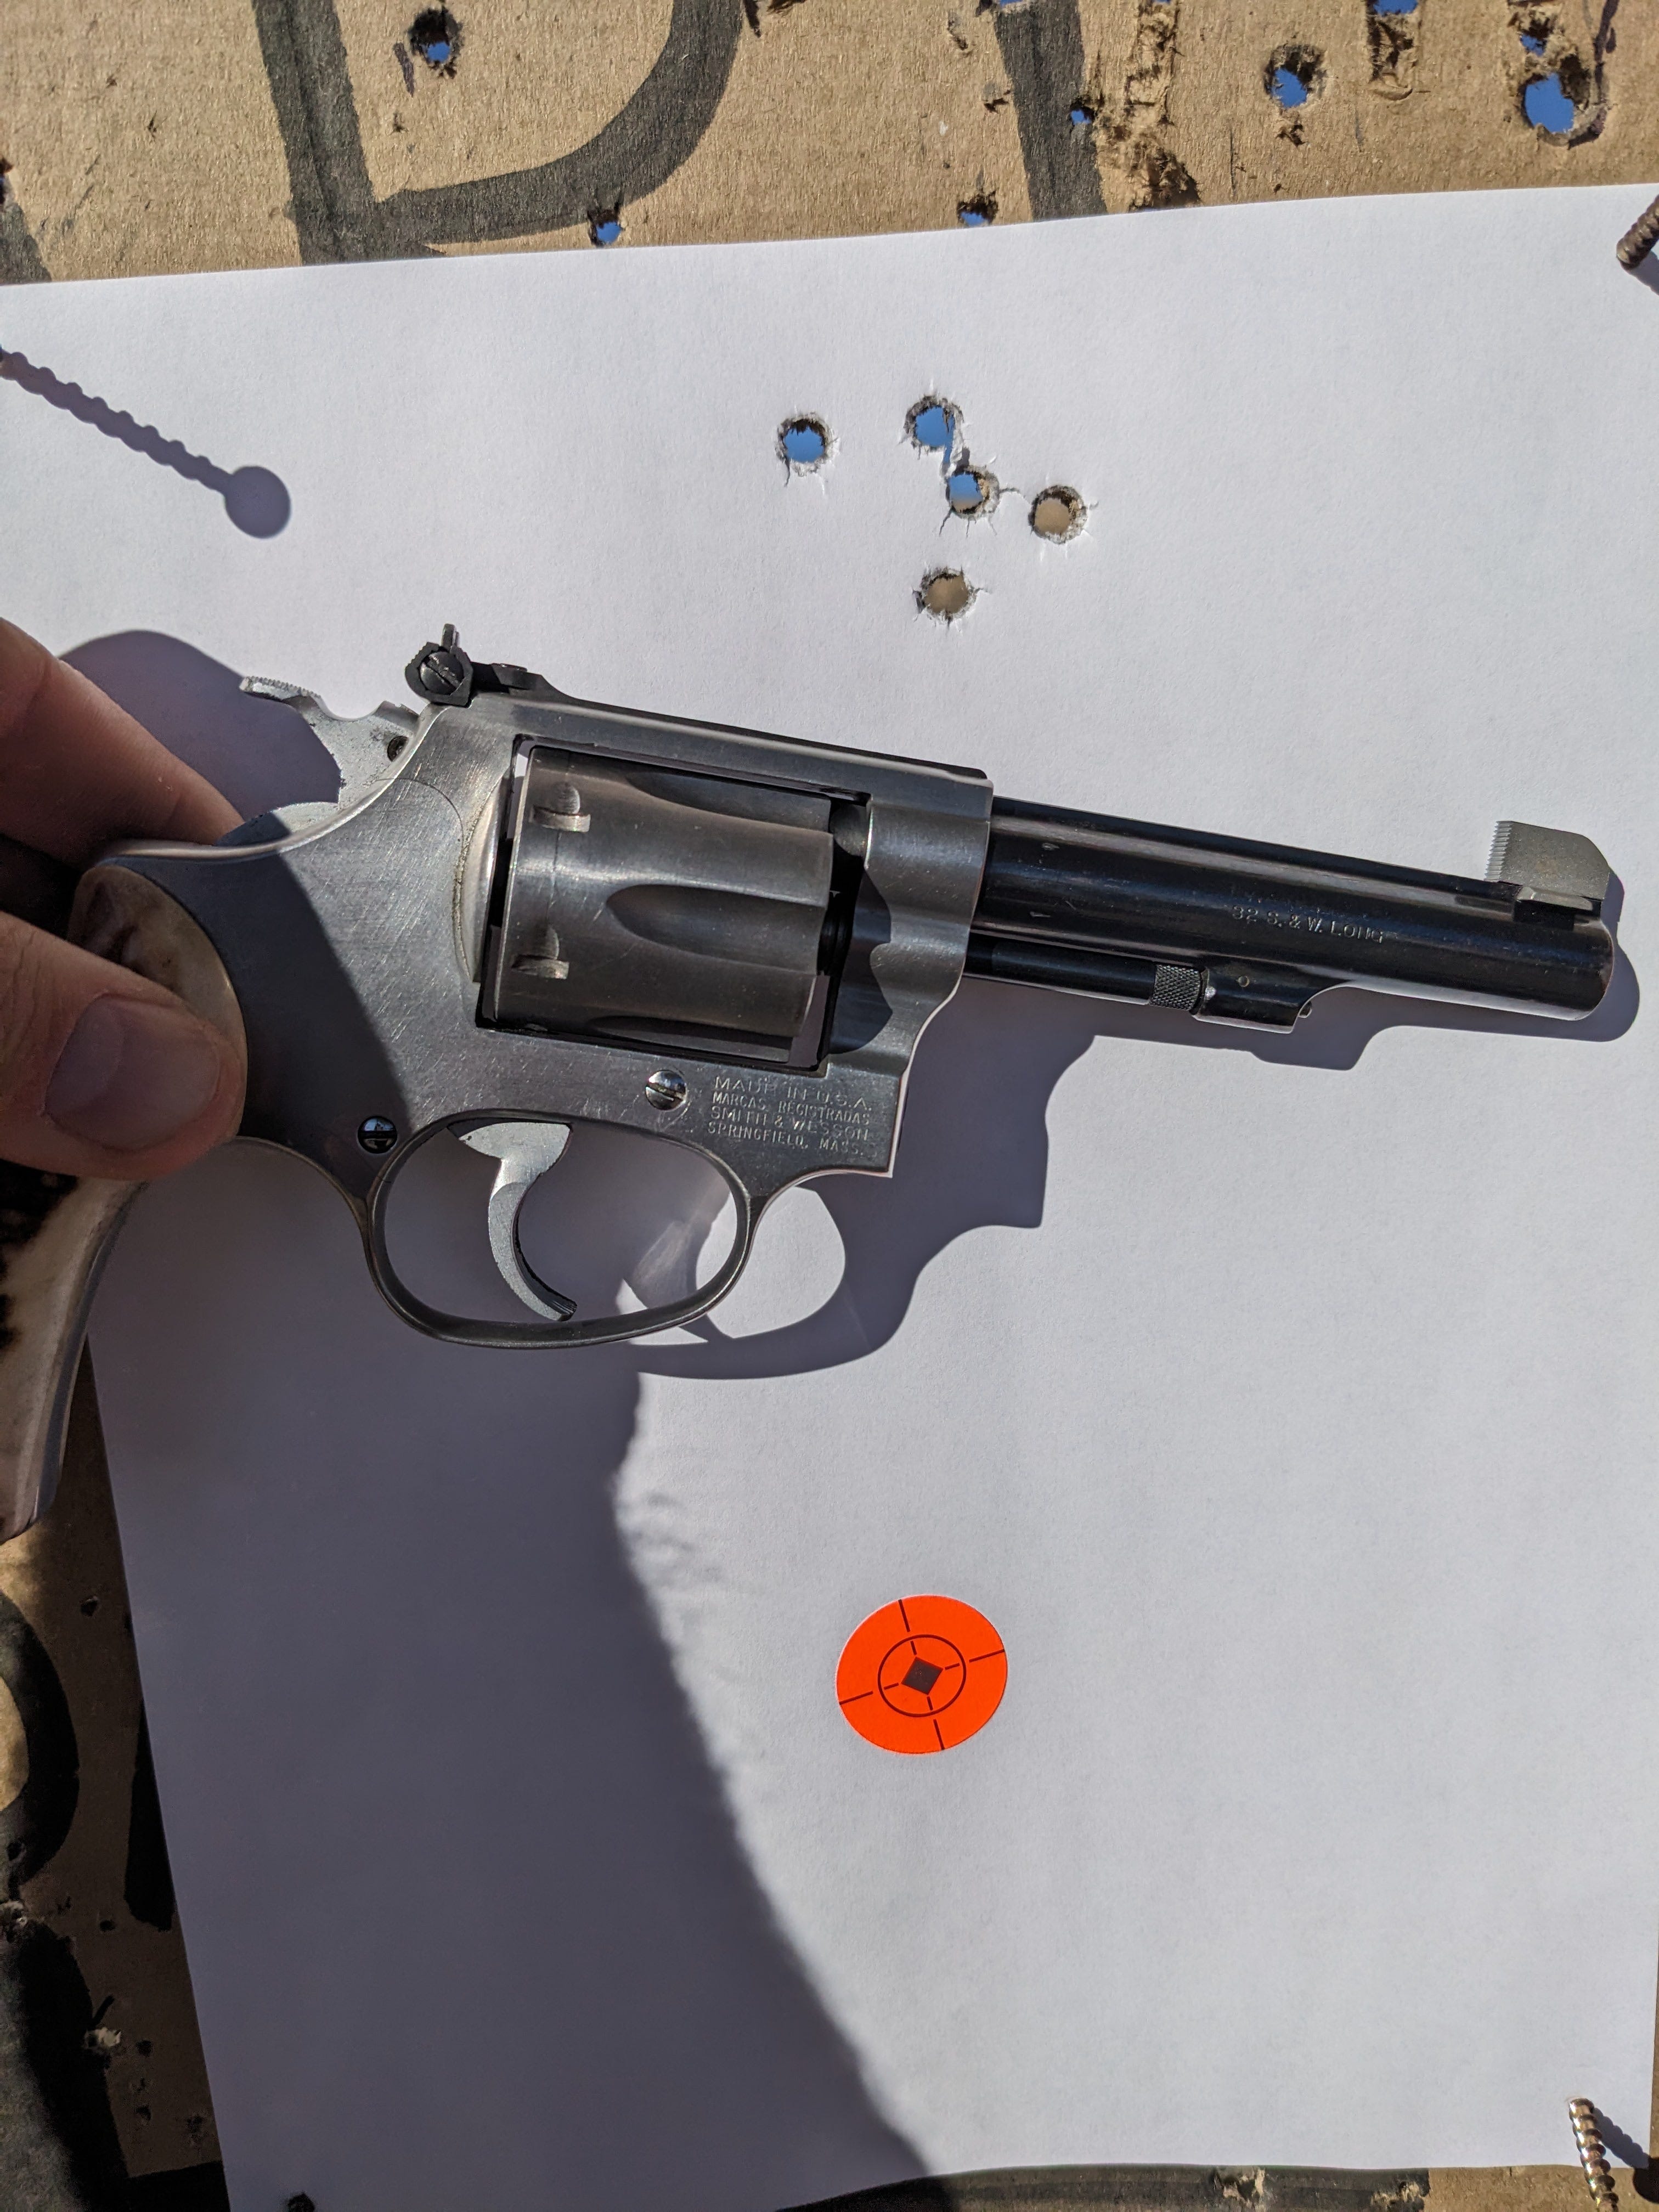
I don’t know if it’s the combination of parts or just the fact that I shot better with the 4-inch sight plane, but the first five rounds out of the barrel went into a beautiful inch-and-a-half group at 25 yards. So, that’s decided, the 4-inch barrel is staying. There was still the problem of sight height. While the group was small, it was still eight inches high, and I was out of adjustment on the gun.
Back at the shop, I start to work on a new sight. It was apparent that the Novak blanks would not cut it at their current height. So I brought out the welder. I took a new sight and ran a bead right along the top of the sight, which will increase the height. After it cooled, I shaped the new sight using files and a belt grinder. This sight was certainly tall enough, but ended up being the ugliest thing I have ever produced. Seriously, I’m embarrassed it even came from my shop. Out came the welder again, and with yet another new sight, I managed to recraft a sight that was much better looking.
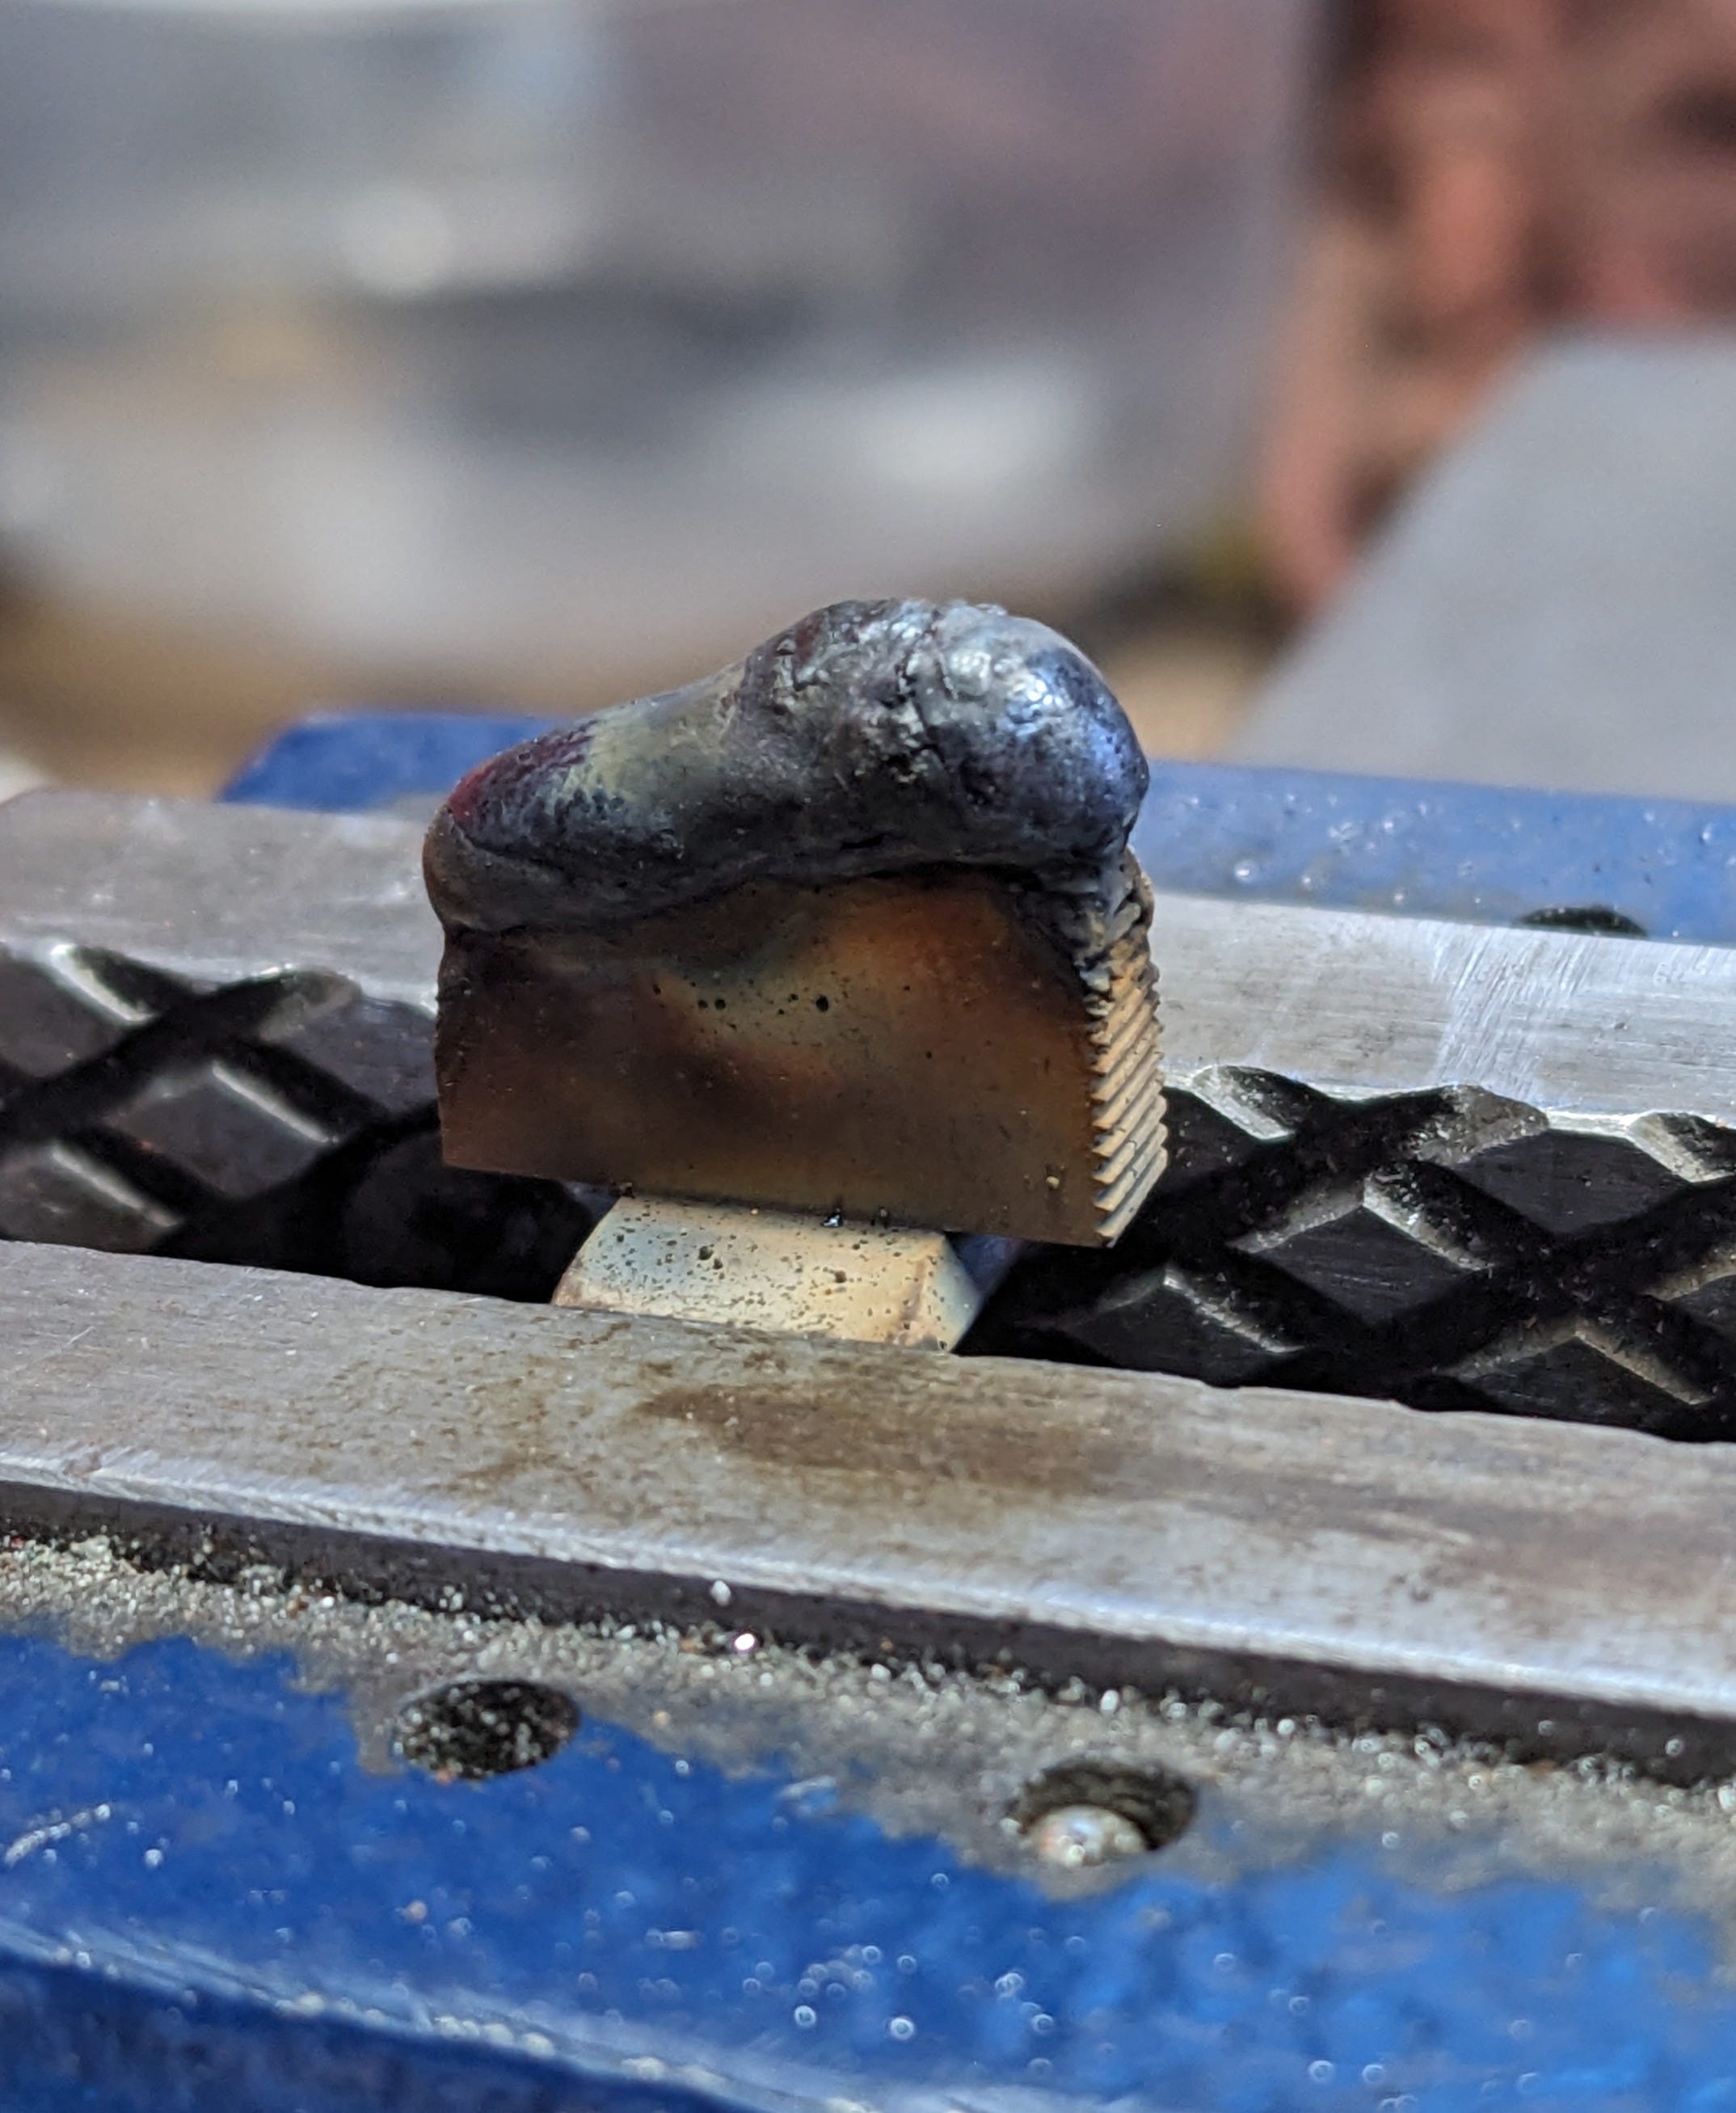
It is .080 taller than the original sight, which is still not really high enough, but it was starting to border on the ridiculous, so I had to make it work. I have run into this problem before: anytime you remove the ramp from a Smith & Wesson barrel, you must compensate for the resulting sight height, but this gun in particular has been a challenge. To make this sight work, I chose to lower the rear sight a touch. This brought my group into alignment, and while I still don’t have much adjustment left on the rear sight, it’s enough to suit my purposes.
Details, Details.
Now that I had the gun shooting straight, it was time to move on to the finer details of the internals. This is a trail gun, and chances are it would never have a round fired through it in double-action mode, so a full-action job was unnecessary, but I was already futzing around in there, so I might as well make some improvements. First was a cleanup. As I mentioned earlier, my donor gun was a water-damaged Model 60. Just because your gun is stainless does not mean that it is impervious to water damage. This gun had quite a lot of fine rust floating around inside the action. I cleaned that all up and polished a few components just to smooth things out. I also had a spare 14-pound trigger-return spring lying around, so I replaced the factory one with it. The hammer spring stayed factory original. Both the trigger and the hammer had significant water damage, including pitting, even though they are stainless. My Model 631 kit came with an extra hammer and trigger that were clean, but I want to keep the Model 60 Hammer and trigger because they are both wide target models, and you don’t see that much on J frames, so I will have to sand and clean up both, but that will wait until the finishing stage of this gun build.
I also needed to address the timing; it wasn’t terrible, but two chambers were on the slow side. Generally, this is solved by getting an oversized hand and fitting it. Finding another hand for a 631 would prove to be difficult, so I resorted to an old gunsmith’s trick. I peened the individual ratchet spurs. This is done by using a punch and a light hammer to tap the ratchet spur’s face. This expands the ratchet spur, speeding up the timing. This fix is not as permanent as fitting a new hand, but for the intended use of this gun, it will work just fine for me.
Looks.
Now that the gun was functionally complete, I needed to address the looks. My original Model 60 is stainless, while my new Model 30 barrel and ejector rod are blued. I have made a two-tone gun before by mixing stainless and blued parts, but on this one, the look wasn’t all that pleasing. So I decided to send my handgun off to be black Nitrided. Black Nitride is a hard, black coating often seen on modern semi-automatics. It’s very durable and was a perfect finish for this rough-and-tumble trail gun. I sent two revolvers to AB Prototype. They give you a discount if you send more stuff. They blackened both firearms for $240. It took a few weeks, but after getting the guns back, they looked great. Some minor fitting was required, as the black Nitride adds a slight increase in the firearm's dimensions.
Now on to the grips. I had initially been playing around with a set of J-frame stag grips, but after receiving the gun back, I felt they just didn’t quite work with the new matte black finish. What I really want is a set of Hamre Forge Yarak grips, but they always seem to be out of stock whenever I want one. So instead, I went on eBay and found a vintage set of Fittwell plastic grips for $25, which look nice and feel awesome. These will do until I can get a set of Yarak grips.
Crossing the finish line.
It was a long road to the finish line on this project, all to end up with a gun that looks very common. Usually, when I am working on my own projects, they’re pretty fancy-looking. My customers notice what’s sitting on the bench, and a conversation ensues. That didn’t happen with this project. It just looks like a normal 4-inch J-frame sitting there. At a glance, it’s hard to see all the work and frustration that went into this conversion, but in the end, it was worth it. In the first article, I discussed cost. Could I really build this thing for less than it would cost to purchase one of the rare Model 631s? Yes, kind of. My grand total on this build was $1,082. Could I have purchased a 631 for that price? Possibly, most of them go for $1,500 or more, but a good, well-used example could have been had for my price.
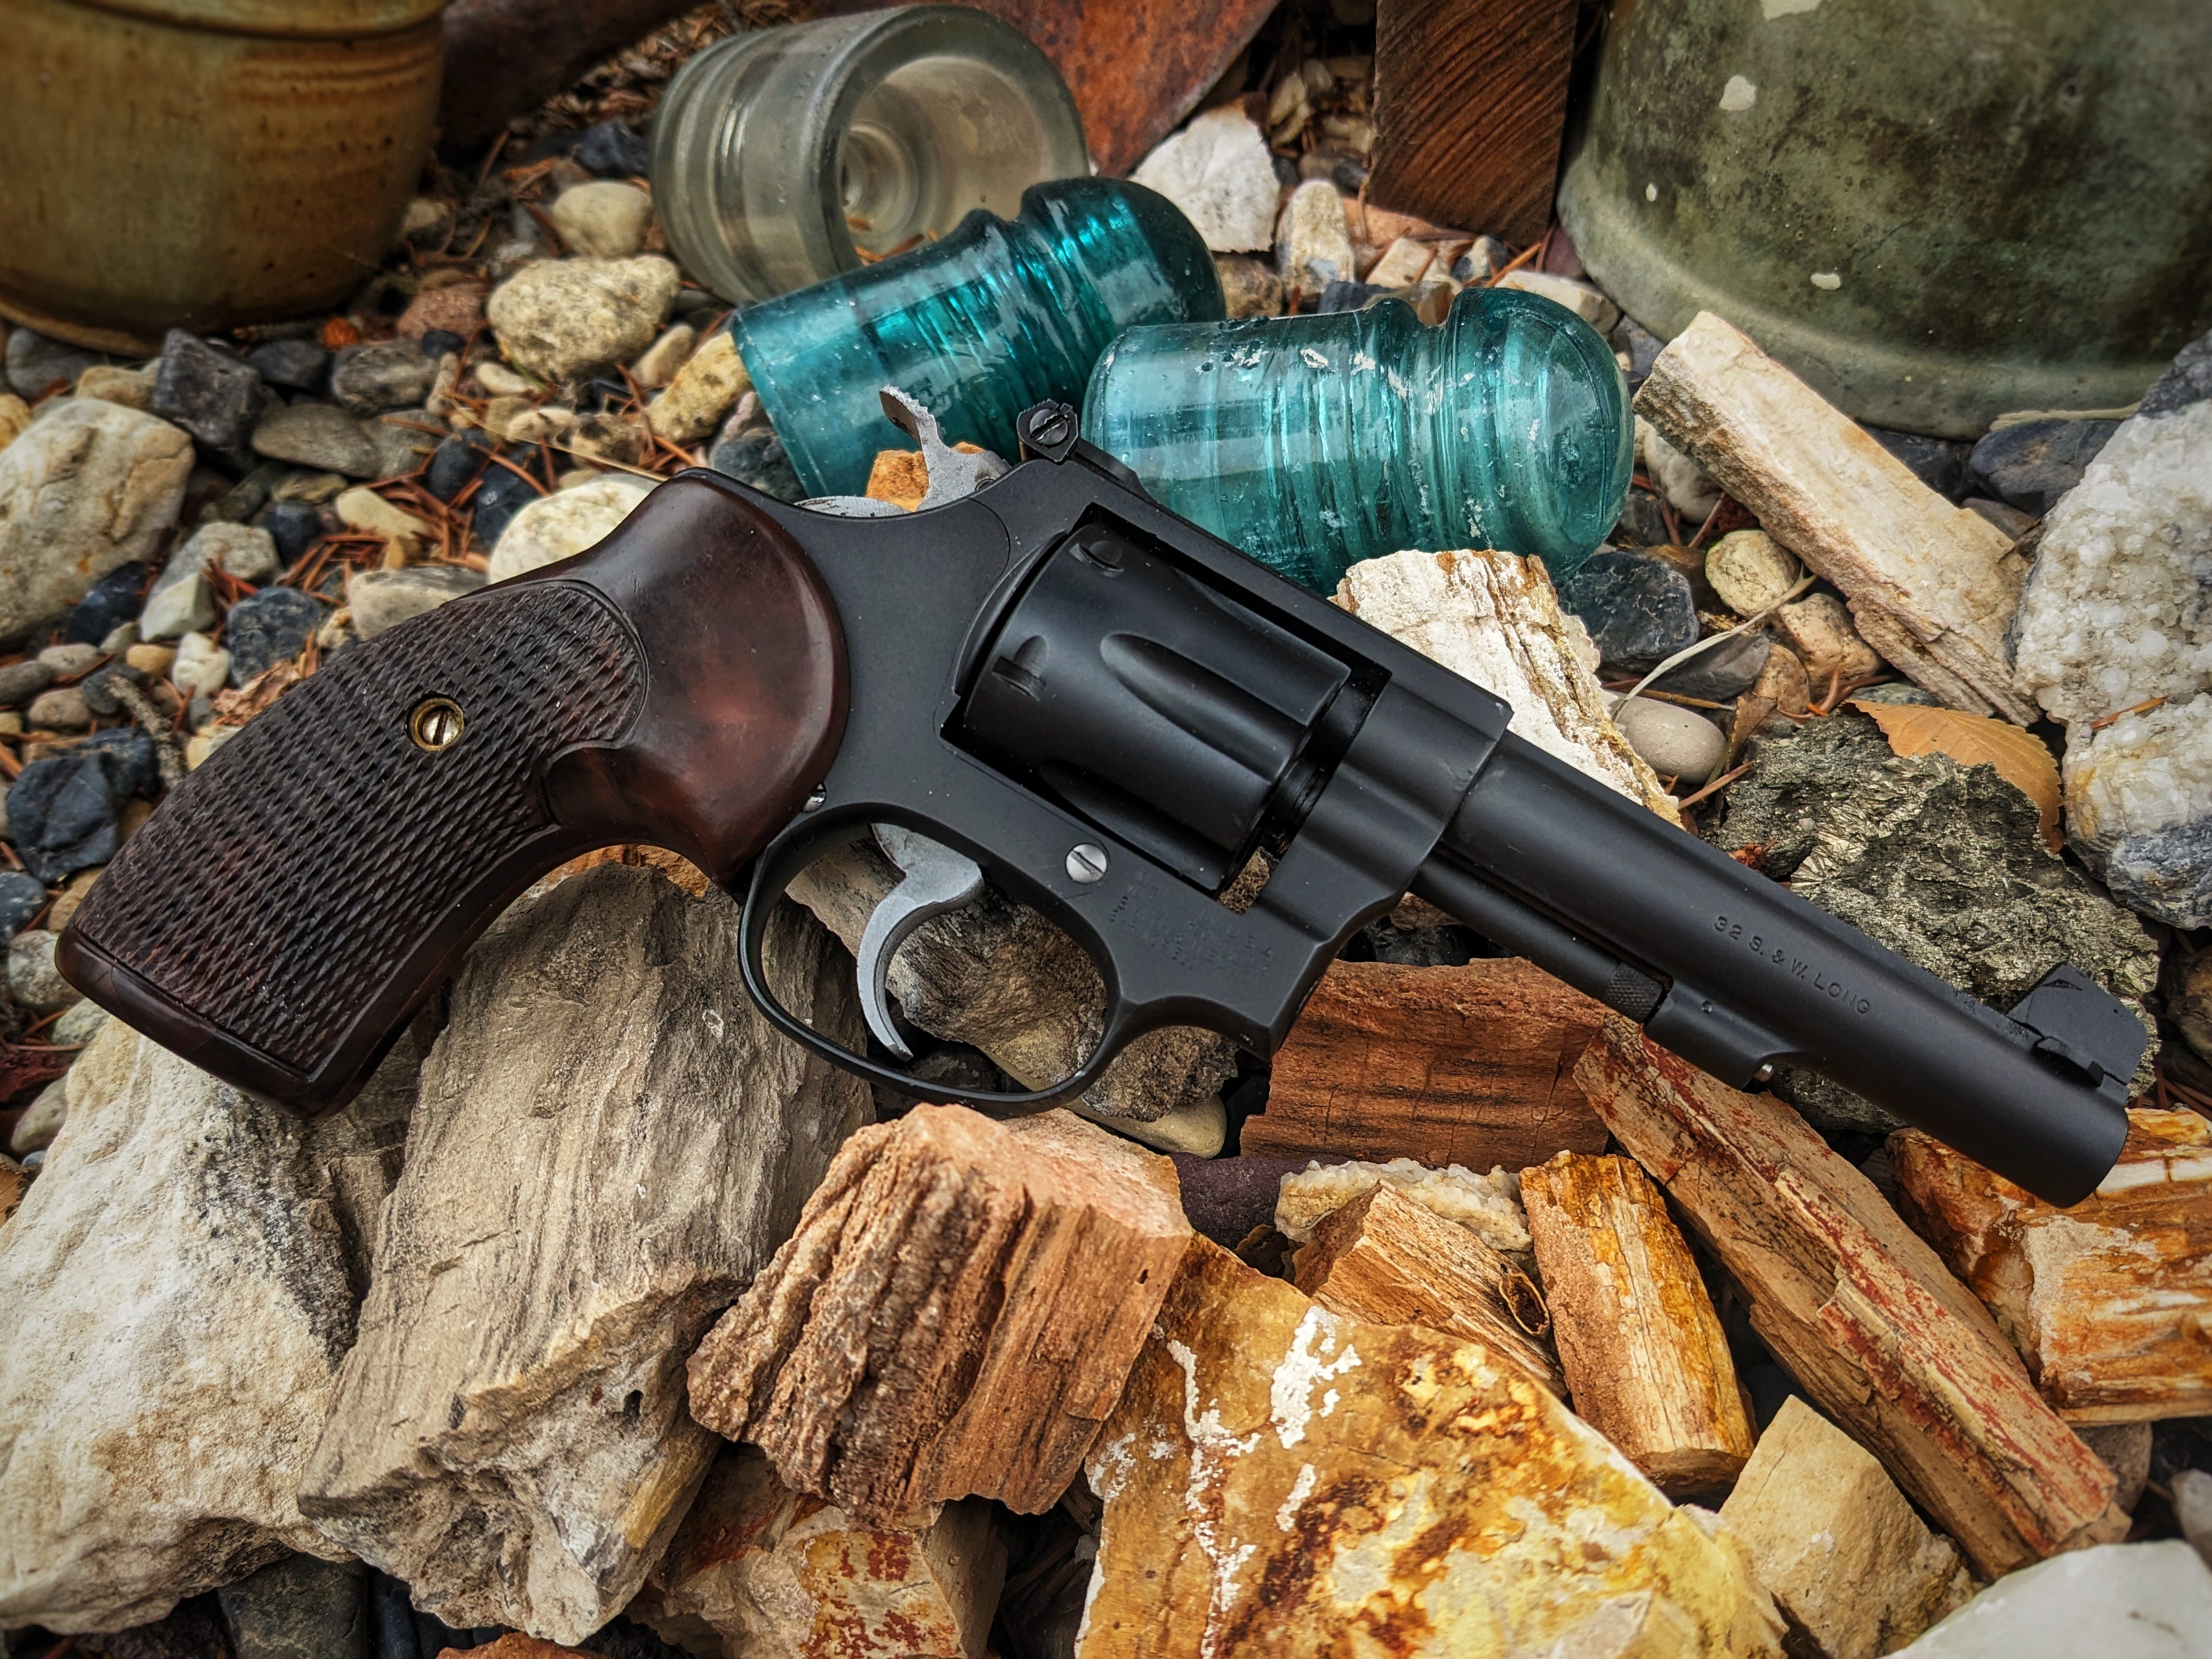
All in all, I am still glad I did it, but there are a few things I would do differently if I had to do it again. First, I wouldn’t nitride the internals. This was the first revolver I had done that to, and the nitriding seemed to make the internals “sticky,” for lack of a better word. Also, all that hand-fitting was for nothing, since it had to be refitted after the nitride treatment. I do love it as a surface finish, though, and will use it again. Second, if I were to attempt this project again, I might try sleeving the original .38 Special barrel. This would have solved many of the problems I had with the front sight. That being said, I do love the classic look of the tapered 4-inch barrel. Aside from not being made of titanium, this is precisely the trail gun I have always wanted. Light, handy, and accurate, with a solid punch brought by one of my favorite all-time cartridges. It’s a good thing I chose a sturdy finish for this gun, because I think it’s going to spend an awful lot of time on my hip. Here’s to holy grail guns! What gun do you dream about adding to your collection?
No posts
Comments
Nothing yet. Say the first thing.
Sign in to join the conversation.