
My apologies for skipping a week. Last week and weekend were jam-packed, but they say good things come to those who wait. And while we were waiting, something was cooking (fermenting) in my basement.
This was my first attempt at making mead at home, and I quickly learned it’s one of the simplest fermentation projects you can try.
I guess brew isn’t exactly the right word. Fermenting some mead is more accurate. There was no heating involved in this process, unlike beer brewing. I have never done this before, so I took the easier route and ordered a kit from Man Made Mead. It came with everything you need to make your first batch: a 1-gallon bucket, 1-gallon glass carboy, 2-piece airlock, bung, auto-siphon & tubing, hydrometer, Star San sanitizer, yeast, and yeast nutrient. All I needed to provide was honey and water.
To start the process, sanitization is paramount. You want the “good” yeast to be the only ones in your playground. I made sure anything that would be touching the mead ingredients was properly sanitized.
There are many recipes for mead. The most basic is just honey and water. Others include varieties of fruits and spices. Since this was my first attempt, I just wanted to make a basic mead. For my recipe, I added two pounds of honey to one gallon of lukewarm water. Warm (not hot) water helps dissolve the honey and gives the yeast a head start. That was it. I thoroughly stirred the mixture in the gallon bucket, sealed the lid, and installed the airlock to allow carbon dioxide to escape without letting air (and bacteria) in.
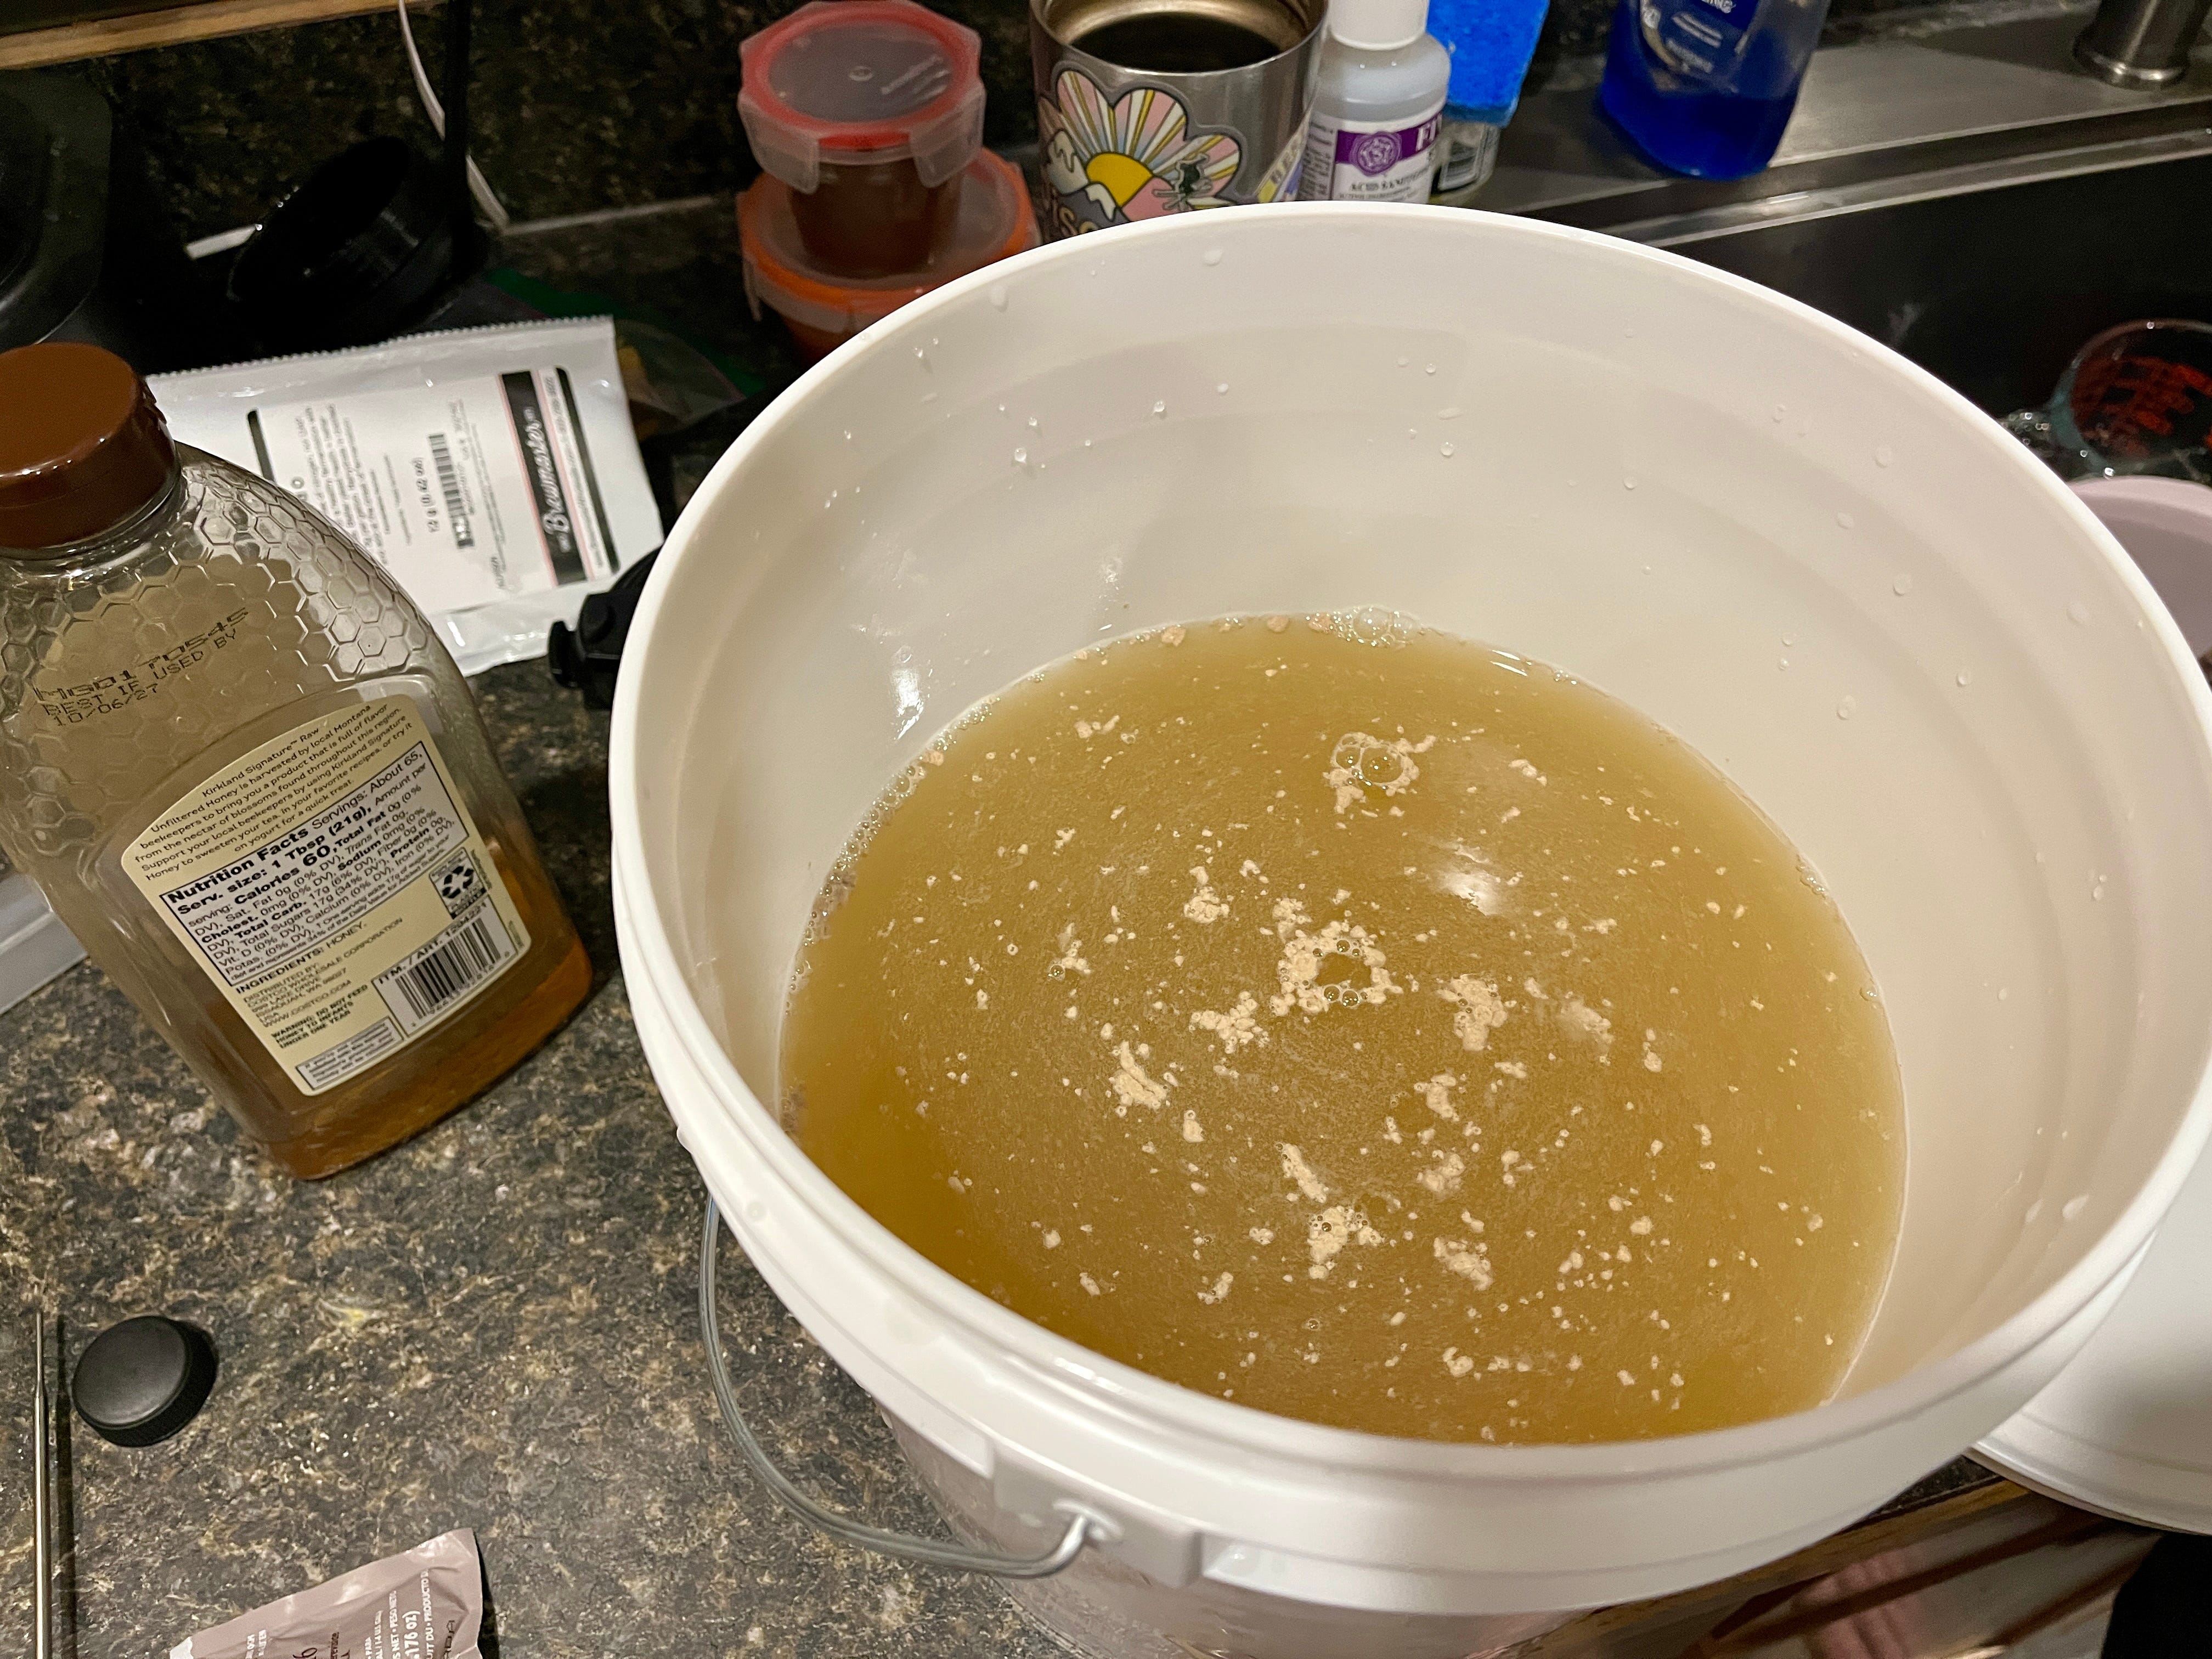
I placed the bucket in a temperature-neutral spot in my house (under the stairwell) and let it do its thing. The only involvement I had was adding yeast nutrient every other day (on days 2, 4 & 6) to help the yeast along.
Three weeks went by, and I transferred the mead to the glass carboy using the siphon and tubing (sanitized again beforehand). I believe this is partly to separate the mead from the yeast that precipitates to the bottom of the bucket. Some of the sauce is lost in this process, but not much. I checked the specific gravity at this point with the hydrometer, and it indicated about 10.5% alcohol by volume (ABV).
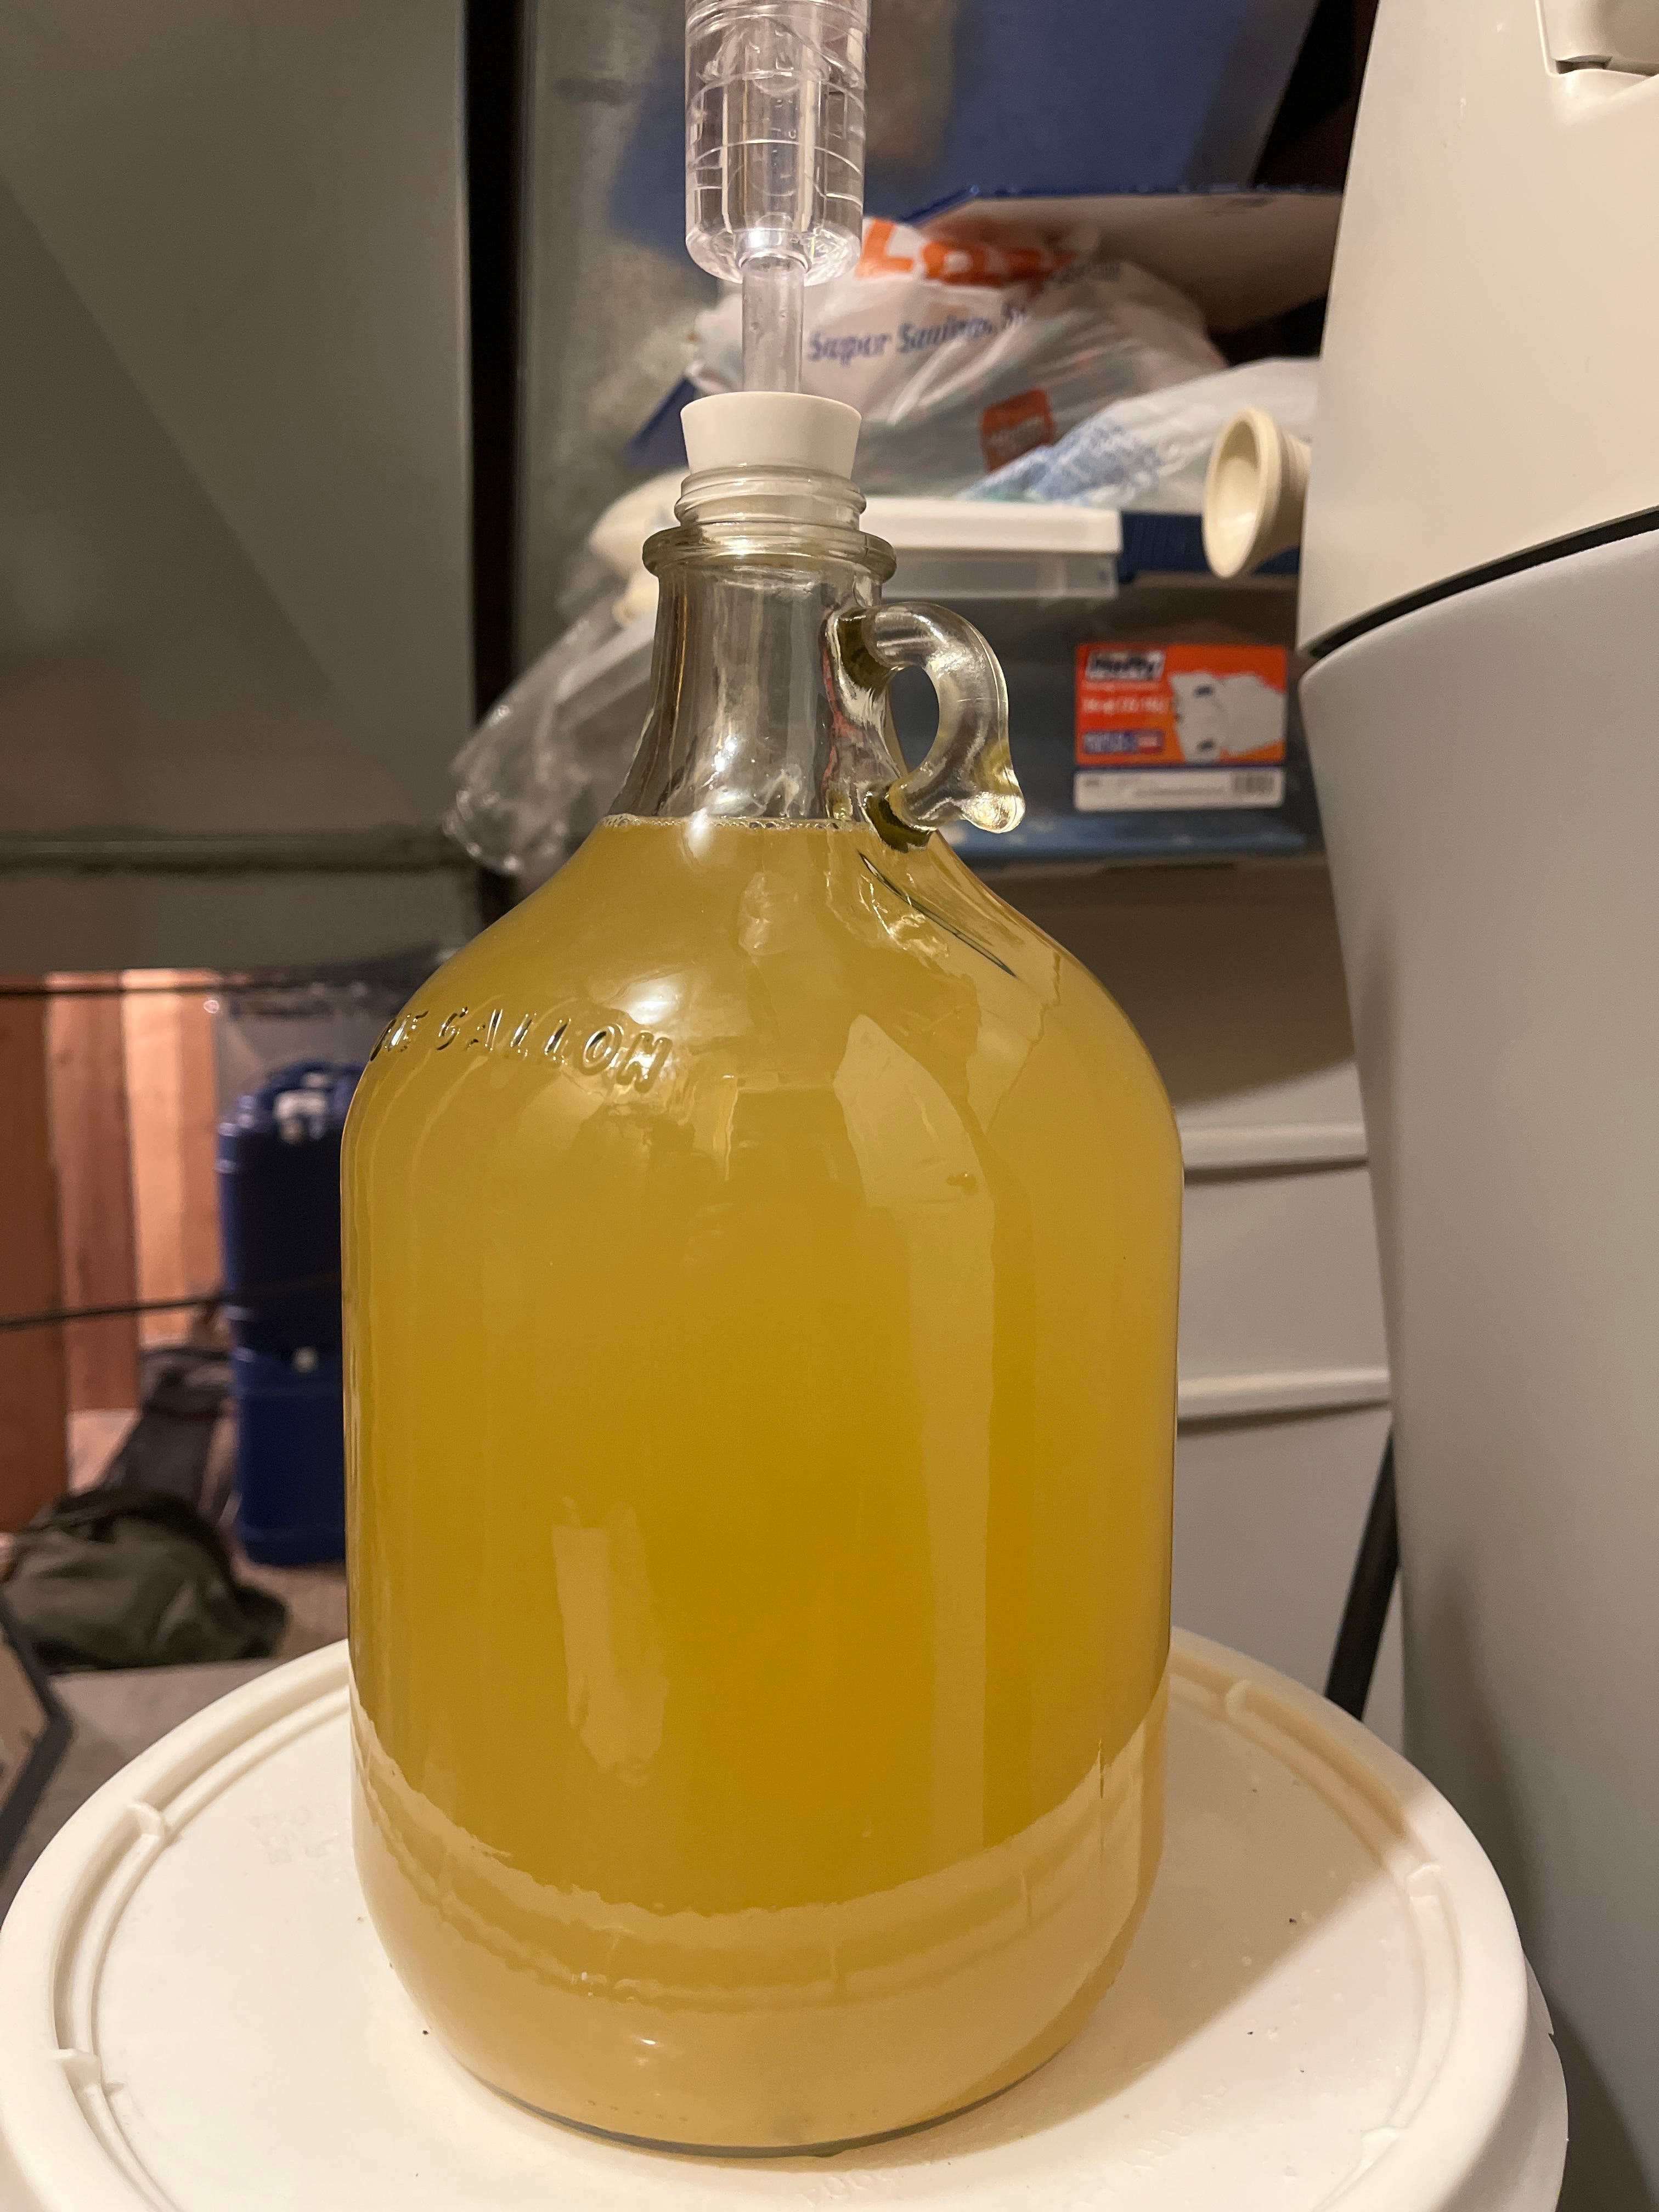
I waited about another ten days to make sure fermentation was done and added a pre-packaged mix of potassium sorbate and potassium metabisulfite to officially “stabilize” (i.e., stop the fermentation process). Another gravity check at this point indicated the ABV had dropped slightly to ~9.5%. I checked it again two days later and verified it was the same reading, indicating fermentation was most certainly done and it was safe to bottle my first batch of mead.
After thoroughly rinsing and sanitizing some glass beer bottles I had saved weeks earlier, I got ready for the bottling process with some help from my family. The one thing the kit did not come with was a clamp to stop the filling tube from continuing to dispense my patiently made mead. On the first bottle filling, it took a while to prime the siphon tube, and then away it went. I over filled and lost a few ounces but figured it was an adequate offering to share with the mead gods.
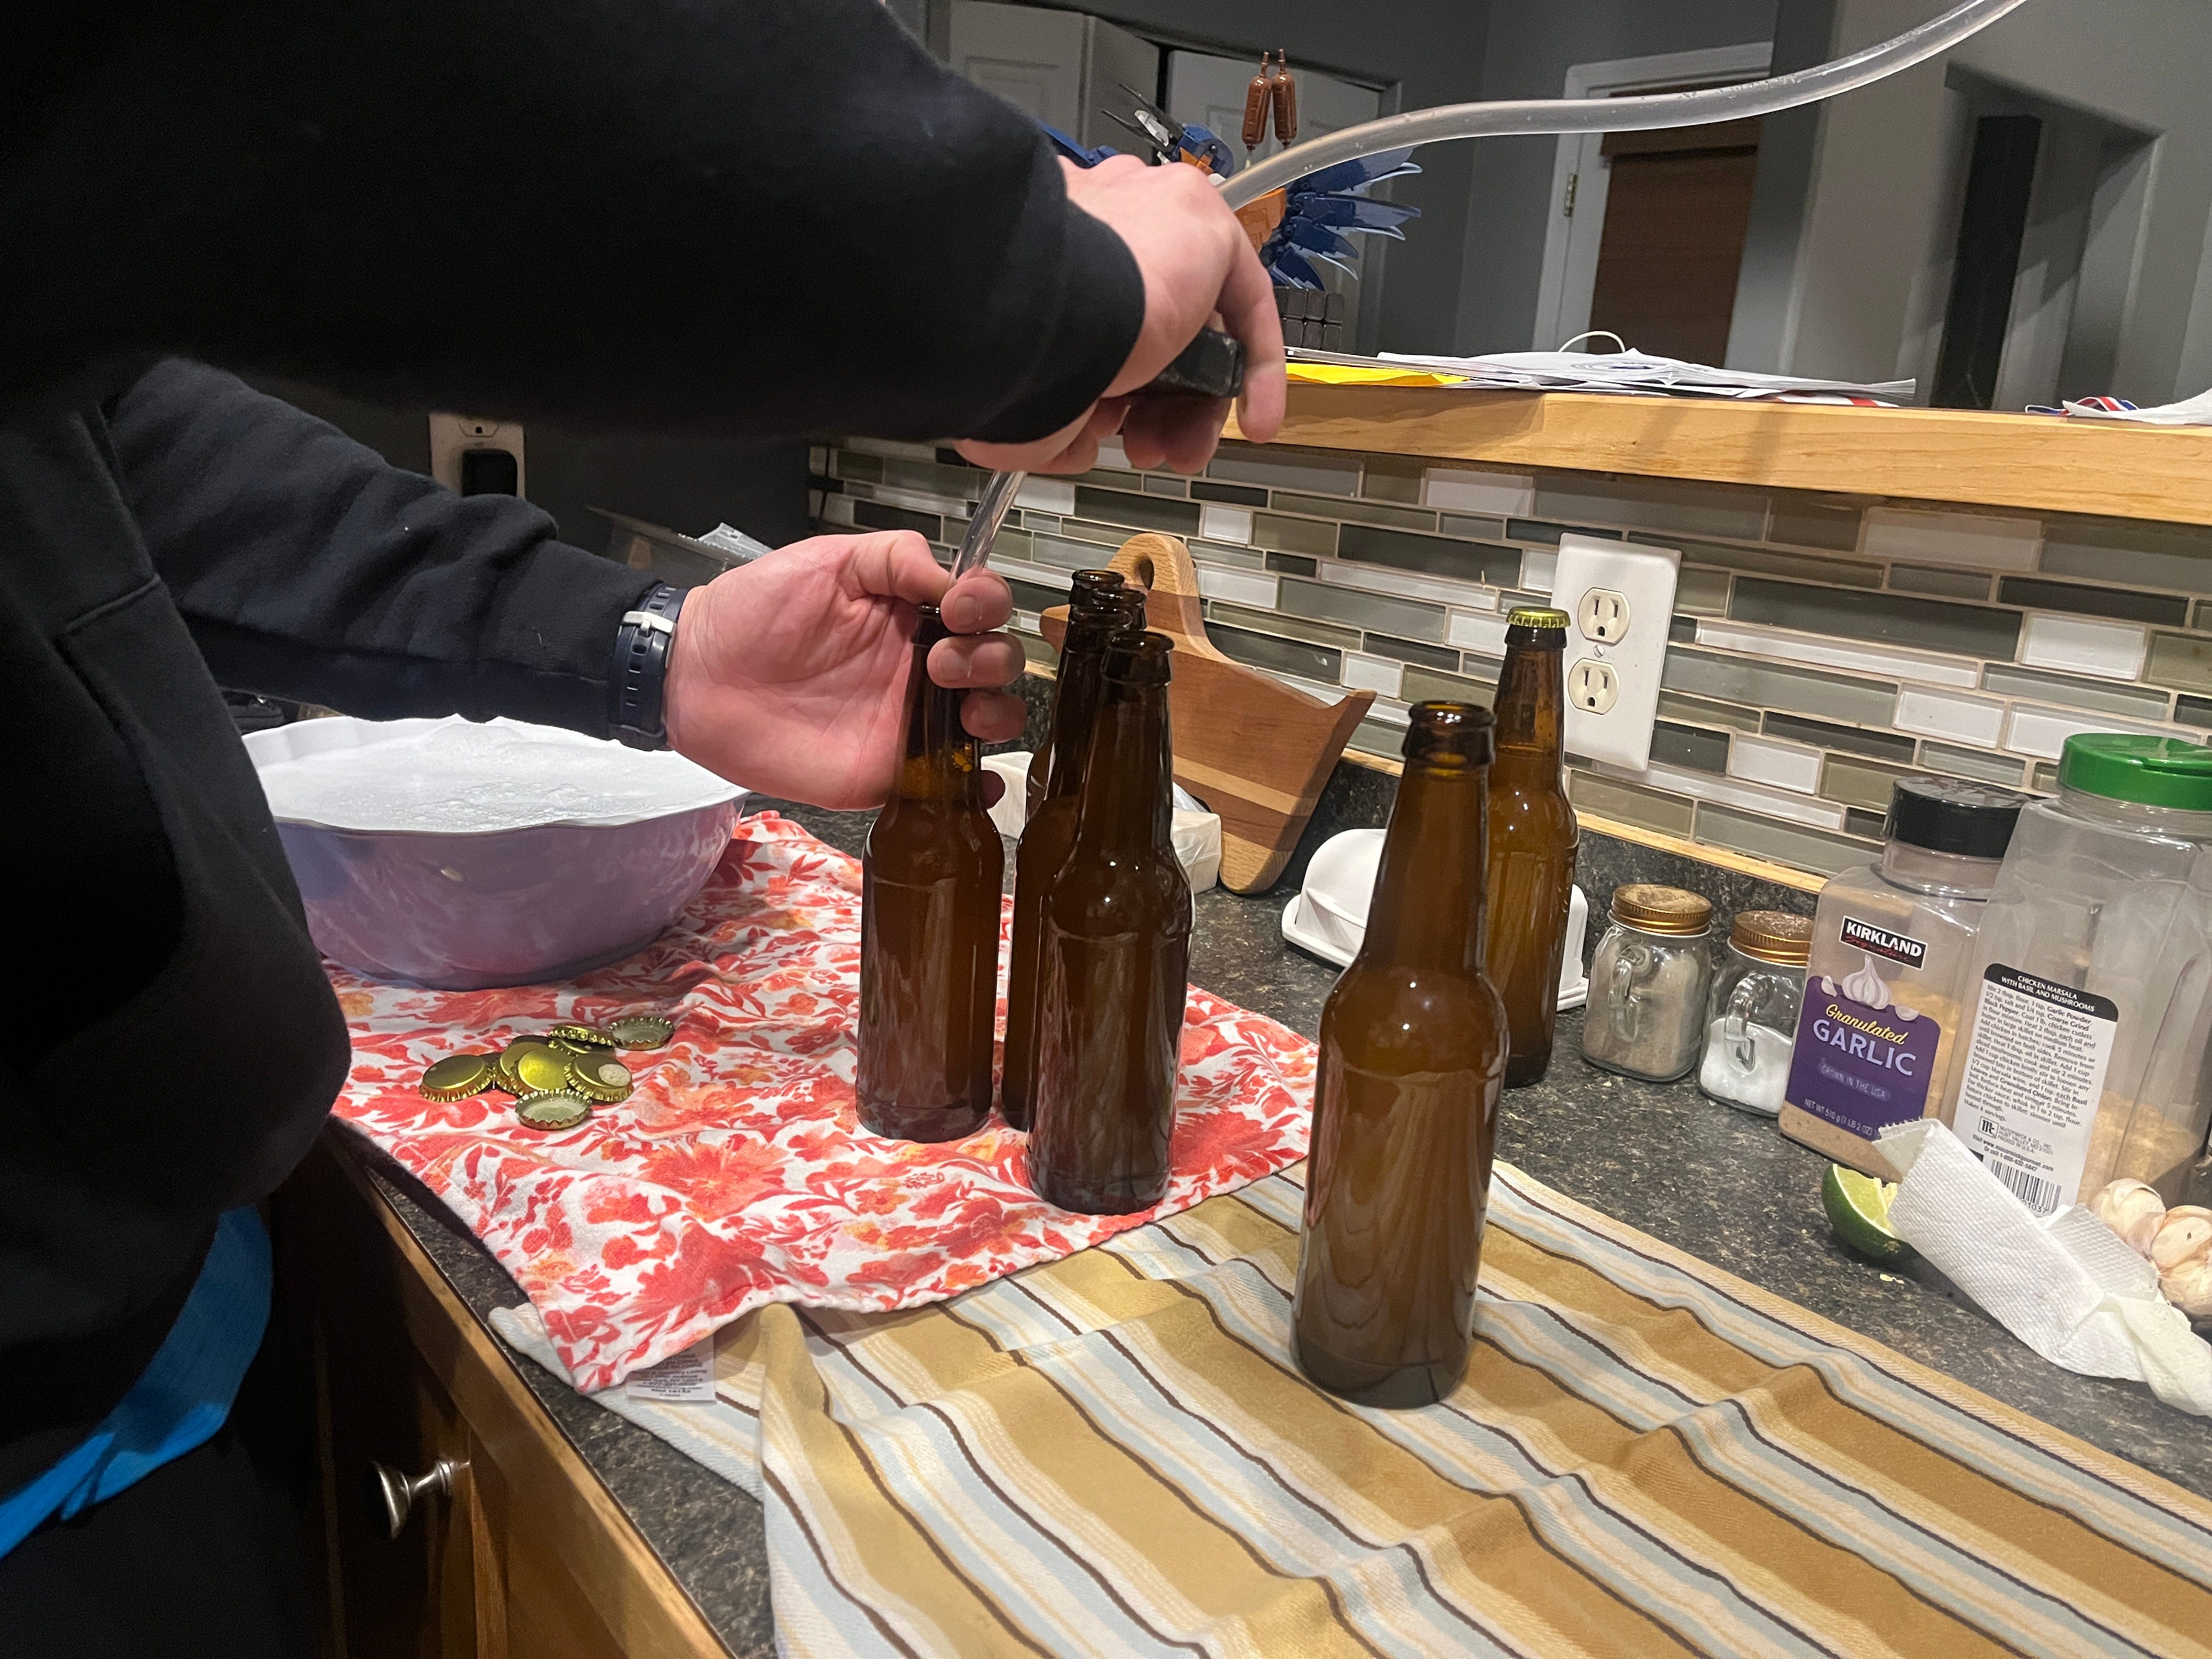
Before we continued, I found a quick clamp from the garage that worked well for preventing further spills — I mean, offerings — and we filled 10.5 bottles.
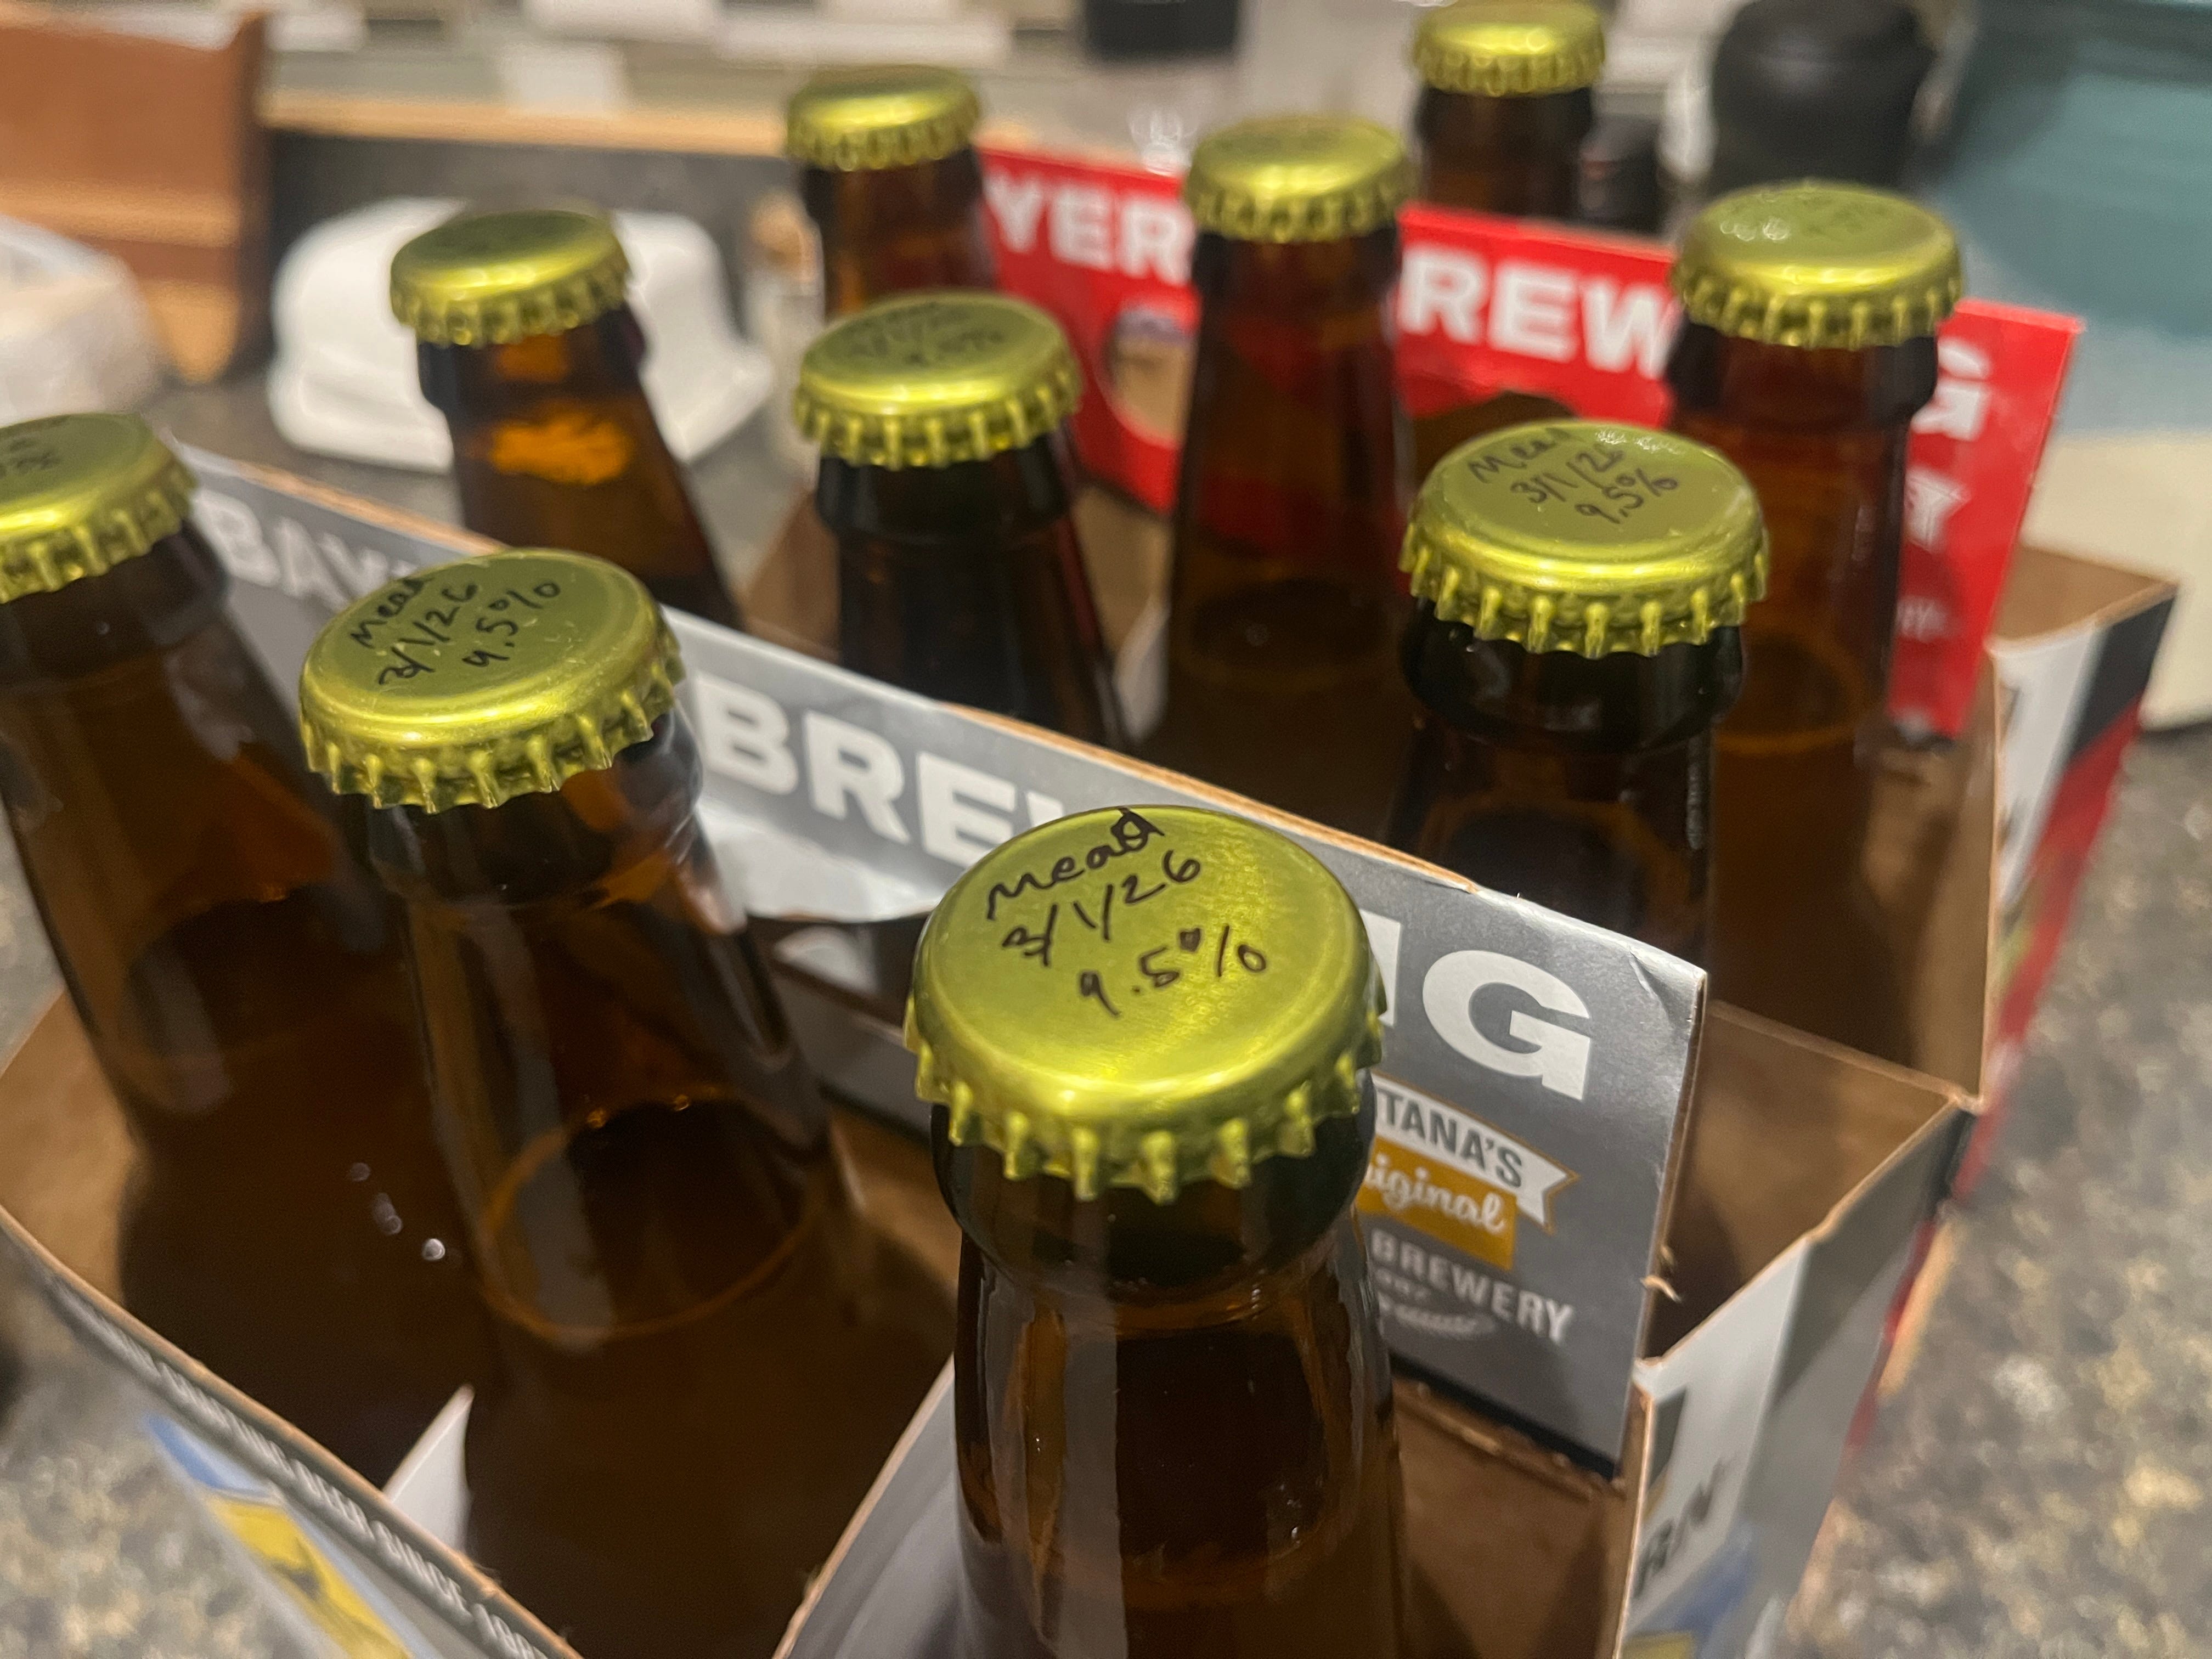
I did have to buy a bottling tool I found online for about $30, and it came with around 100 caps. The bottling tool worked great, and in just a few minutes we had 10 bottles capped and ready.
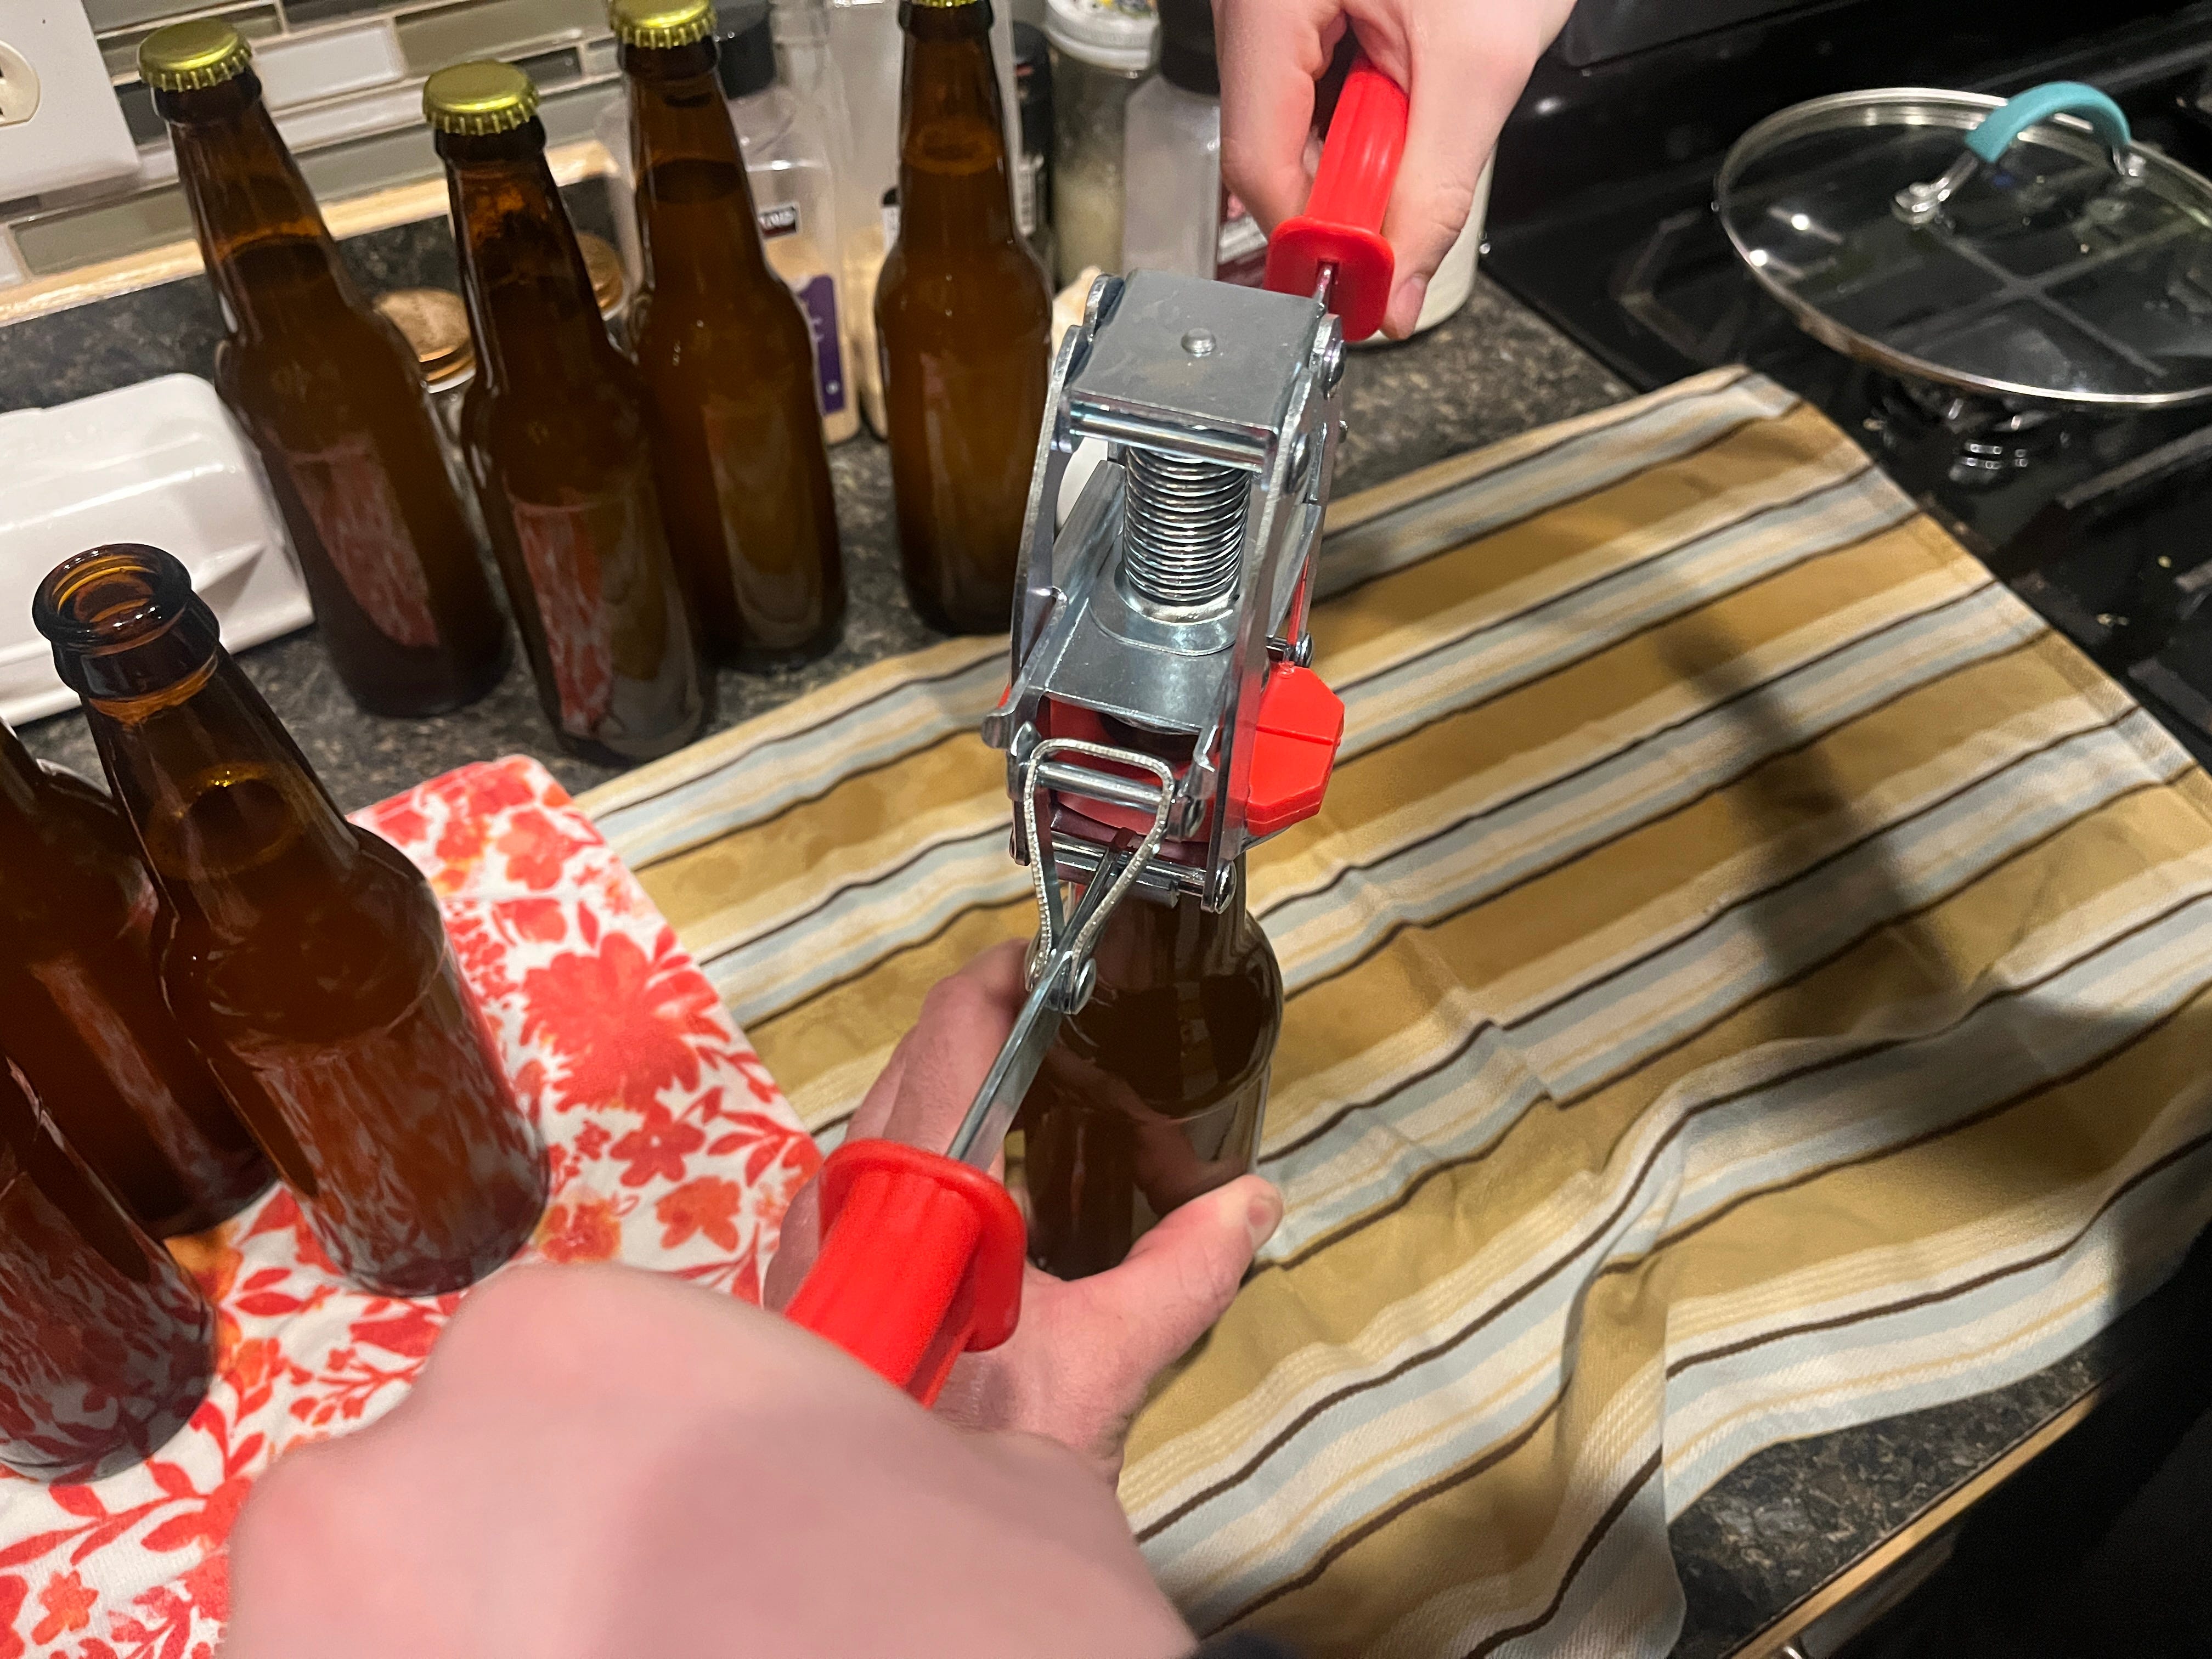
For scientific purposes only (if you believe me), I made sure to test the half-bottle that wasn’t worth capping. I can only describe the flavor as pleasant. I suppose chilling it before drinking would be preferred, but it was just fine at room temperature. The 10 bottles I plan to “test” over the next several months. I’m curious how the aging process will affect the flavor. Mead is known to improve with age, so we’ll see how many months this testing will truly last…
I’ve been told properly stored mead can last for years. How can this be, you might be asking?
Honey is naturally:
Antimicrobial
Low moisture
Acidic
Chemically stable
Alcohol adds further preservation. I have heard ancient meads have been found still drinkable.
Like most things, if it doesn’t pass the smell test, it may be bad.
Additional warning signs:
Vinegar smell (oxidation)
Mold (contamination)
Wet cardboard taste
Brewing mead was easier than I expected. I don’t consider myself a true “prepper,” but part of me has thought that if society decided tomorrow to turn upside down, having the skillset to effectively make delicious alcoholic beverages might be in high demand. So I thought, why not learn the basics now? I’m glad I did.
I successfully made mead with minimal effort, largely thanks to fermentation and time.
The directions I received were not crystal clear. Luckily, the science that makes mead happen did the majority of the work for me. It was not clear initially when I should move from the bucket to the carboy. Truthfully, it didn’t really matter. The mead didn’t care where it was hanging out. However, it was much more aesthetically pleasing to see my mead in the glass carboy and its tiny champagne-like bubbles slowly floating to the top.
If you’ve been on the fence about trying something new, maybe this is your sign. Worst case, you learn something. Best case, you end up with homemade mead.
Until next week, keep on making things.
Allen
No posts
Comments
Nothing yet. Say the first thing.
Sign in to join the conversation.