
There are many ways to measure the success of whatever you’re serving at a dinner party, but here are some:
Conversation halts and is replaced with happy grunting noises and exclamations.
A massive portion disappears swiftly.
Followup texts the next day all ask for the recipe.
I’m just fulfilling my several-days-after duty here, but I figured I might as well share this arayes recipe with the rest of the class. If you’ve been listening to the show, you’ve probably heard me mention it. I’m pretty sure this is the dinner I’ve repeated most this year.
Cookbook author Maureen Abood says she was in Dearborn, Michigan when she first tried these savory, crispy, juicy meat-filled pitas. “I was BOWLED OVER when I tasted a bite,” she tells me. “Discovering how simple they are to make was a major moment. There is so much going on with flavor and texture: The meat is highly seasoned. The pita filled with this mixture gets a fabulous press in a pan, melding the filling and bread together and creating a toasty exterior.”
Maureen decided to include the recipe in her latest book, Lebanese Baking, because the dish is such a great way to use fresh pita. (The key to making fluffy pita at home, she says, is putting a baking steel in the base of your oven. The blast of steady heat will “jumpstart the pita magic, so it puffs beautifully.”)
Find Lebanese Baking on Bookshop
But I’ll admit, these are pretty darn magical with the best pitas I can buy locally, and I’m guessing that if you just don’t have it in you to make fresh pita on a weeknight, they’ll be pretty good with any fluffy pita you can find, too. Try a restaurant or bakery rather than a grocery store if you can.
Did you enter The Dinner Plan’s Big Summer Giveaway yet?

We’re giving away a stack of cookbooks, a Made In carbon steel griddle, a gorgeous Fieldbar cooler, Staub baking dishes, and a trove of pantry favorites…
Grated onion adds moisture and flavor to the ground-lamb filling, which is also seasoned with garlic, sumac, cinnamon, and cayenne, and brightened with both fresh and dried mint. “That double hit of mint goes the distance,” Maureen says. “The fresh mint offers both color and fresh flavor, while dried mint takes that flavor even deeper.”
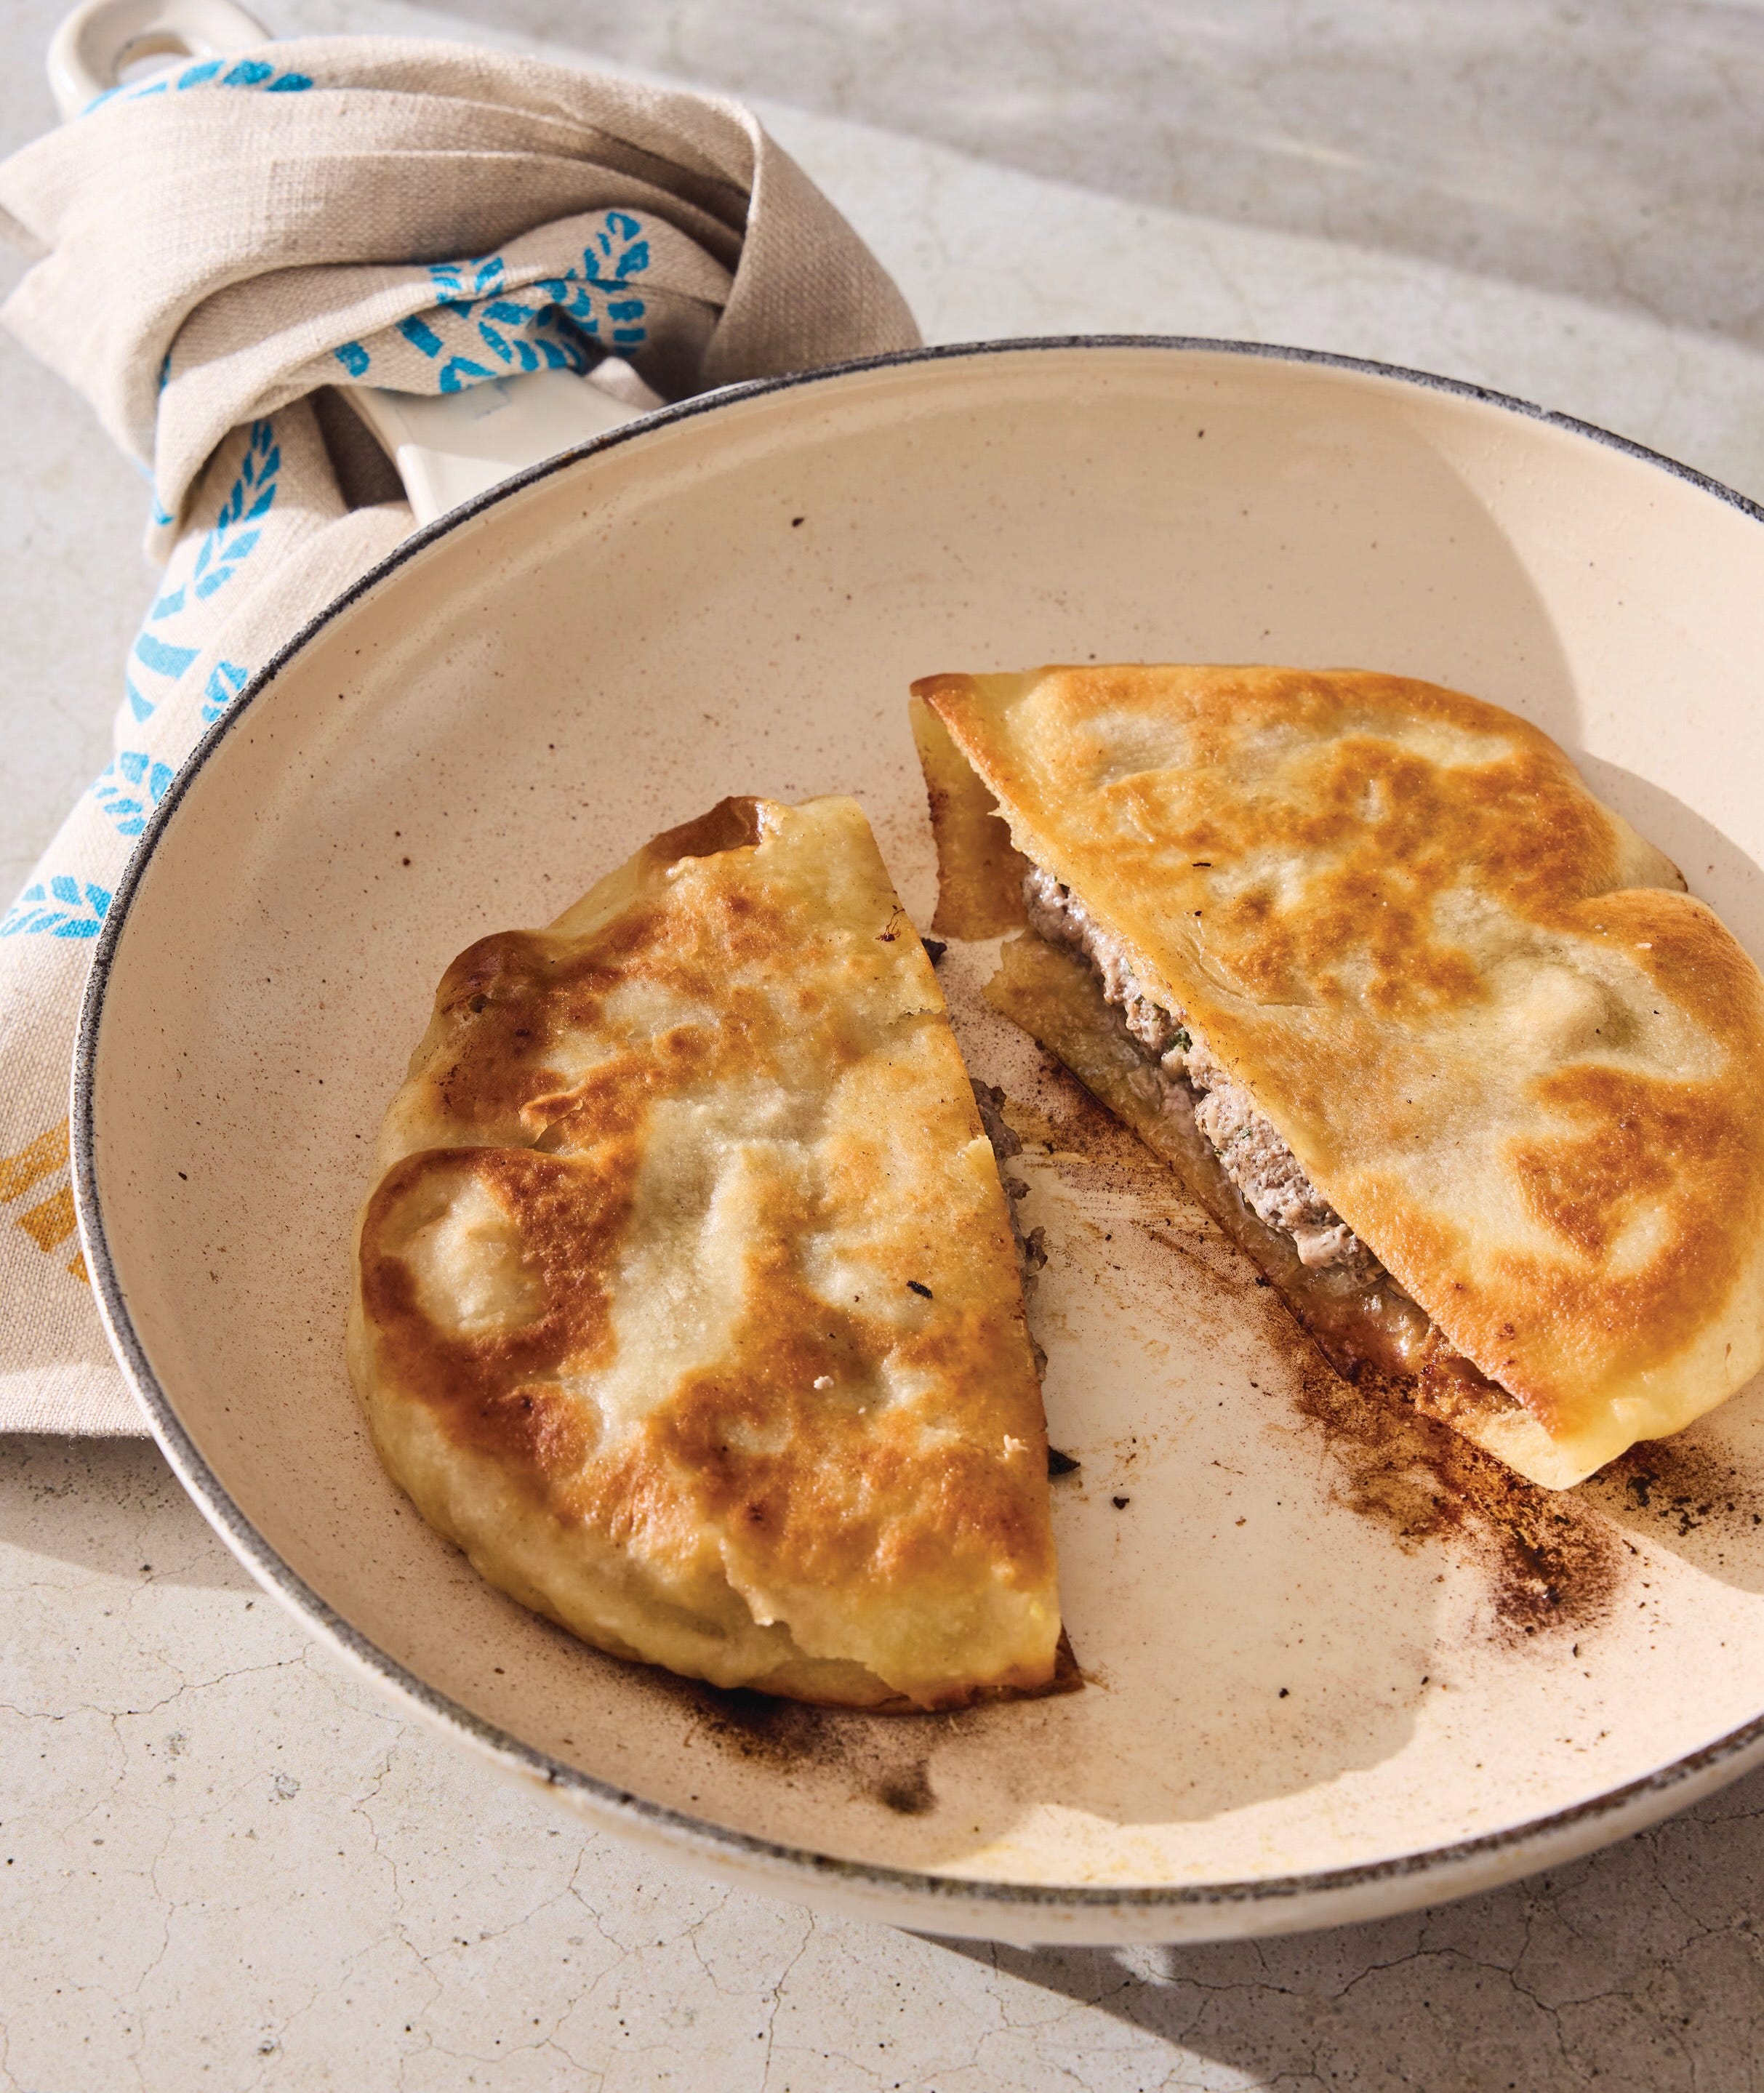
Assembly is simple. You just stuff a few tablespoons of the meat mixture into the pitas, and then you crisp both sides well in a skillet. It’s fine to keep them warm in a low oven as you finish getting them all cooked, but Maureen warns that arayes are really best “right out of the frying pan. That toasty element can get lost as the pita sits and steams with the hot meaty filling.” Eat them hot, dipping into cool, creamy labneh.
You’ll find the full recipe below so you can share it with your friends on demand.

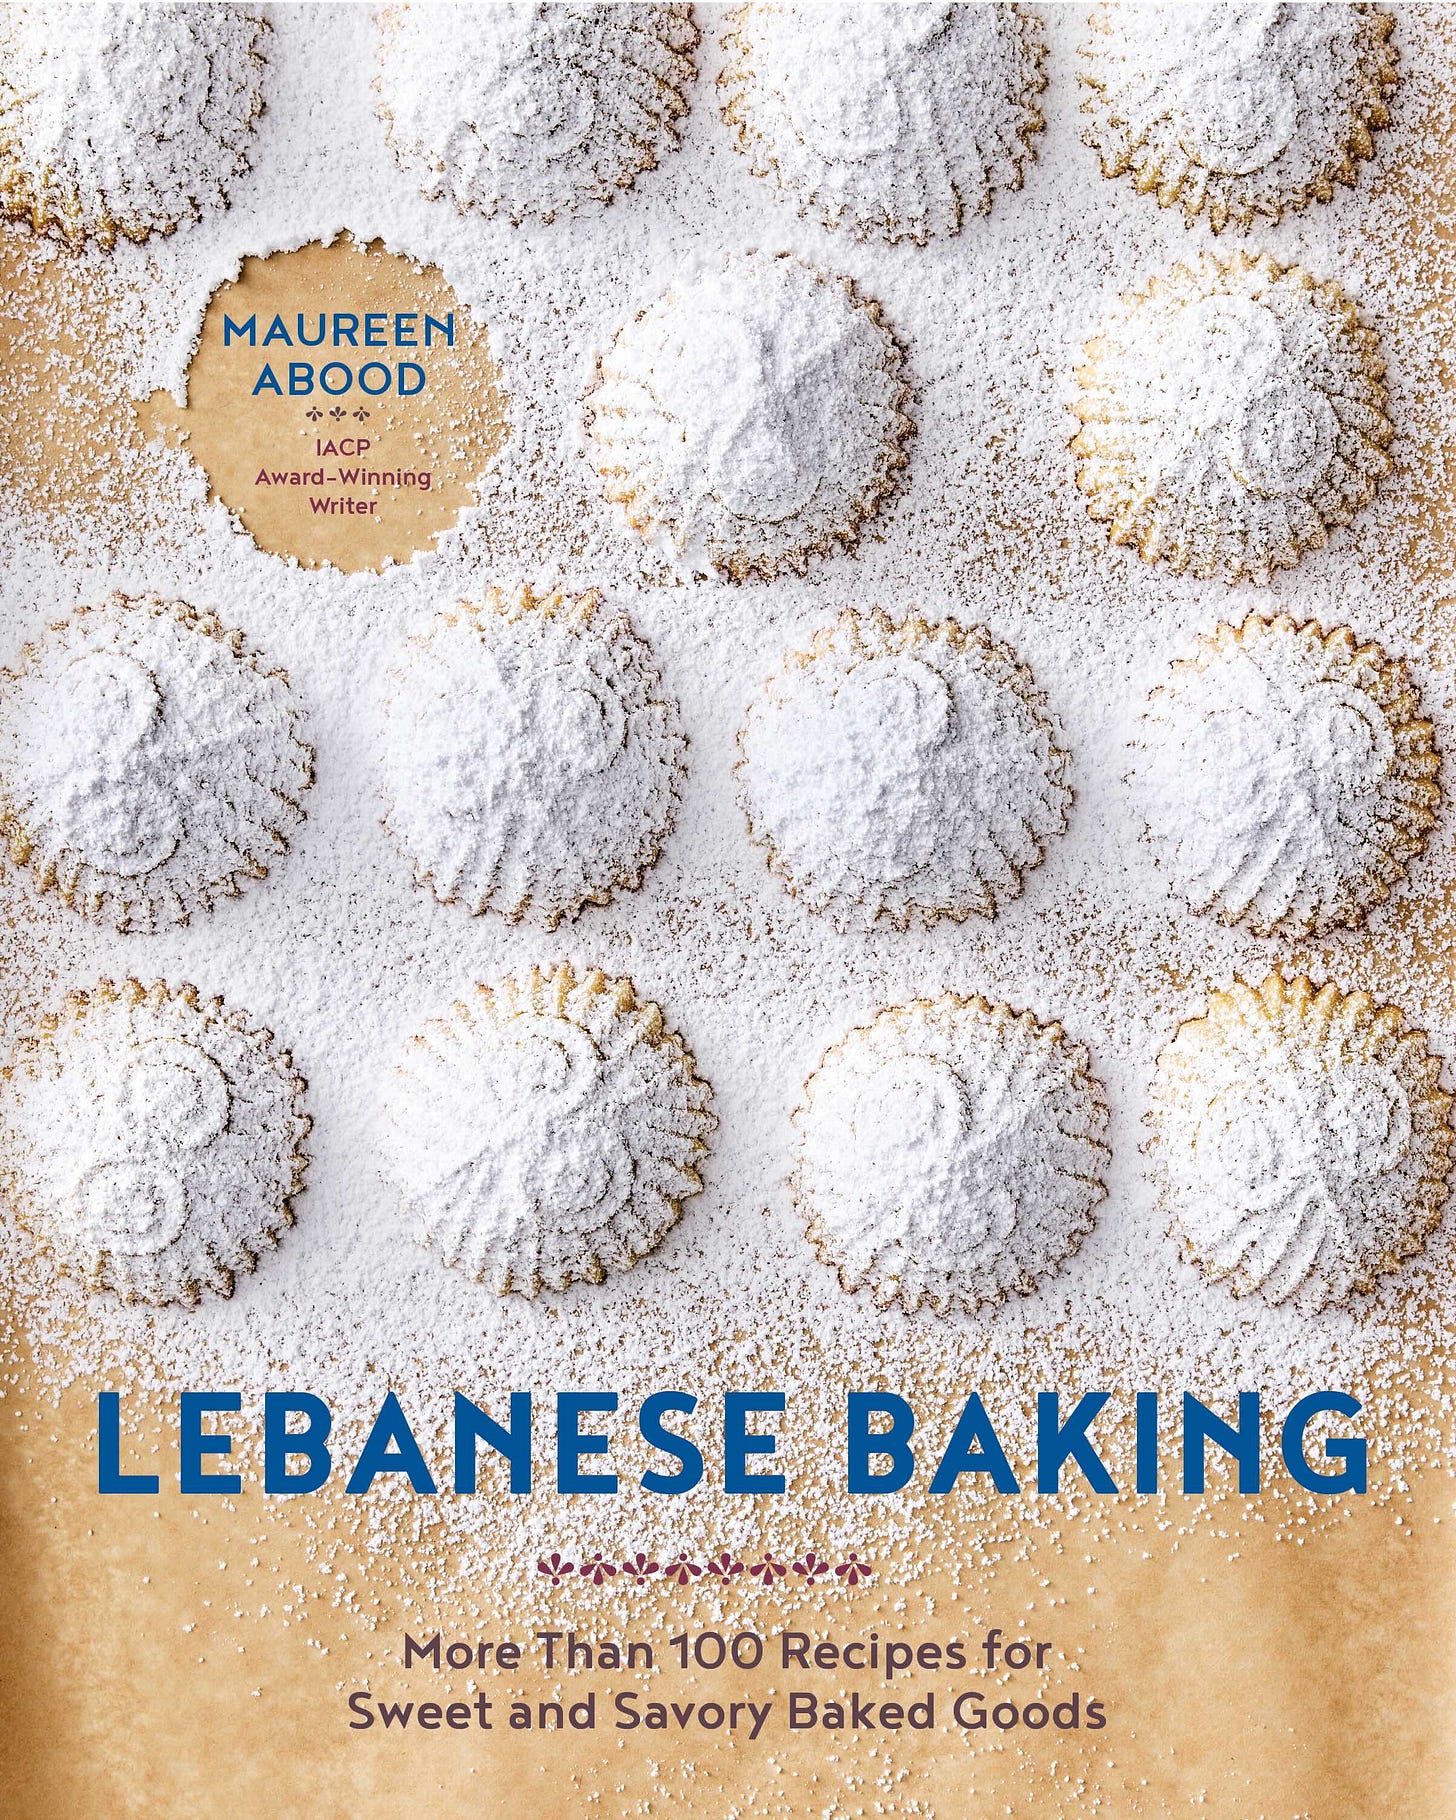
🥇 The simplest way to enter to win a copy of Lebanese Baking is to sign up as a paid subscriber to this newsletter by end of day Sunday, July 19, 2026. (How is it already mid-July already?!)
🥈 Free subscribers can enter to win, too—just send in a “what’s in my fridge right now” voice memo for us to play on The Dinner Plan podcast. It’s fun! We’ll come up with a dinner idea just for you based on what you have around. Follow the instructions here by end of day Sunday, July 19, 2026.
Winner will be alerted by Substack DM and email. 18+, U.S. and Canada addresses only. Giveaway not sponsored or administered by Substack. Ends July 19, 2026. Commissions from affiliate links in this newsletter help to keep this project going.

Excerpted from Lebanese Baking: More Than 100 Recipes for Sweet and Savory Baked Goods. Copyright © 2025 Maureen Abood. Reproduced with permission from Countryman Press.
Fill a pita with seasoned lamb and pan-fry it for an incredibly mouthwatering, crunchy bite that’s dipped in creamy labneh, and you have arayes. The pita absorbs the savory juices from the spiced meat and crisps with just a brush of olive oil. After one taste, this Lebanese street-food obsession will become your obsession, too.
Tips:
If the pita pocket proves difficult to open, microwave it for 15 seconds and try again.
Serve arayes cut into wedges as part of a mezze platter, eat them as a main dish with a side salad, or gobble them as a hearty late-night snack.
Prep: 5 minutes
Cook: 12 minutes
Total: 17 minutes
Makes: 12 arayes
6 pita (see below), room temperature
4 grams (1 tablespoon) parsley
10 fresh mint leaves (3 grams)
71 grams (½ cup) yellow onion
2 cloves garlic
5 grams (2 teaspoons) sumac
3 grams (2 teaspoons) dried mint
9 grams (1½ teaspoons) fine sea salt
¼ teaspoon black pepper
¼ teaspoon cinnamon
1⁄8 teaspoon cayenne pepper
448 grams (1 pound) ground lamb
50 grams (¼ cup) extra virgin olive oil
227 grams (1 cup) labneh
Place a baking sheet in the oven and preheat it to 250°F (120°C). Halve the pitas crosswise into pockets.
Finely chop the parsley and mint.
In a large mixing bowl, grate the onion and garlic. Add the parsley, fresh mint, sumac, dried mint, salt, black pepper, cinnamon, and cayenne pepper and thoroughly whisk the mixture together.
Add the meat, break it up, and stir to combine.
Into a pita pocket, place 40 grams (2 heaping tablespoons) of the meat mixture and flatten it, pushing the meat evenly to the edges. Repeat with the rest of the pockets and filling.
In a large skillet over medium-high heat, heat
12 grams (1 tablespoon) of the olive oil. Place 2 or 3 stuffed pita pockets in the skillet. Cook, pressing each pita with the back of a metal spatula or a burger press, until the bottoms turn golden and crispy, about 2 minutes.Flip the pitas over and cook, pressing again, until golden and crispy, 2 more minutes.
Transfer the pitas to the baking sheet in the oven to stay warm while you repeat steps 5 through 7 with the remaining pitas and filling.
In a small serving bowl, whisk the labneh until smooth.
Alongside the labneh for dipping, serve the arayes as they are or halve them first.
Note: You can store leftovers in an airtight container in the refrigerator for up to 4 days. Reheat them, over medium heat, in a skillet brushed with ½ teaspoon
of oil.
Excerpted from Lebanese Baking: More Than 100 Recipes for Sweet and Savory Baked Goods. Copyright © 2025 Maureen Abood. Reproduced with permission from Countryman Press.
Soft and fresh, homemade pita generates the deep satisfaction of eating the work of your hands. A very hot oven set on convection, if you have it, and a hot baking surface make the magic happen. Pita represents the ultimate ancient eating utensil and flavor-maker. Tear off pieces to scoop up bites from your plate; open the pocket for fillings, such as Arayes (see above); or transform it into crunchy, delicious pita chips. Warm, soft pita is comfort food at its best!
Tips:
If you haven’t invested in a baking steel or pizza stone, consider buying one. An overturned dark, heavy baking sheet can work, too.
Baking time depends on the stone or steel you use. Keep an eye on it, and when puffed and pale golden, it’s ready.
Also, make lots! Pita stores so well in the freezer that I often make a double batch so we can enjoy it for a couple of weeks.
Prep: 15 minutes
Rest: 2 hours 45 minutes
Cook: 12 minutes
Total: 3 hours 12 minutes
Makes: 6 (6-inch, 15-cm) pitas
Special Equipment: stand mixer, pizza stone or baking steel, bread peel
240 grams (2 cups) bread flour
5 grams (1½ teaspoons) instant yeast
8 grams (2 teaspoons) granulated white sugar
6 grams (1 teaspoon) fine sea salt
113 grams (½ cup) water, warm (105–110°F, 40–43°C)
57 grams (¼ cup) whole-milk plain yogurt
17 grams (1 tablespoon plus 1 teaspoon) extra virgin olive oil
In the large bowl of a stand mixer, add the flour, yeast, sugar, and salt and stir to combine with a wooden spoon or the dough hook (not attached). Slowly add the water and yogurt and mix until a shaggy dough forms, 1 minute.
Attach the dough hook, set the mixer speed to medium-high, and knead the dough until smooth and slightly sticky, 3 minutes.
Coat a medium mixing bowl with (4 grams) 1 teaspoon of the olive oil. Ball the dough, transfer it to the prepared bowl, and flip the dough to coat it completely with oil. Cover the bowl with plastic wrap and lay a kitchen towel over that. Let the dough rise until it doubles in size, 1 to 2 hours.
Divide the dough into 6 pieces, approximately 74 grams (½ cup) each. Ball the pieces.
On the counter, place the balls 2 inches (5 cm) apart, lightly cover them with plastic wrap, and let them rise for 45 minutes.
Arrange an oven rack in the lowest position and remove any other racks. Place the baking stone, baking steel, or an overturned dark, heavy baking sheet on the rack. Preheat the oven to 500°F (260°C) with convection or 525°F (274°C) without.
On the lightly floured counter, pat a dough ball flat. Gently and evenly roll it into a circle 7 or 8 inches (18 or 20 cm) in diameter and ¼ inch (6 mm) thick. As you roll, stop to lift the dough and rotate it to roll an even circle and to prevent it from sticking to the counter. Repeat with 2 more dough balls.
By hand, transfer the raw pitas to the hot baking surface in the oven.
Bake until the pitas puff and turn a light golden, 3 to 8 minutes.
Use a metal spatula to transfer the pitas to a cooling rack. Cover them with a kitchen towel while they cool.
Repeat steps 7 through 10 with the remaining dough balls.
Serve immediately or place the still-warm pitas in a plastic storage bag, sealed, to soften.
Note: In a sealable plastic storage bag, you can store leftover pitas in the refrigerator for up to 5 days or frozen for up to 2 months. To reheat, thaw if frozen, wrap in foil, and warm in a 300°F (150°C) oven for 10 minutes.
Comments
Nothing yet. Say the first thing.
Sign in to join the conversation.