
In Part 1, we laid the foundation. Hopefully, you’ve played along at home and generated your own Character Sheets, Emotion Grids, and Location Concepts.
And now you’re itching to start turning them into fully realized shots, scenes, and films.
First off: The Bad News.
We aren’t there quite yet. There’s still some crucial prep work to do. The maxim, “slow is smooth, and smooth is fast” is our guiding principle here.
Sure, you could jump right into animating your characters from the assets we’ve built so far. That’ll work. And if the scope of your project is limited, you’ll probably do just fine.
But if you want to deliver high-value, cinematic results (without tearing your hair out) you’ve still got some prep work to do. This is the work that separates “AI Filmmaking” from “Filmmaking.” If you’re still reading, I know which side of the equation you want to be on.
In my short Nun of the Above, I had to explain to the machine that I wanted a nun hovering in a floating chair, near the roof of a cathedral, inside the frescoed dome of a cupola, in shadows. Easy enough to imagine, but boy that’s a lot of geography to ask a machine to understand. Add in the fact that I wanted a nun and a cathedral and frescoes but I didn’t want any Christian iconography? This starts to feel like a doomed endeavor.
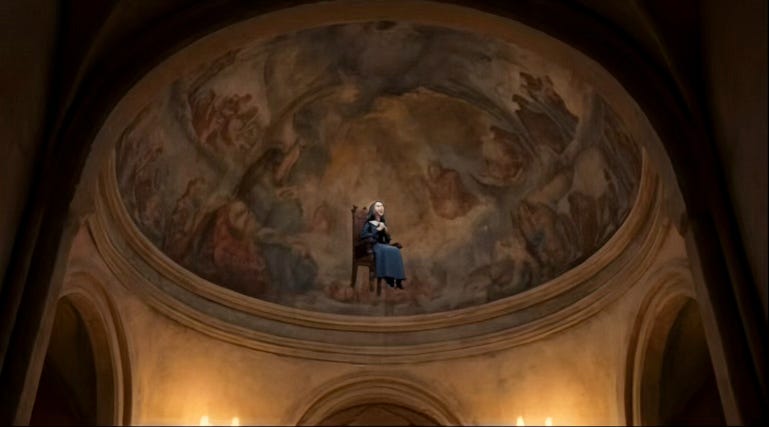
I hit this wall at full speed. I finally had some momentum and was really building the film and then, WHAM. Flow state, meet brick wall. It took hours to break the stalemate between man and machine. And that’s fine. That’s the work. But getting ripped out of the fun of the actual filmmaking in mid-flow? Awful.
So today we’re going to get ahead of that problem using a simple tool that I’ve written about before – and have since improved upon – with a new set of customizable, relatively intuitive prompts that you can start using today.
The step we’re focusing on here could be called “pre-production,” or “pre-visualization,” or “storyboarding.” It’s all about creating coverage grids that break every single action down into simple components. That’s because AI is good at two things: the big things and the small things. The middle ground is where the danger lies, so this step is all about breaking the medium-sized things into small things. Specific things like single images and single movements… images and movements that you can minutely control.
Because that’s what we’re after: control.
Let’s get to it.
I’ve written about the 3x3 Grid before. So have a lot of people. It’s a popular technique because it solves two massive problems: Scale and Consistency. There are plenty of videos about this on YouTube to check out. Just search “AI 3x3 grid” and say good-bye to your afternoon. But stick with me for a bit first…
If you read Part 1 of this course, you’ll remember how we created an emotional palette for our character.
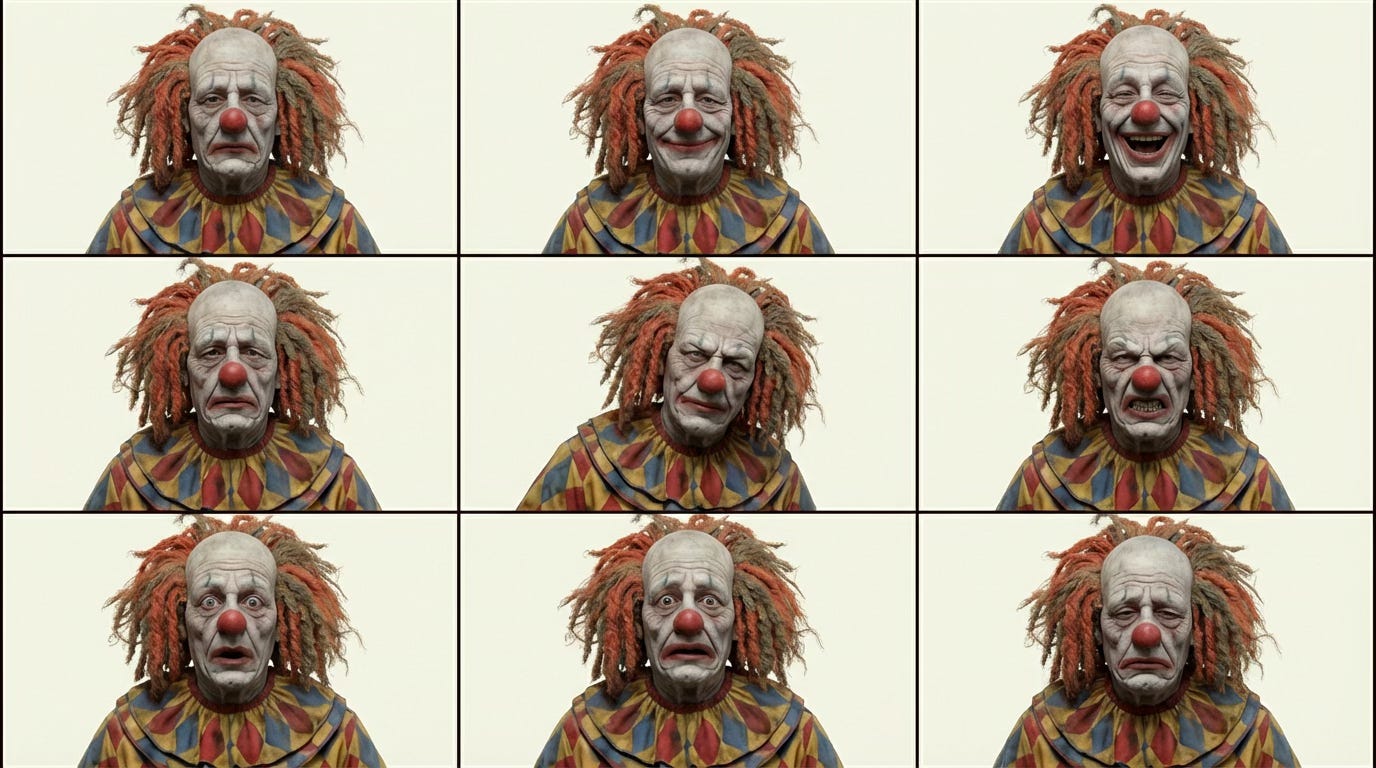
Now, we are going to rinse and repeat that same basic concept to create proper cinematic storyboards. If you think of everything we did in Part One as the screenwriting part of the endeavor, this is where we really start directing.
A quick word on what that means before we dig into the nuts and bolts…
The AI haters (or the uninformed) think that AI is just luck, or repetition. They think it’s robotic, or that it removes human vision from the equation. This is where you prove them wrong.
And you do that by declaring yourself the author of these images before you even start prompting.
A true author knows the POV, the attitude, and the reason behind every shot. And how the shots relate to each other. Why they go together. A true author considers all the choices, with questions like:
Why are we in a close-up?
What’s in the background?
Is the character looming over us, or is she dwarfed by the environment?
What does the blocking tell us about the relationship between the characters, and how does it change during the scene?
There’s a word for this, and that word is filmmaking.
Sure, you can approach prompting like a slot machine and hope that 1 out of 9 images comes out right. That’s valid for brainstorming. But isn’t it more fun to see the movie in your head and then extract it from the machine to your exact specifications? To use the tool that can do anything to instead do exactly what you want?
Yes, that. Let’s do THAT.
Just like a “real” film begins with a storyboard, an AI film starts with a Storyboard Grid. Depending on the complexity of your action you may need just one of these for a given scene, or you may need a dozen.
Let’s start simple, with a static, dialogue-driven scene. In this case you probably want a wide master, some mediums and close ups of your characters, some insert shots. Your story will of course dictate the specific needs, but for this illustration we’ll keep it pretty simple and ask for classical coverage. Nothing fancy.
Here’s a static scene coverage prompt I use, and which you will want to customize for your needs. For this example I am taking a shortcut and text prompting for characters and locations. But when you’re actually making a film you’d want to upload your Character Sheet and Location Sheet as image references.
Here’s the prompt:
A professional 3x3 split-screen grid, cinematic contact sheet. 9 distinct panels of the identical scene captured simultaneously from different angles.
Subject: [Insert your own description here, such as:] A 1950s astronaut sitting at the counter in a futuristic diner, being served a cup of coffee by a waitress with big 1980s hair.
Constraint: STARK CONSISTENCY. The exact same characters, same costumes, same lighting, same location, and same time of day in all 9 panels.
Grid Layout:
Row 1 (Context): Extreme Long Shot (Environment), Full Body Shot, American Shot (Knees up).
Row 2 (Coverage): Medium Shot (Waist up), Over-the-Shoulder, Frontal Close-Up.
Row 3 (Details): Extreme Close-Up (Eyes/Texture), Low Angle (Heroic), High Angle (Overhead).
Style: [Insert your own description here, such as:] Cinematic period drama, bright colors, high key lighting. Photorealistic, 8k resolution, cinematic lighting.
Technical: Distinct panel borders, no text overlay. The panels should look like a director’s monitor wall. Prioritize images, minimize borders between frames. Add no text.
Take a look at the result and see if you can spot one enormous problem with using a text prompt vs. a carefully curated Character Sheet…
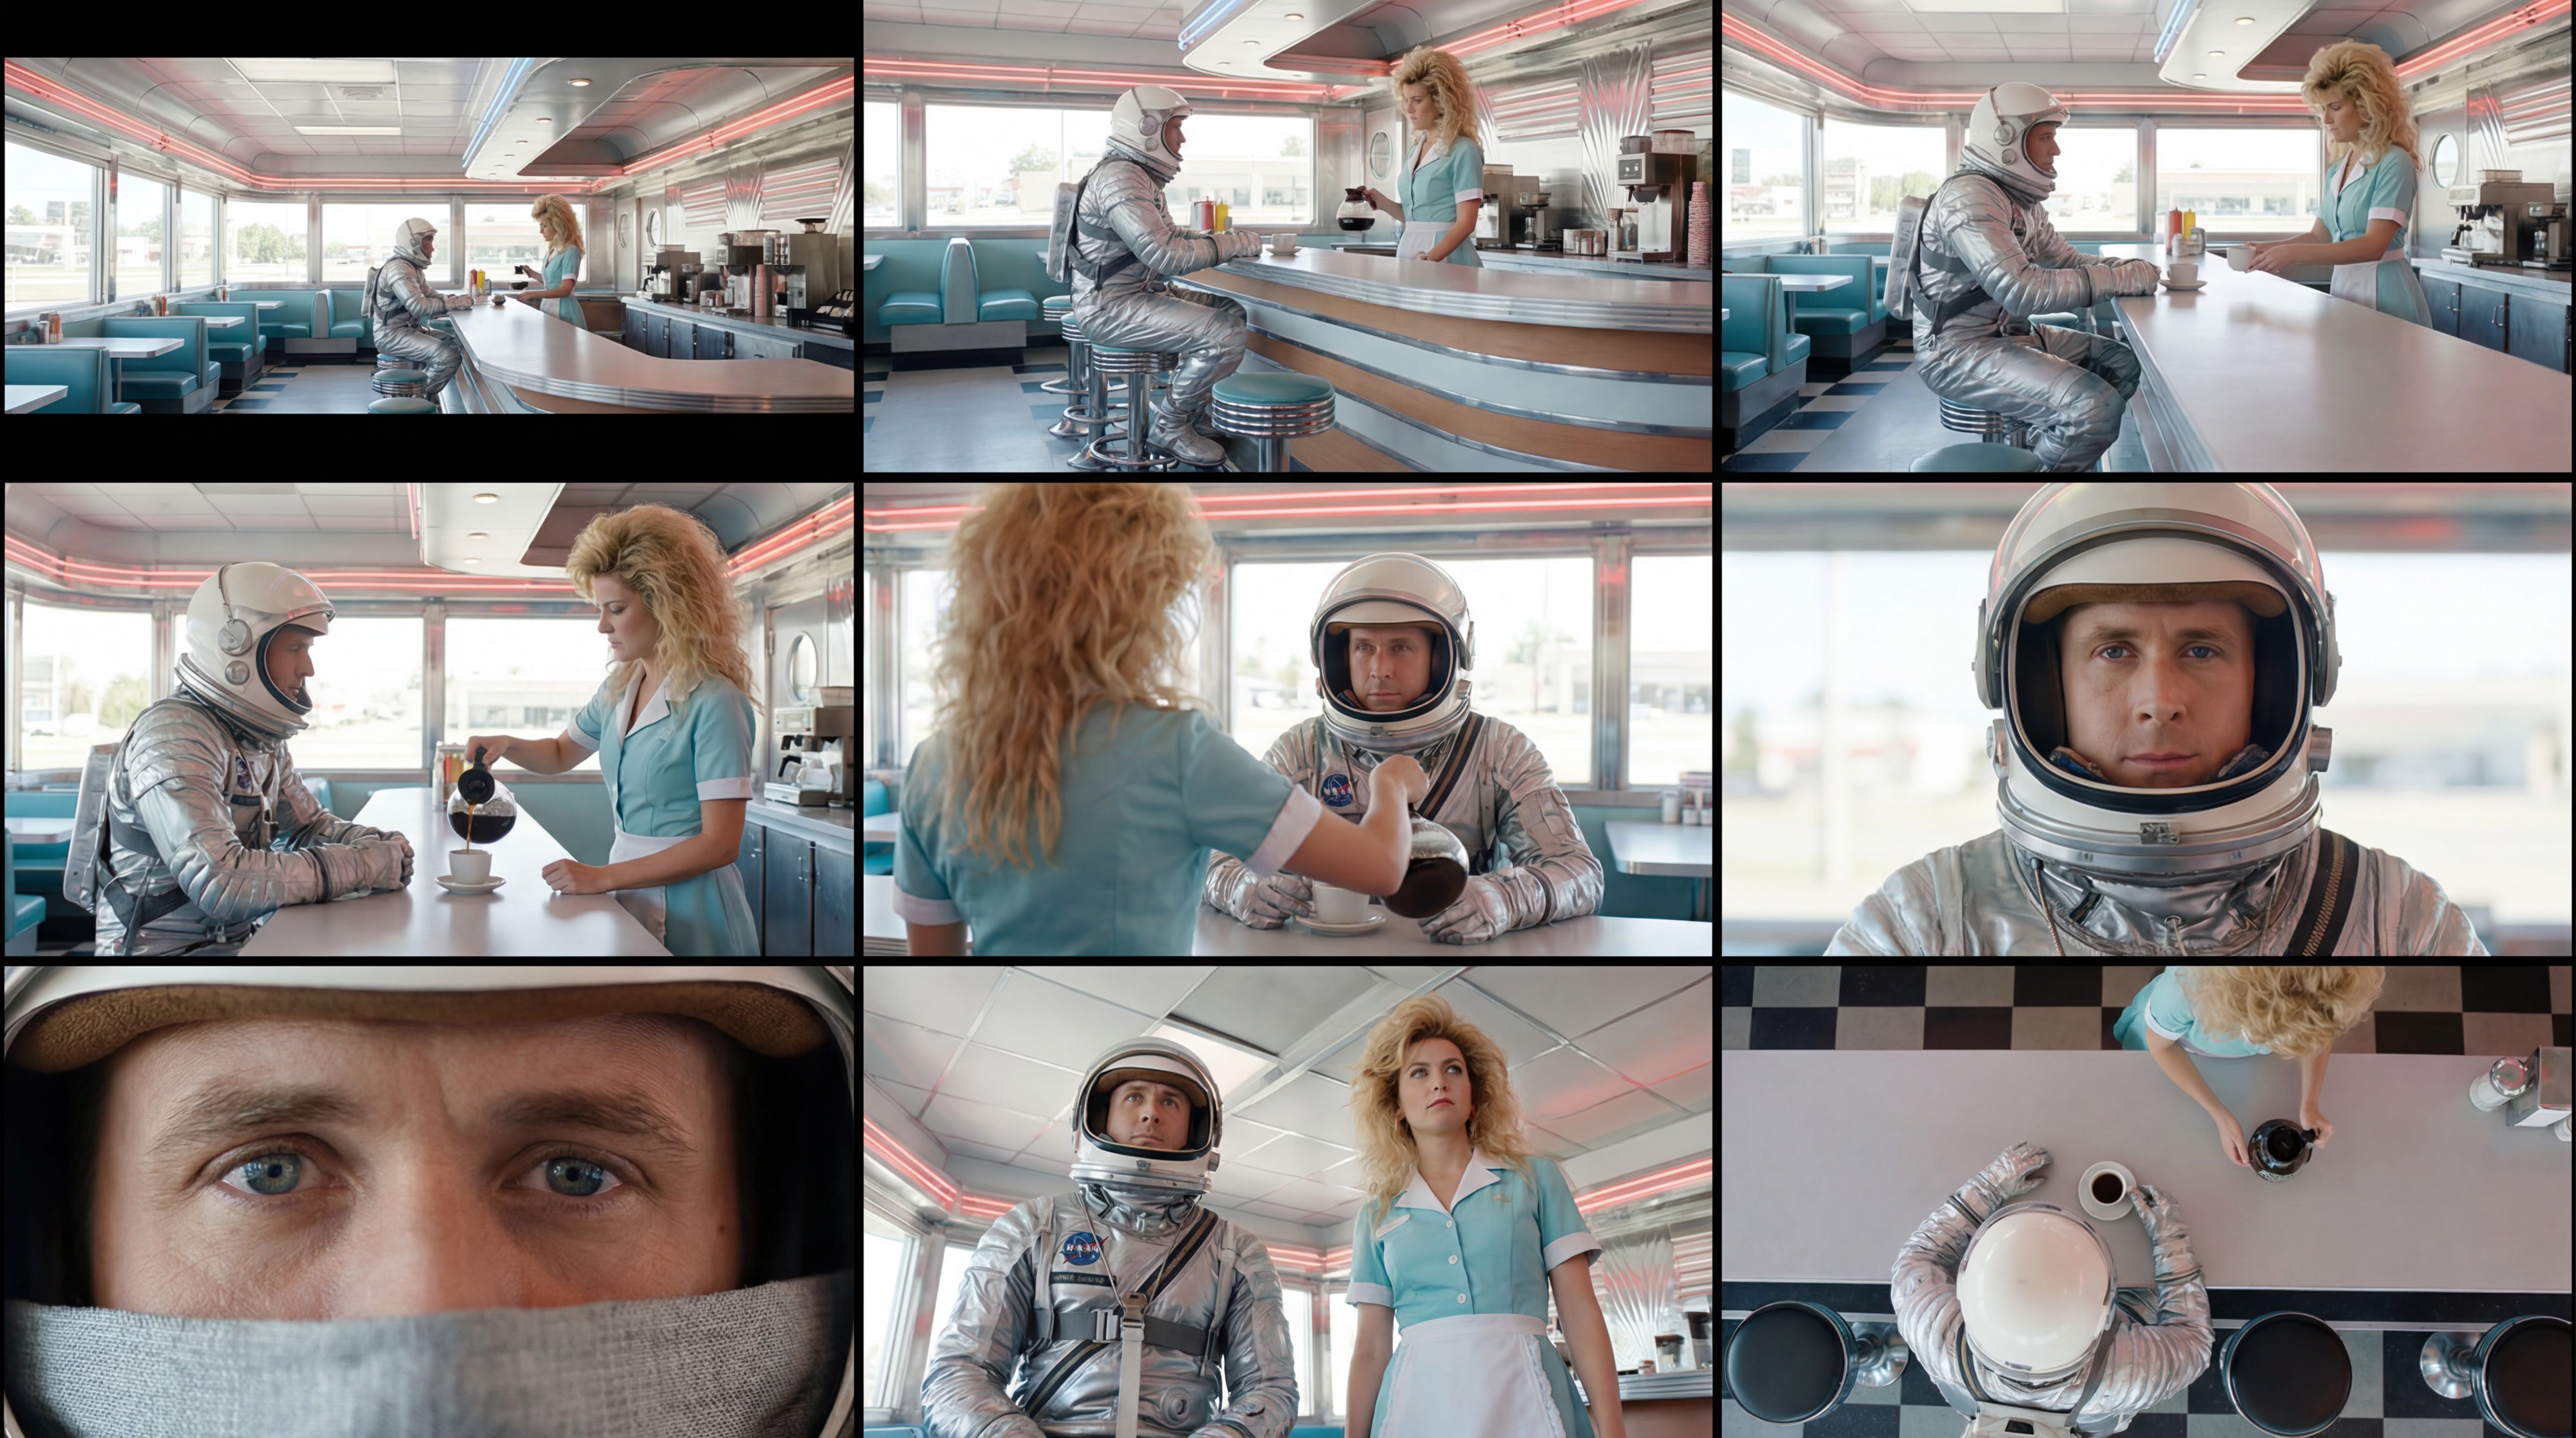
Yeah… why the hell is my astronaut Ryan Gosling? I didn’t ask for that, and don’t want it. Rude. This is yet another example of why – if you want to commercialize your work – you need to start with an image generator trained on fully licensed images. As I mentioned in Part One there are “safe” options out there like Adobe Firefly.
Other problems are:
First frame is letterboxed for some reason. Not ideal, but doesn’t really matter for our purposes. AI is great at fixing things like this. So: fine.
No idea what’s going on in bottom-middle frame – total break of the geography.
Despite these issues, only one fatally flawed composition out of nine? Not bad. You can see how if I started with more specific camera direction and image references we’d be in good shape here.
Now let’s make things more complicated and more simple all at the same time.
The above example was a static dialogue scene. Let’s look at an action scene. When I say “action” I don’t mean an epic space battle (even if Mr. Gosling does look ready to deploy). I’m just talking about a simple, action-based moment. Even when you direct your epic space battle, you will be breaking it down into the smallest possible beats and creating a grid for each one.
This is the specificity we need if we want to truly control the AI models and get the results we want. (With the current models, at least.)
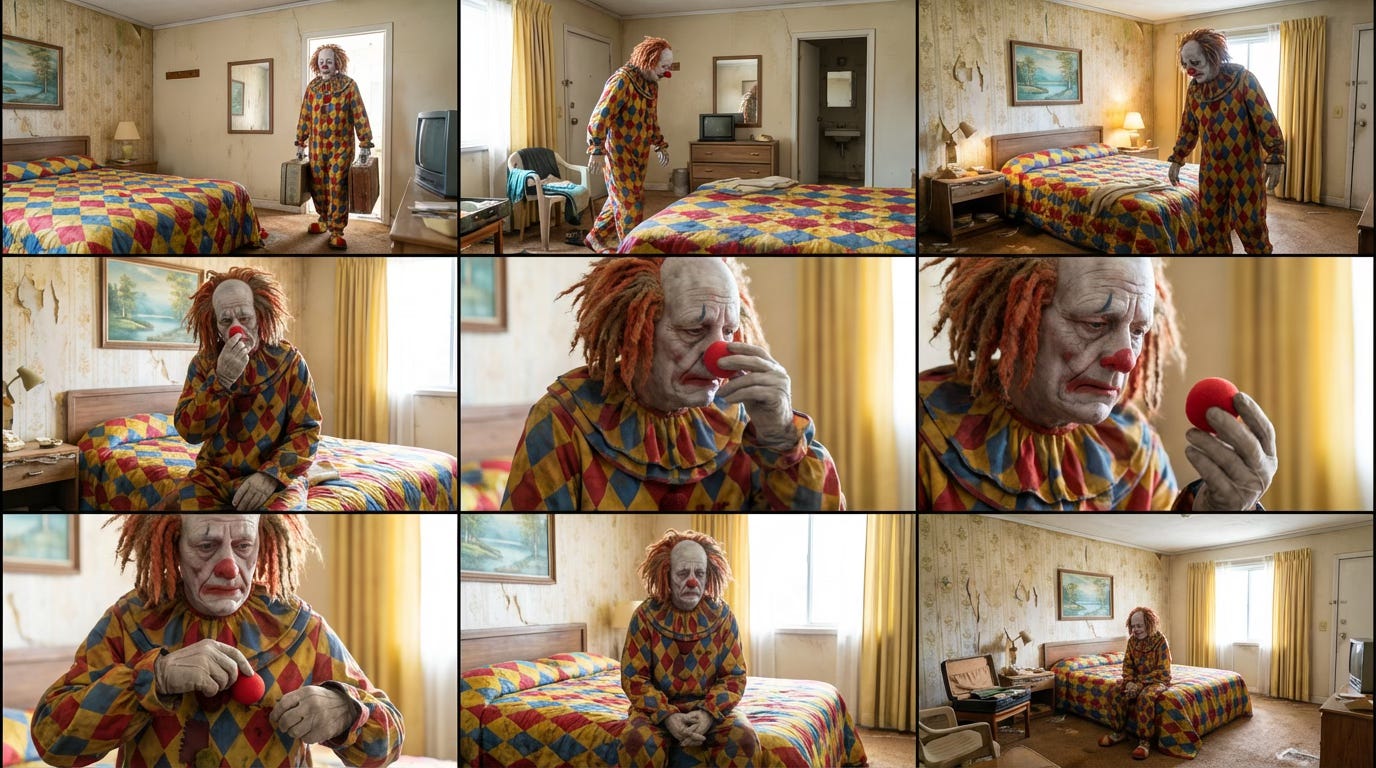
For demonstration purposes, let’s just go with a simple beat and build an action grid for it. The action will be: our sad clown coming home to the shabby motel room we designed yesterday, taking off his clown nose, putting it in his pocket, and sitting down on the bed.
Sounds simple, right?
But really that’s quite a lot of action. We have “coming home to the motel room,” “sitting down on the bed,” and “Taking off his clown nose and putting it in his pocket.” Depending on your plans for the editorial flow of the scene, you might actually want to do a 3x3 grid for each one of these individual actions. For this demo, though, we’ll go with the full action description and see what we can learn from the results.
Here’s the prompt I used:
A 3x3 storyboard grid showing a sequential action beat. 9 frames progressing chronologically left-to-right, top-to-bottom.
Action: [Insert your own description here, such as:] The sad clown enters the room and sits down on the bed. He takes off his red clown nose, and puts it in his pocket.
Flow:
Panels 1-3: The preparation of the action.
Panels 4-6: The execution of the action (climax of movement).
Panels 7-9: The aftermath/reaction.
Consistency: Maintain identical character features, clothing, and background environment across all panels.
Style: [Describe your visual style. Lenses, cameras, lighting, vibe, such as:] Cinematic period drama, bright colors, high key lighting. Photorealistic, 8k resolution, cinematic lighting.
Technical: Cinematic storyboard, motion blur where appropriate, coherent lighting continuity, distinct borders between frames. Prioritize images, minimize borders between frames. Prioritize facial acting. No text overlay.
And here’s one of several generations off this prompt:
Initial thoughts:
The top row: Geography and camera direction are all over the place. I hate it. Great argument for making “Clown comes home” its own action grid. I consider these frames mostly unusable.
Middle row: Very frustrating continuity error here (he’s using his right hand in one frame and left in the next).
But then the second two images in the middle row? Love. Those are gold. That’s exactly the specificity I’m looking for. With those two images I can tell the AI an exact start and end frame for the act of removing the nose. If I throw everything out but keep those 2 frames, I’m happy.
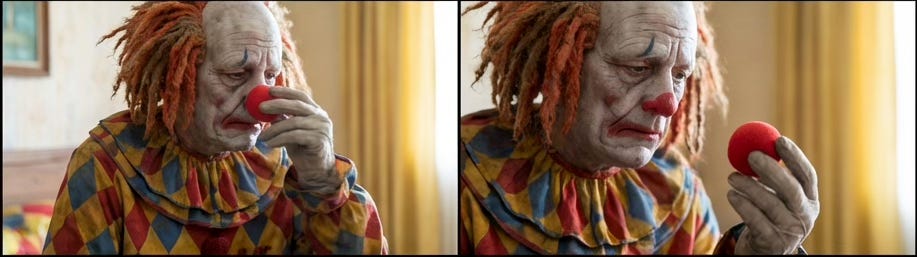
We’ll talk more about this in Part Three, but the next pro move is to take those images and craft them even further. Maybe you’d prefer him holding the nose up higher, or smiling sadly at it. When you are exerting this kind of granular force on your output by drilling down to this level of shot-specificity, you can bend the AI to your will.
You can also exert control over the output by getting a lot more detailed in the initial prompt. Telling the model exactly what you want in each of the nine frames will get you that much closer to achieving your vision.
And I haven’t even mentioned style or tone yet. Thats a whole other layer of control you’ll want to impose on your prompts. Below are some Cheat Sheets you can use to get started.
The real art here is knowing the visual tone you’re going for. Ideally, you create your own visual language, but here are some handy “Style Packs” you can add to the prompts above to instantly dial in a specific vibe.
Please read these prompts as an invitation to expression, not a drag-and-drop substitute for creativity. Make them your own… that’s the fun part.
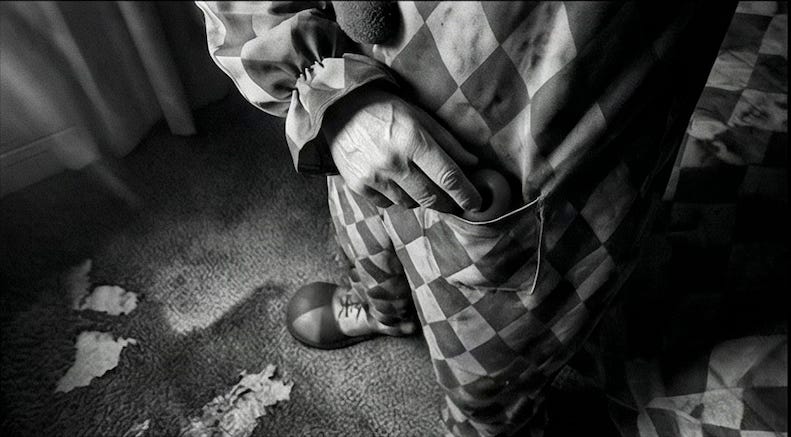
Lighting: Chiaroscuro lighting, harsh shadows, silhouettes, and dramatic shafts of light.
Style: Black and white (or muted Neo-Noir neon), film grain, moody, deep blacks.
Grid Layout:
Row 1 (Atmosphere): Silhouette Shot (framed against window), Dutch Angle (canted 45 degrees), Reflection (seen through mirror/puddle).
Row 2 (Tension): “The Squeeze” (framed through bars/blinds), Deep Shadow Medium Shot, Over-the-Shoulder into darkness.
Row 3 (Power): Extreme Close-Up (eyes/sweat), Extreme Low Angle (looking up from floor), Extreme High Angle (top down view with stark shadows)
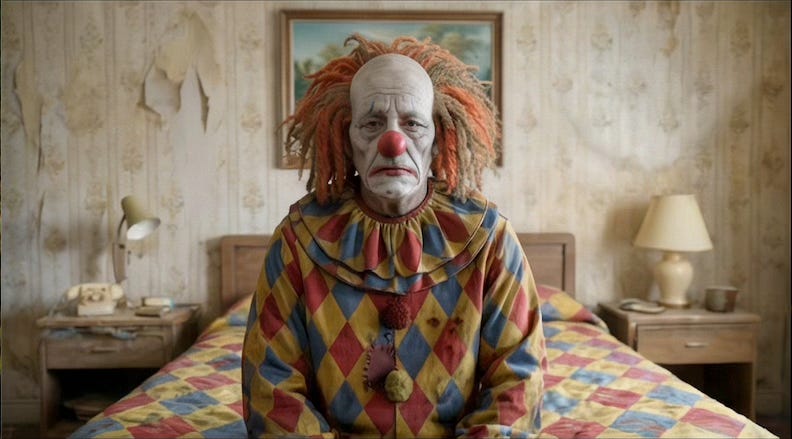
Framing: Center-punched framing. The subject is dead center in almost every shot.
Style: Flat lighting (low contrast), pastel color palette, sharp focus, sterile composition.
Grid Layout:
Row 1 (The Space): Extreme Wide (tiny subject in massive room), Flat Profile (mugshot style), Birds’ Eye View of the subjects.
Row 2 (The Portrait): Dead Center Medium (breaking fourth wall), Dead Center Medium reverse/POV shot, Symmetrical Two-Shot.
Row 3 (The Style): Crash Zoom start frame (wide of subject), Crash Zoom end frame (tight on face), Low Angle Center, Extreme Close Up of prop/character detail.
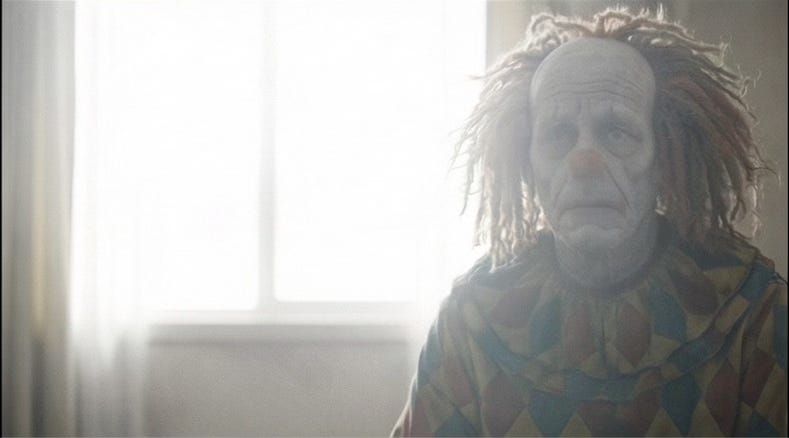
Vibe: Raw, handheld, imperfect, reactive.
Style: High ISO grain, desaturated, natural lighting, motion blur, “found footage” aesthetic.
Grid Layout:
Row 1 (The Environment): Obscured Wide (dirty frame/blocked by foreground), Long Lens Snipe (telephoto/compressed), Tracking Shot (following back of head).
Row 2 (The Human Element): Snap Zoom Medium (slight blur), Profile (unaware/looking off-screen), “GoPro” Angle (fisheye lens as though camera is mounted on a prop).
Row 3 (Texture): Macro Grime (dirt on lens), Lens Flare (blown out lighting), Candid Close-Up (mid-speech).
The Bottom Line
It goes without saying that ChatGPT is a good collaborator here if you aren’t fluent in the language of cinema. But to me, creating these kinds of stylistic markers is where half the fun lives. Being an architect of the coverage, translating your vision into words then into images, dialing the results in until they’re just right.
That’s the place where I get my thrills.
And it’s also the place where we can stop using the term “AI Filmmaking” and just start calling it what it is: Filmmaking.
Bet that when you started reading this series you didn’t think it was going to take THREE articles before we created a single second of video. Sorry about that, dear reader. We’re almost there, I swear it.
And I promise you, everything we’ve talked about so far will:
a) Help you fully realize your vision…
b) Make things both easier and much more fun when you get to the next step…
c) Bend the machines to your mighty will…
d) Help you create something that isn’t an “AI film,” but an actual “film-film.”
And I promise, in Part 3, we’ll FINALLY begin putting all this hard work to use and start crafting some video.
Subscribe below to get the update as soon as Part 3 goes live!
Please share this post with a friend, and share your own work in the comments!
No posts
Comments
Nothing yet. Say the first thing.
Sign in to join the conversation.