
What I’m reading: Western Lane by Chetna Maroo. A lovely (and refreshingly short) coming of age story which I thoroughly enjoyed
What I’m listening to: Raymond Blanc on the Go To Food podcast
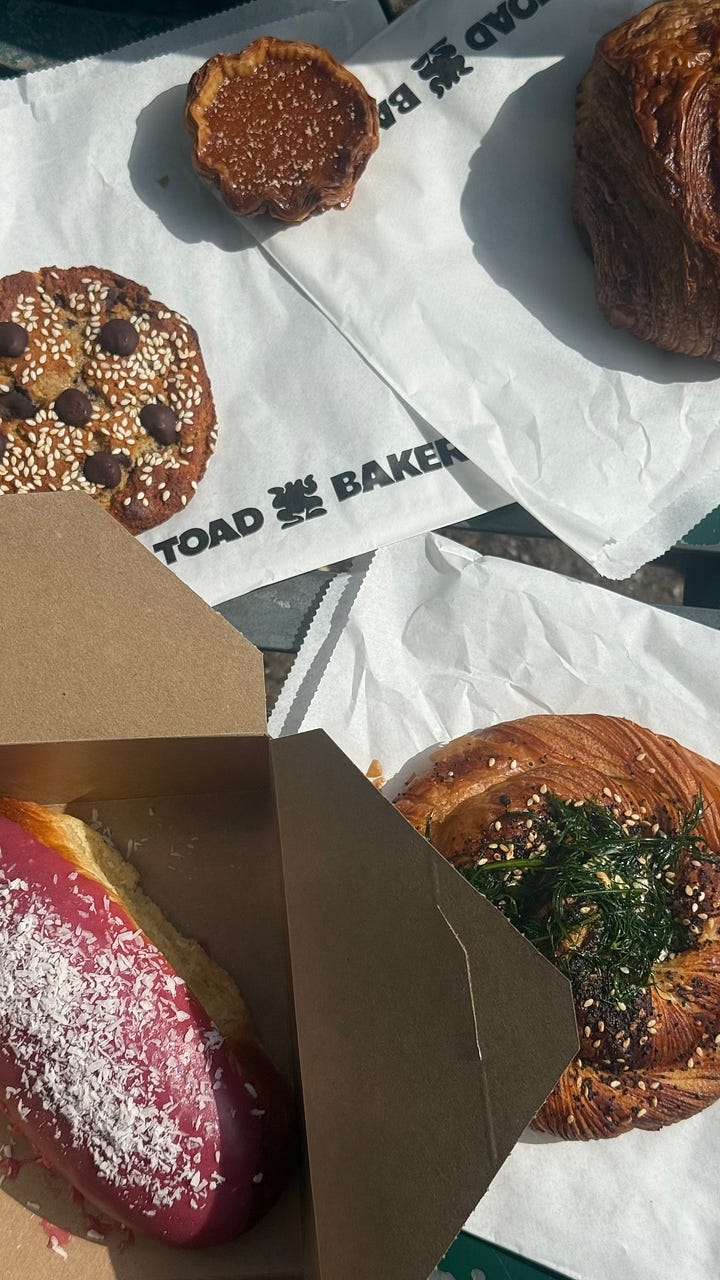
What I’m eating: excellent pastries at Toad and maybe the best sandwich I’ve ever eaten at Cafe Mondo on a recent adventure to Peckham (below)

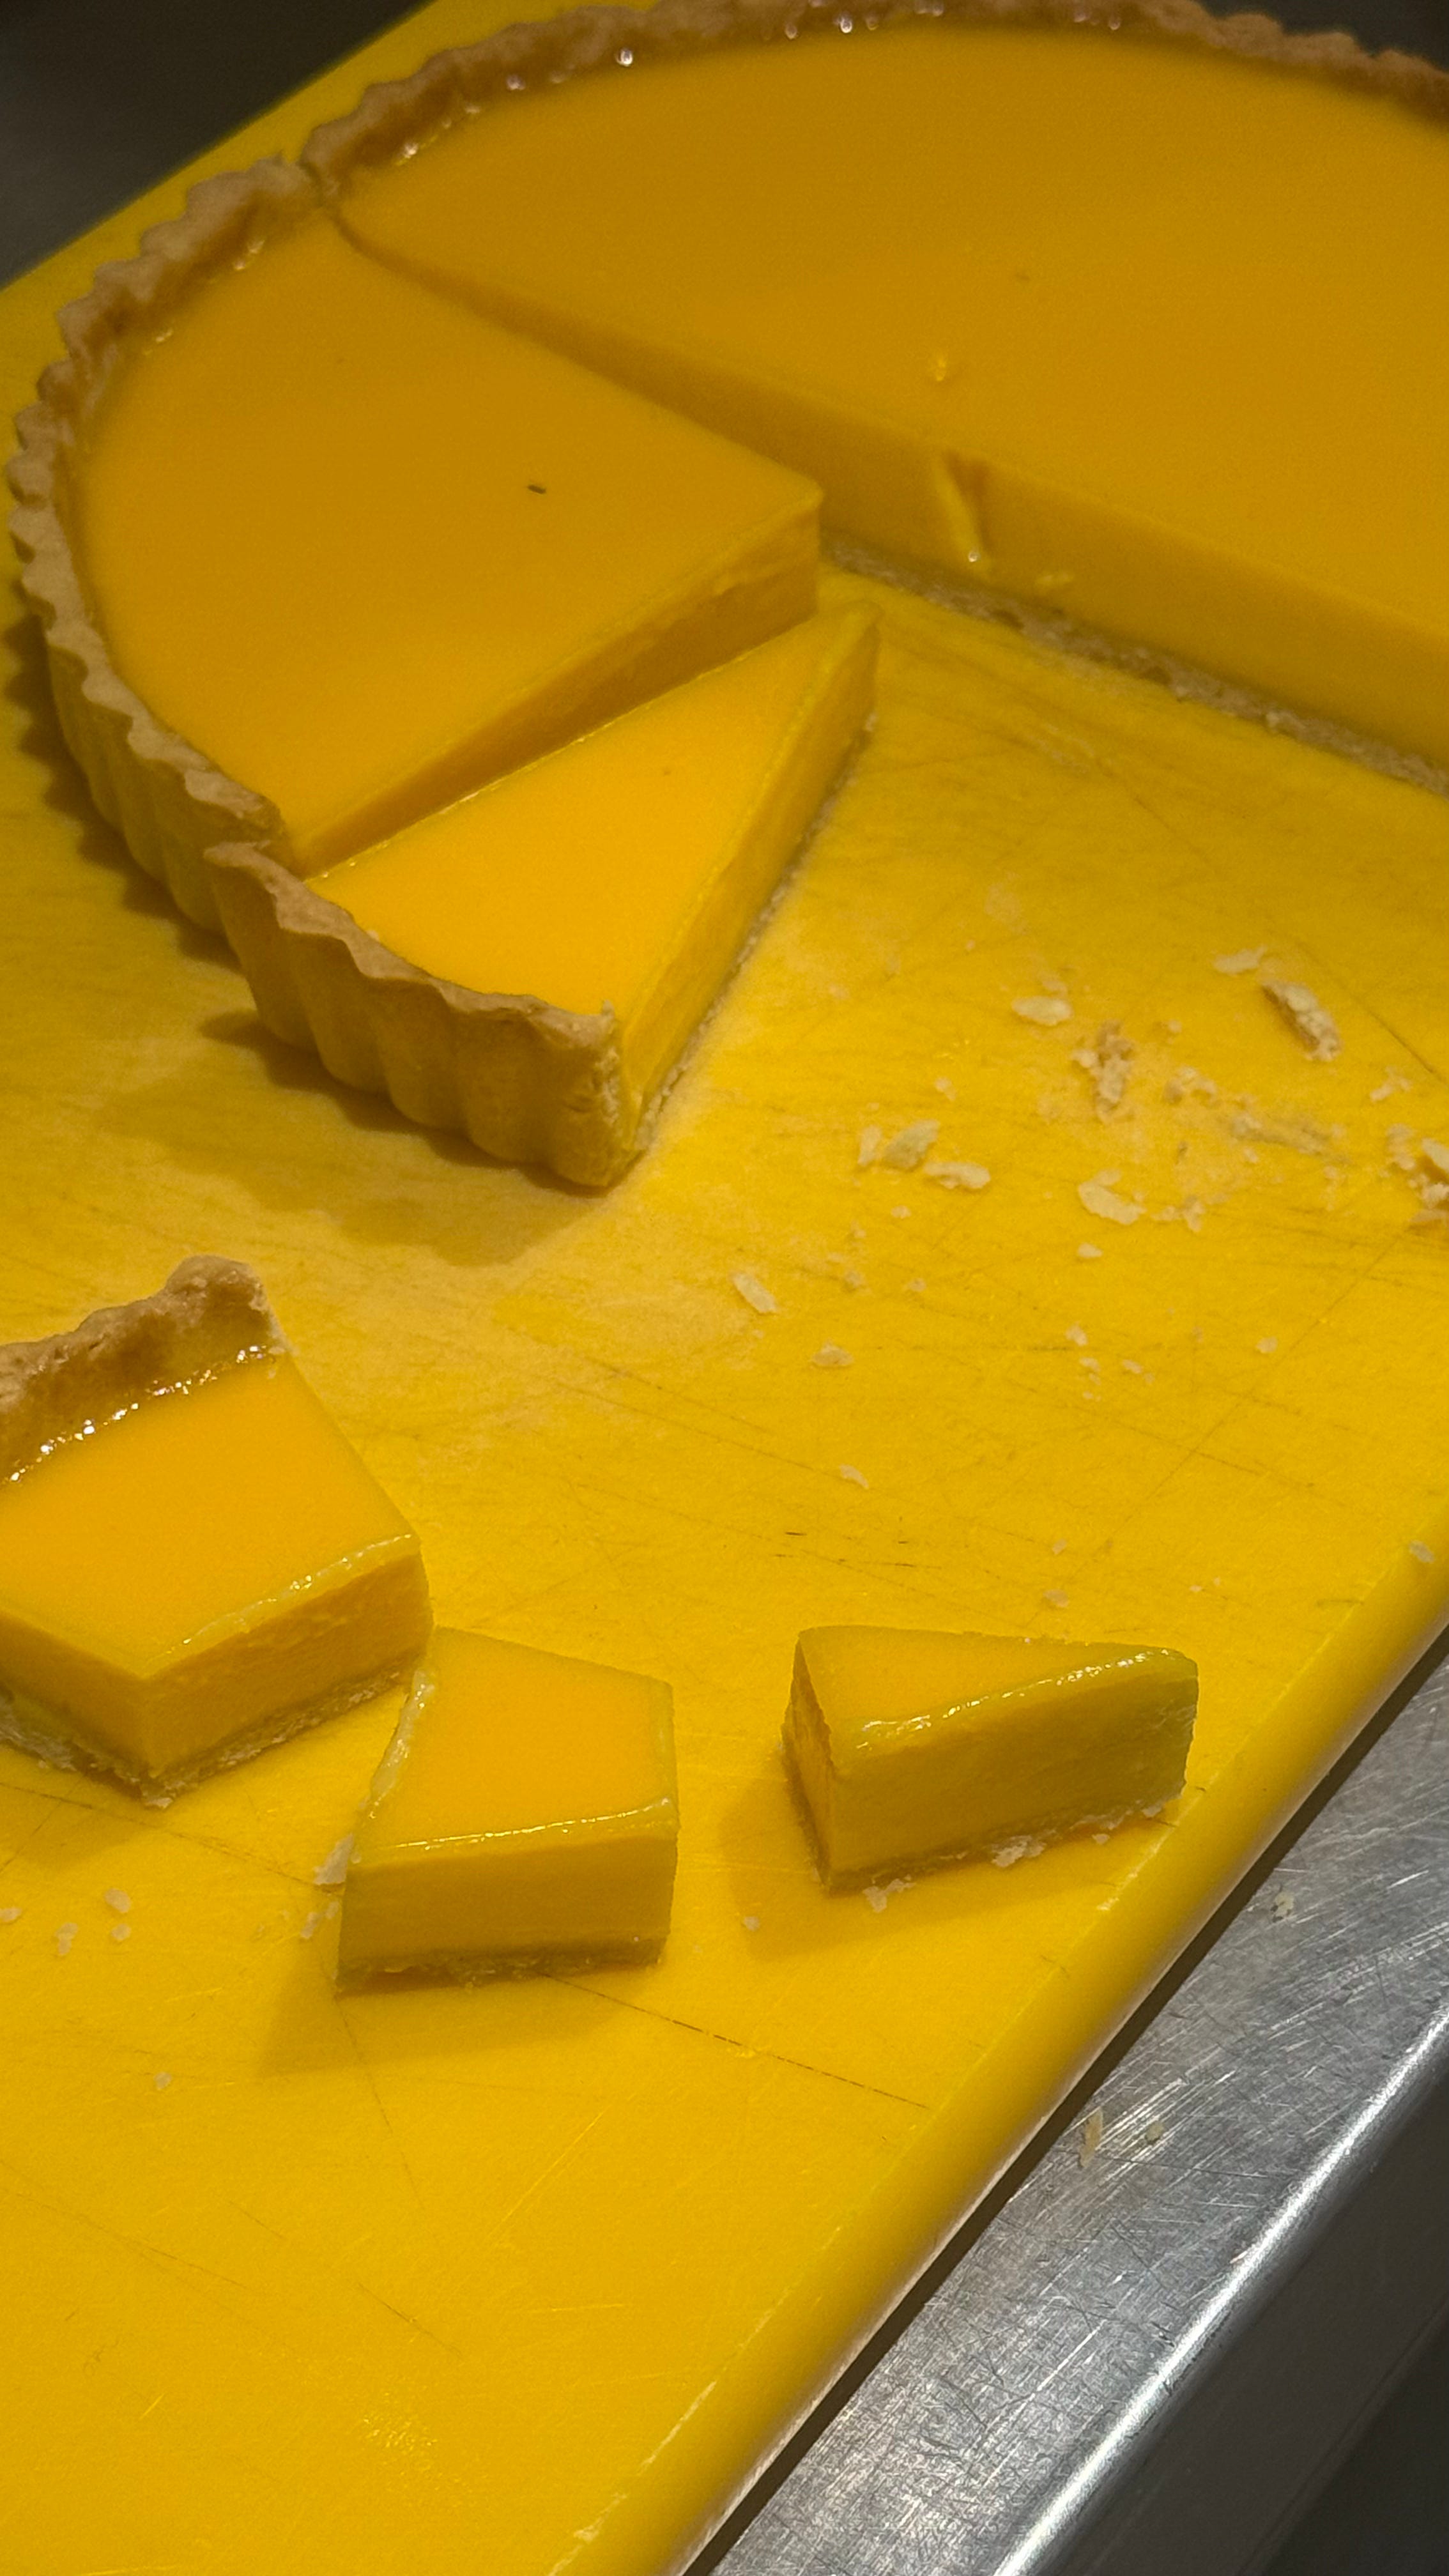
This week’s recipe is for a classic lemon tart. The base is made from a sweet pastry with a little lemon zest added, and the filling is somewhere between a curd and a custard. It uses cream (like a custard) and lemon juice (like a curd), with eggs to thicken and a caster sugar to sweeten and stabilise. I’ve also added a little citric acid to the filling, which really amps up the lemony flavour, without needing to add any more liquid (from lemon juice) or oil (from lemon zest). It’s baked very gently until JUST set, and in my opinion, should be eaten at room temp - about two hours after it comes out of the oven. I prefer not to put it anywhere near the fridge once it’s been baked, as this makes the pastry go soft and the filling solidify.
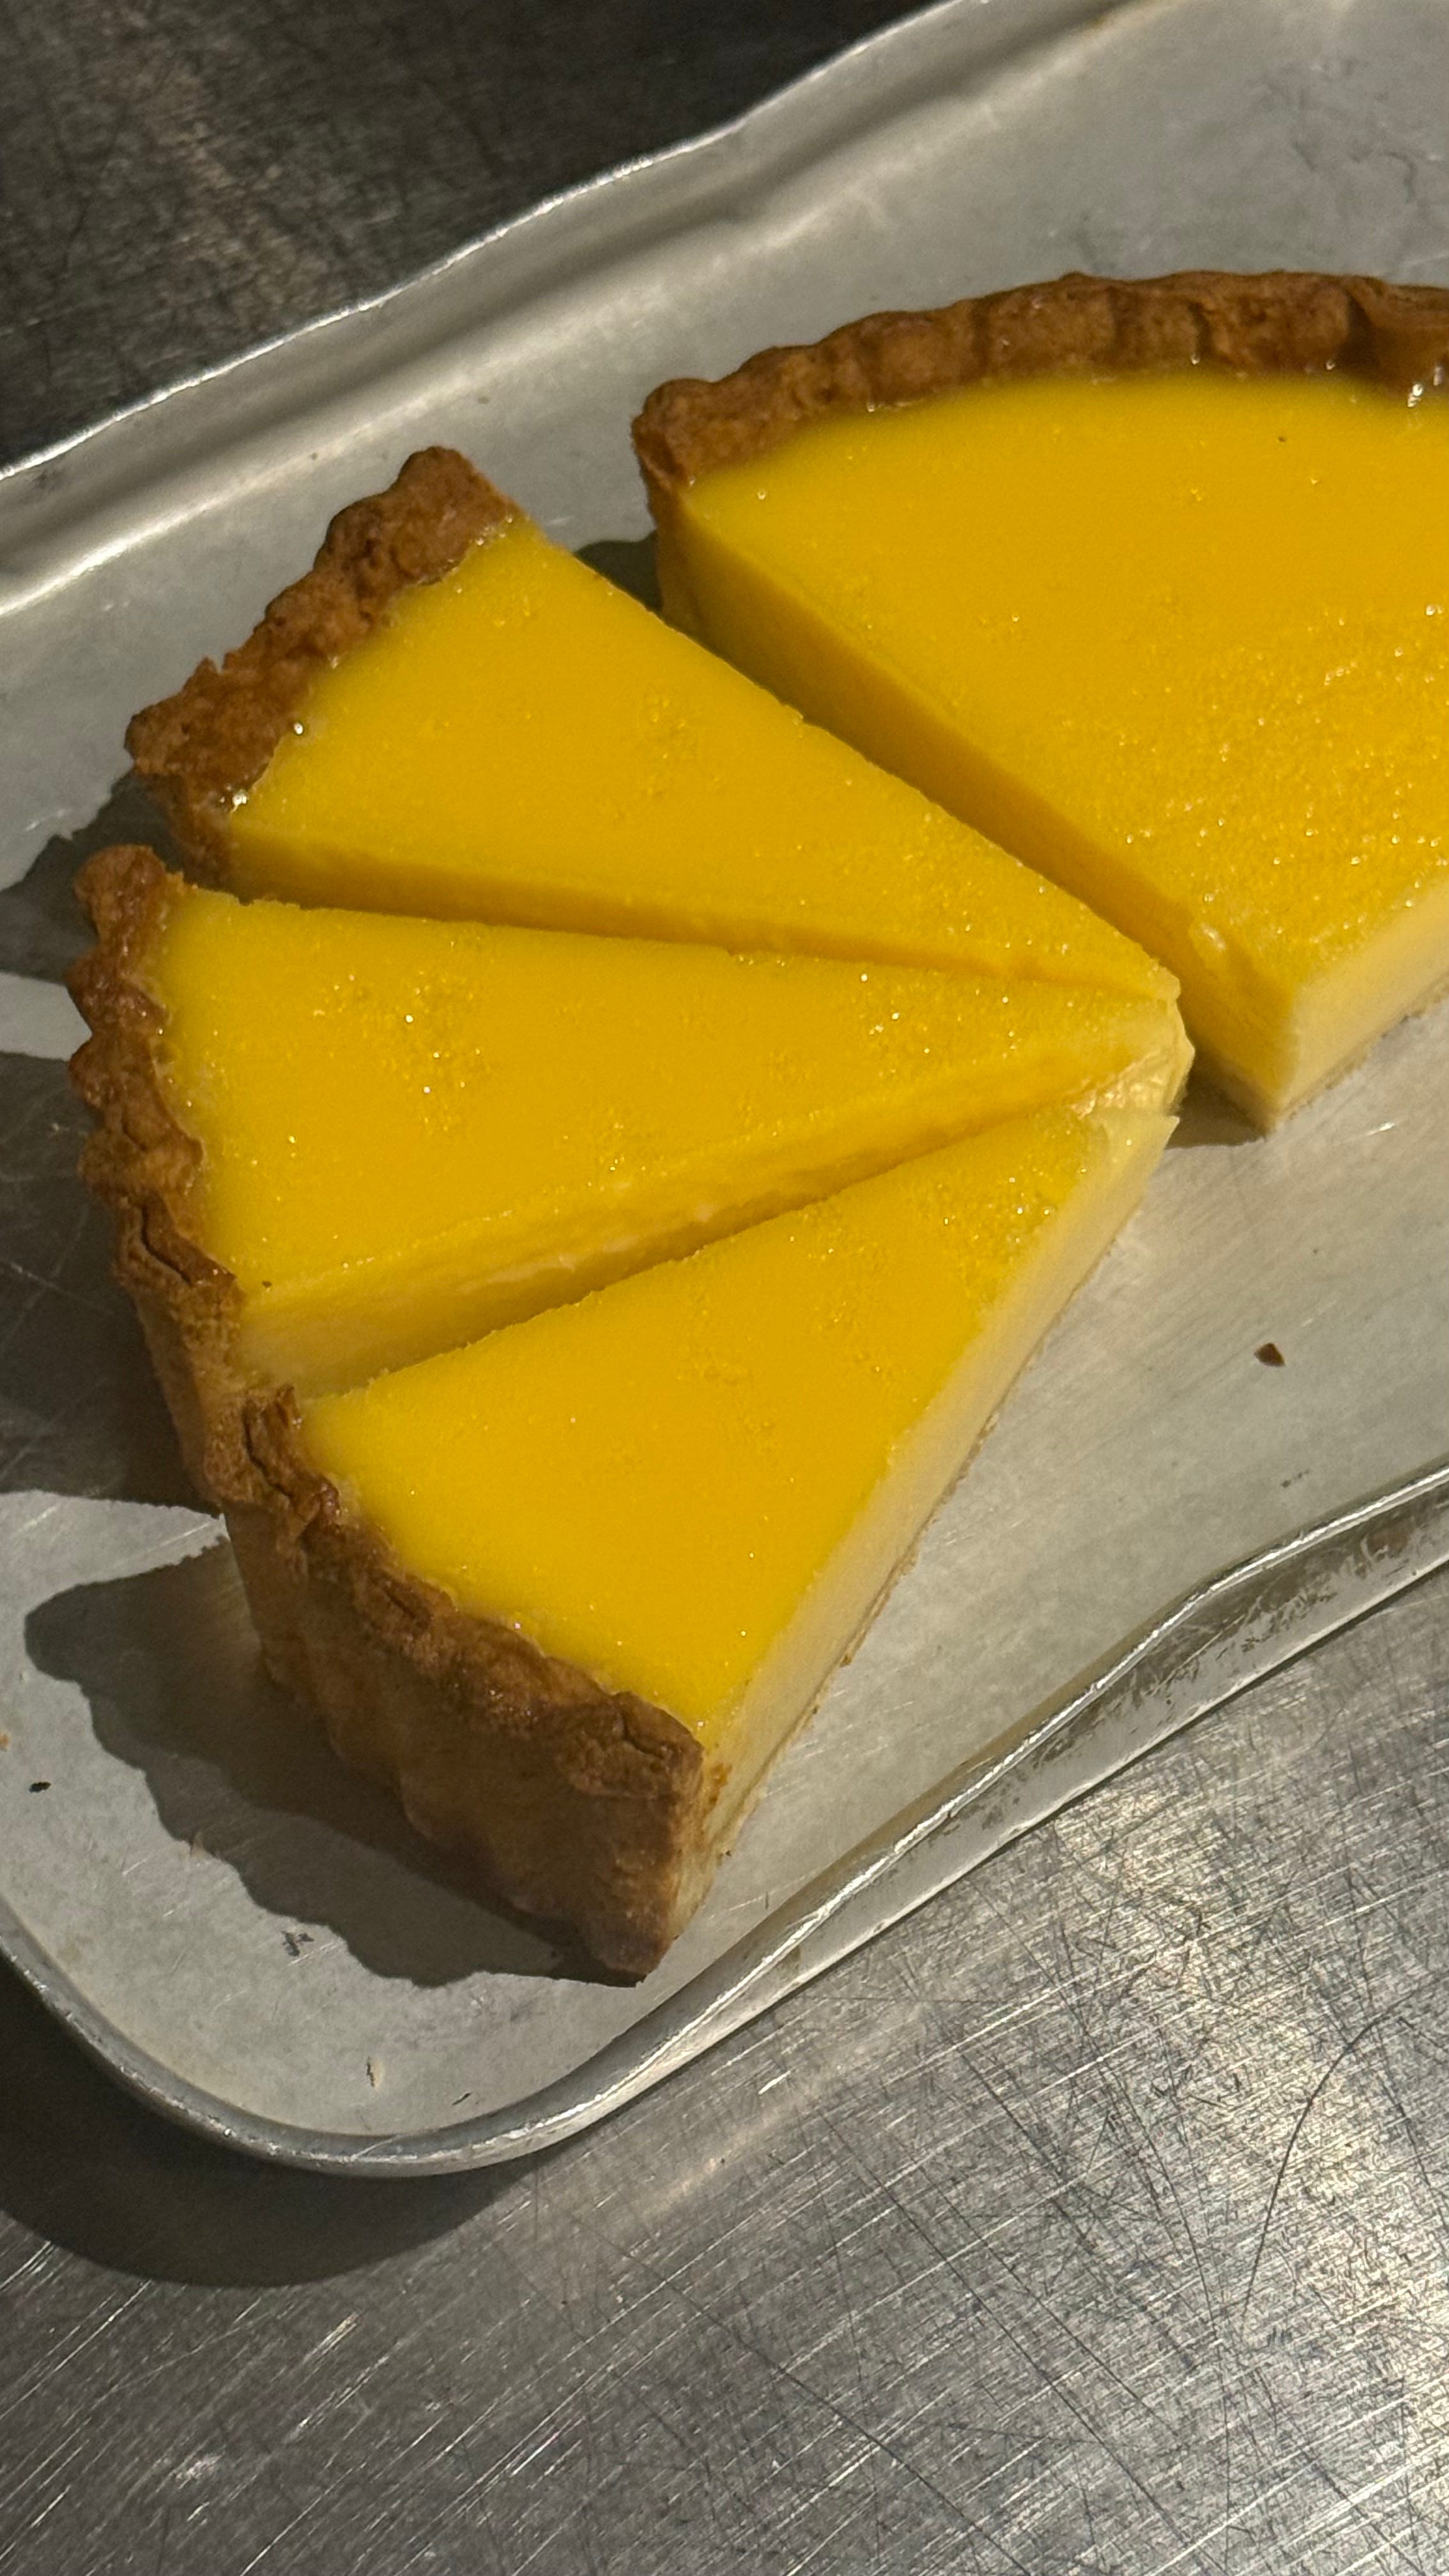
This tart is not about reinventing the wheel - it’s just a really lovely classic lemon tart. It’s a handy one to have in your back pocket, and if you follow the recipe carefully, it’s difficult to mess up. Potential stumbling blocks include:
not blind-baking the shell enough - it won’t colour any more once you’ve poured in the filling and turned down the oven, so make sure you take it to a lovely biscuity golden brown colour.
spilling the filling into the tray or oven - I mitigate this by leaving the tart shell in the oven and pouring the filling directly in. This way, the tart doesn’t have to go anywhere, and you don’t need to worry about shaky hands spilling it and ruining your careful work.
over (or under) baking. You can remove the tart when there is a little jiggle across the top, as it will set a bit more firmly than a custard tart would. If you over bake, you risk achieving a rubbery texture, or the filling might crack as it cools.
slicing too soon - or with the wrong knife. Once it’s had a good two hours at room temp to set, use a sharp bread knife to slice into portions
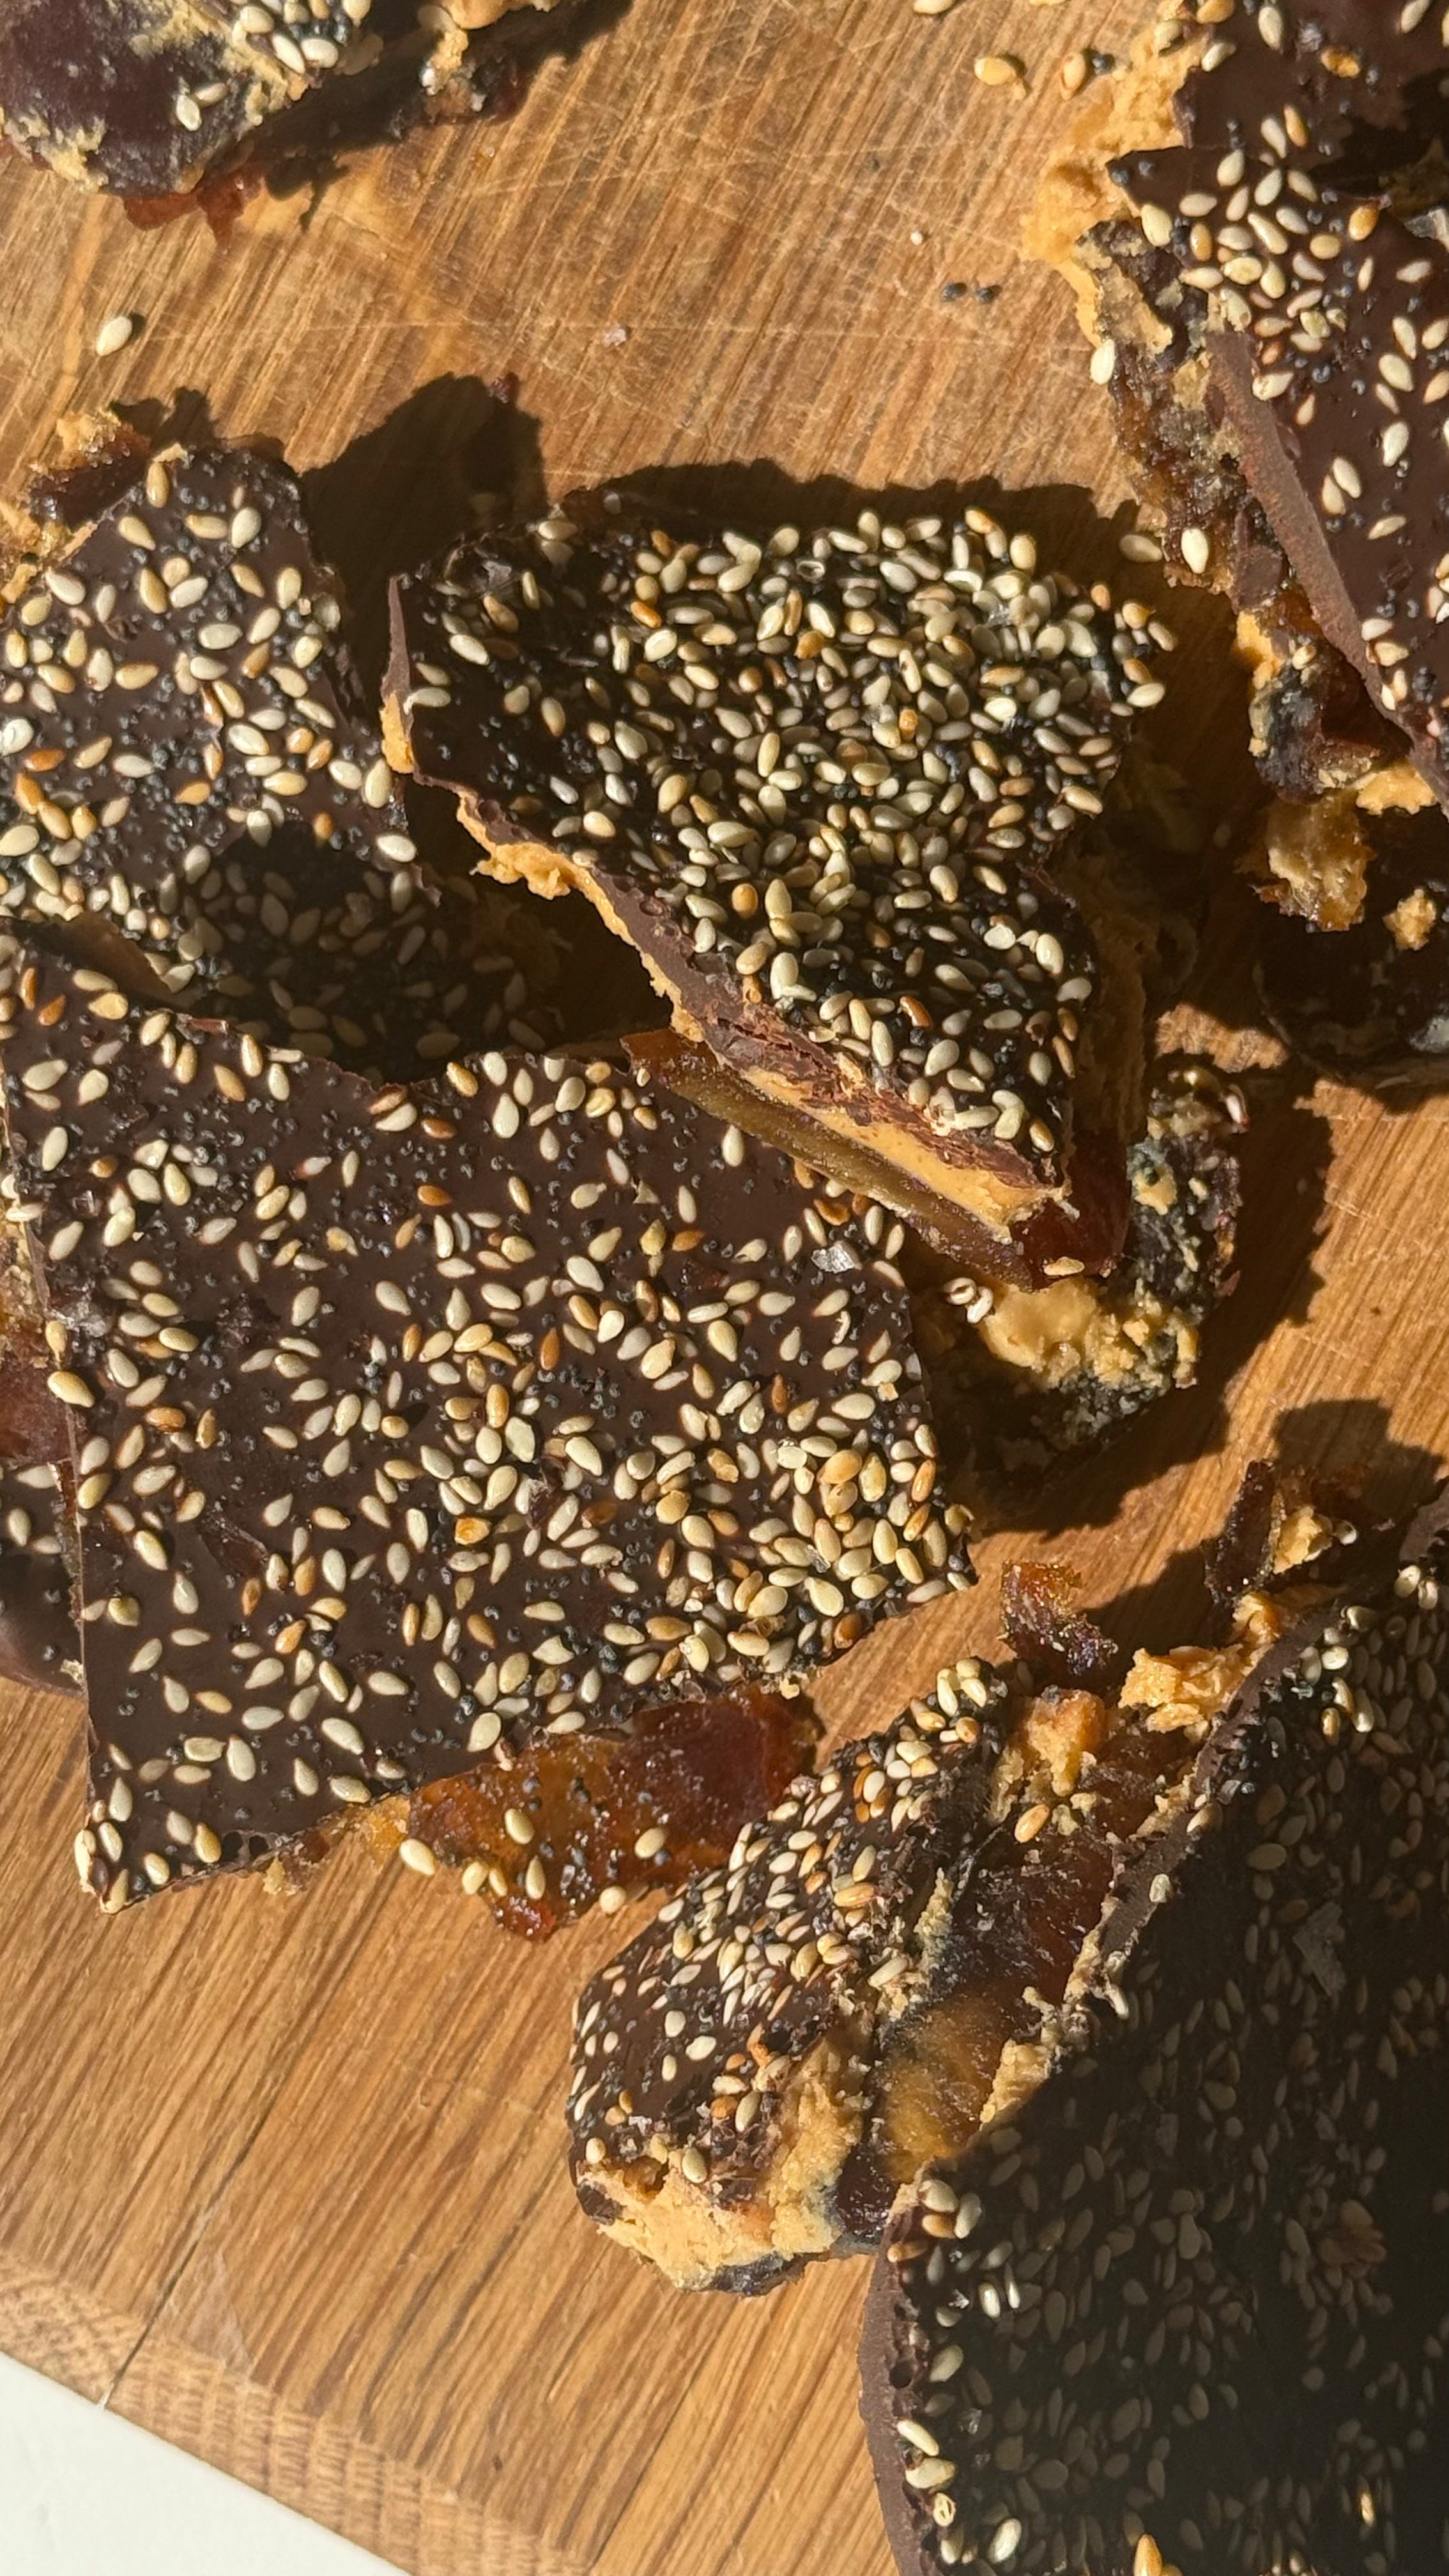
This week you’re also getting a bonus recipe for this date bark that I’ve been seeing non-stop on my TikTok and Instagram feeds. I made it last week to use up some dates that were taking up unnecessary room in my fridge, and it’s been my go-to snack ever since. It reminds me of a Snickers ice-cream, which happens to be my favourite. I recommend you make a batch for midweek snacking (to eat straight out the freezer). I’m not going to pretend it’s a HEALTHY snack, but with only a handful of ingredients, at least you know exactly what you’re eating - plus it’s bloody yummy.
Ingredients
250g dates, preferably Medjool
100g peanut butter, preferably dark roast
150g chocolate, preferably dark
15g coconut oil
20g toasted seeds (I used poppy and sesame)
Pinch sea salt
Method
Remove the pits from the dates and lay them on a lined baking tray. Place another sheet of baking parchment over the top and use a rolling pin or glass to squash them out into an even layer. Heat the peanut butter in the microwave for 30-40 seconds, then remove the paper from the dates and pour the peanut butter over the top. Smooth out so it covers the entire surface. Place the chocolate in a heatproof bowl with the coconut oil and melt in 30 second intervals in the microwave until smooth. Pour this over the peanut butter and spread over the entire surface. Sprinkle over seeds and sea salt. Freeze for at least 2 hours, then break into pieces and enjoy.
Comments
Nothing yet. Say the first thing.
Sign in to join the conversation.