
In this short video, I’ll show you how I dry my silver clay pieces, and explain why a little gentle heat can make all the difference.
One of the best additions to my workshop is a simple mug warmer. I use one all the time because it gently speeds up the drying process, allowing the water to evaporate so the clay becomes firm enough to file, finish and torch fire.
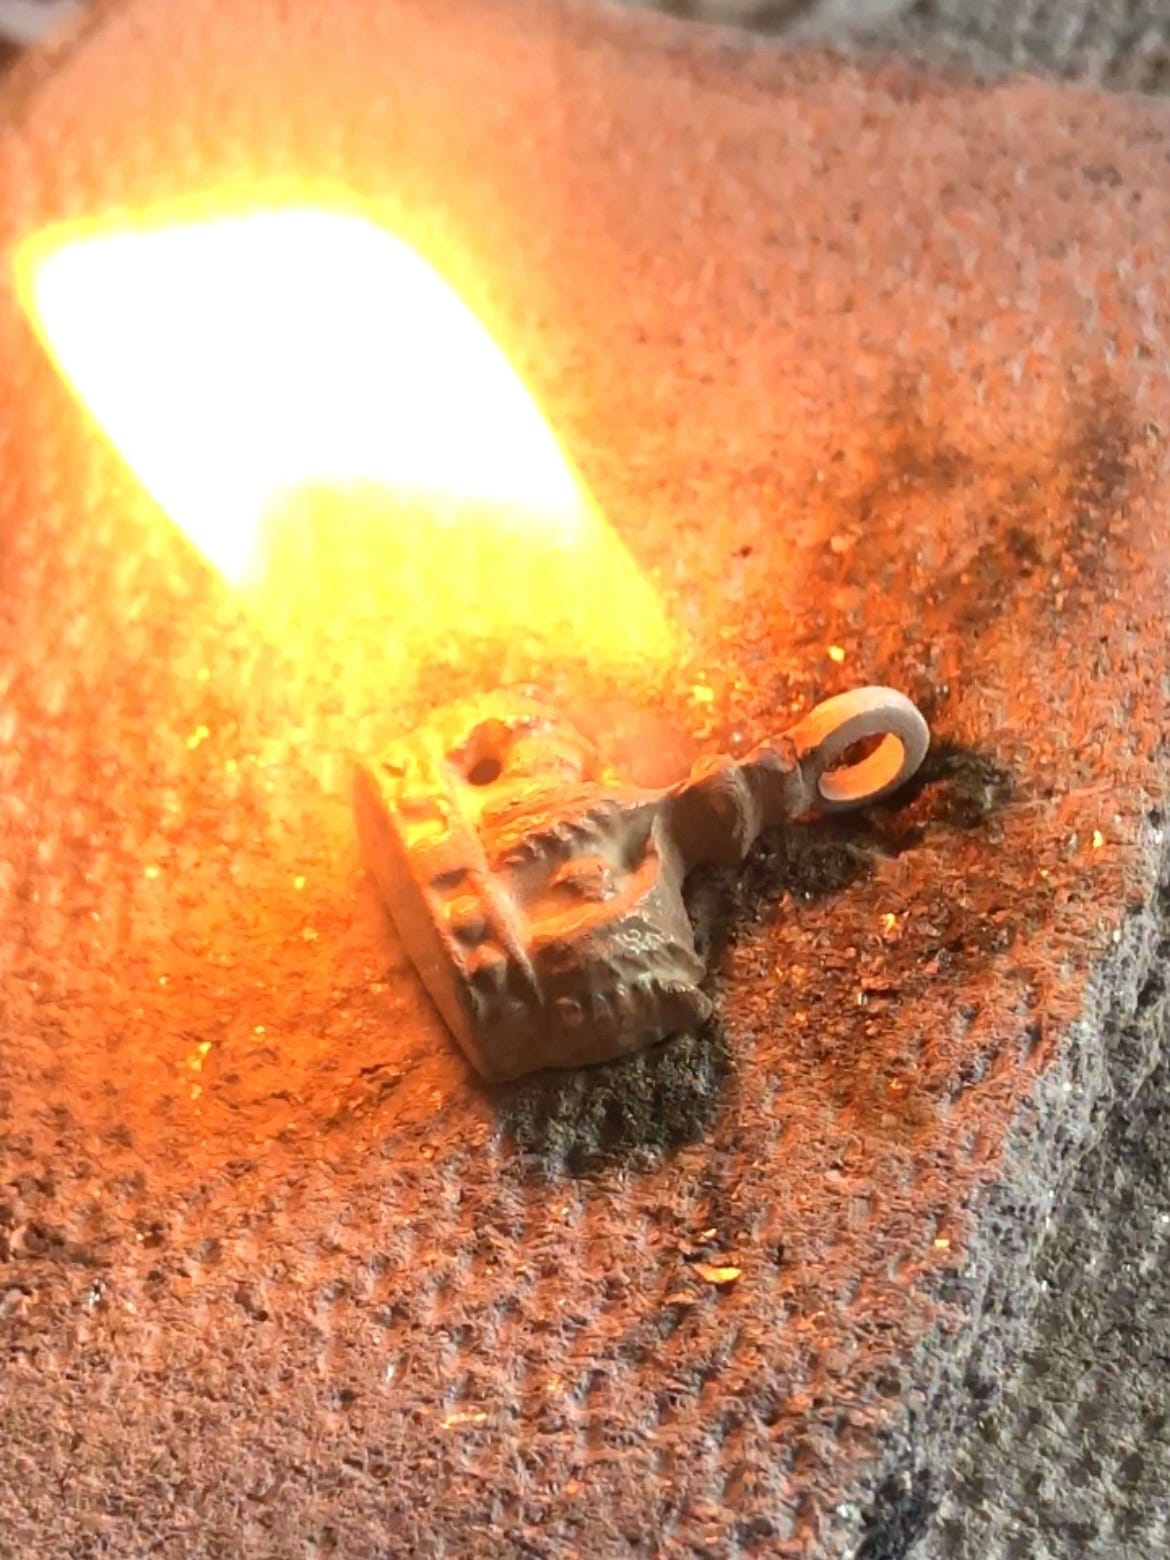
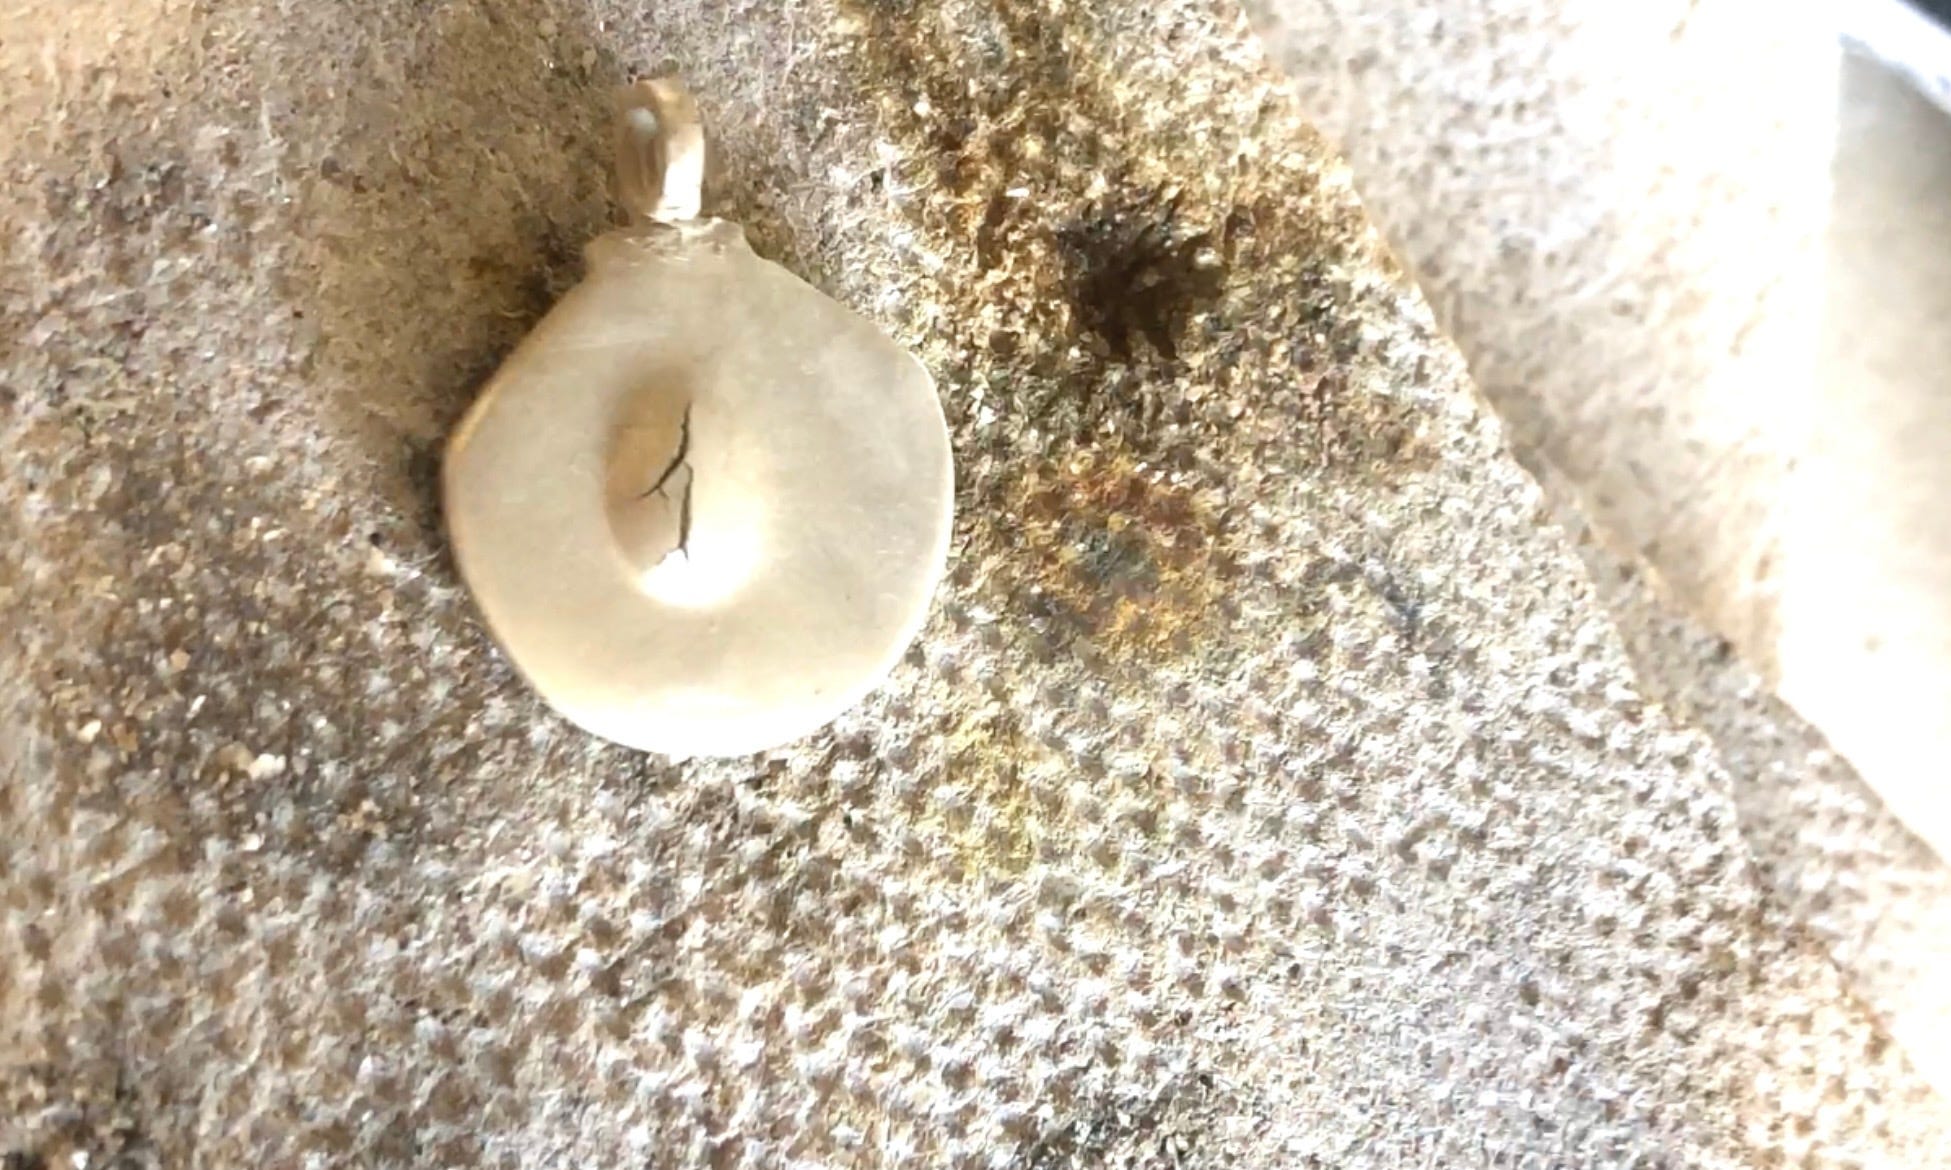
If there’s still moisture trapped inside the clay, it turns to steam as the temperature rises. Water expands when heated, and that pressure can cause cracking, distortion or even a small air bubble to burst, leaving a hole in your piece.
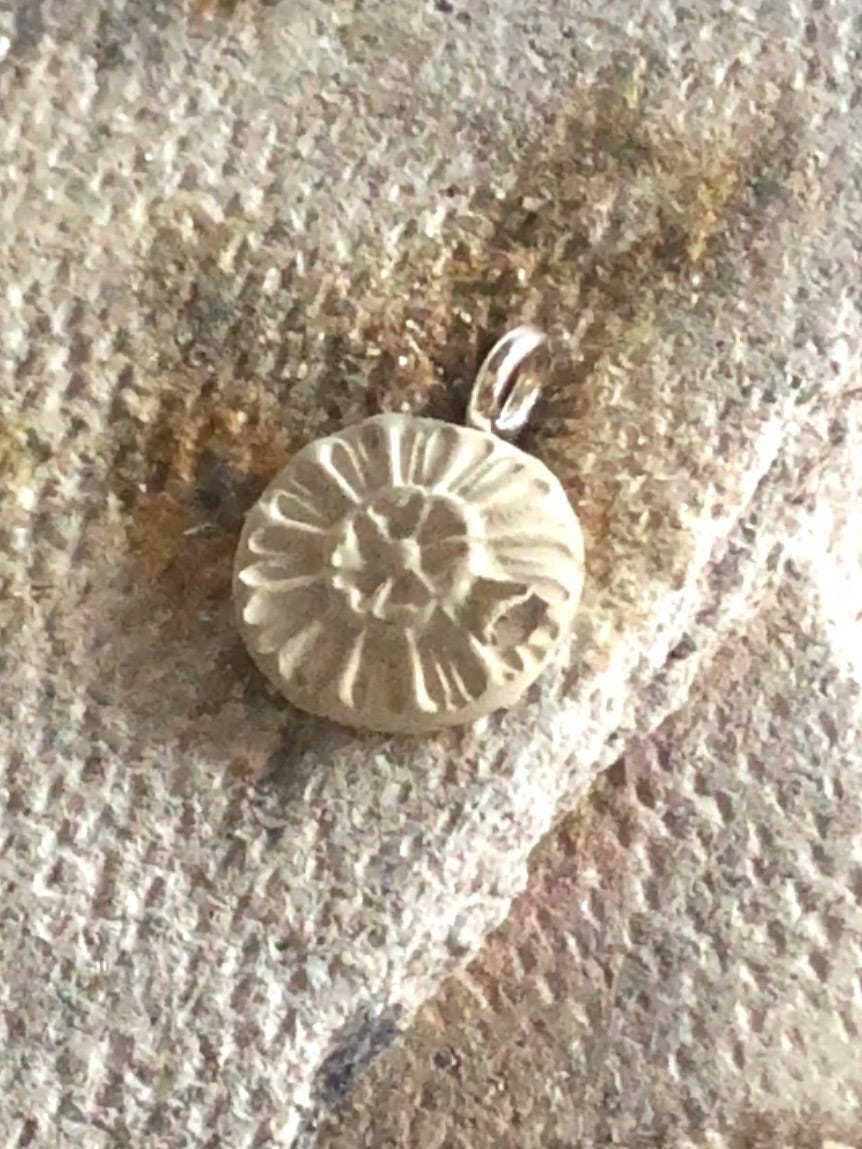
This happens if moisture is trapped inside. To remedy this, use a little heat and extra time to dry your work thoroughly and you will avoid these problems.
Once you start using a mug warmer, you’ll probably wonder how you ever managed without one before. It’s one of those inexpensive workshop tools that quickly becomes part of your everyday routine.
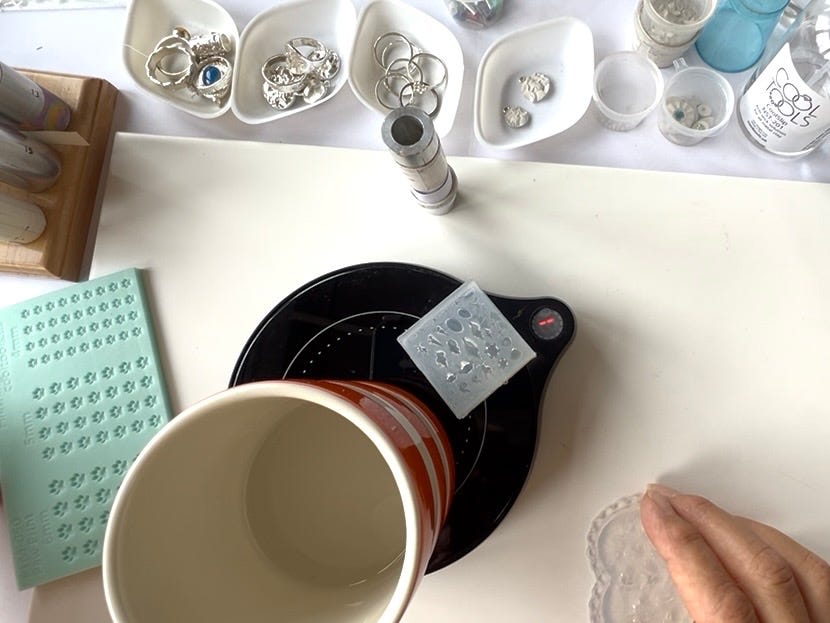
It can be tempting to turn your mug warmer up to the highest setting and expect your clay to dry even faster—but gentle heat is the key.
Too much heat can cause the outside of the clay to dry before the moisture has escaped from the centre. If that happens (and yes, I’ve done it myself!), the surface can begin to crack, warp and distort - particularly on thicker pieces.
For drying silver metal clay, heat setting 1 is usually all you need. Be patient, let the warmth do the work, and your clay will thank you for it.
Yes, you can, although it’s worth checking the recommendations for the brand of clay you’re using. Not drying your pieces thoroughly using a little heat could be the reason why your firings are failing.
I use Art Clay Silver, which has a relatively low shrinkage rate, so it contains less binder than some higher-shrinkage clays. It’s the reason why if a piece isn’t urgent, I can leave it to dry naturally (often overnight) without it cracking during the firing process.
Higher-shrinkage clays generally contain more water and organic binder. Because of this, it’s especially important that all the moisture has evaporated before firing. Gentle heat from a mug warmer (or another source that you may be using) helps the clay dry more quickly and evenly, reducing the chance of problems later.
As I spend a lot of time making jewellery and filming tutorials, I don’t want to be sitting around waiting for pieces to dry naturally. A mug warmer keeps the process moving, so I can get on with refining, adding details and preparing my work for firing much sooner.
I spent quite a while researching mug warmers before recommending one. I was lucky enough to find mine in a charity shop, but if you’d rather not wait for that to happen in your local area, there are plenty of new ones available online.
When choosing a mug warmer for drying silver metal clay rather than keeping your coffee warm (although there’s nothing to stop you doing both!), here’s what I’d look for:
A flat warming plate. Avoid models with a raised ridge around the edge, as you’ll want a smooth surface to rest your pieces on
A long enough power cable. Think about where your plug sockets are and whether the lead will comfortably reach your work station
Good customer reviews. I always look for a product with consistently high ratings
Simple controls. The easier it is to switch on and use, the more likely you’ll keep it on your bench and use it regularly
You’ll find all my Stockists Lists on Substack, with links to the tools, materials, equipment and silver metal clay products I use and recommend. If you’ve subscribed, you should have received the links in your welcome email.
I’m always buying new products, so I’ll keep adding to these lists as I discover more favourites. Do check back from time to time, as I regularly update the lists.
I have also used a food dehydrator when I’ve been away on a metal clay course and they also work particularly well. I don’t have one because I love my ‘small space’ for creating my jewellery. As you might imagine, a dehydrator takes up a lot more room. However, it might be worth investing in if you are planning to make a lot of pieces.
If you’ve enjoyed this Silver Clay Q&A, you’ll love The Vault—my growing library of step-by-step video tutorials, masterclasses and monthly Ask Anna episodes, designed to help you build your skills with confidence. August episode 23 is LIVE - Mould & Texture Ring Tutorial
Join The Vault for £60 per year, with The Studio newsletter membership (£20 for my weekly newsletter) included at no extra cost.
Is there a silver clay question you’d like me to answer in a future Silver Clay Q&A?
Leave it in the comments below. I read every question and may feature yours in an upcoming edition.
No posts
Comments
Nothing yet. Say the first thing.
Sign in to join the conversation.