
In out repair department at The Sewing Machine Shop, around 80% of the machines we service come in for the same small set of issues— recurring, preventable problems that account for the majority of breakdowns. This idea that most sewing machine problems are caused by the same small set of causes can be explained by the Pareto Principle, also known as the 80/20 rule.
In this edition of The Sewing Machine Newsletter, I’ve highlighted 11 of the most common issues that send machines into our repair shop, and link to past articles I’ve written over the years, in case you’d like to dive deeper into any of them.
I hope you find it helpful.
—Cale

in 1988, many video rental shops reported that 80% of revenue came from 20% of videotapes
approximately 80% of Italy's land was owned by 20% of the population
a 1992 United Nations Development Program Report shows that the richest 20% of the world's population receives 82.7% of the world's income.
Microsoft noted that by fixing the top 20% of the most-reported bugs, 80% of the related errors and crashes in a given system would be eliminated.
Given my line of work, I couldn’t help but see how the Pareto Principle applies to sewing machines. In our repair department, it seems that around 80% of the machines we service come in for the same small set of issues. In other words, out of all the hundreds of potential causes of sewing machine malfunction, there is a small set of recurring, preventable problems that account for the majority of breakdowns.
I don’t think it’s an exaggeration to say that The Sewing Machine Shop repairs at least two broken needle threaders every day. The vast majority of broken needle threaders are caused by user error: bent needles, improper needle insertion, and failure to use the needle up/down button are the main culprits.
It’s a costly error. If the needle threader’s tiny wire hook is broken or bent so severely that it needs to be replaced, the cost for parts is anywhere between $12-$50 depending on the machine.
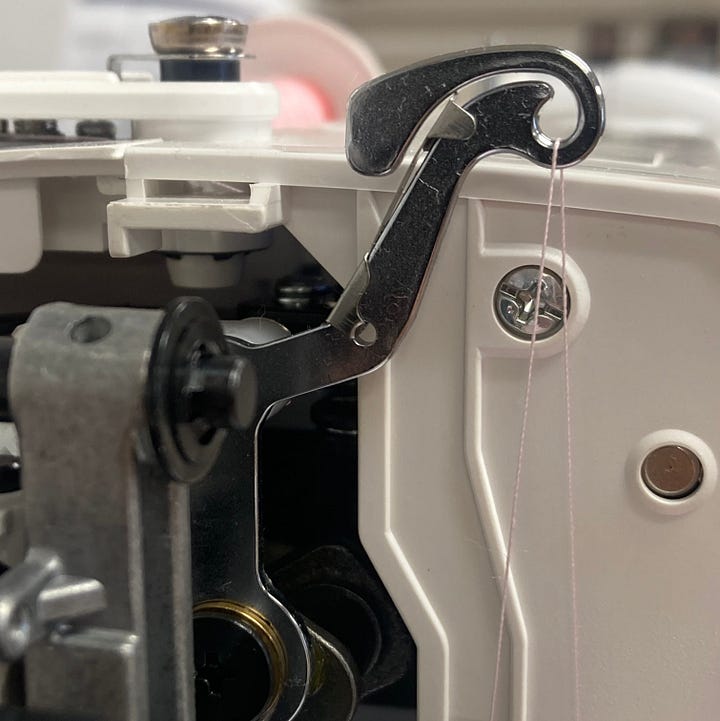

Failure to thread the take-up lever guarantees that thread will gather on the underside of the fabric, appearing similarly to a bird’s nest. Besides the stitch quality being unacceptable, this bird’s nest can lead to other problems. It can cause a jam in the lower half of the machine that causes a mechanical bind and/or the machine being thrown out of time. It is also common that failure to thread the take-up lever leads to damage on the bobbin case due to needle strikes.
When threading a sewing machine, a non-negotiable rule is that you must thread the machine with the presser foot in the raised position. When the presser foot is in the raised position, the machine’s upper tension discs are open. When the presser foot is in the lowered position, the tension discs are closed.
We want to thread the machine while the tension discs are open because that is how our upper thread gets in between the tension discs. If we thread the top half of the machine with the tension discs closed (presser foot lowered), it is difficult for the thread to slide between the tension discs. Instead, the thread will likely sit atop the closed tension discs and your upper thread will not have any tension while you sew, which commonly results in small thread loops (AKA “eyelashes”) on the underside of the fabric.
A fairly common occurrence at The Sewing Machine Shop is that someone comes in with their machine that is skipping stitches, but when I power up the machine and sew on it, there are no skipped stitches for me. Some have said there must be some sort of magic that occurs by walking through our door. Others say that I have the Midas Touch for sewing machines.
Neither is true.
There is no magic at play, but there is a secret: needle-hook clearance is a leading cause of skipped stitches, and a slightly bent needle can throw the needle-hook clearance out of whack. With that being the case, if you get skipped stitches and want to troubleshoot your machine at home instead of bringing it to a technician, the first step is to insert a new needle.
If I had a dollar for every time someone came into our shop complaining about poor stitch quality, and the issue turned out to be low-quality thread, I think I’d be at least $1,000 richer by now. It’s remarkable how often the simple switch to a high-quality thread like Mettler or Aurifil completely resolves the problem.
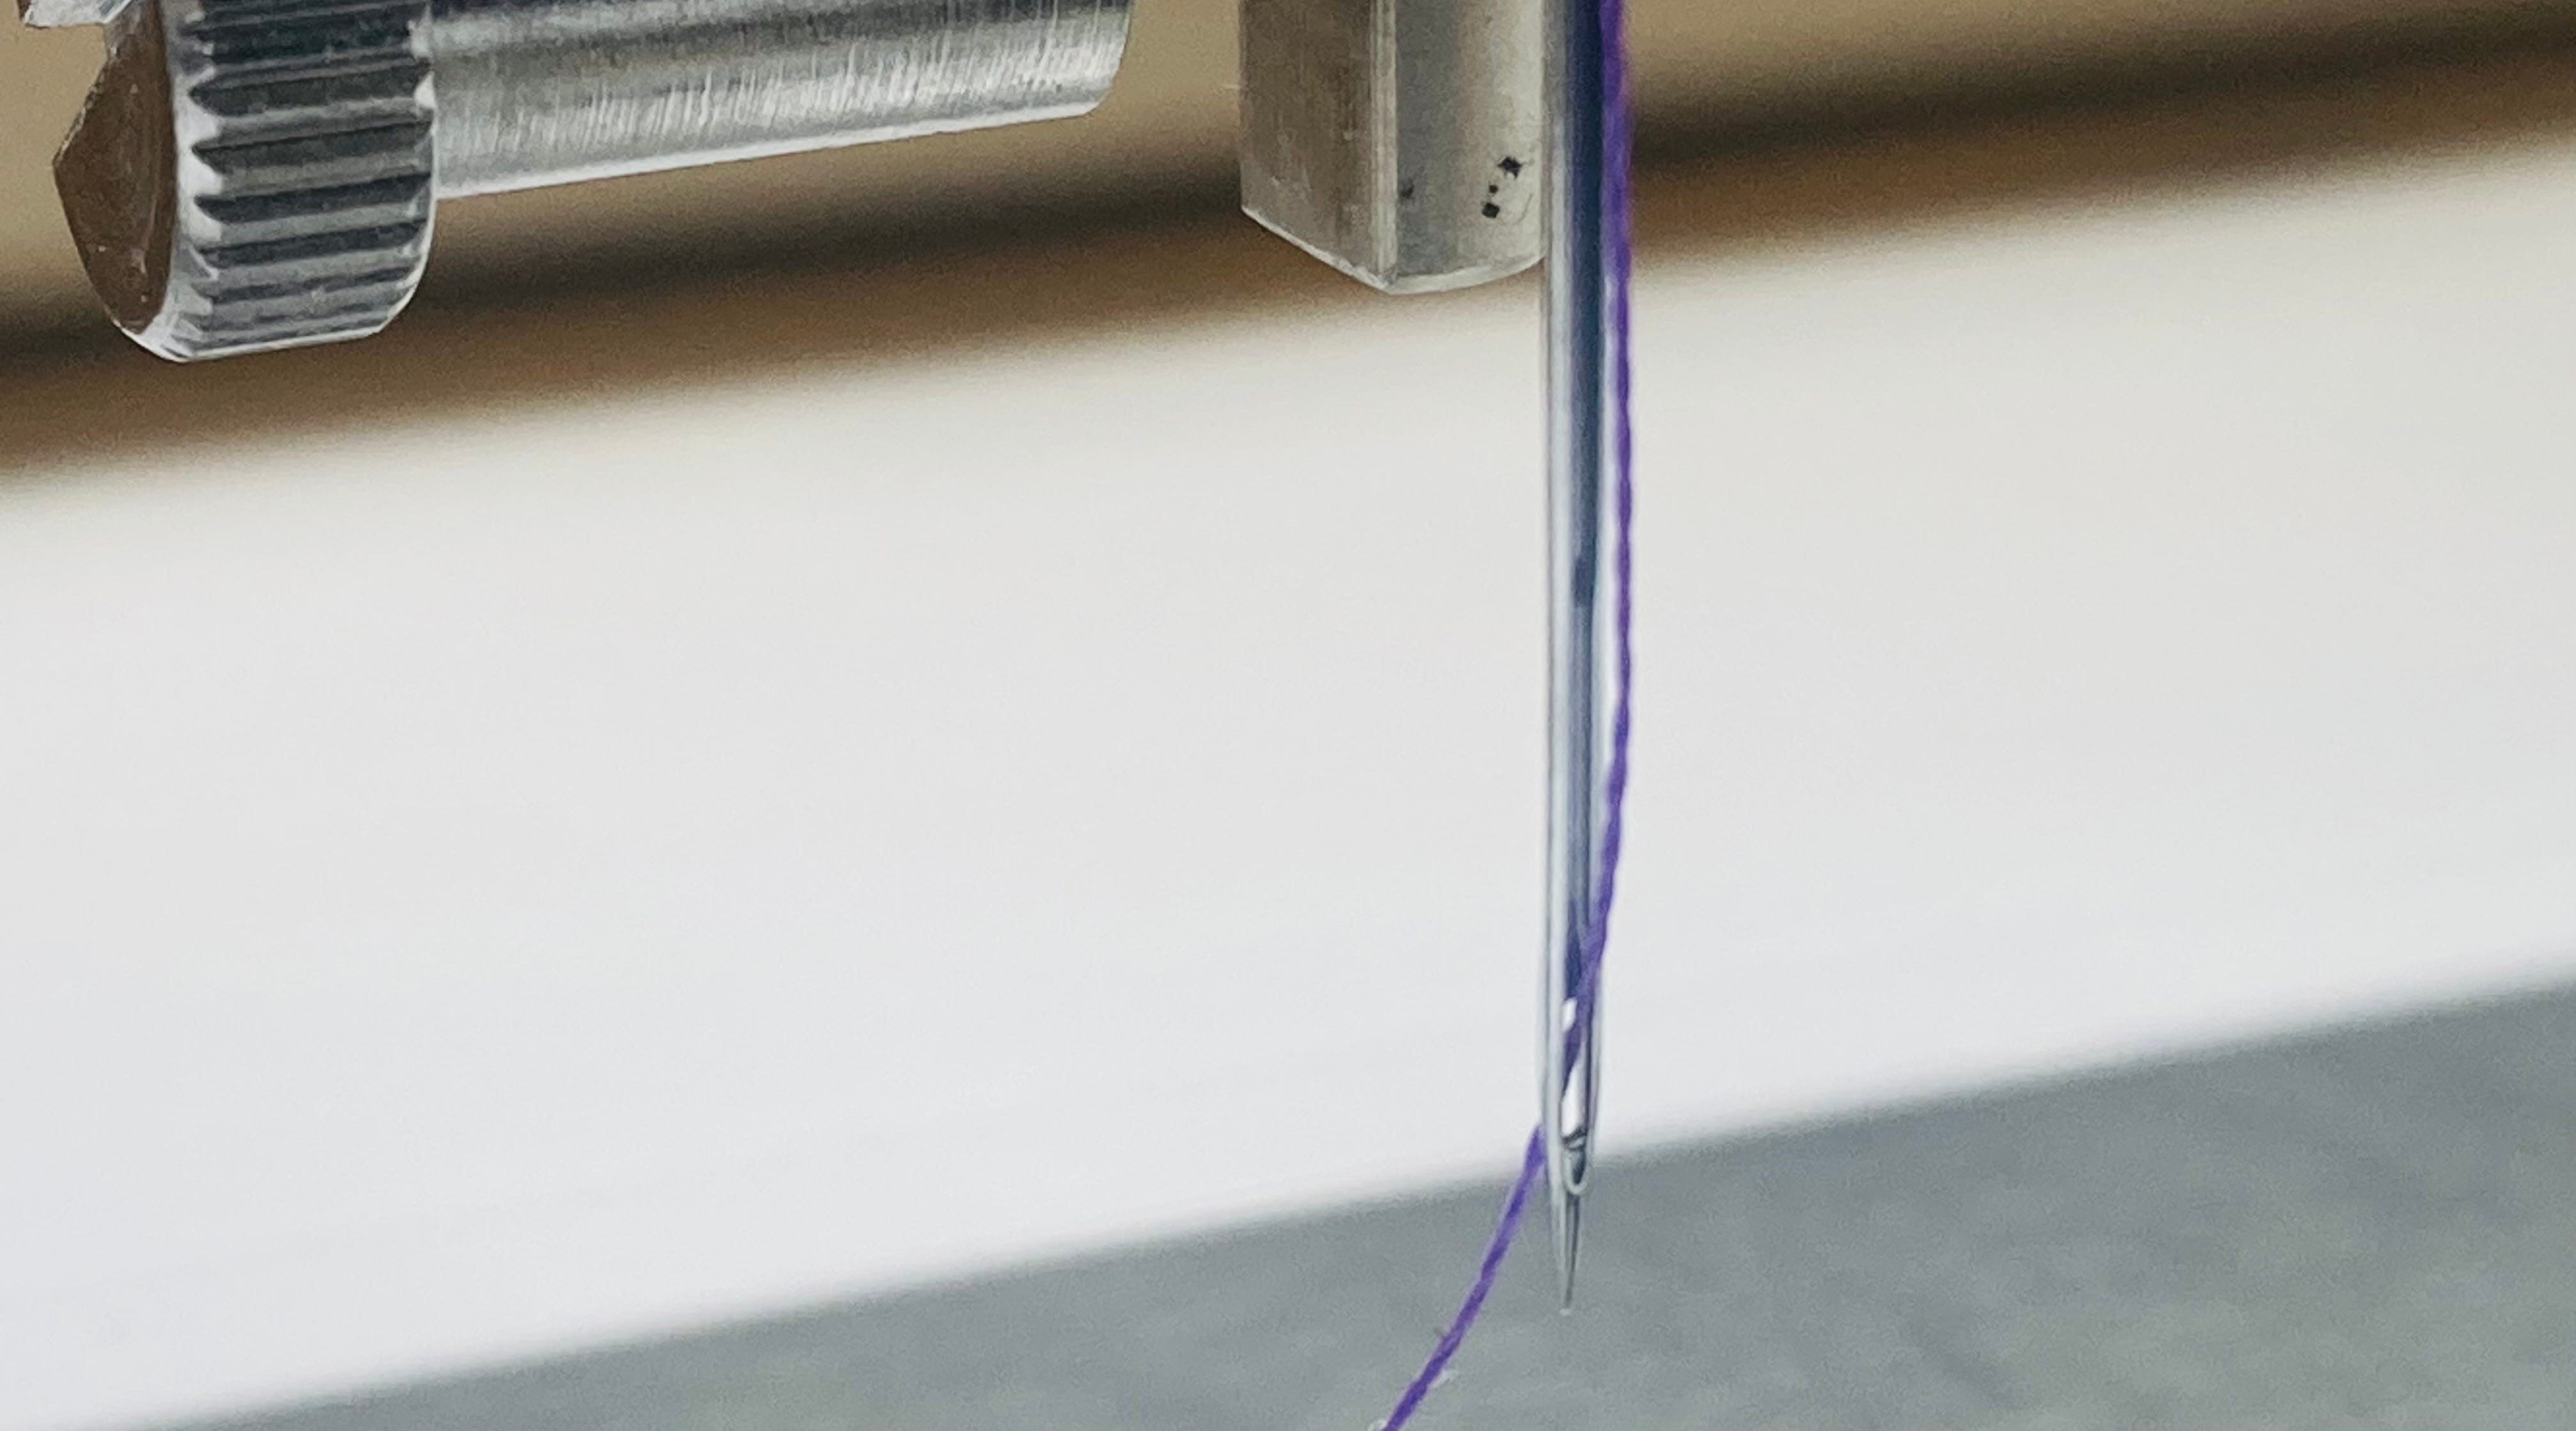
Thread quality plays a critical role in stitch formation. It cannot be overstated: even the best sewing machine in the world can’t compensate for inferior thread. Bad thread leads to skipped stitches, inconsistent tension, thread breaks, and a host of other frustrating issues.
Each time the machine makes a stitch, it ties a tiny knot between two thread sources: the upper thread and bobbin thread. That knot is what holds your fabric layers together.
When tension is balanced, that knot sits neatly between the layers of fabric, hidden and secure. When tension is unbalanced, the knot gets pulled too far toward one side— you might see loops on the top or bottom of the fabric, notice the stitch feels loose or bumpy, or find that the thread can be pulled out too easily.
Fortunately, in most cases, you have the ability to troubleshoot unbalanced tension at home. It’s a great skill to have. The article linked below shows you how.
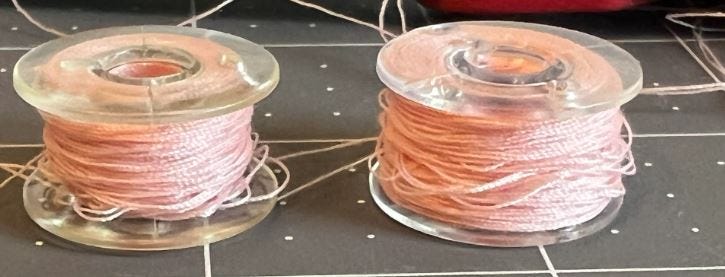
When winding a bobbin, the thread we’re winding onto the bobbin needs to be under adequate tension, or else the bobbin will end up being “loose” or “sloppy”. This is no good. A sloppy bobbin will cause all sorts of problems, particularly with stitch quality, but also has the potential to cause more traumatic events such as thread jams and needle crashes.
Using the incorrect needle type or needle size welcomes a whole host of problems: skipped stitches, puckered fabric, thread loops, and more. Below is my simple guide to needles:
Speaking of needles, failure to properly insert the needle will render your sewing machine useless. You’ll think the machine is broken, when really your needle hasn’t been inserted all the way up, or it is inserted with the flat facing the wrong direction.
As strange as it sounds, spool caps serve as a common obstruction to the upper thread path. It can cause skipped stitches and other stitch quality issues. Also, if you’ve needle becomes unthreaded after you use your automatic thread trimmer, then an incorrectly sized spool cap (or a spool cap with a burr in the plastic) is likely the culprit.
Needle strikes on the needle plate, bobbin case, or hook can be a big problem. They can case thread breakage, thread looping, and skipped stitches. Most of the time, needle strikes happen when we are sewing thick fabric that our machine has difficulty feeding. We help the machine feed the fabric by pushing the fabric through, and that’s when needle strikes occur— because we push the fabric while the needle is in the fabric, causing the needle to deflect off course and strike a part of our sewing machine.
If you find my work valuable, please upgrade to become a paid subscriber. All revenue supports my family and goes a long way in helping me to continue to write.
You will unlock the full archive of over one hundred similar sewing machine educational essays and articles.
All support is hugely appreciated.
—Cale
Comments
Nothing yet. Say the first thing.
Sign in to join the conversation.