
Hey Friends!
I hope you are all having a lovely week so far? Thank the good, sweet heavens that the weather has decided to chill out ever so marginally this week. I’ve managed to turn my oven on a whole 2 times this week which is a vast improvement from last week’s big fat zero.
I could yap on with the normal nonsense I always start the newsy with and completely evade the elephant in the room, but shall we address it? Shall we just deep dive into it? So sure, I have been relatively useless over here keeping the newsletter as consistent as I would love it to be but for good reason (tbc lets circle back to this come start of December). Some of you may have seen my news over on insta last week that yes, I am indeed mit bebe (bridget jones iykyk). Incredibly wonderful news after such a shitty start to the year. However I will admit it was slightly surprising especially as we took in Bandit literally a week before we suspected we may have been pregnant.
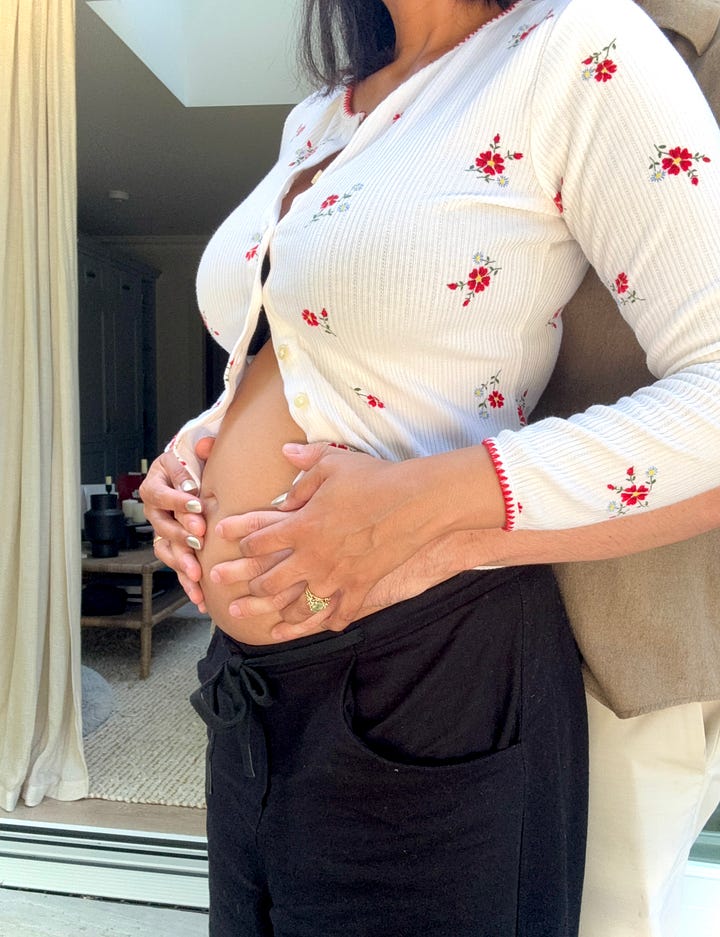

Did we think ‘oh fu*k’, at the thought of having taken on a new pup (not just any pup, a chihuahua/jack Russell cross can I just add), on top of our already 7-year-old maltipoo, whilst also being thrown back into the wilderness of pregnancy? Absolutely. But I wouldn’t have it any other way. I’m seeing it more as Bandit being my little lucky charm, coming into our lives when I needed him the most to bring back that spark and joy I had been desperately looking for (turns out, you actually can’t just shop your way out of an emotional funk - I must have missed that memo).
I started the pregnancy feeling SO good. I was exercising, I was working out (a mix of Padel 3 times a week, followed by weights 2 to 3 times), eating healthy (I’m talking minimal sugar folks and a whole lotta cottage cheese), walking everywhere, energy sky high. I was smug. I was smug AF. And what a innocent fool I was because as soon as week 8 came hurtling by, I was bed bound, deep in the pits of pity and sadness as the nausea crippled me in every sense. Garlic? Heave. Vomit. Unbearable. The smell alone still makes me mildly angry and distraught. A vegetable? Didn’t know her. Anything with any nutritional value? MIA.
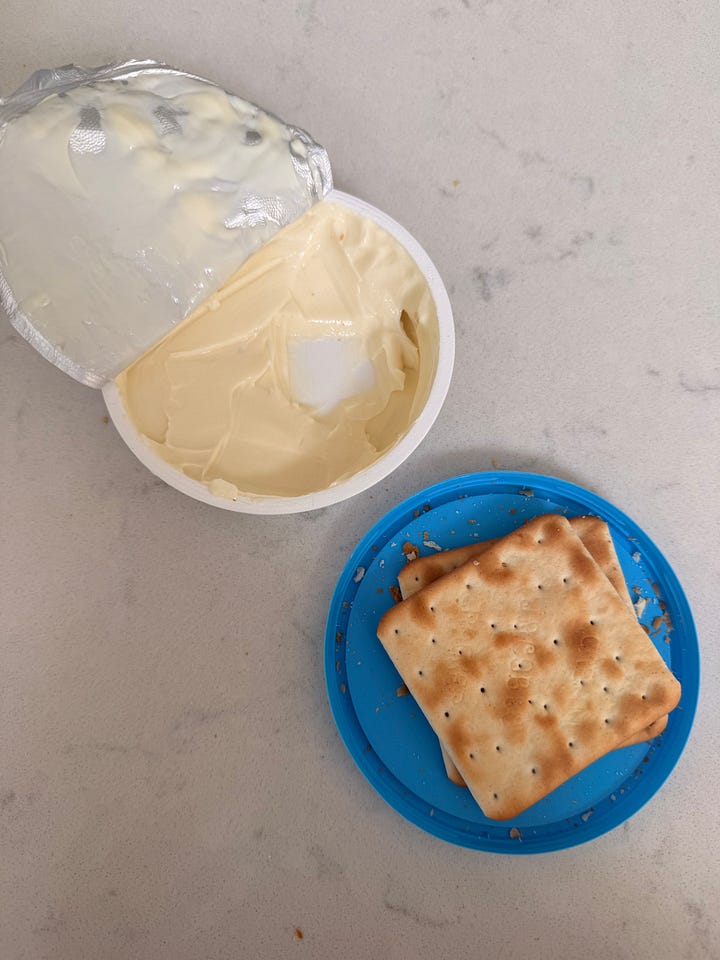
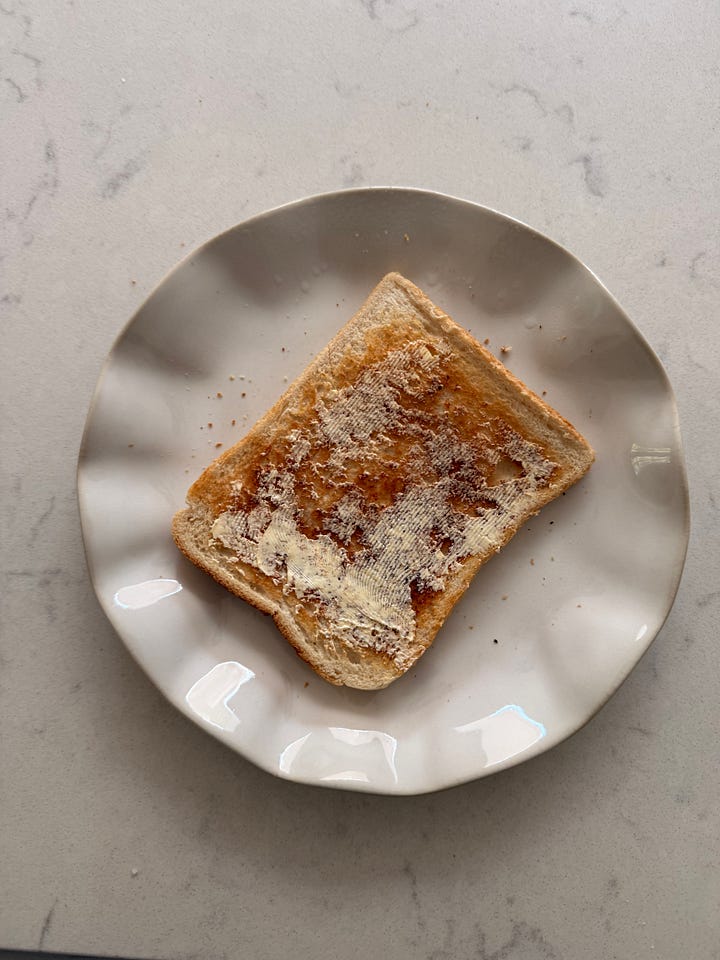
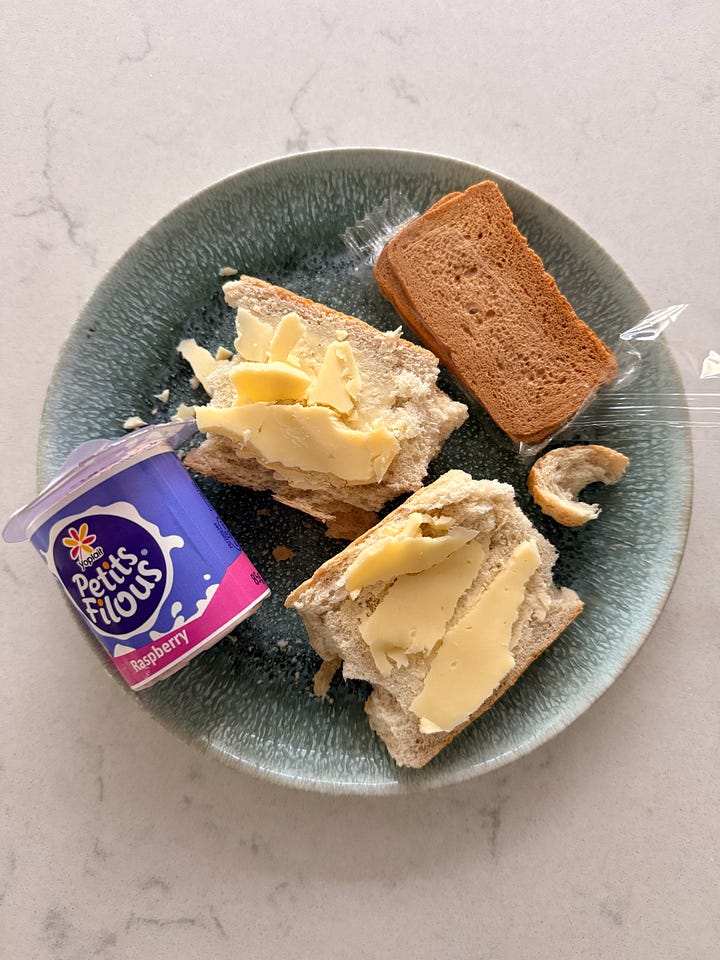
Teamed with insatiable fatigue, I was a walking (ironic as ya gal was walking nowhere) zombie. I had no energy to bake and even the smell of opening the fridge sent me sideways so THAT my friends, is the reason why the meal prep menu’s and my consistency disappeared for the best part of 3 months. And before anyone suggests taking ginger tablets, teas, sweets and supplements – I did EVERYTHING. 2 lots of different medication and 3 months later, I am here. Just about.
Is it an experience I recommend? Nausea, fatigue, ravenous appetite and heightened smell sense aside? Yes. Because seeing the baby’s little teeny tiny tootsies at our 20 week scan on Wednesday made it all worth it. Like lol, I’m actually pregnant pregnant????? Are we ready for this??? Am I ready for this?? Mentally I still feel like I am 21, with the energy levels of a 28 year old (still there but dwindling slightly) in the body of a 37 year old (erring on creaky) but I feel so grateful for the privilege that I get to experience this all over again.


I know the journey to motherhood isn’t the easiest and it’s harder for some than it is for others. I also know how hard it can be hearing the news of yet another pregnancy (my socials seem to be SWAMPED with it at the moment) and so if this is you, if this stings a little or serves as an unwelcomed reminder for anything, please please prioritize yourself, mute me, unfollow or unsubscribe. Protect your emotions, protect your energy and I promise, brighter days lie ahead, and you will find that rainbow eventually.
Last Bite Baby coming 30th November (or 2 weeks late, if the baby takes after their mama) 2026. I hope you’re ready for the rollercoaster, cause I sure as heck aren’t.

Hopefully now the above explains why the spread of recipes recently have been a little light, especially when it comes to anything savoury but hoping to have turned a corner with the old sickness so soon as that is completely in the can, we can get back to normal programming.
But for now, we have:
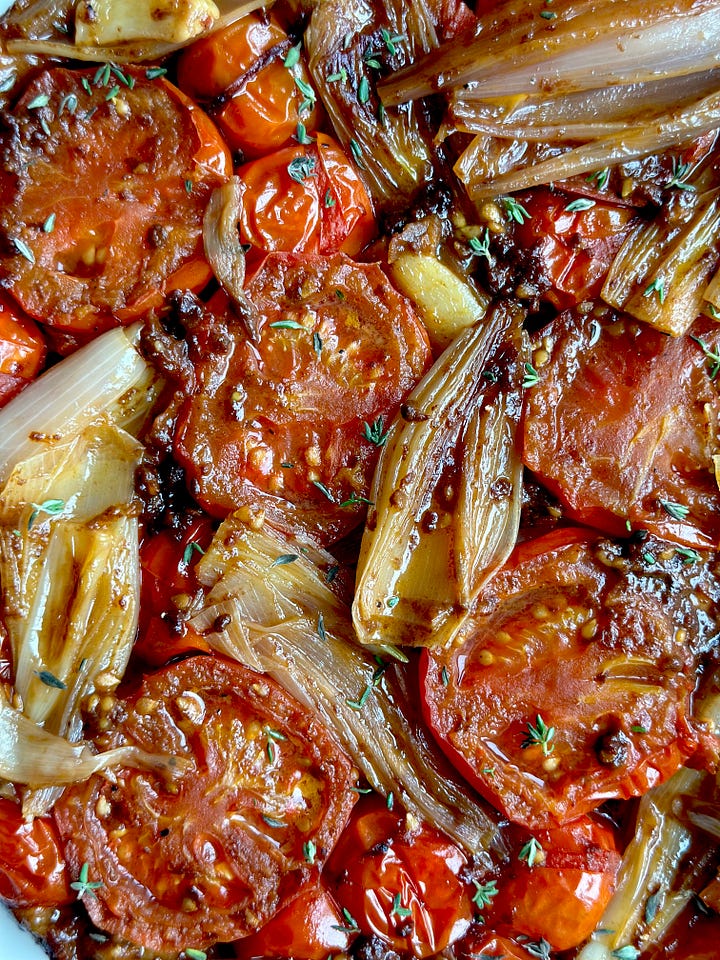
My Tomato, Shallot & Thyme Tart Tatin from the archives. I remade this the other day after what was FAR too long and good lordy lord. It is DIVINE. Here we make our own rough puff pastry for the base but you could easily switch that out in favour of ready-made, for a perfect summer eve dinner served up alongside a crisp, green salad. It’s salty, sweet, crunchy and smushy, packed full of umami goodness. I demolished ¾ of this to myself and ate the last ¼ for brekkie the next day. No regrets.
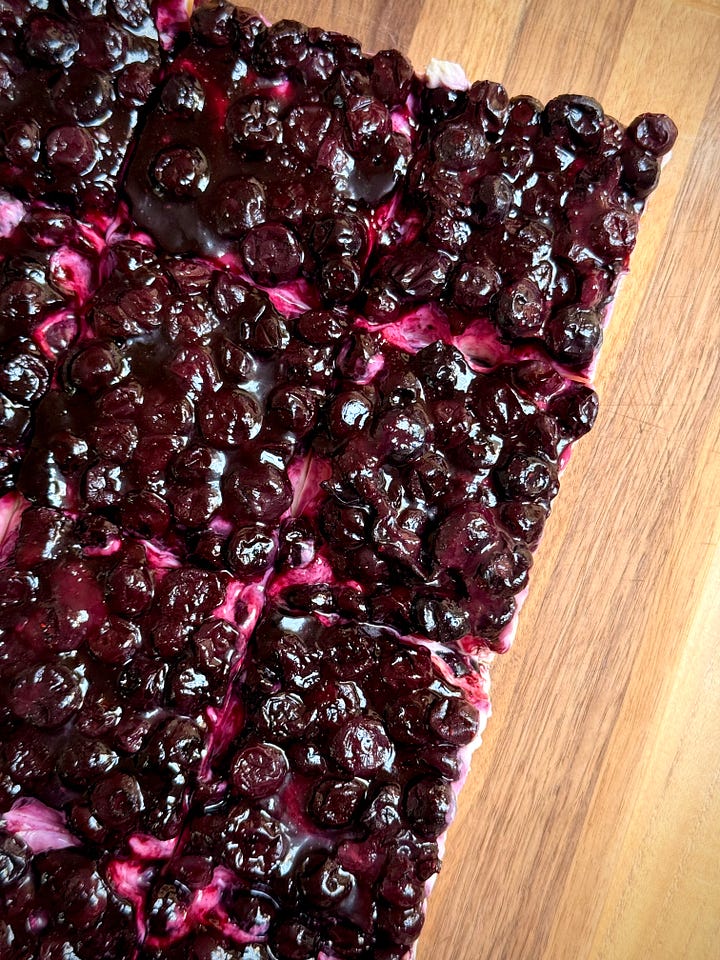
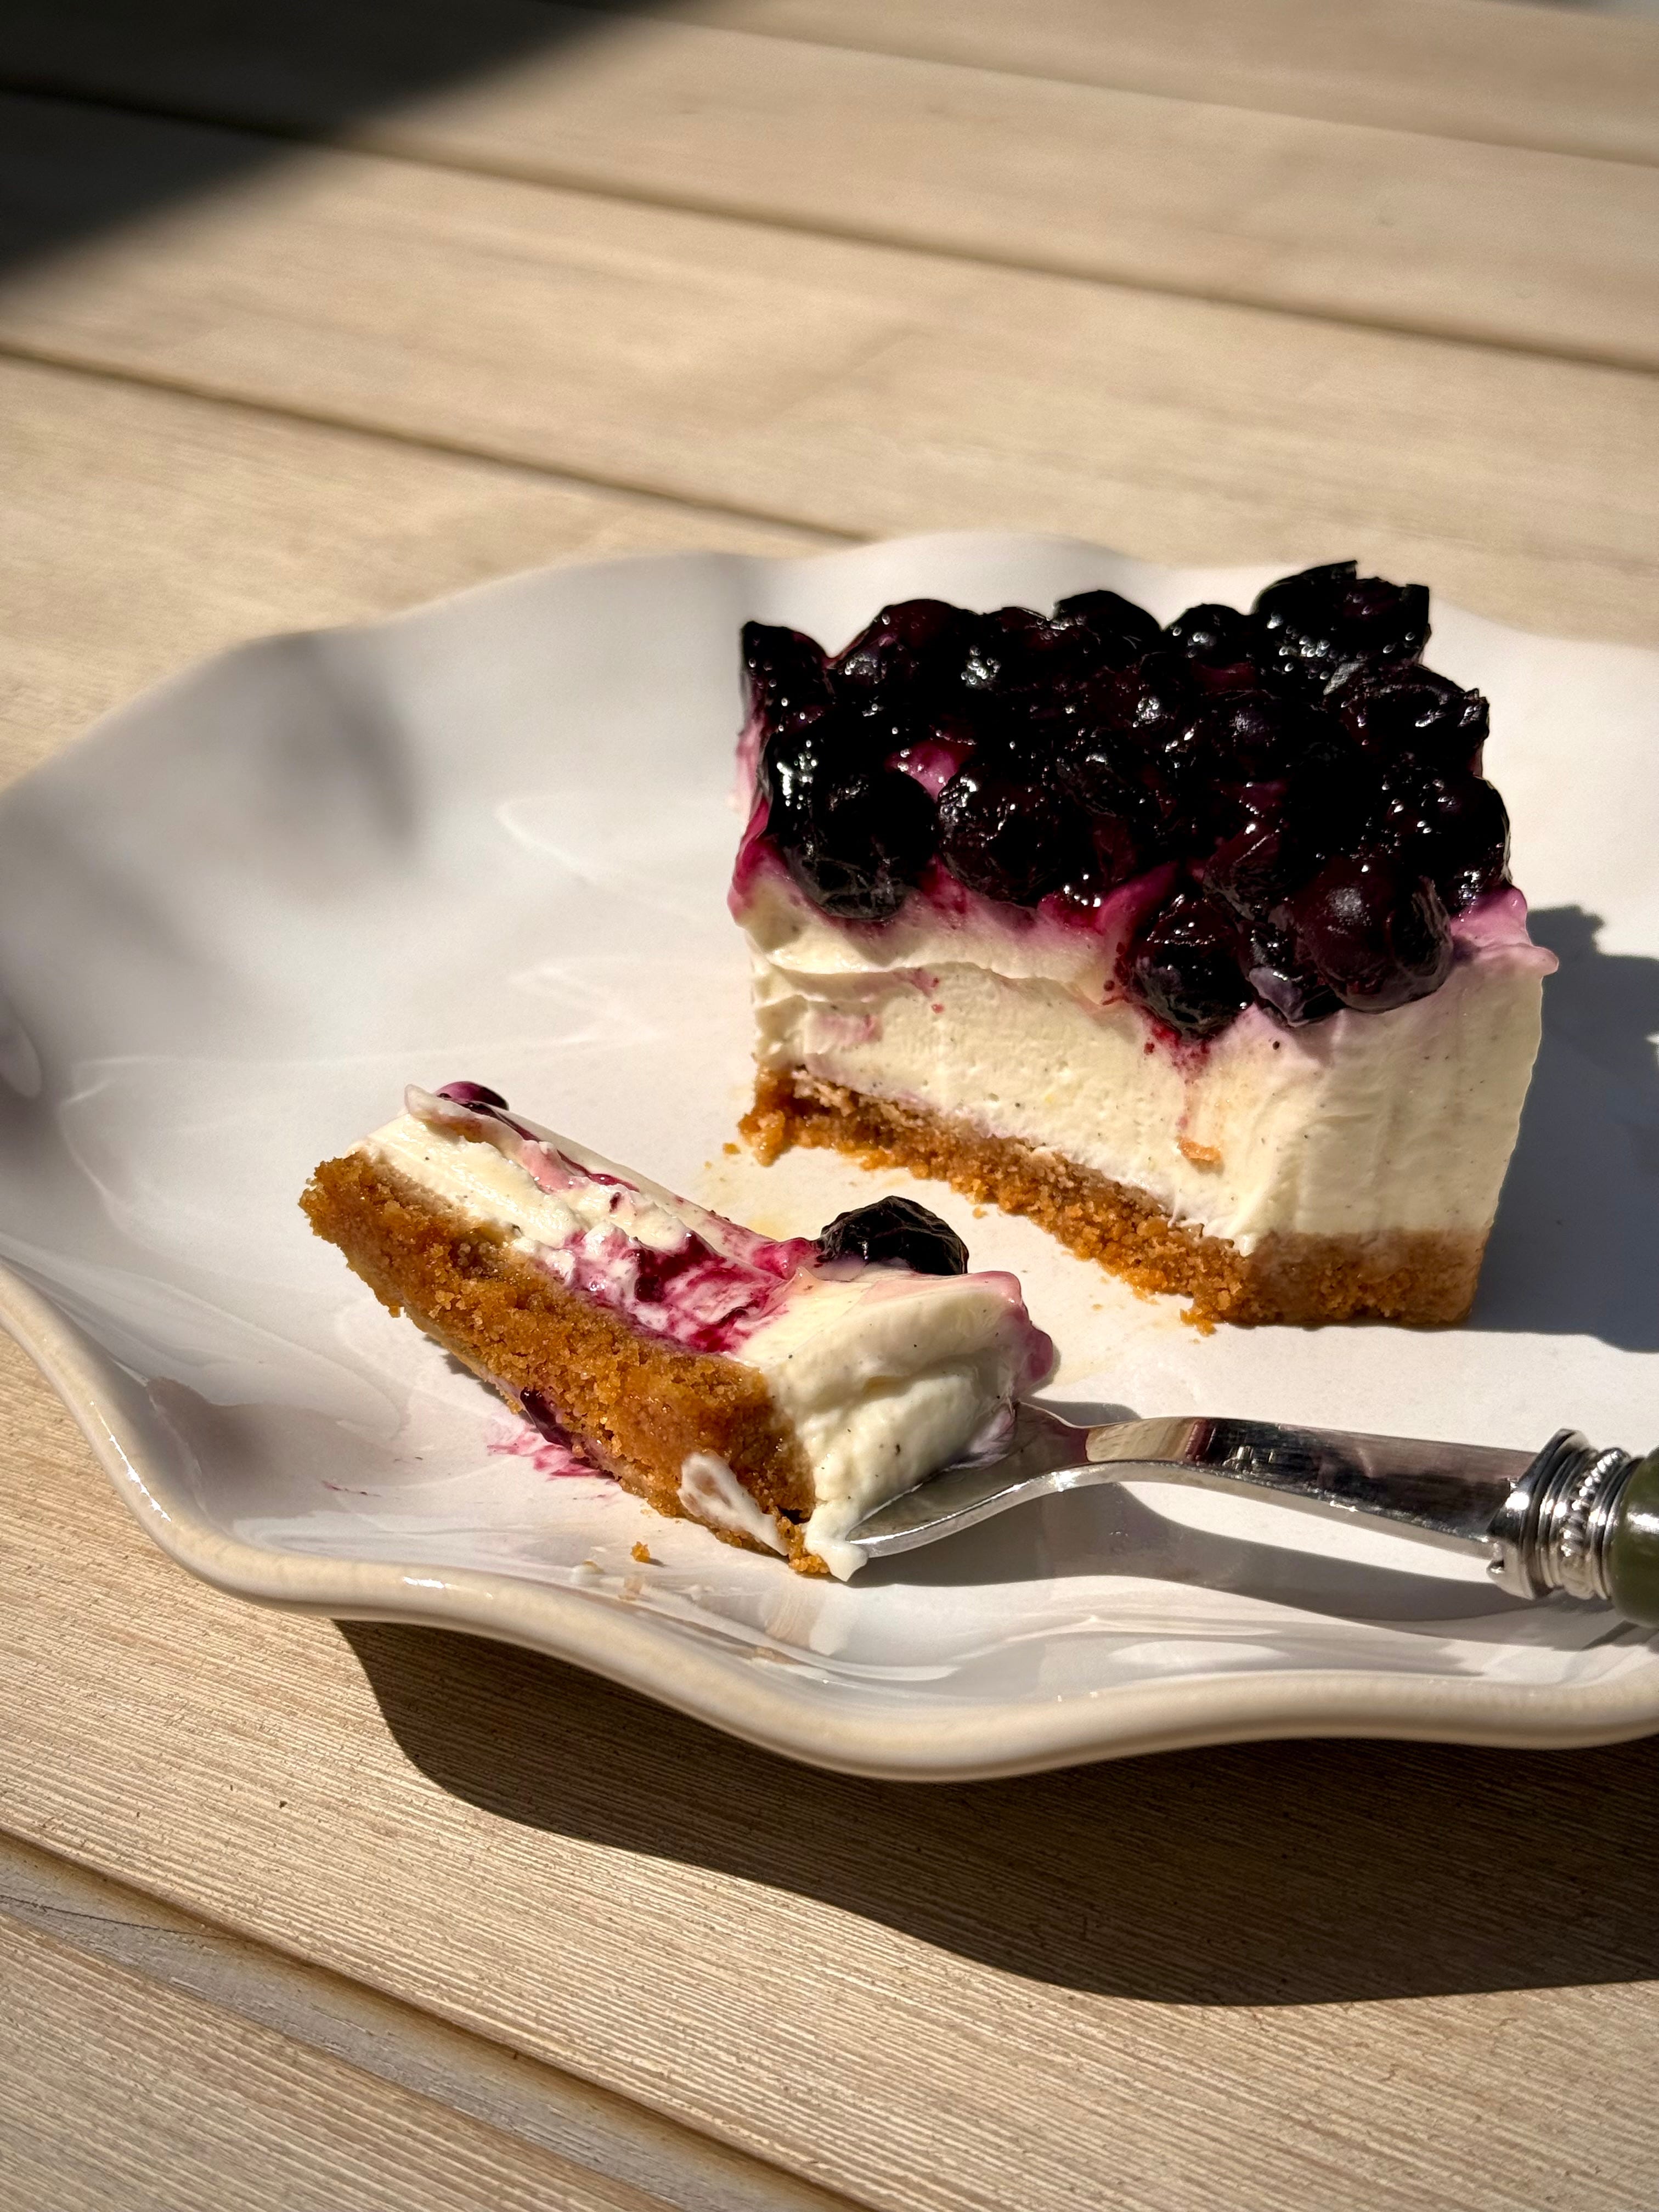
Lemon & Blueberry No Bake Cheesecake. I know me asking you to turn your oven on when the kitchen is already a sauna is a tall order, so this is the perfect antidote. Refreshing, light, fruity and tart, my no bake cheesecake doesn’t require any gelatine to set, just a night chilling in the fridge will do. Lemony creamy goodness, topped with jammy, saucy bloobs, sat on a ginger biscuit base. Summer scrummy yums at it’s best.
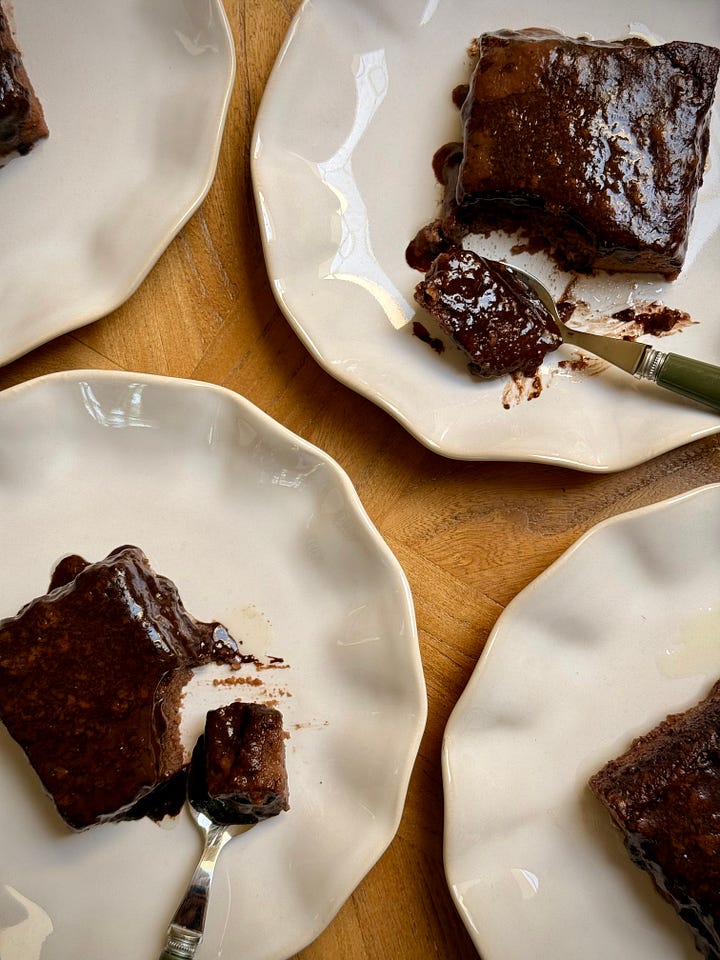
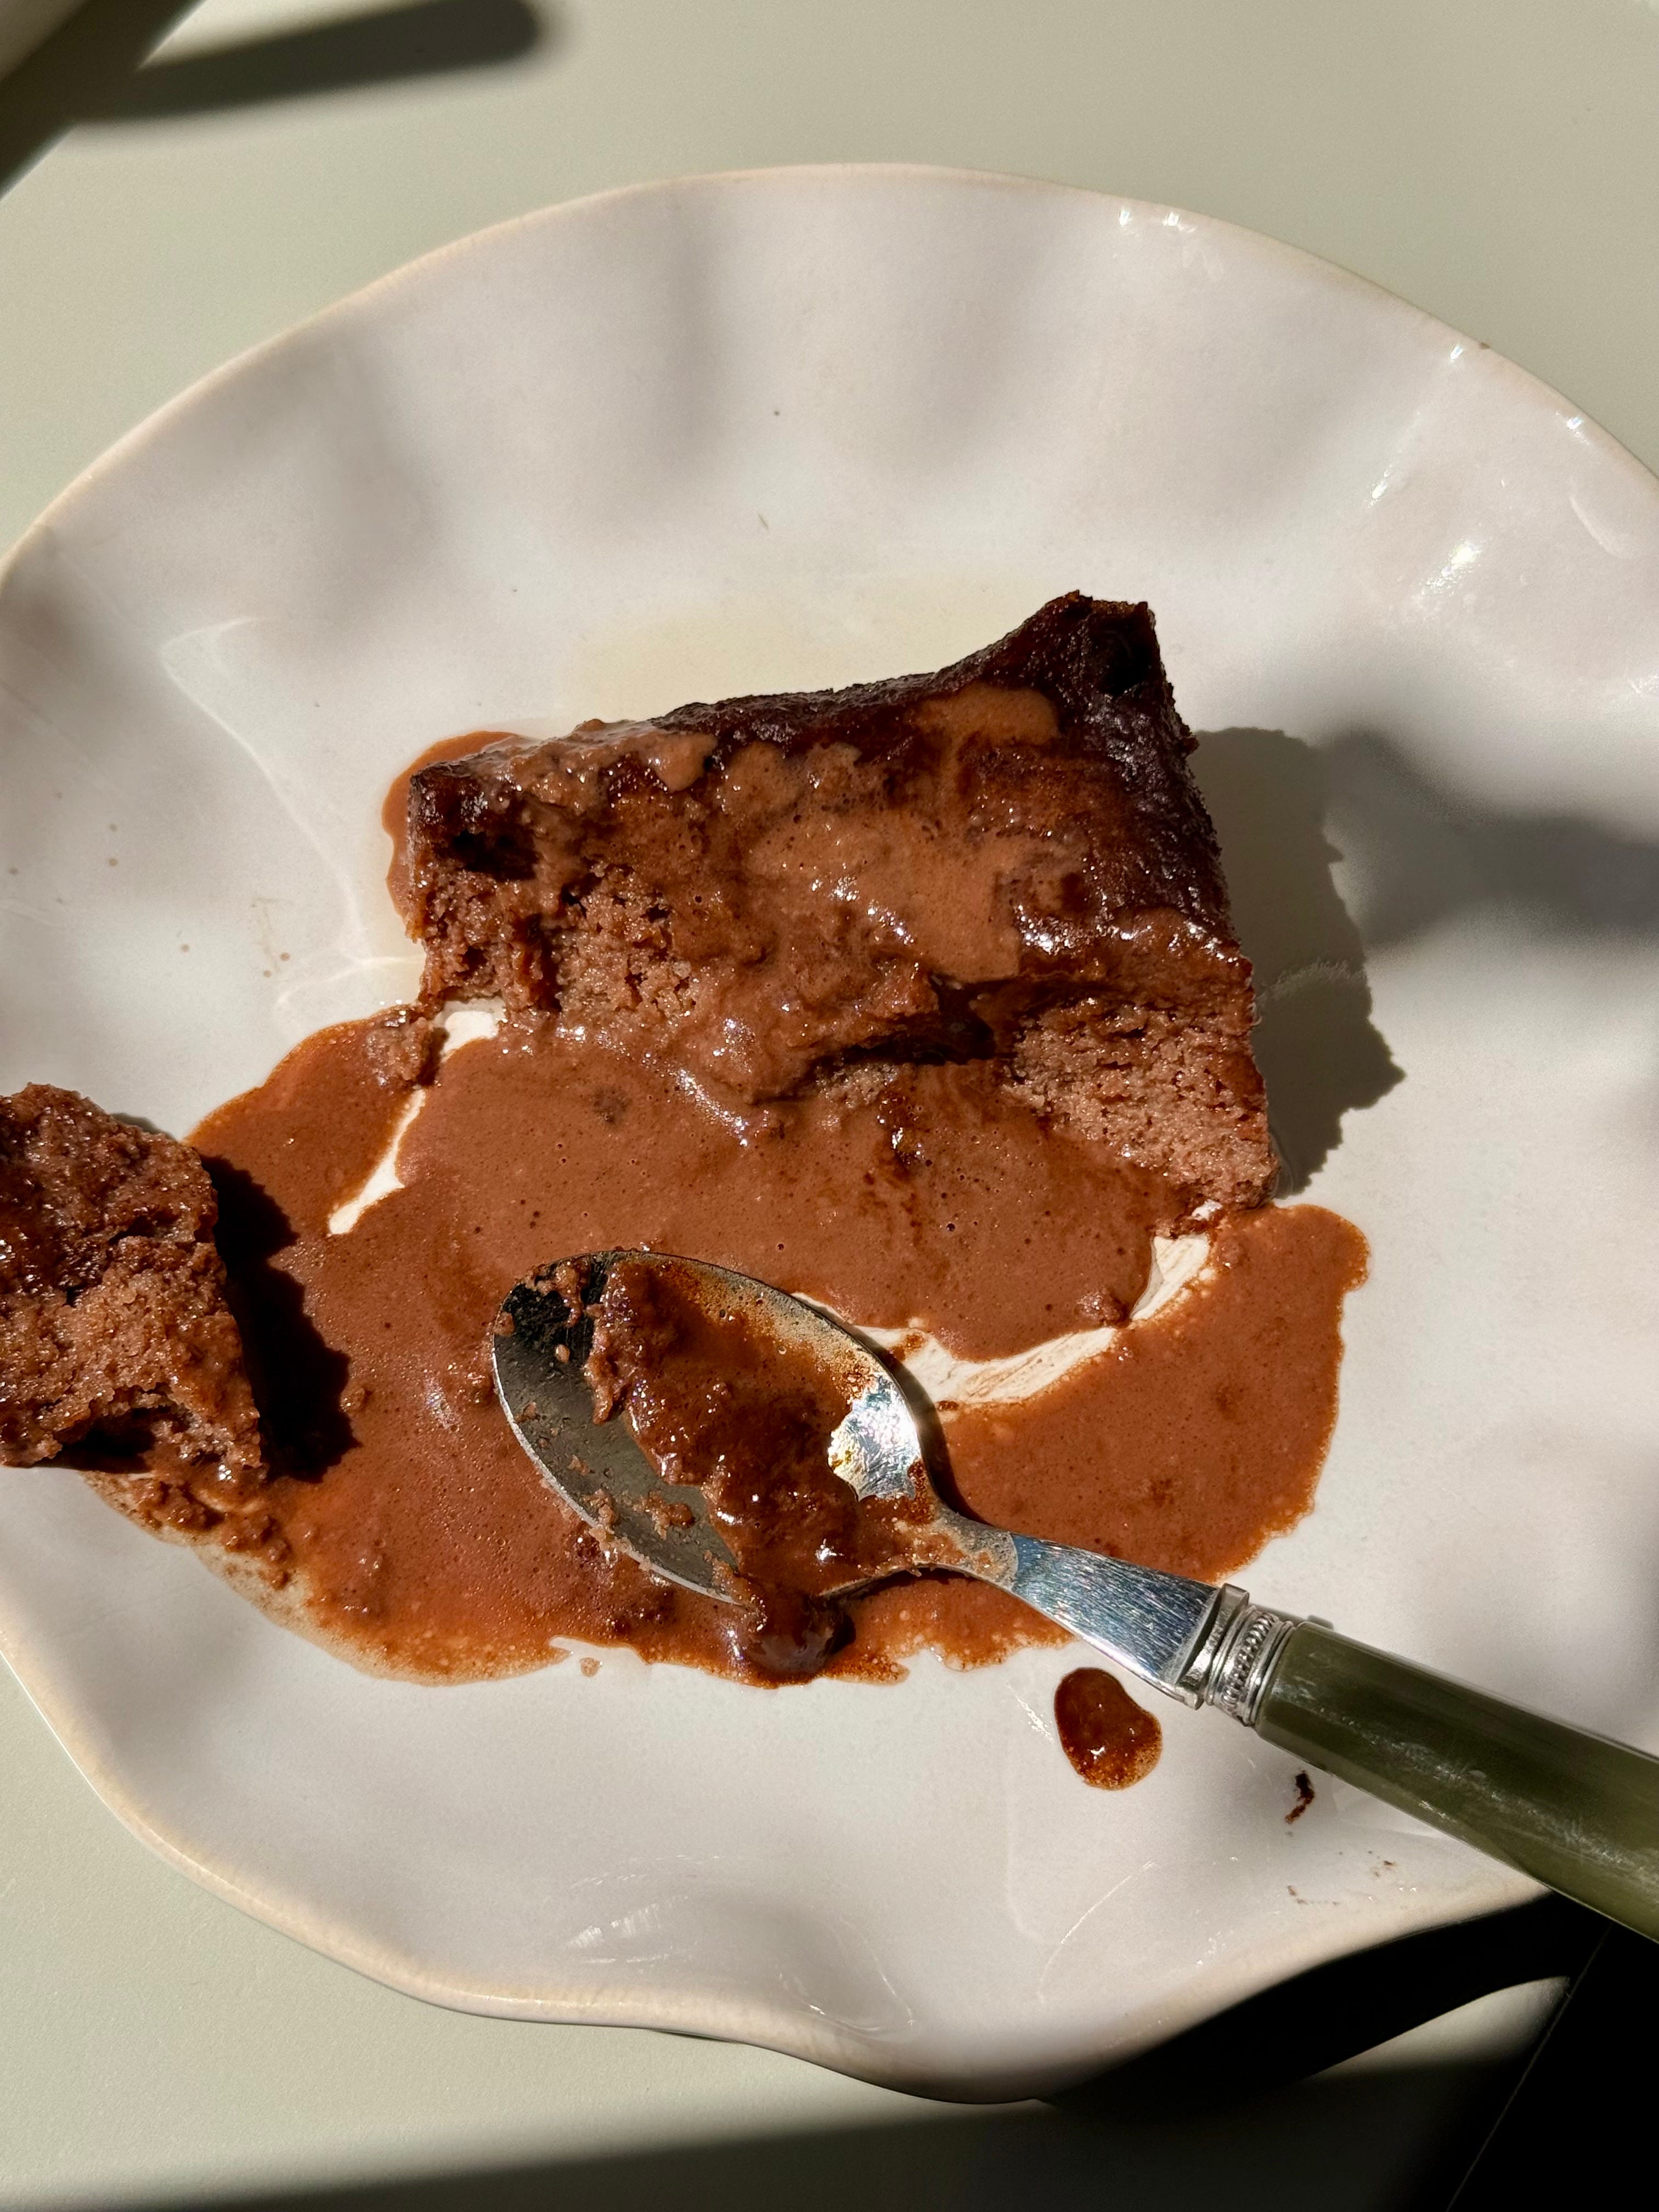
Turkish Islak Kek. We are back with the latest Around The World cake, taking a trip for the first and last time to Turkey for a slice of their ‘wet cake’. Think simple chocolate sponge, soaked in a simple chocolate sauce. If you didn’t quite catch it, it’s simple but also simply delicious. Another good make ahead dessert and one that will taste great served up fresh out of the oven, still slightly warm or left for a few day for max soaking.
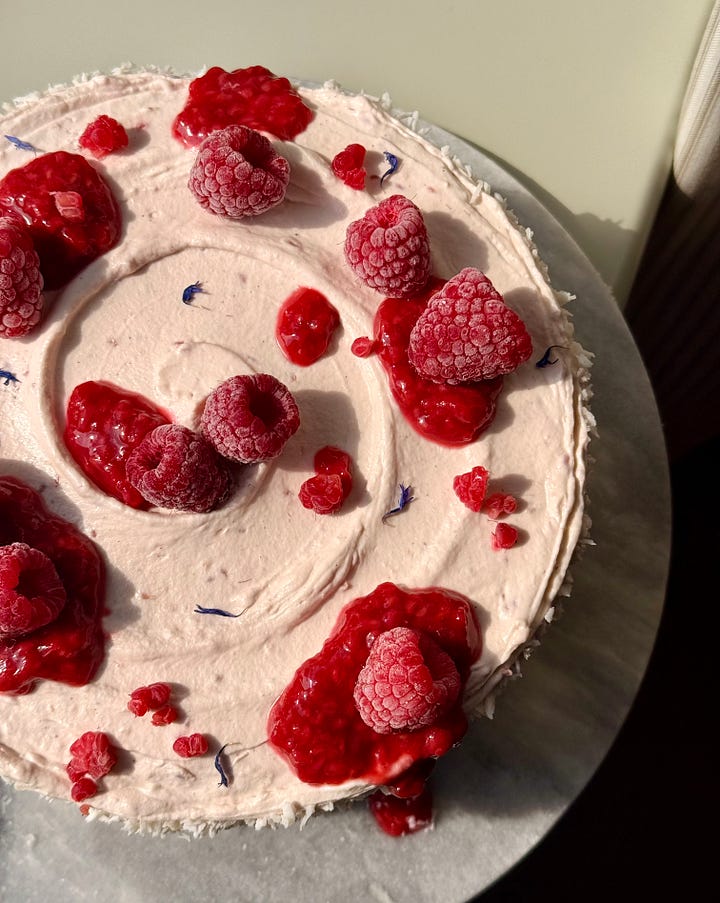
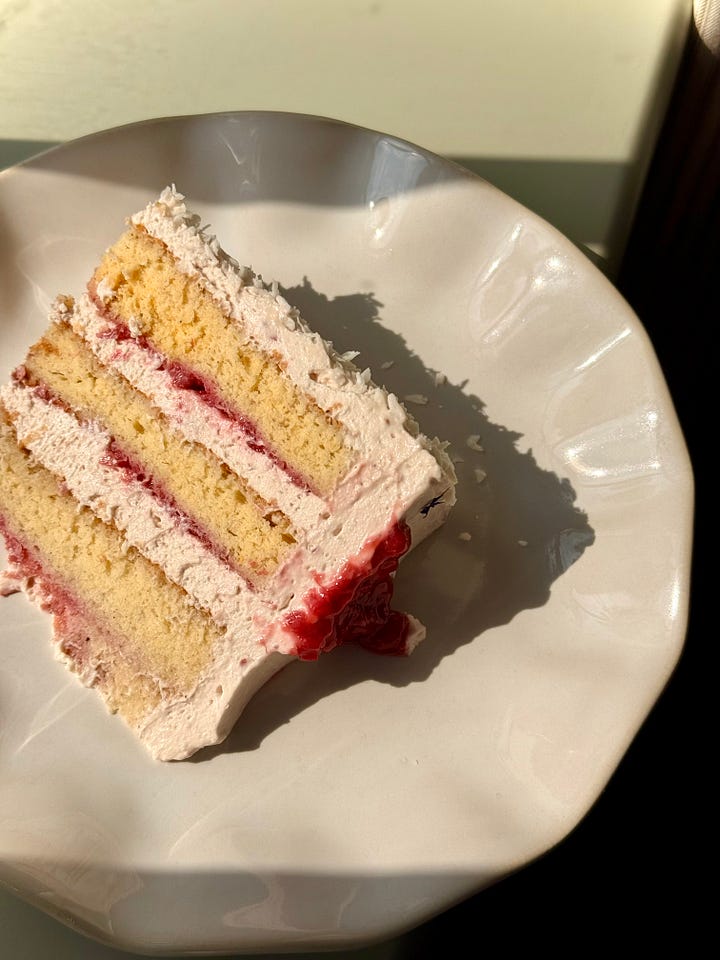
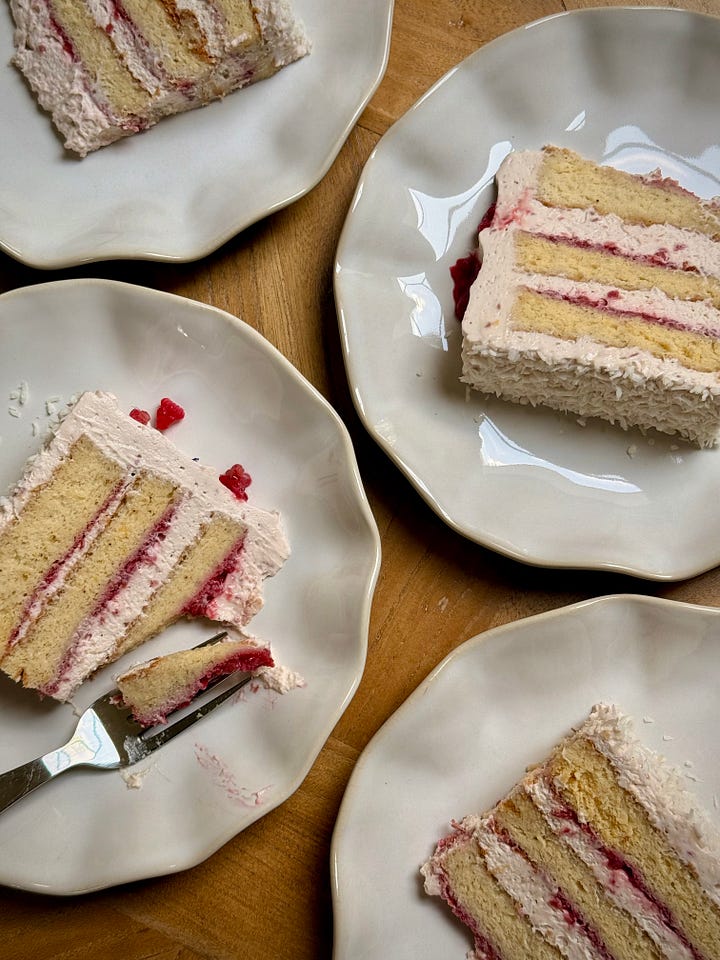
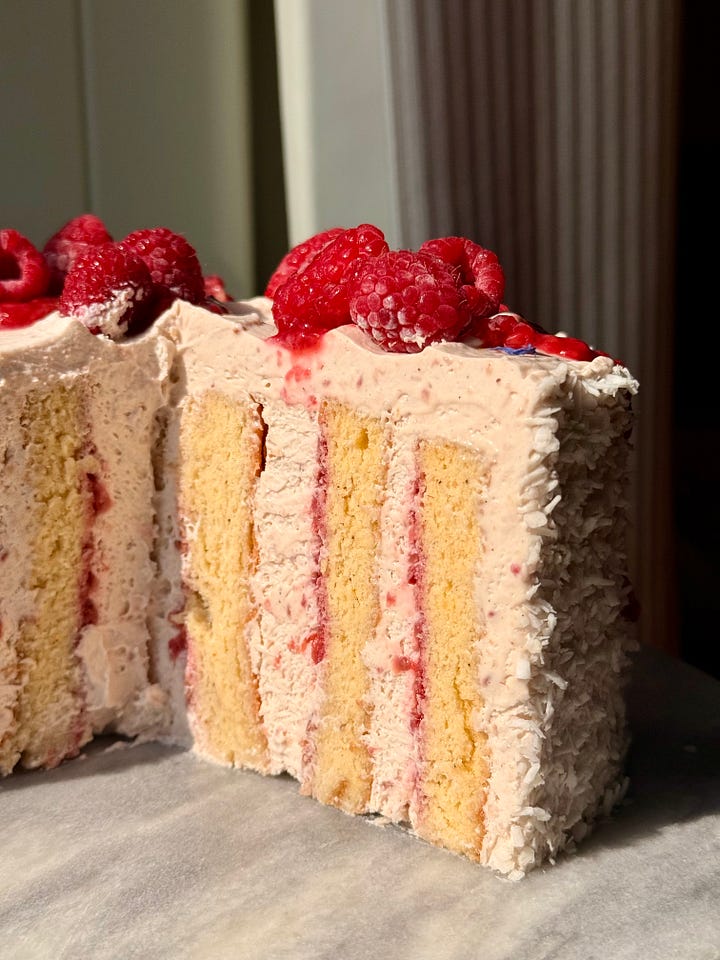
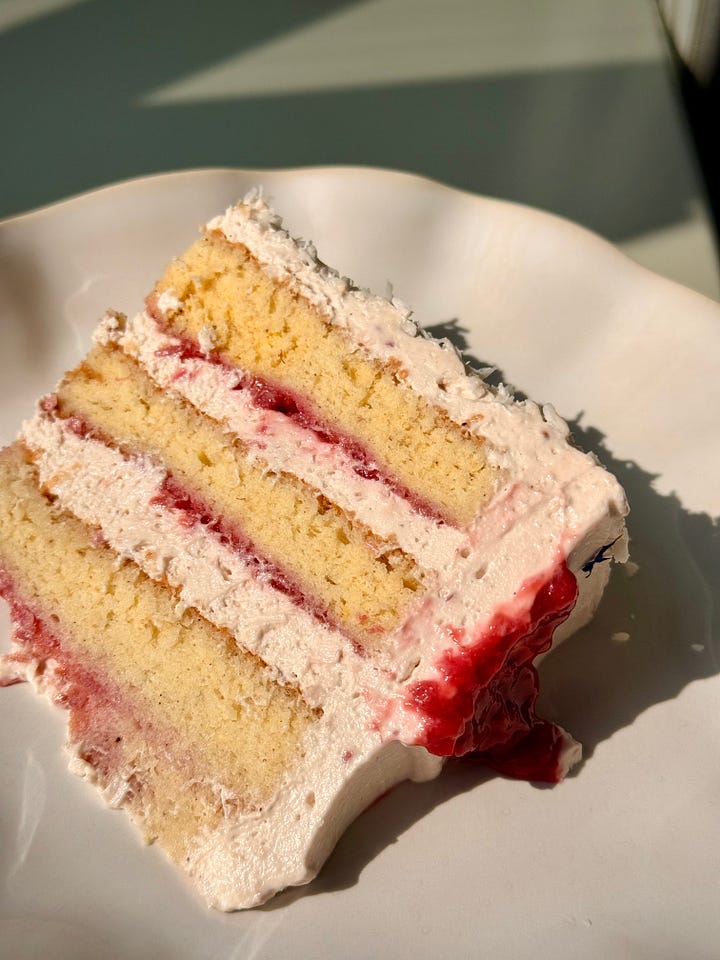
Finishing up the newsletter, our main bake of the day is my Raspberry, Coconut & White Chocolate Vertical Cake. I know what you’re thinking and no I haven’t gone completely mad. Is it quirky? Yes. Is it delicious? Double yes. A fun take on a traditional style cake. We’ve got a super light and tender vanilla and almond spiked sponge, smothered in a raspberry compote, topped with a raspberry and coconut whipped mascarpone cream all wrapped around (yup, wrapped) and finished with a coat of desiccated coconut.

I truly adore nothing more than a speedy, simple, easy to make, easy to eat, easy to demolish sorta recipe for a mid-week eat. I am very guilty of being too tired to cook come the end of the day and I know just how loud those voices in your head can get screaming at you to order something in. And when they do, THIS is what you gotta make. My Tomato, Shallot & Thyme Tart Tatin is nourishing for the soul, belly and body. The smells alone from the sweet roasted tomatoes heals every part of me and the best bit about this recipe is that it’s good for just about everyone.
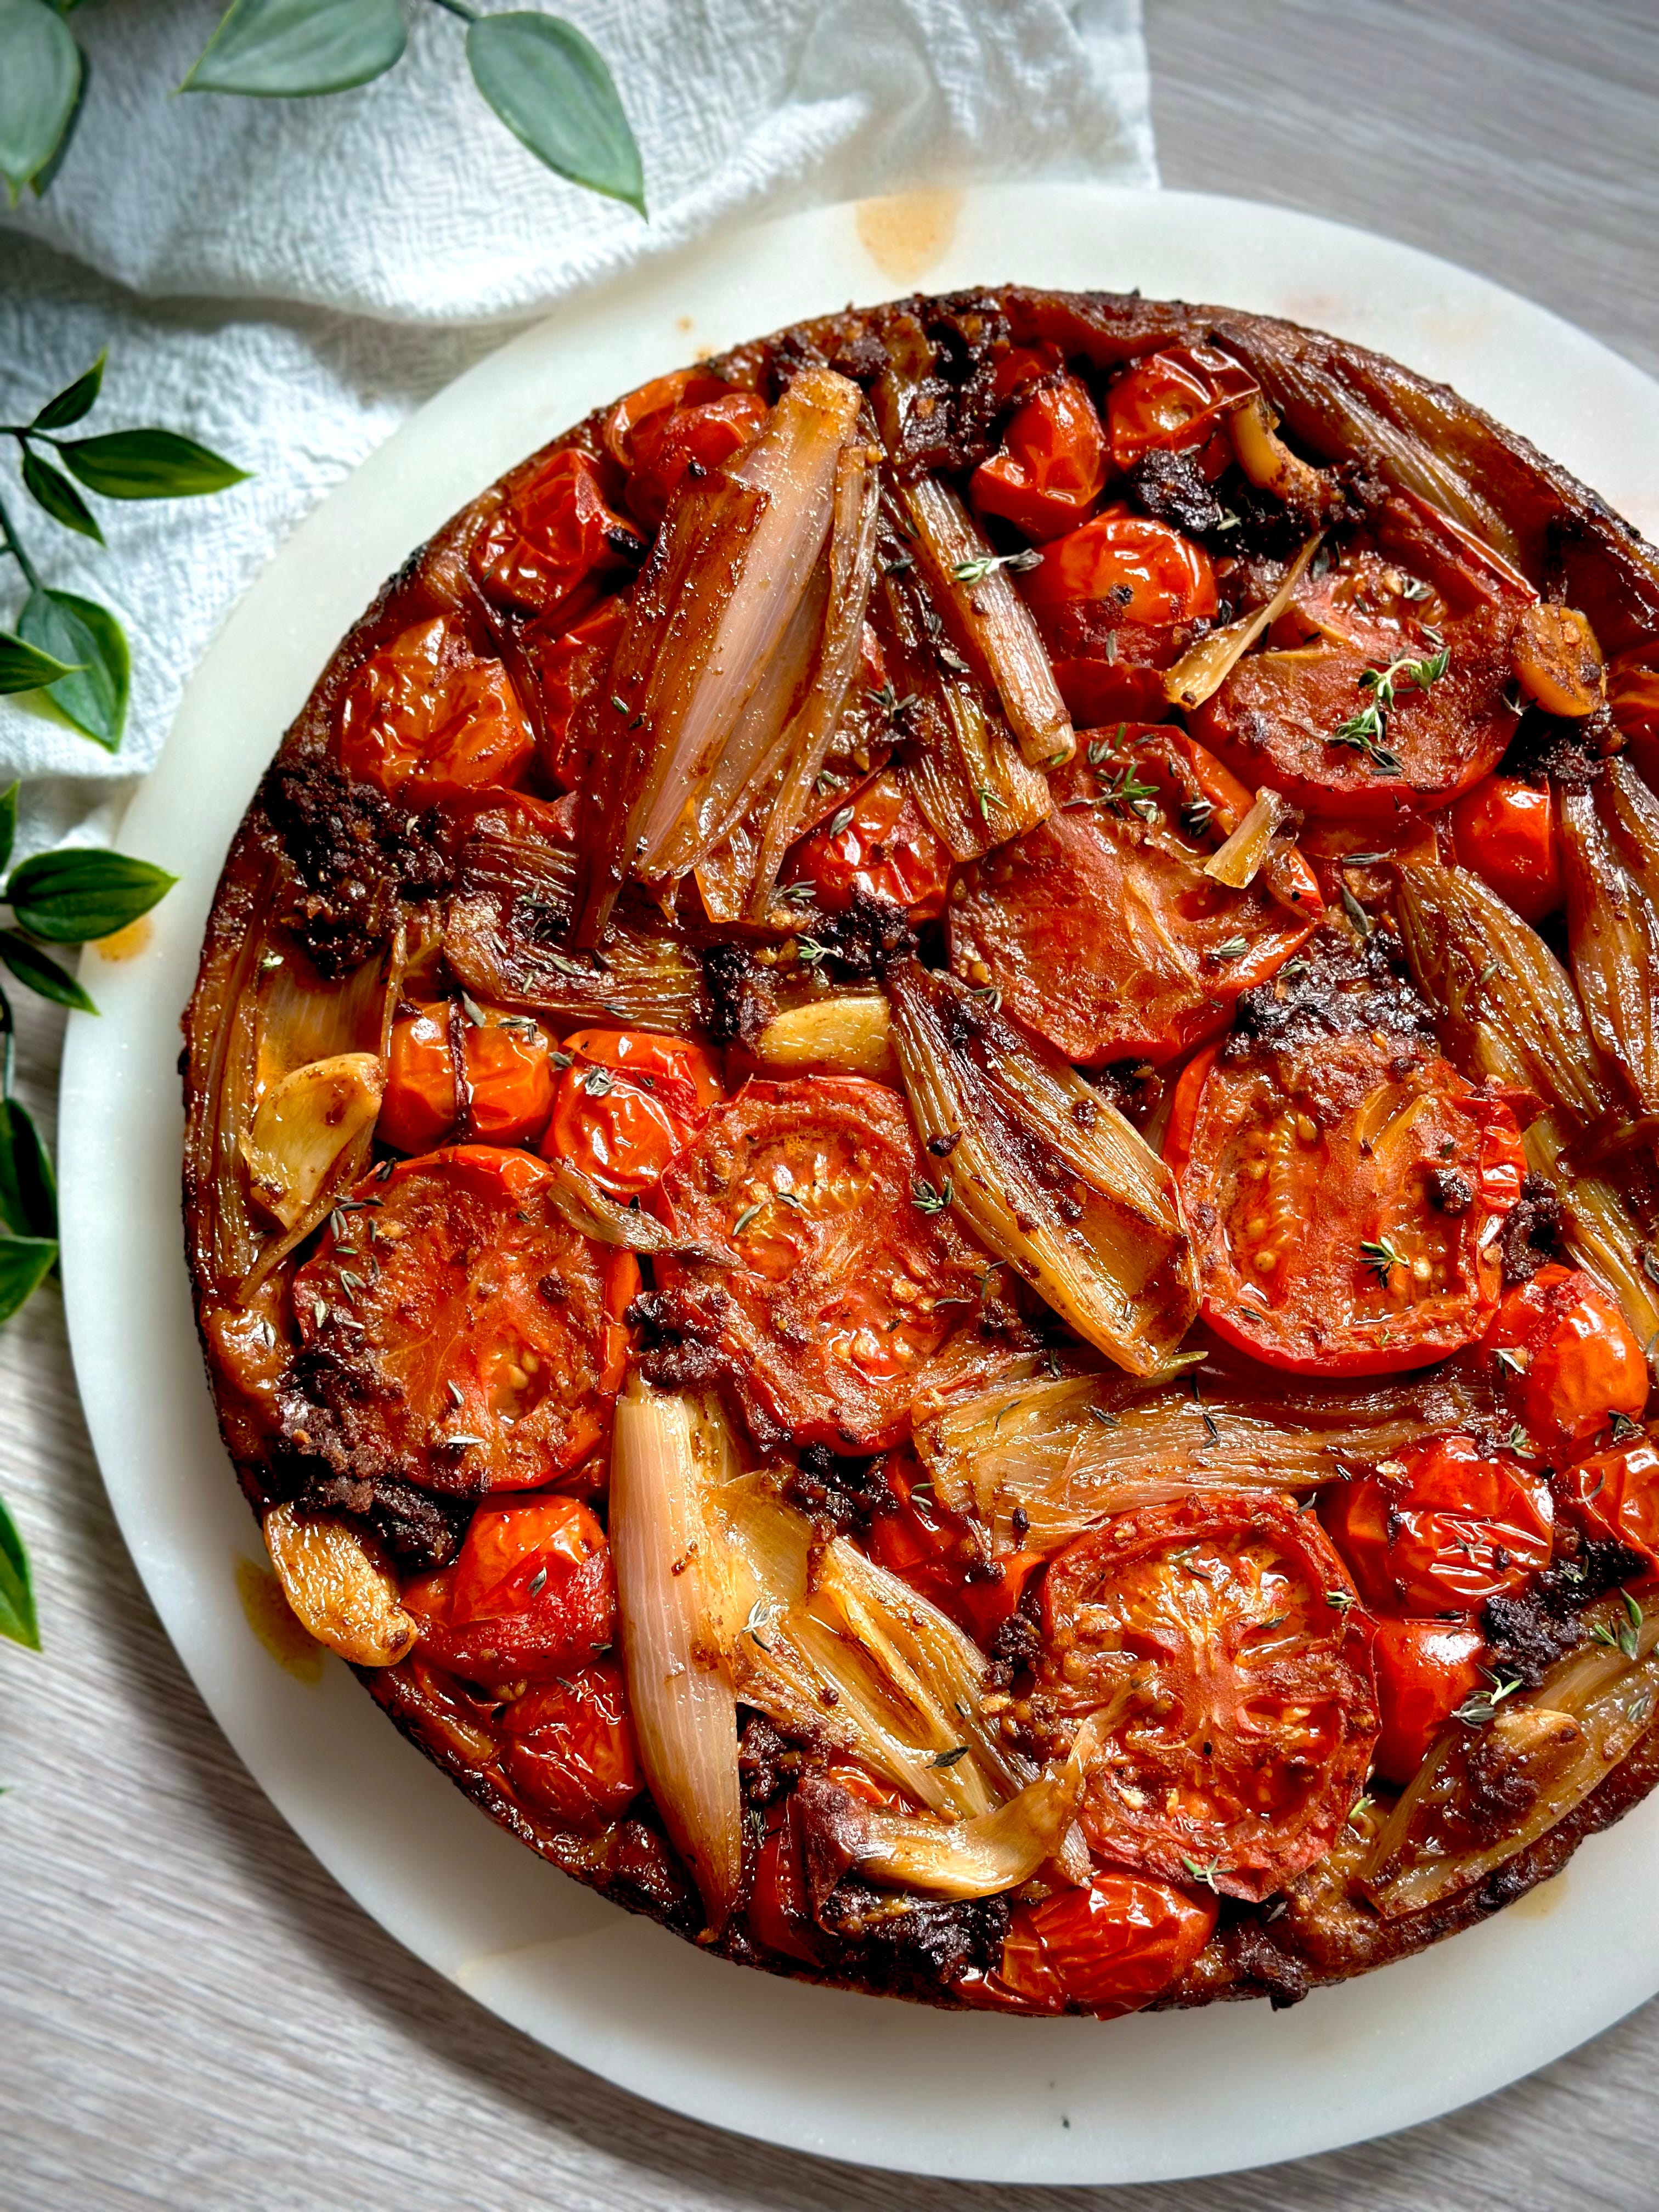
I love the simplicity of this savoury number and I don’t mean in flavour. There’s not a tonne of ingredients to knock this one up but the flavour of this is so SO delicious. Those roasted tommy t’s are bursting full of garlicky, salty yumminess, the lightly charred shallots bring the right amount of sweetness and all of that goodness is swimming around in a parmesan laden balsamic glaze. It tastes kinda like a pizza but without the heaviness and far more sophisticated (although still no judgement on picking up a slice and eating it with your hands).
It’s a real perfect summer dinner option and can be dressed up or down with the sides of your choice. When I say I ate ¾ of this tart tatin the other day, I MEAN IT. I only stopped at the last ¼ because I felt sad for future Rubes that she would be left with none. And sure, I may be ravenous now I am preggo and eat just about anything but this isn’t a rarity when it comes to this tart tatin. The first time I made it, I had to fight my sister for the last slice. We both won and lost – we halved it, hated each other for making us do sharesies and promised next time I make it, it’ll be a one tatin per person situation.
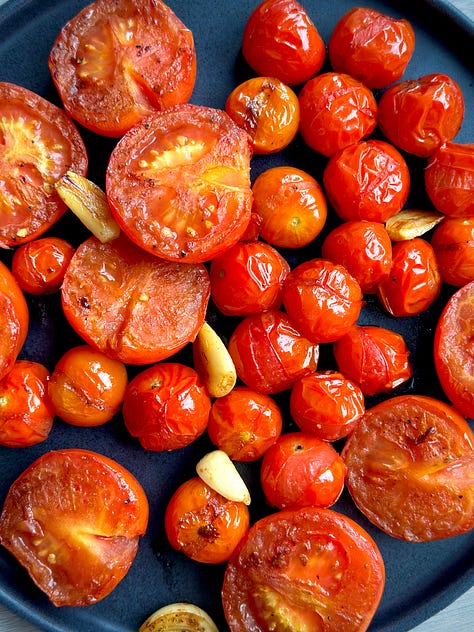
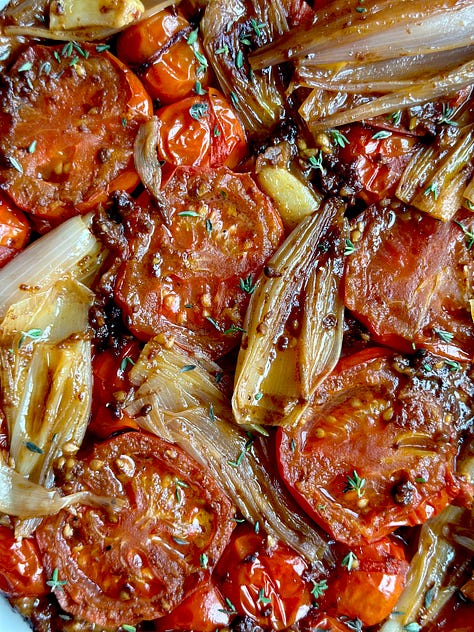
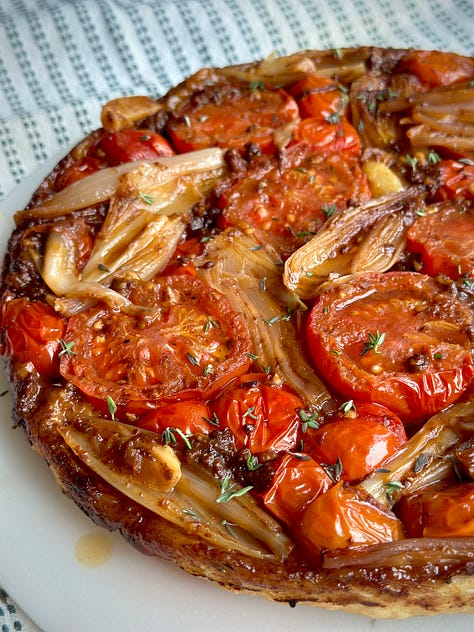
When I say this is a great dinner options for nearly everyone – this is something that would work well as a plant based option for anyone entertaining friends or looking for something delicious when catering for a large group. Switch out the butter for a plant-based option and the flaky pastry works just as well, likewise with the parmesan. Just do yourself a favour and make plenty of them to avoid mass fallout.
Recipe Makes: 1 x Large Cast Iron/Oven Proof Pan
Recipe Serves: I mean it served one of me but with a side? 3 to 4 people.
Y O U – W I L L – N E E D –
Rough Puff Pastry
250 g Strong Bread Flour
Good Handful Thyme
225 g Unsalted Butter, frozen
1 tsp Sea Salt
115 ml Water, ice cold
¼ tsp Cider Vinegar
Filling
20 g Unsalted Butter
7 Shallots, halved
3 Garlic Cloves, peeled & halved
5 Large Vine Tomatoes, halved
325 g Cherry Tomatoes
Salt & Pepper, to season
1.5 tbsp Balsamic Vinegar
1 tbsp Caster/Granulated Sugar
75 g Parmesan, grated
Fresh Thyme, to garnish
M E T H O D -
First up, let’s start with the pastry. Grate the frozen butter and place into a large bowl alongside the flour, salt and thyme.
Lightly mix until the butter is lightly coated in flour before going in with the water and vinegar and mixing until a rough dough forms. Less is best! We want the butter as intact as possible – you want to be able to see streaks of it throughout the dough.
Form the dough into a rough rectangle shape and flatten before wrapping in clingfilm and popping in the fridge for 30 minutes to allow the butter to harden.
Lightly dust the worktop with flour and roll out the dough to a rectangle approx. 40 cm by 20 cm.
Fold the dough into three by folding the bottom third up and the top third on top. This is one fold.
Rotate a quarter turn and roll the pastry out again to 40 by 20cm. Fold it into 3 again making it 2 turns. Wrap the dough tightly in clingfilm before placing it back in the fridge for 30 minutes.
Remove the pastry and turn again twice, meaning you have folded the dough 4 times in total. Wrap again and chill until needed.
Preheat oven to 180°C Fan/200°C/356°F Fan/392°F.
For the filling, grab your cast iron pan or oven proof pan that you will bake the tatin in. Place it over a medium heat and add the unsalted butter.
Once melted, add the garlic cloves and shallots cut side down and let them caramelize gently for about 6 to 8 minutes until lightly golden. Carefully flip over and let them gently brown on the flip side. Remove the shallots from the pan and place to one side.
Add the tomatoes to the pan with the garlic, placing any halved ones cut side down. Sprinkle over a generous pinch of sea salt and a good crack of black pepper.
Carefully flip over the tomatoes after about 8 minutes and let them soften on the other side. You want them holding shape whilst letting out some water. Once they are lightly browned and the skin has blistered remove everything from the pan, leaving a few small tomatoes.
Break down the tomatoes to release their juices before adding 3 tbsp of water to de-glaze the pan. Pour in the balsamic and add the sugar and give it a stir. Let that simmer for a few minutes before adding 60 g of parmesan.
The mix will now thicken leaving you with a cheesy paste. Give this a taste, cause YUM. Spread this over the entire base of the pan before removing from the heat.
Next, we want to transfer the tomatoes, shallots and garlic back to the pan in an even layer, with the exposed side face down in all that saucy goodness. Any extra bits, nestle them into the nooks and layer on top.
Grate over the remaining parmesan and leave to one side.
Roll out the chilled pastry dough to a thickness of 3mm and roughly cut a circle slightly bigger than your pan. Gently prick with a fork.
Carefully place on top of the tomatoes and fold in any surplus edges to encase. You want to make the top is entirely covered with pastry to avoid any leakages.
Pop in the oven for 30 minutes until the pastry top is beautifully golden brown. Allow the pan to cool down for 15 minutes before placing a large serving plate on top and flipping it over to turn out.
Remove the pan and marvel at your brilliance. Scatter on top some fresh thyme leaves and serve.
There was no chance I was going to let the weather tip me over the edge again this week. The odds of me putting the oven on to bake myself my mandatory weekly sweet treat when my kitchen is hotter than a furnace is zero. Negative. Minus. Not happening. Not today. Not tomorrow. Not the day after.
So, to make sure you don’t (and by you, I most definitely mean me), miss out, my Lemon & Blueberry No Bake Cheesecake is a little plate of wholesome filth which requires little to no skill to make, zero oven time and can be prepped ahead, leftovers frozen and tweaked and adapted to float just about everyone’s boat.
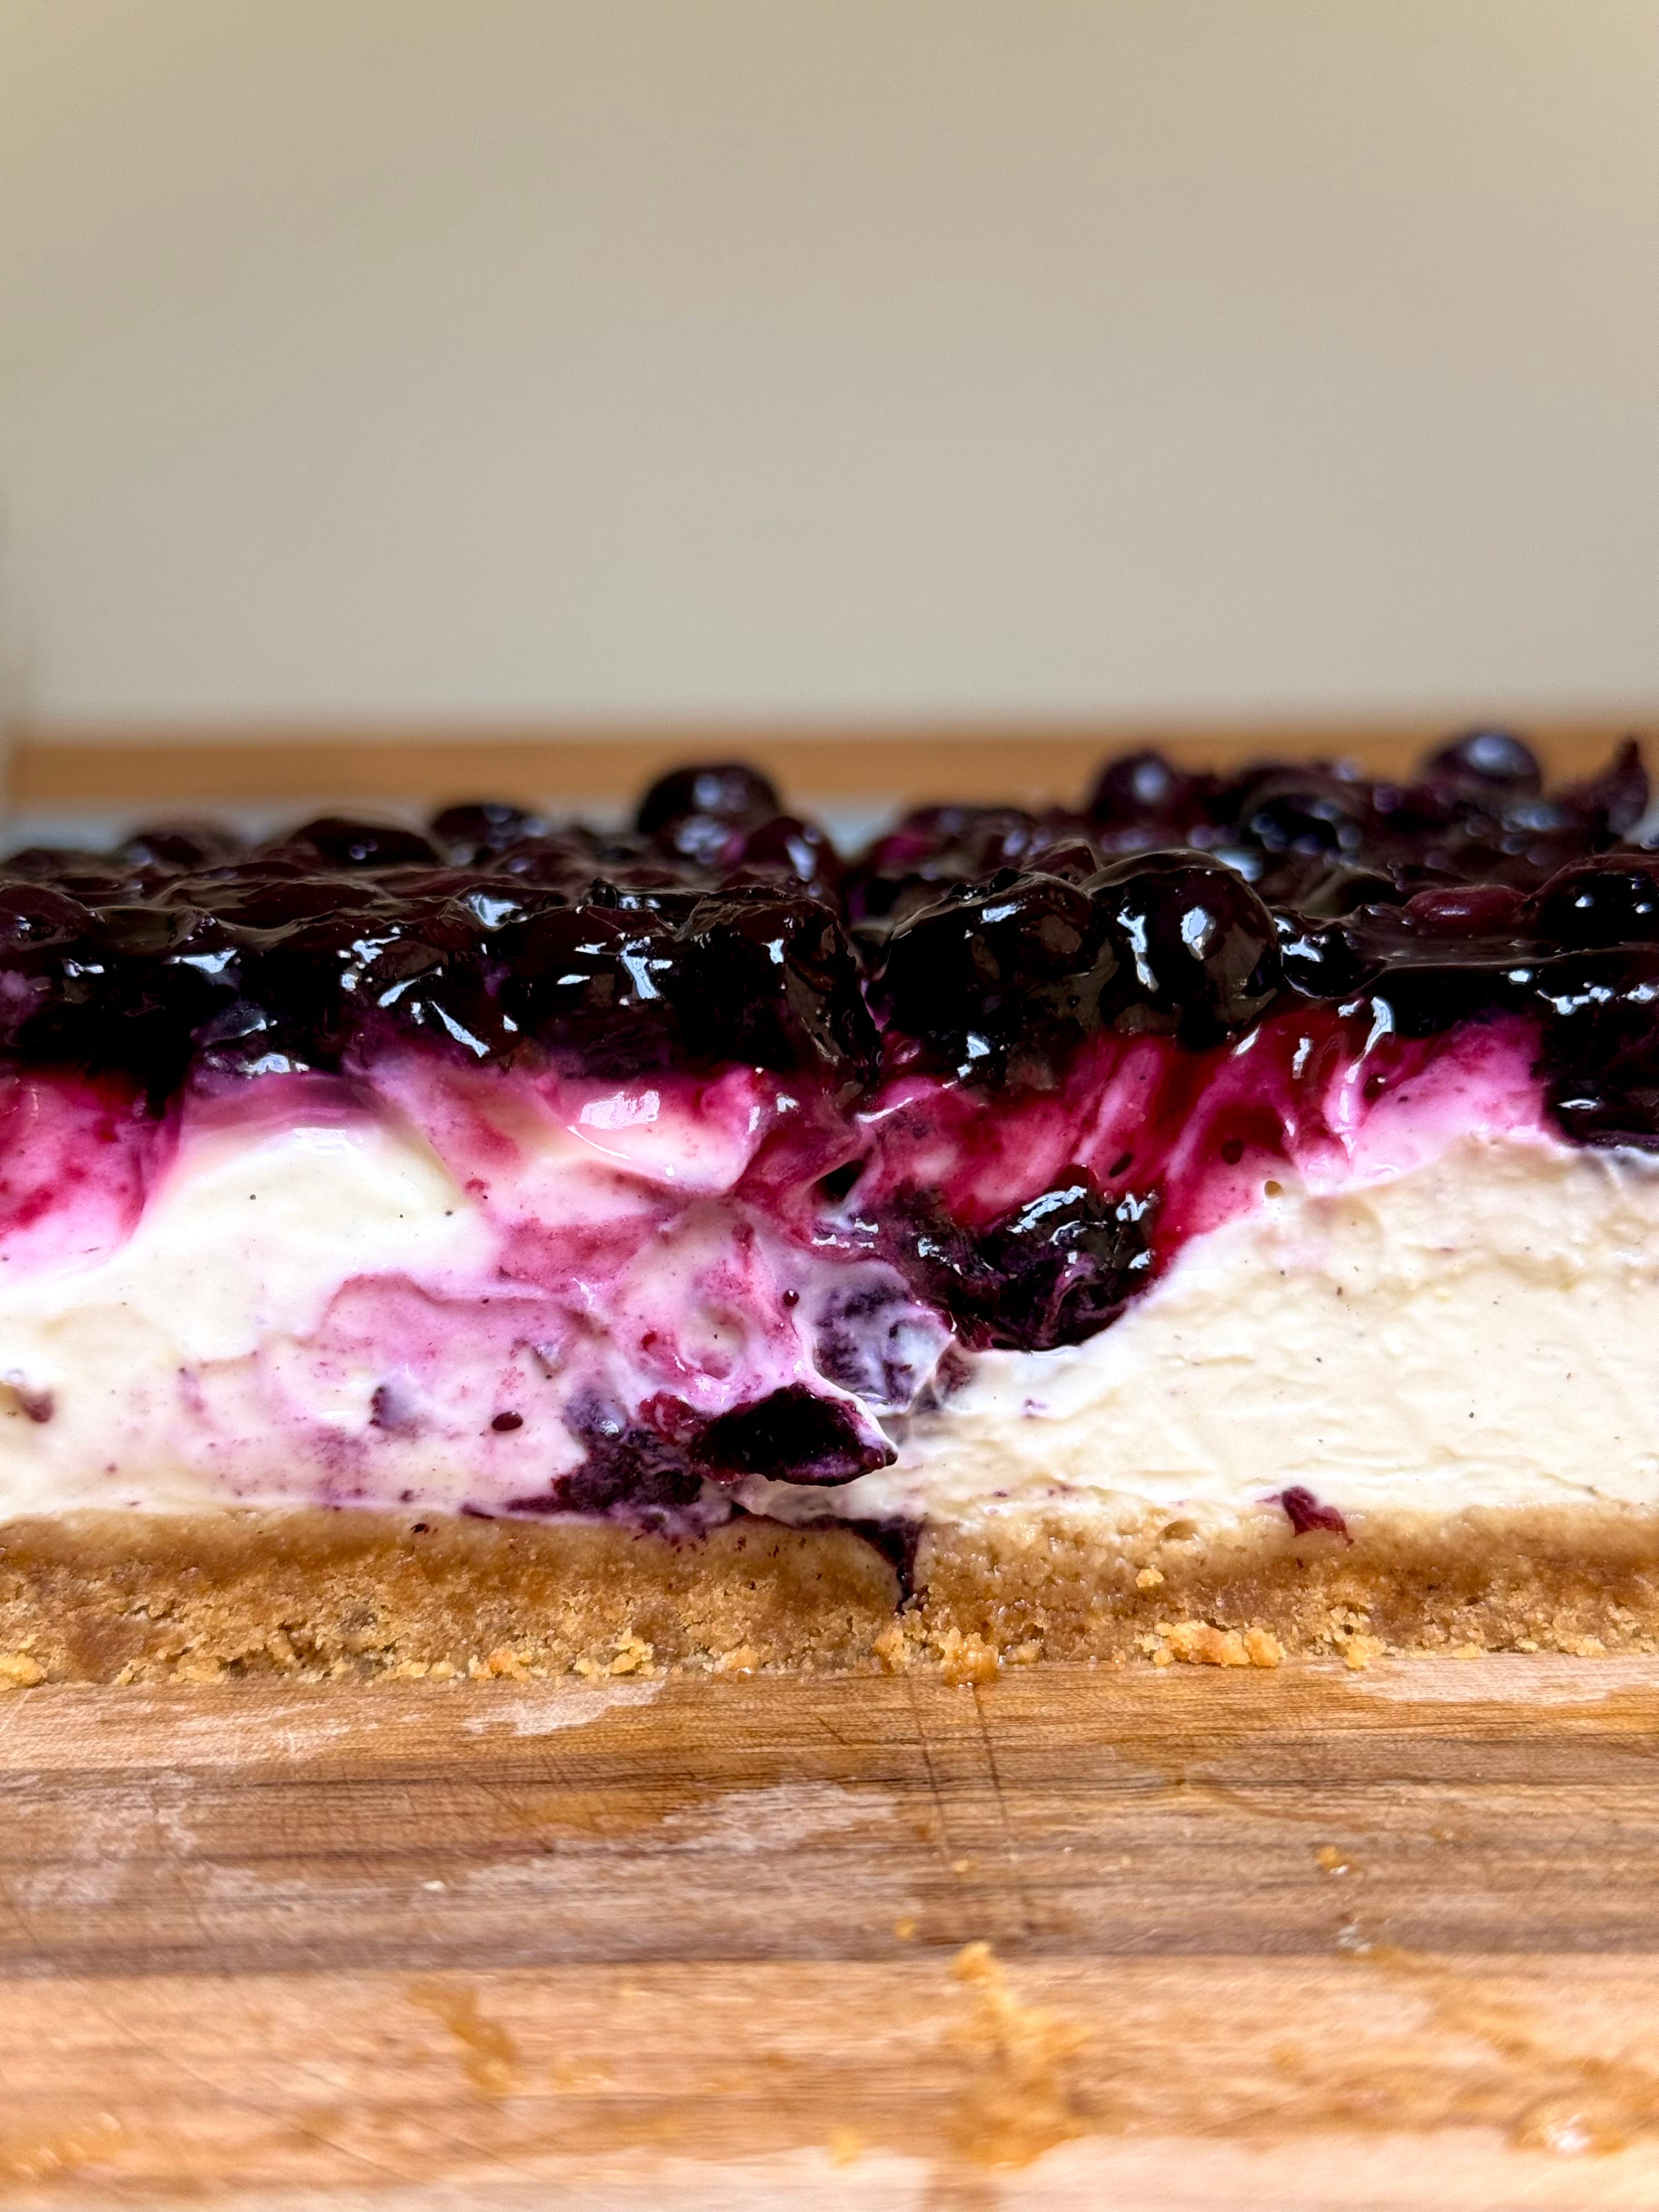
Whilst all that sounds marvellous, I’ve also added a little protein boost by subbing some of the cream cheese in favour for rich and creamy full fat cottage cheese which a) compliments the tang from the lemon, b) can’t be tasted for any naysayers and c) means a slice of this nice gives you a dose of protein, carbs, fibre and the most important part – a big boost of serotonin.
Made up of a ginger biscuit base, a set cheesecake filling spiked with lemon zest and rippled with lemon curd, before being topped with a blueberry compote. There are no setting agents required, which means no gelatine, but that does mean it needs an overnight chill before you tuck in. Arguably the hardest part of the entire recipe.
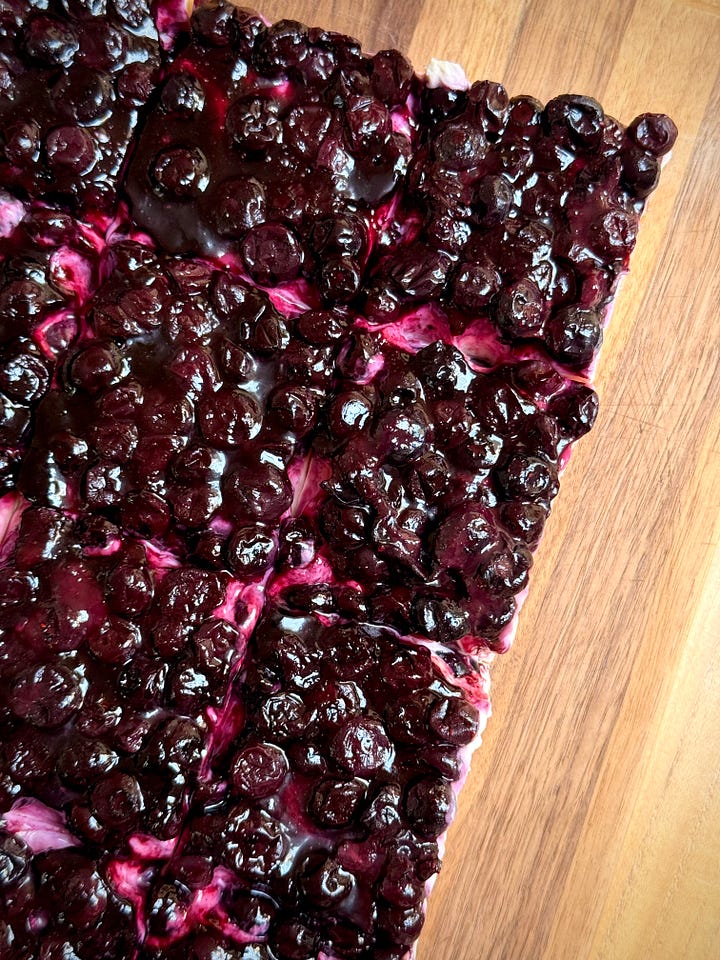
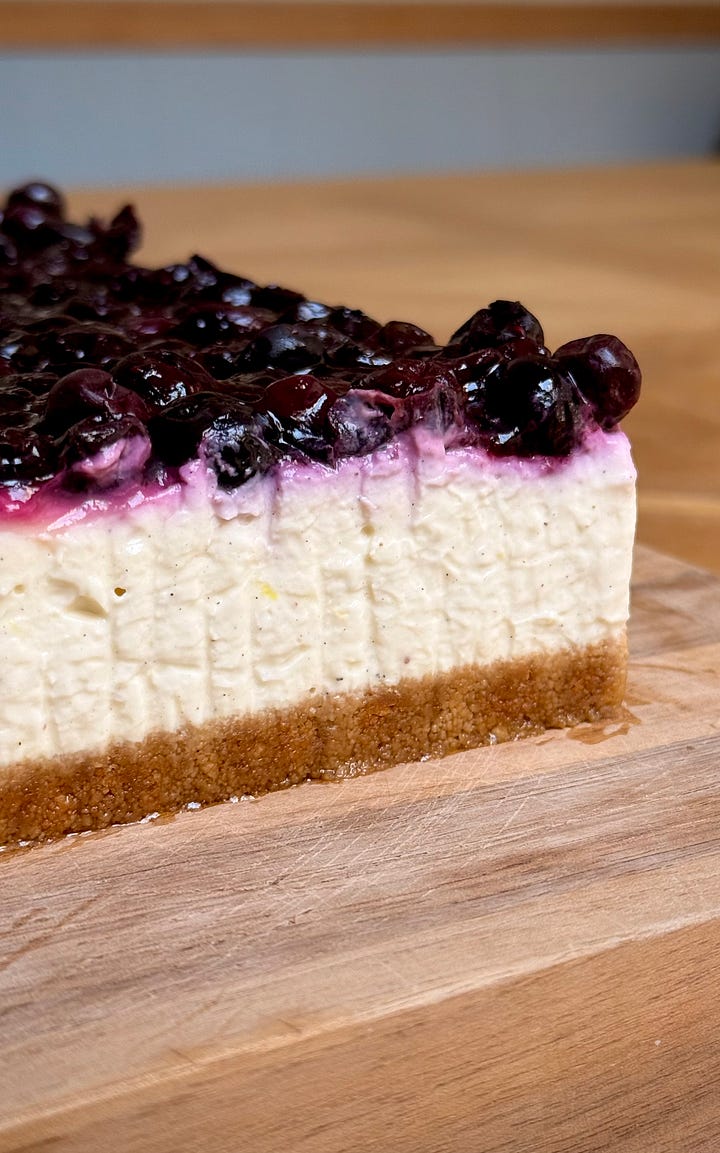
This recipe is incredibly versatile in every aspect – switch out the ginger biscuits for digestives, graham crackers (whatever they are, I just know this crust is used a lot in the US) or lotus biscuits, mix up the lemon for another citrus fruit of your choice and go wild with the compote topping. A lemon and raspberry version would be a simple switch whilst being equally as delicious. Any leftovers freeze very well and, in this heat, are welcomed. Frozen cheesecake bars? Yes please.
Recipe Makes: 1 x 20 by 30 cm / 8 by 12 inch deep baking tin (ideally loose bottomed)
Recipe Serves: 12 to 15
Y O U – W I L L – N E E D –
Biscuit Base
350 g Ginger Biscuits
115 g Unsalted Butter, melted
Pinch of Salt
Cheesecake Filling
180 g Full Fat Cottage Cheese, fridge temp
Juice of ½ Lemon
700 g Full Fat Cream Cheese, fridge temp
150 g Icing Sugar, sifted
1 tsp Vanilla Bean Paste
Zest of 1 Large Lemon
225 g Lemon Curd
450 ml Double Cream, fridge temp
Blueberry Compote
600 g Blueberries, frozen
35 g Caster Sugar
2 tsp Cornflour, sifted
M E T H O D –
To begin, line the base and sides of a 20 by 30 cm / 8 by 12 inch tin. I used an adjustable cake tin for ease but if you don’t have a loose bottomed tray, double line the base and sides to make the cheesecake easier to remove once set.
Starting with the base, add the ginger biscuits to a food processor. Blitz until you are left with a fine crumb. Pour in the melted butter and add the pinch of salt. Pulse until the butter is well mixed and the crumb starts to clump together.
Add the buttery biscuit crumb to the base of your lined tin. Distribute evenly before tightly pressing in – the base of a flat-bottomed glass works well here, as does a cake scraper. Pop the tray into the fridge.
For the cheesecake filling, add the cottage cheese and lemon juice to a blender. Blitz until smooth.
To a stand mixer bowl, add the cream cheese, blended cottage cheese, icing sugar, vanilla bean paste, lemon zest and 150 g lemon curd. Use the whisk attachment to mix until smooth.
Once smooth, pour in the double cream. Mix on a medium speed until you are left with a thickened cream – you want this to be holding a medium peak at least.
Transfer the cream to your set biscuit base. Use the back of a spoon or offset palette knife to smooth over for an even layer. Pipe or spoon the remaining 75 g of lemon curd on top and use the tip of a knife or skewer to ripple through for pools of curd throughout the filling. Give the tin a little jiggle to help level out the top. Place into the fridge for at least 2 hours.
In this time, make the blueberry compote by adding ¾ of the blueberries, caster sugar and cornflour to a pan. Give it a little mix so all the berries are coated before placing over a medium heat.
Gently cook until the berries begin to soften, and a light syrup begins to form. Add in the remaining ¼ blueberries and mix well. Remove from the heat and leave to completely cool.
Once the top of the cheesecake has set to the touch and the compote is cool, gently spoon over the blueberries, covering the entire top. Place back into the fridge to set overnight.
The next day, carefully remove the cheesecake from the tin. If you have used an adjustable tin, this will be easy. If you have used a normal tin, you may find popping the cheesecake into the freezer for an hour before removing helpful, to keep it all in one piece.
Use a hot knife to slice and serve.
Moving onto the latest Around The World Cake. We are onto cake number 8 (!!!!) now people, and it’s about high time we ventured over to Türkiye for the first and only time for a slice of their Islak Kek.
Translating to ‘wet cake’, this saucy number is made up of a simple chocolate sponge, soaked in a chocolate sauce and left overnight for max wetness/sogginess/moistness/sauciness.
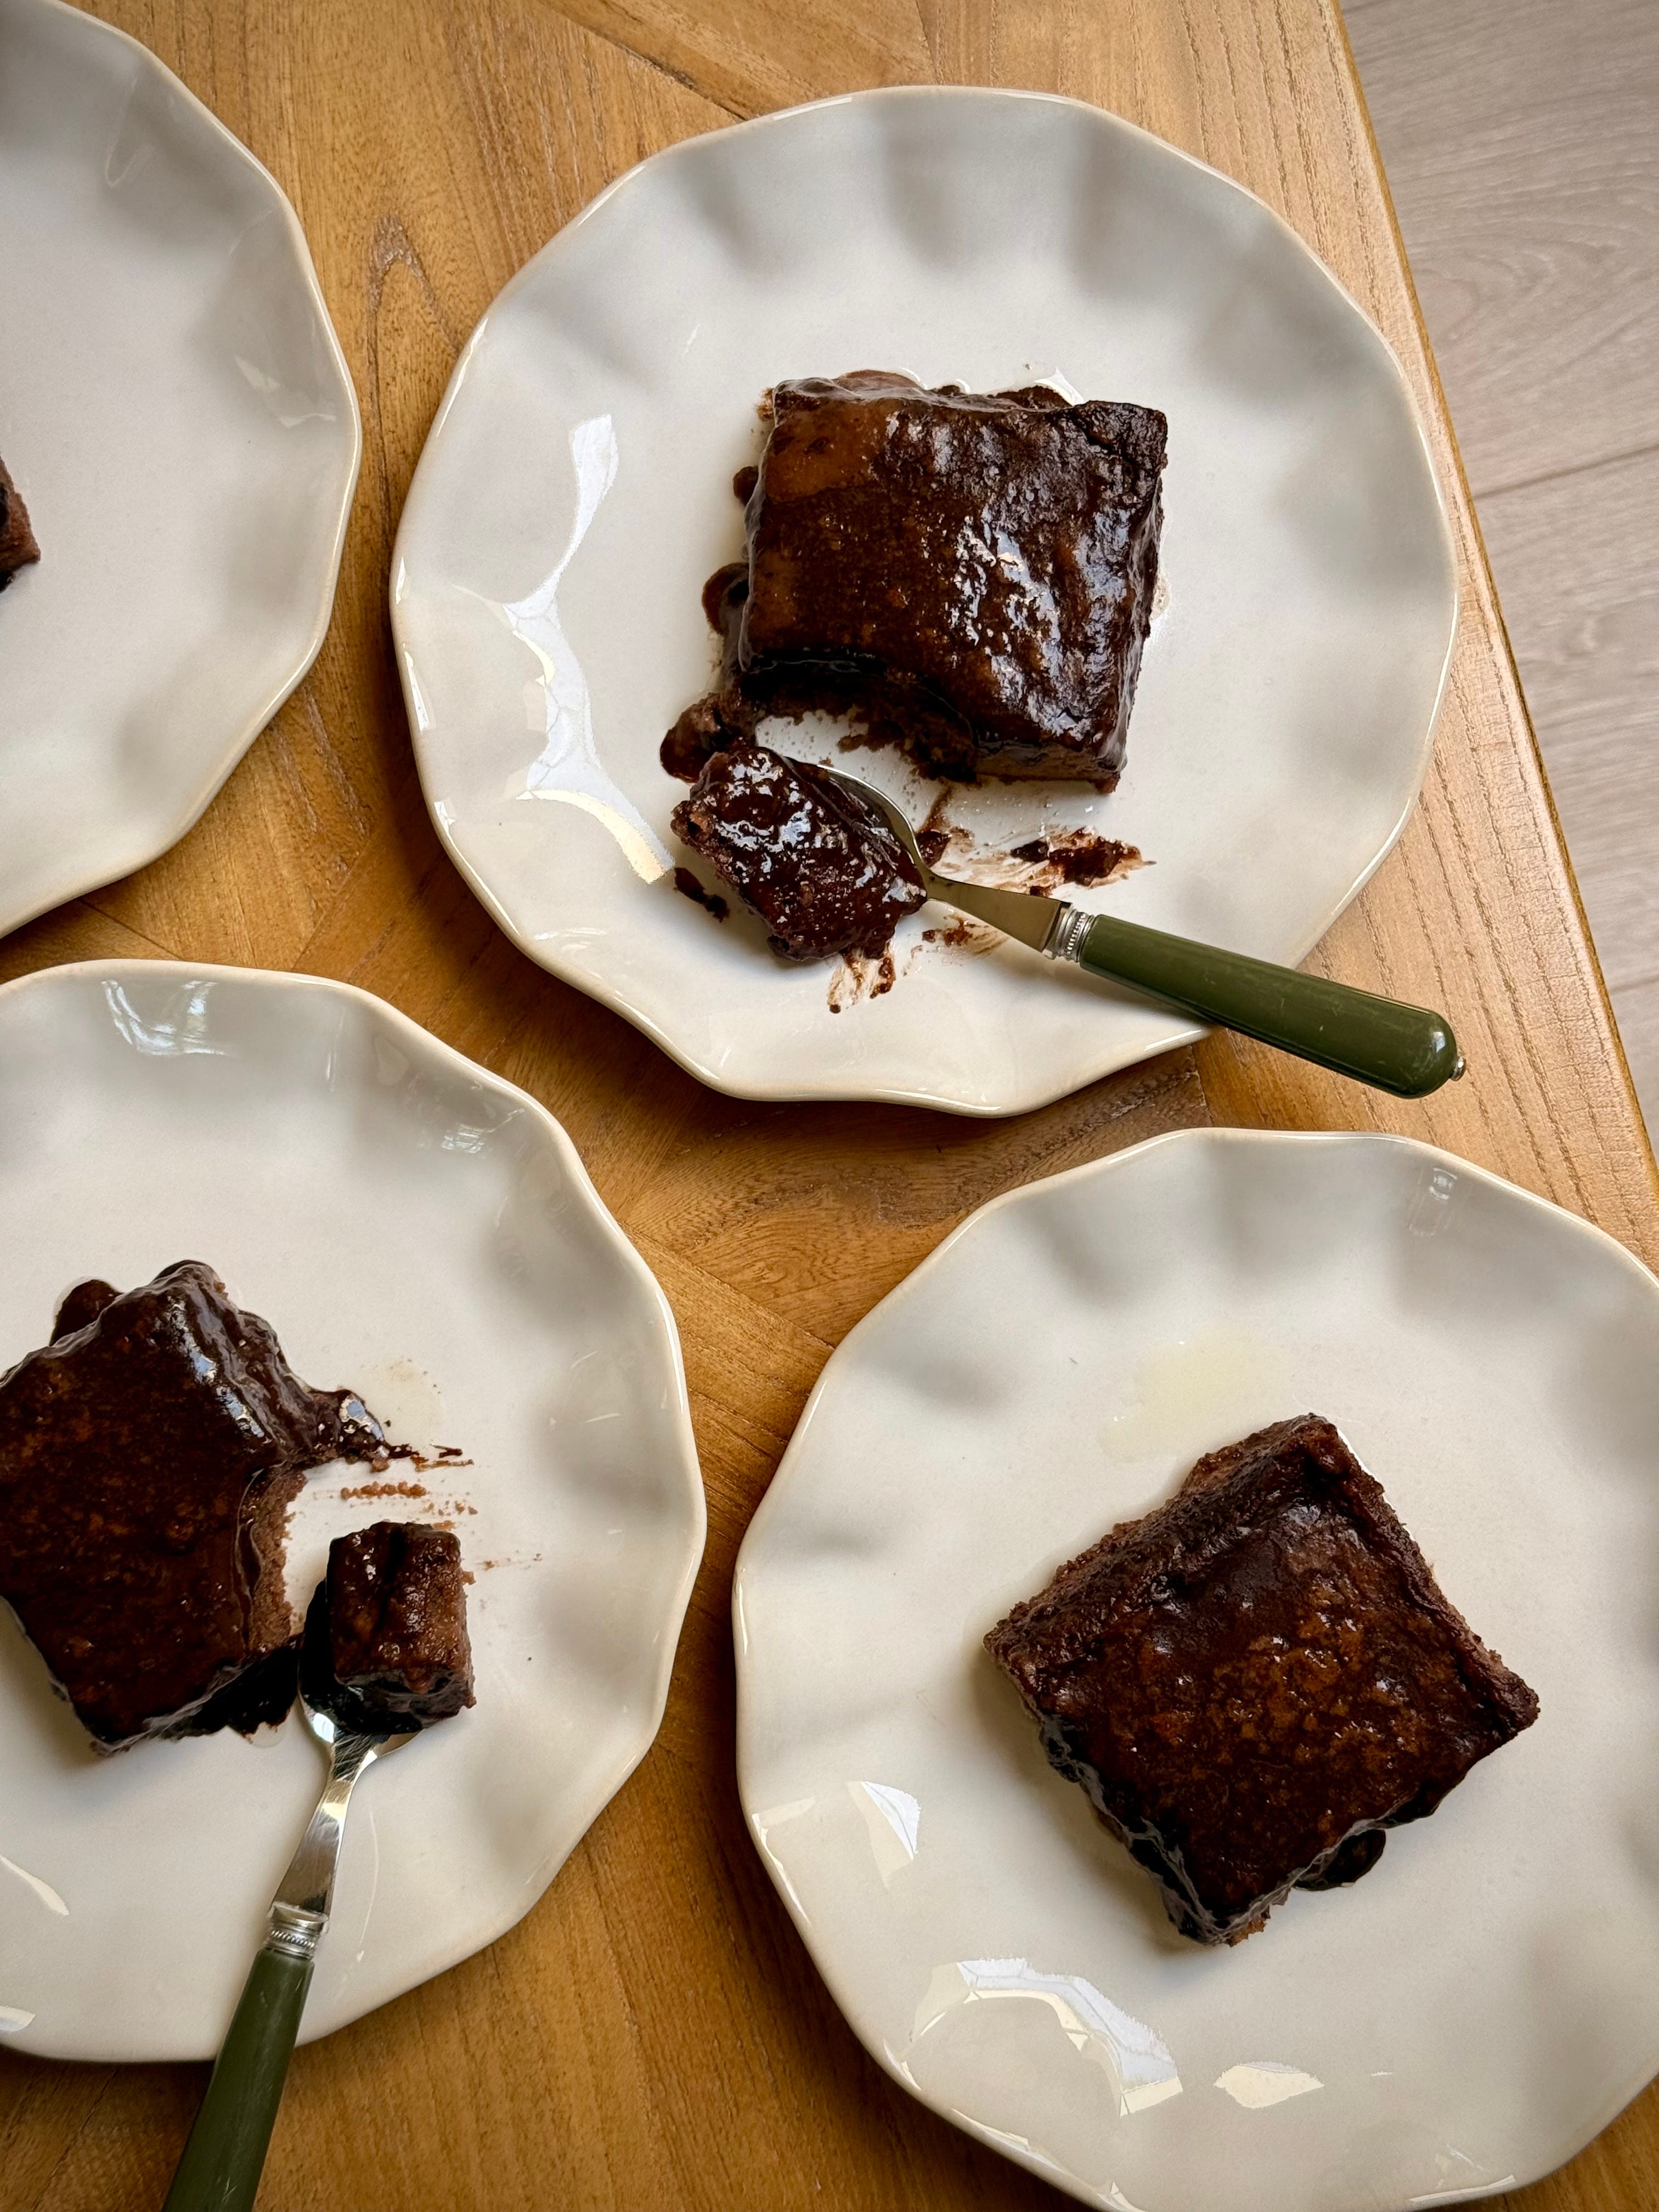
So popular, you’ll find every gran, mum and their dog with their own variation on this cake, with it being served up at birthday parties, as a staple alongside a cup of tea and just cause the fact it’s a Friday. Or Chewsday. Or any day, in fact. Using simple, everyday ingredients, requiring very little skill and time, I can see why this cake is so loved. It’s also incredibly forgiving. If on the off chance, you end up overbaking the sponge, stress not. The entire thing gets drenched in so much chocolate sauce, that even if the sponge is as dry as a piece of unbuttered toast, it’ll still come out sumptuously soft.
It’s comforting, moreish, and weirdly nostalgic - despite never having had this cake before so make that make sense. Admittedly I left mine to soak for 2 days so it was at peak sogginess but even still, I happily put away a few slices so if you’re looking for a good make ahead pud, look no further. I can also confirm that this cake goes from good to sublime when paired with a good glug of custard. Not common practice in Türkiye, but an unstoppable combo in my eyes.
And remember good friends, for all 80 new and improved recipes from the series (inc a lot of new entries!), the pre-order links for my new book Around The World in 80 Cakes, which drops in perfect time for the start of cosy season in September, can be found below and UK folks, use code 80CAKES for 25% OFF at Waterstones. Yay.
Recipe Makes: 1 x 20 by 30 cm / 8 by 12 inch deep baking tin
Recipe Serves: 12
Y O U – W I L L – N E E D –
Sponge
4 Large Eggs, whole
130 g Icing Sugar, sifted
200 ml Whole Milk, lukewarm
200 ml Neutral Oil (e.g. veg)
190 g Plain Flour, sifted
Pinch of Salt
2.25 tsp Baking Powder, sifted
15 g Cocoa Powder, sifted
Chocolate Sauce
700 ml Whole Milk
20 g Cocoa Powder
65 g Icing Sugar
100 ml Neutral Oil (e.g veg)
120 g Dark Chocolate, chopped
M E T H O D –
Preheat the oven to 160C Fan/180C/360F and liberally grease a 20 by 30 cm / 8 by 12 inch deep baking tin.
For the sponge, add the eggs and icing sugar into a stand mixer bowl. Use the paddle attachment to mix on a medium to high speed for about 5 minutes until light and fluffy.
Pour in the lukewarm milk and oil and mix on low for a few rotations.
In a separate bowl, add the plain flour, salt, baking powder and cocoa powder. Use a balloon whisk to mix until well combined before adding to the stand mixer bowl.
Either use a rubber spatula to lightly fold through or mix on a low speed using the whisk attachment until the flour has combined and you’re left with a smooth chocolate batter.
Transfer the batter to your greased tin, tap on the worktop a few times to remove excess air bubbles before popping into the oven for 12 to 16 minutes – or until the top bounces back when gently pressed.
Once baked, remove from the oven and leave to sit at room temperature.
Whilst the cake is baking and cooling slightly, make the sauce by adding all the ingredients bar the chopped chocolate to a pan. Mix well before placing over a medium heat. Cook for about 5 to 10 minutes until lightly reduced and slightly thickened.
Into a jug or bowl, add the chopped chocolate and pour over 150 ml of chocolate sauce. Leave to sit for 2 minutes before mixing until smooth. Leave to one side.
After the cake has been cooling for 15 minutes, use a knife to slice the cake into 12 and use a cocktail stick/skewer to poke holes into each slice.
Generously pour over ¾ of the chocolate sauce (the one without the chopped choc) all over the top. Leave the remaining sauce to serve alongside each slice. Leave to completely soak for approx. 1 hour.
Once the sponge has soaked up all the sauce, pour over the sauce with the chopped choc (the consistency should be thicker) – use the back of a spoon to level out if needs be or lightly warm up to loosen if thickened too much.
Cover the top of the tin with clingfilm and place in the fridge overnight.
The next day, serve each slice topped with the remaining ¼ chocolate sauce and enjoy.
And finishing up our menu this week, we have the main bake of the day, my Raspberry, Almond & Coconut Vertical Cake.
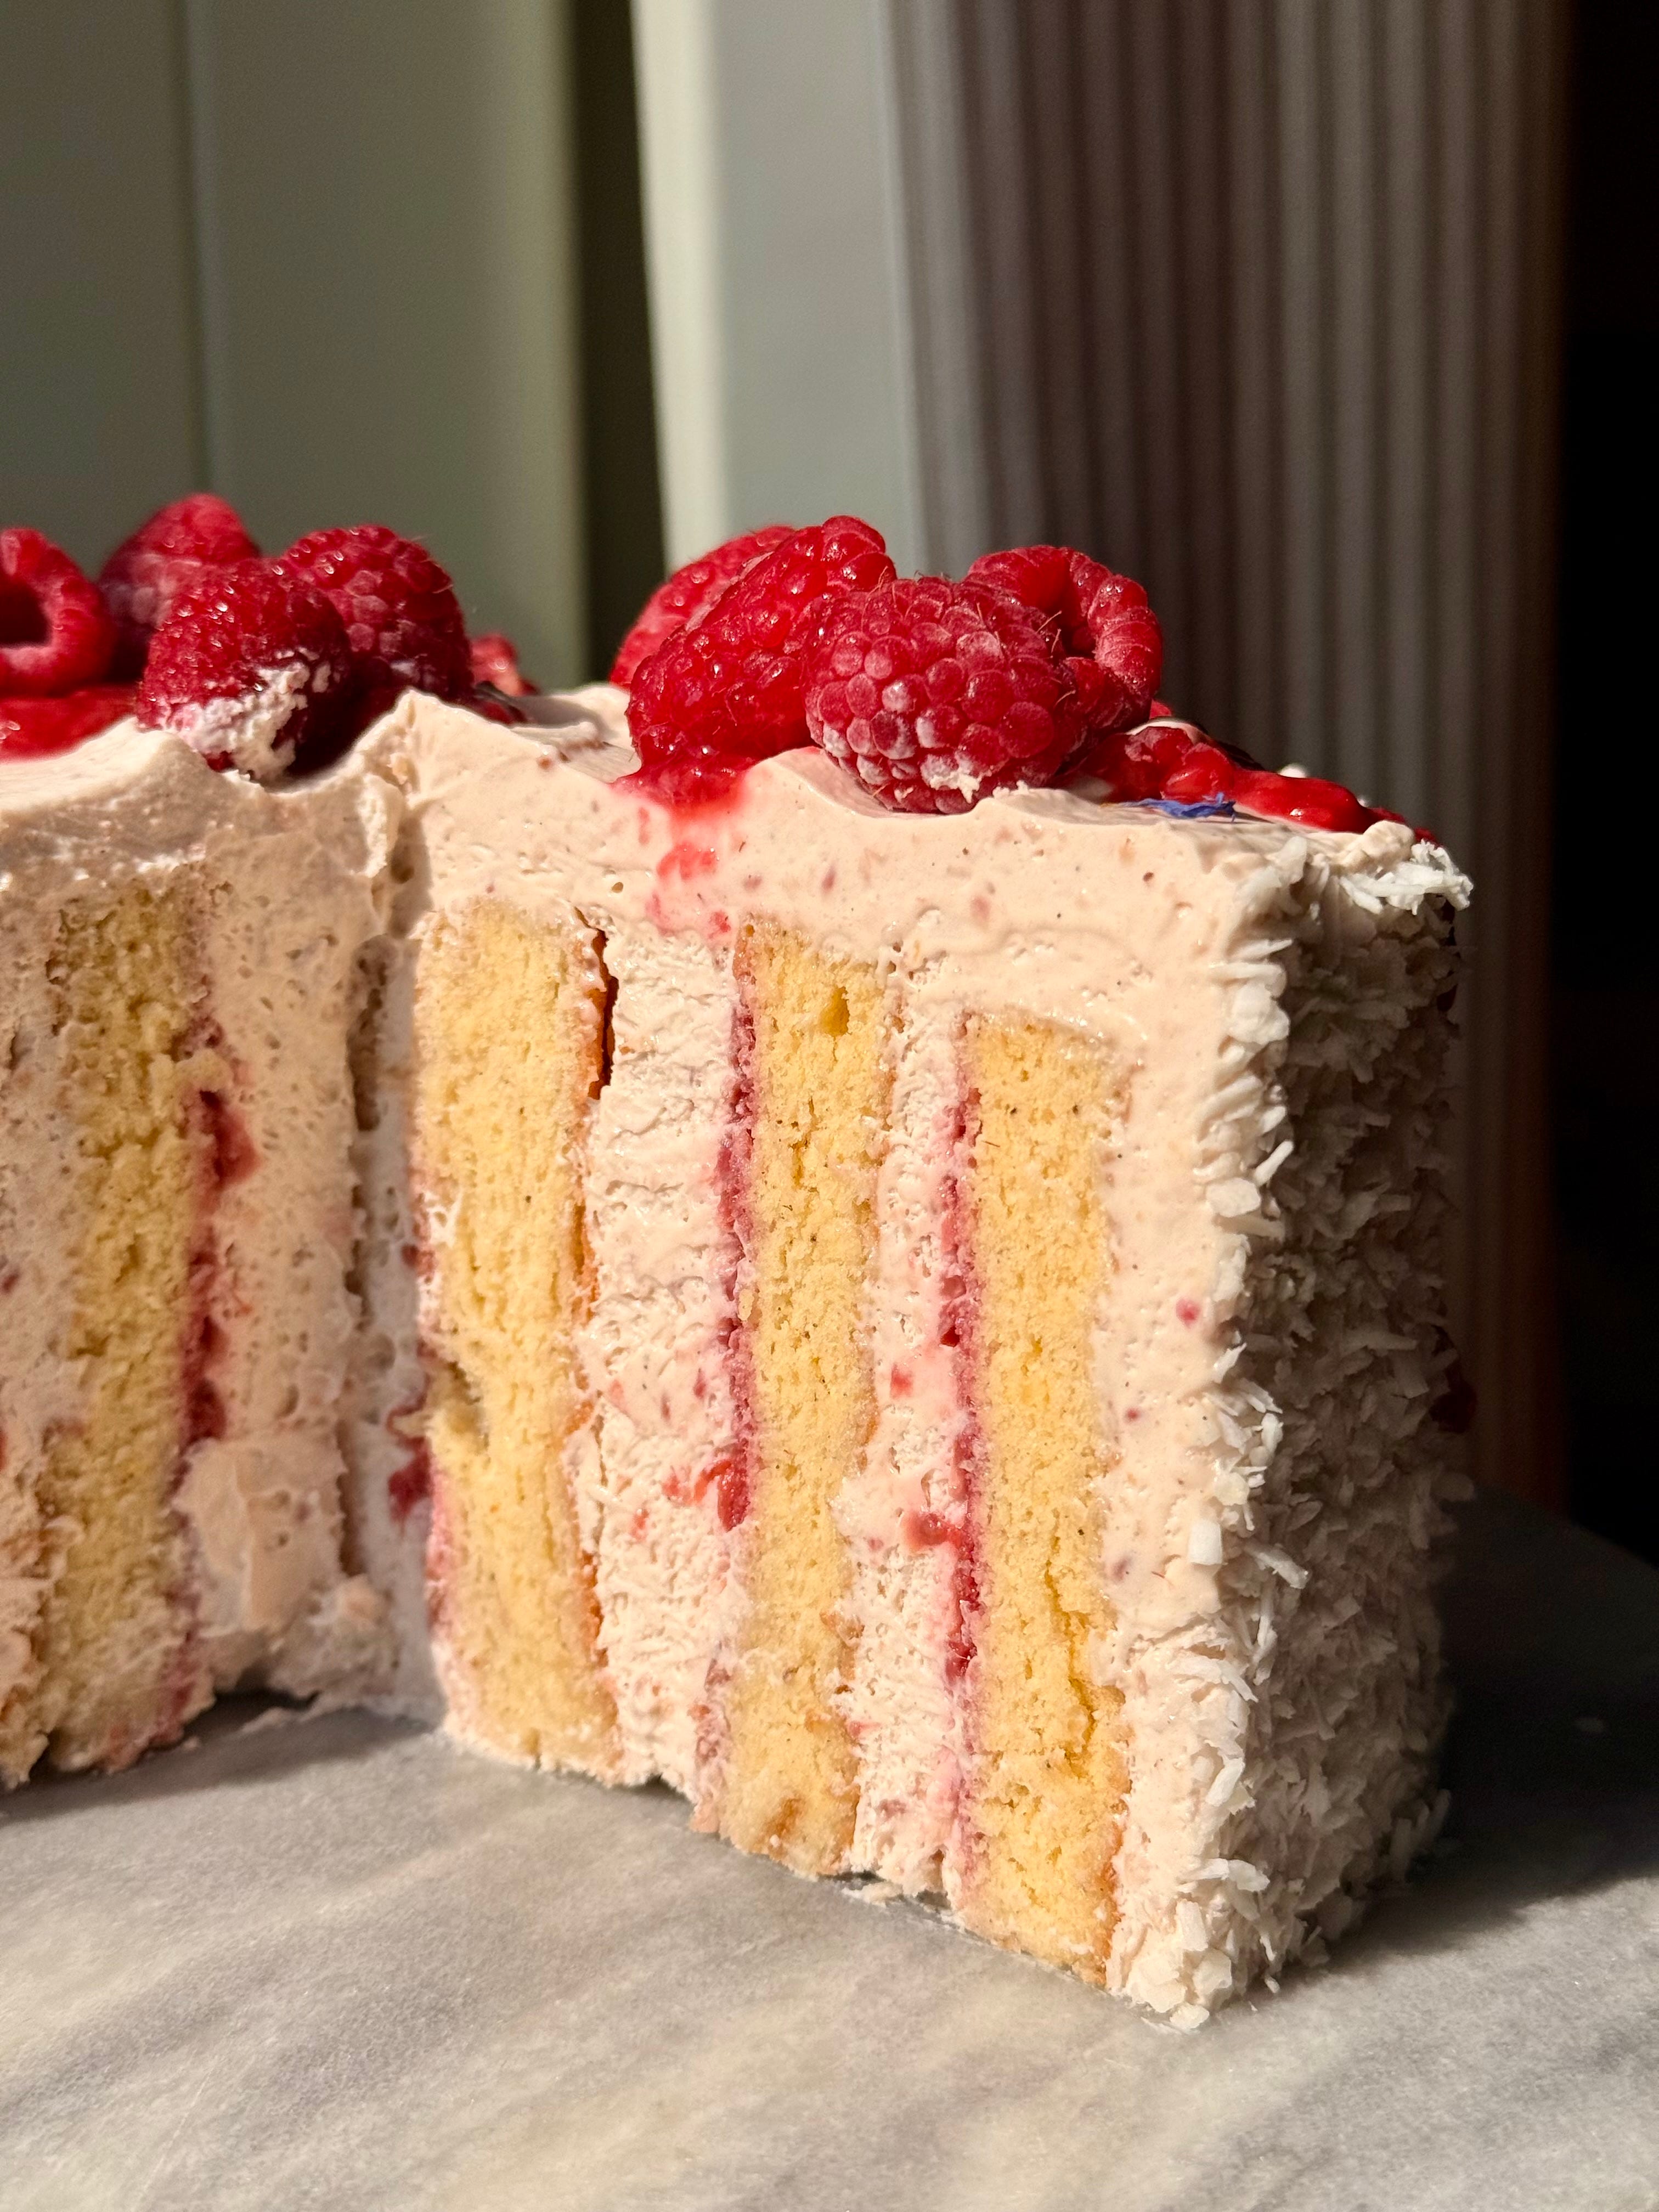
Is it wholly unnecessary to have the cake tipped onto its side so we have vertical layers, as opposed to the traditional layers? Absolutely. But is it fun, whimsy and quirky? You bet your bottom dollar it is. As someone who has caked just about every cake known to mankind, I thought it was high time we mixed it up a little bit and do what I do best but with a little twist.
And yes, it looks fun. And no, before your mind goes there – it isn’t hard to replicate or make. The sponge comes together so quickly – albeit with a slightly eye watering amount of eggs in this economy and bakes in no more than 16 minutes. The sponge cools down in about 20 minutes, which in that time you make the raspberry compote and about another 20 minutes after that, you are good to assemble and construct.
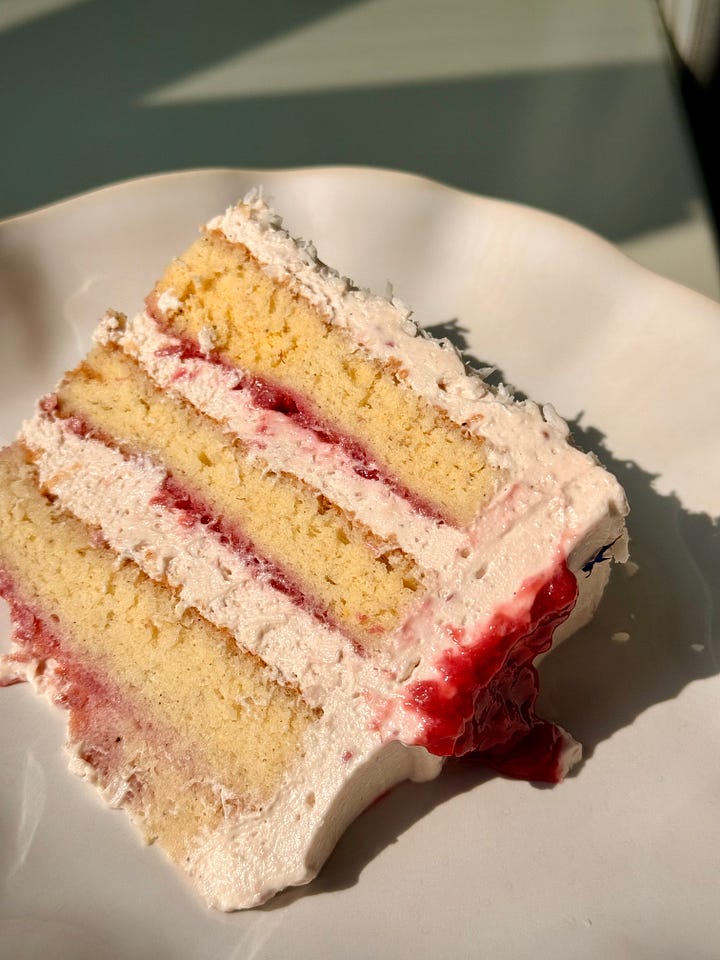
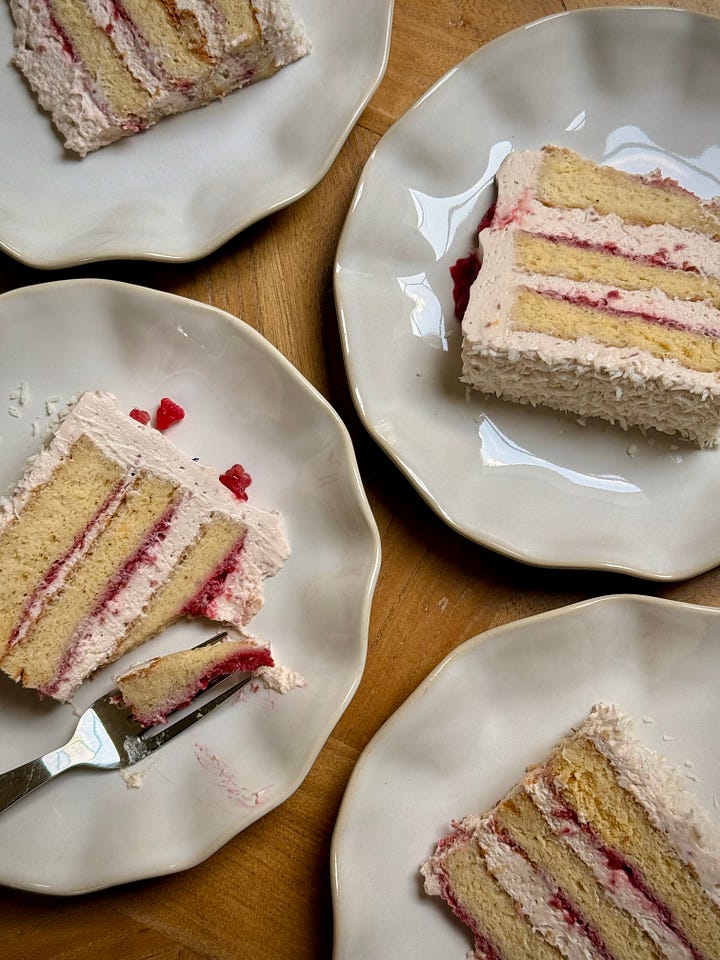
An impressive looking number, made in a jiffy. That my friends is the sort of maths I am looking for when it comes to baking in the summer. The sponge recipe I have shared with you is one I have tweaked, reworked and improved over the years and also happens to be my go to sponge base for whenever the time calls to make a swiss roll (I think this could be called a jelly roll in the US??).
The fatless sponge is so tender and light but makes for a great foundation for additional flavours. Here we have gone with almond to complement the whipped raspberry and coconut cream but you could switch it out for lemon zest and a squeeze of lemon juice, keep it simple with just vanilla bean paste, sub 20% of the flour with cocoa powder for a chocolate version instead or add a touch of espresso powder for a punchy kick.
Smothered in raspberry compote and a velvety smooth raspberry and coconut whipped mascarpone, the cake sides are then coated in desiccated coconut for a final hit of flavour and topped with some frozen raspberries and leftover compote to finish.
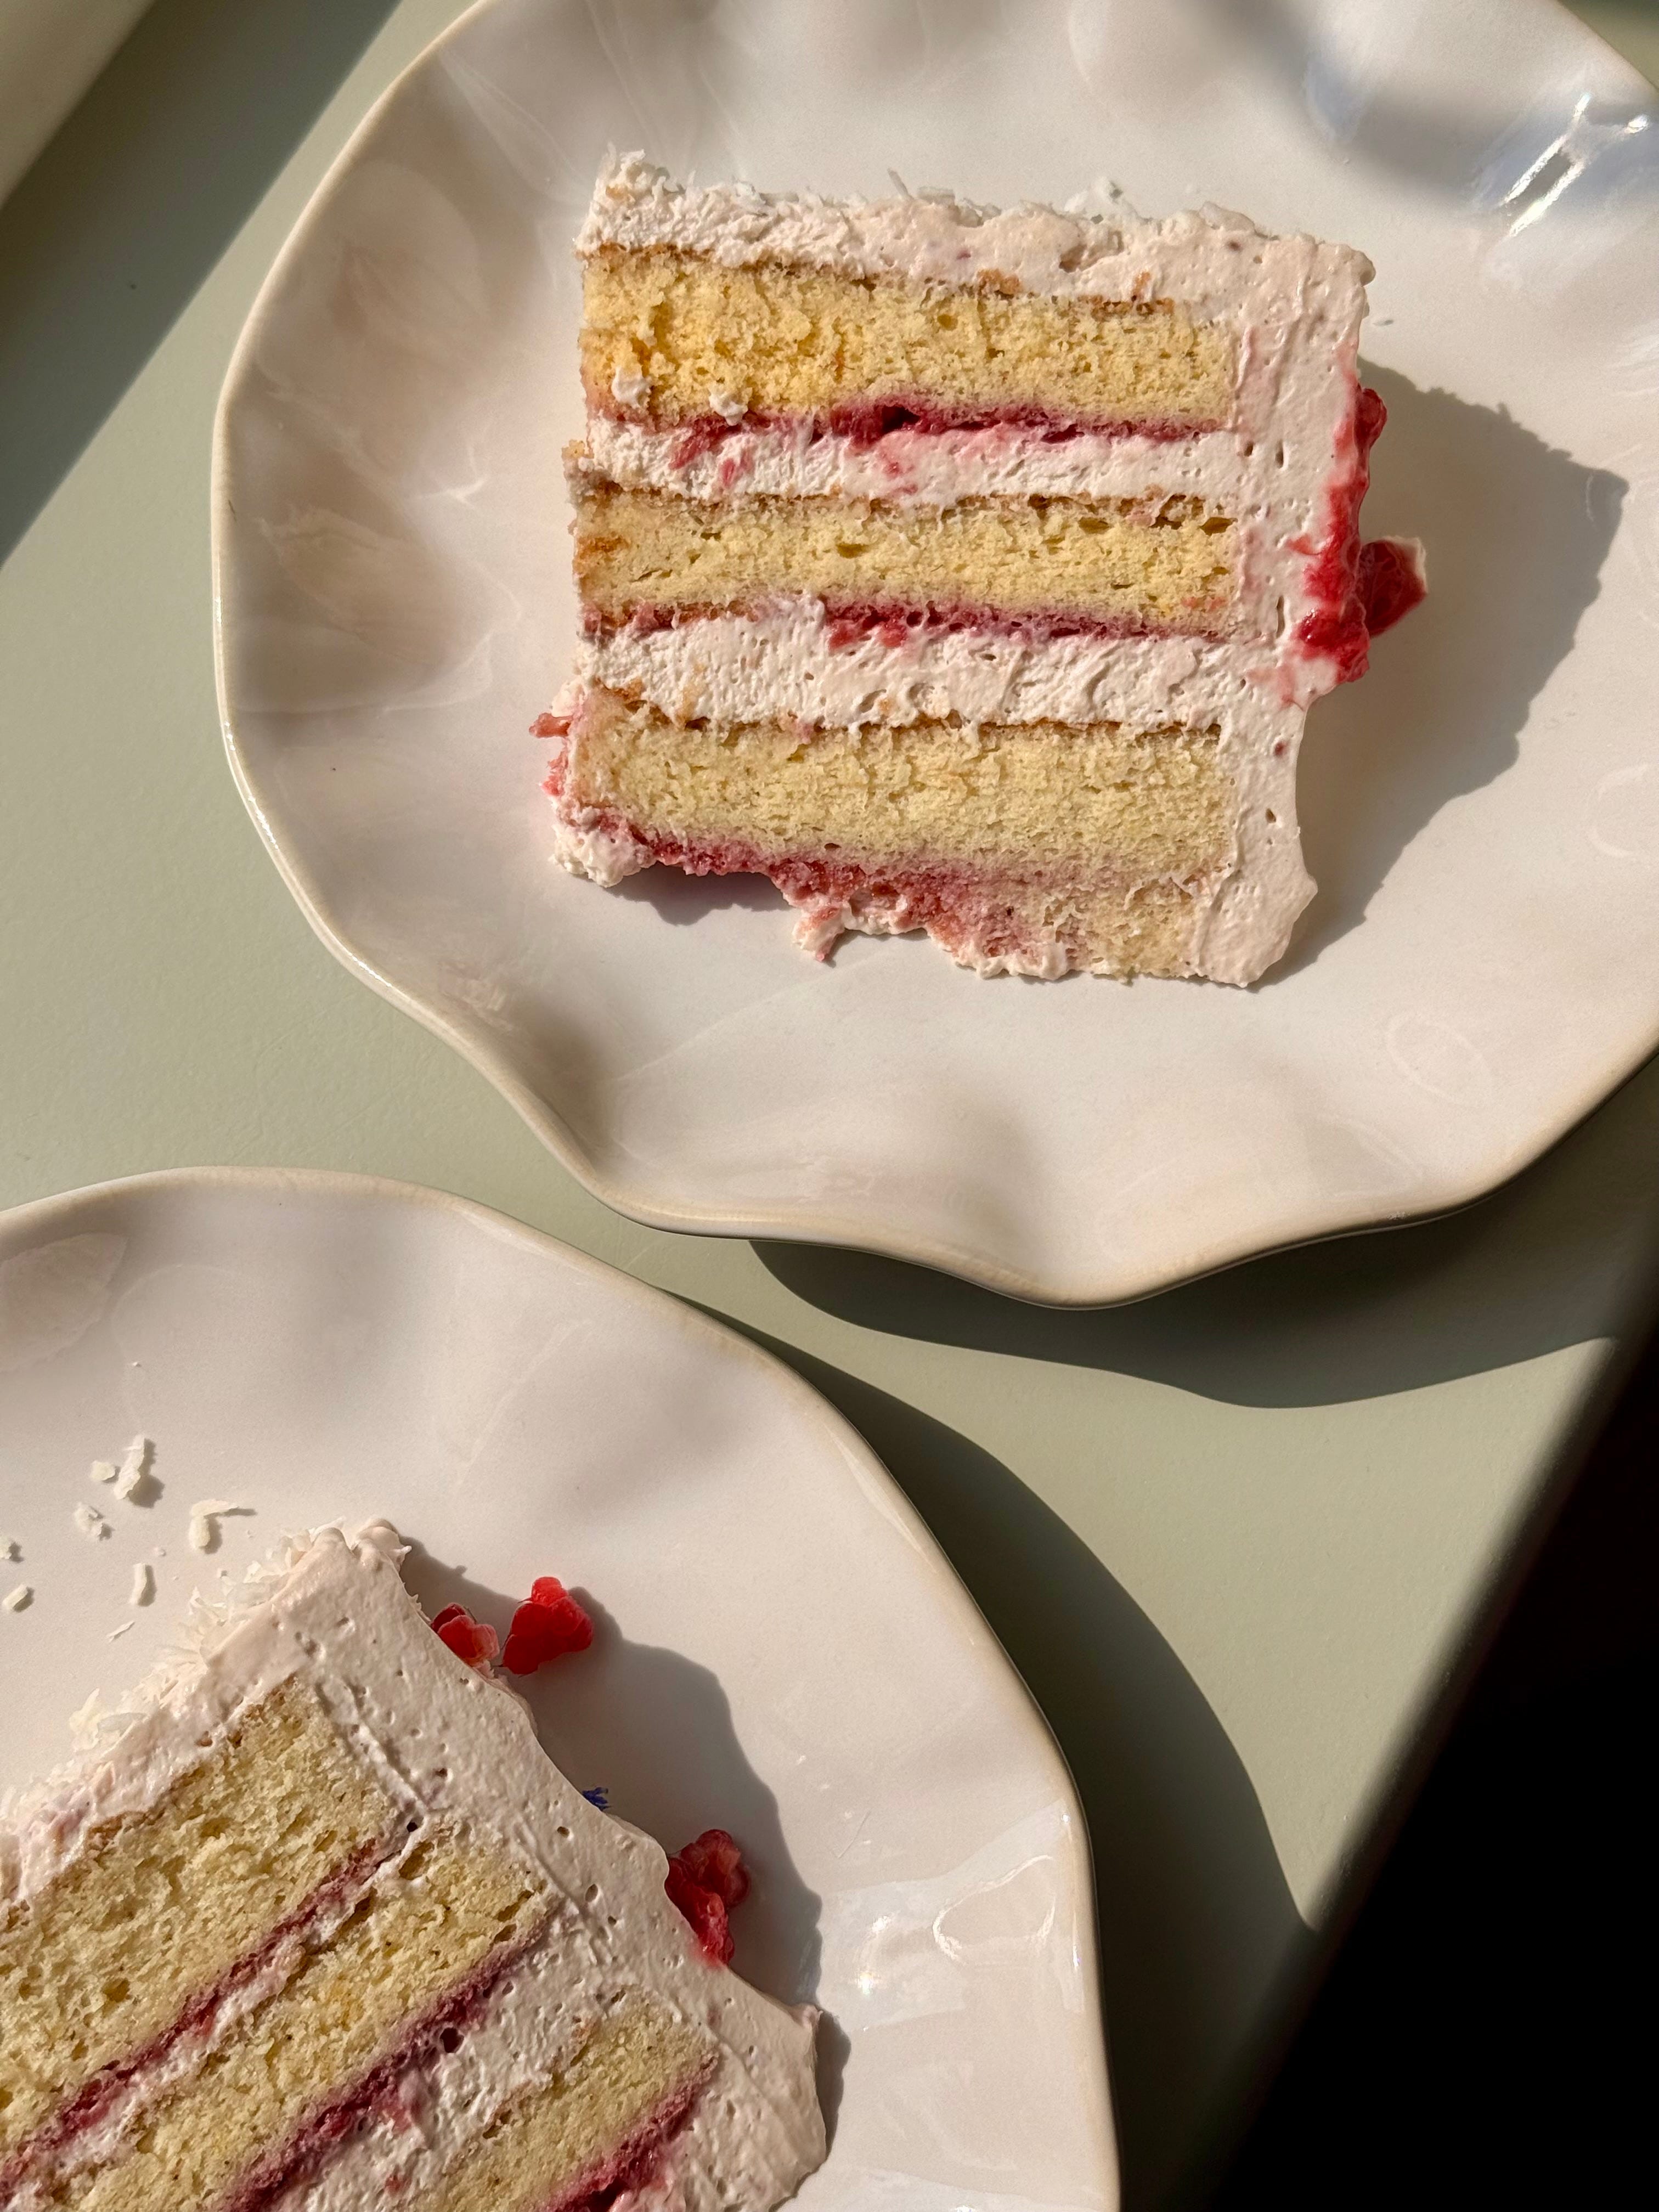
This cake keeps well overnight but I will eat my sock if you told me there are leftovers from this cake. The flavours are simple but effective. The cake isn’t overly sweet and the entire thing eats like a dream. Light, fluffy, creamy, sweet, tart and smushy.
We got all serious on the baking front for a while there. It’s time to bring back some whimsy.
Recipe Makes: 1 x 32 by 40 cm/ 13 by 16-inch baking tray
Recipe Serves: 10
Comments
Nothing yet. Say the first thing.
Sign in to join the conversation.