
Everything I share here comes directly from proequinegrooms.com. Thanks for being here — your curiosity and care for horses help raise the bar for all of us in the equine community. At ProEquineGrooms.com, I believe every horse owner deserves access to accurate, trustworthy, and practical information about equine care.
The winter months are not the only time to clip your horse. You may need to tidy up for a show or help thick coats in warmer weather. And it’s easy to learn to clip with these horse-clipping hacks.
Clipping is, first and foremost, a way to tend to skin and coat health, comfort, and then aesthetics. Not all horses need a haircut, but many do, and it’s easy to help them with a trim or clip as needed. Consider climate, your horse’s training plan, sweating patterns, and overall comfort as you plan their clipping routine.
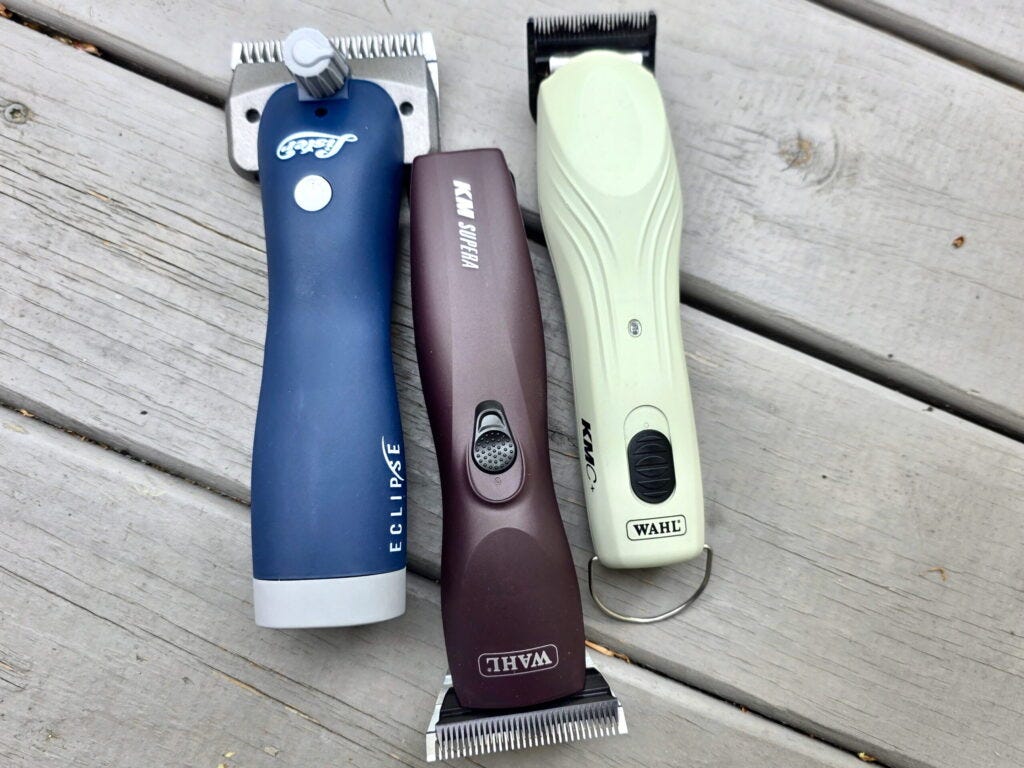
Your clippers, blades, and prep are the real keys to successful clipping. Save money and hassle when you expertly use, maintain, and store your stuff. It’s also a super idea to keep the owner’s manual included in your gear. There will be troubleshooting tips, maintenance plans, contact information for questions, and directions on how to service your clippers.
You’ll need to turn the clippers on for trimmers and detachable blades before you snap the blade in place. This action aligns the moving parts and boosts your odds of clipping well the first time.
For detachable blades on body clippers, slide them onto the hinge, turn the clippers on, then snap the hinge closed.
Attaching 5-in-1 blades to trimmers or smaller clippers is similar. Position the blade’s bottom into the trimmer, turn the trimmer on, and snap it into place.
Shears have wide, large blades in two pieces that you screw onto the clipper body. After attachment, you’ll need to tension them to avoid rattling, tugging hair, and too much heat due to too much pressure and friction.
Using the tension knob, tighten it until you feel a distinct change in pressure. Stop there, and unwind the knob one and a half times. Check your owner’s manual, as different shears may have different revolutions for perfect tension.
Do this from scratch if you hear weird noises or the blades aren’t clipping well as you work.
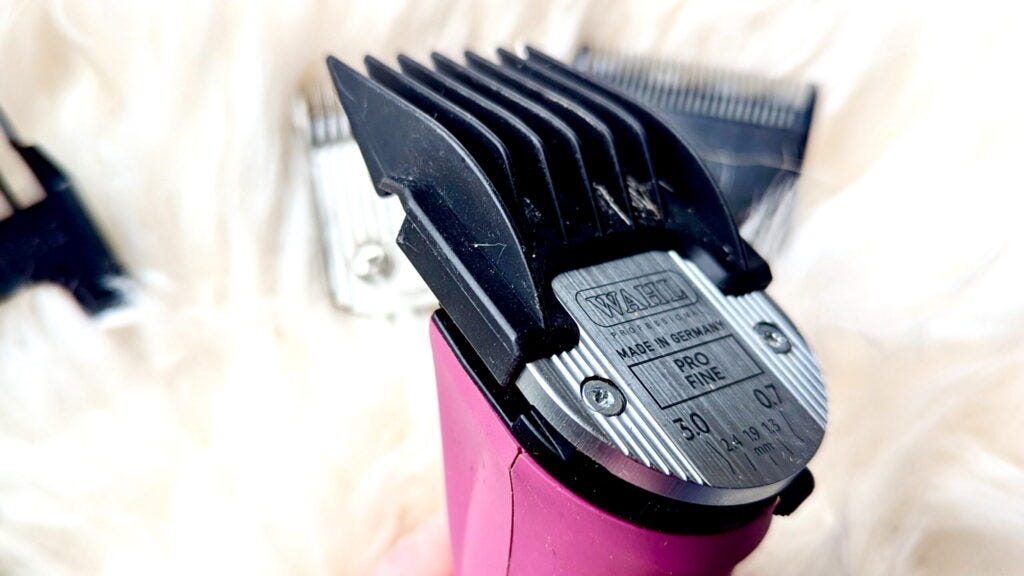
Sometimes, you don’t want to clip completely, so you can use clipper combs. These blade attachments remove excess hair, but not too much.
The combs create distance between the blades and your horse to “take a little off the top.” They are great for your horse’s legs if you want some coverage but need to tidy up feathers.
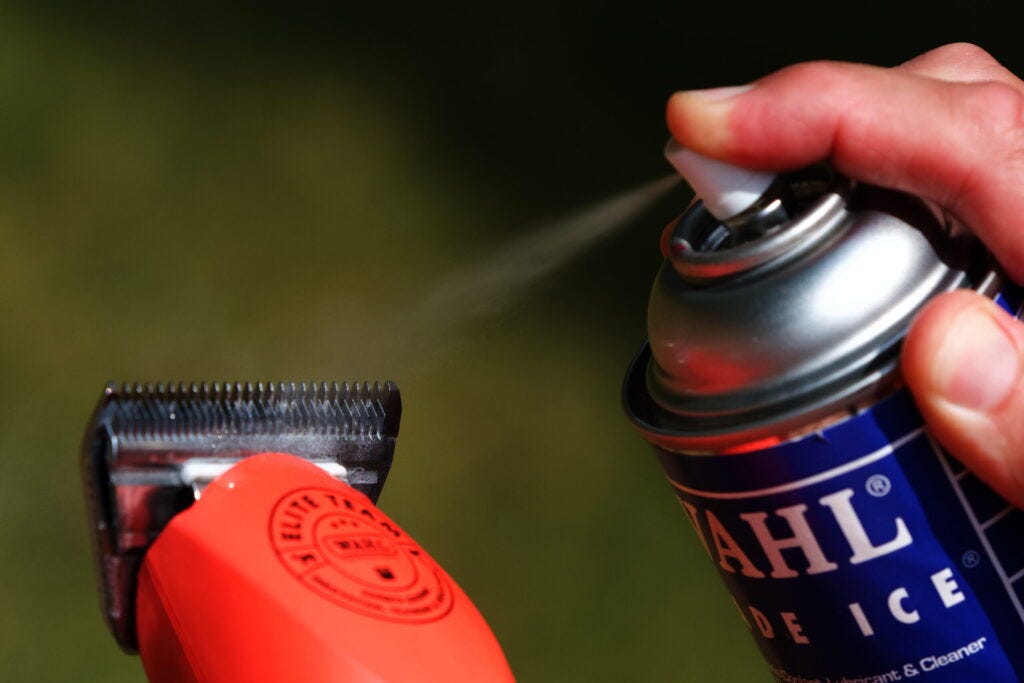
Coolant spray and clipper oil will extend your blade’s life by keeping things moving well, minimizing friction, and thus lessening heat.
Every five minutes, as you clip, stop to brush out your blades. Then, spray your blades with coolant, which evaporates quickly. Reapply your clipper oil, wiping away any excess oil. A few drops of oil are all you need, but sometimes it’s too much.
You should not have hot blades if you start with a clean horse, your blades are sharp, and you stop to use coolant and oil your blades.
Clean blades with a fresh oil coating will store better and won’t rust. As you clean the clipper blades, brush them, wipe them, and remove stray hair with a pipe cleaner.
You can store your blades in a climate-controlled area, too.
Now that you’re all set with your blades, it’s time to use more horse-clipping hacks. Body clipping takes time and practice, but you can do a few things to help up your game.
Get taller to reach your horse’s rump, topline, and mane. It’s easier to see your work and keep even pressure on your blades when your arms aren’t straining. Step stools extend your reach and minimize arm fatigue.
Working on legs and bellies takes a bit of flexibility, and to stay safe, don’t rest your knees on the ground. For support, use a stool or bucket. Keep your free hand on your horse for even more safety to feel for tension and incoming movement.
Do yourself a huge favor when tracing clipping by making straight line boundaries before you clip.
Grab a friend and some baling twine. Your friend can hold the line taut as you mark the boundary with trimmers. Hold them like a pencil and zip them along the twine for a crisp line.
Chalk is an option to draw borders, but it isn’t great on some coats and is not as precise as twine.
Stencils are an easy tool to create a cute design on your horse. Many graphics programs like Canva.com have vectors and outlines to print.
Cereal box cardboard is the perfect thickness for a stencil. Tape it to your horse with duct tape as you outline with your trimmers. You now have a border to guide you.
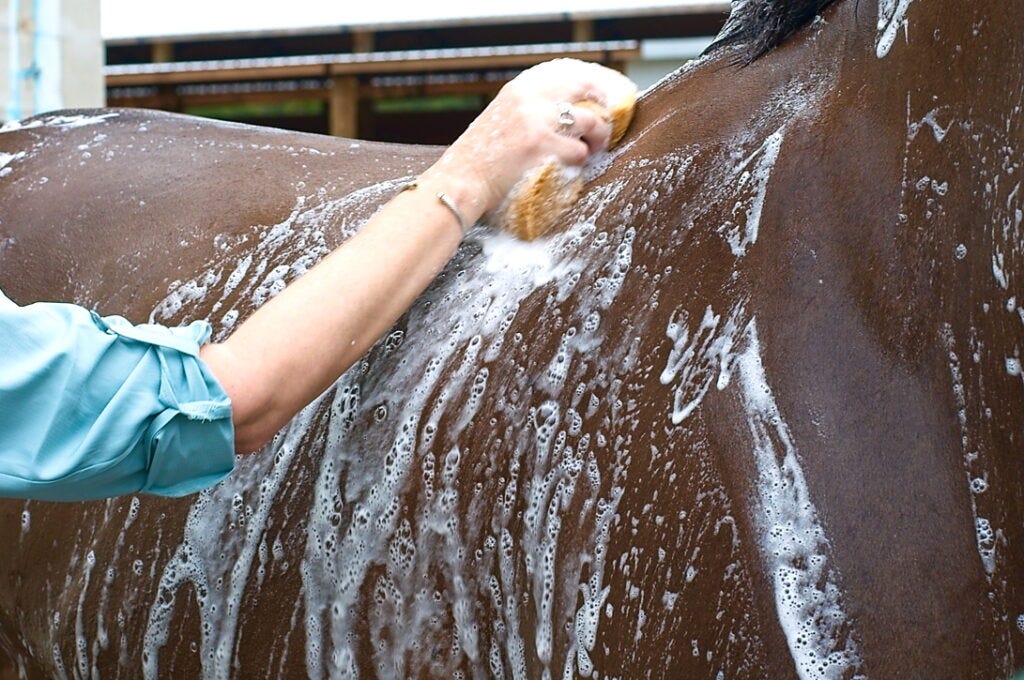
Clean horses have the best results!
Your clippers and blades are only part of the clip job. The other part is reading your horse’s body language, practicing using the clippers, and starting with a clean horse! Dirty horses and unhappy horses make the clipping process difficult, so use these horse clipping tips to keep your equine partner happy and stress-free.
Before you begin, curry and bathe your horse, and ditch any dull blades for sharp ones.
Give your horse time to eat, play, and settle into the day before clipping. You don’t want them anxious because they are hungry or antsy.
Find a space to clip that is soft and supportive. Hard ground will bother you, too. Your clipping area should also be familiar and where your horse feels safe and can see some friends.
Ear puffs are great for keeping hair out of the ear canal if you tidy the ears. Horses sensitive to noise may also appreciate them!
Haynets are helpful to keep your equine buddy busy as you clip.
Brush your horse often to help alleviate any itching. You may need to curry or rinse off for maximum comfort when you’re finished. Or, a nice roll in a sandy patch.
Don’t worry about mistakes! They grow out in a few weeks. If you are getting ready for a horse show, consider any body or trace clipping a few weeks out to allow any rough patches to grow. For smaller trims and tidying up, do those a few days ahead.
There’s more to explore at proequinegrooms.com, where every article is written (by a human!) to make quality horse care accessible to all.
I will never gate keep content behind a paywall, and I encourage you to visit the companies that support this educational endeavor.
Wahl Clipper - Code LIV for savings
HandOn Gloves and Grooming Tools - Code PEG for savings
GG-Equine Health Care Products - Code 15PROEQUINE
No posts
Comments
Nothing yet. Say the first thing.
Sign in to join the conversation.