
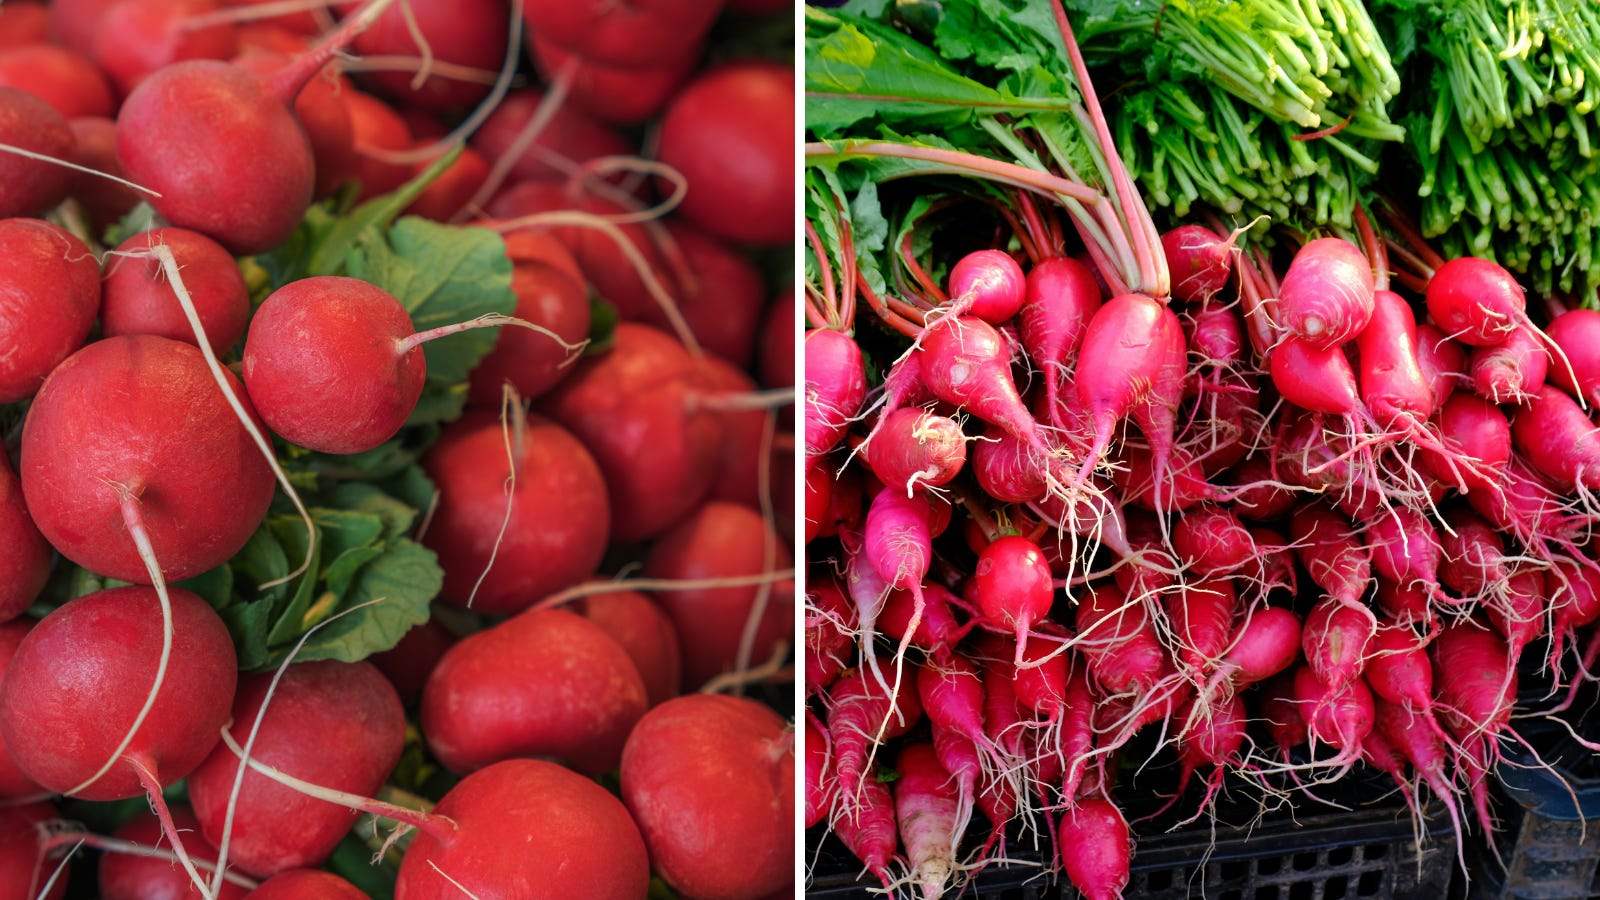
If you’ve ever thought about growing your own food but felt overwhelmed, have you tried radishes? Because if you’re trying to feed your family well, waste less, and rely a less on the store, this is one of the easiest places to start. They grow fast, don’t need perfect soil, and you can go from seed to harvest in just a few weeks.
But here’s the part most people don’t think about… they’re only using half the plant.
You don’t have to wait months. You don’t have to guess if you’re doing it right. They come up quick, and they’re ready before you have time to think about it. If you’re growing in containers or raised beds, they do just fine there too.
Let’s talk about those greens. If you’ve been cutting them off and throwing them in the trash, I get it, most of us were never taught to use them. But… they’re food. They’ve got a peppery bite, similar to arugula, and while they can be a little rough raw, they soften beautifully when cooked.
Here’s how to start using them:
Sauté them with butter, garlic, and a pinch of salt
Stir them into soups right before serving
Chop and add them into eggs in the morning
Blend into a simple pesto with oil, garlic, and whatever nuts or seeds you have
Once you start using them, it feels wasteful not to.
Most people only ever eat radishes raw. And if that’s all you’ve ever had, I understand why they’re not your favorite. But cook them, and it’s a completely different story. Roasted radishes lose that sharp bite and turn mild, slightly sweet, and almost buttery, similar to potatoes. They’re delicious!
To make them:
Wash and cut in halves or quarters
Toss with olive oil, salt, and garlic
Roast at 400°F until tender and lightly browned
That’s it. Nothing fancy.
If roasting isn’t your thing and you’re still not sold on eating radishes raw the usual way, this is where to start. Because sliced radishes in a salad? That’s one thing. But a simple slaw? That’s something else completely.
Here’s how to make it:
You’ll need:
1 bunch radishes, thinly sliced or shredded
1–2 cups shredded cabbage (or use what you have)
A handful of chopped radish greens (optional, but recommended)
2–3 tablespoons olive oil
1 tablespoon apple cider vinegar
Salt to taste
A drizzle of honey (optional, but balances the bite)
To make:
Toss everything together in a bowl
Let it sit for about 10–15 minutes to soften slightly
Taste and adjust salt or vinegar as needed
That’s it. It’s crunchy, fresh, a little peppery, but balanced. And it pairs with just about anything: eggs, meat, sandwiches, or eaten straight out of the bowl standing at the counter. No judging here!
If you’re trying to preserve food without relying on a freezer, this is where radishes really shine. Fermented radishes are crunchy, tangy, and full of that good, living food your body actually knows what to do with. And the best part? It’s simple.
Slice or halve your radishes
Pack them into a jar
Add garlic, dill, or pepper flakes if you want
Cover with a saltwater brine (about 1 tablespoon salt per quart of water)
Keep everything submerged
Let sit at room temperature for about 5–7 days
That’s it. No vinegar. No canning.
Instead of thinking radishes are just for salads, you start seeing how you can use both the root and the greens in multiple ways. One harvest turns into multiple meals. And that’s how you start stretching your food without spending more money.
When you bring food into your kitchen… are you using all of it? Or just the parts you were taught to use? Once you start looking at something as simple as a radish differently, it doesn’t stop there. And that’s how this whole lifestyle begins to change.
If you’ve been waiting to grow something, preserve something, or just waste less in your kitchen… Start here. They’re quick, forgiving, and they’ll teach you more than you expect.
Radishes are one of the easiest crops to grow, but they are also a reminder that every plant in the garden has more value than just the harvest we bring inside. Learning how to grow, use, and preserve what we produce is one of the foundations of a more self-sufficient home. Each season gives us another opportunity to improve our skills, grow more confidently, and make better use of what we have.
If you’re ready to keep building your garden skills, these resources will help you continue:
→ Saving Seeds: The Skill That Makes a Garden Truly Self-Reliant
Learn how to get a head start on your garden by starting healthy seedlings at home.
→ How to Garden Cheaply (or Nearly Free)
Create a garden plan that helps you grow more food while making the most of your available space.
→How to Preserve Food Like Your Great-Grandmother
Discover simple ways to store and preserve the food you grow so less of your harvest goes to waste.
A productive garden is built one crop at a time. Whether you are growing your first row of radishes or expanding into a larger kitchen garden, every skill you learn gives you more confidence and more control over what you can provide for your household.
Inside the Members Library, you’ll find practical resources to help you plan, grow, preserve, and organize your homestead skills throughout the seasons.
Members receive access to:
Seasonal garden planners and homestead notebooks
Printable worksheets for tracking crops, harvests, and projects
Step-by-step guides for gardening, food preservation, and traditional skills
Practical resources designed to help you build systems that work for your home
Self-sufficiency is not built overnight. It grows slowly, season by season, through the skills we choose to learn and practice.
If you’re ready to keep learning and creating a more productive home, the Members Library is here to help you along the way.
Until next time,
Melissa
Comments
Nothing yet. Say the first thing.
Sign in to join the conversation.