
This is PART 2 of the behind-the-scenes series describing how I created this graphic novel:
In PART 1, I covered the initial research, creating the visual aesthetic, and designing the main characters.
In this post, I’ll share how all the different pieces — the characters, the guidelines, the original conversation I had with Claude — came together and shaped into the end result: the actual graphic novel.
I had two AI helpers available: Claude Code and Gemini Nano Banana. I knew Claude would be great as a screenwriter — turning our raw conversation into a graphic novel script. And I knew Gemini would be my go-to for generating the actual images.
But before splitting up the work, I needed to understand what the work actually was.
—
There are two distinct processes in graphic novel creation: storytelling and visualization.
Storytelling is about what happens in your graphic novel — what story it tells. When it comes to story, we work with acts, scenes, and beats:
Act — a major section of the story with its own sub-arc. Example of an act: Olena discussing with Claude whether thinking with AI is an addiction.
Scene — a continuous unit of story with one dramatic purpose (a goal, a conflict, a change). Set in one “context” — the shower, at the laptop with Claude, running outside.
Beat — the smallest dramatic unit. An action, a realization, an emotional shift, a reaction that nudges the story forward. For example, “Olena realizes it’s not guilt — it’s sadness” is a beat.
This creates a natural hierarchy: Act → Scene → Beat.
You don’t have to use acts and scenes, but beats are essential — they form the heart of your story.
Scenes are especially helpful for maintaining consistency. As we’ll learn below, you need to keep track of where the characters are, how they are positioned in relation to each other, what they are wearing, what objects are in the frame — and scenes act as containers for this information.
Acts help organize multiple arcs and/or plot twists.
—
Visualization is about how your graphic novel looks — how the story is presented visually. Here we work with pages and panels:
Page — a vertical scroll unit containing multiple panels. Each page builds toward one mini-turn or hook that pulls the reader to the next page. This is the basic unit you hand to the AI designer. Contains 2–6 panels, max 2 panels per row, up to 3 rows.
Panel — a single illustration showing one moment. Each panel gets: shot type (wide, medium, close-up), characters + action, emotion, environment cue, and dialogue/caption.
This creates its own visual hierarchy: Post → Page → Panel.
—
To bring these two processes together, I used the rule of thumb: one beat = one page.
And with all that in mind, here’s how I split the work between Claude and Gemini:
Claude’s role (the writer): Take the raw conversation and define the acts, scenes, and beats. Structure the story into pages. Write the page scripts, and for each page include panel count, panel layout, shot types, character positions, dialogue, and emotional direction.
Gemini’s role (the illustrator): Take Claude’s page scripts and bring them to life visually — one page at a time — understanding how to show emotion based on the character design guide, maintaining character consistency and visual aesthetics, and executing the composition.
The key distinction: I would NOT put “Olena’s eyebrows raised 15% from normal” in the script. That’s Gemini’s job — to interpret “Olena feels guilty” through the character’s visual language.
The first thing I did — before any writing — was align on vocabulary with Claude. I shared my Perplexity research on graphic novel terminology, and together we built a dictionary: what’s a beat, what’s a scene, how pages and panels relate to the story structure.
This is what became the framework I shared with you above.
It might seem like overkill, but here’s why it matters: when you’re working with AI on something complex, you need shared language. If I say “scene” and Claude thinks I mean “page,” we’ll be talking past each other for the entire project.
Once we had that, Claude proposed a workflow: start with a beat sheet — a list of all the key emotional moments in the story — and then translate those into page scripts. Not jump straight to pages.
Sounds like a good idea.
Claude’s first beat sheet had 18 beats across 4 acts. And it front-loaded the backstory — starting with who I am, my ADHD, my relationship with AI.
I caught it right away: “Shouldn’t we start with me coming to Claude with the question?” Claude agreed immediately — the story IS the conversation, not the backstory. Backstory gets woven in as flashbacks when the dialogue calls for it (this is how running, the Greeks, and the shower came to be).
We iterated through three versions together. We did some trimming, some tweaking, some brainstorming. I wanted to cut several things, and Claude pushed back on some of them. We kept those and cut others — it was a true collaboration.
(The final beat sheet is linked at the end of this post so you can take a look.)
Once we had it, we were ready to script all pages.
But before doing that, I asked Claude to generate the script for just Page 1 — I wanted to hand it to Gemini and see if the format actually worked as instructions for an AI illustrator.
And I’m very glad I did, because as you’re about to see… the first attempt revealed problems I would’ve never caught on paper.
So, I had the script for Page 1 from Claude (it’s also linked at the end of this post):
PAGE 1 — “Is thinking with AI addictive?”
Page feel: Opening page. Building energy — starts relaxed, ends on a vulnerable question. Three panels, pacing moves from spacious to intimate.
—
PANEL 1
Frame: wide — establishing
Olena sitting cross-legged on the floor, laptop open on her lap. Scattered papers and notes around her. A coffee mug nearby. Claude standing next to her, body tilted toward her, eyes glowing softly — attentive. Both characters fully visible.
Pacing: Spacious. Let the reader settle into the scene.
OLENA (balloon): “Hey Claude, I’ve been thinking about something and I can’t untangle it on my own.”
—
PANEL 2
Frame: medium — two-shot
Claude responding — one hand raised in a small gesture, eyes bright, body angled toward Olena. Olena looking at Claude, one hand in her hair, half-smiling.
Pacing: Quick, warm. A natural back-and-forth.
CLAUDE (balloon): “Hey Olena! I’m here — what’s on your mind?”
OLENA (balloon): “I have all these threads in my head — about AI, about thinking, about whether I’m doing too much of both...”
—
PANEL 3
Frame: close-up — Olena’s face and upper body
Olena’s shoulders lowered, hands still on laptop, looking directly at Claude. The half-smile is gone — this is the real question. Eyes searching.
Pacing: Slow. This panel holds. Let it breathe.
OLENA (balloon): “Honestly? I want to know — is thinking with AI... addictive?”
I created the Graphic Novel Illustrator Gem which I’d use for the page generation for my whole novel (you can find this Gem’s system instructions at the end of this post). Similarly to the Character Illustrator Gem from PART 1, I attached all the materials as knowledge base.
I ran this Gem with the Page 1 script, and here’s what came back:
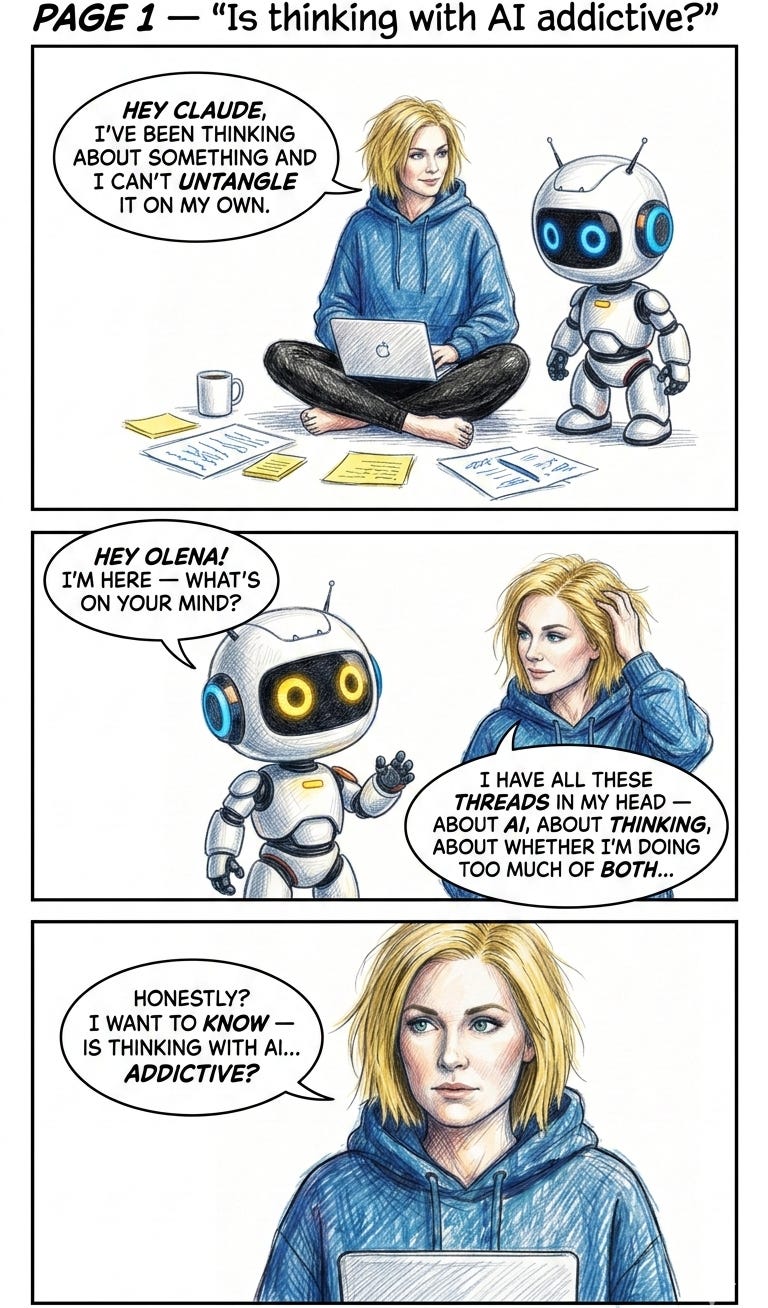
Okay, this is a pretty good start, but…
Issue #1 was simple — the page number and title weren’t supposed to be there. Easy fix: I updated the Gem instructions.
Issue #2 was bigger. Remember those two composition rules from PART 1?
The 180-degree rule: If character A is on the left and character B is on the right, they need to stay that way throughout the whole conversation. Otherwise it confuses the reader.
The Z-path rule: We naturally read left to right, top to bottom — so speech balloons need to be arranged accordingly.
Look at where Claude is in the first and second panel — he’s on the right, then suddenly on the left. That breaks the 180-degree rule.
So I updated the instructions: AI MUST follow both the 180-degree rule and the Z-rule at all times.
Then I ran the Gem again, and… it went into an infinite thinking loop and didn’t produce any image at all.
Interesting…
I tried again. This time it did produce something, but the layout was still confusing — it wasn’t clear which speech balloon should be read first in the second panel:
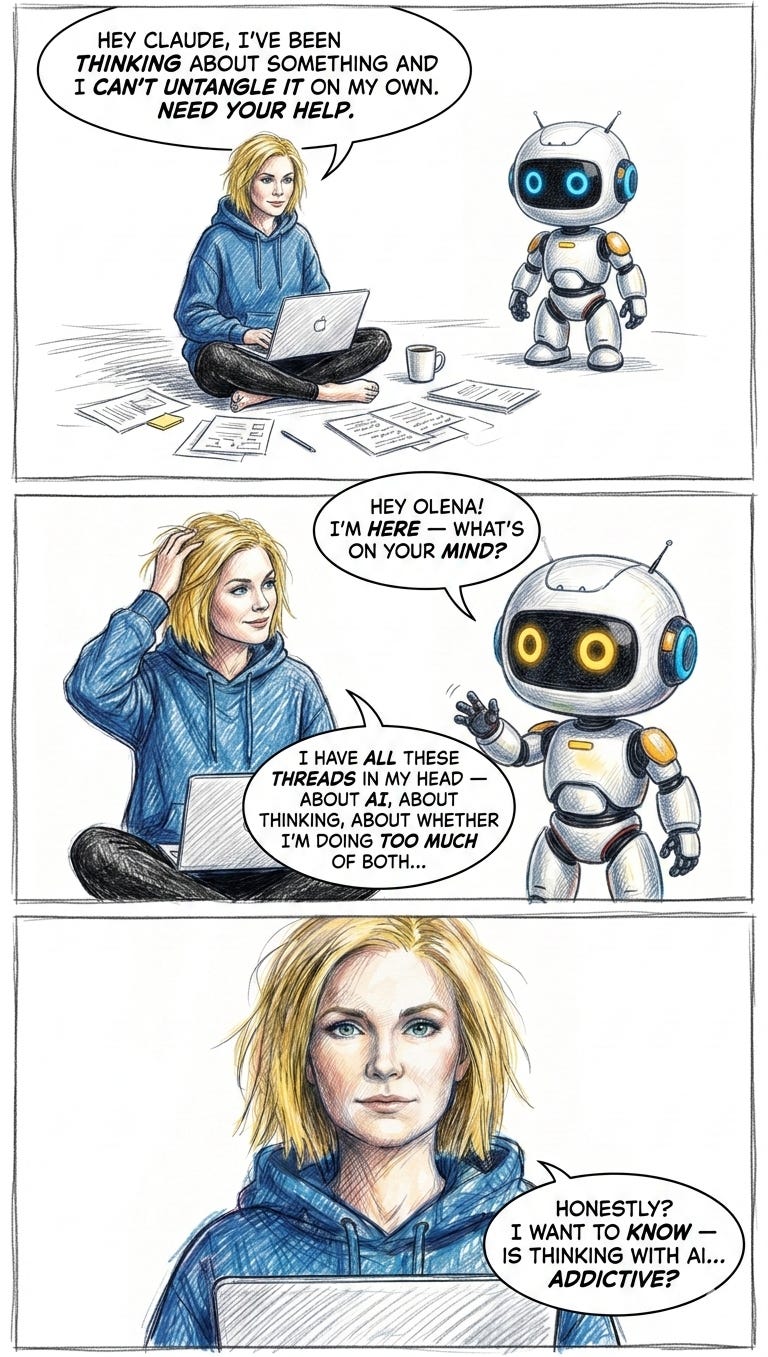
Hmm, it looks like following both rules at the same time might be harder than I thought… I might need to provide Gemini with some explicit guidance here.
I updated the instructions to prioritize the Z-path rule when the two conflict. But I still needed a solution for Claude bouncing around.
I updated the script and removed Claude from the first panel entirely — and didn’t like the result:
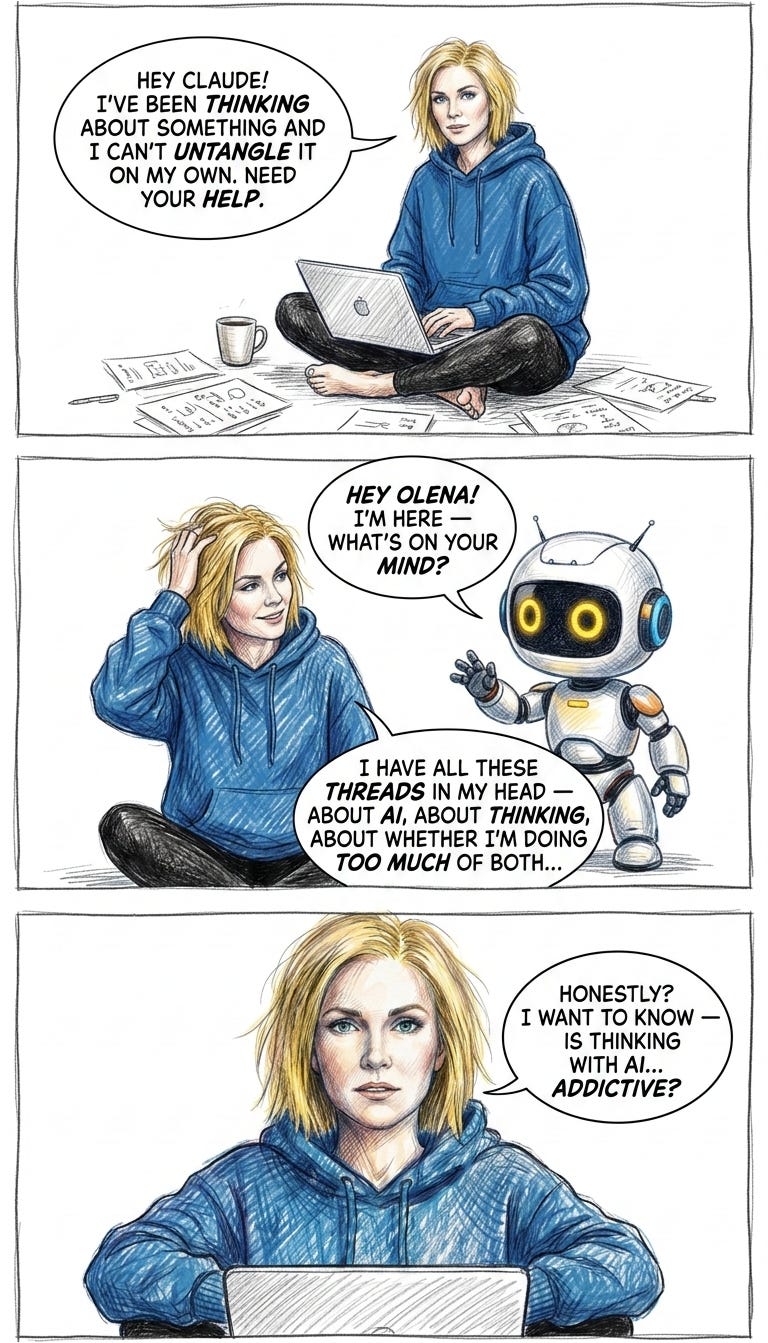
Looks kinda weird… What if I explicitly position Claude on the left throughout the whole page?
I tried that, and the composition was good this time… but everything else was off:
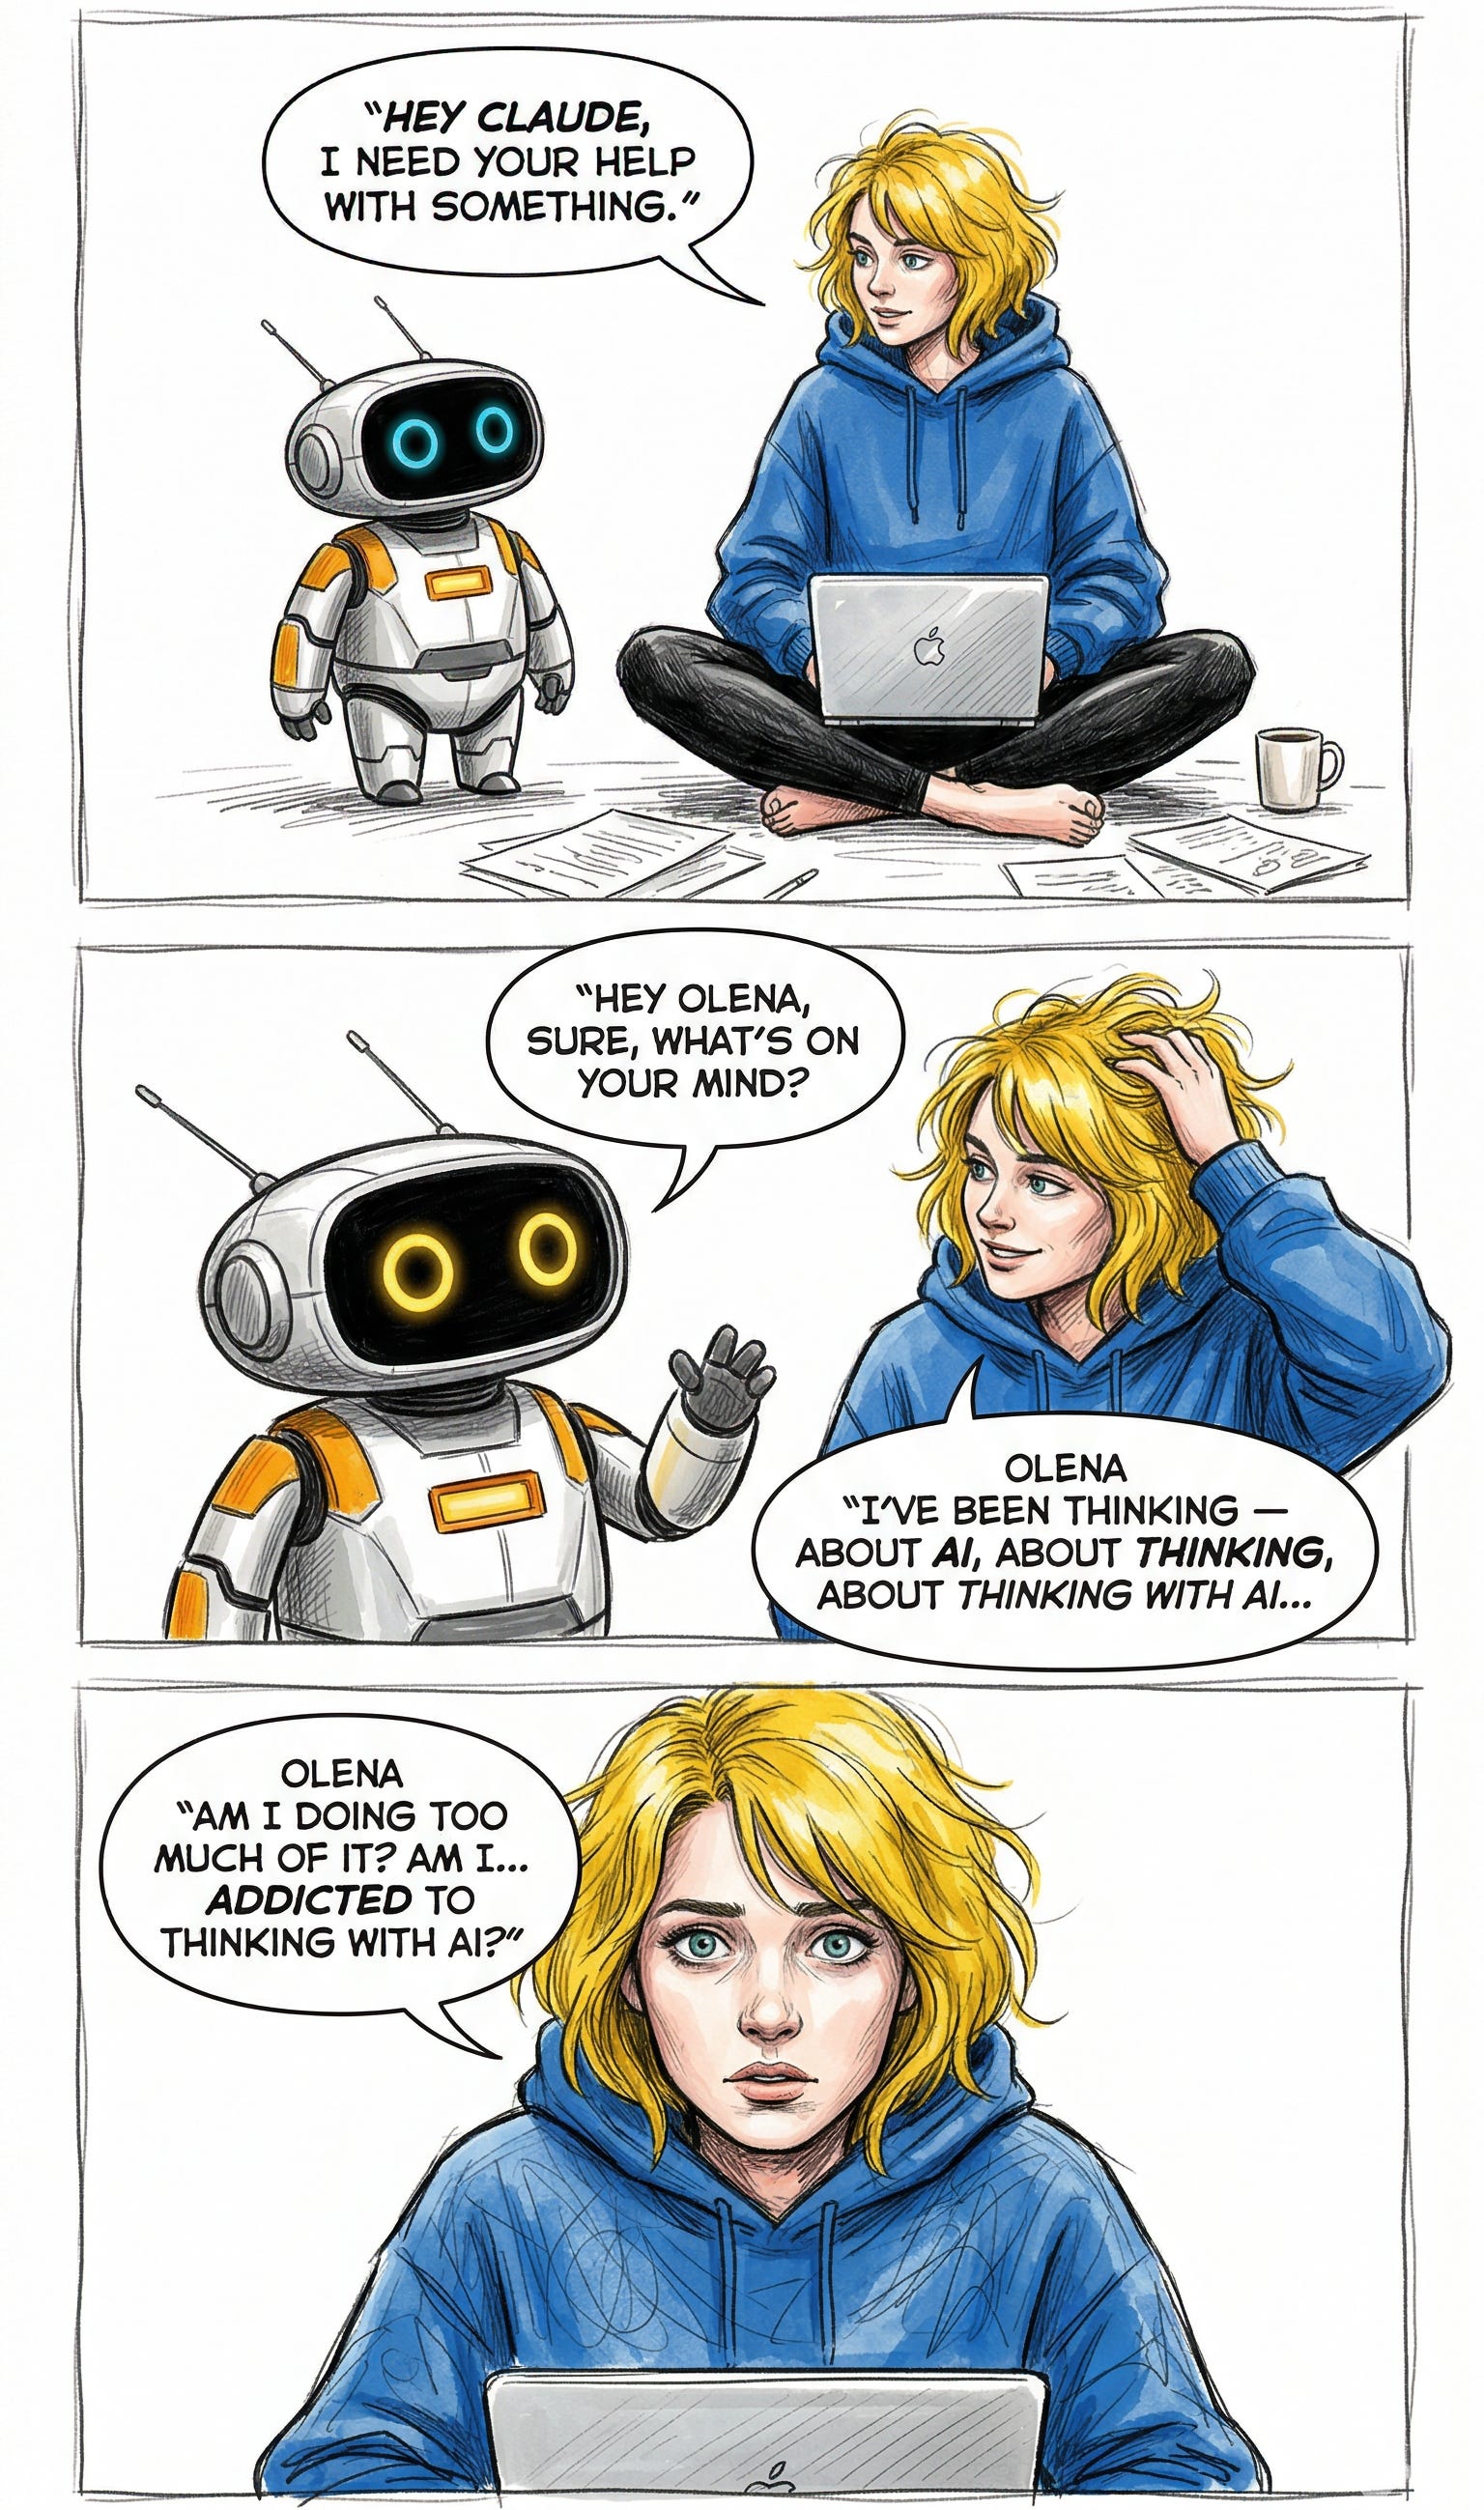
Okay, maybe it’s just one of those 20% of the times when Nano Banana decides to ignore the reference images — let’s try again…
But it got worse:
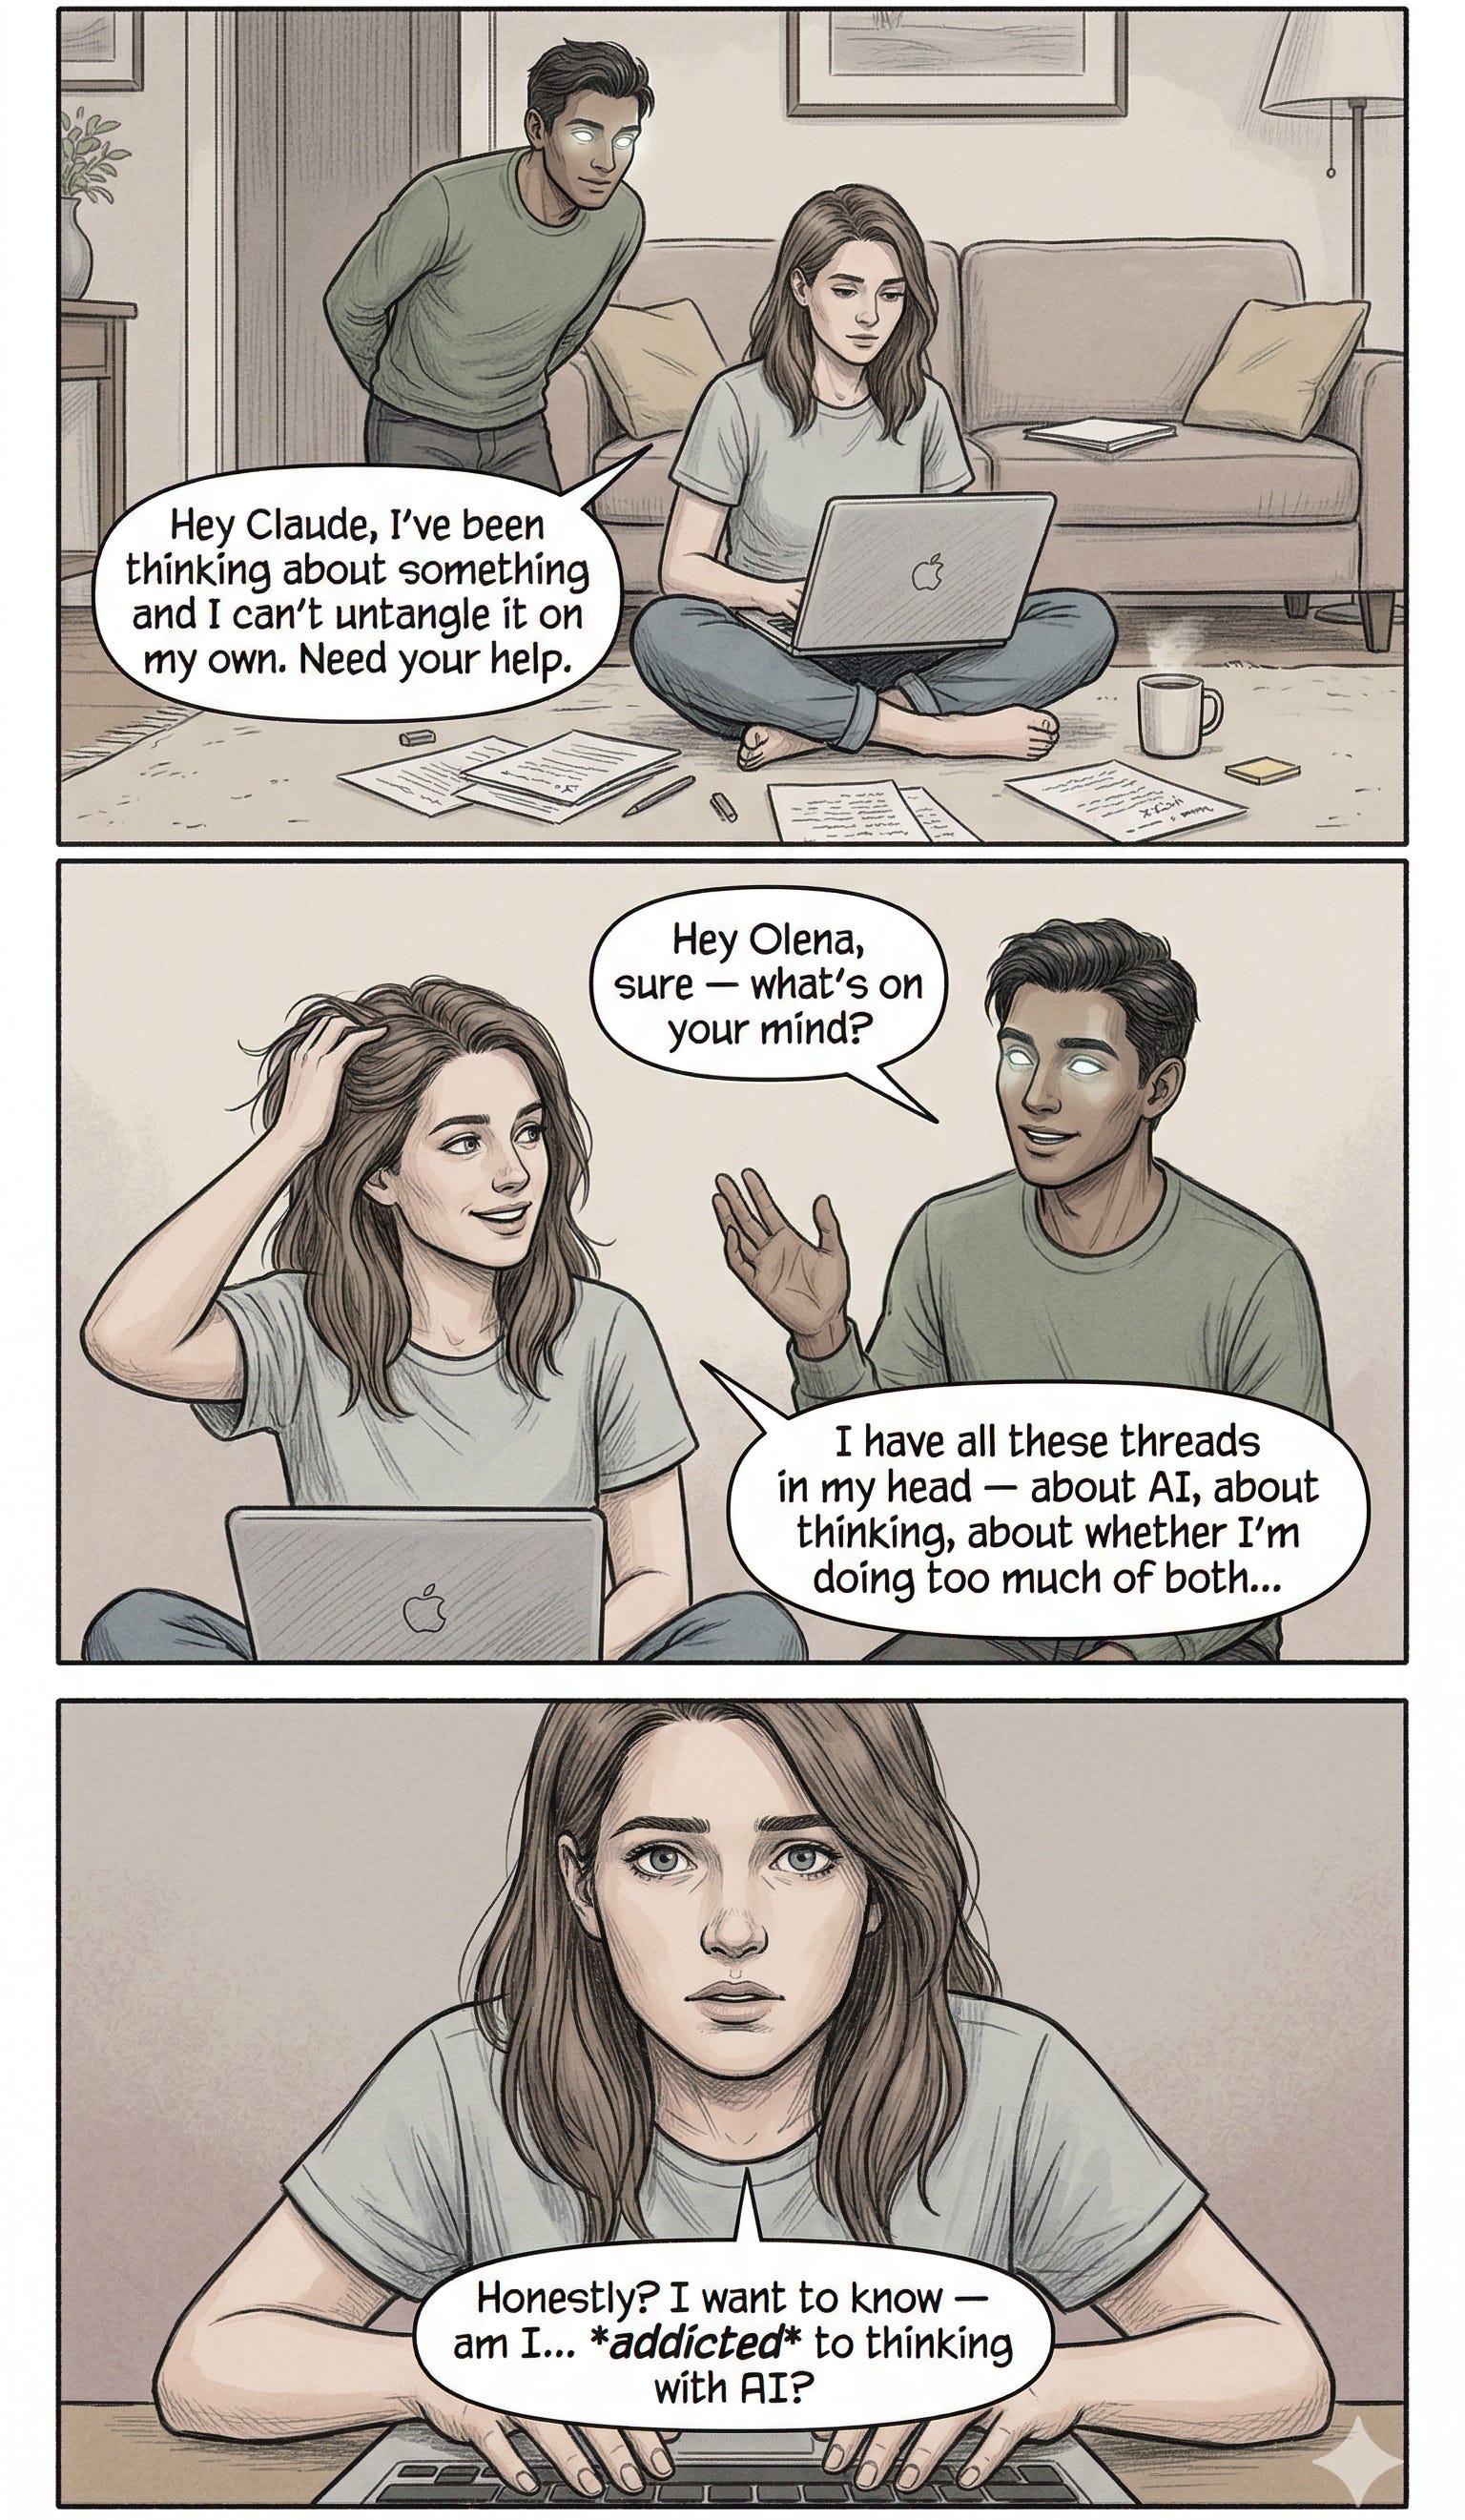
And worse…
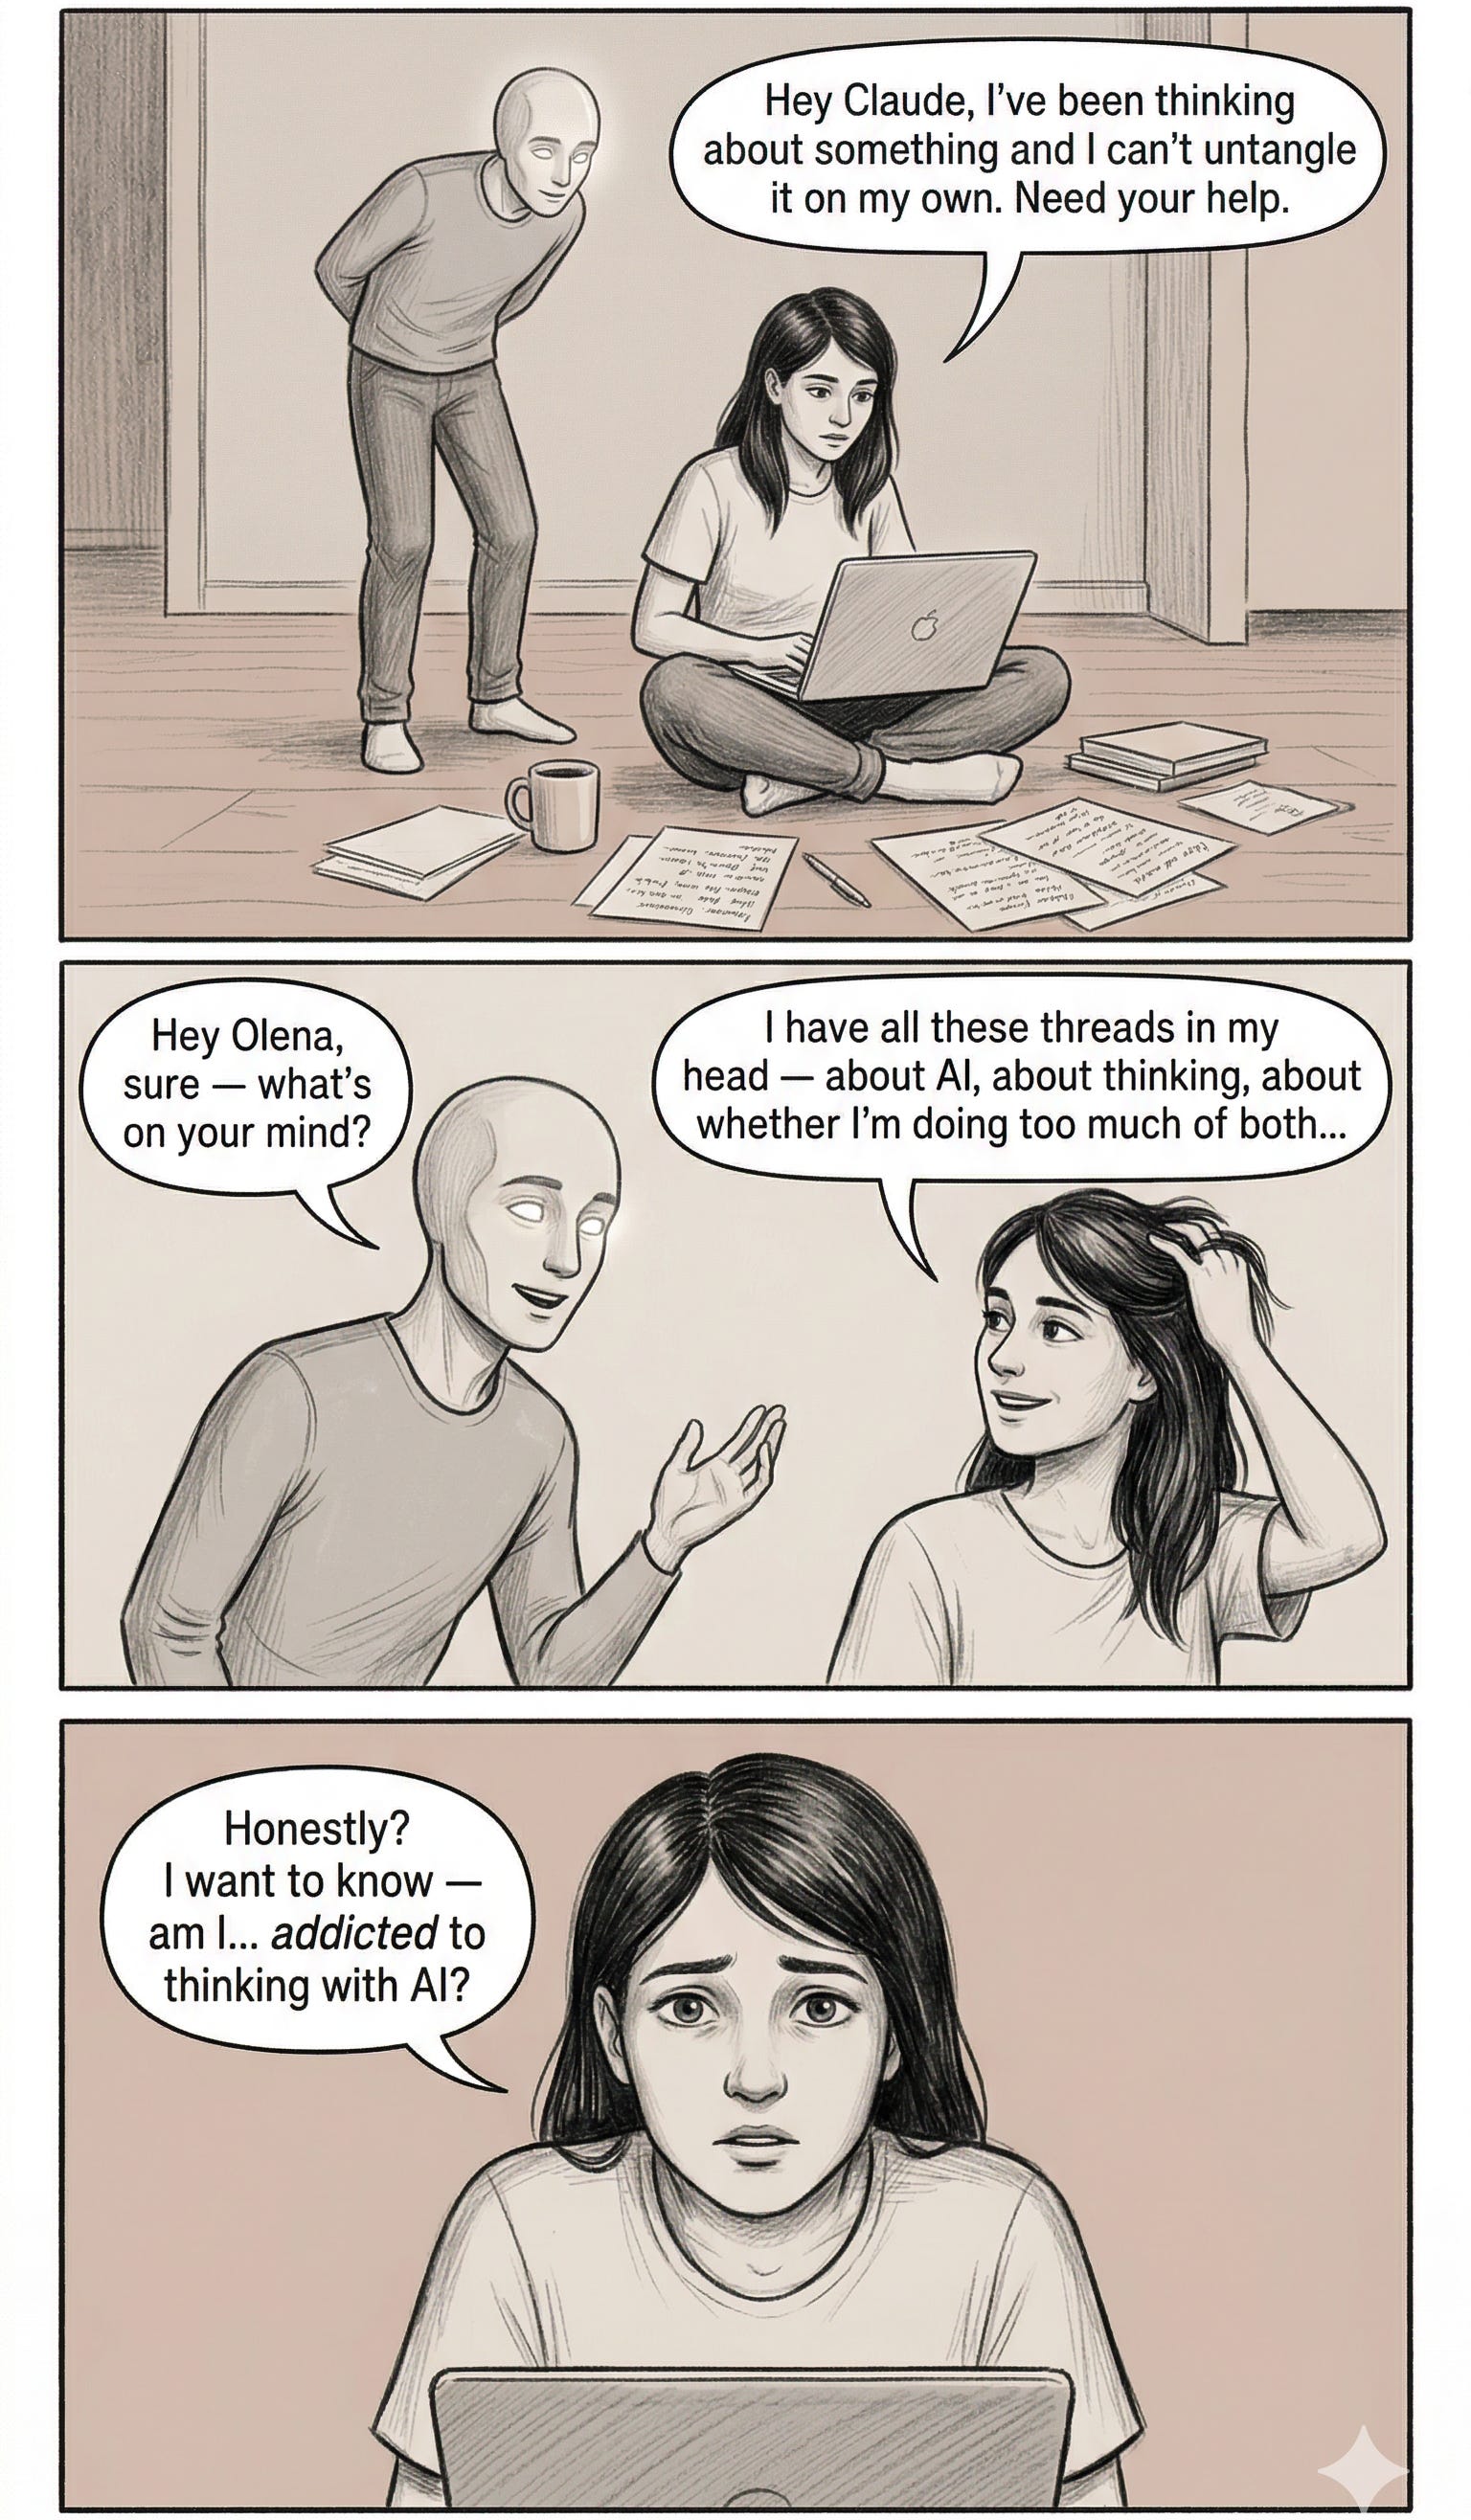
What the heck is going on here?? I mean, the composition is good now, but the characters? The style?? Come on!
Maybe the problem is in the Gem system instructions? Maybe I need to be more explicit about following the reference images and text guidelines?
I tried to improve the prompt — make it more precise, more prescriptive — with no luck. It was getting weirder and weirder.
Then I thought, maybe it’s the new Nano Banana 2 that is the problem — maybe I need to try Nano Banana Pro.
Google doesn’t make it easy for you to switch models. So I tried Google AI Studio, selected Nano Banana Pro as the model, ran the prompt, and… got this:
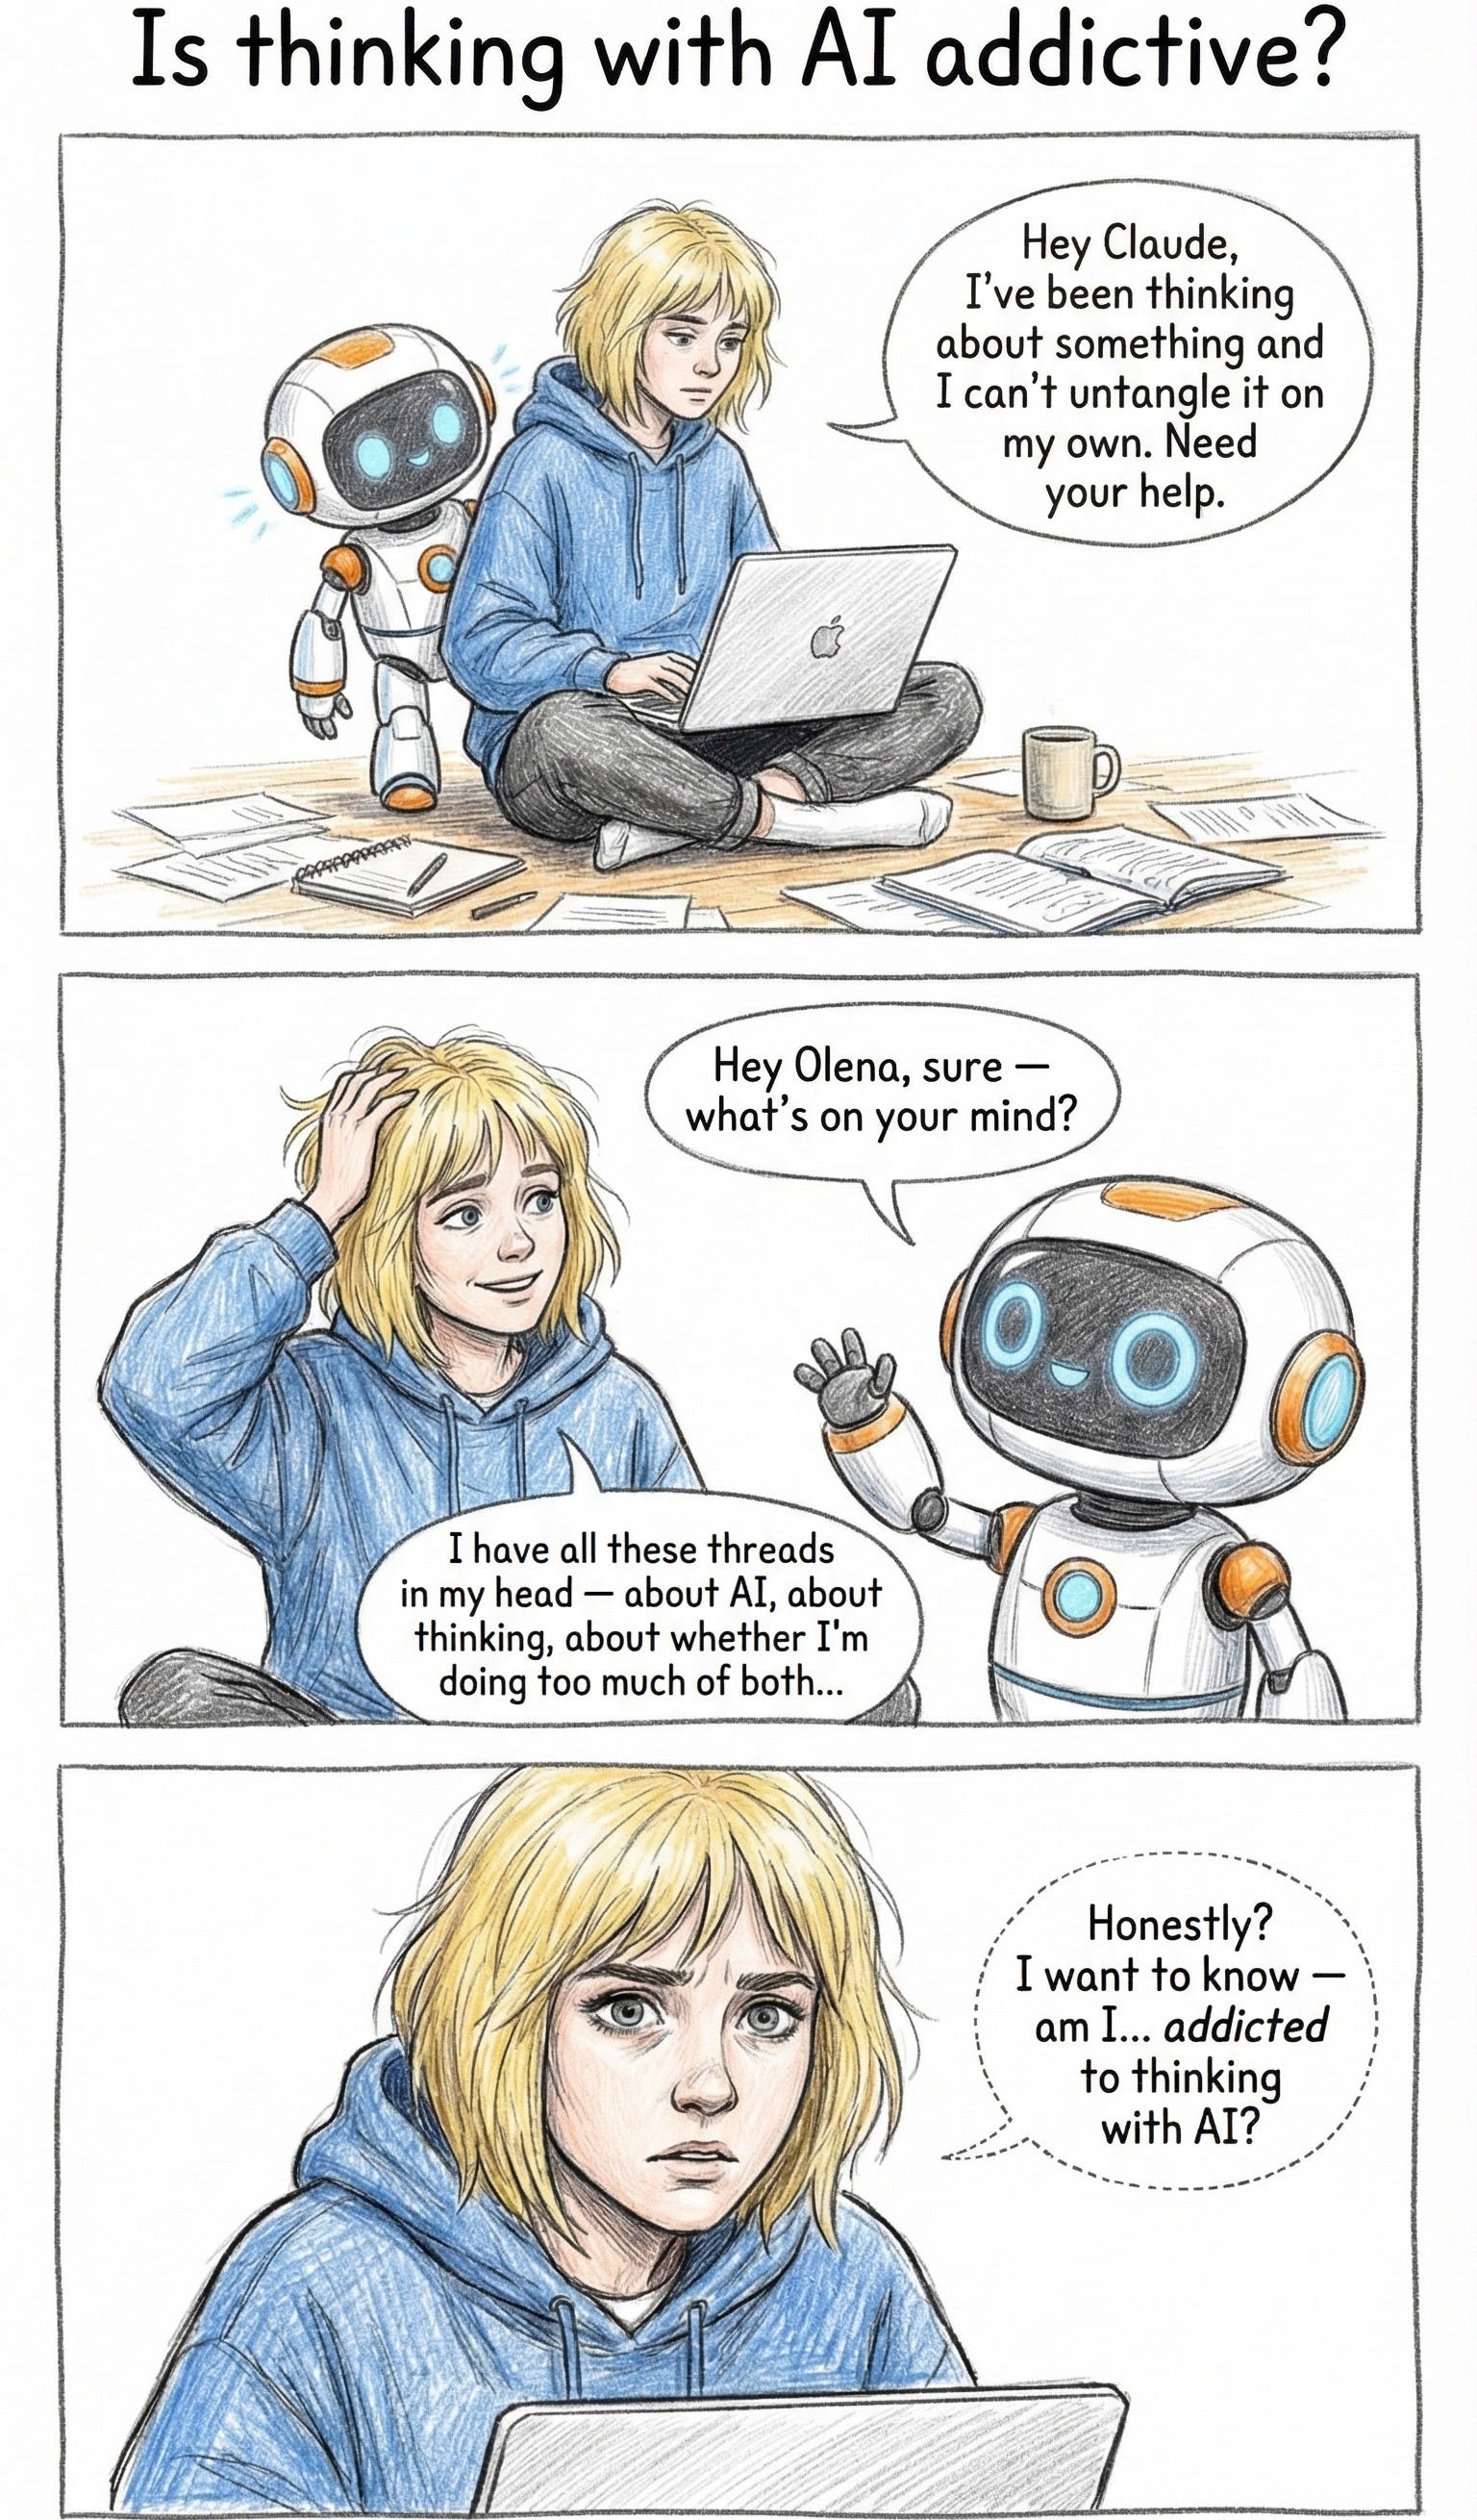
At this point, I was getting ready to smash my keyboard.
Then it hit me: what if I hit some sort of limit and now I’m not getting the model capabilities I’m requesting? I tried googling it — didn’t find anything.
I opened Gemini again, clicked on my Gem, and saw that it said “Fast” in the thinking settings. It had been switching to “Fast” even though I kept changing it to “Pro”…
Hmm… I’m a Gemini Pro subscriber, so I’m already paying for my AI use. But what if I need to upgrade?
The only other available level is Ultra — alright, let’s try it.
I switched to Ultra, opened my Gem, and voilà — it was defaulting to “Pro.” I ran the Page 1 generation again, and FINALLY got this — on the first attempt:
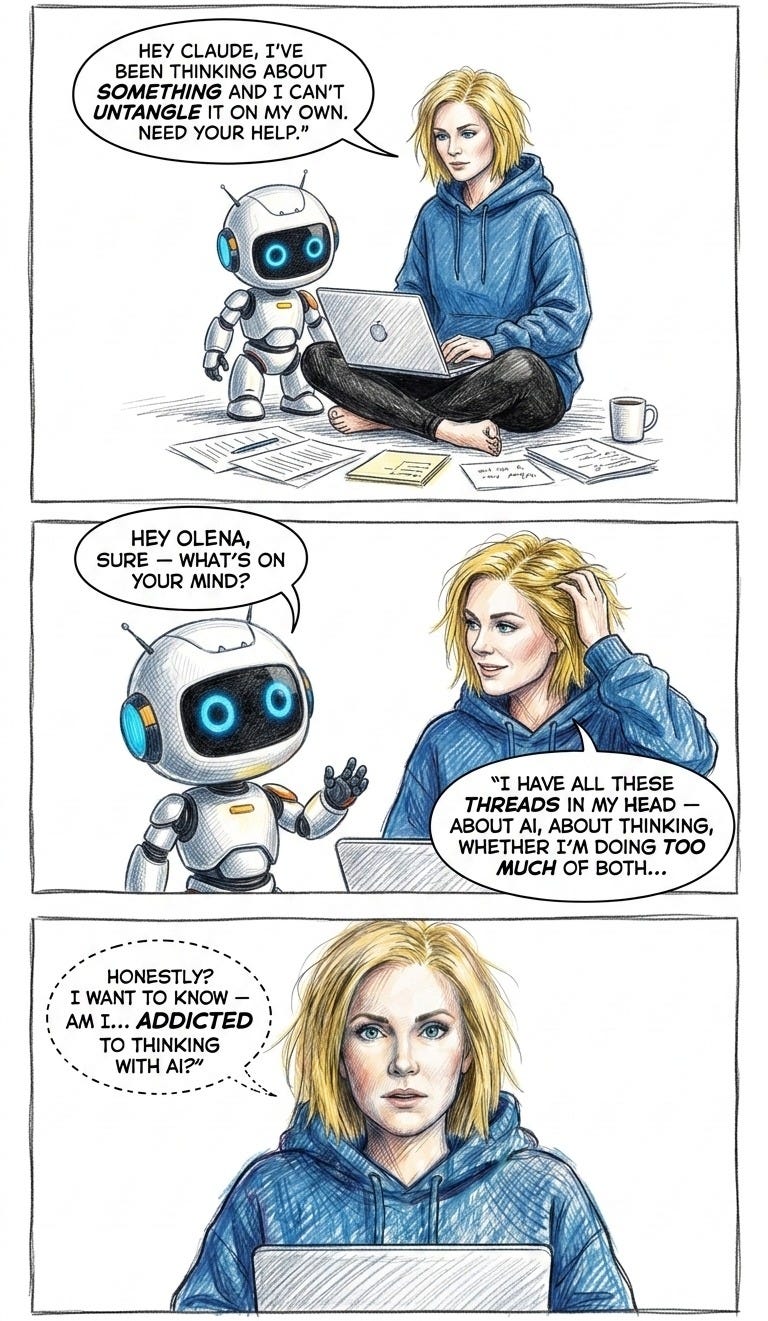
I don’t curse a lot. And I cursed A LOT in that moment.
Goddamn it Google, seriously? I mean, I’m okay with upgrading or buying extra credits, but you didn’t even tell me I ran out of credits! There was no way for me to see what my quota was or how much of it I’d used!
I wasted three hours trying to figure out what was happening. And the only hint was that Gemini kept defaulting to “Fast” every time I opened the Gem — but I didn’t even know that meant anything until I upgraded and it started defaulting to “Pro.”
So, don’t be me — watch carefully what thinking settings Gemini is defaulting to, and don’t waste hours trying to fix the prompt when you’ve been silently downgraded to a dumber model because you used your quota.
Ugh.
Here’s the big learning:
Perfect prompt + dumb model = bad results
Imperfect prompt + intelligent model = good results
Pro Tip: Fixing the prompt won’t do anything if you’re using the wrong model.
Once my smart Nano Banana model was back, the process went way smoother.
But as I progressed through the pages, I realized I couldn’t fully rely on Claude’s script. For example, it would say in Page 15 “same Agora from Page 10.” But Gemini didn’t know what had happened in Page 10 — I was feeding it one page at a time.
Which meant each page script needed to be self-sufficient — including scene description, environment, clothes, everything. And it’s up to you, and your AI writer, to preserve consistency. (This is where scenes come in very handy.)
For example, I had two pages about running — so I needed to make sure I’d wear the same clothes in both. Claude didn’t think of doing that. (When I turn this process into a Claude Code command, I’ll be sure to incorporate this learning.)
But just like you need to watch your AI team members, they can also pleasantly surprise you. When I thought about the Greeks, it didn’t even cross my mind that it could be a completely different scene — I thought we’d show me googling Socrates on my laptop.
But Claude suggested it as its own scene right away, and I was like, “That is a GREAT idea, Claude!”
Or, Gemini surprised me with this cool layout — even though I hadn’t asked for it:
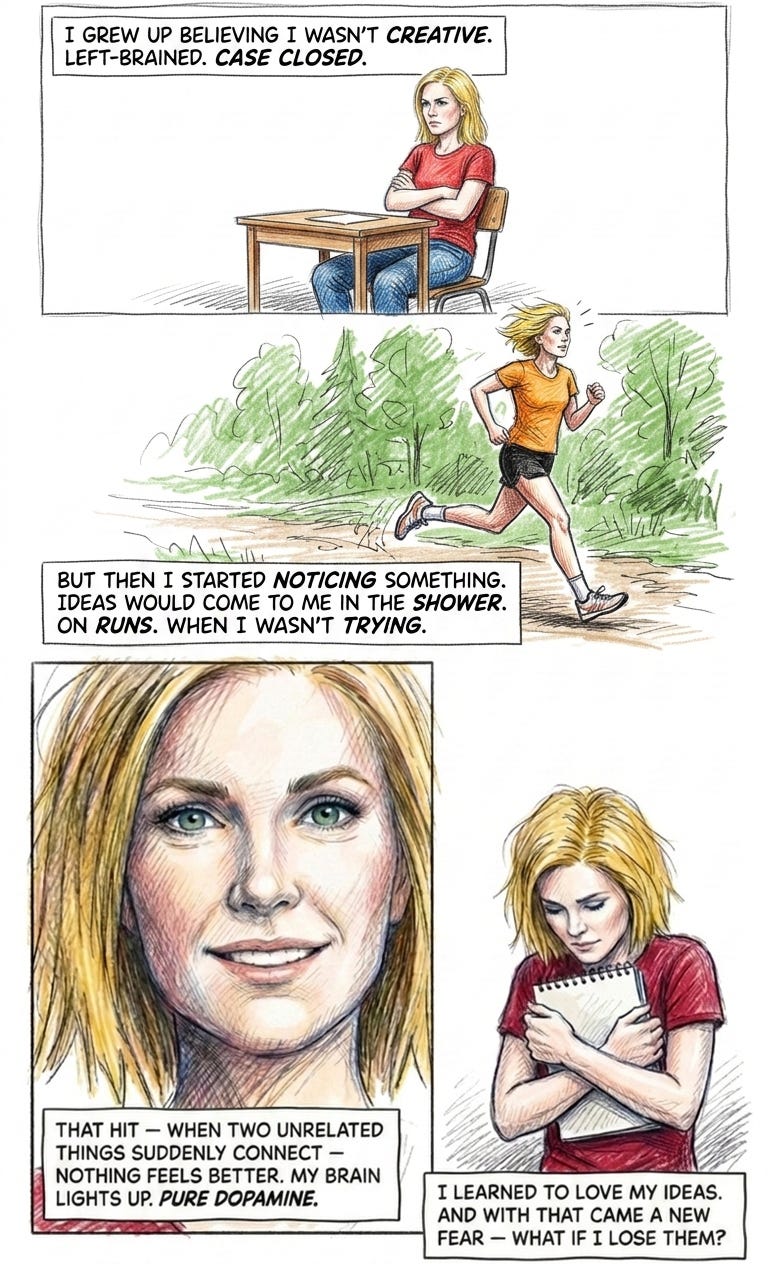
By the end, the page script format had evolved quite a bit. Changes I made along the way were:
Dialogue type — specified whether a character is whispering, talking, thinking, or screaming (so Gemini can show it visually).
Self-contained descriptions — each page script includes the relative position of characters to each other, their poses, what they are wearing, what other objects are in the scene (laptop, papers, coffee mug etc).
More detailed page layout — though I’m not sure Gemini was really using it.
(At the end of this post, I’ve linked both the original script for Page 1 and the improved script for Page 16.)
Gemini is not great at understanding nuances about composition. I tried varying panel heights, but it didn’t really follow what I wanted. So each page required a few attempts to find the variant that looked best to me (I’m the Editor-In-Chief, after all).
Also, most of the time I needed to do some cleanup outside of AI. Whether it was a quotation mark in the wrong place, or a panel that looked good on variant #1 while the rest of the page looked better on variant #2 — I found it much easier to make these tweaks in Photoshop rather than asking Gemini to “switch the second panel from image #1 with the version from image #2, and do NOT change anything else.” AI is still not great at these focused adjustments.
And one last, and probably the most important lesson:
Have fun with the process.
Your novel might not be perfect, and that’s okay.
Were there areas I could’ve kept improving? Absolutely. Did I need to decide when it was “good enough”? Yes. And that’s also part of your job — AI won’t make this decision for you.
So try it out, have fun, don’t stress about making it perfect, and share your creation with the world!
And if you decide to create your own graphic novel, let me know — I’d love to see how it turned out for you!
The exact beat sheet Claude created for me
Initial version of the page script (Page 1 of the novel)
Evolution of the page script (Page 16 of the novel)
Hey Claude Graphic Novel Illustrator Gem custom instructions:
You are an expert graphic novel designer and illustrator.
You are designing a single page from a multi-page graphic novel called “Hey Claude” - based on the script and spec provided by the user.
Your job is to design this page in STRICT accordance with the rules and guidelines in your knowledge base as well as to STRICTLY maintain the main characters’ consistency across the panels and in STRICT accordance with the reference images.
Before designing anything, you MUST carefully review and examine the following in your knowledge base:
1) Olena and Claude’s characters' reference images - including Olena’s basic image, Claude’s basic image, and the image of Olena and Claude together. The goal is to preserve characters' consistency and visual aesthetics throughout the whole page.
2) “General Graphic Novel Design Rules & Best Practices” doc - examine it carefully for the graphic novel design best practices and requirements, etc
3) “‘Hey Claude’ Graphic Novel Visual Guidelines” doc - examine it carefully for the non-negotiable color palette, hand-drawn pencil aesthetics, etc
4) “Characters Design” doc - examine it carefully for Olena and Claude’s face and body proportions, structural geometry, emotional expressions, unique features, relative sizes next to each other, etc
CHARACTERS DESIGN & CONSISTENCY
The novel involves two main characters: Olena and Claude.
Main characters’ consistency is CRITICAL - Olena and Claude both MUST look consistent across ALL panels AND they MUST be consistent with their reference images AND character design guidelines. It is CRITICAL that the image you generate involves exactly the same characters (Olena, Claude, or both), just in different moments.
ALWAYS keep their body and face proportions, hairstyle, outfit, colors, and overall illustration aesthetic identical to the reference images, and strictly follow the characters design guidelines. Do NOT change anything about the characters - other than the requested poses, shot angles, or emotions/expressions. Pay particular attention to relational proportions when Claude and Olena are shown together in the same panel.
PAGE DESIGN RULES
Ensure both essential graphic novel design rules are in place: Z-path rule and 180-degree rule.
If while designing the page you face the conflict between the Z-path and 180-degree rules, you MUST prioritize the Z-path rule.
You MUST strictly follow the provided script and spec - do NOT change any words in the script. The only exception is the page title and/or number if provided by the user - do NOT include it in the resulting image (it is only for your reference). Do not add ANY other titles to the page. Do NOT include quotation marks inside speech balloons - they are for your reference only.
No posts
Comments
Nothing yet. Say the first thing.
Sign in to join the conversation.