
Leather has been part of human life since the beginning. We began using it as far back as 400,000 years ago, during the Paleolithic era, when early humans discovered that animal hides could be preserved and used for clothing, shelter, and protection through rudimentary tanning methods. Durable, flexible, and endlessly useful it’s still everywhere today, although we rely on it a lot less for survival….
I started leatherworking as on half of my goals for the end of 2025 and was surprised by how approachable it actually was. Mastering the craft could take a lifetime, but the basics aren’t as intimidating as they seem. Once you understand the material, the tools, and a few basic techniques, you can begin making things almost immediately. Since I have experience sewing with a machine, by hand, and embroidery, many of steps I’ve encountered thus far feel familiar.
Probably the first thing you’ll be faced with when learning about leatherworking is actually buying the materials. You’ll notice that it’s categorized by “weight,” which refers not to how heavy it is, but how thick. This was super confusing to me when I first went to the store, (especially in Spanish!) and I only started to understand it when I did some research after the fact… Lower numbers are thinner and higher ones are thicker. The kind of project you’re working on determines what thickness you’ll need. For example, I’m planning on making some pieces soon where the leather is folded and bent and for that I‘ll need a thinner hide.
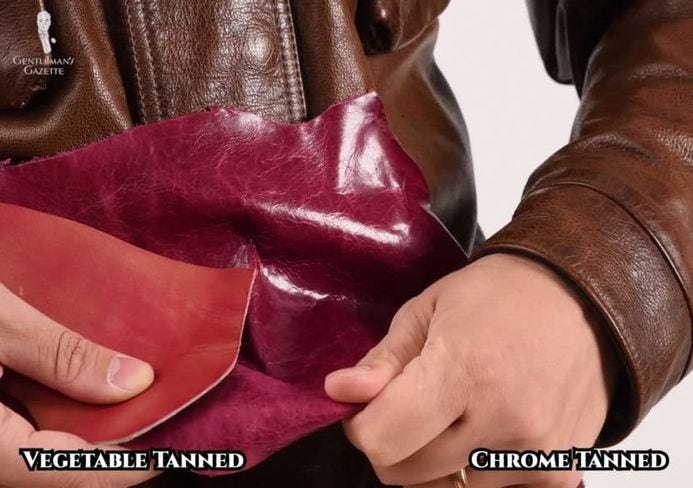
On top of the “weight/thickness” confusion. Not all leather is the same. Aside from the differences in animal (cow/calf, pig, horse, croc, etc…) the two main types of leather you’ll encounter are vegetable-tanned leather and chrome-tanned leather. Vegetable-tanned, often called ‘veg-tan,’ is made using natural tannins in tree bark. This is a slow, traditional process that can take weeks or even months. The result is leather with a natural earthy scent, that ages well, and develops a rich patina over time! It’s ideal for saddles, structured bags, or anything you want to tool, carve, or stamp. From what I’ve heard and read veg-tan is the only “real” choice for any serious leather worker.
Chrome-tanned leather, on the other hand, is a much faster chemical process done using chromium salts. Since this tanning method can be finished in just one day, it’s the industry standard. Most leather in the world — over 90 percent — is chrome-tanned. It’s softer, more flexible, and is easily dyed into an wide range of colors. It’s also more resistant to water and holds its original color longer. While it won’t get that sought-after patina the way veg-tan does, chrome leather is better for soft products (clothes, shoes, and upholstery). And if you hear “oil-tanned” leather, it usually means it was chrome-tanned, and then treated for extra water resistance.
From there, you’ll start to hear words like tooling, burnishing, skiving, and casing. (Similar to sailing, every niche has it’s own new vocab to learn!) Tooling refers to carving or stamping designs into veg-tan leather. Specifically veg-tan because of the fact that chome-tanned leather gains a level of water-resistence that makes it unfavorable for tooling. Burnishing is smoothing and polishing a raw edge using friction. It seals the fibers, adds a shine, and protects the leather from wear and tear. Skiving involves thinning the leather, usually at the edges, to make it fold more cleanly or stitch together without bulk (probably something i’ll be doing for my next project). Finally, Casing is simply the process of adding moisture back into veg-tan
leather so that it becomes flexible enough to shape or tool.
The good thing about leatherworking is that you don’t need an elaborate workshop to begin. A cutting mat (like in sewing), a sharp blade, a hole puncher, and a few other hand tools are enough to get started. The blade is especially important. A dull knife is the most dangerous tool in leatherworking. The harder you have to press the more likely you’ll slip and ruin your piece, or worse, seriously injure yourself. A sharp blade gives a clean edge and keeps your hands safe.
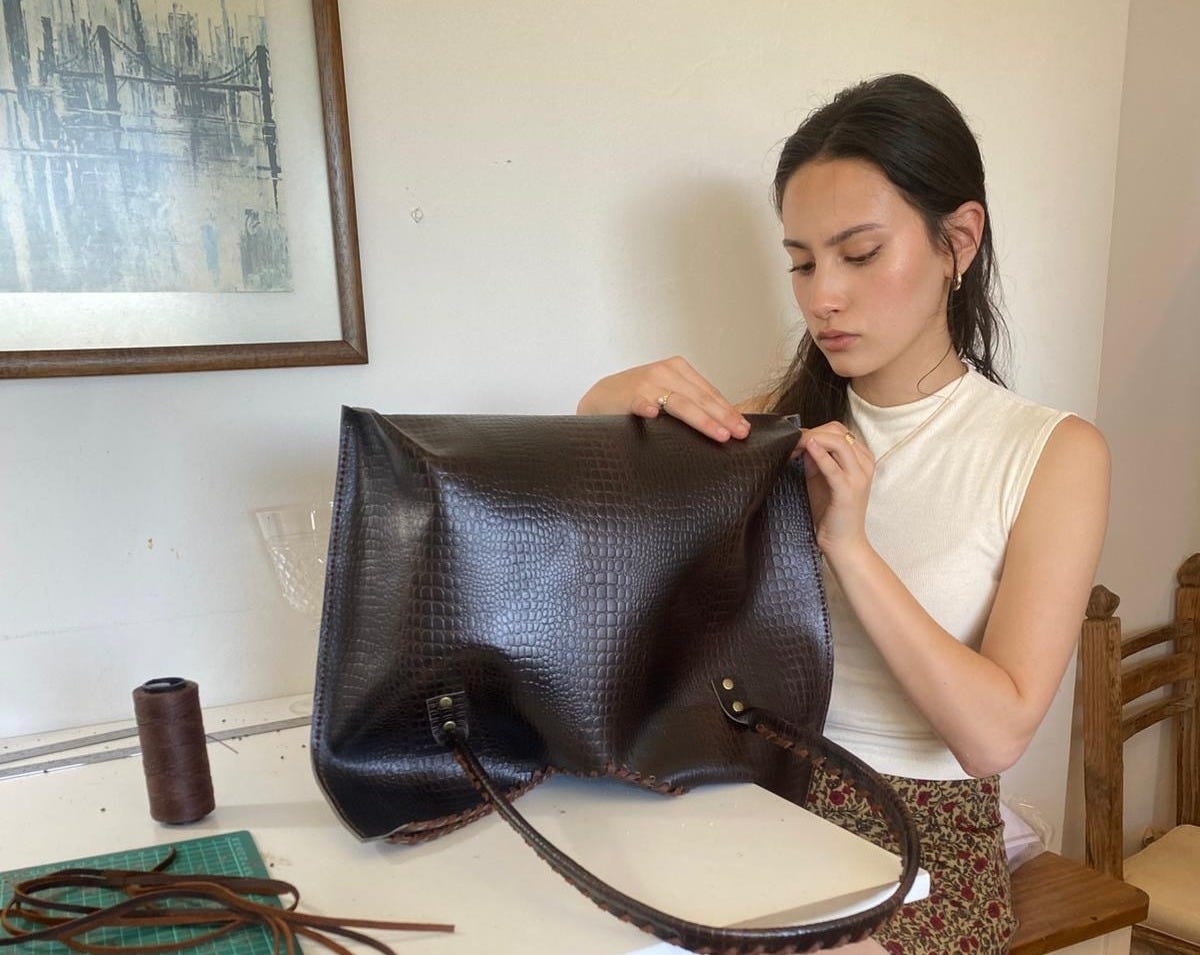
While I’ve made connections between leatherworking and sewing, sewing leather is an very different experience than fabric. Before you sew, you’ll nearly always glue your pieces together so that they don’t move during the rest of the process. Contact cement (aka glue) is applied to both edges/surfaces and left to dry before the pieces are pressed together. I found it difficult to get the balance between too much and too little glue just right. If you overdo it, the glue oozes out on the edges, which you have to remove afterwards. The photo above from my most recent class shows me trying to prevent any leakage while sealing a corner. There’s definitely a bit of finesse involved. Finally, after gluing and perforating, we can stitch everything together with some waxed thread and a blunt-tipped needle. Sometimes, the holes are small enough that you need pliers to pull the needle through.
Now, finishing the edges of your leather is a personal choice. You can leave it rustic and unfinished or burnish it for that smooth, glossy, sealed edge. I haven’t done this for the bag I made yet, but I plan to. If you decide to burnish, just remember to sand in a single direction, or the fibers will fray and become even harder to polish. Chrome-tan doesn’t work the same way, and it usually takes a sealant/paint to achieve the same look.
There are so many more processes and techniques I haven’t learned. The beauty of leatherworking really lies in the balance of simplicity and depth. You don’t need much to start, but there’s always more to learn. That’s why we’ve been using it for 400,000 years, will continue to do so, and are still finding new things to do with it!
Since I’ve always been drawn to working with my hands and making things myself, leatherworking feels like a natural next step. I’m excited to continue and already have my next projects planned out! More on that soon…
Japanese (5hrs)
Spanish (4hrs)
English Classes Taught (15)
Guitar (2hrs)
Chess (1hr)
Workout (3x)
Didn’t get as much done as I wanted in most of these categories this week.
On a whim I started painting the bathroom and we were able to get it done in one evening! Just goes to show that things get done quickly if you just put your mind to it.
“It’s the job that’s never started as takes longest to finish.”
— J.R.R. Tolkien
Finished ‘Henry IV, Part I’ & ‘Henry IV, Part II’ by William Shakespeare:
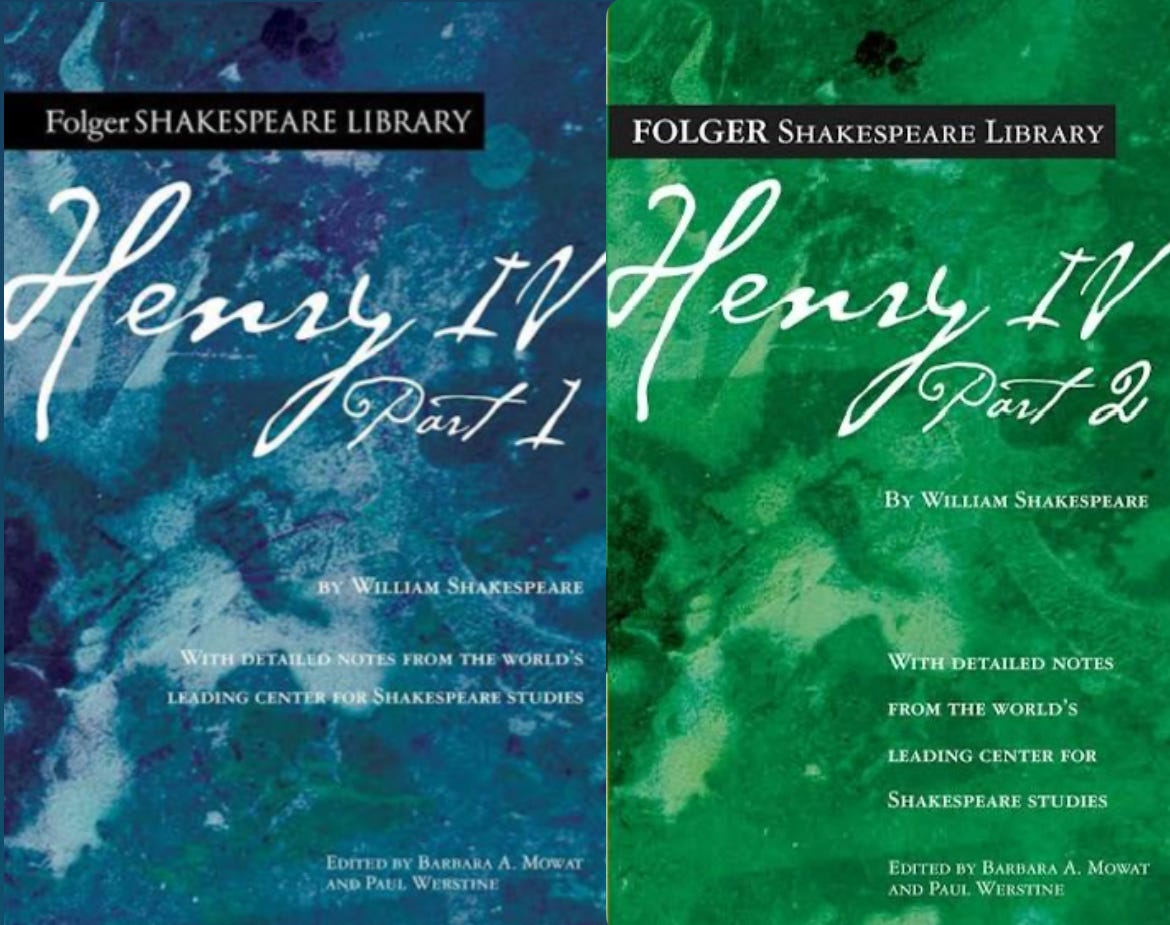
These two have quickly become my favorite of Shakespeare’s plays. With characters like ‘Sir John Falstaff’ as well as a redemptive hero’s journey they were entertaining and thoughtful reads.
Finished ‘How to Listen With Intention’ by Patrick King:
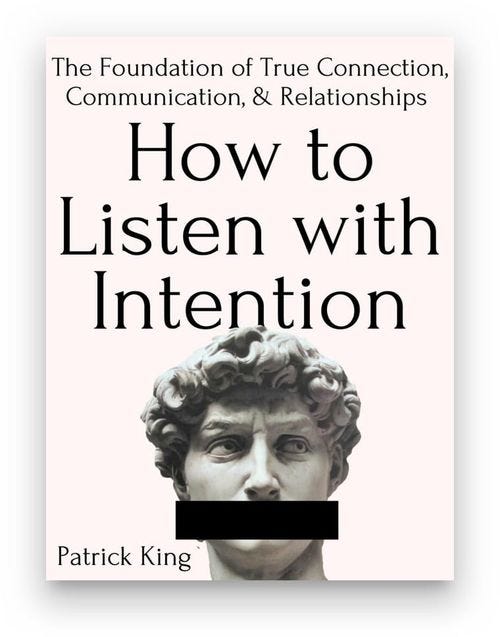
This was a pretty good book. It didn’t say anything ground breaking (in my opinion), but I’m always interested in how to connect with people in a deeper more meaningful way.
Finished ‘The Book of Ichigo Ichie’ by Hector Garcia
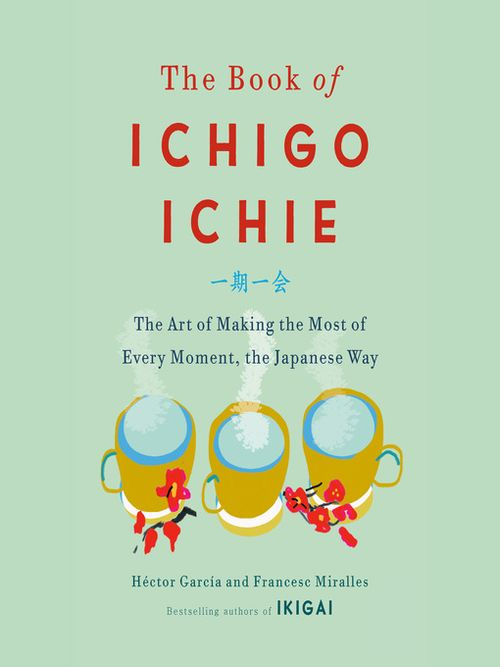
Since we’re nearing the close of 2025, I’ve begun curating my reading list for the first quarter of next year. To build on the fact that I’ll be living and taking courses in Japan during that time, my reading list will primarily feature books on Japanese history, literature, crafts, and culture!
There weren’t any problems with scheduling and appointments this week, which is good, but I definitely need to reign myself in when I get distracted. The reason why my extra curricular activities suffered is because I haven’t followed my daily to-do as well as I can.
Here’s to doing better next week! - Morgan Senna
Comments
Nothing yet. Say the first thing.
Sign in to join the conversation.