
Welcome to Mama’s Homestead. Last week we toured the Permaculture Orchard. This week, we’re continuing the Homestead Tour Series with how we plan, grow, and preserve our vegetable garden.
If you want to start at the beginning of the Homestead Tour, click here: The Grand Tour —> The links to all the stops so far are at the bottom of that post.
Welcome to the vegetable garden portion of our Homestead tour! If you were hoping to see towering tomato vines, dense corn stalks, and overflowing rows of green beans, you might be a little disappointed.
Behind a 5-foot high horse fence (to keep deer out) are our two main in-ground garden plots. One measures 50’ by 40’ and the other measures 40’ by 30’.
Together, these two spaces are just one part of the larger master plan of how we feed our family, but this year, these two garden beds are quietly taking a rest.
So, this post will be an in-depth look at how we plan, plant, and keep our gardens on the years they are wide awake and producing abundantly.
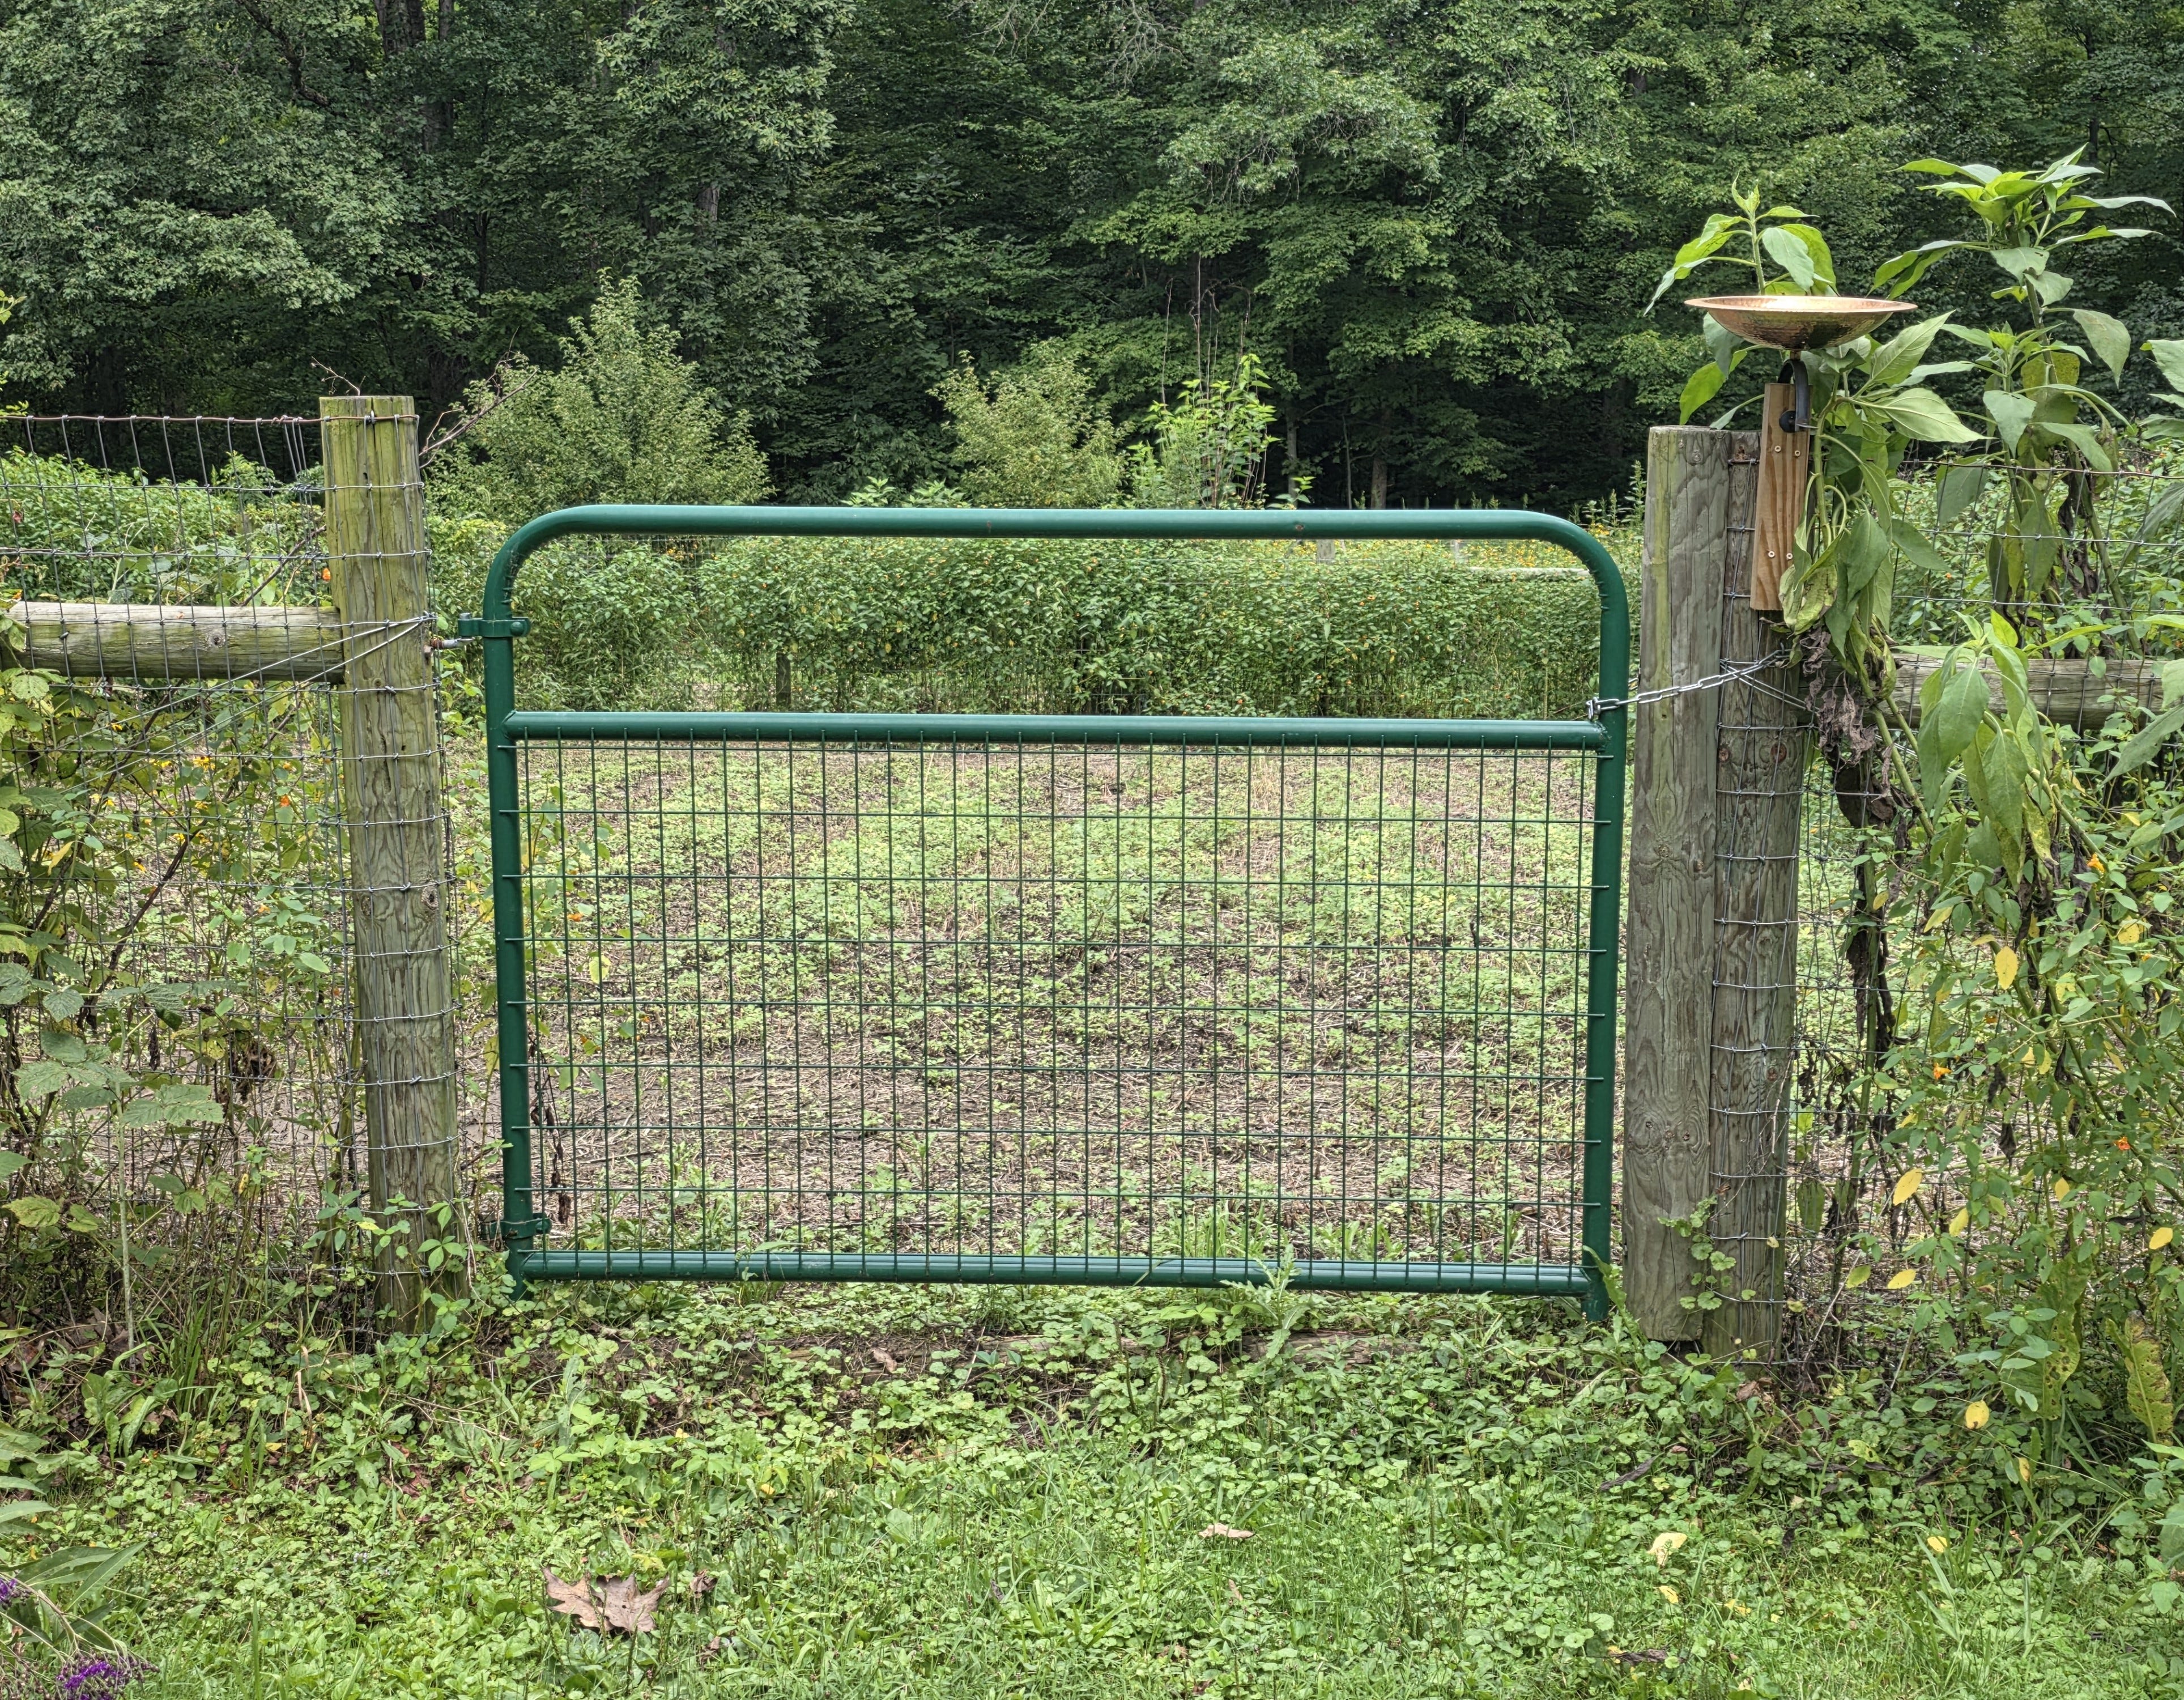
In the home food-growing world there is a pressure to grow a bigger and better, more productive garden every year.
I know this seems counter intuitive, but we intentionally leave some of our ground unplanted every few years. This lets the soil recover and “rest” in a sense, helps us avoid grower burnout, and seems to make the high-production years more abundant.
Other years, we go all in and plant every square foot of our garden space, planning every single seed and plant and maximize our growing plan.
Why leaving a garden plot fallow on purpose can be a good idea.
For the Soil: Endless cropping, even with strict organic rotations, can drain the soil profile of micronutrients and builds up persistent pest and disease cycles.
I’ve gotten rid of squash borers, or at least reduced them, by using this method.
A rest and repair year, paired with cover crops like clover or winter rye, allows microbial life to come back, they naturally fix nitrogen and it gives the soil time to break down all the organic matter we add to it each year. This turns the soil into a dark, crumbly tilth.
Soil Additions: Every year, we add leaf mould/mulch, broken down wood chips, manure (chicken and goat) and other aged compost, sand, wood ash. This organic matter has raised the garden plots by 6-12 inches.
For the Gardener: Home food production and preservation is a lot of work and even though I love it, burnout is real. It usually strikes me this time of year (mid - August) when the fruit and vegetable haul becomes overwhelming and the weeds have taken over the garden, even though you have tried your best to pull every single one. And it’s hot, humid, and this year the rain isn’t giving us a break. There’s so much mud!
Knowing that an intensive growing year will be followed by a lighter, lower pressure season keeps the joy in the work. It keeps gardening from becoming a relentless chore and turns it into a seasonal rhythm we actually enjoy.
When an intensive growing year rolls around, the work begins long before the first hoe hits the dirt. In the middle of winter and sometimes as early as late fall (that’s when the bigger seed discounts hit), while the garden is asleep, our dining room table becomes command central.
Out comes the graph paper, our seed collections, the seed catalogs, and last year’s notes, while they’re still a little fresh. Nearby, is an inventory of my pantry with what is still on the pantry shelves from the years before.
Affiliate Disclosure! This post contains affiliate links. If you make a purchase through an affiliate link, I will make a commission at no extra cost to you.
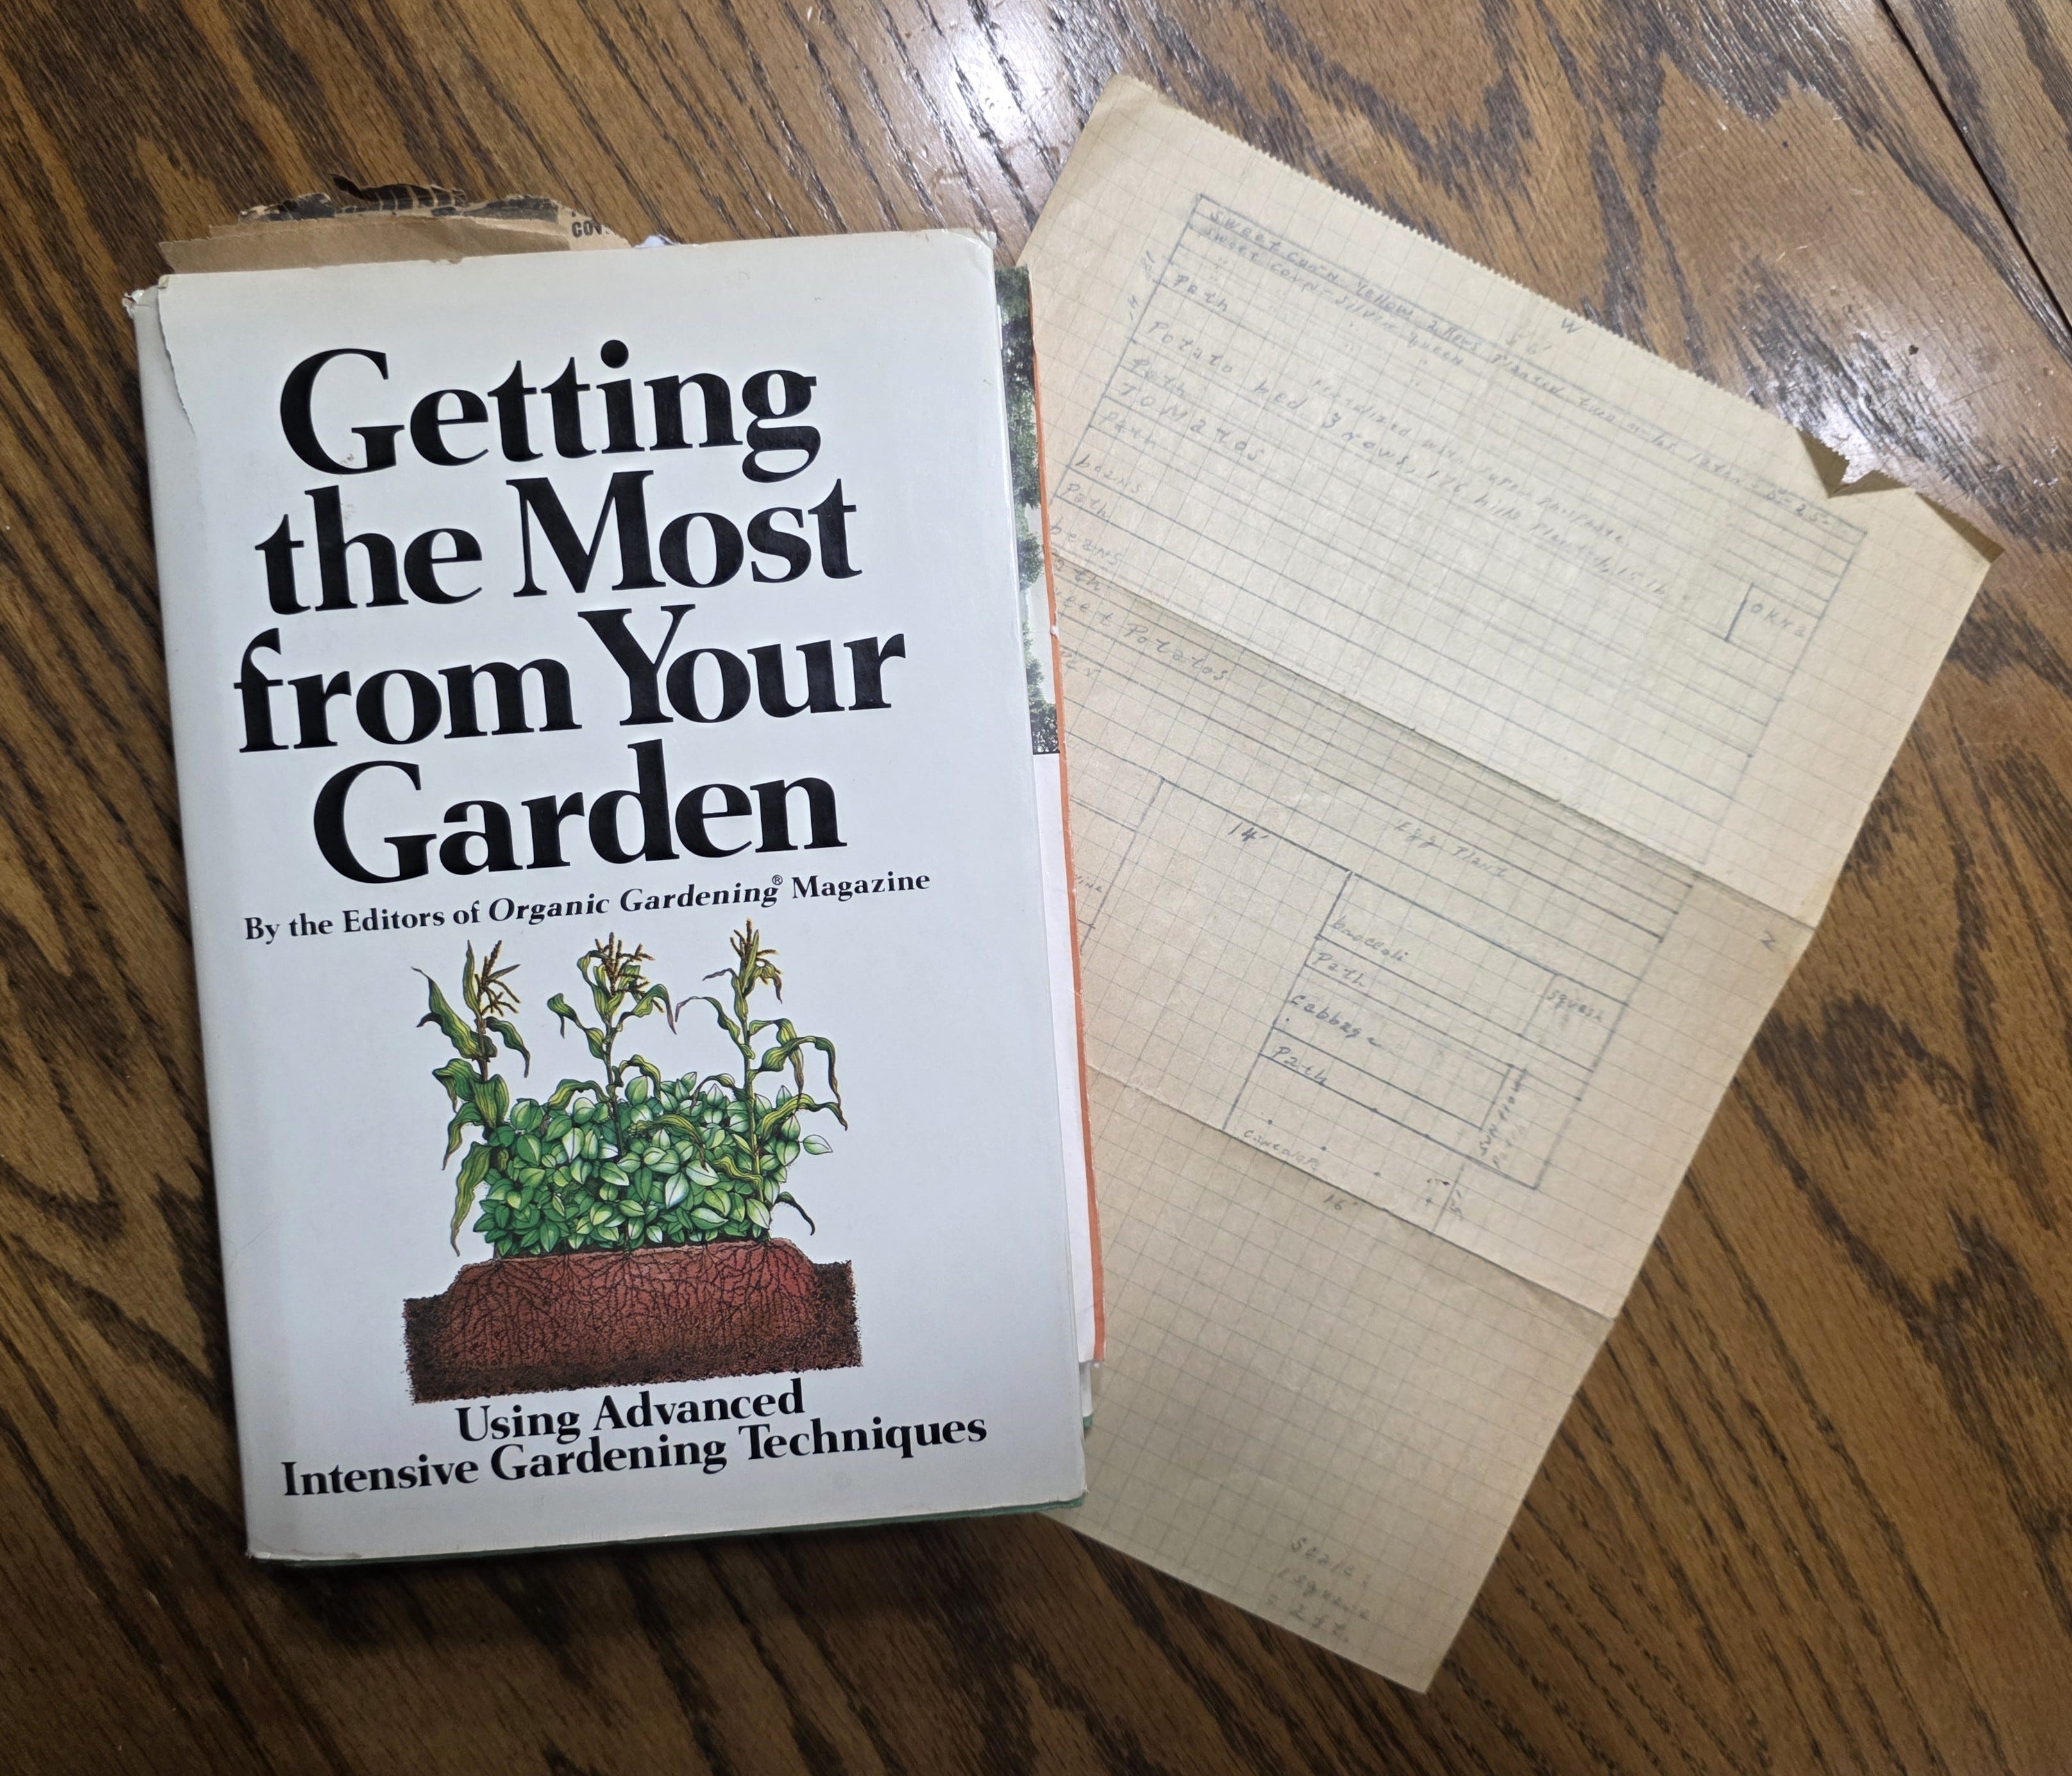
I also pull out my grandpa’s gardening book from 1980 “Getting the Most from Your Garden; Using Advanced Intensive Gardening Techniques” by the Editors of Organic Gardening Magazine (It was $14.95 in 1980). This book is packed full of information AND it’s stuffed with articles and slips of paper with notes in his handwriting. It even has a garden plotted out on graph paper!
I also pull out my copy of “Week-by-Week Vegetable Gardener’s Handbook; by Ron Kujawski and Jennifer Kujawski.” I use this book for planning the timing. It has a ton of information for both annuals and perennials - what to do and when to do it and instructions for each plant. It has to-do lists and a gardening journal built in, plus it works for any gardening zone.
I use graph paper and a pencil. I have to be able to erase things to move them around in my make-shift garden plot. Every little square represents precious real estate in that space. Each plant has specific light requirements, growth habits, and harvest times. I keep these pages from one year to the next as a record of what we planted and where.
We map out where the heavy feeders will go, to ensure the nightshades aren’t landing in the same spot as they were last year.
We calculate precisely how many feet of rows we need to meet our preservation goals.
We map out our garden each year for crop rotations and seeding schedules and no two years ever look the same.
Because of our growing zone (zone 6b), some seeds need to be started indoors or in our greenhouse months before they are planted in our garden.
Each year, I count the days from first frost back to figure out my timeline for planting in the greenhouse for nightshades (tomatoes and peppers) vs. direct sowing warm crops post frost.
That piece of graph paper serves as a little blueprint for our garden plots.
Where Our Seeds Come From
Most of our vegetable seeds have originally come from an Ohio seed company, chosen specifically because they are already adapted to grow well in our region.
We bought heritage/heirloom seeds and open pollinated varieties, so that we can save seeds for the following years.
Once the blueprint is set, the real magic starts in the greenhouse.
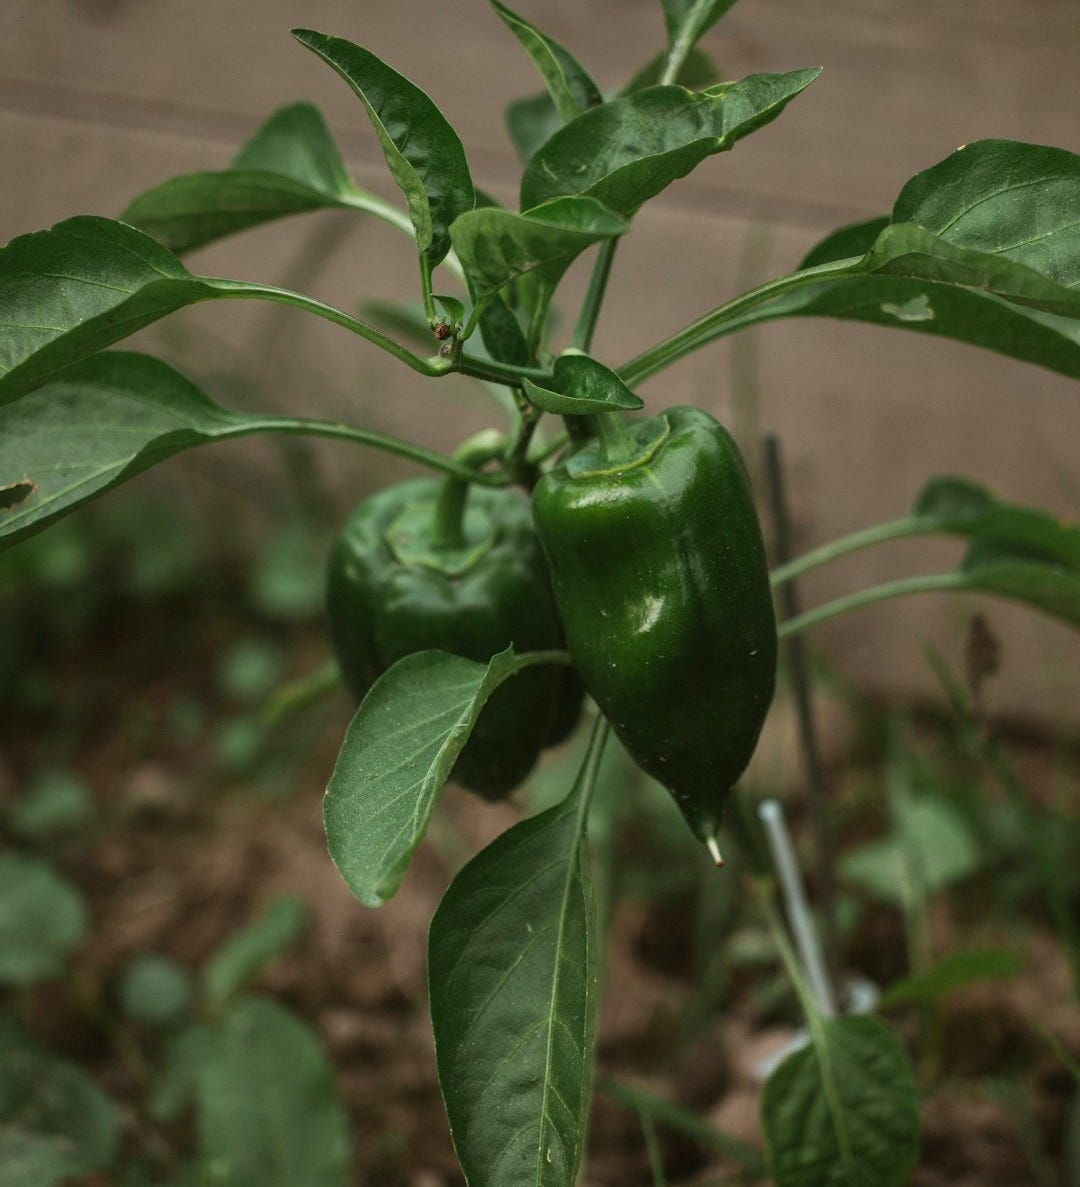
Indoor Starts: We start several varieties of tomatoes and peppers in the greenhouse to give them a head start under cover, then move them out to the garden once it’s warm enough for transplanting.
We Plant:
Paste Tomatoes
Slicing Tomatoes
Early Variety Tomatoes
Jalapeno Peppers
Pablano Peppers
Banana Peppers
Green Bell Peppers
The Zone 6b Countdown: In our climate, the last frost date is the ultimate boundary line. We monitor local temperature and weather trends through mid to late spring to choose the first day we can get our plants and seeds into the garden.
The cold-hardy crops that can handle the chill go into our raised beds between the house and greenhouse (In a future tour).
Plants and seeds that can only tolerate temperate and warmer weather go out mid to late May and some can wait until mid June.
Anything that misses these windows will have to wait for our fall garden planting and that starts in mid-July.
Transplanting Days: Planting out the plants from the greenhouse can take up to a week, because we have to gradually harden off the plants. It takes a little time for them to get acclimated to the wind and direct sunlight, so they go in and out of the greenhouse for longer times each day until they are ready for their place in the garden.
Planting tomato stems deep encourages a massive root system that can carry them through the heat of the summer.
This is just the beginning of transitioning our garden from a winter plan into living, breathing future food source.
Once the soil warms and the last frost is far behind us, it’s time to plant our heavy-producing summer crops. These are workhorses of our garden space. These are the plants that require the most space and sunshine. They help to build the bulk of our stored pantry supplies and are the ones we will harvest well into late summer and early fall.
Each year, we dedicate the wide sunny rows to a mix of summer and winter squash, zucchini, sugar-pumpkin varieties, and sometimes a block or two of sweet corn or popcorn.
Corn: Planting corn in dense blocks rather than long, single rows, ensures the wind can do its job during pollination.
Corn pollination involves the transfer of pollen from the male tassels to the female silks on the ears of the corn plant.
The pollen is carried by the wind or insects to fertilize the silks.
Each corn silk leads to a single kernel of corn. If that silk doesn’t get fertilized, the kernel won’t develop.
Sweet potatoes have also earned a spot in our garden plan; buried as slips, started earlier in the house/greenhouse. We plant them in loose soil ridges on the other side of the garden from the squash so the vines don’t get entangled.
There is one crop that does really well here and that’s the beans. I’m not sure if it’s the soil biology or microclimate, or a bit of just plain luck, but we take advantage of this natural advantage by planting two different types.
Fresh Snap Beans: Standard green beans produce relentlessly. We enjoy them fresh with ham and potatoes and can many jars of both green beans and green beans and potatoes to enjoy the rest of the year.
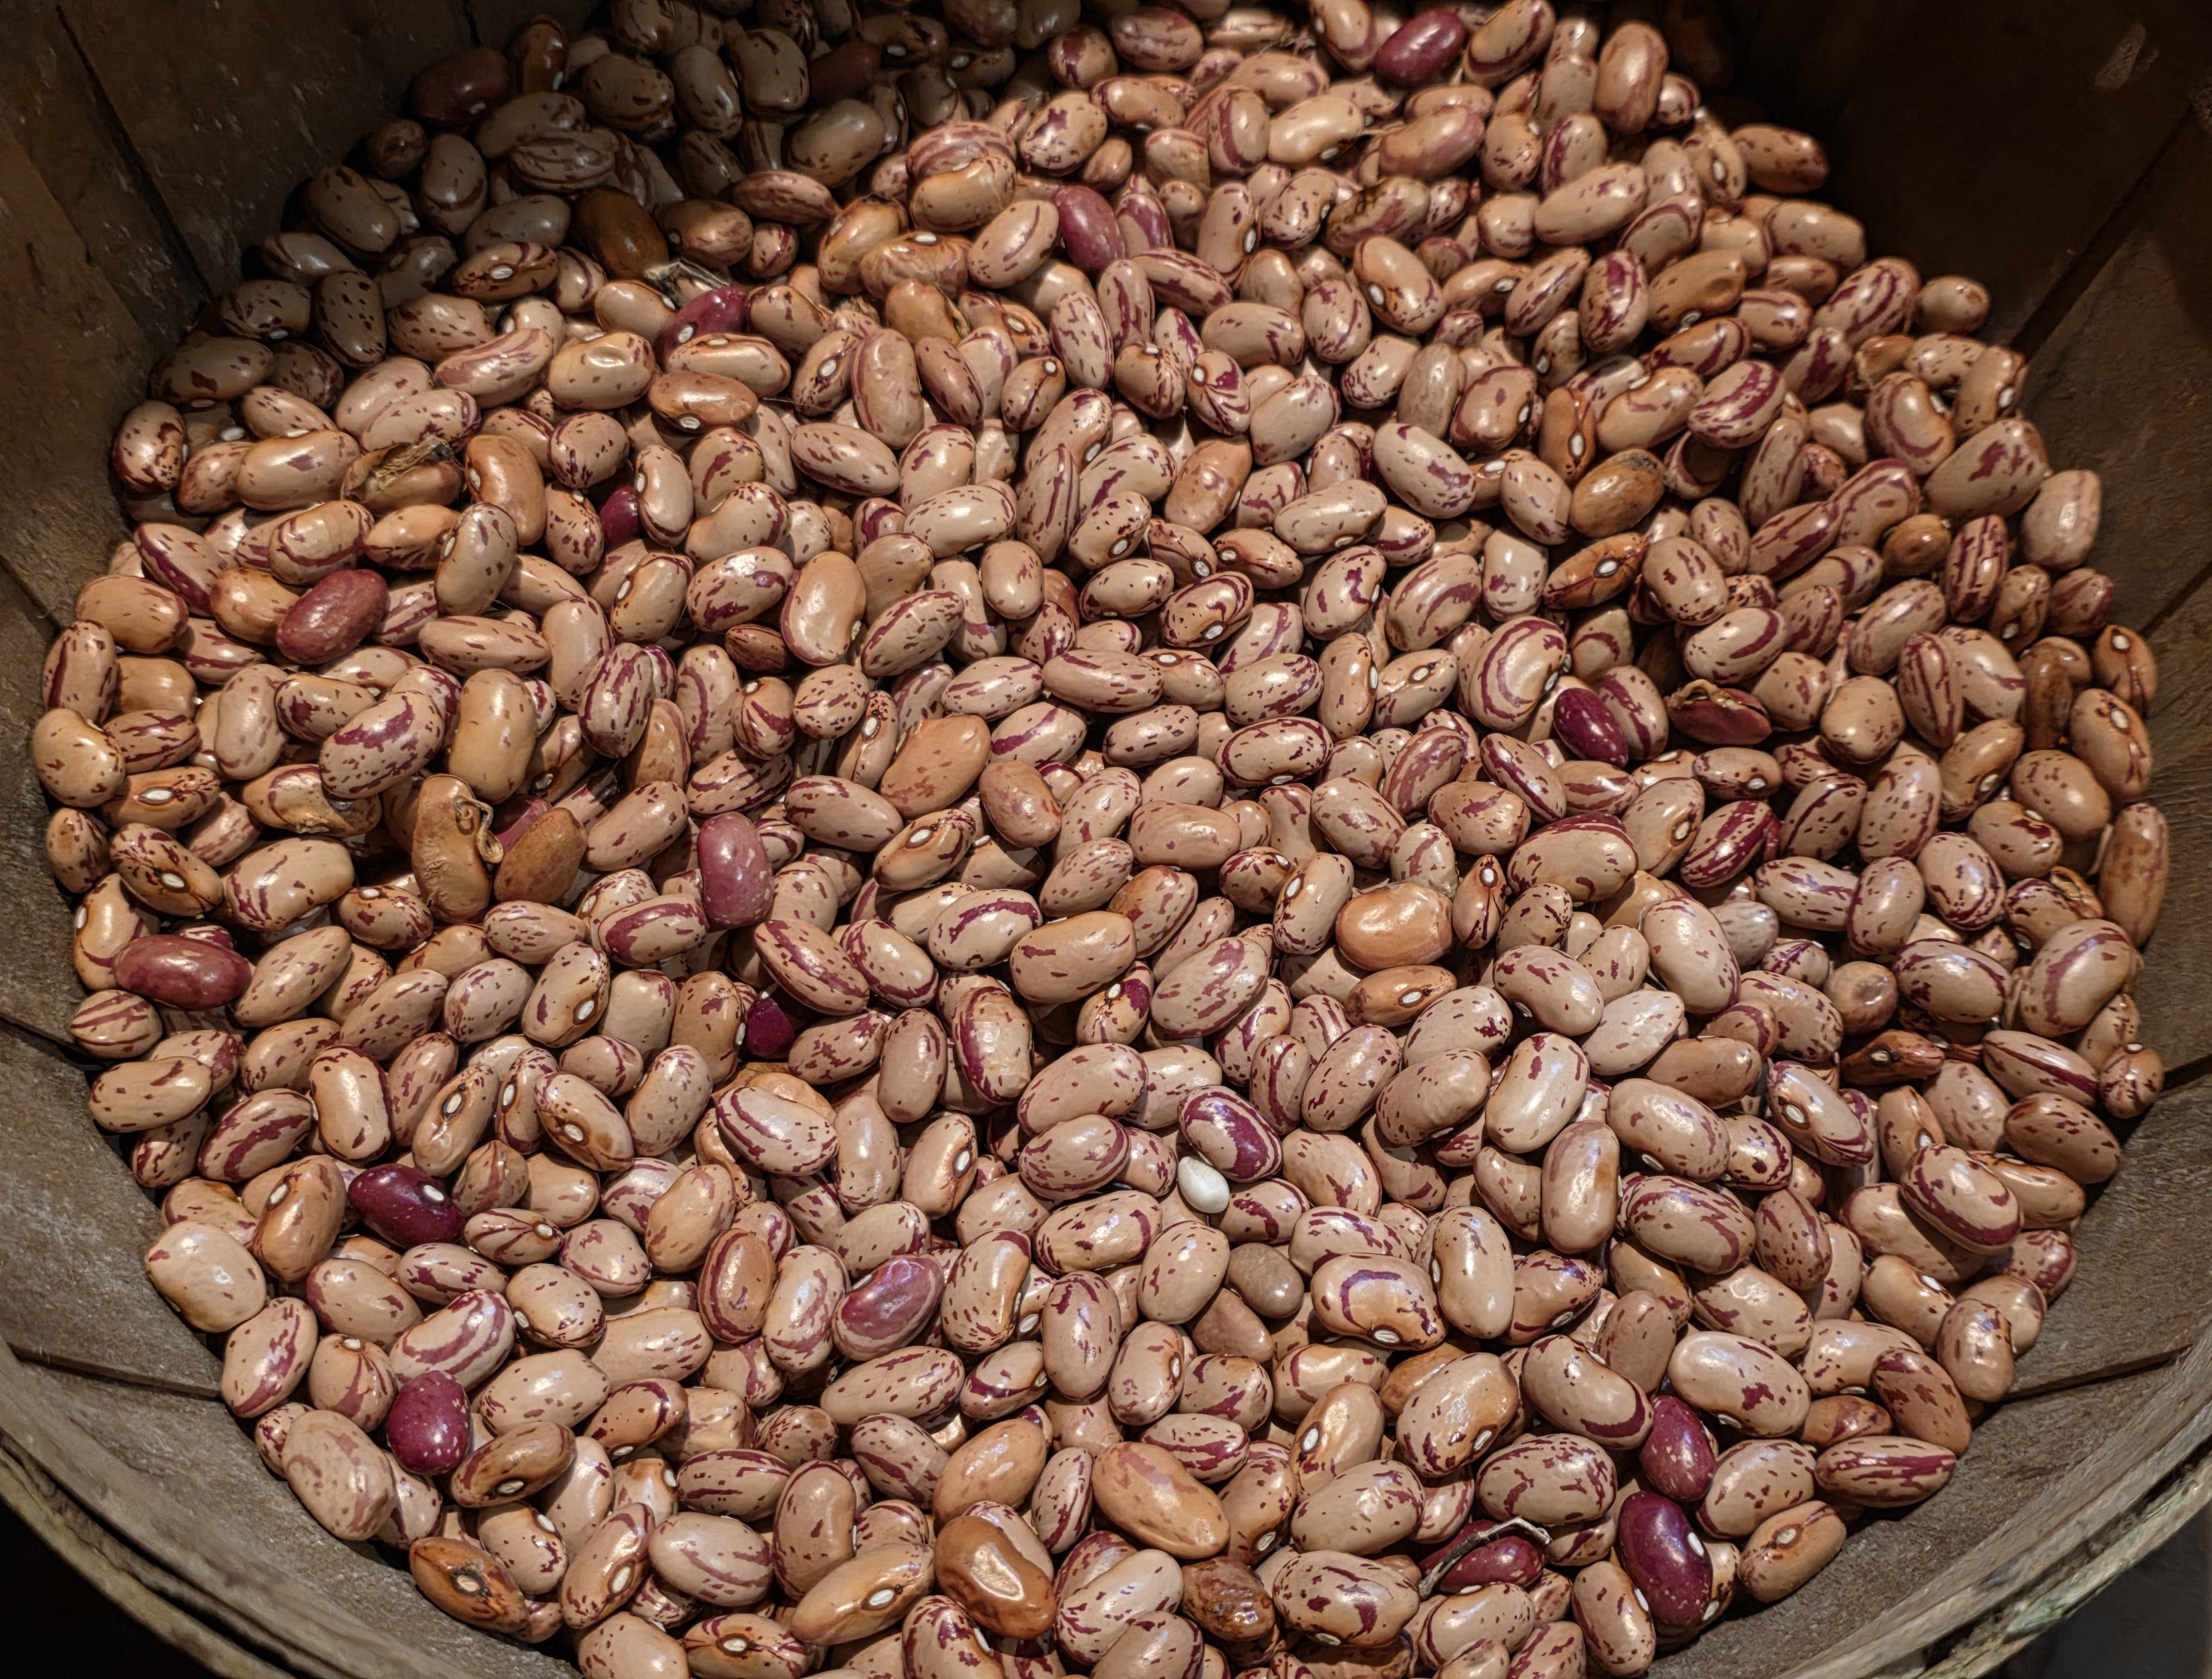
Shelling & Dry Beans: We plant two to three varieties that we allow to fully mature and dry right on the plant.
Harvesting dry shelling beans is one of the most satisfying autumn rituals. Cracking open crisp pods to reveal the beautiful, jewel-like seeds while watching a movie gives my hands something to do.
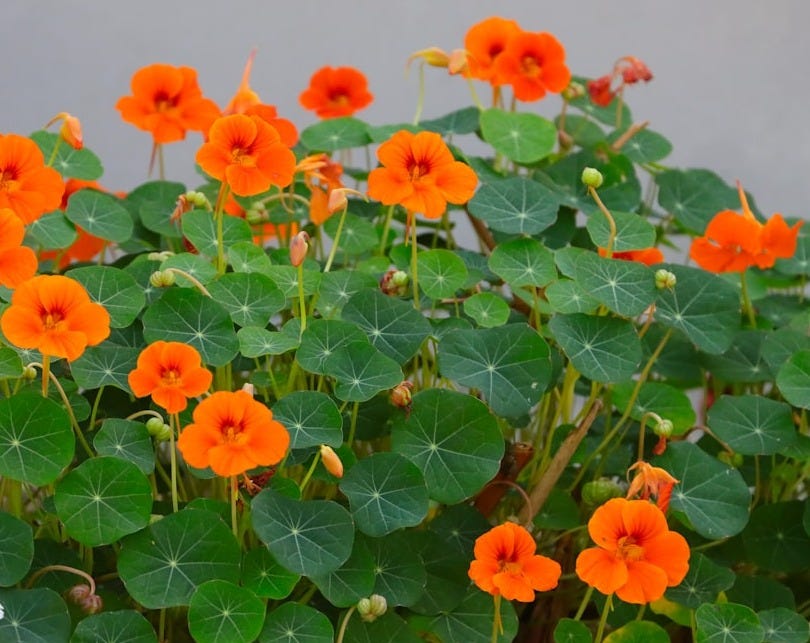
Marigolds, nasturtiums, basil, and other companions are worked in and around the vegetables, some placed deliberately beside the plants they’re known to protect or improve, others are scattered more loosely along the rows as a general deterrent. Both approaches work. Some of them also serve a dual purpose of being edible.
Wildlife: raccoons, rabbits, groundhogs, and chipmunks. We have a love/hate relationship. They’re cute, fun to look at, and take photos of, but when they take one bite from each of your ripe tomatoes you were going to pick and enjoy today, they become annoying. It’s an ongoing problem, but we keep going.
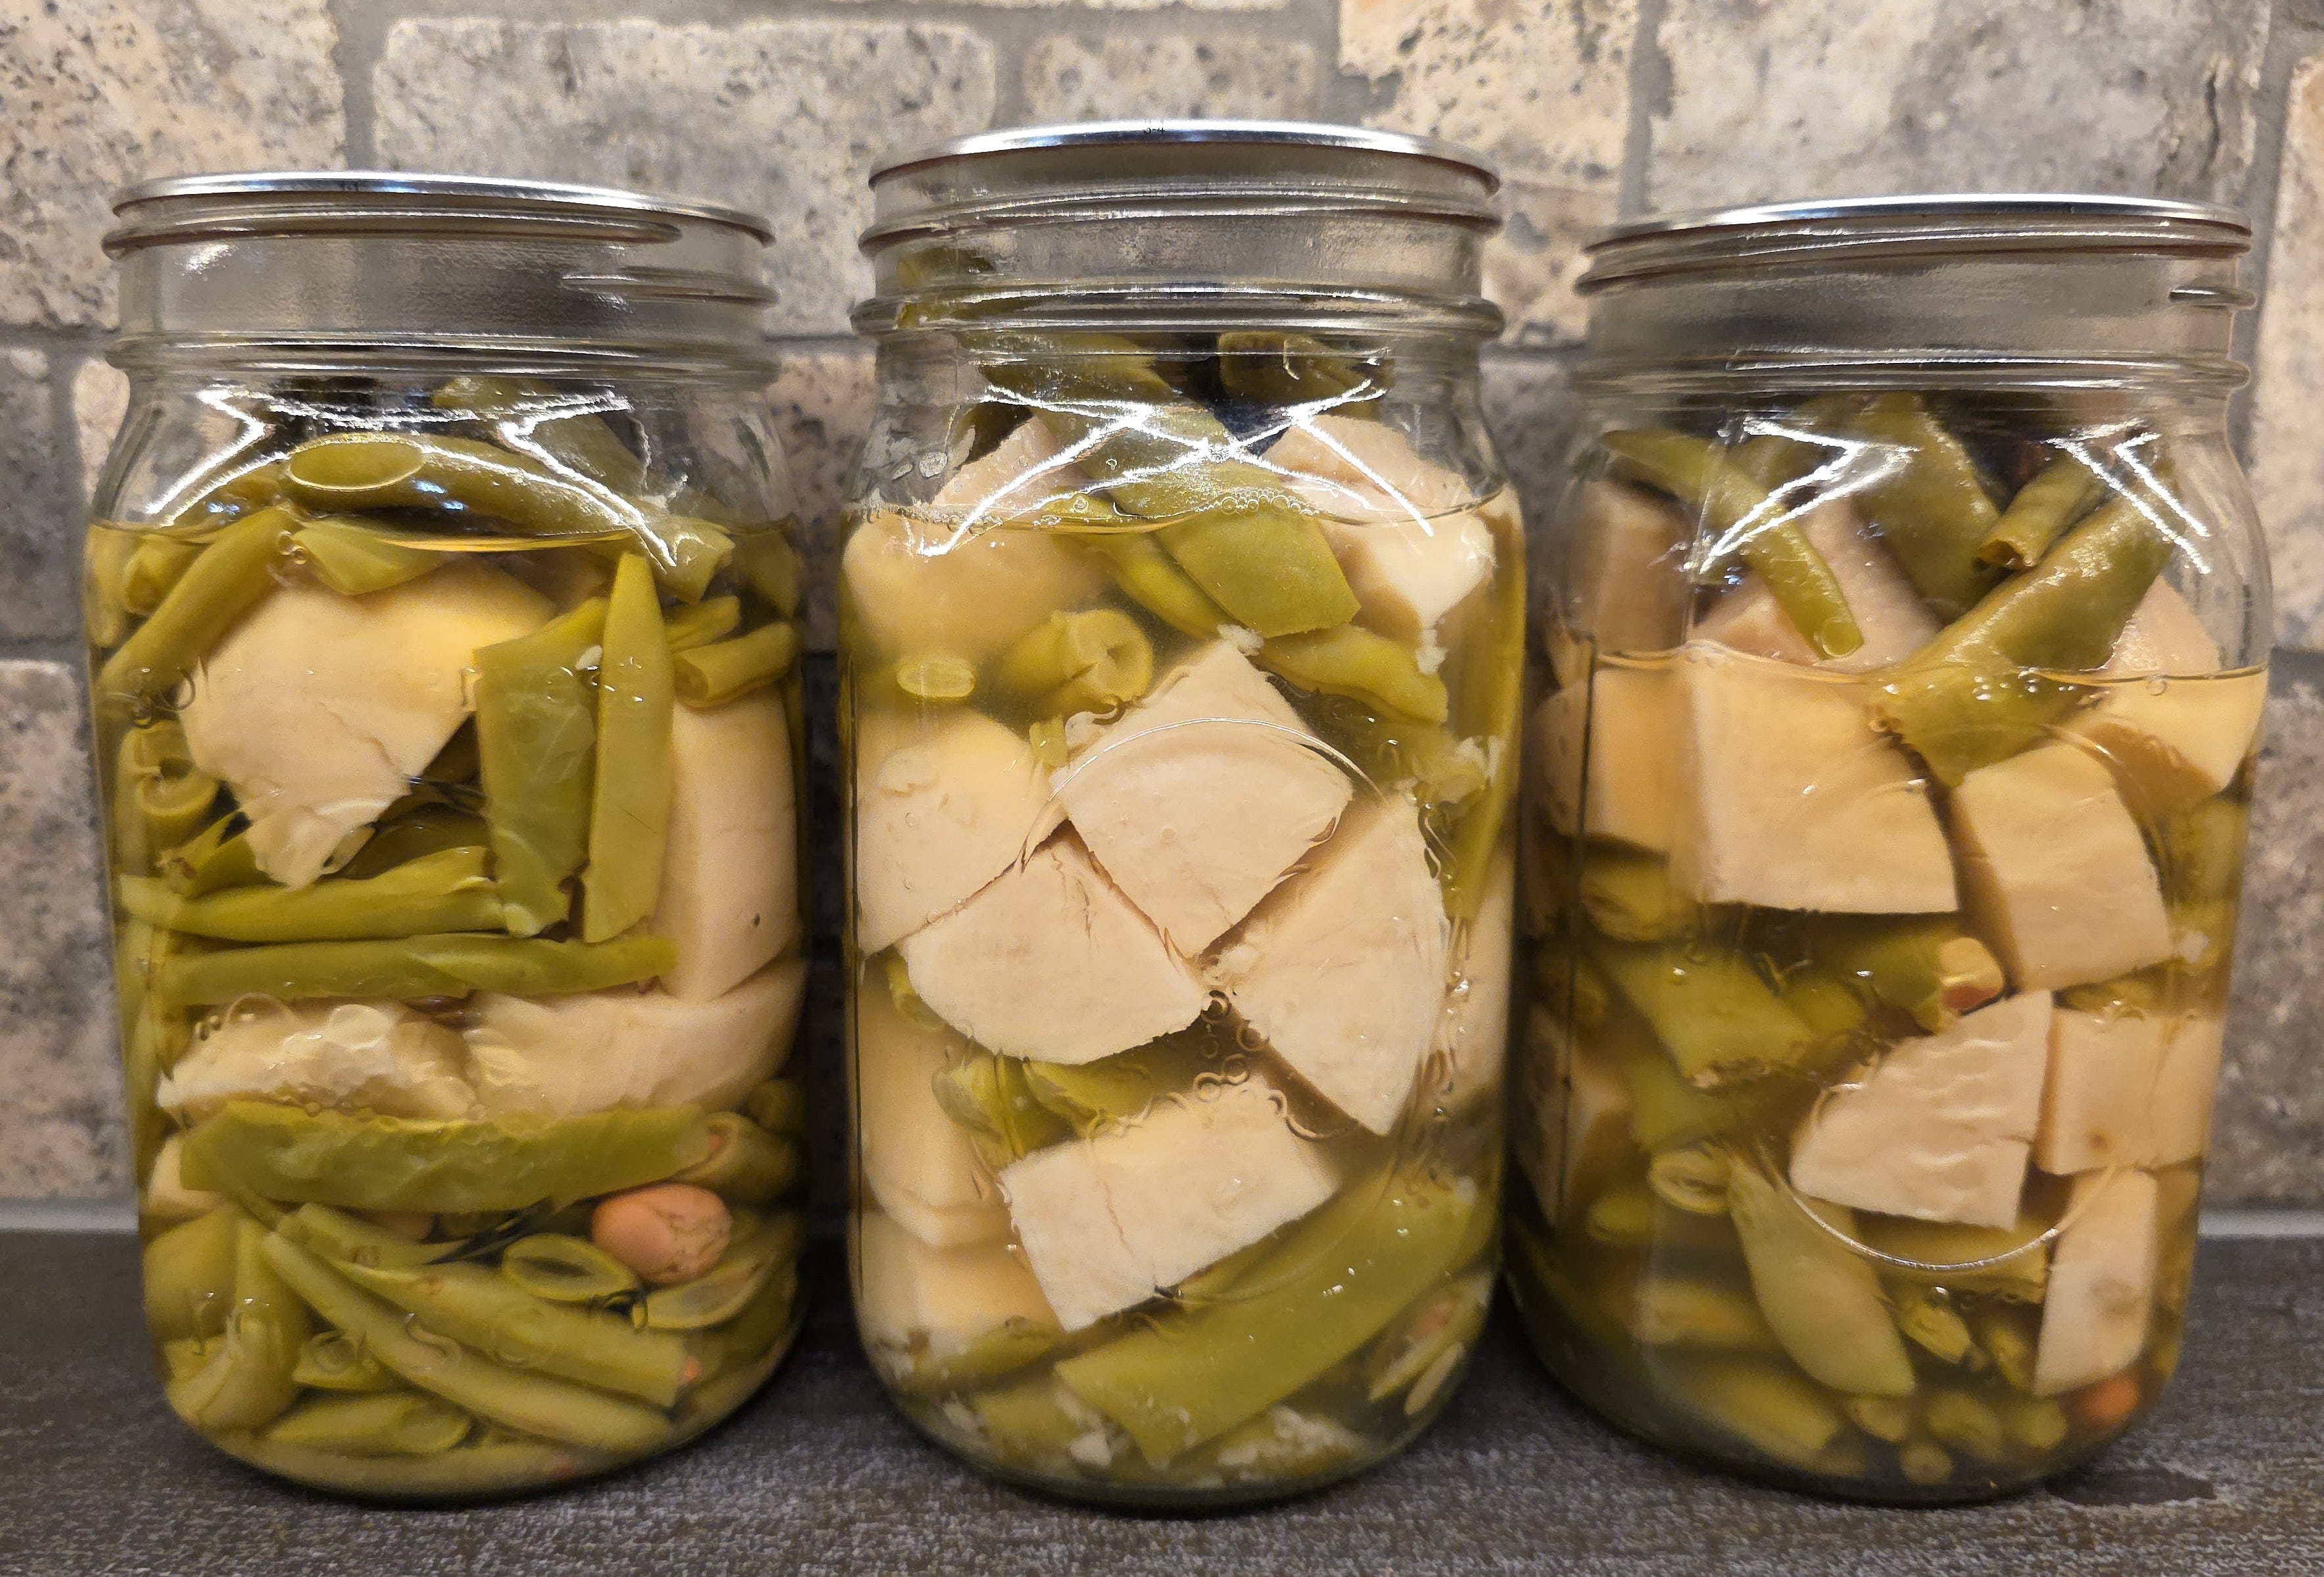
Winter planning on graph paper, the morning checks in the greenhouse, and the dusty summer days weeding the rows all come full circle to a single transitional season: the harvest. This is where my kitchen is transformed into a bustling food processing center.
Cellar & Cold Storage: Heavy winter squash, sweet potatoes, and late harvest pumpkins.
Before going into storage, the winter squash and pumpkins get their hard shell as they cure, away from direct sunlight, on the greenhouse benches. Then they are transferred to their place on the cool dark shelves of our cellar.
They will hold their quality for months. We have had winter squash last for over a year in storage.
The Pantry Jars: Green Beans, potatoes, peas, crushed tomatoes, salsa, pasta sauce, other tomato treats, and more are preserved in jars that line the basement shelves.
Nearby, dry shelling beans are stored in airtight glass containers, waiting for cozy winter soups and stews.
The Deep Freeze: Summer squash, roasted peppers, sweet corn blanched at peak freshness, and more are packed away and preserved for later.
Whether we are stepping into a high-production year with packed rows of heavy yielding crops or resting the ground (and us) give it a recharge.
Our homestead garden is a place where we’ve built a small ecosystem with soil layered over the years and a plan redrawn every fall/winter.
Thank you for being here. Next stop, the Prairie Garden!
Warmly,
— Nelle, Mama’s Homestead
Rooted. Gathered. Passed Down.
Share Mama's Homestead by Nelle
P.S. — If someone you love has been quietly longing for this kind of life, will you share this with her? Forward this email. Send her the link. Sometimes all a woman needs is for someone to say — there is a place for you here.
P.P.S. — Thank you for being here! We are just getting started. The best is ahead. Stay close.
Comments
Nothing yet. Say the first thing.
Sign in to join the conversation.