
Most SketchUp kitchen models start the same way: a traced floor plan, a rectangle pushed up for the base cabinets, and then a frantic download of whatever 3D Warehouse components look close enough. Two hours later, the model is 180MB, the orbit tool stutters on a mid-range laptop, and every cabinet is a different shade of off-white because eight different modelers made them. Before you ever touch a drawer pull, there is a smarter order of operations — and it starts with understanding what a kitchen model actually needs to do. If it is going to a renderer like Lumion or Enscape, the geometry requirements are very different from a model built for LayOut construction documents. Getting that decision right at the beginning saves you from rebuilding half the file on a Tuesday afternoon.

The single most common mistake in SketchUp kitchen modeling is jumping straight to cabinetry before the room shell is solid. The shell — walls, floor, ceiling, window and door openings — defines every constraint that follows. If the ceiling height is wrong, every upper cabinet line is wrong. If the window rough opening is misplaced by 50mm, the countertop run that should clear it will look like a modeling error in the rendered view.
Start by importing your floor plan as an AutoCAD DWG if you have one, or trace it from a PDF using the Line and Arc tools. Place the floor plan on its own tag — call it 00_ref_plan — and lock it immediately so it cannot be accidentally moved. Push/Pull the walls to finished ceiling height. Add window and door openings by drawing their outlines directly on the wall face and pushing through.
Best for: Projects where the kitchen design needs to integrate with a full residential model. If you are working on the kitchen in isolation, skip the import and model the shell from scratch in under ten minutes — four walls, a floor face, and an opening for the connection to the rest of the house.
Pro tip: Model the shell at the finished surface level — drywall face, not stud face. Cabinet installation dimensions in the real world reference finished surfaces. Working from the stud face introduces a consistent 12–15mm error in every cabinet clearance dimension you measure later.
Once the shell is correct, group it and move it to a tag called 01_shell. Lock that group. Every subsequent element — cabinets, countertops, appliances — sits inside the shell, but the shell geometry itself should never change again.
Lydia Cline's SketchUp for Interior Design makes a point that every kitchen modeler eventually figures out the hard way: components are not just a convenience, they are the only viable strategy for a furniture-rich interior. A kitchen with 22 base cabinets modeled as raw geometry is a 22-step nightmare every time the client asks for the door style to change. The same kitchen built from three well-made component definitions — base unit, upper unit, tall unit — takes about four clicks to update.
Here is the practical system that works:
Build a parametric base cabinet component. Standard base cabinet in most residential kitchens is 600mm wide × 870mm tall (including worktop) × 600mm deep. Model one. Inside the component, add a face for the door panel, a face for the drawer front if applicable, and nothing else. No hinges. No interior shelves. No back panel. The renderer will never see the inside of a closed cabinet, and every polygon you omit is a polygon that does not slow down your viewport.
Make this component. Give it a clear name: CAB_Base_600. Now when you need a 900mm-wide base unit, copy CAB_Base_600, open the component, scale it on the red axis to 900mm. Better still, make it a unique component first — right-click → Make Unique — before scaling, or you scale every instance simultaneously.
Upper cabinets follow the same logic. Standard upper cabinet: 600mm wide × 720mm tall × 350mm deep. Build one, name it CAB_Upper_600, multiply as needed.
Corner units deserve their own component. Corner cabinet geometry is where most kitchen models develop ugly gaps or overlapping faces. The easiest approach: model a square corner unit at 900 × 900mm plan footprint, cut the door face at 45 degrees. It is not perfectly realistic but it reads correctly in any rendered view and never creates a geometry conflict with adjacent runs.
Watch out for: Copying components from 3D Warehouse to use as your kitchen cabinets. Warehouse cabinet models routinely include interior shelves, handles modeled in full detail, and sometimes the entire kitchen suite as a single group. Polygon counts in the thousands for a single drawer front are not unusual. These models will work fine in isolation. Place 24 of them and your orbit tool will remind you of the mistake.
Countertops sound simple — they are mostly flat. The problem is the edge profile. A square-edged countertop looks fine in a construction document, but in a Lumion render it reads as unfinished. The edge profile — even a modest 3mm bevel — is what makes rendered granite and quartz look like the real material.
The Follow Me tool solves this in three steps:
1. Draw the countertop plan shape on the floor — an L-shape, a U-shape, whatever the layout requires. This is your path.
2. On a vertical face adjacent to the path, draw the edge profile in cross-section: a rectangle for the slab thickness (40mm is standard for stone) with a small chamfered or rounded corner.
3. Select the path, activate Follow Me, and click the profile face.
SketchUp extrudes the profile along the entire perimeter path in one operation. The resulting solid is already correctly shaped for the corners. Group it immediately and assign it to a tag called 03_countertops.
Pro tip: Draw the countertop profile as a component before running Follow Me, not after. If the client wants to change from a 3mm bevel to a 5mm radius edge, you reopen one component and edit the profile — SketchUp rebuilds the geometry automatically. This only works if Follow Me created the geometry inside a component context.
Best for: Straight-run and L-shaped kitchens. U-shaped and island countertops with internal corners sometimes need manual cleanup at the corner joints using Intersect Faces. It takes two minutes but is worth doing before the renderer sees the file.
For the backsplash: Push/Pull a 100mm-tall rectangle from the wall face between the countertop top surface and the upper cabinet bottom. Apply your tile texture. Done. Do not model individual tiles unless you are producing a close-up detail render — the texture handles it.
3D Warehouse is essential for appliances. Refrigerators, range hoods, ovens, dishwashers — modeling these from scratch is not a good use of project time. But raw Warehouse downloads require a cleanup pass before they go into your kitchen model.
When you download an appliance component, open it in a separate SketchUp file before importing it into your kitchen. Run the CleanUp³ extension (if you have it) or manually inspect the model. What you are looking for:
Delete: Interior geometry. The inside of a refrigerator. The oven cavity. Every hidden face that a rendered camera will never see. These polygons do nothing for the visual and everything for the file size.
Delete: Nested textures with extreme resolutions. A 4K texture on a dishwasher control panel is not visible in a kitchen render unless the camera is inside the machine. Reduce these to 1024×1024 or replace with a simple grey material.
Keep: The exterior silhouette geometry. The handle. The door panel material. The brand logo if it reads in a mid-distance shot.
Once cleaned, save the appliance as its own component file in a local library folder. This way the same refrigerator model is reused across multiple projects without re-downloading and re-cleaning.
Alexander Schreyer's Architectural Design with SketchUp makes the case for component-based modeling as a studio-wide practice, not just a per-project habit. A shared appliance library on a network drive means every designer in a practice is pulling from the same cleaned, consistent set of models. The polygon budget stays predictable. The render farm does not surprise you.

A kitchen model without a clear tag structure becomes unmanageable the moment you need to show the client two finish options. Set up your tags before you model, not after:
00_ref_plan — locked reference geometry
01_shell — walls, floor, ceiling, openings
02_base_cabinets — all base cabinet instances
03_upper_cabinets — all upper cabinet instances
04_tall_cabinets — pantry, integrated fridge, column units
05_countertops — stone and laminate surfaces
06_backsplash — tile geometry
07_appliances — all downloaded appliance components
08_fixtures — sink, faucet, lighting fixtures
09_accessories — small items, plants, decorative objects (add last, hide first)
With this structure, you can turn off 09_accessories and 08_fixtures for the structural review and turn everything back on for the client presentation. Scenes paired with tag visibility states give you a single-click toggle between "construction" and "furnished" views.
Watch out for: Placing geometry on the default "Untagged" layer except for raw edges and faces inside component and group contexts. This is SketchUp's own recommendation. Anything placed on Untagged at the top level that is not a component or group will cause tag visibility confusion that is genuinely difficult to debug after the fact.
If Lumion is the renderer, the kitchen model needs two things that SketchUp does not enforce by default: correct face orientation and grouped geometry by material.
Face orientation. Lumion reads face normals to apply materials. A reversed face in SketchUp renders as a dark artifact in Lumion — it picks up the wrong normal direction and the surface appears unlit. Before exporting, use View → Face Style → Monochrome and inspect the model. White faces are front-facing. Blue faces are reversed. Select all reversed faces and right-click → Reverse Faces until everything is white.
Group by material for Lumion's material picker. Lumion assigns materials at the group/component level when using the Lumion LiveSync plugin. If your countertop, backsplash, and cabinet faces all share a single group, Lumion treats them as one surface and applies a single material to everything. Separate them: countertop is its own group, backsplash its own group, cabinet doors their own components. This gives Lumion's material editor the granularity it needs.
Export via File → Export → 3D Model → Collada (.dae) or use Lumion LiveSync for a direct real-time connection. LiveSync is faster for design iteration — changes in SketchUp reflect in Lumion within seconds. For final export, the Collada route gives you more control over what gets sent.
Pro tip: Hide the 00_ref_plan tag and any construction geometry before exporting. Lumion will import everything visible, and a flat floor plan geometry underneath your kitchen model creates z-fighting artifacts on the finished floor.
A SketchUp kitchen model that performs well — in the viewport, in LayOut, in Lumion — is built in the right sequence: shell first, component library second, countertop geometry third, sourced and cleaned appliances fourth, and a clean tag structure before any scene or export. The steps are not complicated, but skipping them creates problems that compound across the project. A 180MB single-session kitchen file is a symptom of modeling decisions made in the wrong order.
The same discipline that makes a kitchen model fast to render makes it fast to revise when the client changes the island configuration three days before the client presentation.
Subscribe for weekly SketchUp deep-dives — workflow breakdowns, plugin reviews, and the kind of geometry decisions that actually matter on a real project.
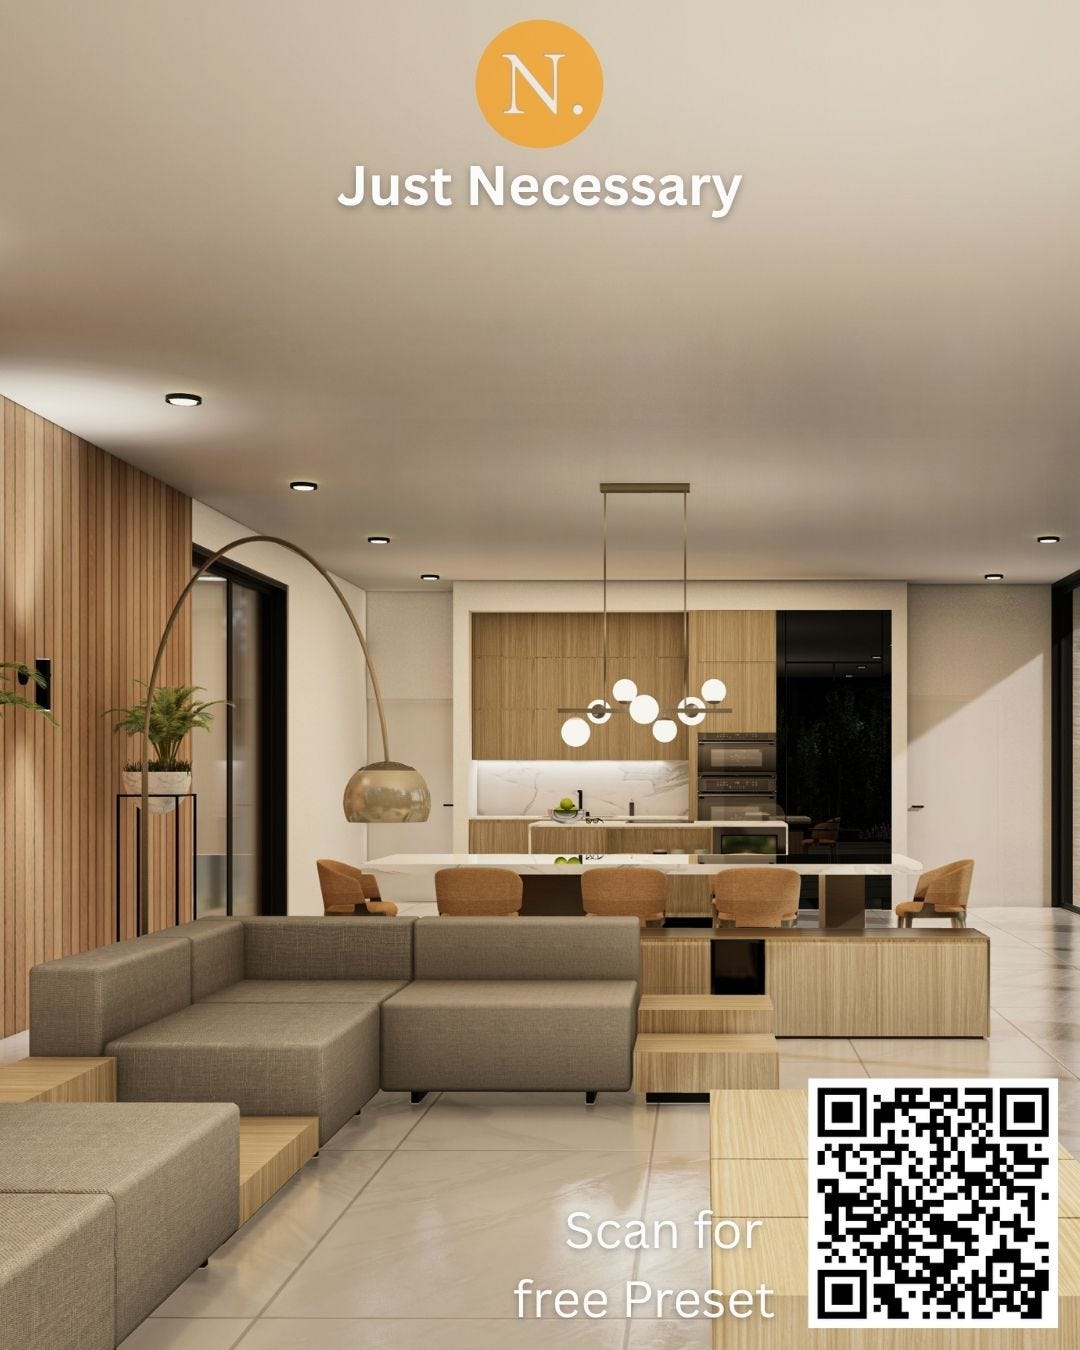
Free Lumion Render Preset: portfolio.hotrongnhan.org
Struggling to make your renders stand out? Discover the secret to faster design and stunning visuals with our all-in-one Modern Hill House 3D Model Package! 🚀
👉 Download the full package here: Modern Hill House Exterior Scene with Full Furniture (CGTrader)
Don't miss this incredible opportunity to unlock your creative potential and bring your architectural visions to life with Lumion.
Follow Us for More Tips and Tricks:
📷 Instagram: @just.necessary.lumion
🔵 Facebook: Just Necessary Lumion
No posts
Comments
Nothing yet. Say the first thing.
Sign in to join the conversation.