
I’ve been checking out PICO-8 recently. For those unaware, It’s a nicely constrained environment for making small games in Lua. It provides a built-in editor allowing you to write code, make sprites, make tile maps and make sounds. This makes it ideal to prototype game ideas or make small games.
You know what tool is also great for prototyping game ideas or making small games? Well… KAPLAY!
It’s a simple free and open source library for making games in JavaScript. I suspect there might be a sizeable overlap between people who like PICO-8 and those who would end up liking or even loving KAPLAY as well if they gave it a try.
During my PICO-8 learning journey, I came across this nice tutorial teaching you how to make a coin collecting game in 10 minutes.
In this article, I’d like to teach you how to build roughly the same game in KAPLAY. This will better demonstrate in what ways this game library makes game development faster much like PICO-8.
Feel free to follow along if you wish to!
KAPLAY lacks all of the tools included in PICO-8. There is no all-in-one package you can use to write your code, make your sprites, build your maps or even make sounds.
You might be wondering, then, how KAPLAY is in any way similar to PICO-8 if it lacks all of this?
My answer : KAPLAY makes up for it by making the coding part really easy by offering you a lot logic built-in. For example, it handles collisions, physics, scene management, animations etc… for you. You’ll see some of this in action when we arrive at the part where we write the game’s code.
Now, how do we use KAPLAY? Here’s the simplest way I’ve found.
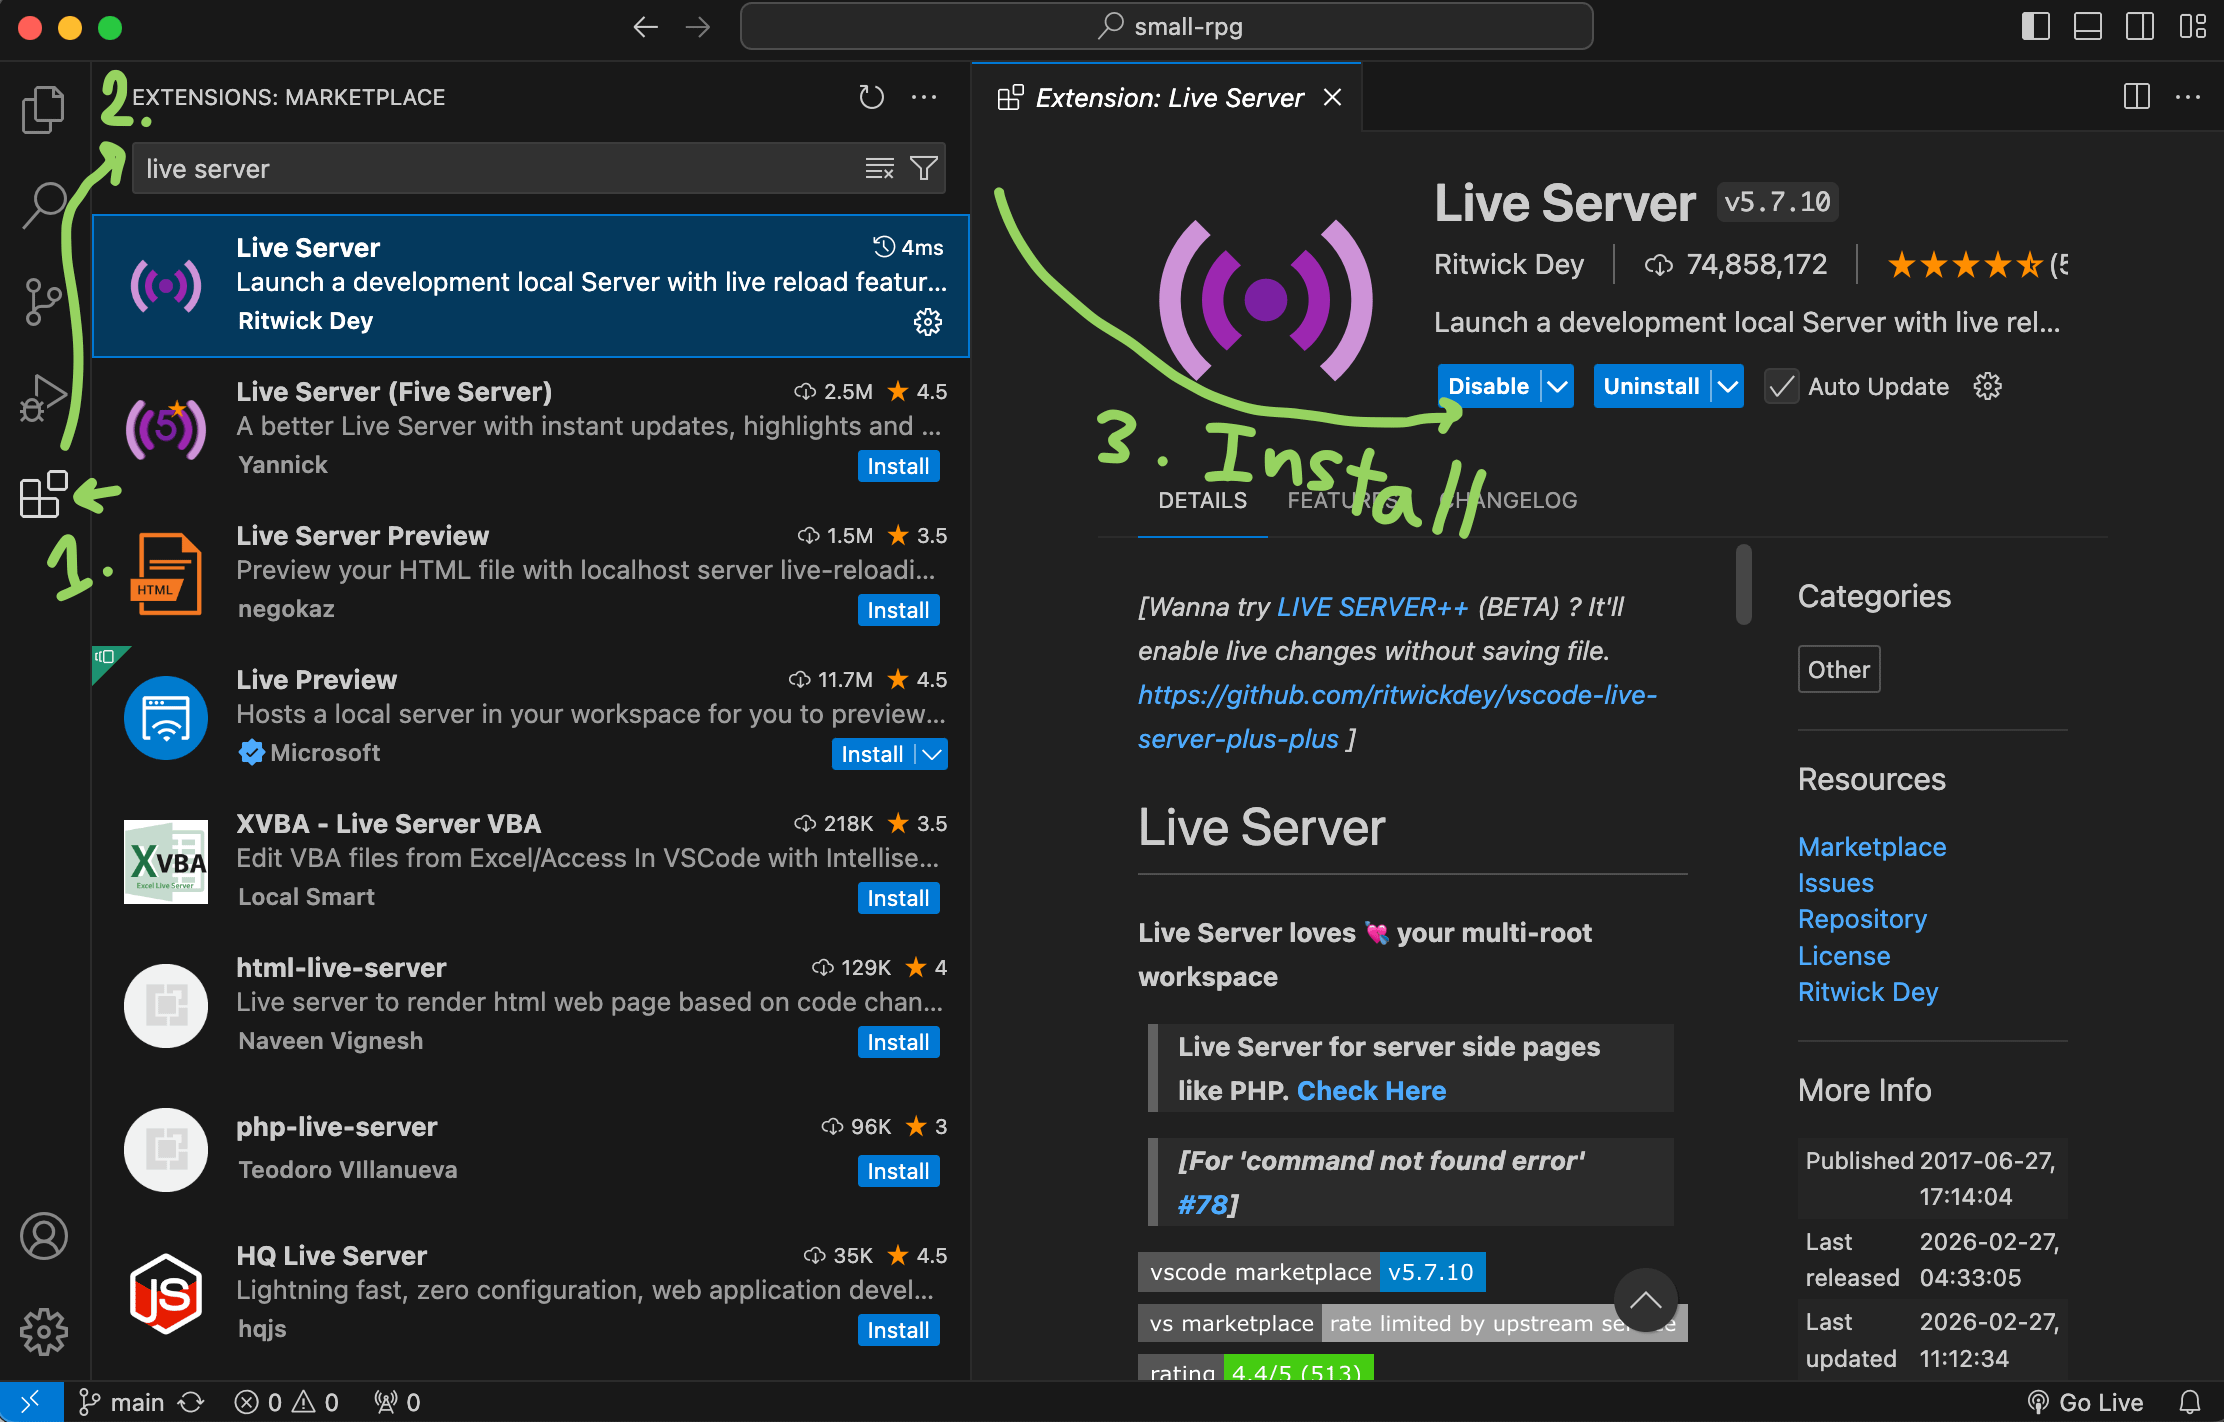
You install VSCode (a popular code editor) along with the Live Server extension (can be found in the extensions marketplace within the editor). You then create a folder that you open within VSCode.
Once the folder is opened, we only need to create two files. One called index.html and the other main.js.
Your index.html file should contain the following :
Since KAPLAY works on the web, it lives within a web page. index.html is that page. Then, we link our JavaScript file to it. We set the type to “module” so we can use import statements in our JS.
We then add the following :
Voilà! We can now use the KAPLAY library. Since we installed the Live Server extension, you should now have access to a “Go Live” button at the bottom of the editor.
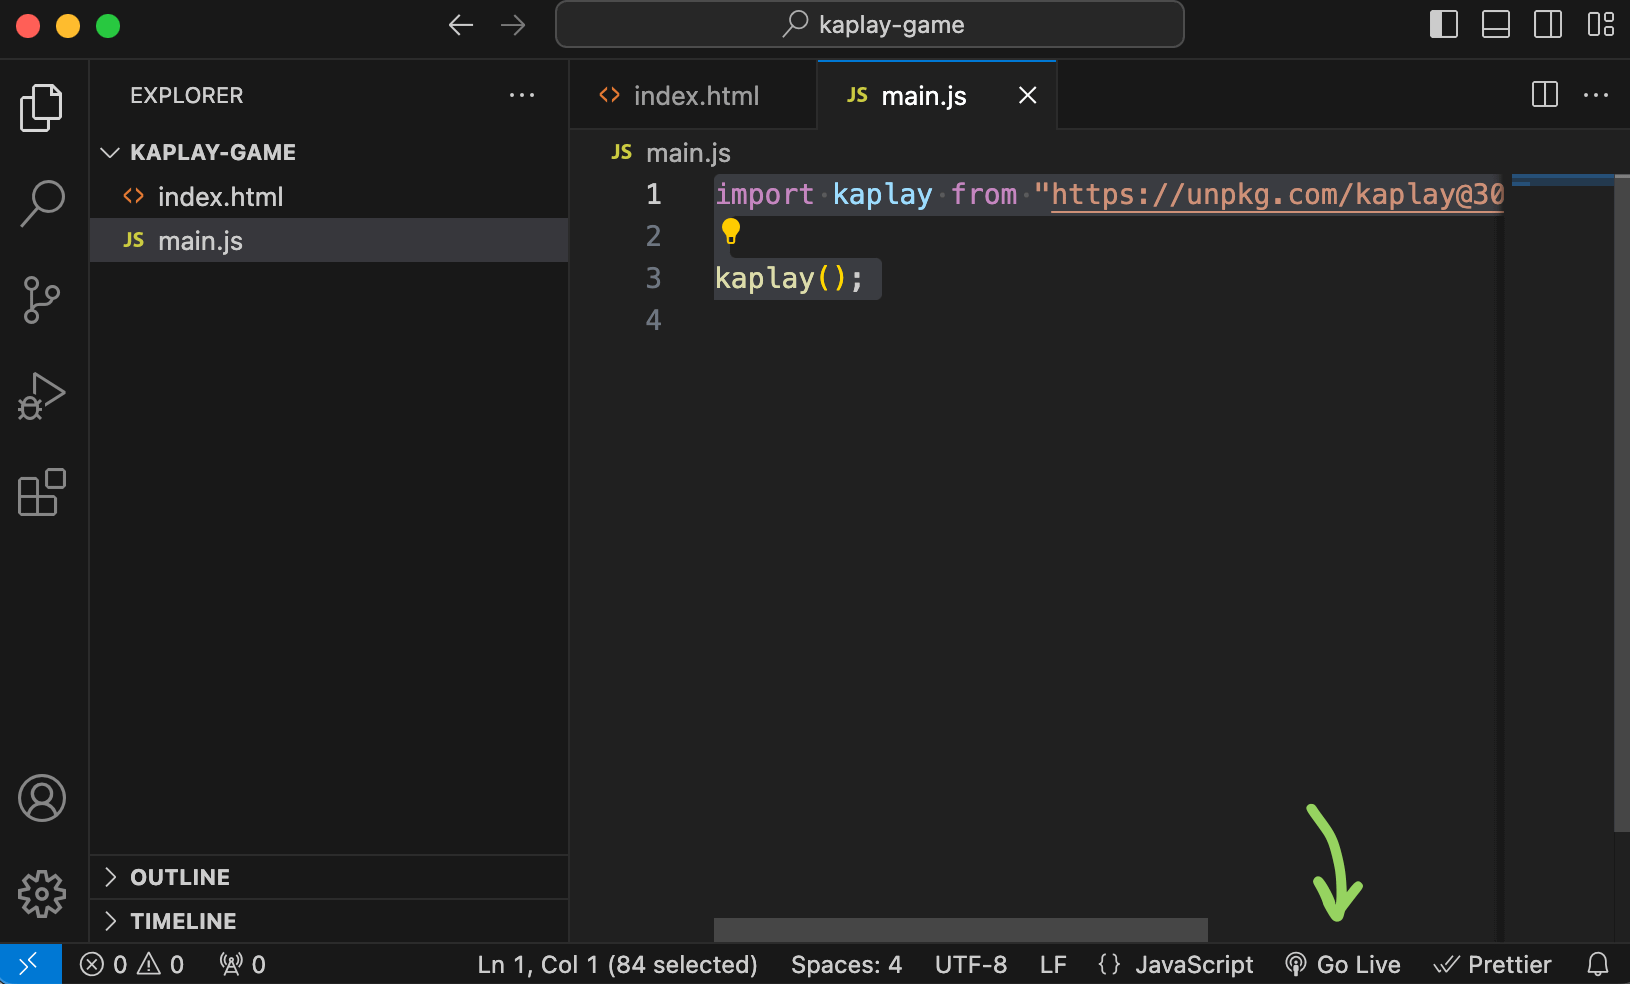
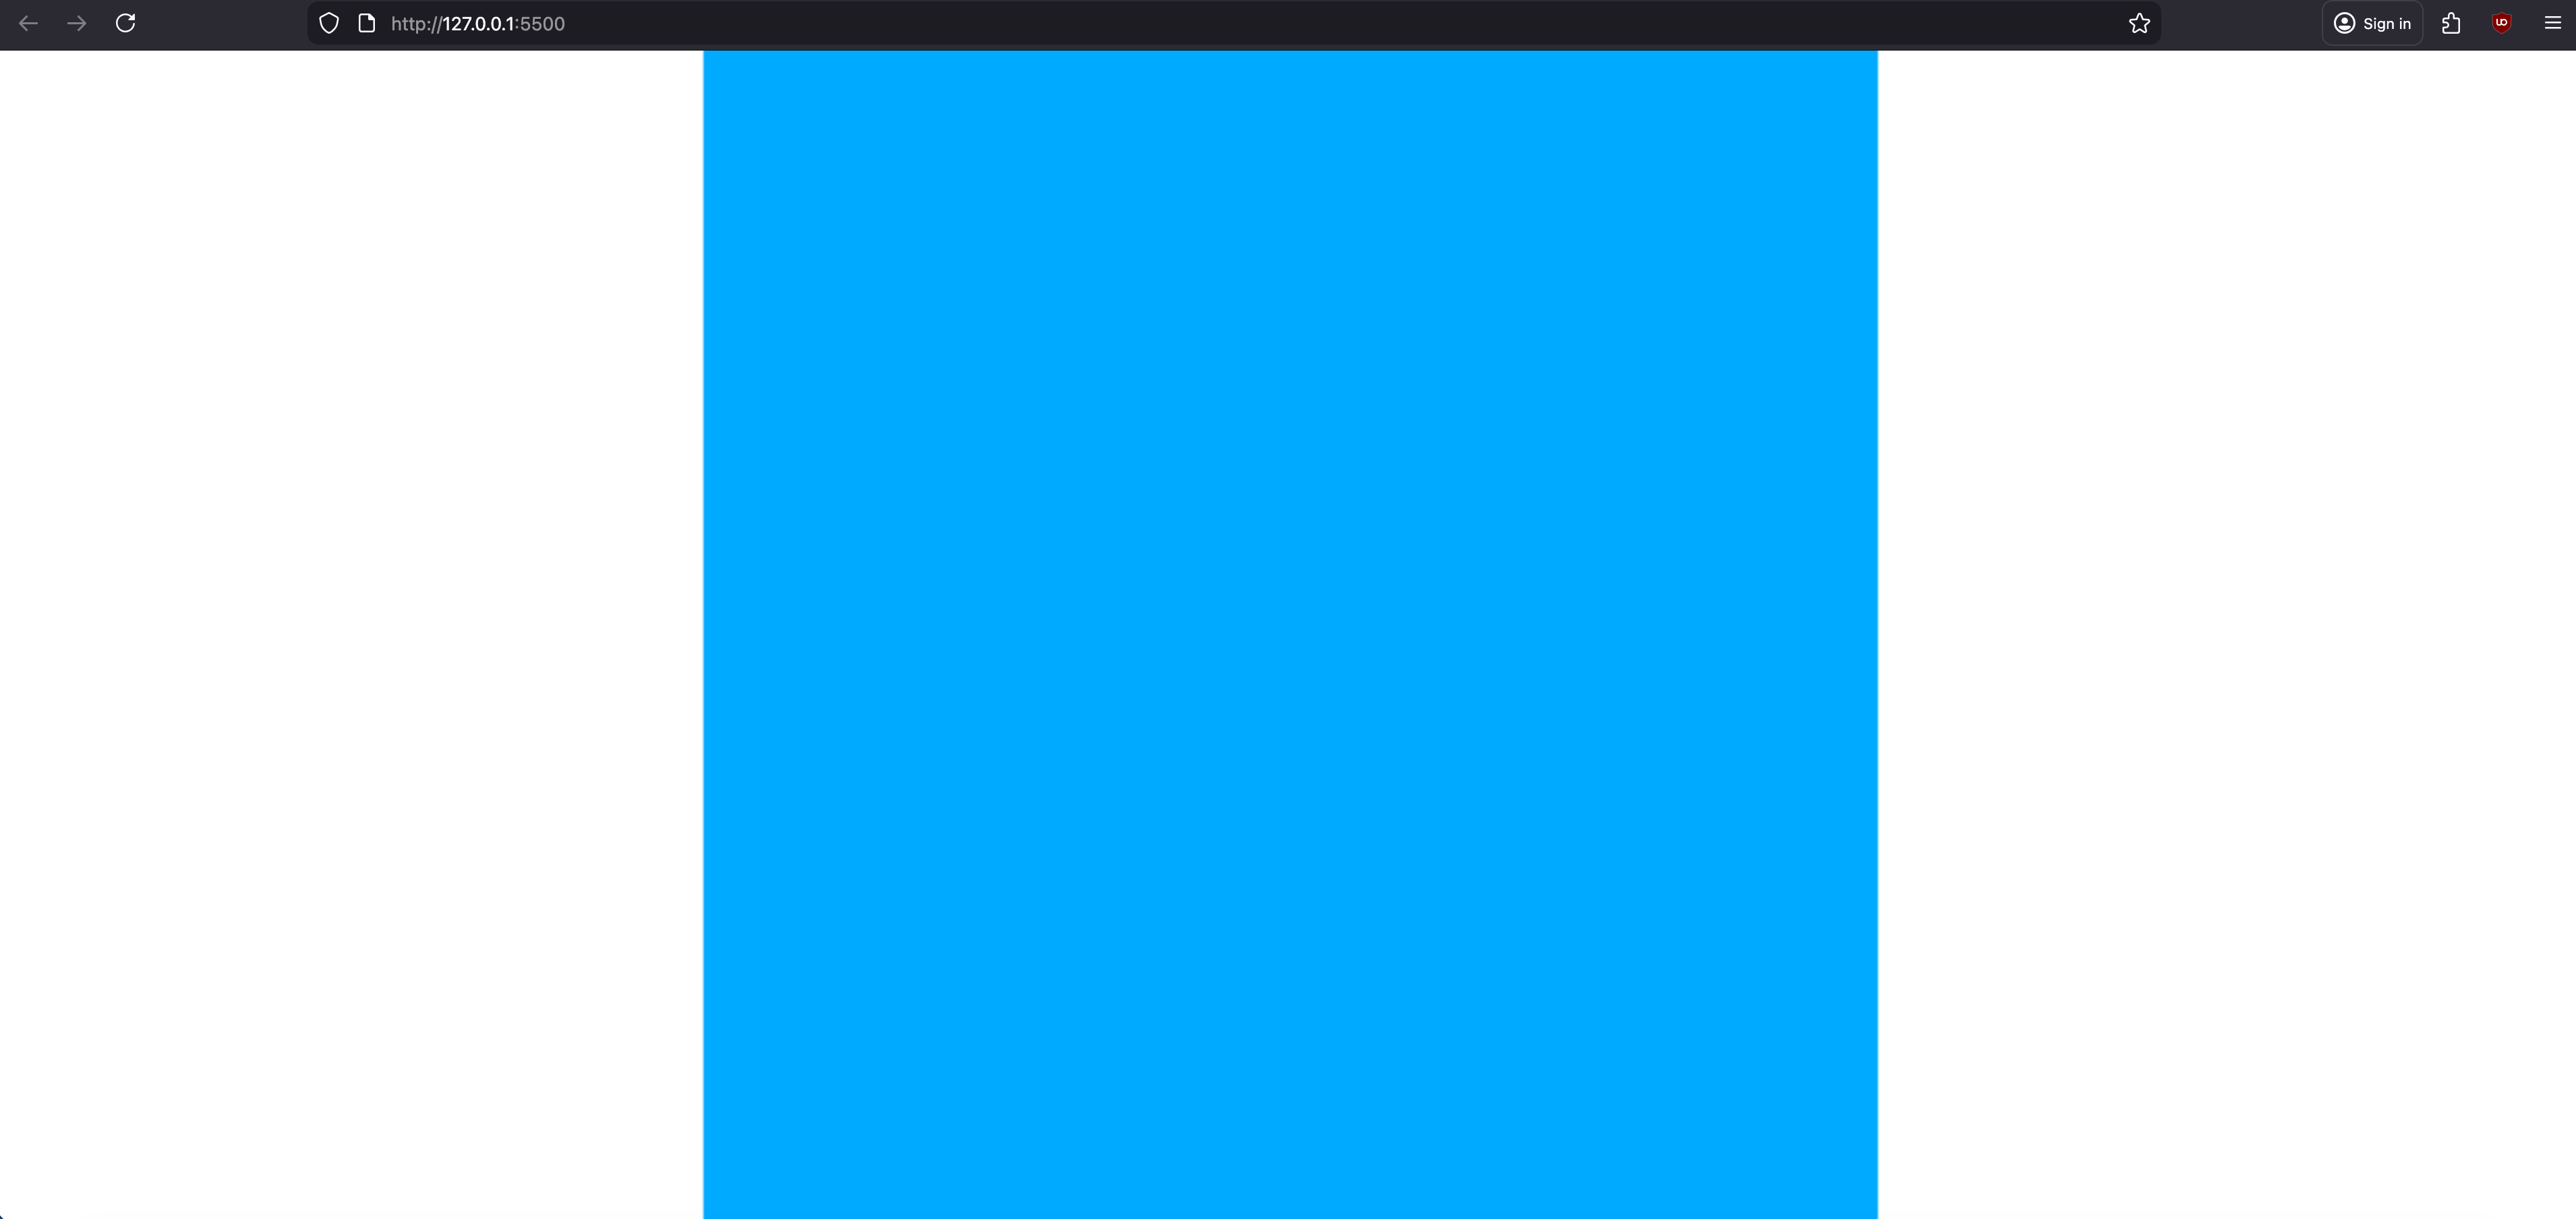
To actually run the game, all you have to do is click it. This will open the web page in your default browser. KAPLAY by default creates a canvas with a checkered pattern.
One thing pretty cool with this setup, is that every time you change something in your code and hit save (Ctrl+S or Cmd+S on a Mac), the web page reloads and you can see your latest changes instantly.
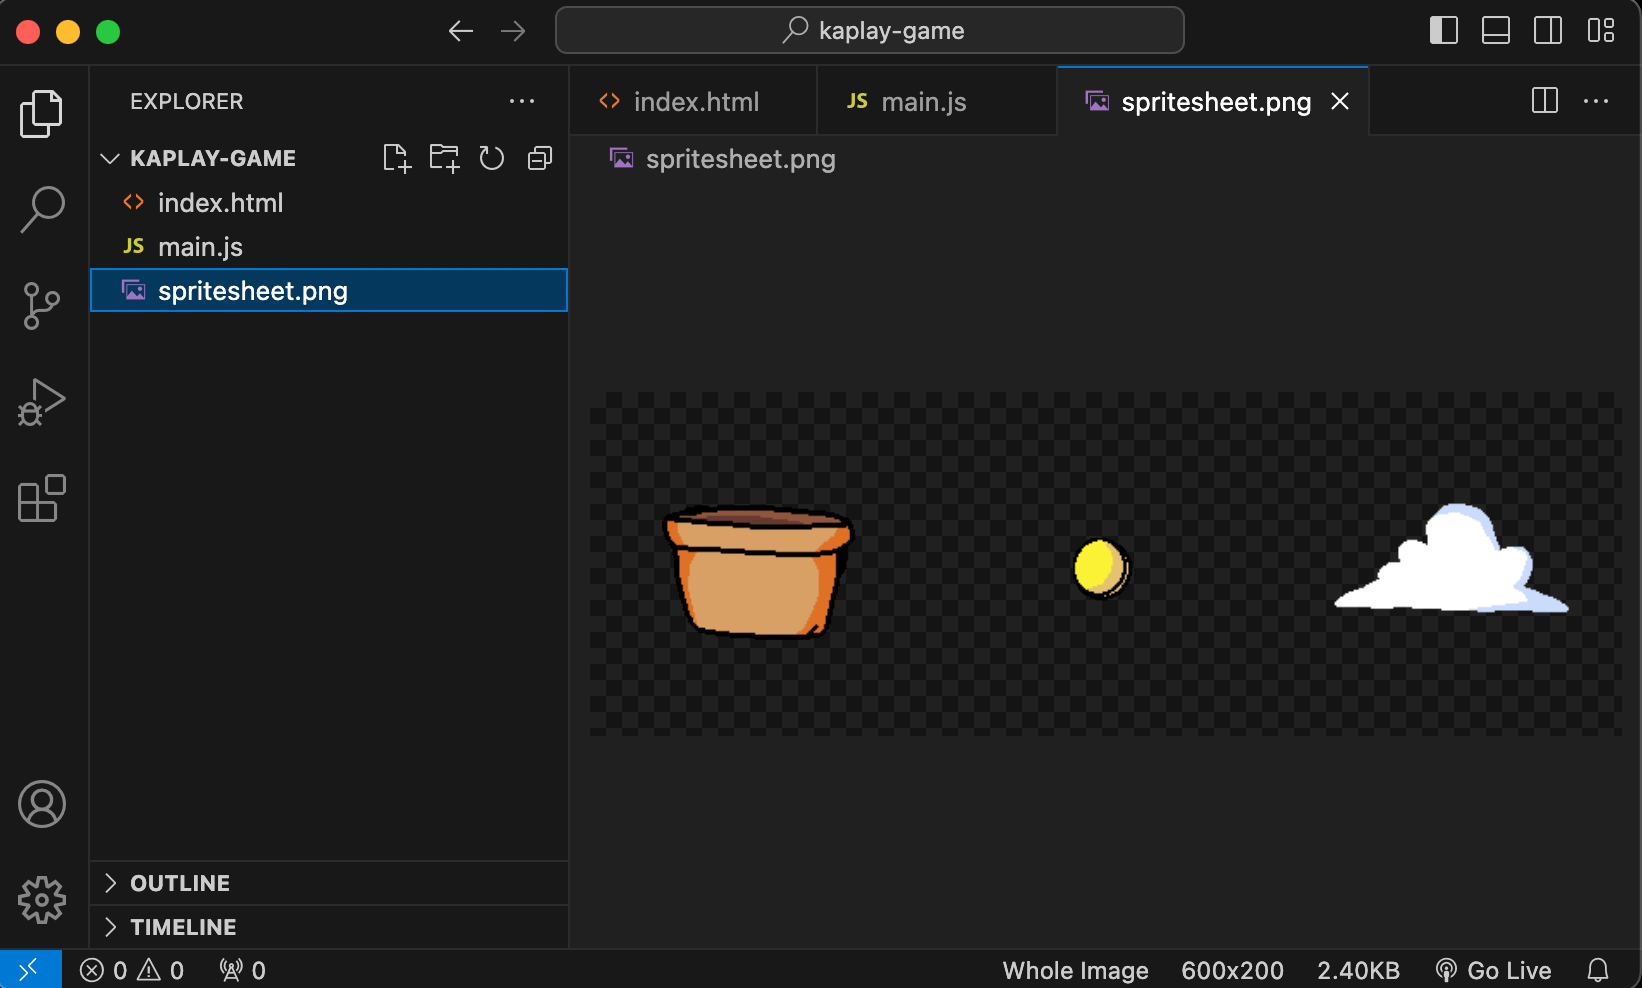
I’ve created the following spritesheet to be used in our game.

Note that since the image is transparent, the cloud to the right is not really visible. You can download the image above to follow along.
The next step is to place the image in the same folder as our HTML page and JavaScript file.
We’re now ready to make our game.
Here we set the width and the height of our canvas. The letterbox option is used to make sure the canvas scales according to the browser window but without losing its aspect ratio.
We can load our spritesheet by using the loadSprite KAPLAY function. The first param is the name you want to use to refer to it elsewhere in your code. The second param is the path to get that asset. Finally, the third param is used to tell KAPLAY how to slice your image into individual frames.
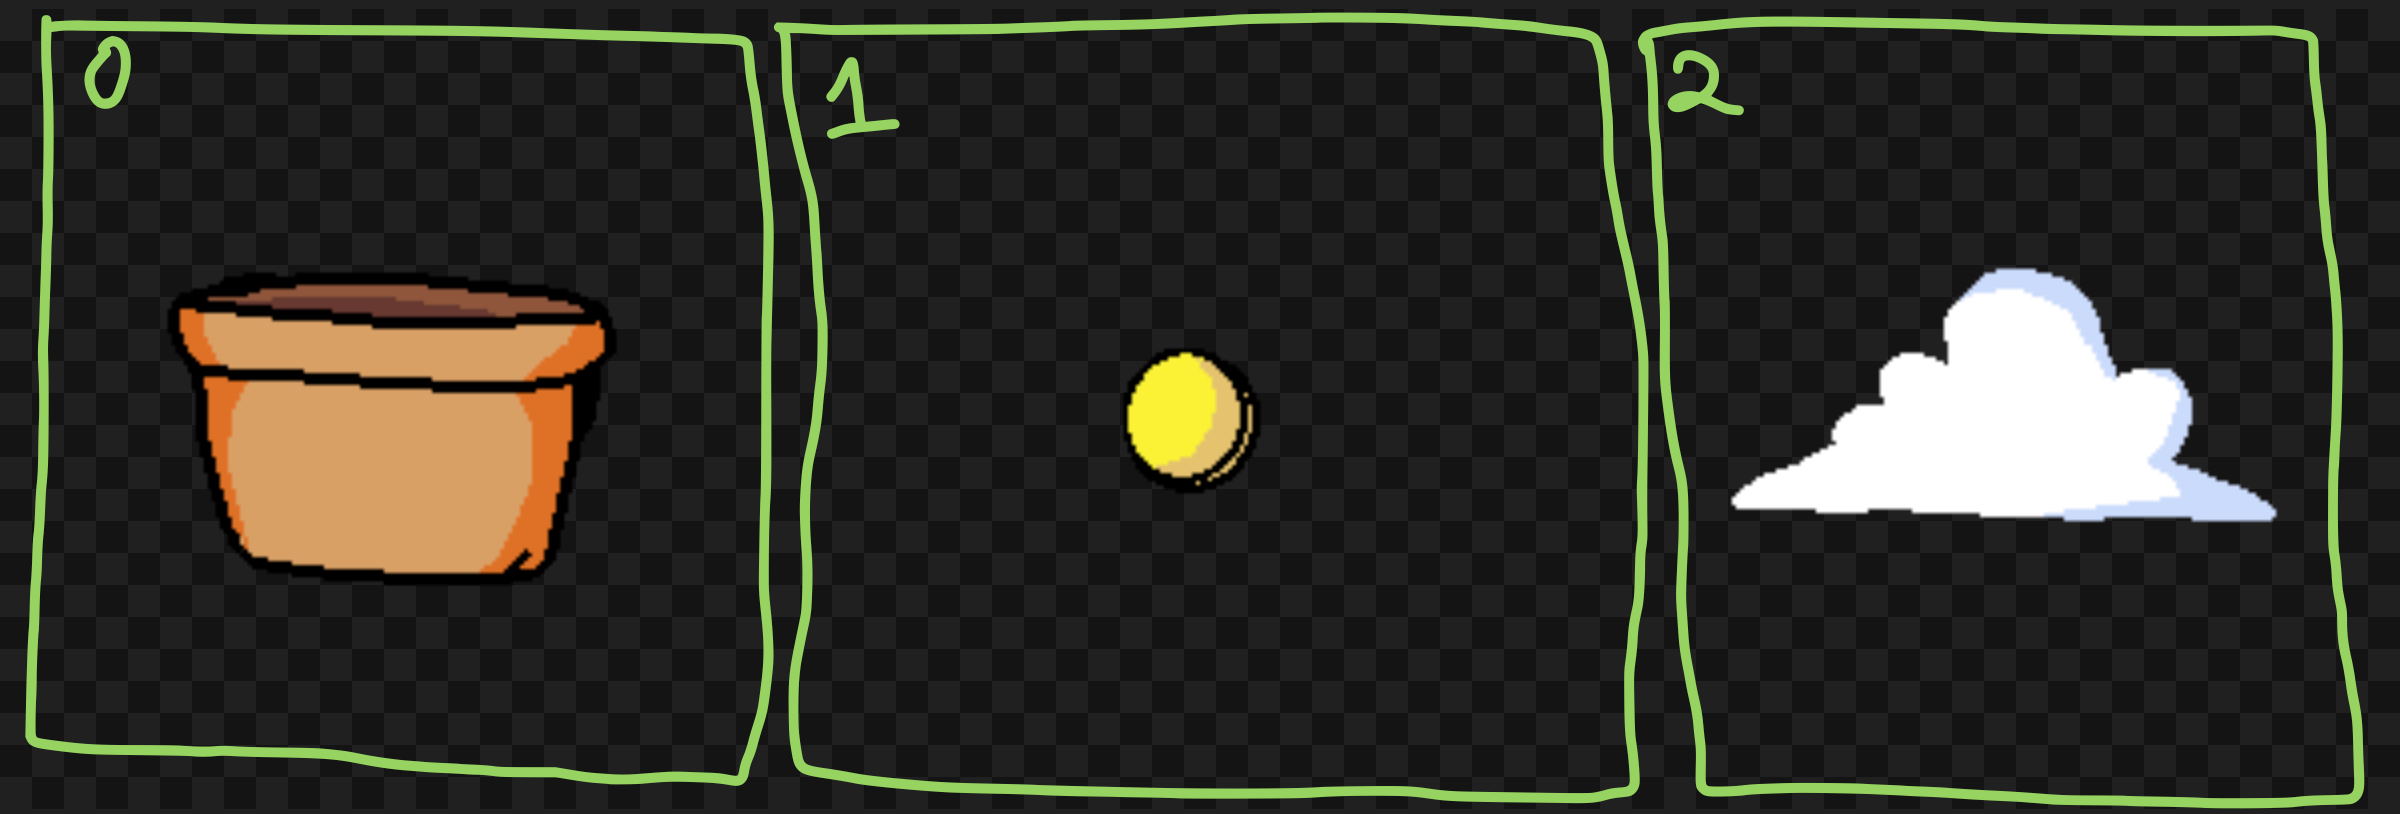
Considering that in our spritesheet we have three sprites placed in a row, the sliceX property should be set to 3. Since we have only one sprite per column (because we only have one column) sliceY should be set to 1.
To make the coins fall from the top, we’ll use KAPLAY’s physics system. You can set the gravity by calling KAPLAY’s setGravity function.
KAPLAY’s add function is used to create a game object by providing an array of components. These components are offered by KAPLAY and come with prebuilt functionality. The rect() component sets the graphics of the game object to be a rectangle with a width and height of 1000. On the other hand, the color component sets its color.
The basket is a also a game object with several different components. Here is what each does :
Sets the sprite used by the game object. The first param is for providing the name of the sprite we want to use. Since we’re using a spritesheet which contains three different sprites in the same image, we need to specify the frame to use. The basket sprite corresponds to frame 0.
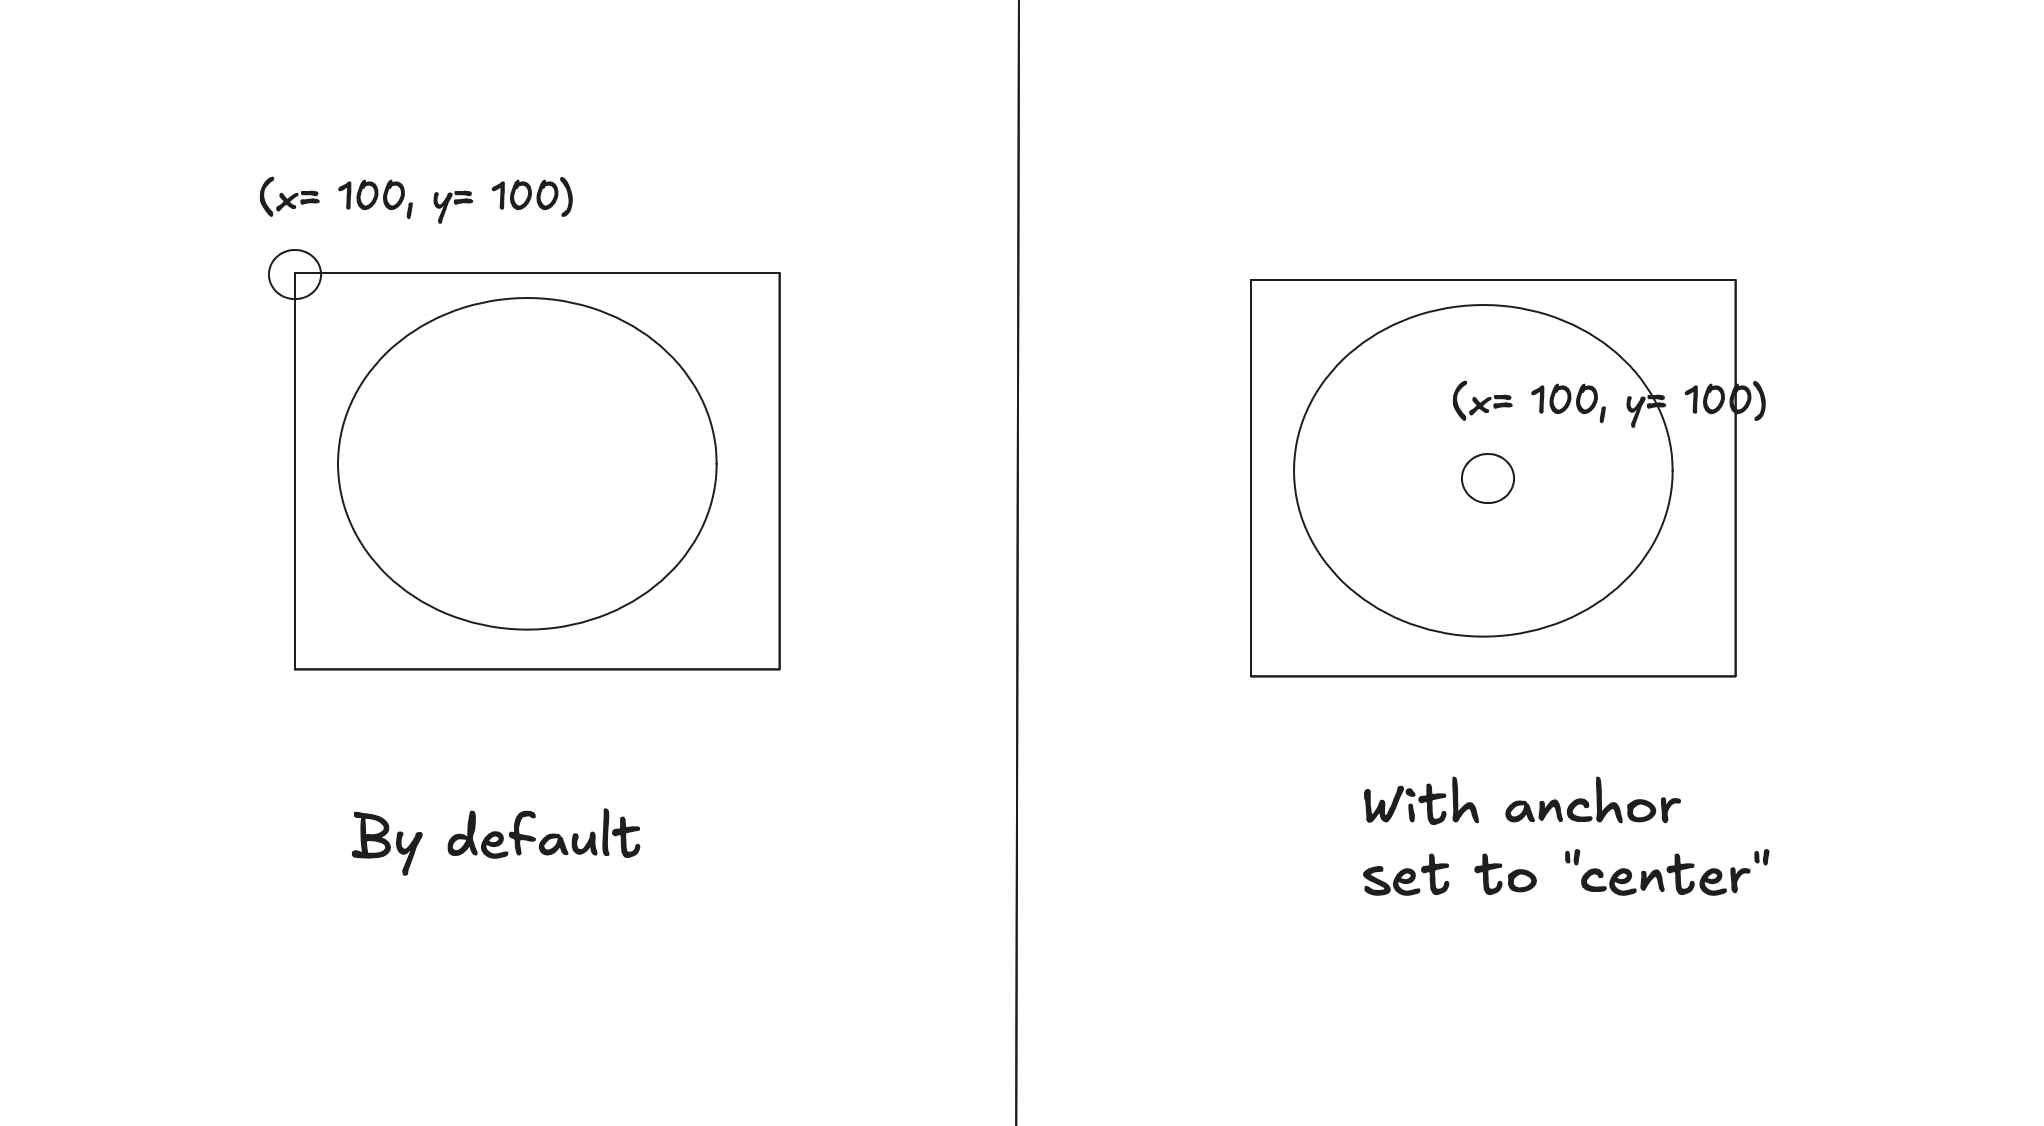
By default, game objects are positioned based on their top-left corner. However, I prefer having it centered. The anchor component is for this purpose.
This component is used to set the position of the game object on the canvas. Here we also use center() which is a KAPLAY provided function that provides the coordinates of the center of the canvas.
This component is used to set the hitbox of a game object. This will allow KAPLAY’s physics system to handle collisions for us. There is a debug mode you can access by pressing the f1 (fn+f1 on Mac) key which will make hitboxes visible.
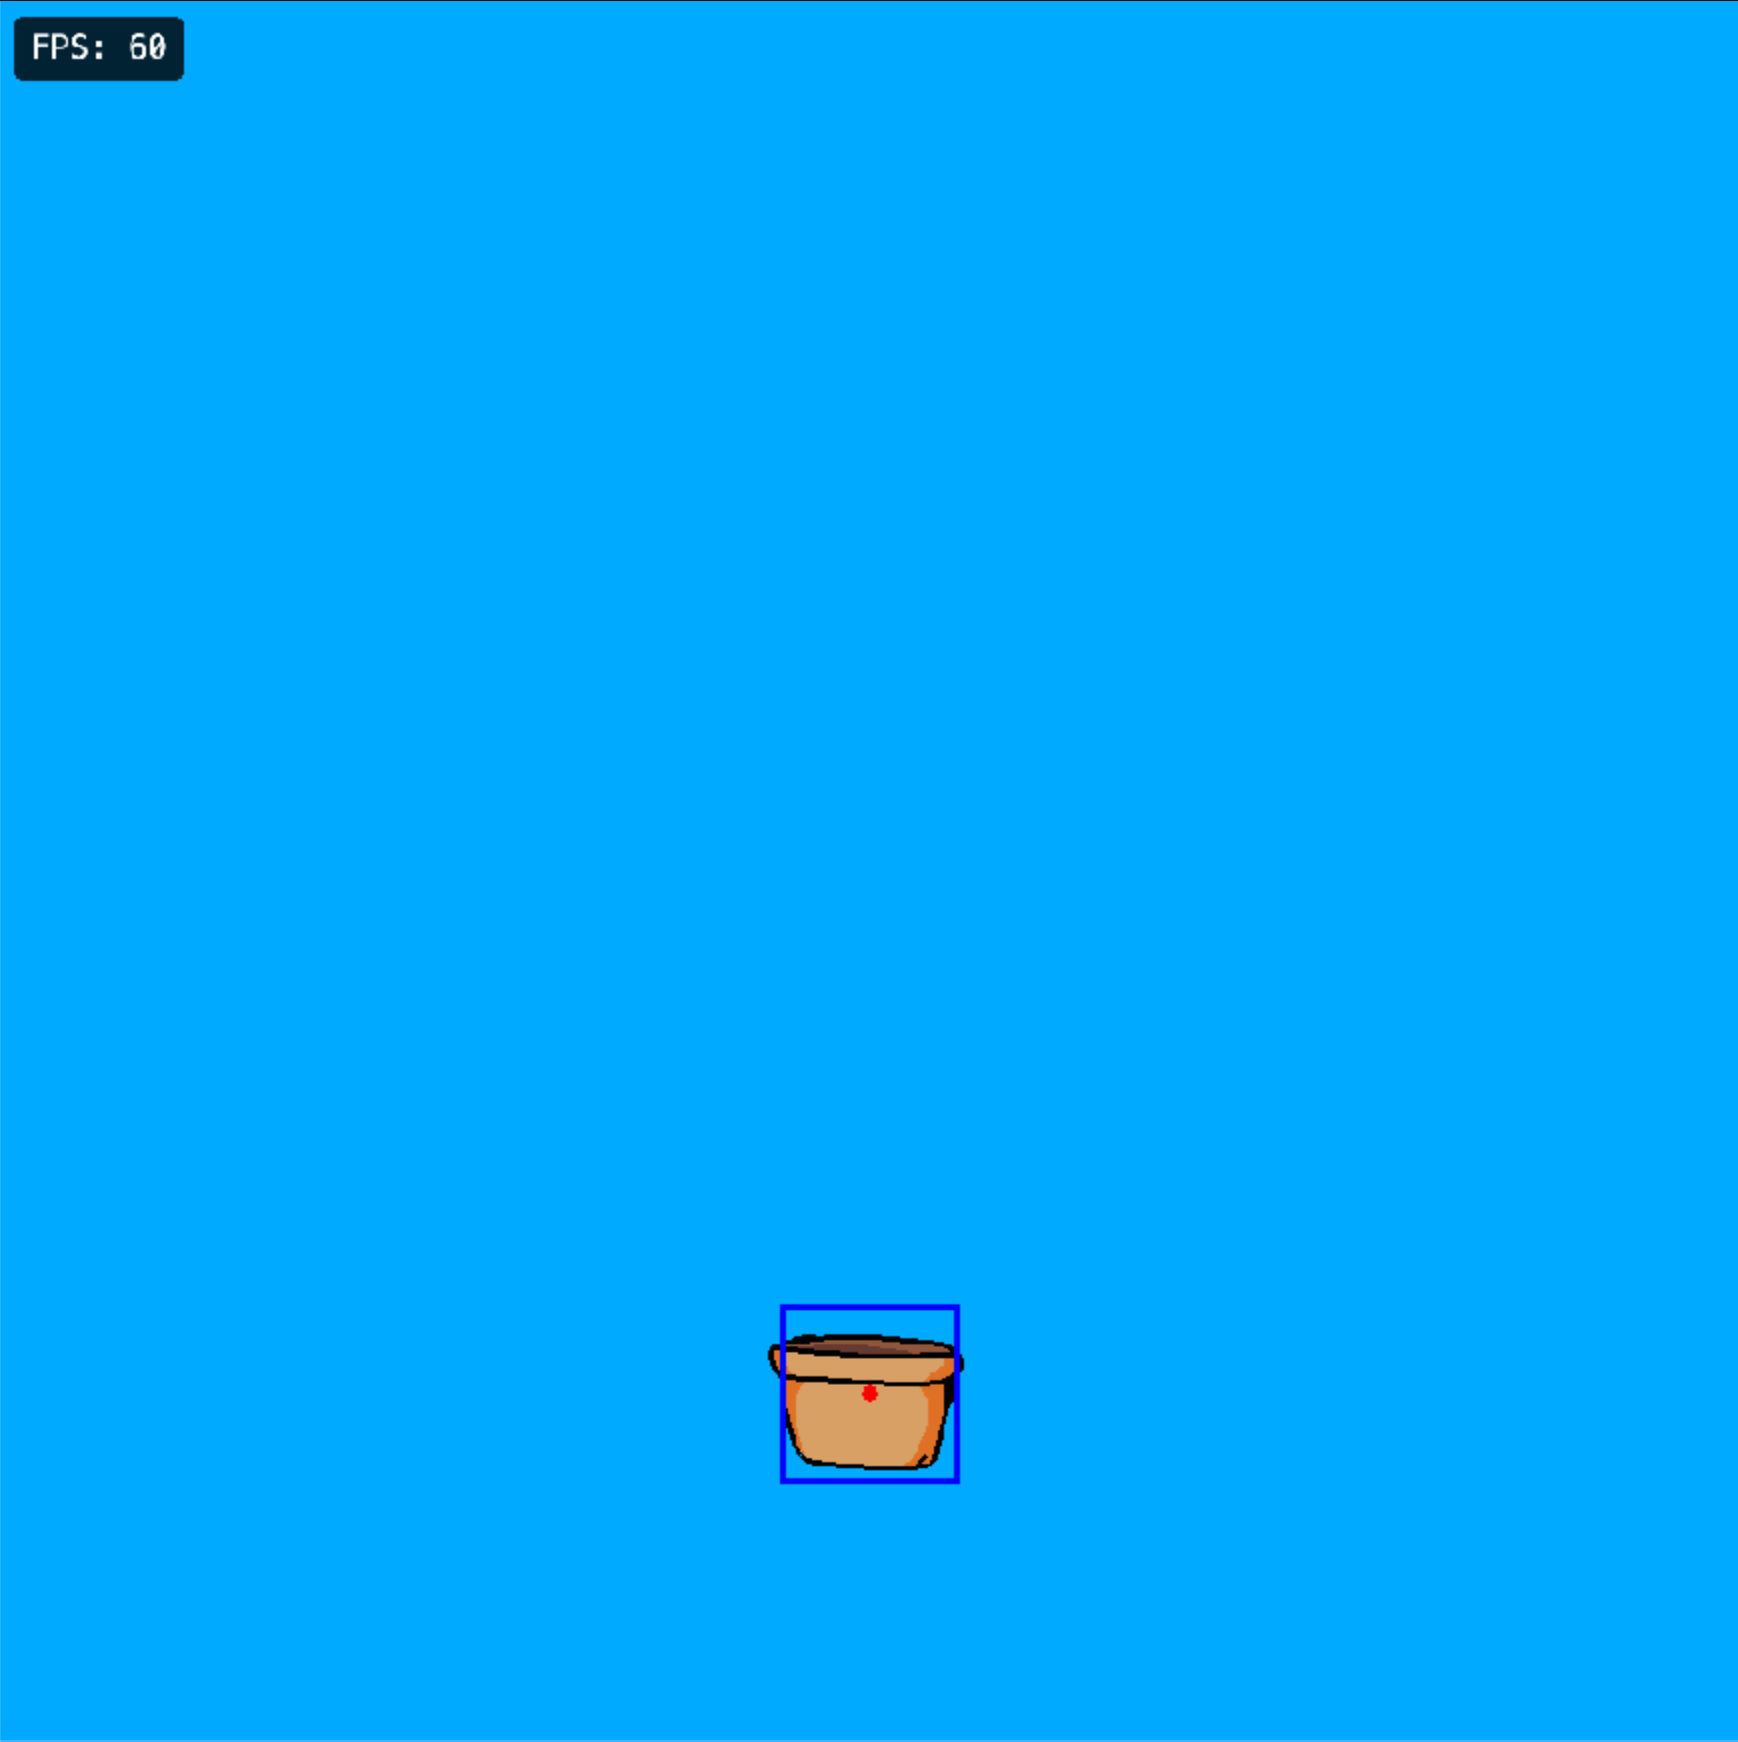
As for setting the shape of the hitbox, you can use the Rect class which takes 3 params. The first expects a vec2 (a data structure offered by KAPLAY used to set pair of values) describing where to place the hitbox relative to the game object. If set to 0, the hitbox will have the same position as the game object. The two params left are used to set its width and height.
Finally, the body component is used to make the game object susceptible to physics. If added alone, the game object will be affected by gravity. However, to prevent this, we can set the isStatic property to true. This is very useful, for example, in a platformer where platforms need to be static so they don’t fall off.
Here we can use the move method available on all game objects to make the basket move in the desired direction.
The loop function spawns a coin every second. We use the randi function to set a random X position between 10 and 950. The offscreen component is used to destroy the game object once it’s out of view. Finally a simple string “coin” is added alongside the array of components to tag the game object being created. This will allow us to determine which coin collided with the basket so we can destroy it and increase the score.
Text can be displayed by creating a game object with the text component. To know when a coin collides with the basket, we can use its onCollide method (available by default). The first param of that method is the tag of the game object you want to check collisions with.
Since we have multiple coins using the “coin” tag, the specific coin currently colliding with the basket will be passed as a param to the collision handler. Now we can destroy the coin, increase the score and display the new score.
As mentioned earlier, KAPLAY does not have a map making tool. However, it does offer the ability to create maps using arrays of strings. For anything more complex, you should check out Tiled which is also open source and made for that purpose.
Where we place the # character in the string array determines where clouds will be placed in the game.
Publishing a KAPLAY game is very simple. You compress your folder into a .zip archive and you upload it to itch.io or any other site you wish to. The game will be playable in the browser without players needing to download it.
Now, what if you’d like to make it downloadable as well? A very simple tool you can use is GemShell. It allows you to make executables for Windows/Mac/Linux in what amounts to a click.
You can use the lite version for free. If you plan on upgrading, you can use my link to get 15% off your purchase. To be transparent, this is an affliate link. If you end purchasing the tool using my link, I’ll get a cut of that sale.
I just scratched the surface with KAPLAY today. I hope it gave you a good idea of what it’s like to make games with it.
If you’re interested in more technical articles like this one, I recommend subscribing to not miss out on future publications.
In the meantime, you can check out the following :
No posts
Comments
Nothing yet. Say the first thing.
Sign in to join the conversation.