
This is the 30th installment of my series of build projects. Catch up on the series here.
This post is positively infested with images. If your email provider truncates it, read the original at http://www.jdanielsawyer.substack.com.
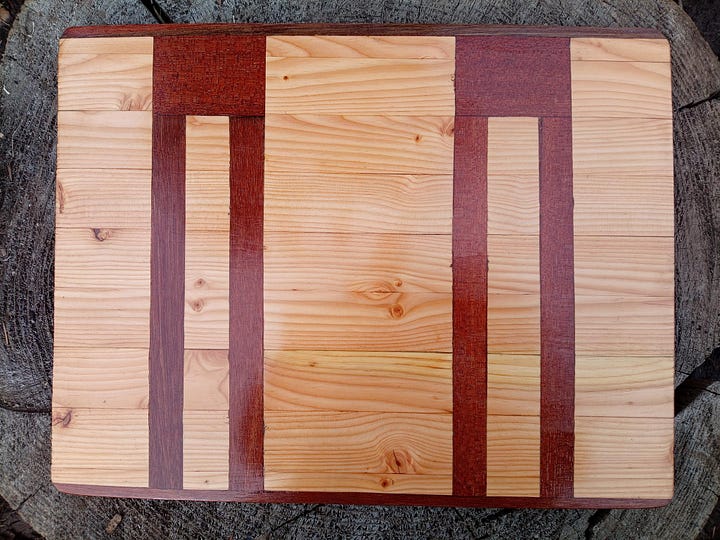
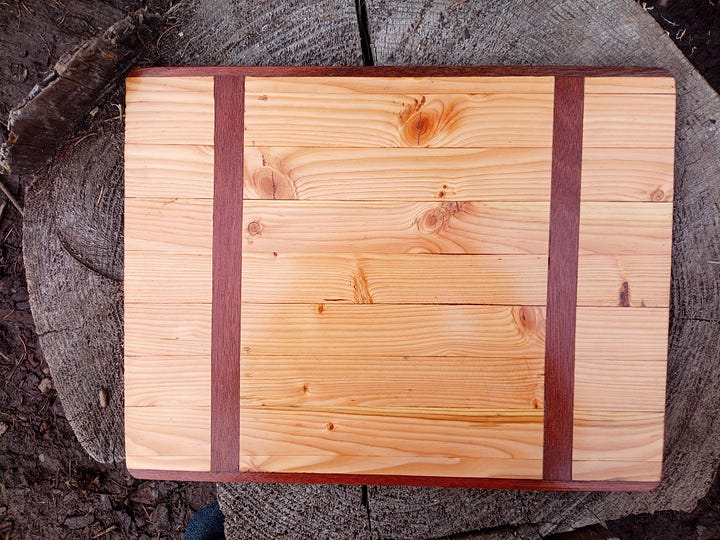
This is a drawing board. Artists across the country carry them in their backpacks or keep them in their living rooms, tape fancy paper to them, and draw their masterpieces. It’s a portable hard surface shot through with elegance (and mahogany inlay).
I developed them last year at the request of a friend and have had them for sale since then. I’ve made a few here and there, at a leisurely pace, and all was well.
All was well until, that is, I got a request for a drawing board that wasn’t just big, it was big enough to serve as a charcuterie board for Polyphemus.

The board was so big it surpassed my ability to properly cut the channels for the inlay. Every time I got close, I’d have a slip of the hand because my body was overextended. I wound up with a lot of this kind of thing:
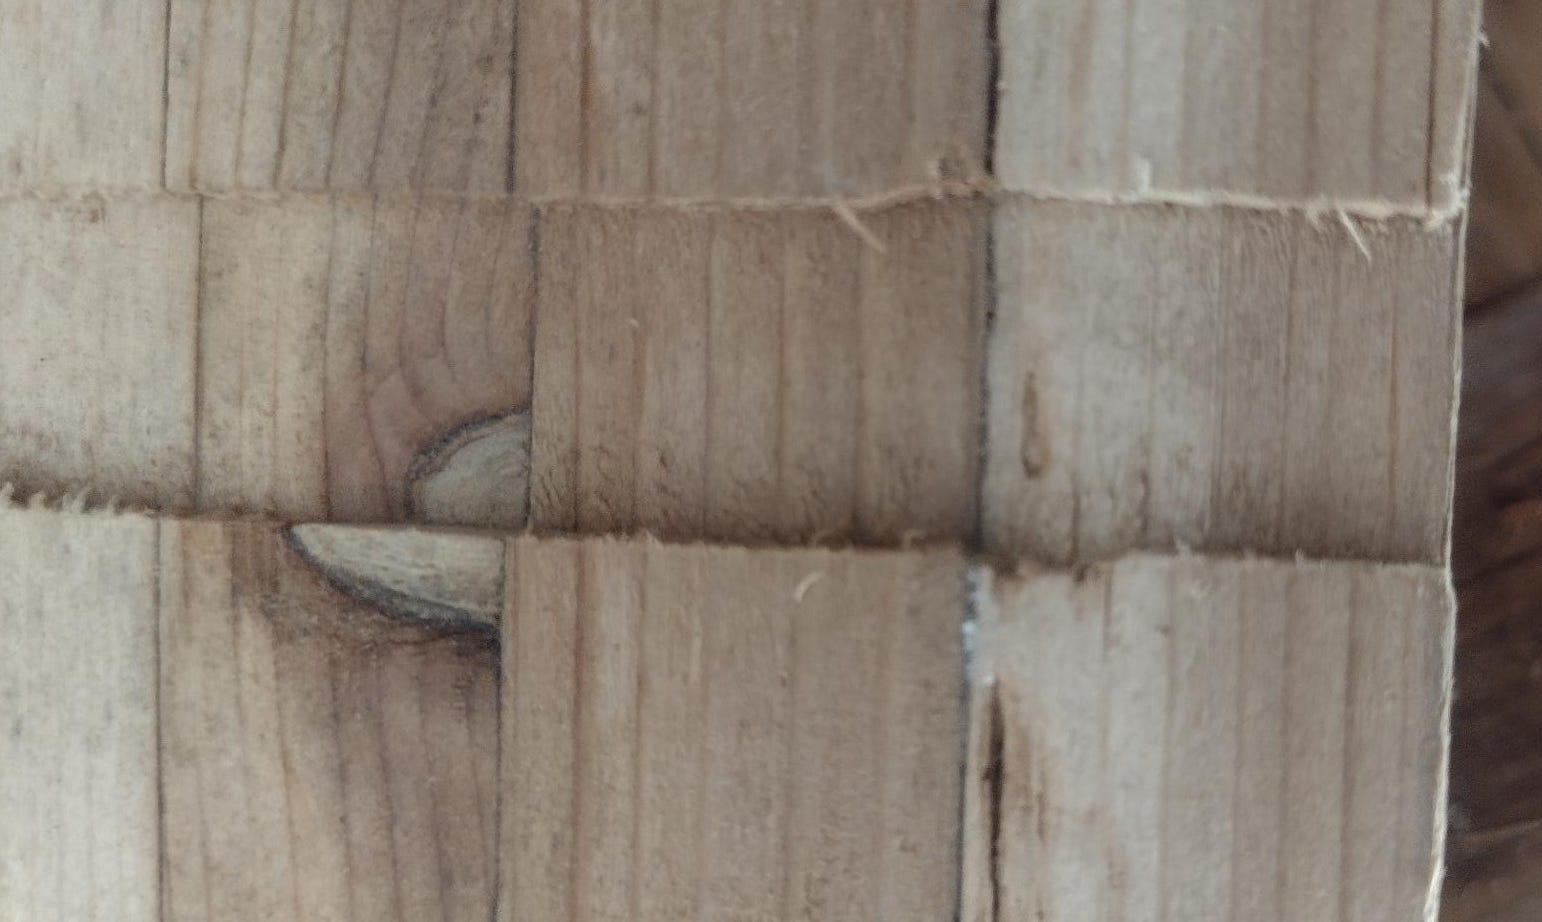
Or I’d try grooving multiple smaller panels and glue them up, only to wind up with problems like this:
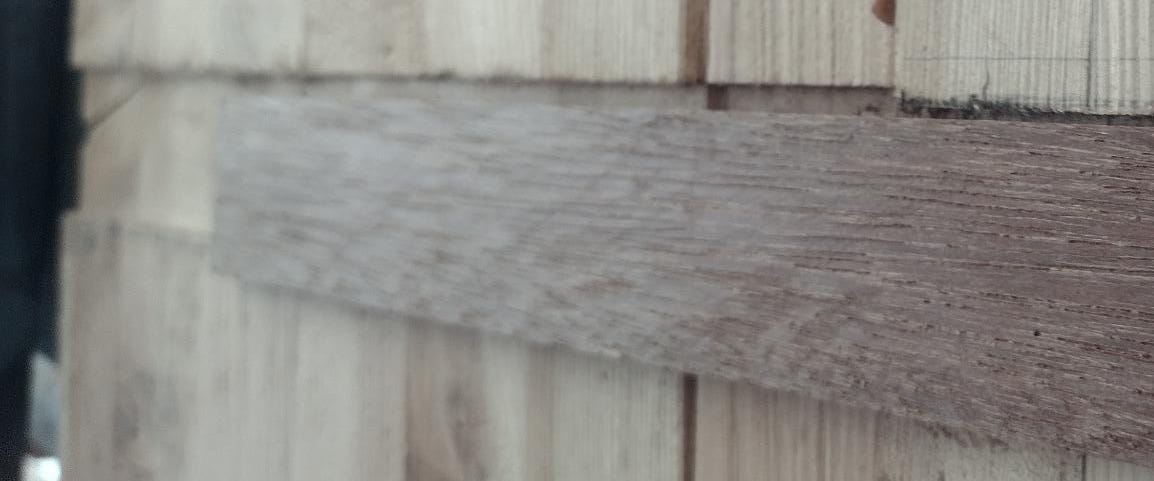
After several go-rounds of this kind of nonsense, I switched back to a smaller board, and I had no problem. It wasn’t my clumsiness, and it wasn’t the tools, it was an ergonomics problem, pure and simple.
So I sat down on a bar stool in the heat of the summer sweat season and smoked a pipe like a good hobbit, and I studied the workbench.
If I was having troubles with hyper-extension, it wouldn’t do just to make a smaller bench—the size of the board I was trying to make would continue to pose a problem.
Perhaps the height was an issue? I tend to build my benches on the tall side so that I don’t get a back ache bending over them. Perhaps I needed a lower bench so that I would be able to reach across it more easily?
I tried out a shorter makeshift bench with a couple sawhorses and a board.
Yes. Definitely. With the lower bench I could steadily reach much farther than I needed to for the humongous board that was giving me problems.
So, I was going to build a shorter bench—two or three inches shorter should do. I’m short on space, so I’d have to demolish an old bench. Therefore I might as well solve a bunch of other bench-related pet peeves and build something that would be a lot more versatile.
The old bench is a box frame with some plywood laid on top of it. It’s simple, flat enough, and level enough for the kind of work I was doing up until about seven months ago, when I started doing much fancier work (the upgraded drawing boards that you see above, the box for Typhon, and other such things).
What those more exacting projects taught me is that I need a serious upgrade in my clamping versatility. Work pieces, it seems, behave themselves a lot better when you can hold them down properly, and my simple slab-and-frame bench didn’t have many good places to secure clamps. I wanted something that let me clamp anywhere, that helped me get reliable 90-degree corners without fuss, and that would allow me to readily reposition my project so that I could maintain good ergonomics while working in my tiny 120sqft shop.
Based on those requirements, I decided to build a thick block table, thick enough that I could drill holes through it for clamps. I’ve also started making more use of hand tools for fine woodworking (since the power tools tend to be less forgiving and deliver worse results on the small fiddly details), so I wanted a nice heavy table that would resist jostling even if I was putting my whole weight behind a hand plane.
Since money’s tight (you can help out—subscribe at the button below!) the build would need to be basically free. And since my truck currently needs a new timing cover I couldn’t be going to the local lumber yard for supplies anyway. I’d have to make this one entirely out of materials on hand.
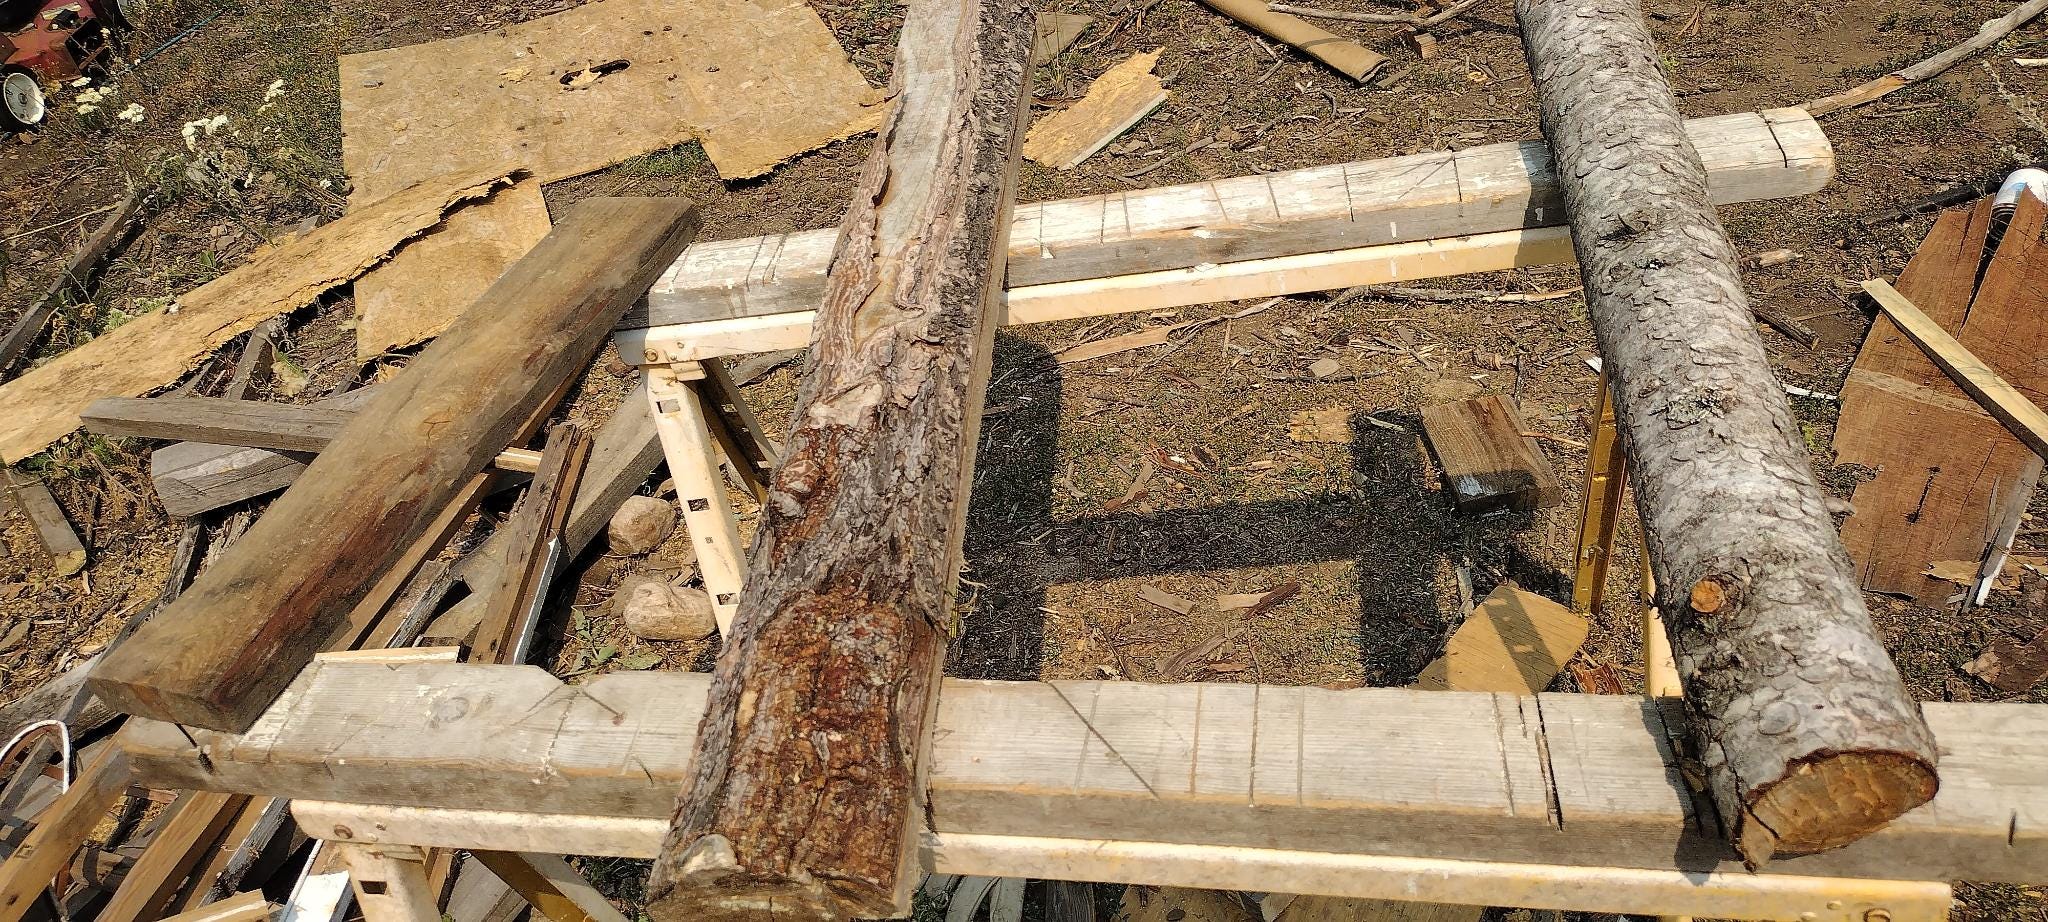
A quick shuffle through my wood scraps and mill-ends gave me this motley collection of mangled tree-corpses.
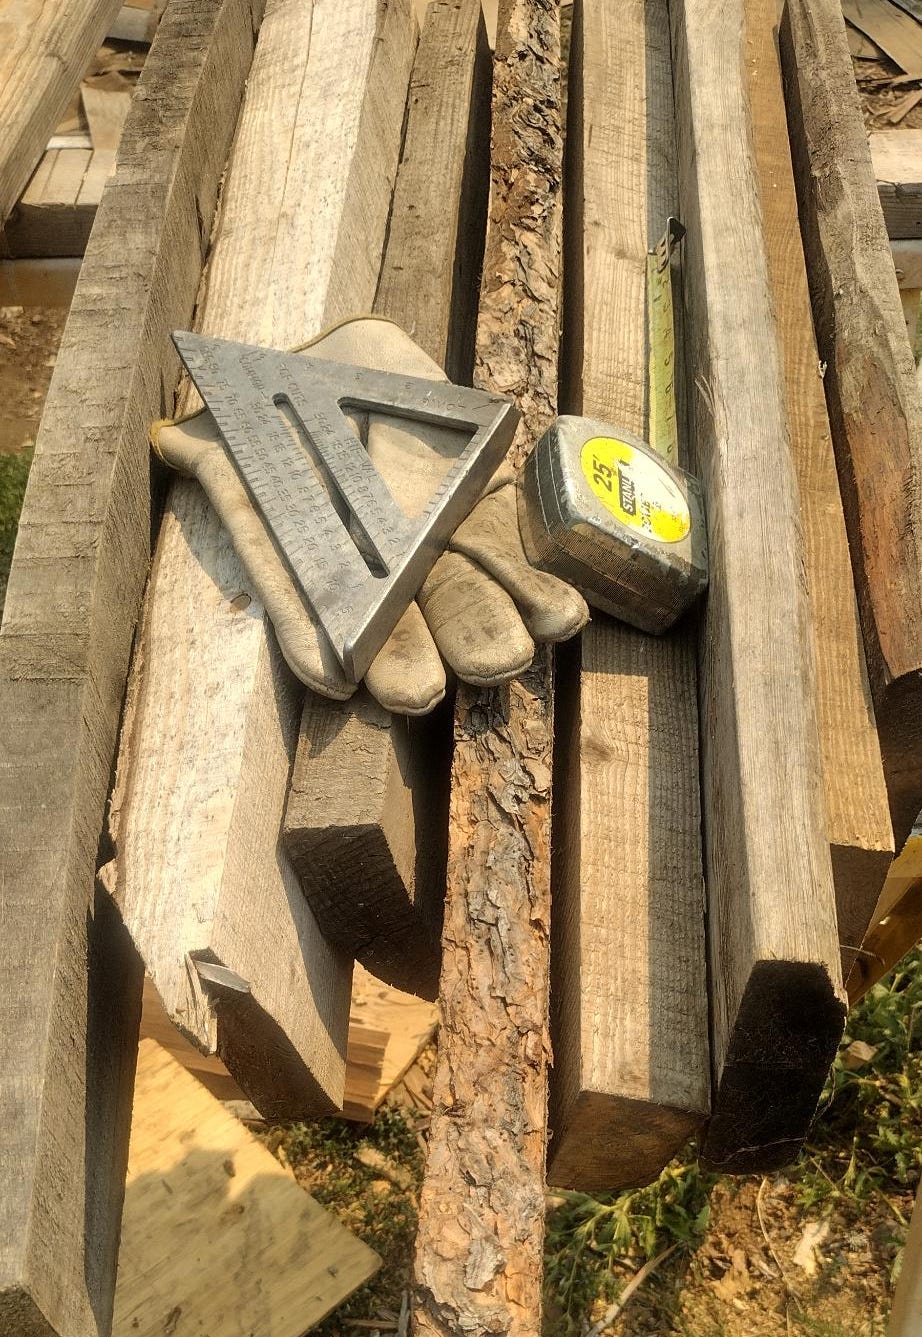
I decided on a work surface of 24” wide by 29” long. That pile, containing as it did a couple longish pieces that I could bisect and double-up, would give me just enough material do do the job once I got everything cut to size and shaved to smooth.
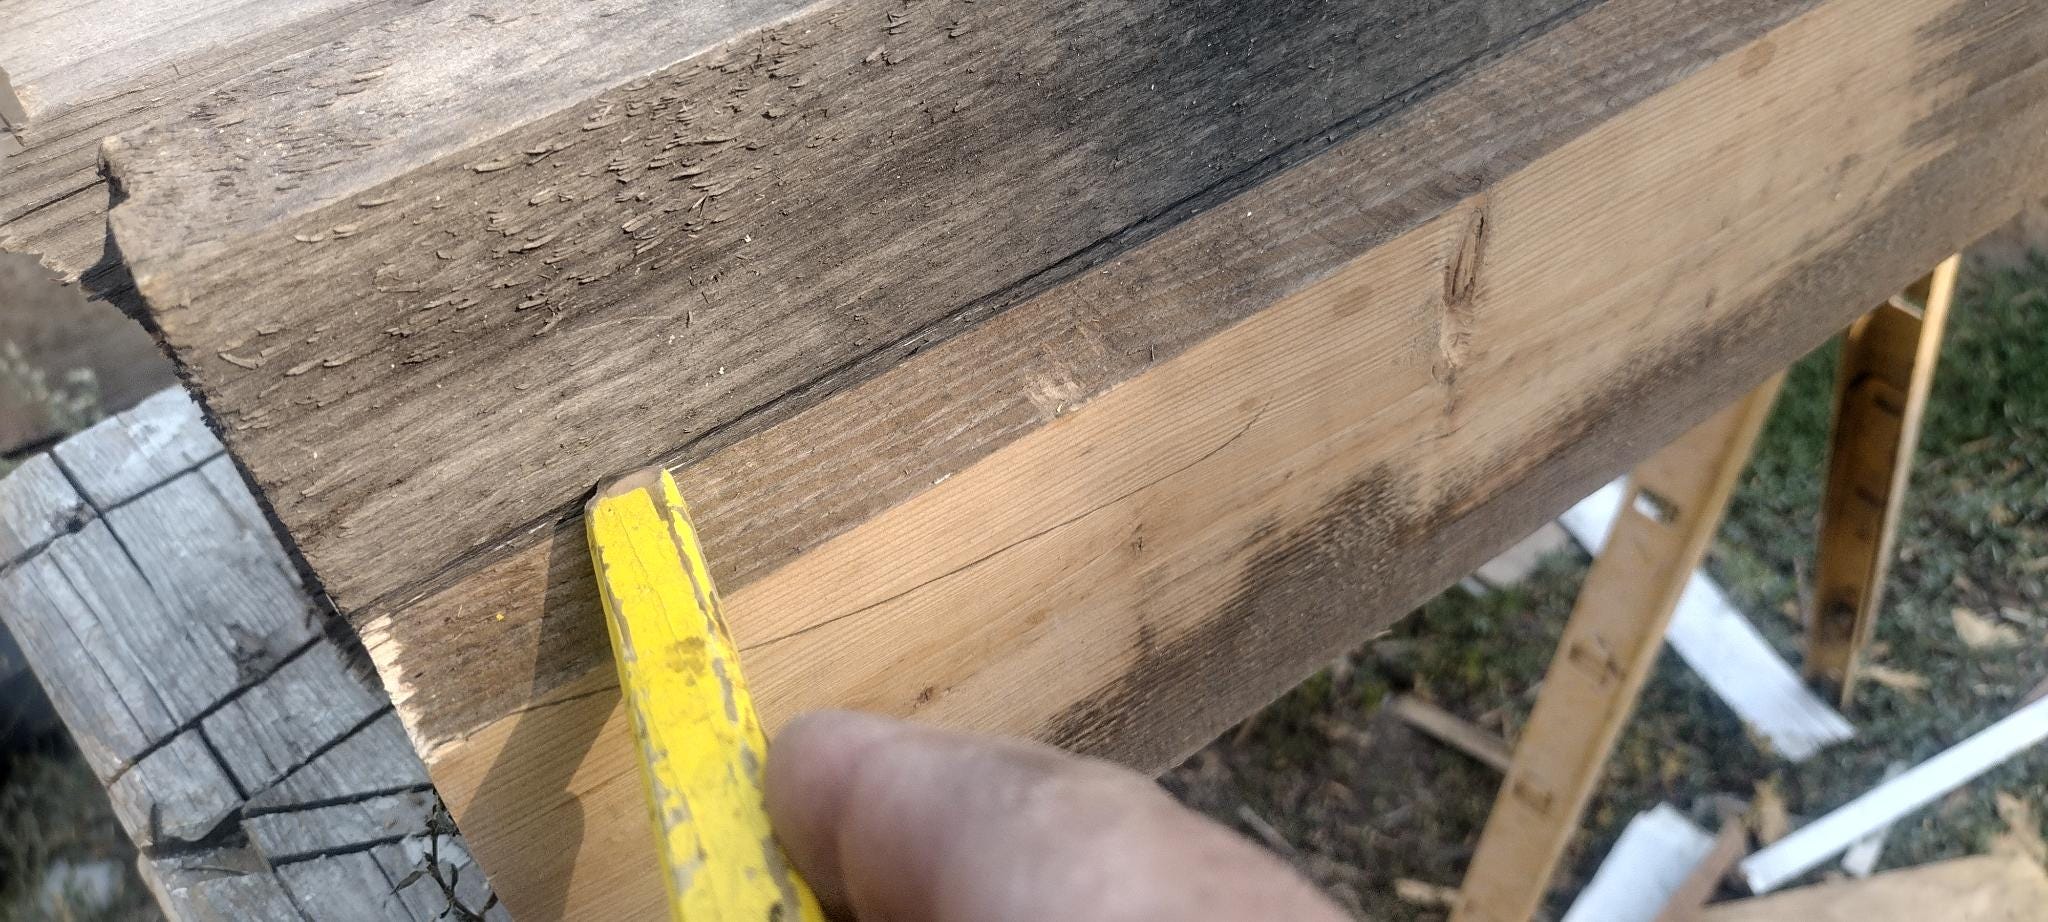
I set about measuring, marking, and cutting the boards…
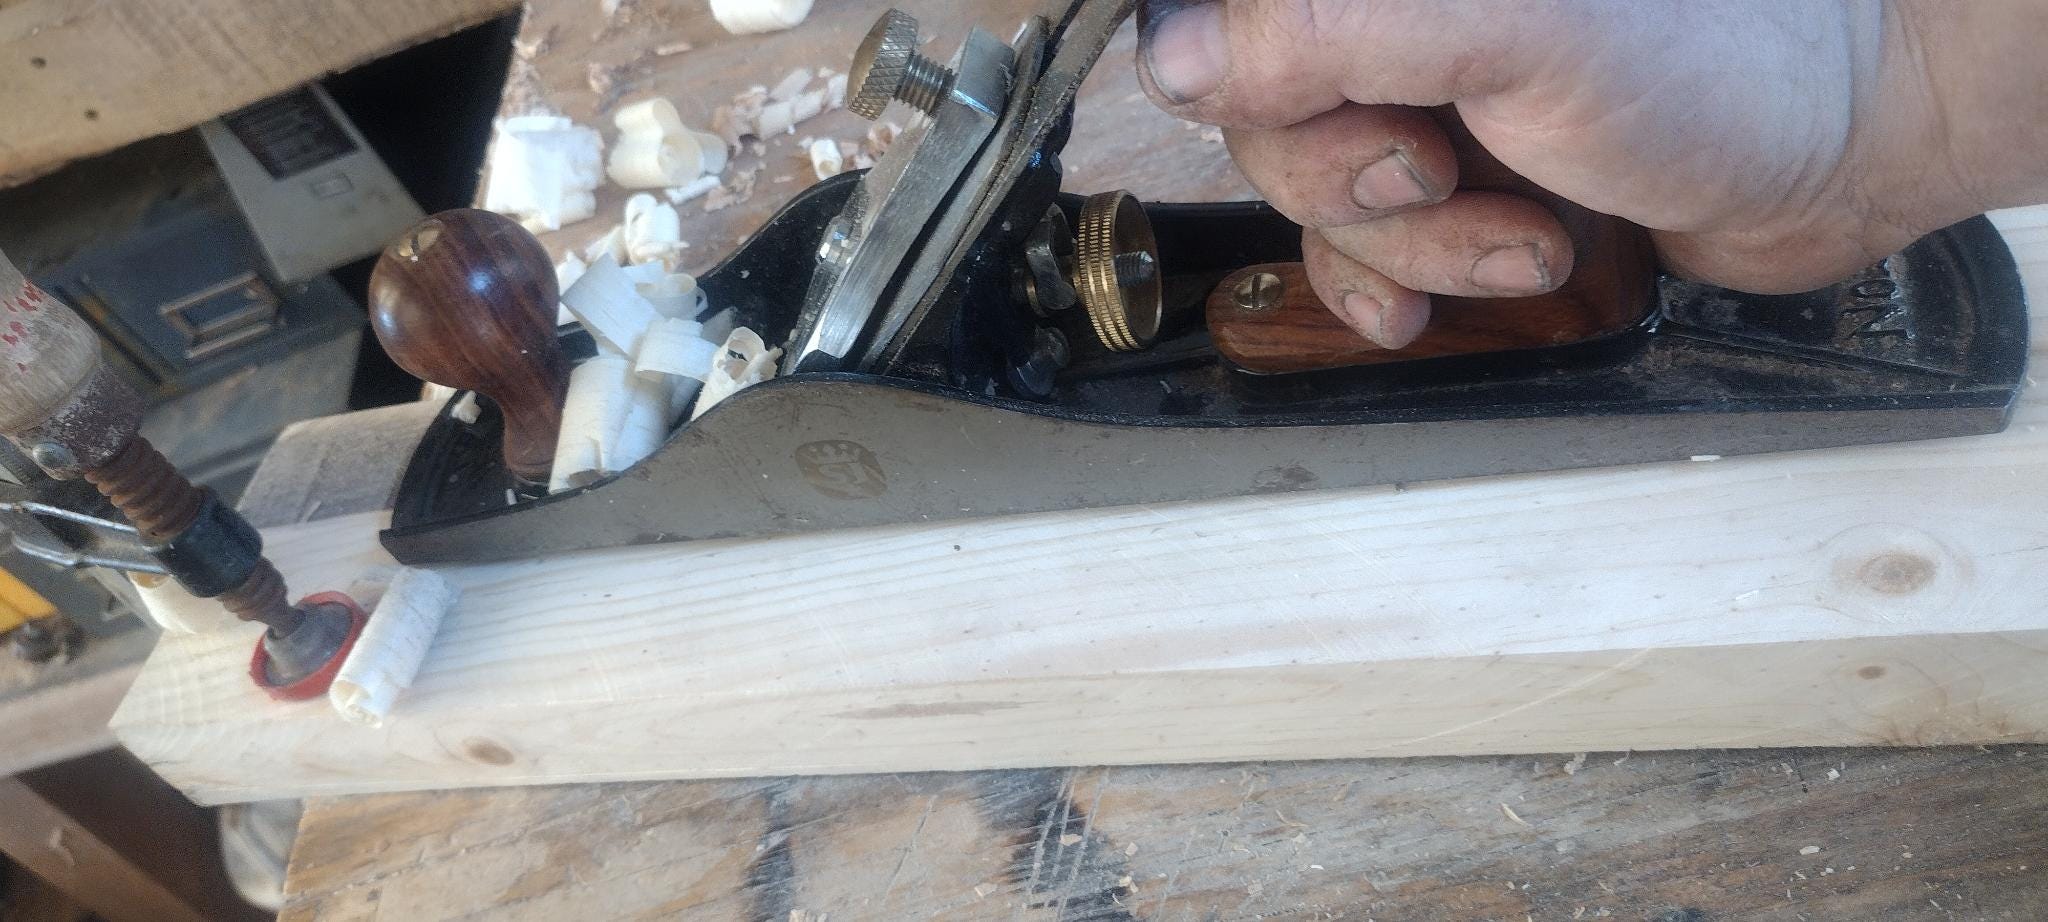
Then I took each of them, one at a time, to the existing bench and flattened them with the hand plane. In 95 degree weather, this turned out to be a hell of a job. Good exercise, though.
Prepping old boards yields delightful surprises, like the gorgeous coloring and figure that was hiding beneath the oxidized gray surface of this piece of spalted knotty Ponderosa:
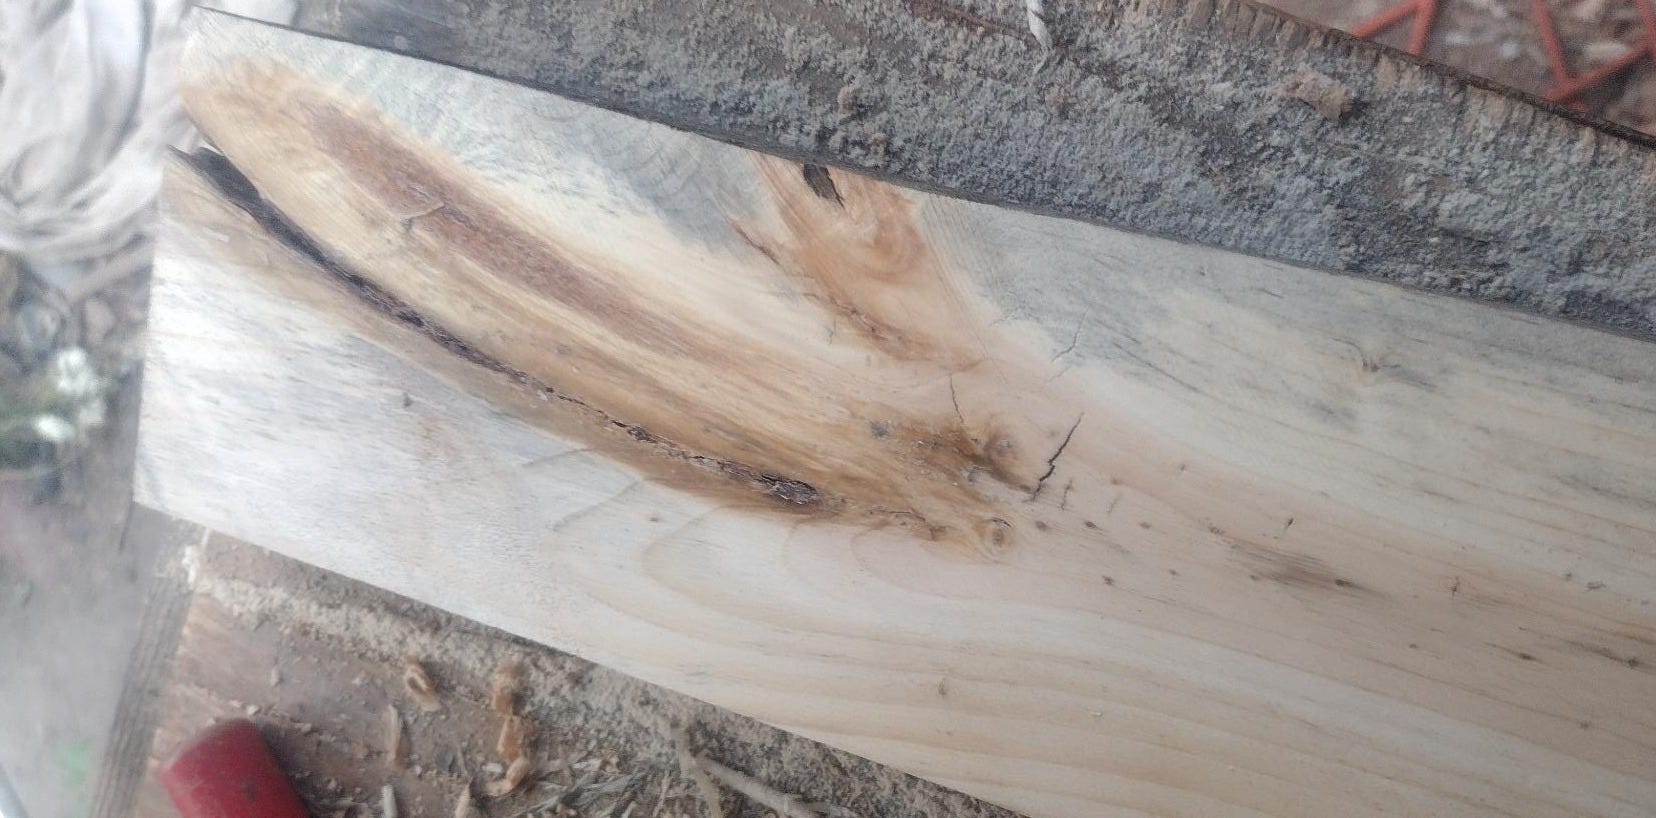
One of the great pleasures of building your own tools is the discovery of unexpected opportunities to add new touches of beauty to your world. As I planed, and planed, and planed, and planed, and started to get an idea of what my bench would look like, I found my giddiness growing like it used to in the run-up to Christmas morning.
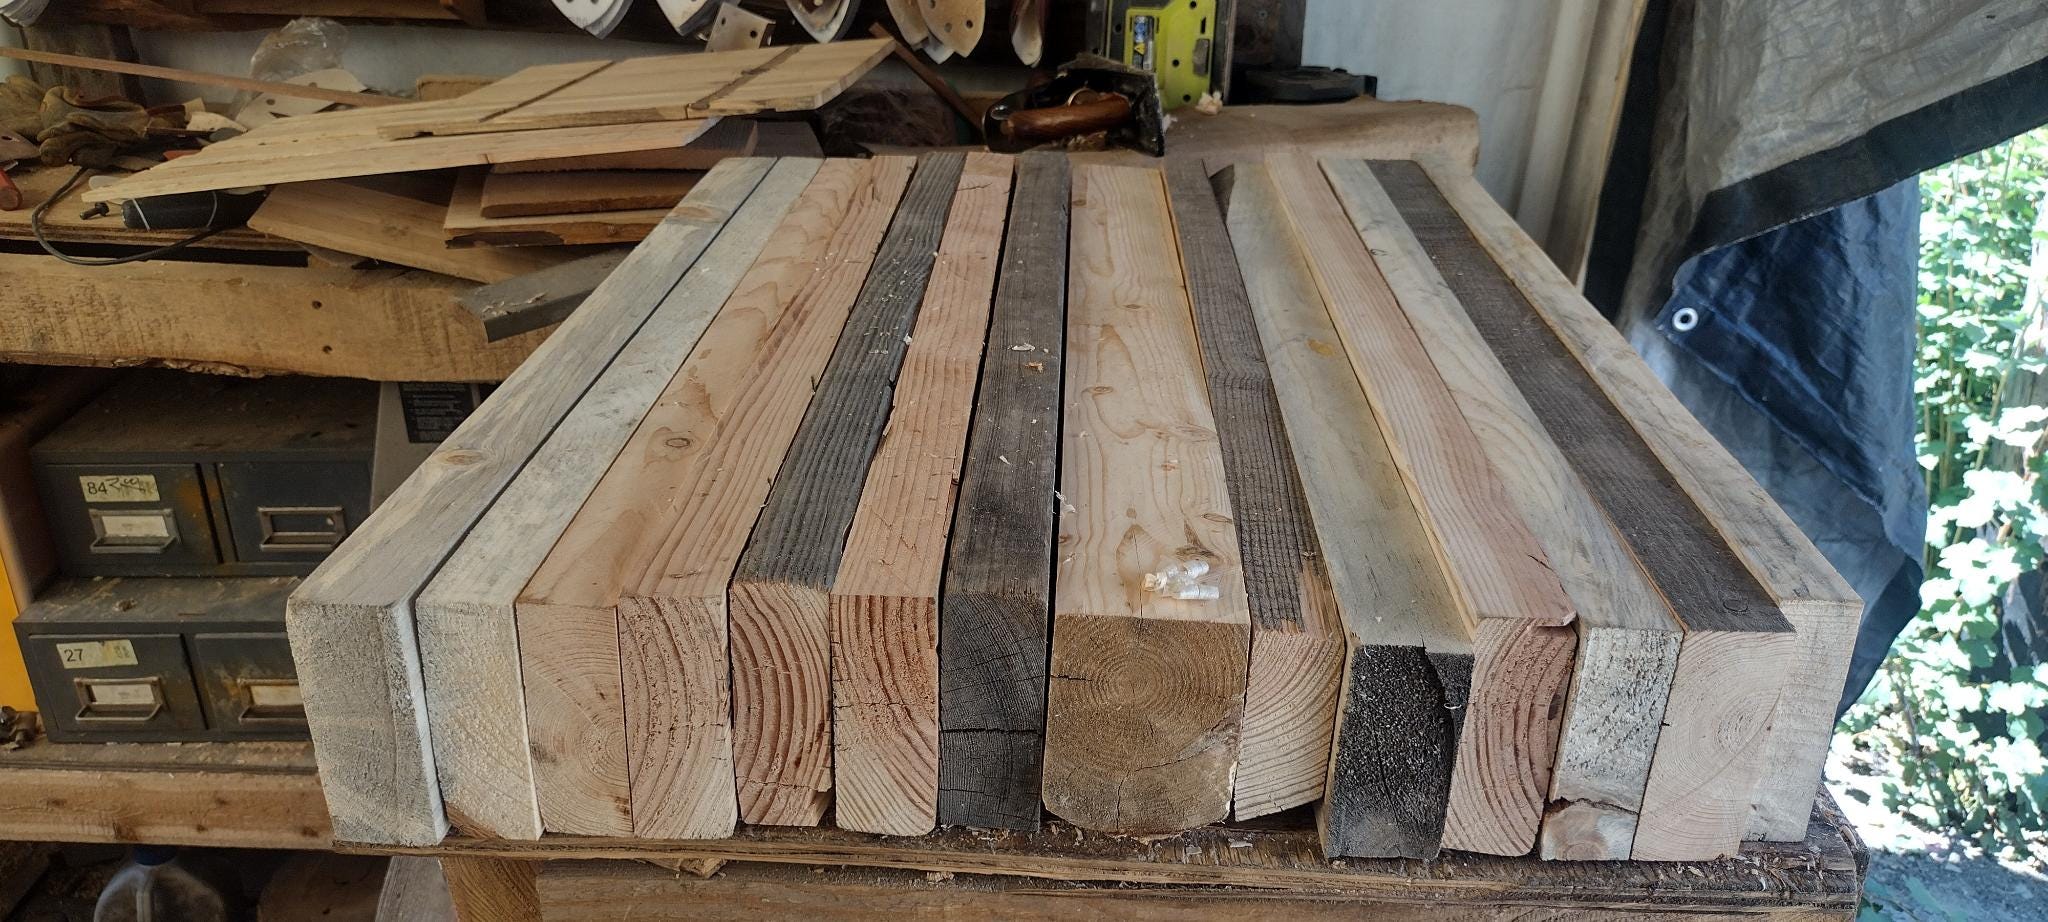
Several hours and approximately fifteen gallons of iced-tea later, I had my boards flat and even on three sides. The underside didn’t matter, so I didn’t bother with it, and I didn’t bother with the top yet in case the boards shifted up or down during the glue up.
Good thing, too, because they did, in fact, shift a bit.
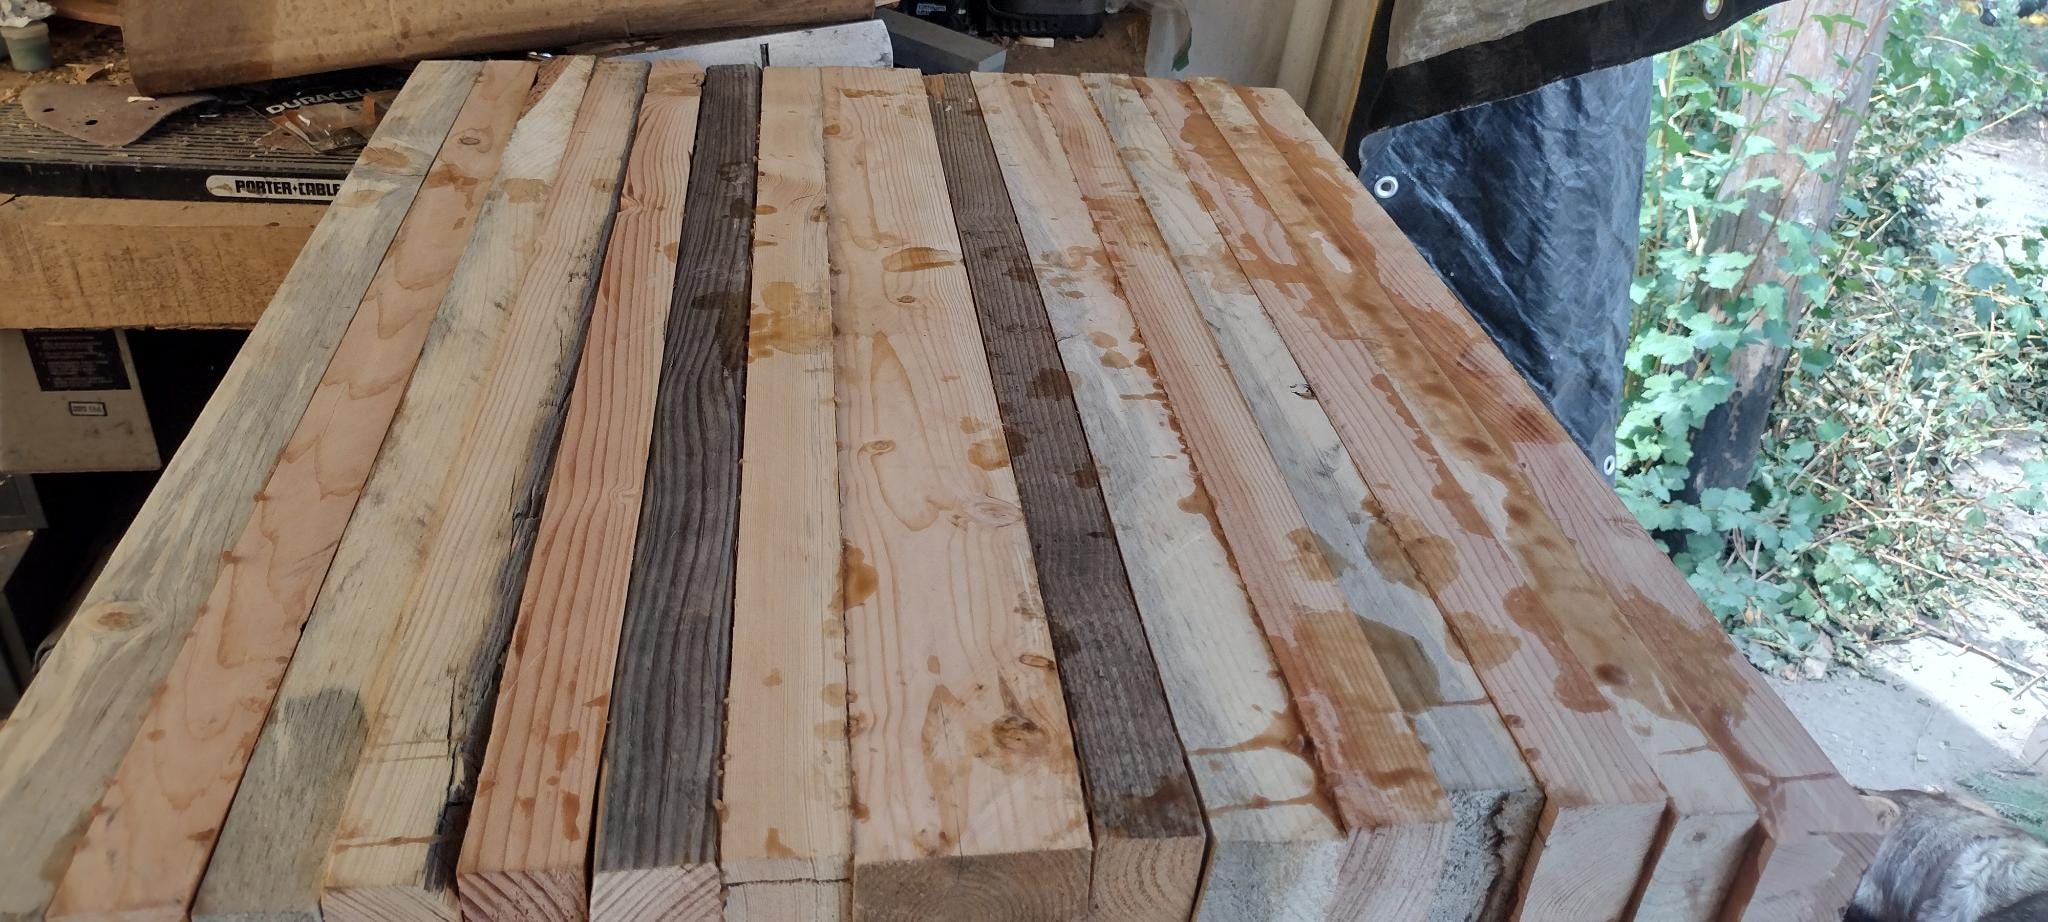
The next morning, after the glue had set well, I surveyed my work and planned my next steps. The top of any workbench needs to be fairly flat, and the top of a workbench for fine woodworking needs to be as close to machine-flat as possible (within about 20 thousandths of an inch between the peaks and valleys).
Flat was the one thing this glued-up block was not.
So I set-to with the jack plane.
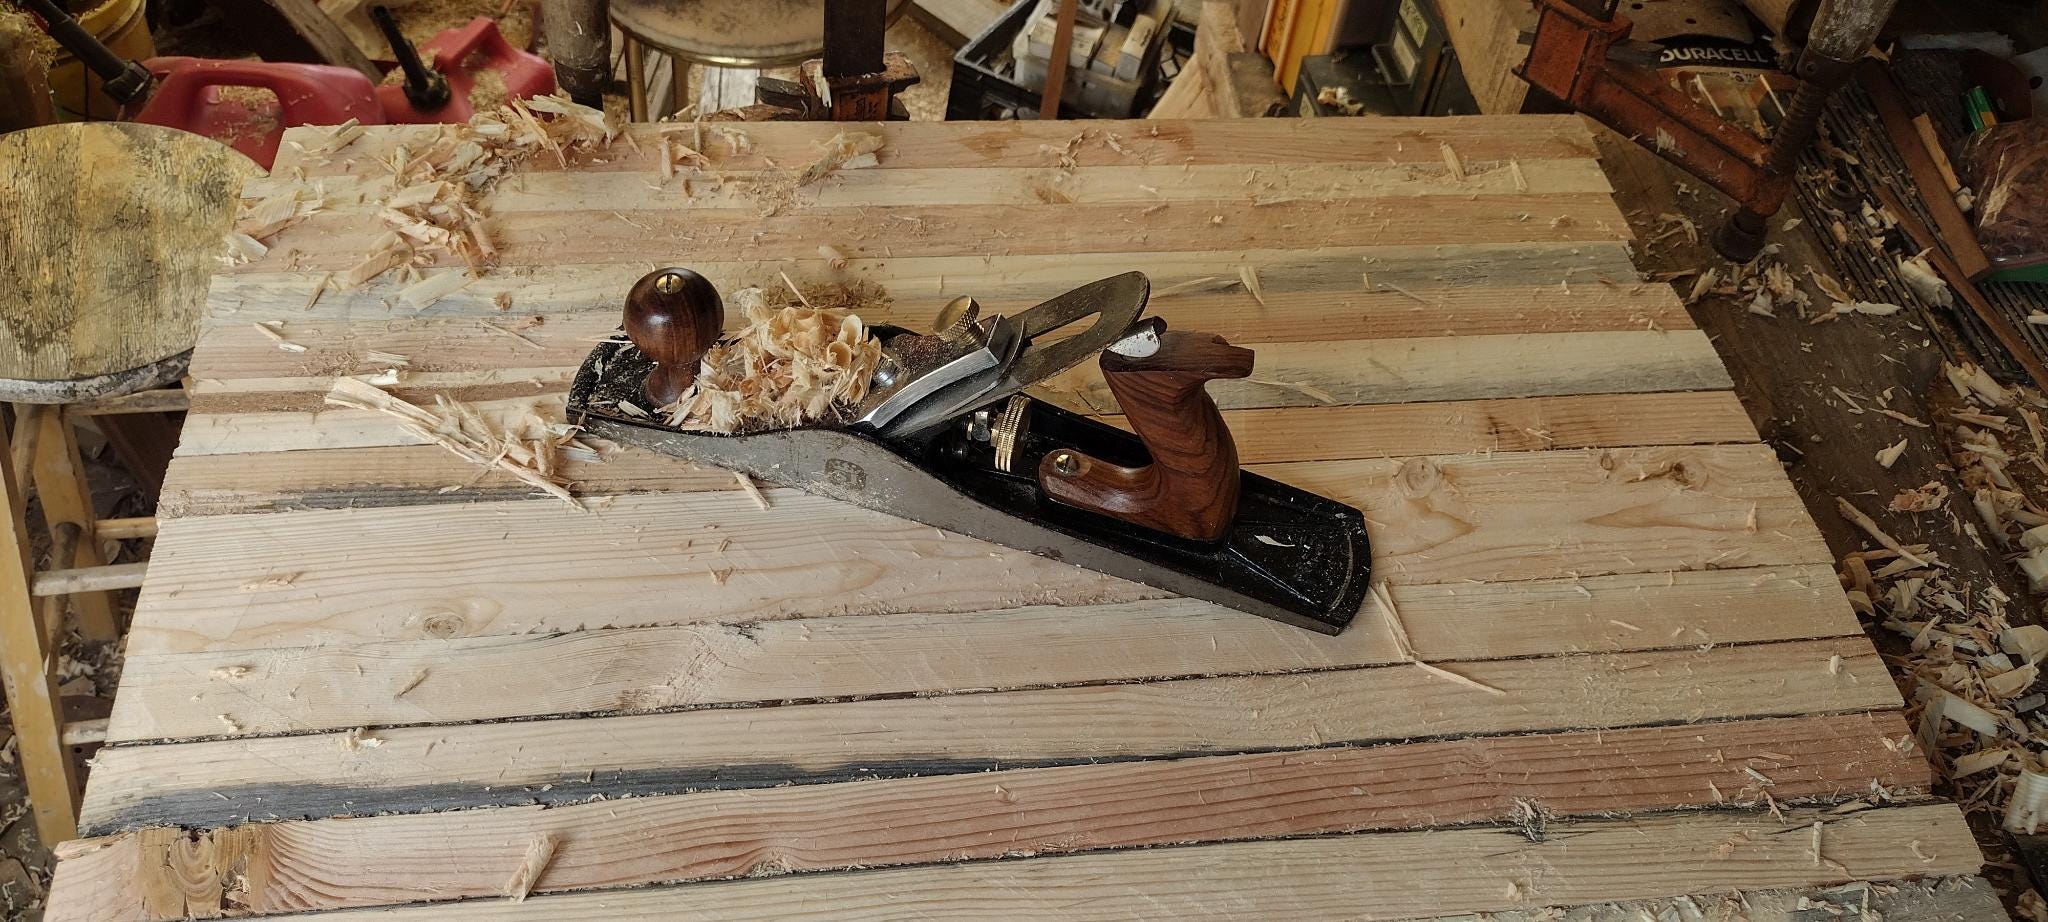
When flattening a board (or butcher-block), it works best if you vary your stroke direction. First, plane along the grain in overlapping swaths, as if you’re mowing a lawn. Then, do the same thing working across the grain. Then, go diagonally to the grain along a 45 degree angle from the right, then again in a 45 degree angle from the left. By alternating strokes like this, you even out any errors that you may make by digging too deep from any particular direction. This process is called “scrubbing,” and you usually do it with a scrub plane (which takes fairly thick shavings), but since I don’t have a scrub plane yet, I had to make do with the jack plane (which takes paper-thin shavings).
After I scrubbed everything down to “pretty flat” I grabbed a level and used it as a reference edge so I could see how far I had to go, and where my high spots were.
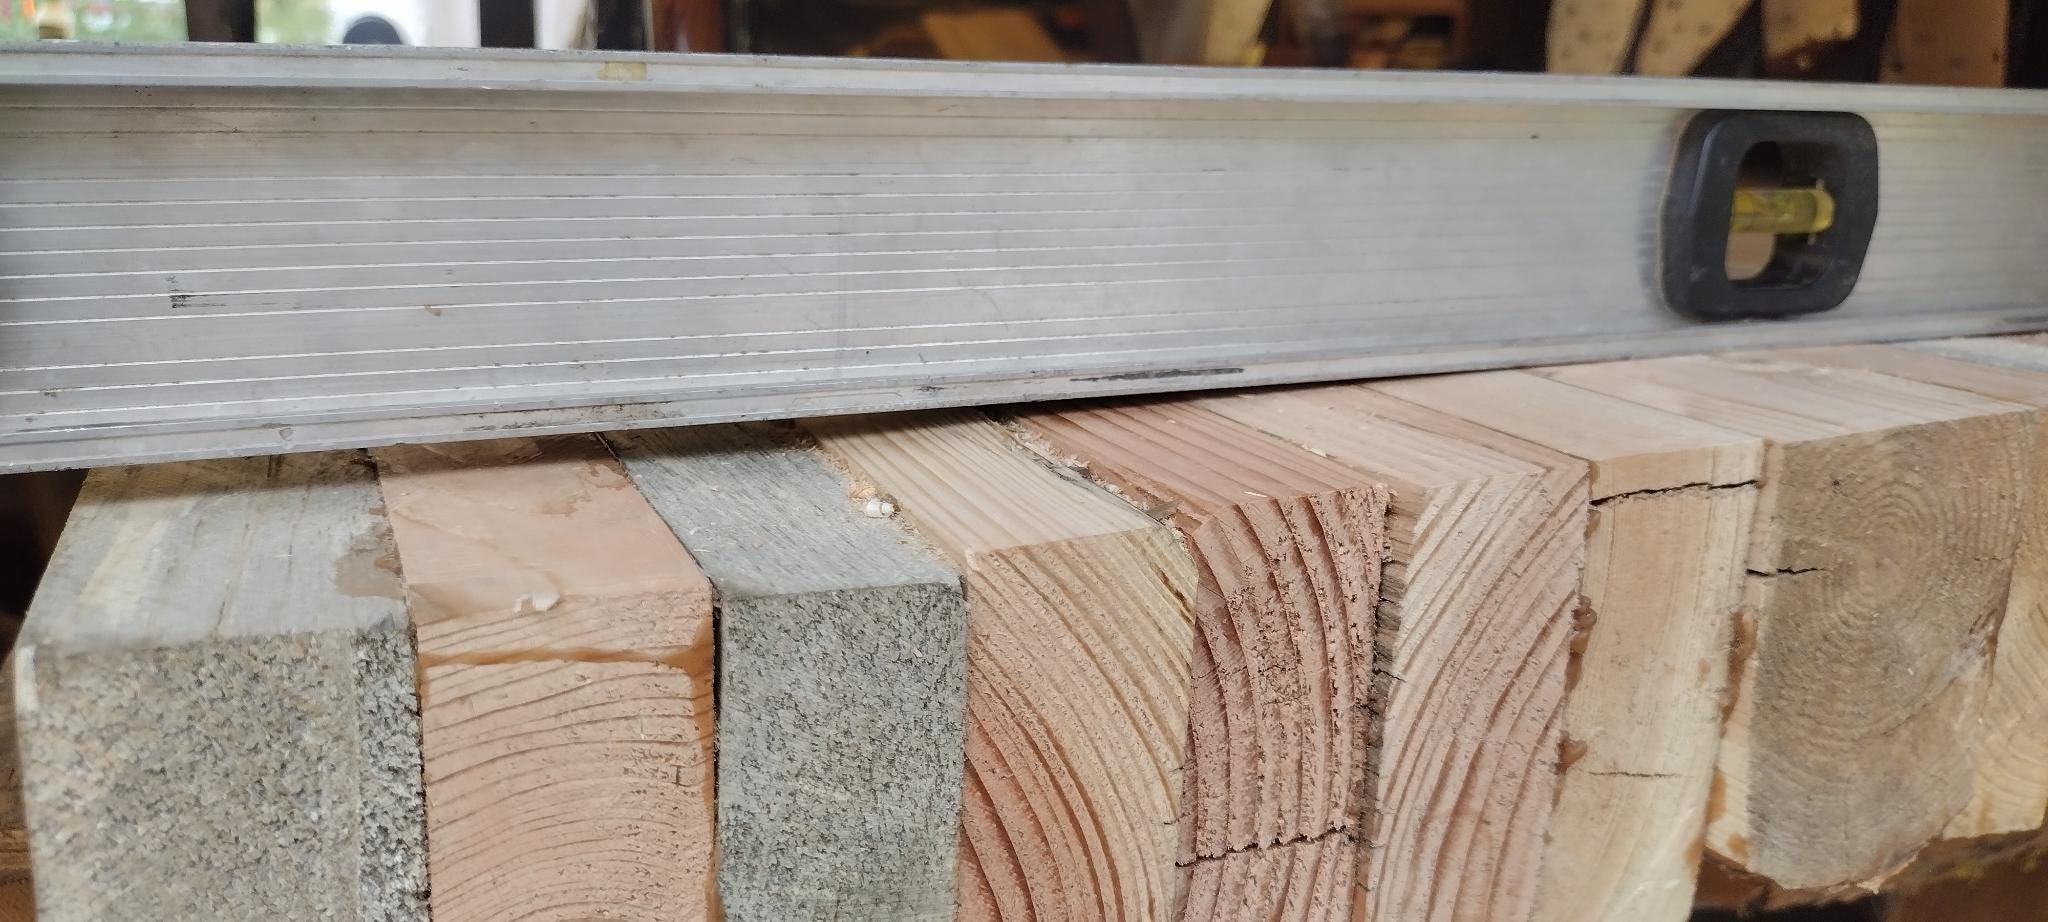
The difference between the highest point and the lowest point was north of a quarter-inch. When you’re shaving a five-and-a-half square foot surface with a hand plane that takes paper-thin cuts with each stroke of it’s 2” wide blade, that’s a lot of planing.
So I got back to work.
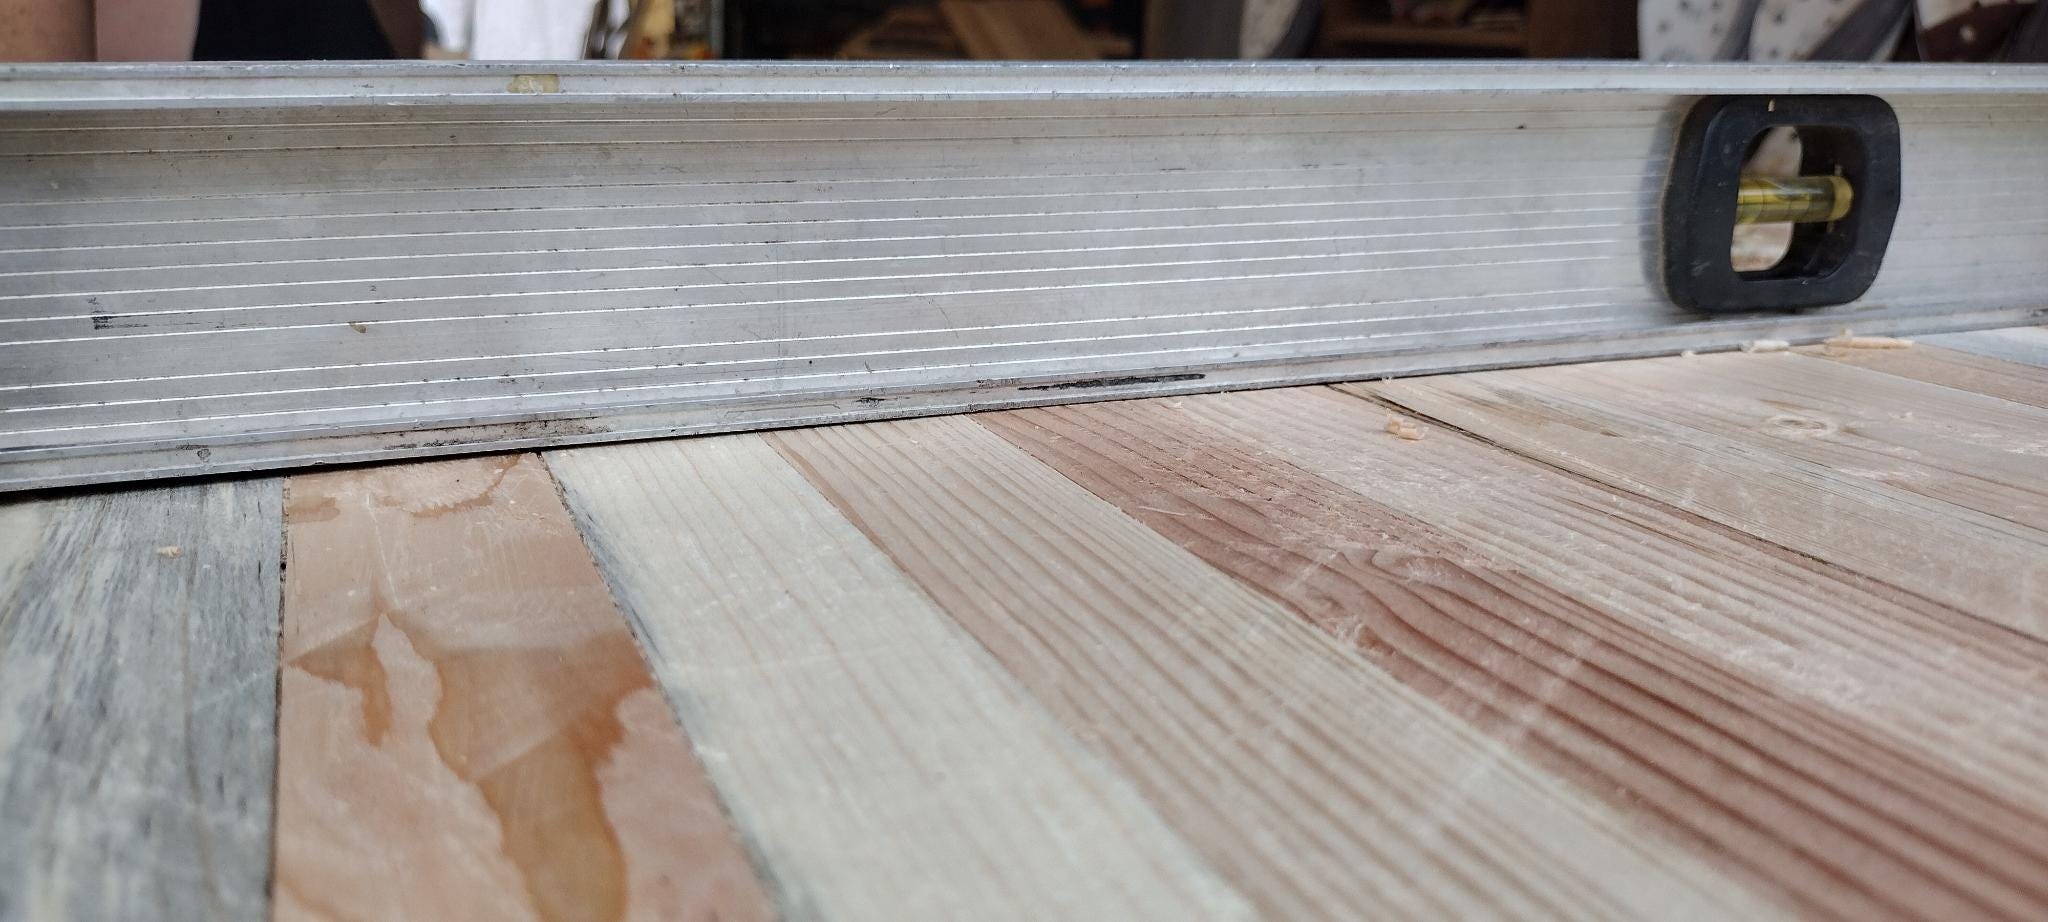
Once I got it down to within a 16th of an inch, I called a halt to this round of planing. There was no reason to go further, as when I got the table assembled I would need to do some other finish work that involved more planing and sanding.
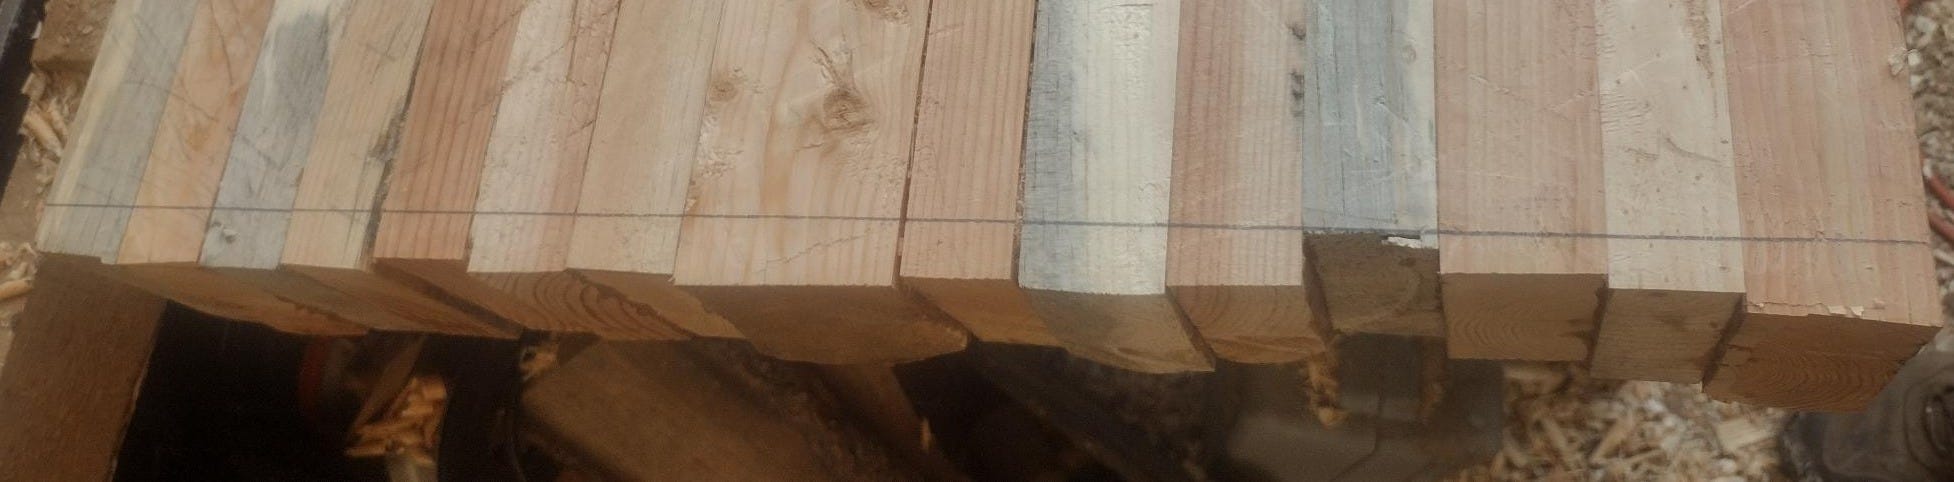
I next marked the uneven ends to cut flush. My circular saw isn’t tall enough to cut through 3.5” thick boards, so I broke out the hand saw and cut the whole piece nice and square.
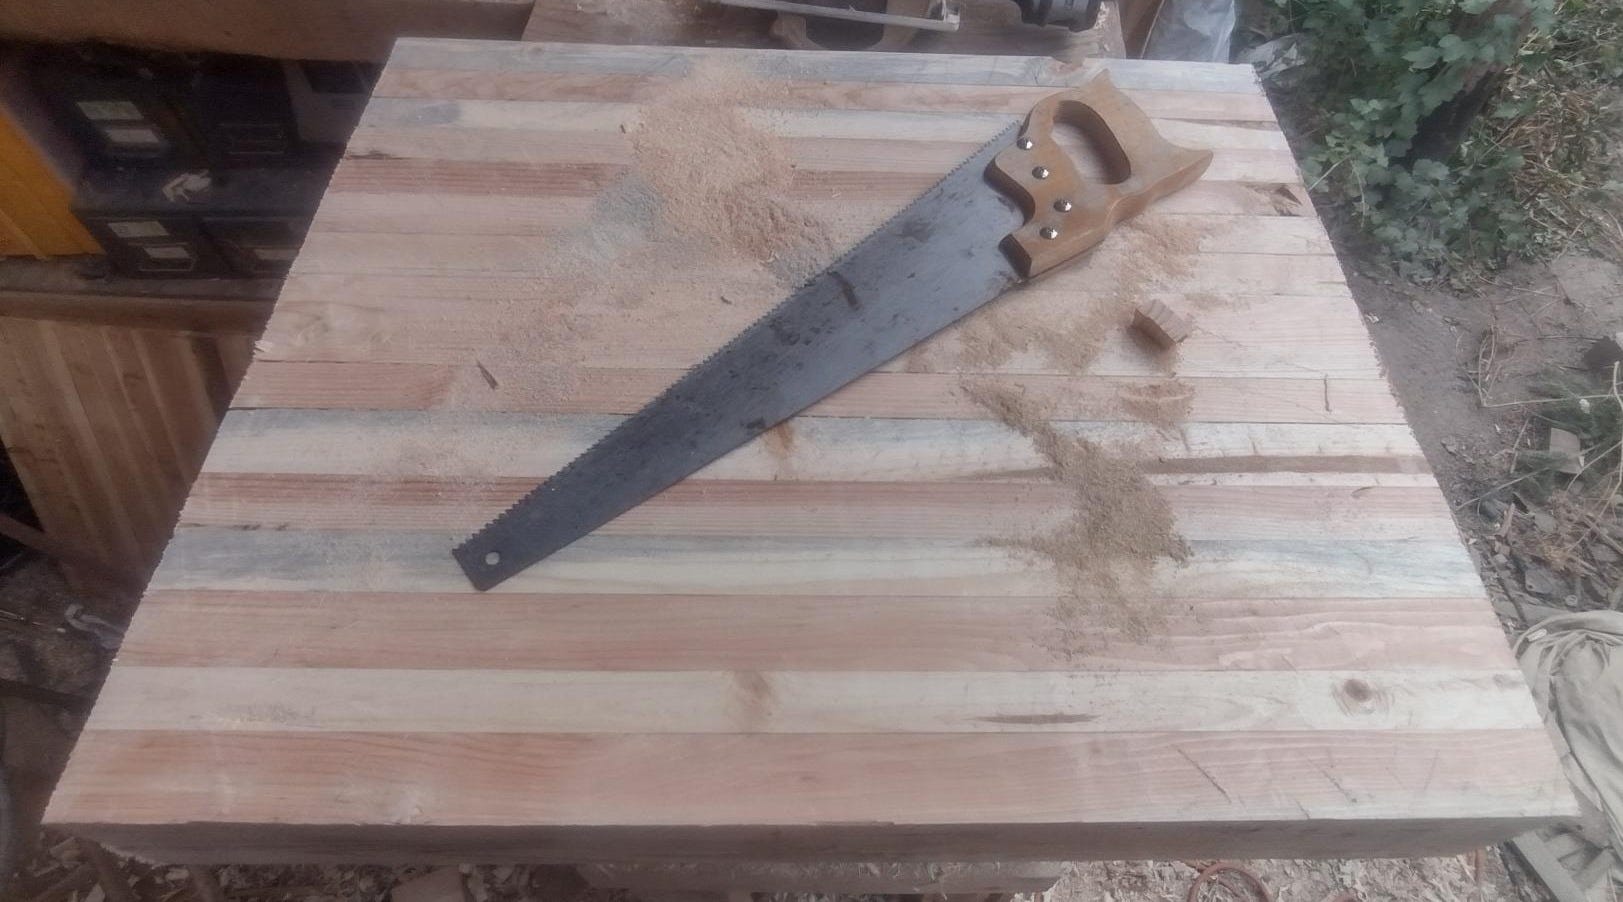
That there has the makings of a rather handsome looking butcher block, if I do say so myself. But before I could mount it, I needed to cut mortises (joinery pockets) in the underside.
To know what size to make the mortises, I first needed to make the tenons (the posts that fit into the pockets).
I moved the new top, then removed the old top from the underlying bench structure.
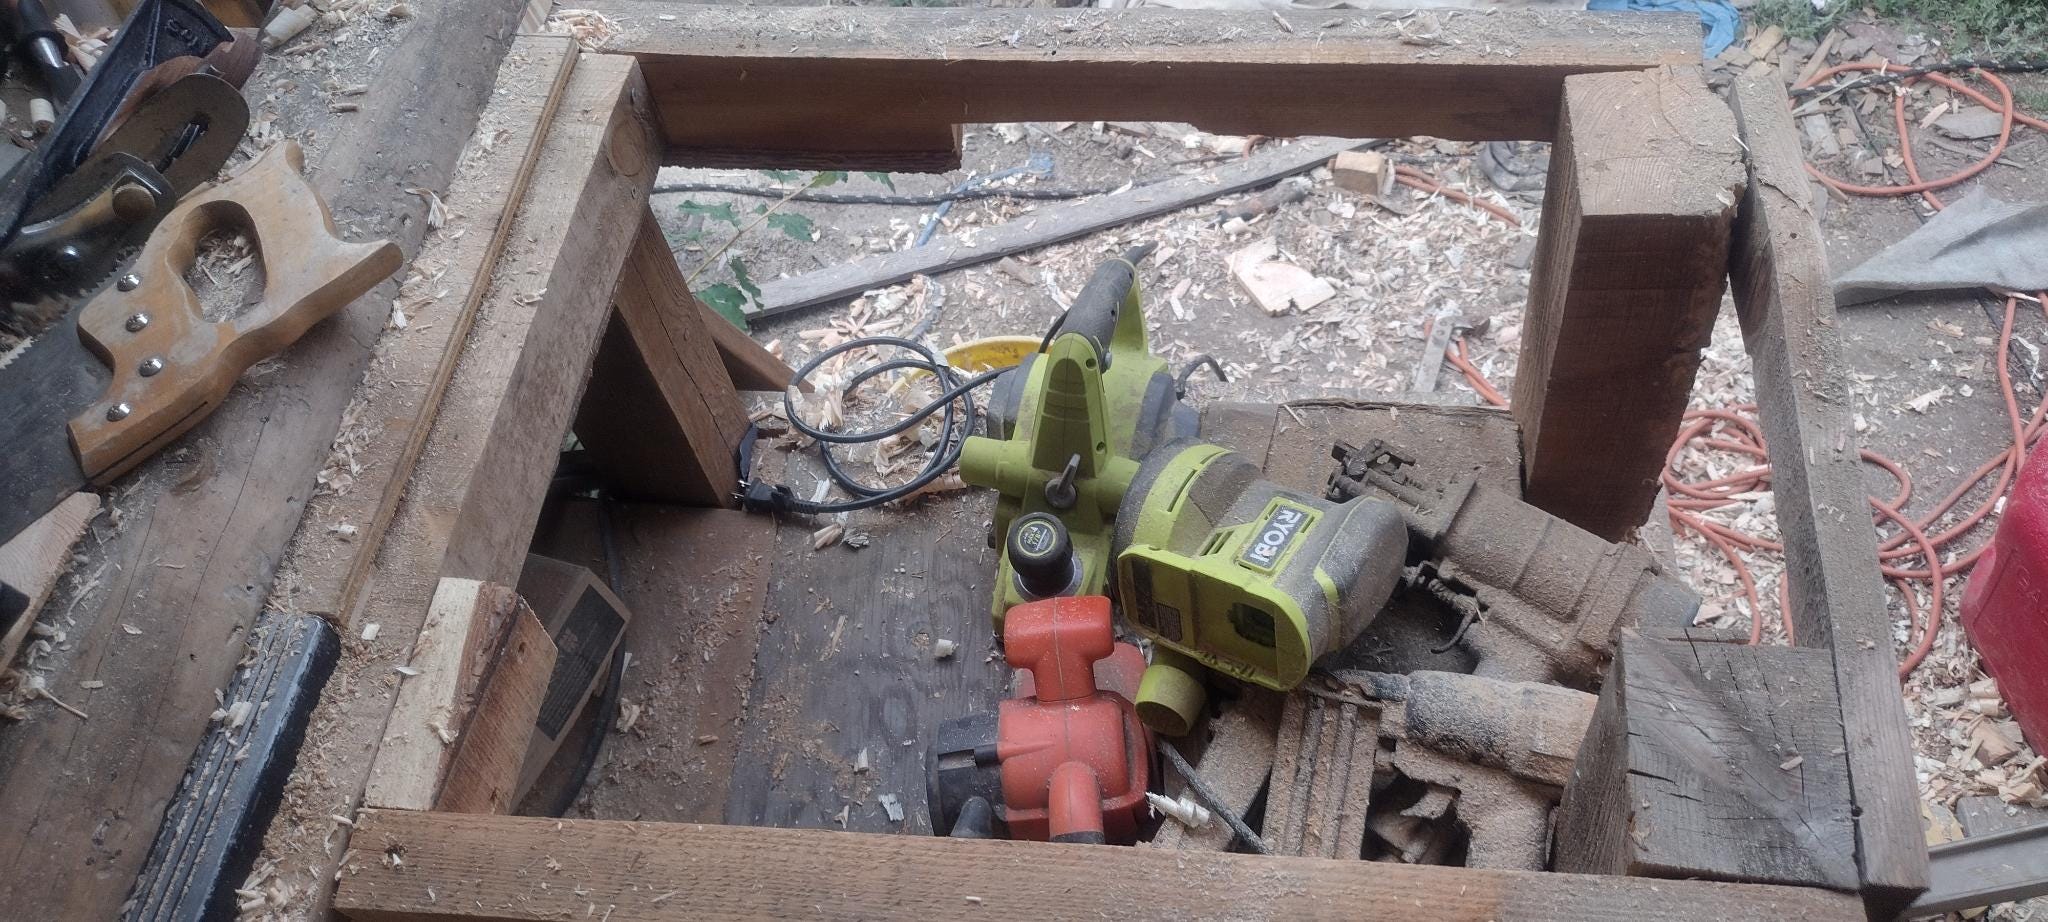
To make the new bench top work—and drop the height by two inches—I had to remove that frame, cut down the two posts on the right, make two new posts for the left side, then cave the ends of all four into tenons.
I found a couple log-ends that would serve well as posts…
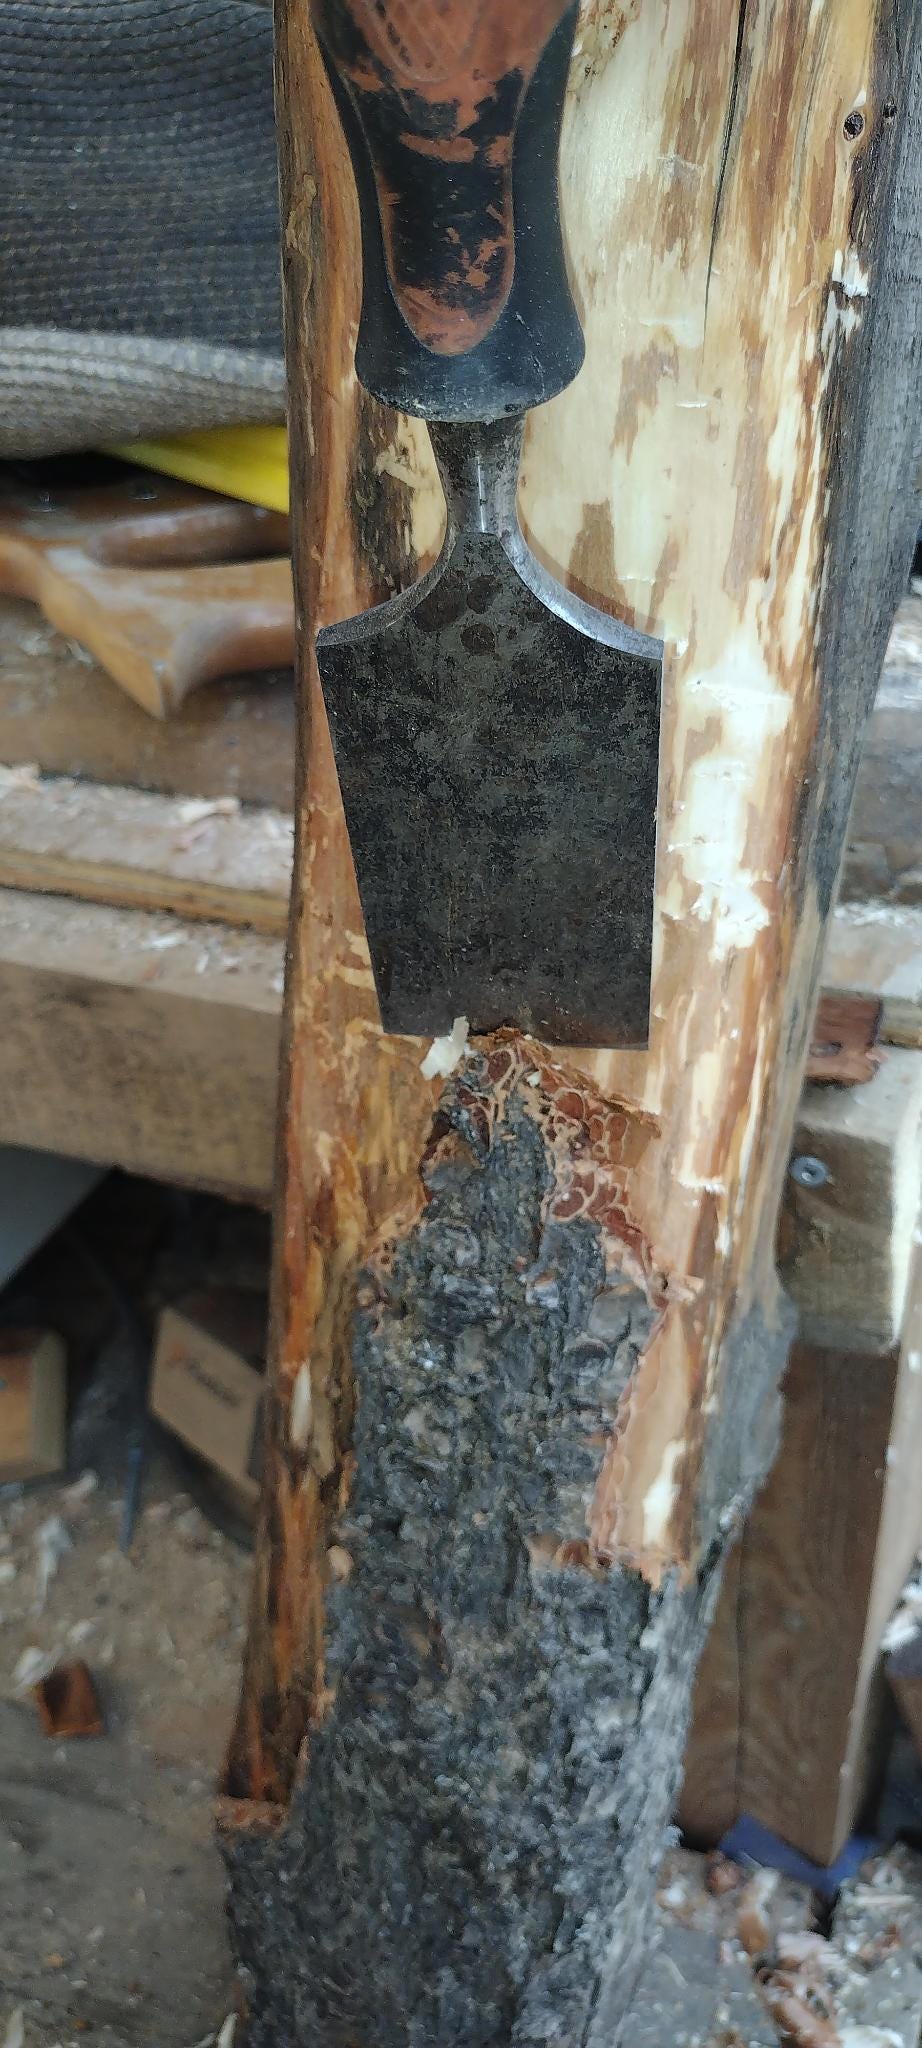
Then proceeded to shave the bark off with a chisel.
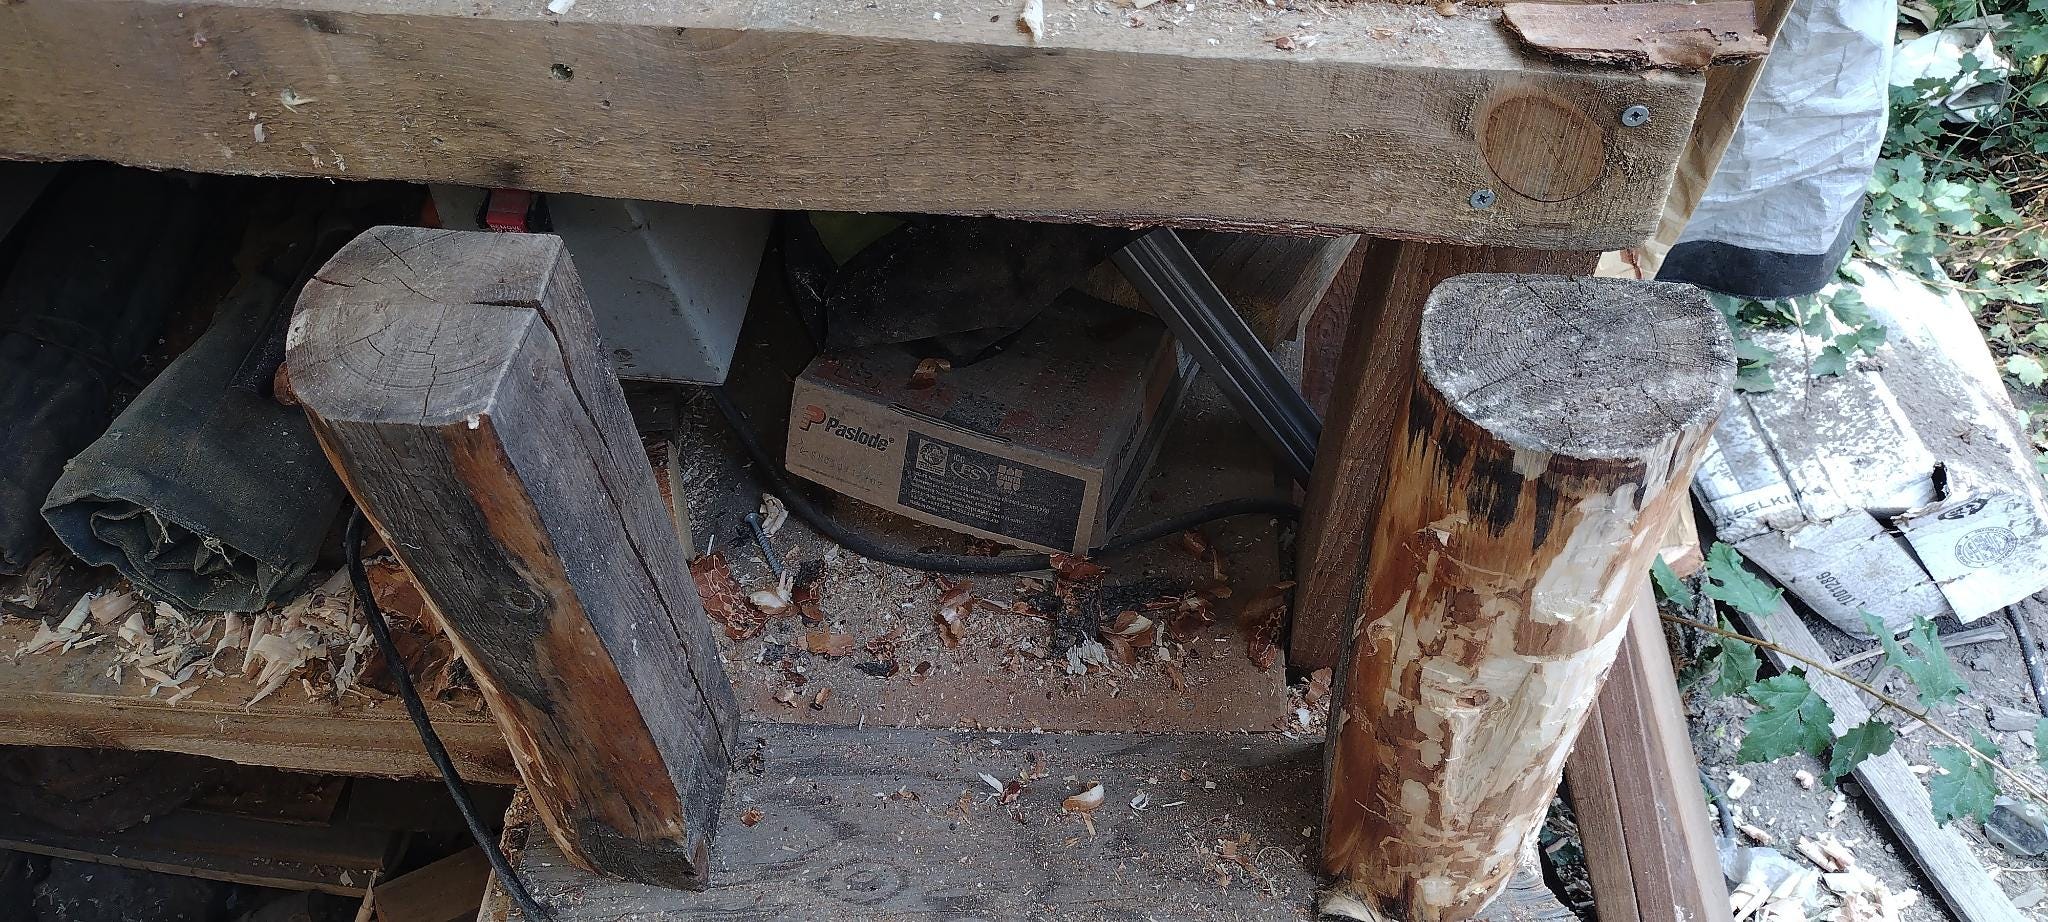
Once they were properly shaved, I cut them to height and set them up on the shelf beneath to mark the tenon lines.
I used the saw and chisel to cut the tenons, then set the new bench-top on them.
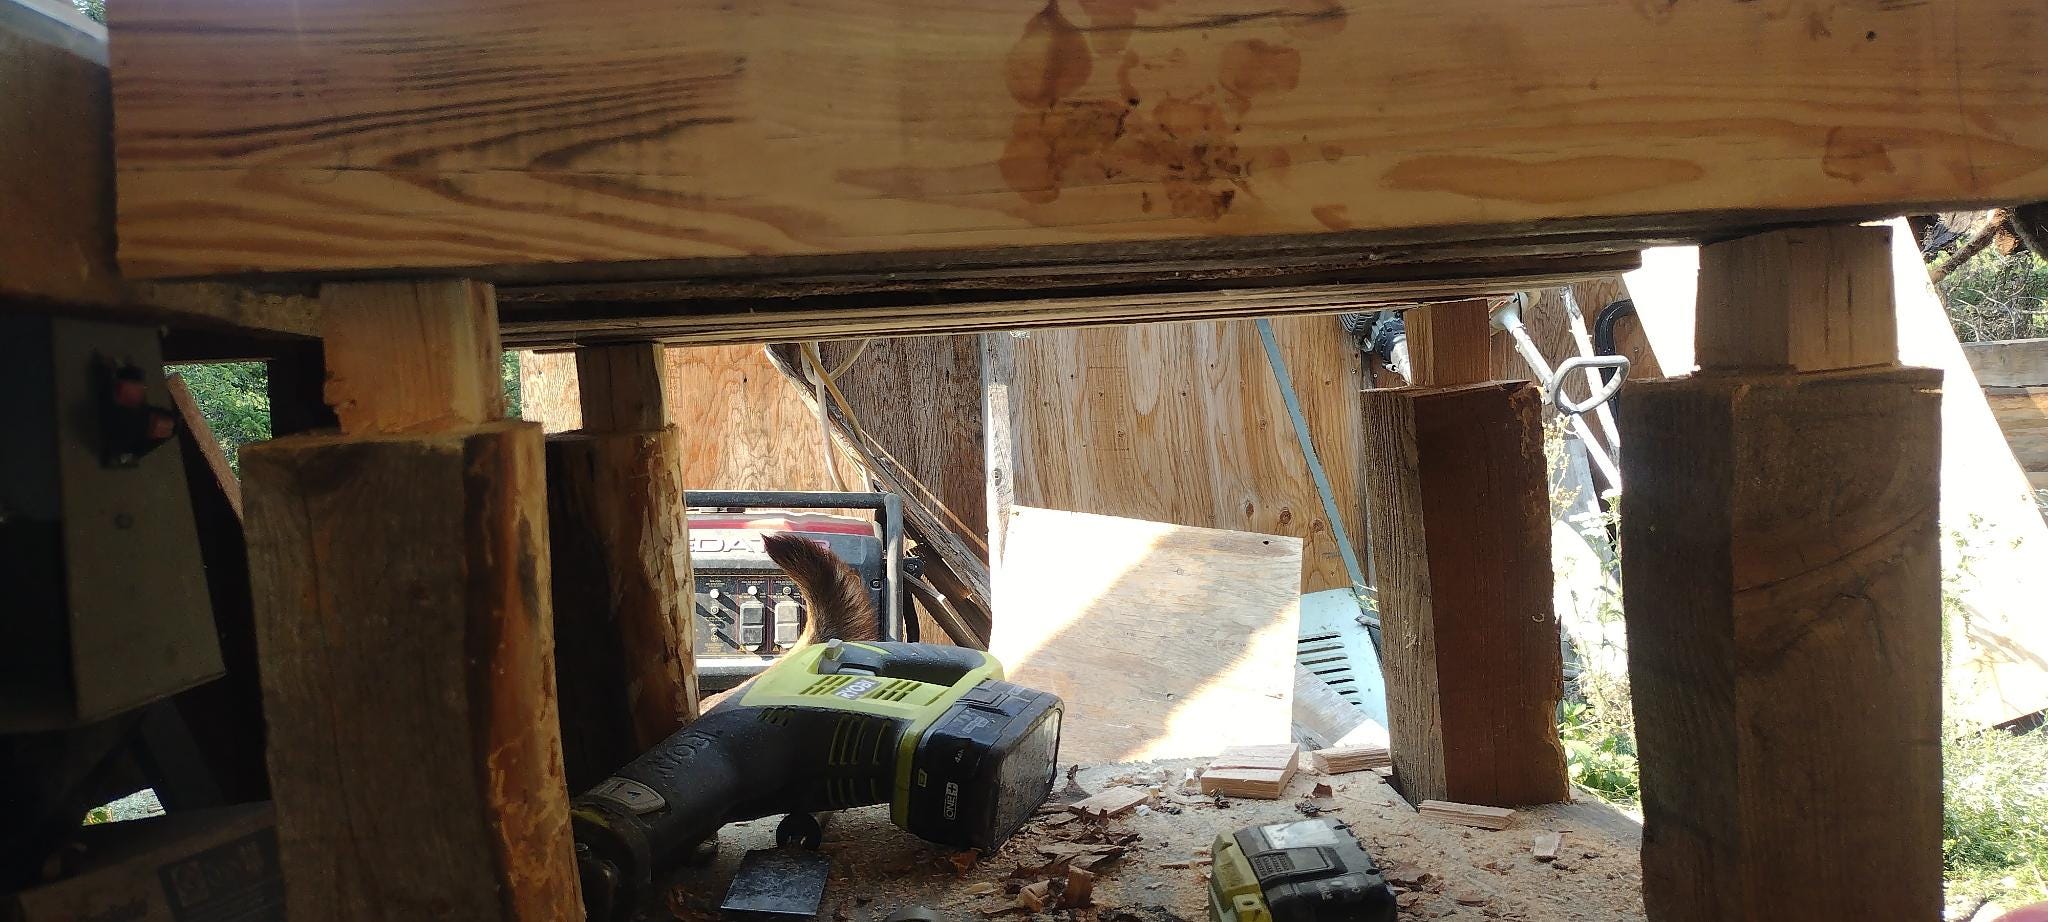
I traced the tenons with a pencil, then brought the bench-top to the table saw (which is big enough to double as a workbench for a piece this size), and set about digging out the mortises with chisels and an oscillating multi-tool.
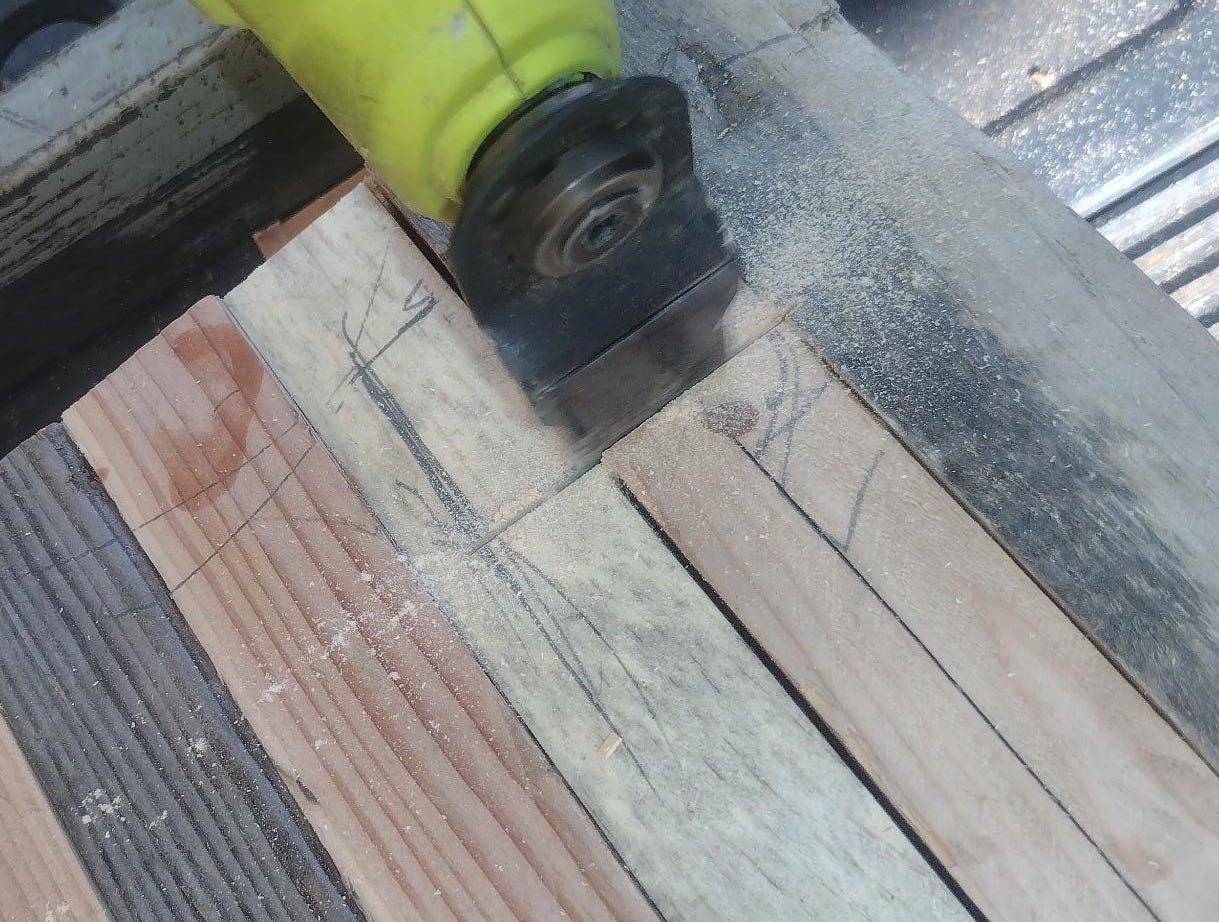
I used the back of a combination square to mark the height of each tenon…
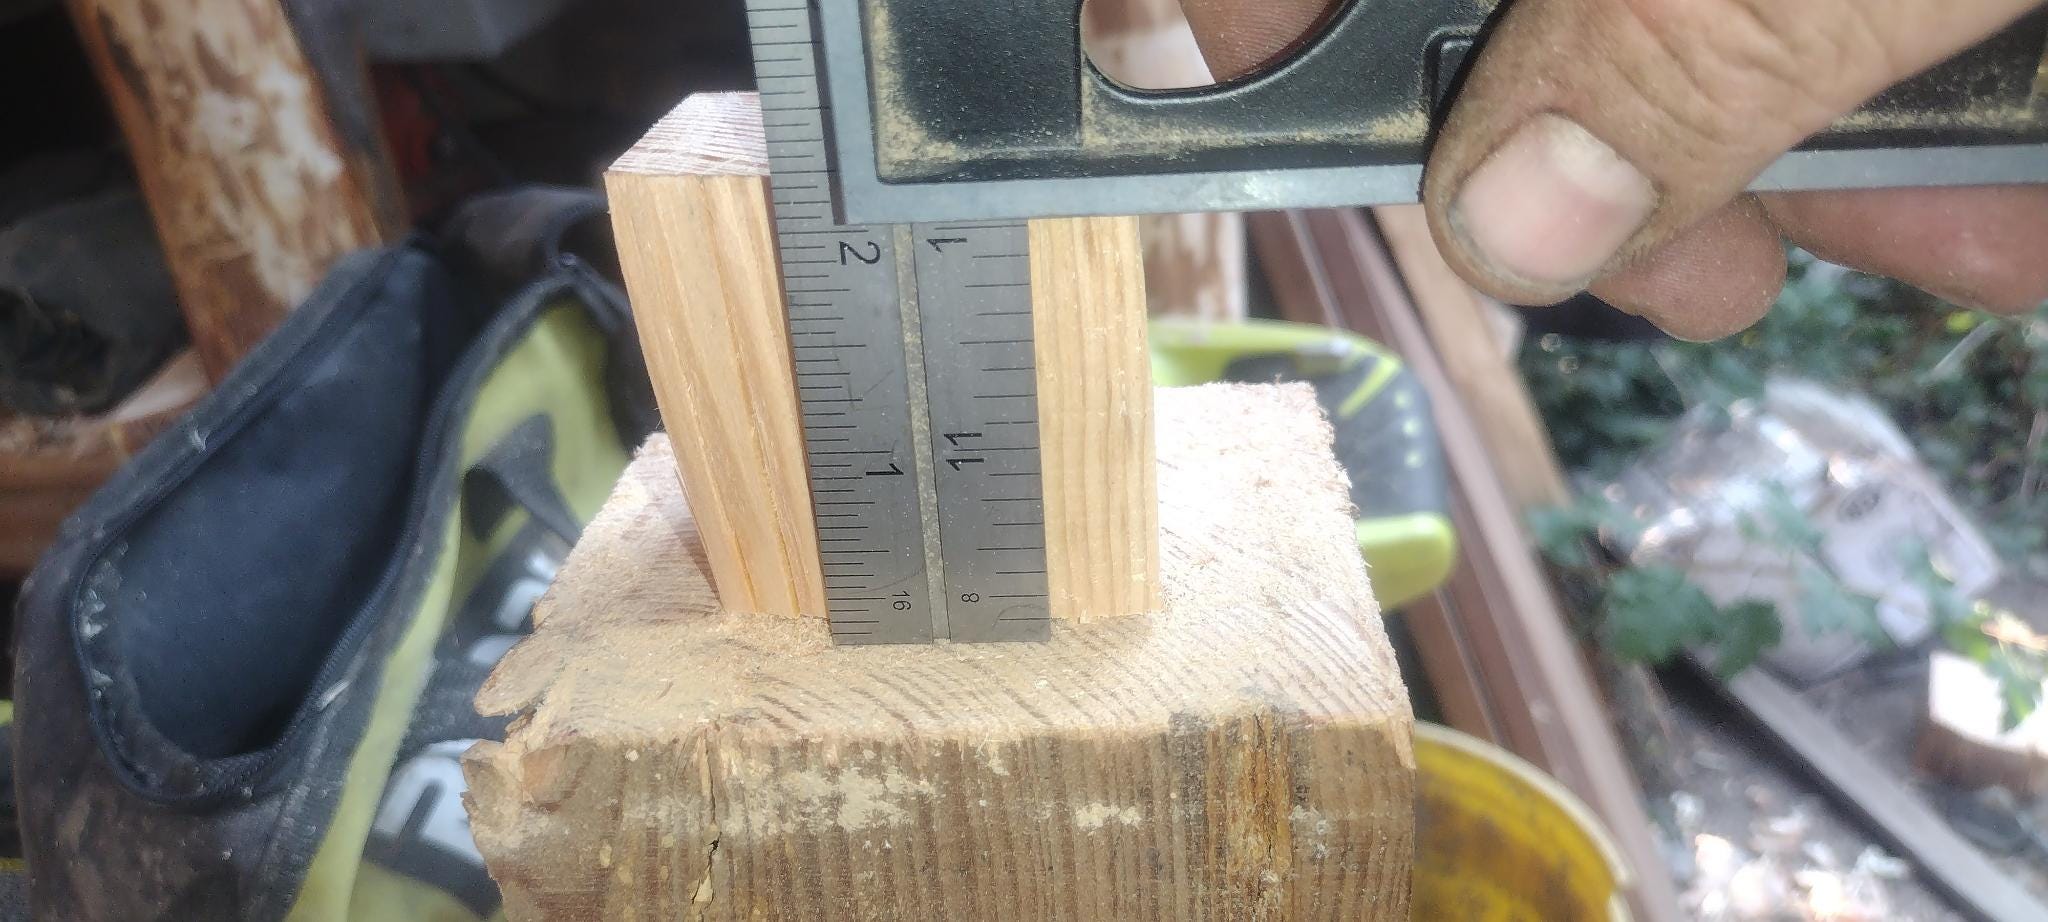
And check each against the depth of its respective mortise.
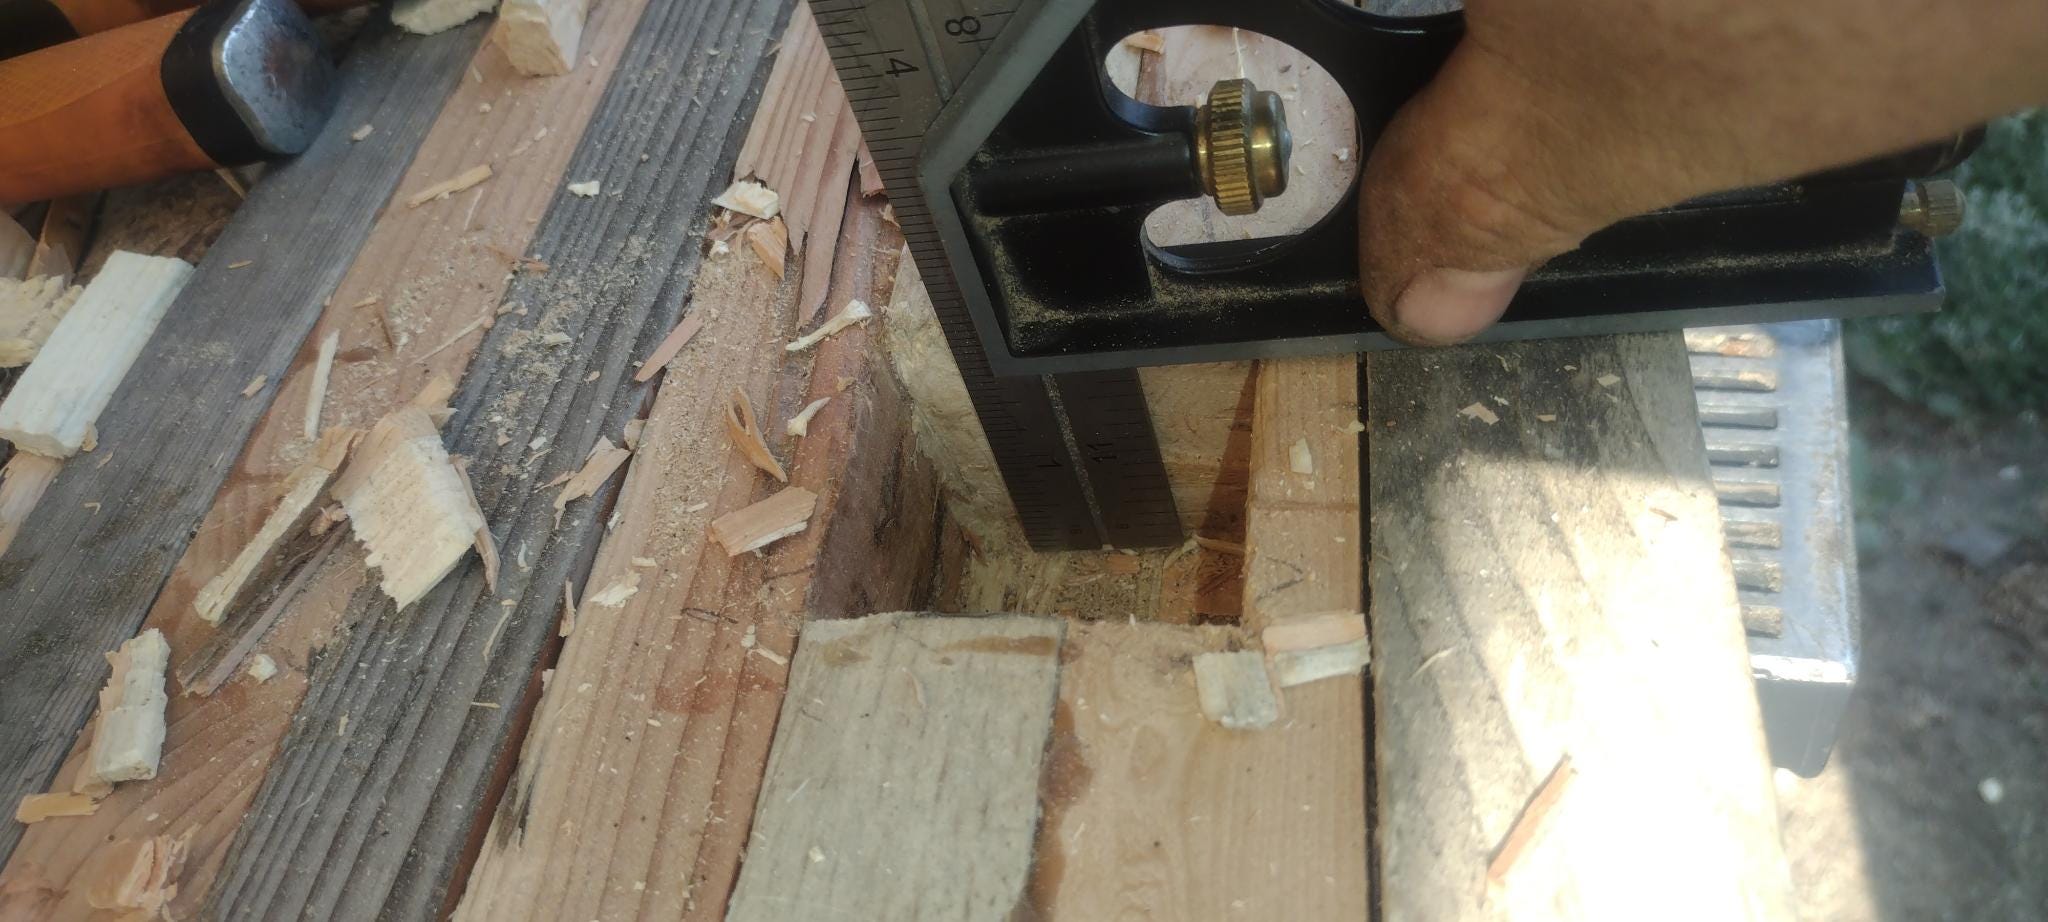
Once everything matched up, I again set the bench-top atop its legs…
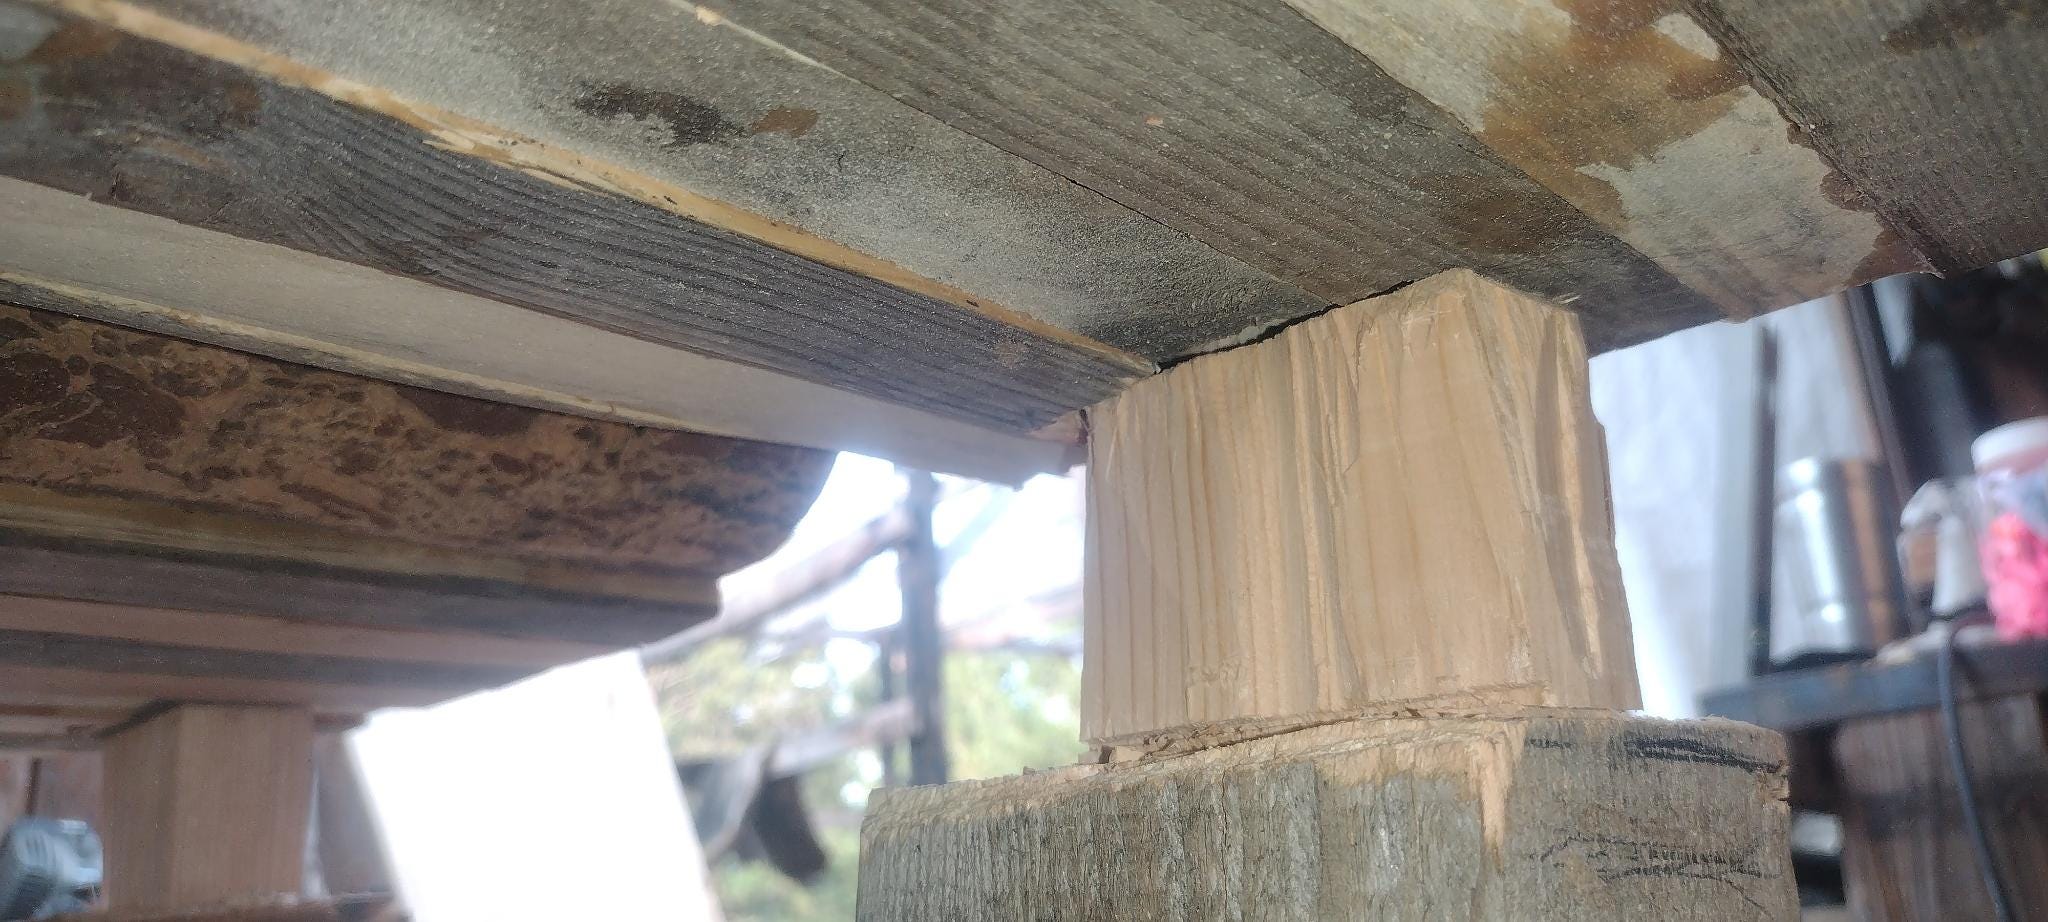
At which point I made some final adjustments to the tenons in-situ, then used a mallet to drive the bench-top down onto the legs.
It fit quite nicely.
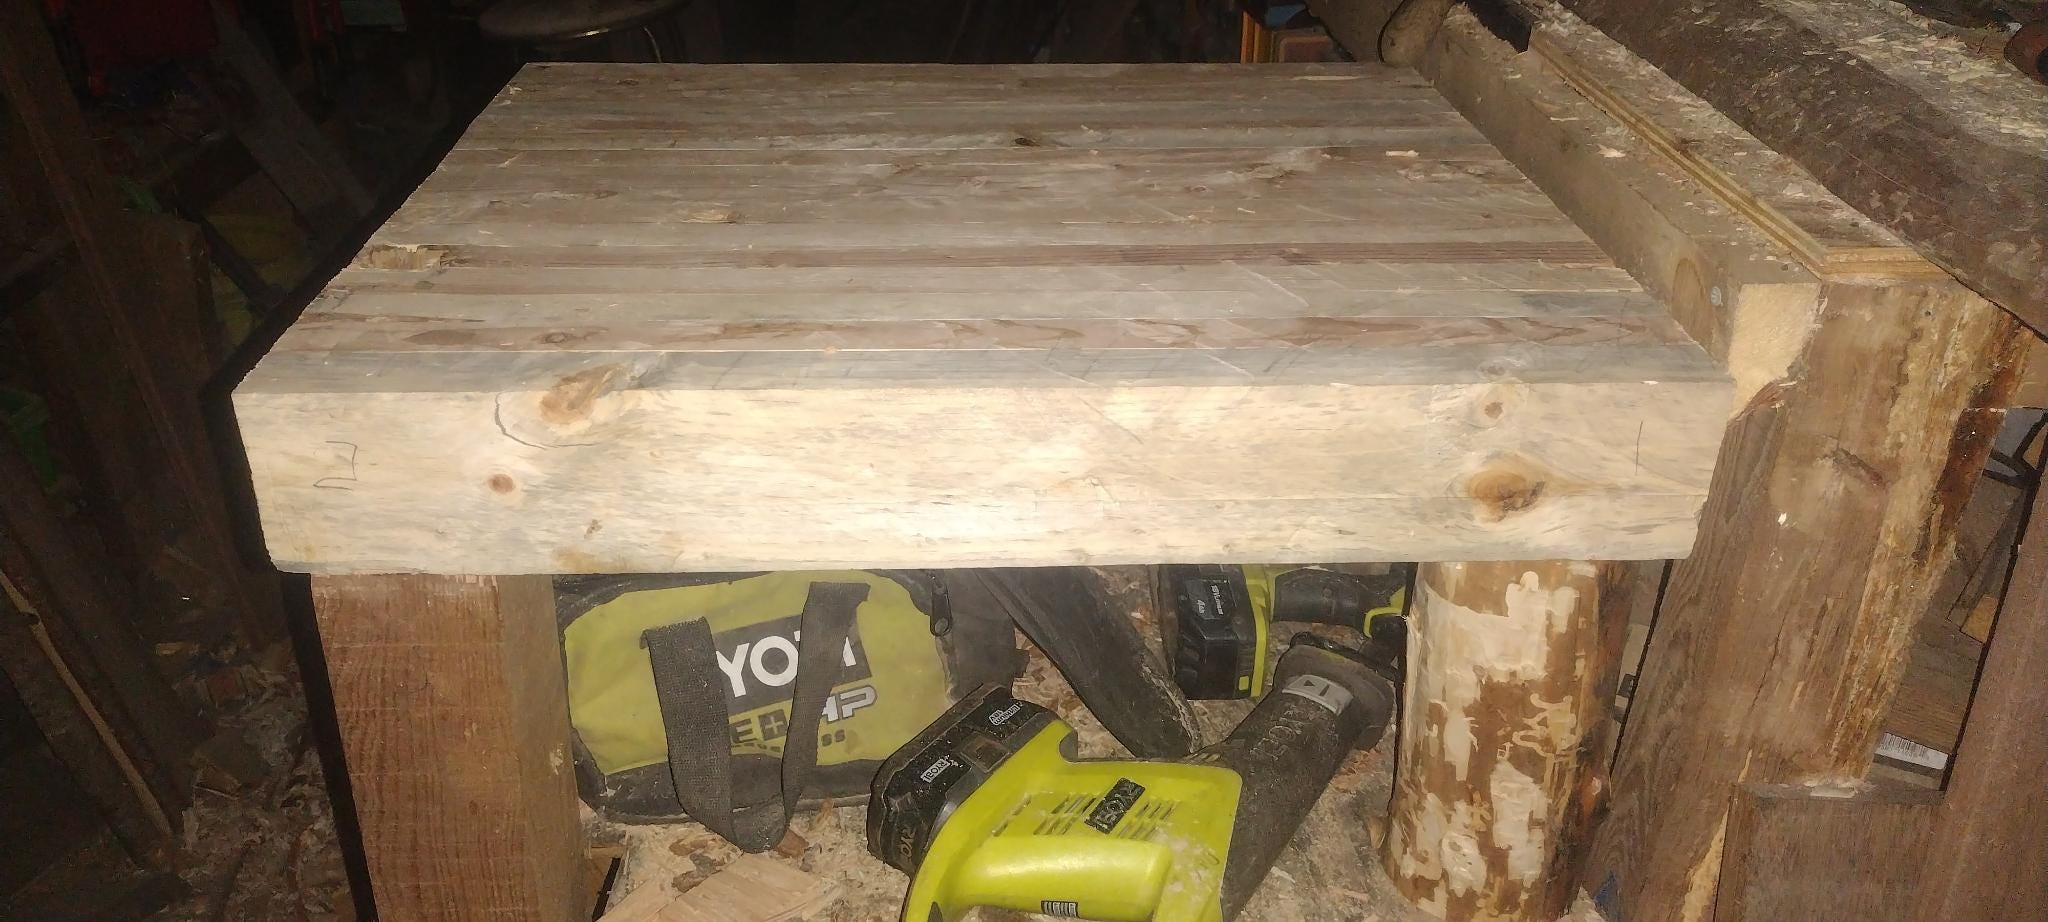
Glue is pretty strong stuff, but a workbench has to be able to stand up to a god-awful amount of abuse over quite a long time indeed. I’d put enough work into this thing that I wanted it to last for the rest of my life, so I resolved to reinforce it with some inlaid cross-bracing.
I fetched some of the off-cuts from the boards I used to make the bench-top, then flattened and trimmed them so they were identical, 2 inches by 2 inches. I then laid a 3-inch grid onto the table top and selected some places to lay in the cross-members.
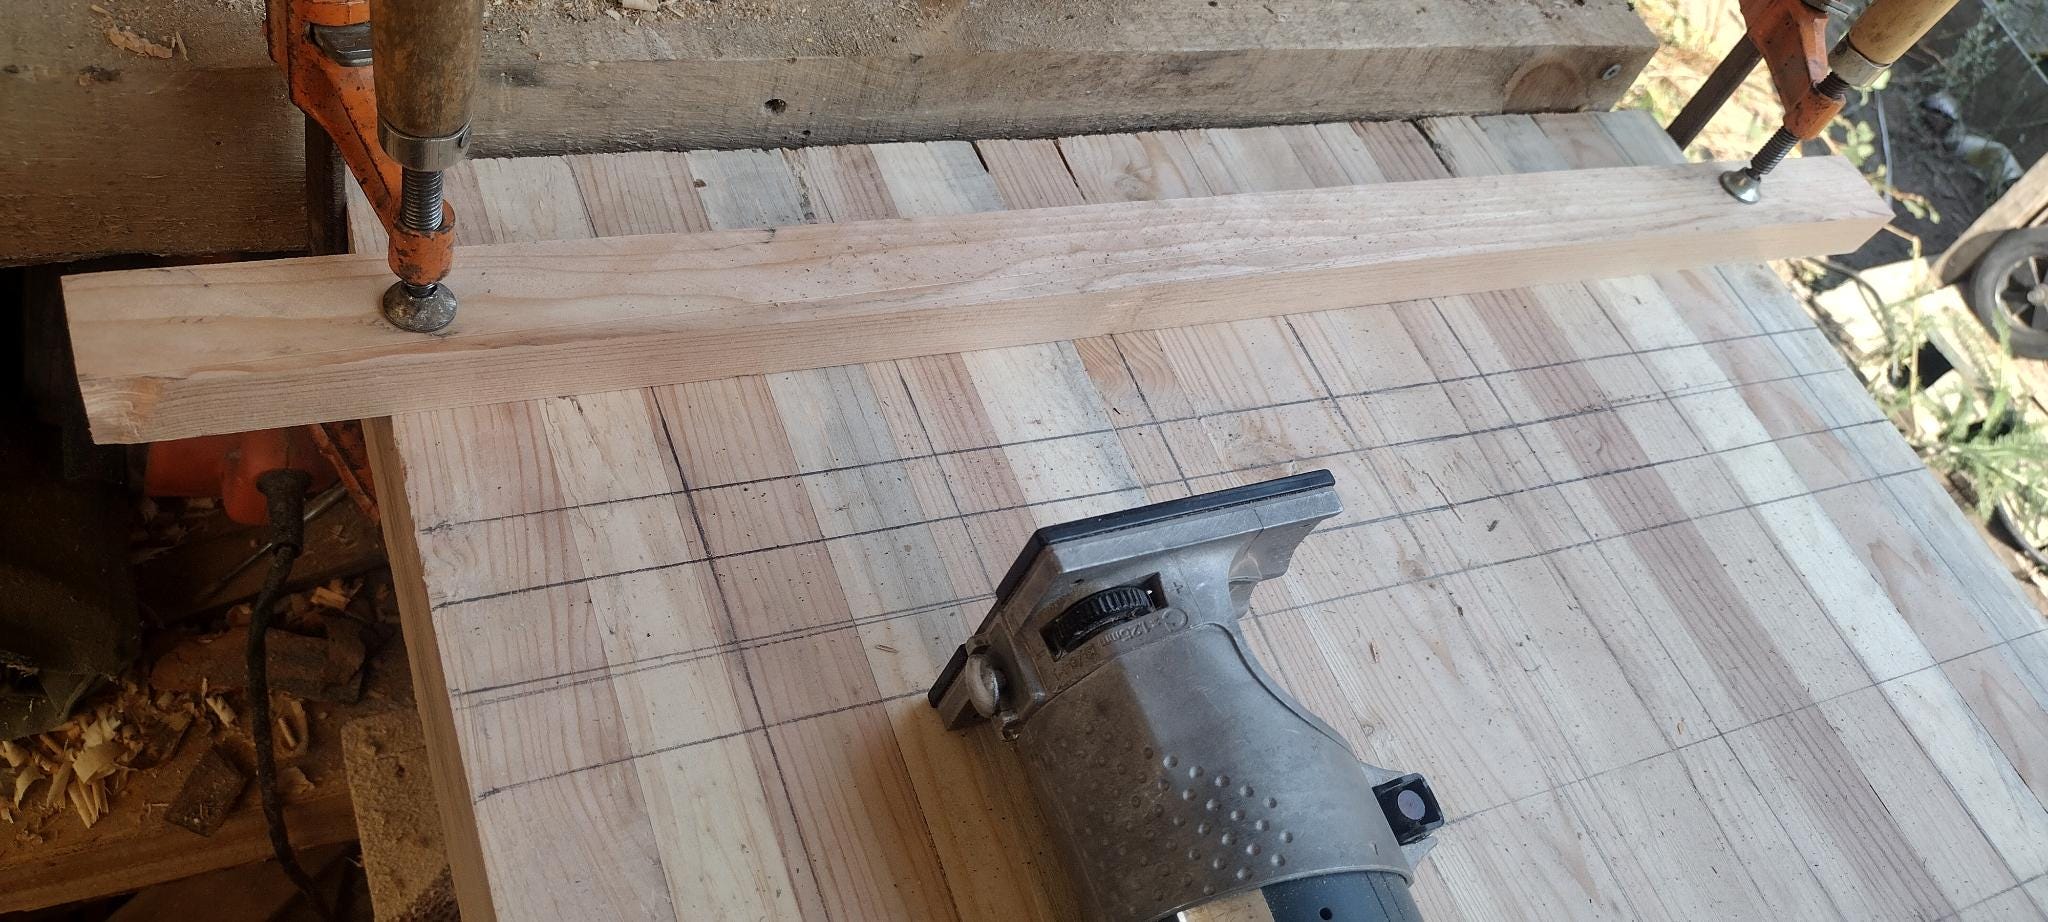
I set up a fence and then carved out grooves for them as deep as my router would go (which was, annoyingly, not quite 2 inches).
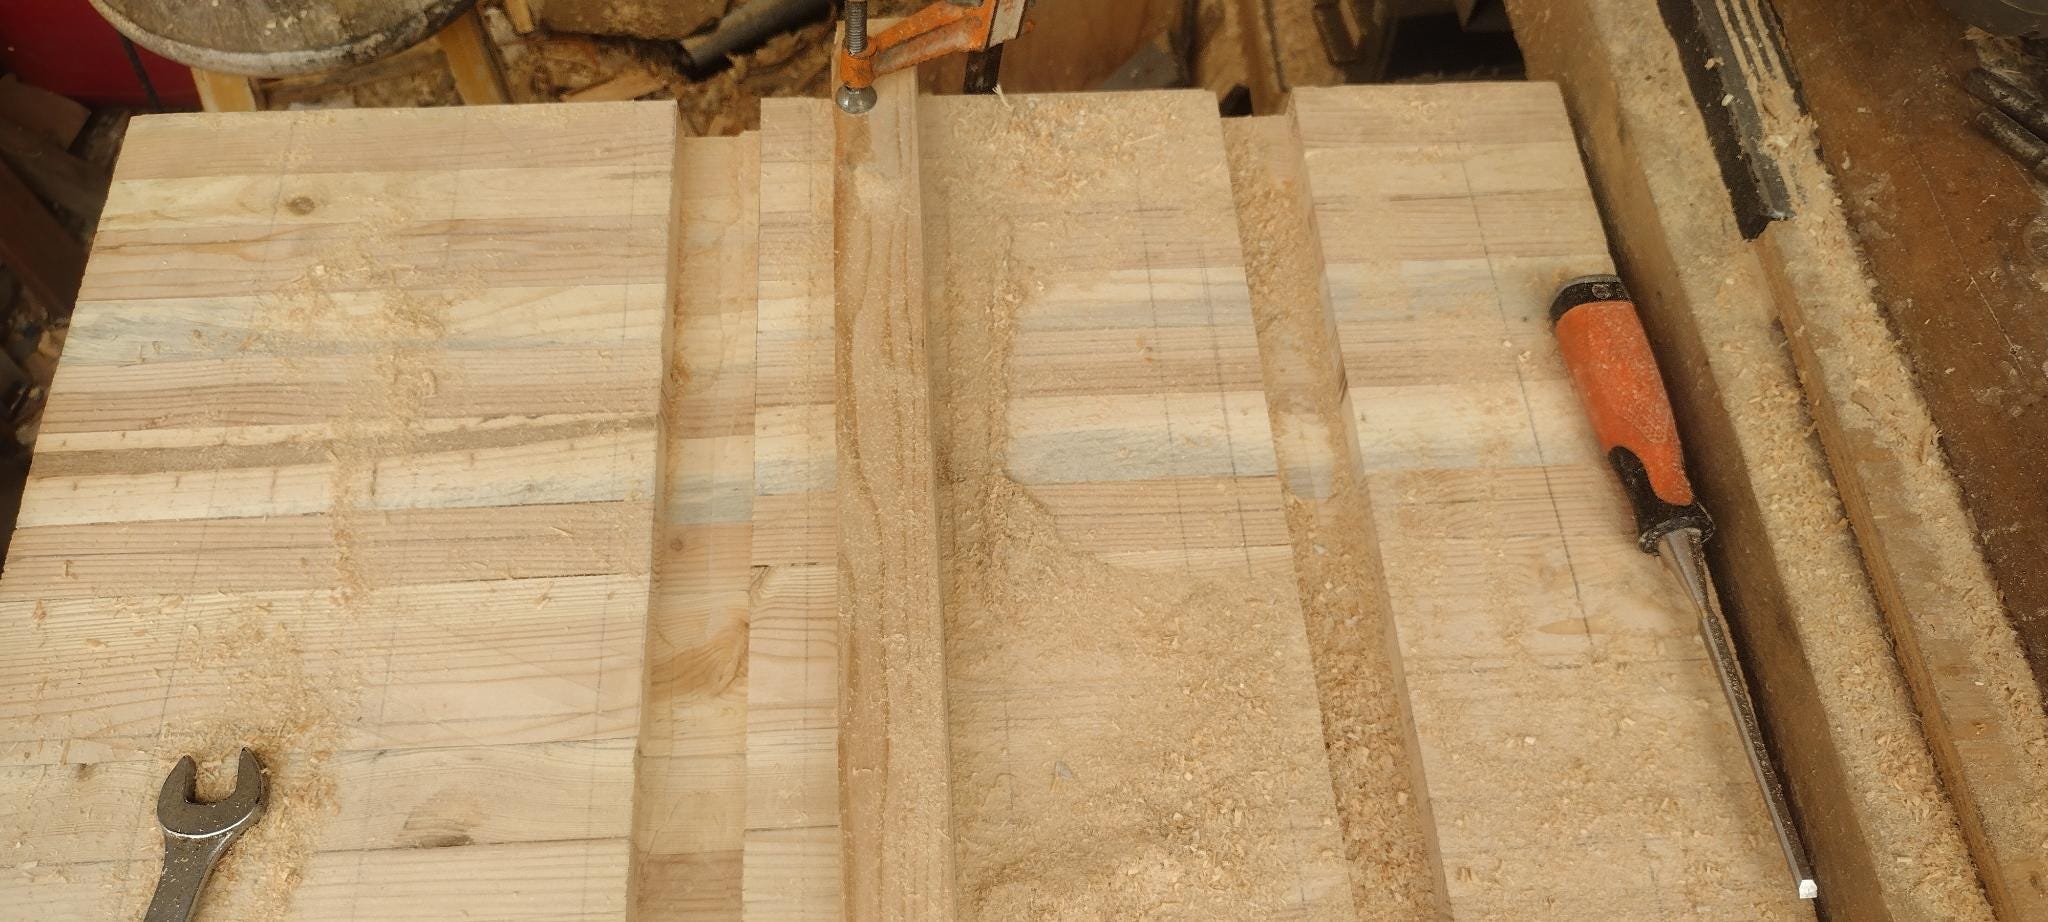
I then laid in the new boards, glued them well, and clamped them.
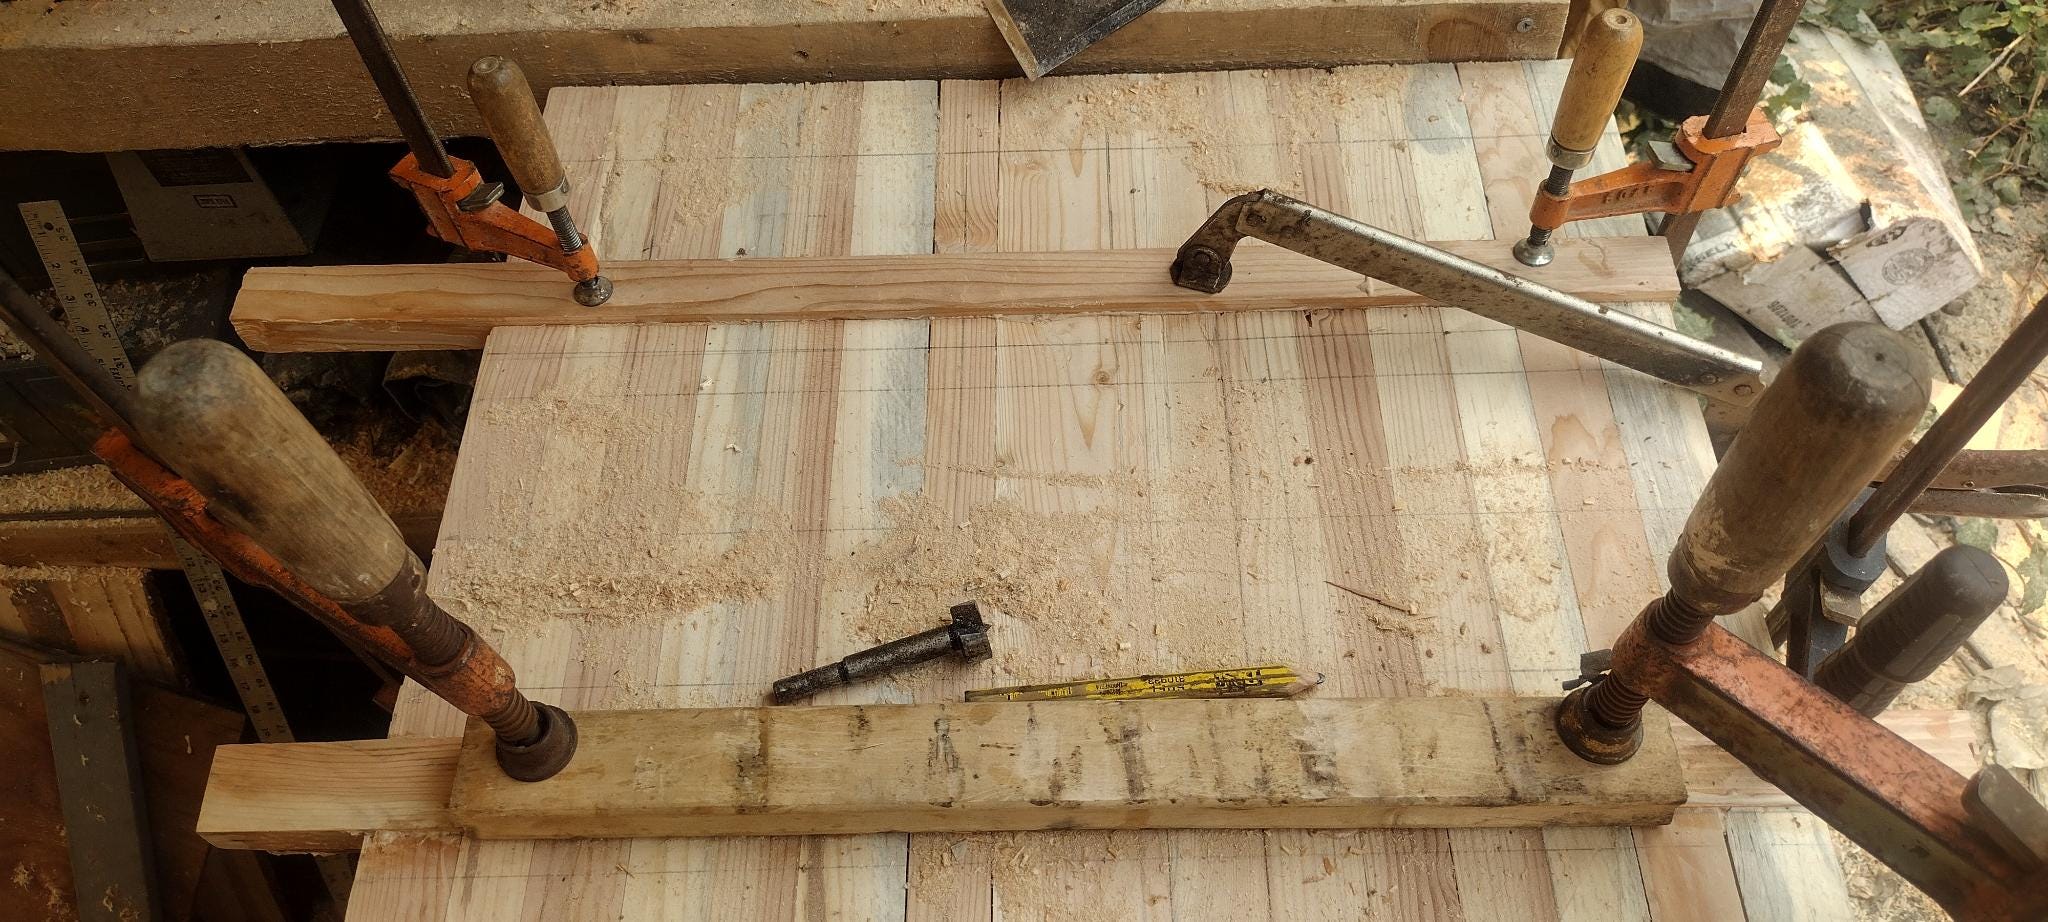
The next morning, after the glue had set, I awoke to beautiful weather and a stiff breeze that kept things tolerably cool. With my morning coffee and an audiobook of Raymond Chandler’s The Little Sister, I set about putting the finishing touches on this mighty project.
First, the plane (again). I first planed down the inlay so that it was flush with the rest of the table-top.
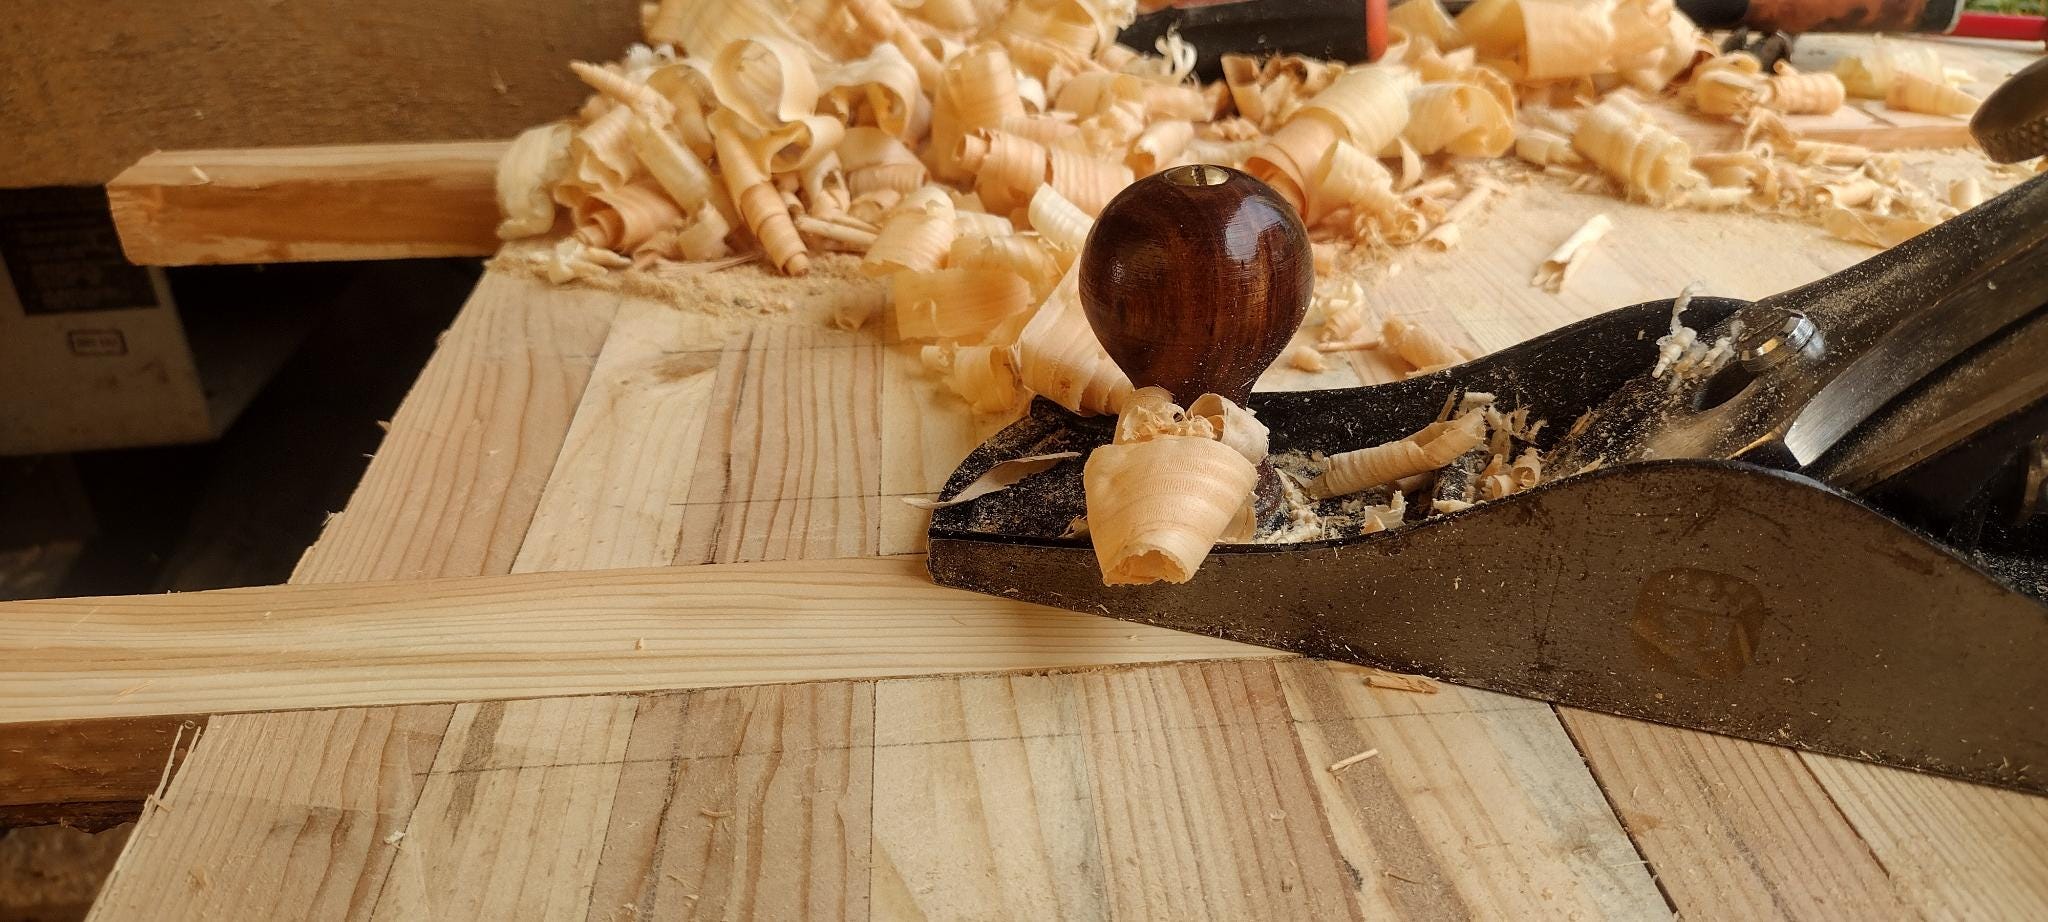
Then continued the planing. The pencil grid I’d laid down let me keep track of how flat the surface was getting. The planer removed the high spots first, shaving the pencil marks off with it. When I got down too the point where the pencil marks were all eliminated, I used my level to check again for flatness…
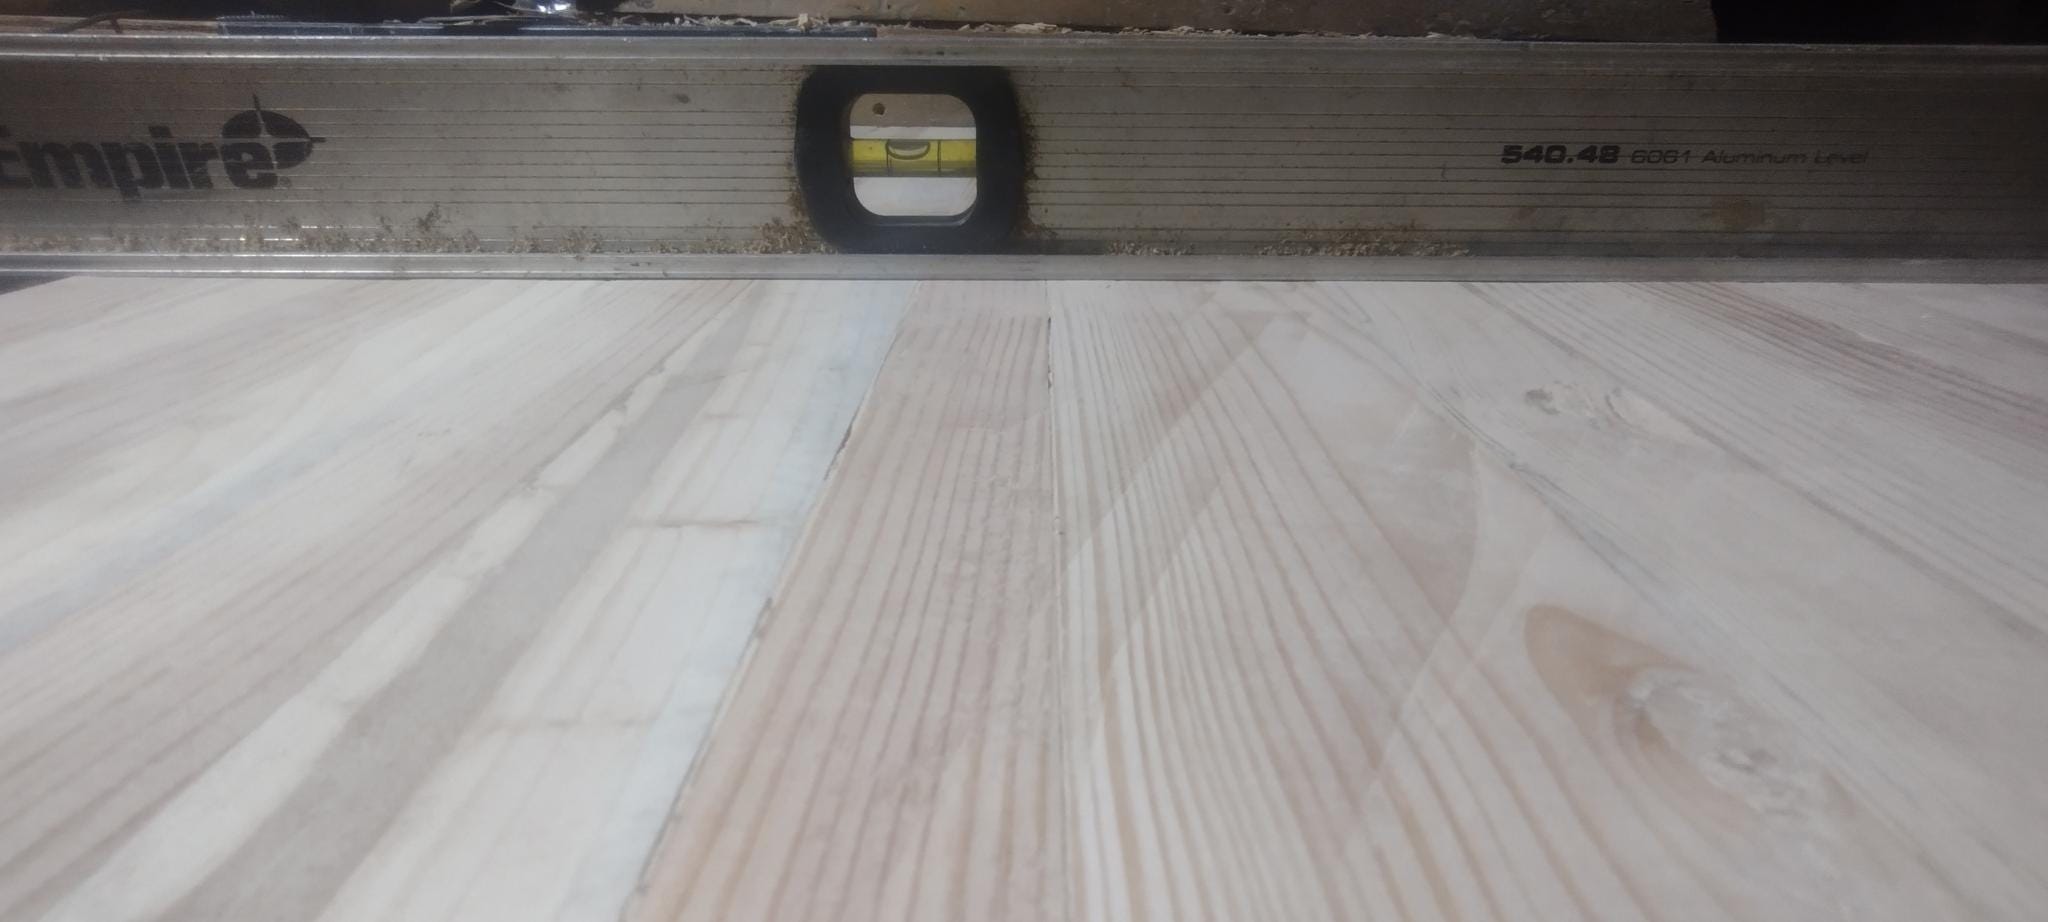
That, my friends, is dead flat.
I sanded the surface, removing the few remaining scratches from the plane-blade. Then I re-drew the grid.
This bench needed holes for bench dogs (i.e. work stops to keep things from sliding around when they aren’t clamped down) and holding-down clamps. Then I grabbed one of the cheap aluminum bench dogs I had laying around and used it as a guide for how deep to make the holes.
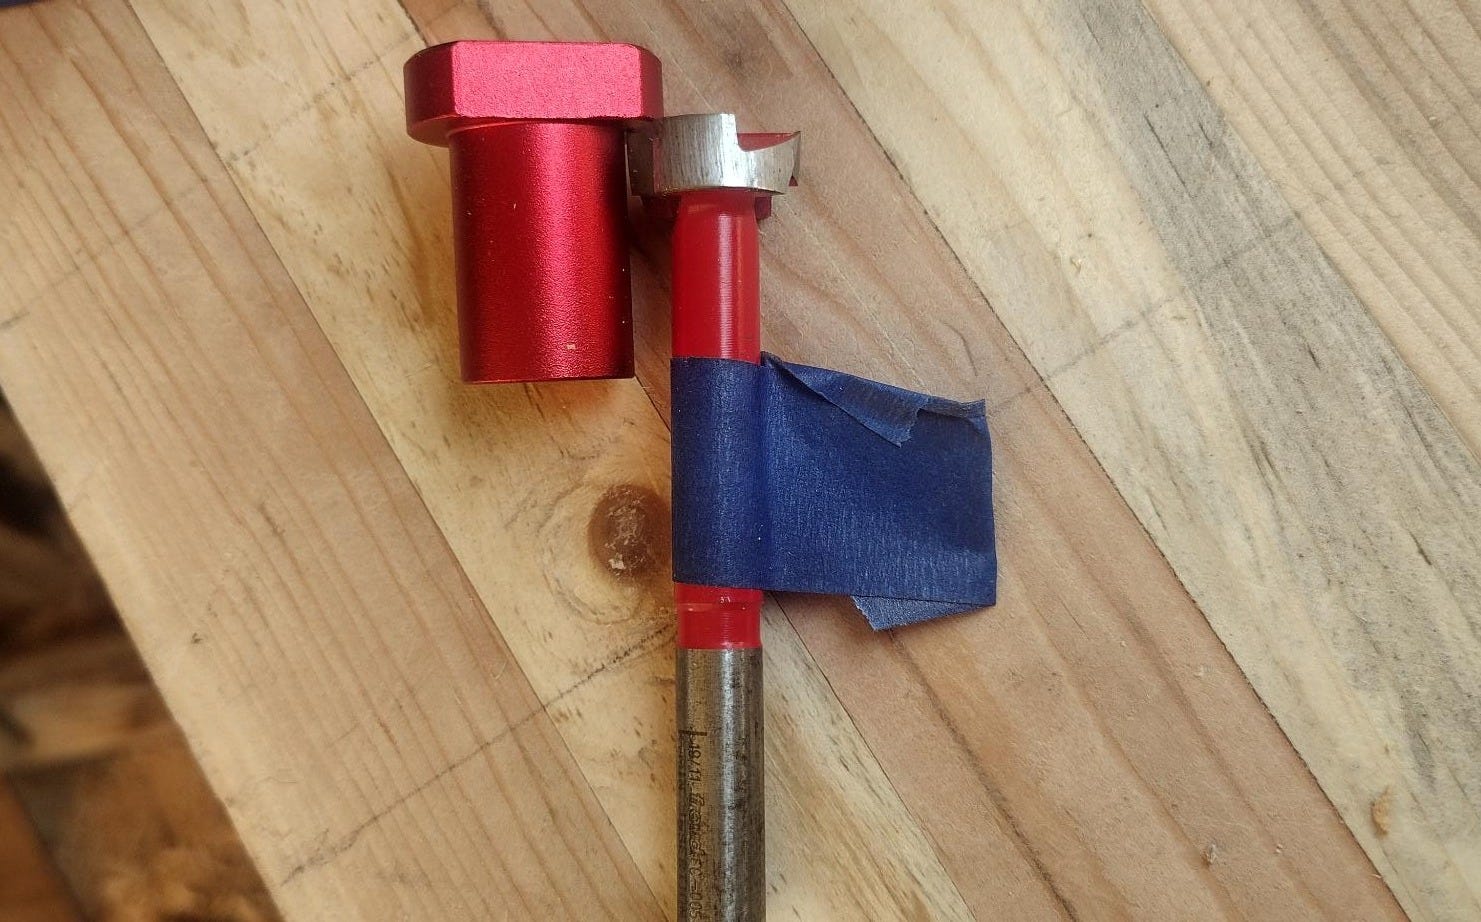
I marked the minimum depth on the drill bit with a bit of masking tape.
Then, at every corner of the grid, I sank a perfect 3/4” diameter hole.
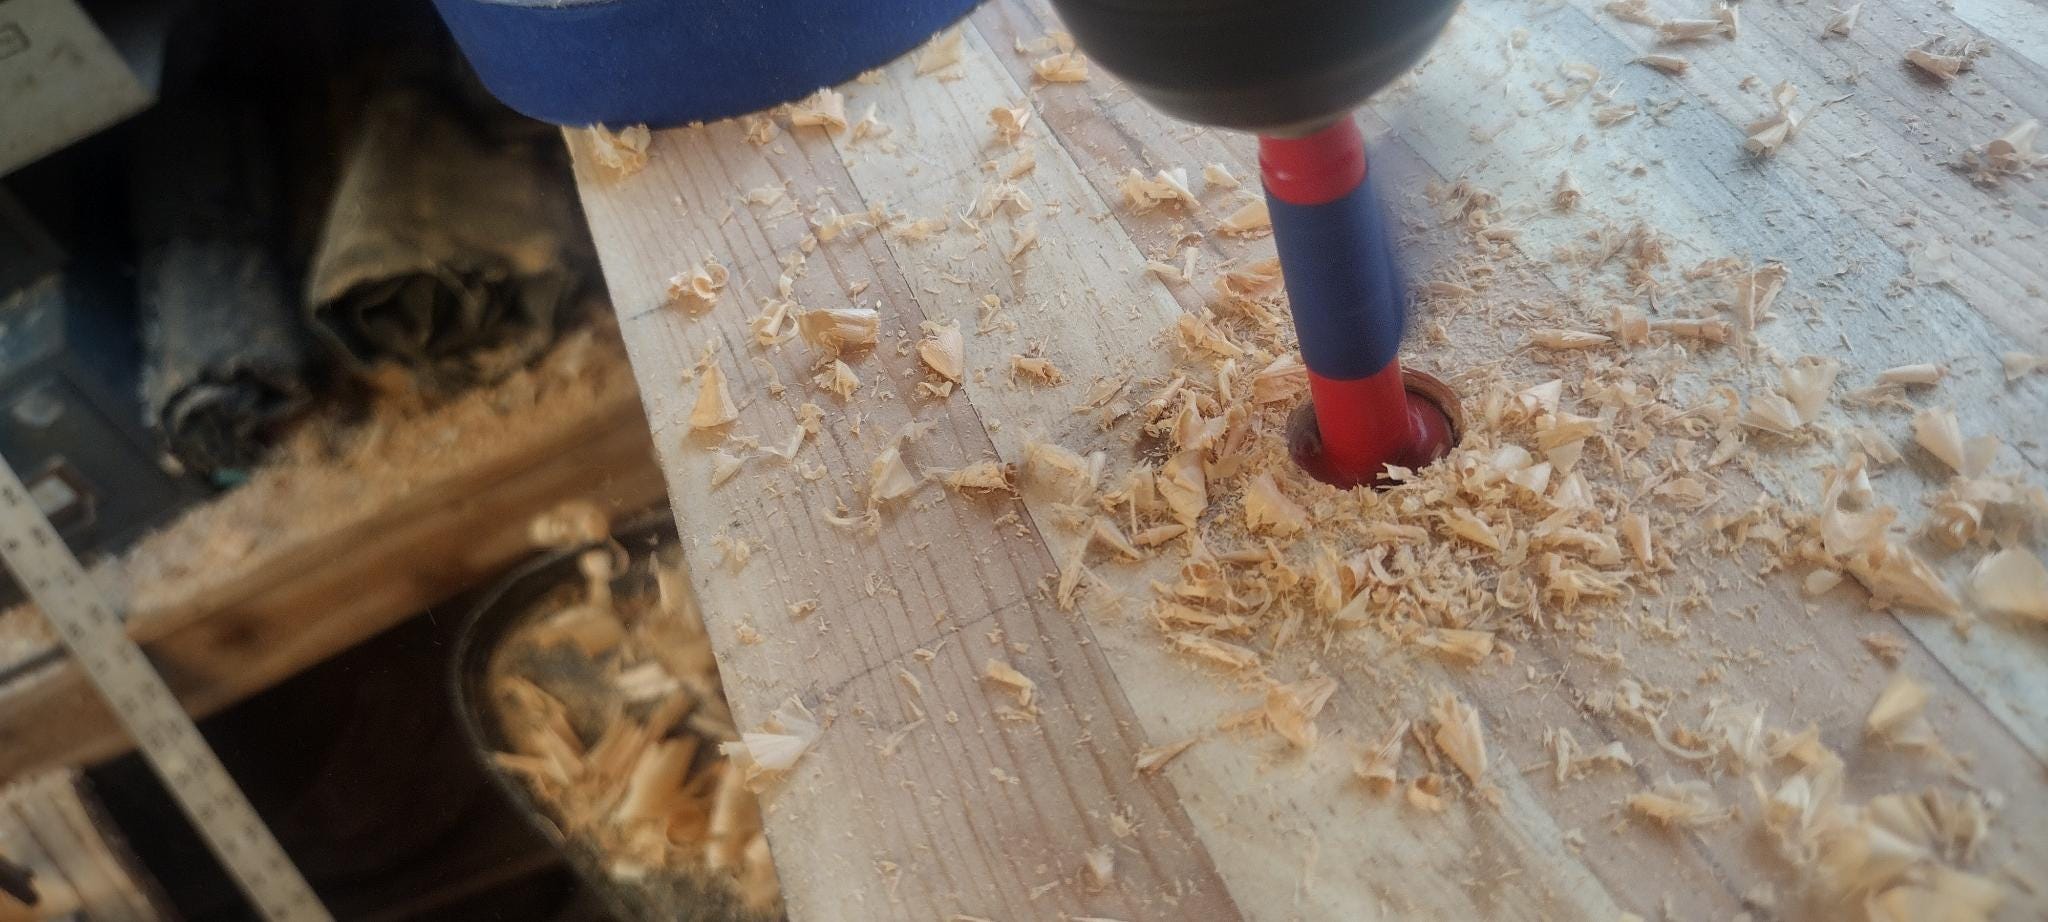
Worth noting: I discovered later that for the hold-down clamps to work well, the holes needed to be at least 2” deep, so I wound up deepening these holes.
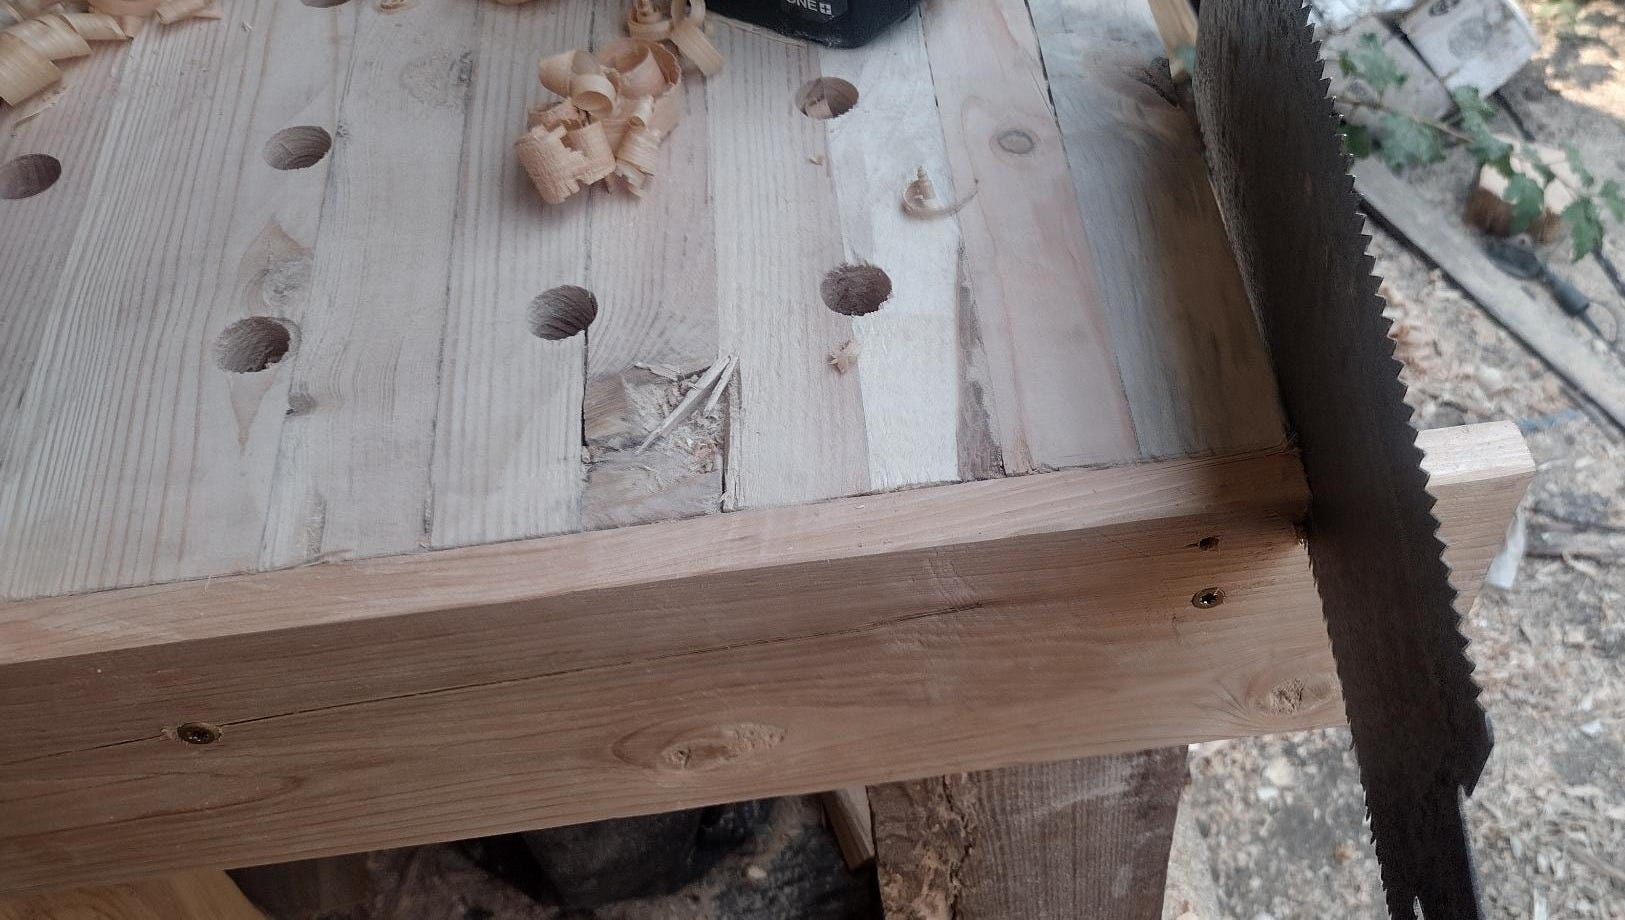
After that, I figured a nice end-cap for the part of the bench that stuck out into the shop would go well. It would look nice, and protect the end grain from crushing or fraying. I took another scrap board and glued it on, securing it in place with some screws, and cut off the excess.
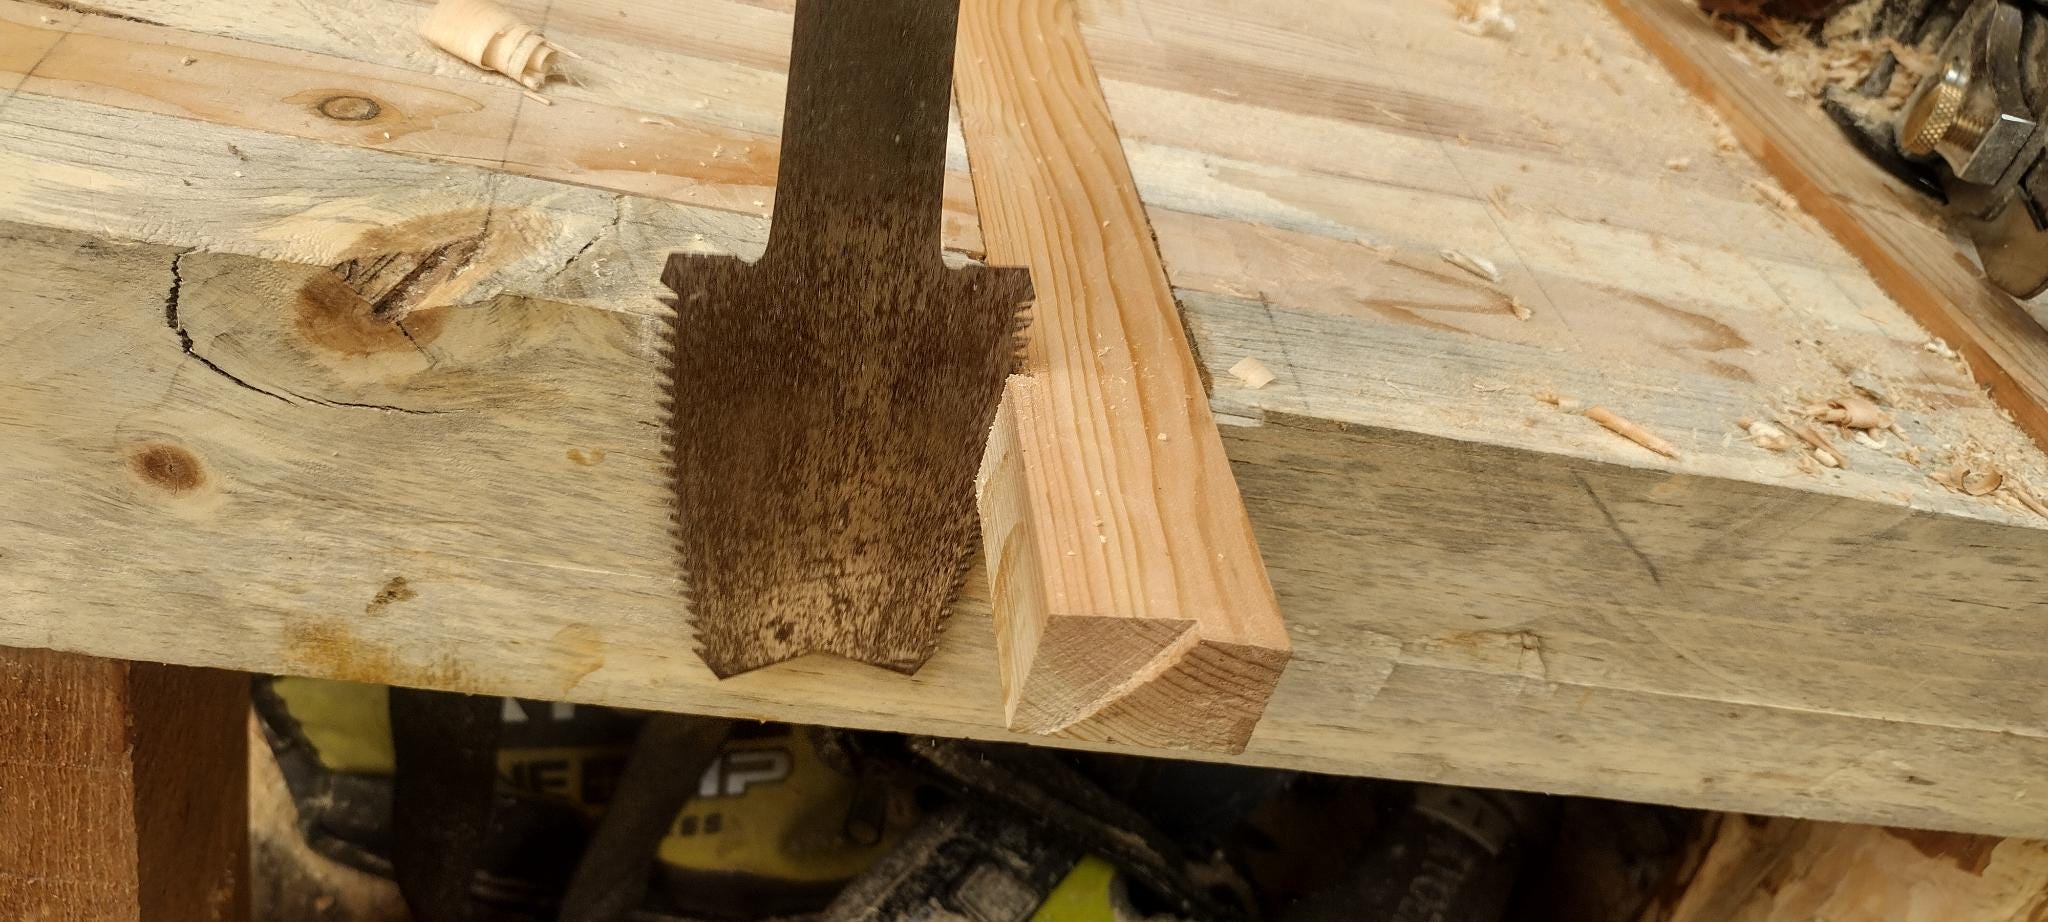
And, while I was at it, I cut off the excess from the cross-bracing.
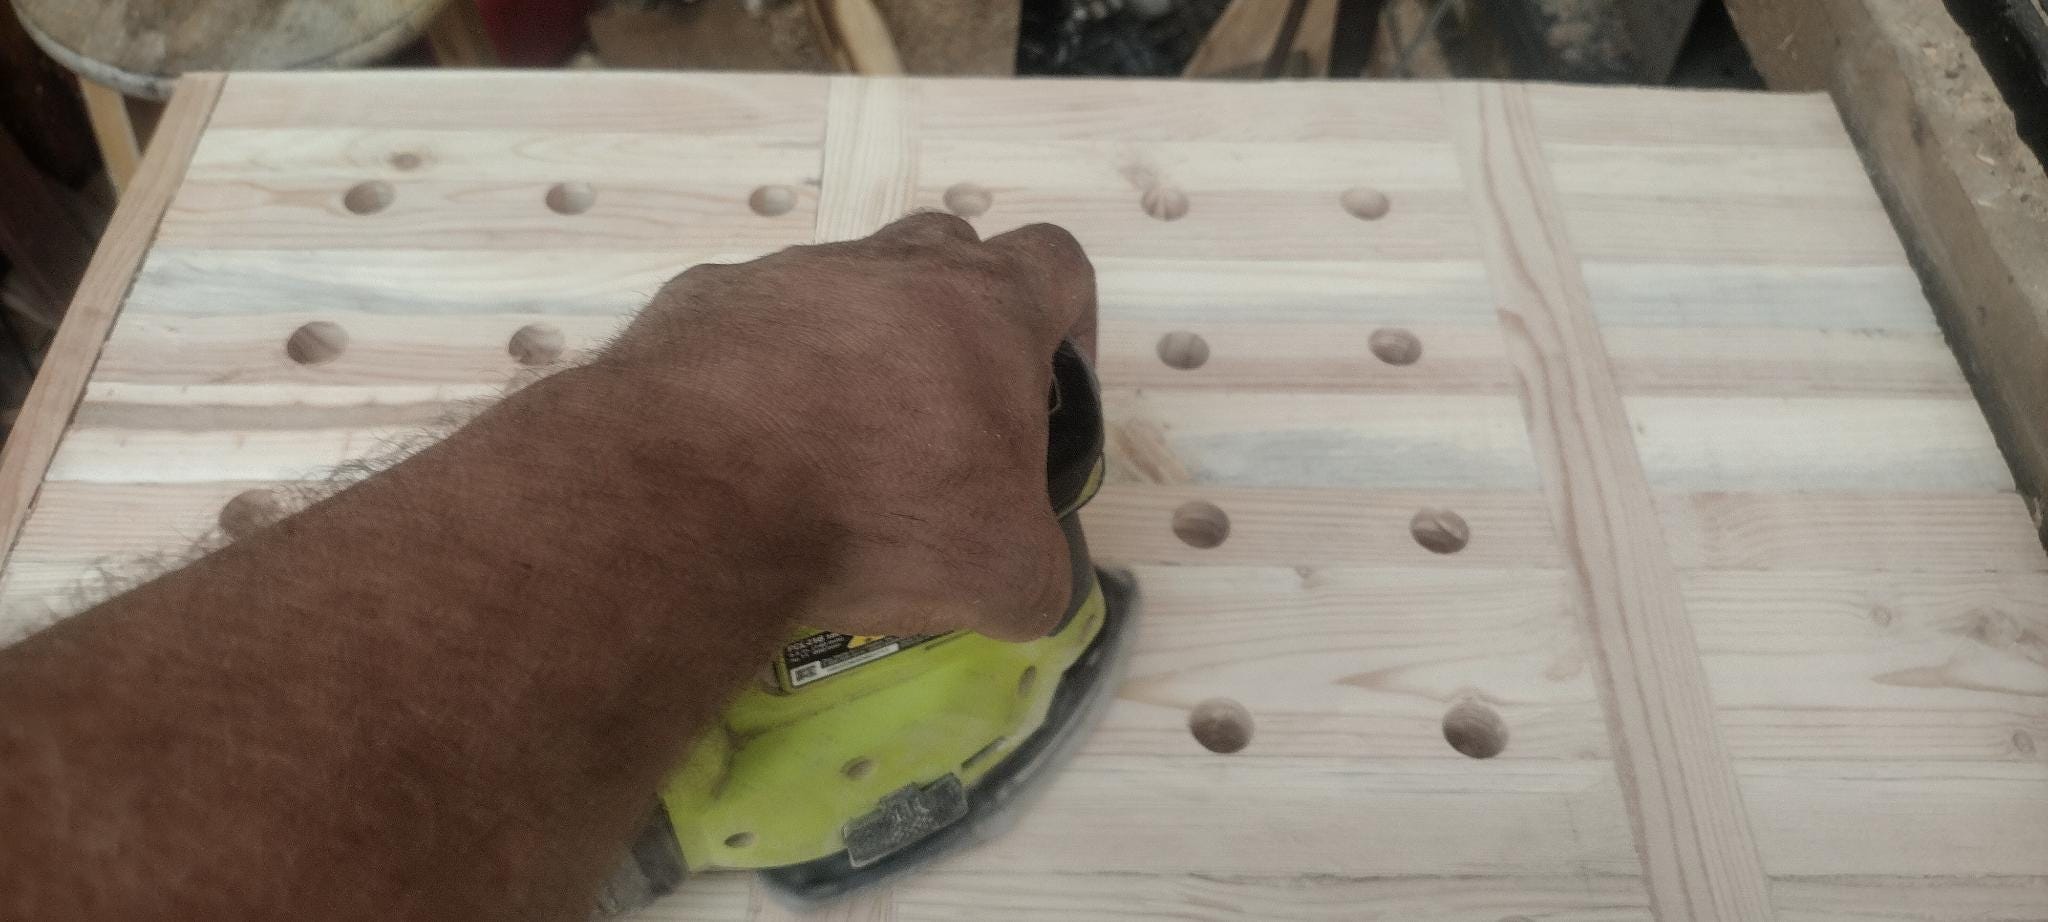
At which point, a final pass with the sander was in order.
And now, at last, it was time to finish the bench. Several coats of tung and linseed oil wouldn’t just bring out the colors, it would protect it from weathering and rot so that the bench will serve me well for many decades to come.
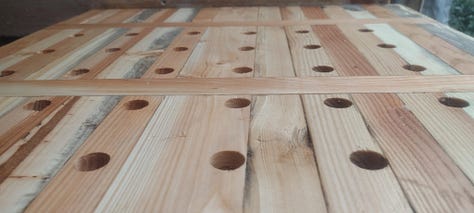
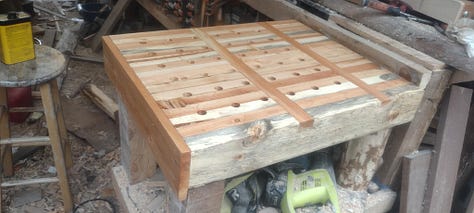
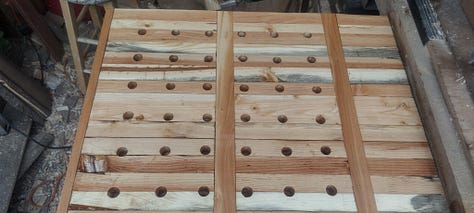
There she is. From cast-off mill-ends of pine and fir to a final finished thing of beauty.
Total materials cost, including glue, screws, and oil: $3-5
Tools used: Hand saw, circular saw, table saw, trim router, hand plane, clamps, drill, chisel, finishing sander.
Total time invested (not including drying time for glue and oil): 6-9hrs
And that, my friends, is how you turn trash into treasure.
Now is a great time to get in your Christmas orders from my shop. My current offerings are here, but I’m always up for new challenges and give special prototyping rates to products I haven’t made yet.
Click here to browse the store, or leave a comment to commission a custom piece.
Want more? Find fresh stories, nifty novels, short stories, visions, and dreams (along with some how-to books and literary studies) by clicking here.
If you’re feeling adventurous click here to find a ridiculous number of fiction and nonfiction podcasts for which I will eventually have to accept responsibility.
This column is a big part of how I make my living—bigger now due to recent exciting events which you can read about here. Because of this, I’m offering a 20% lifetime discount off the annual subscription rate. If you’re finding these articles valuable, I’d be honored to have you join the ranks of my supporters!
No posts
Comments
Nothing yet. Say the first thing.
Sign in to join the conversation.