
Hi! If you’re new to my page — Welcome to your new home of simple, delicious, yet gut-friendly recipes. Health begins in your gut, so let me show you how. I’m your go-to gut health dietitian, Jasmin, and I’m here to show you that good nutrition shouldn’t be complicated (or tasteless). Make sure to subscribe! && if you’re a local to the Jasmin D the RD community, welcome back.
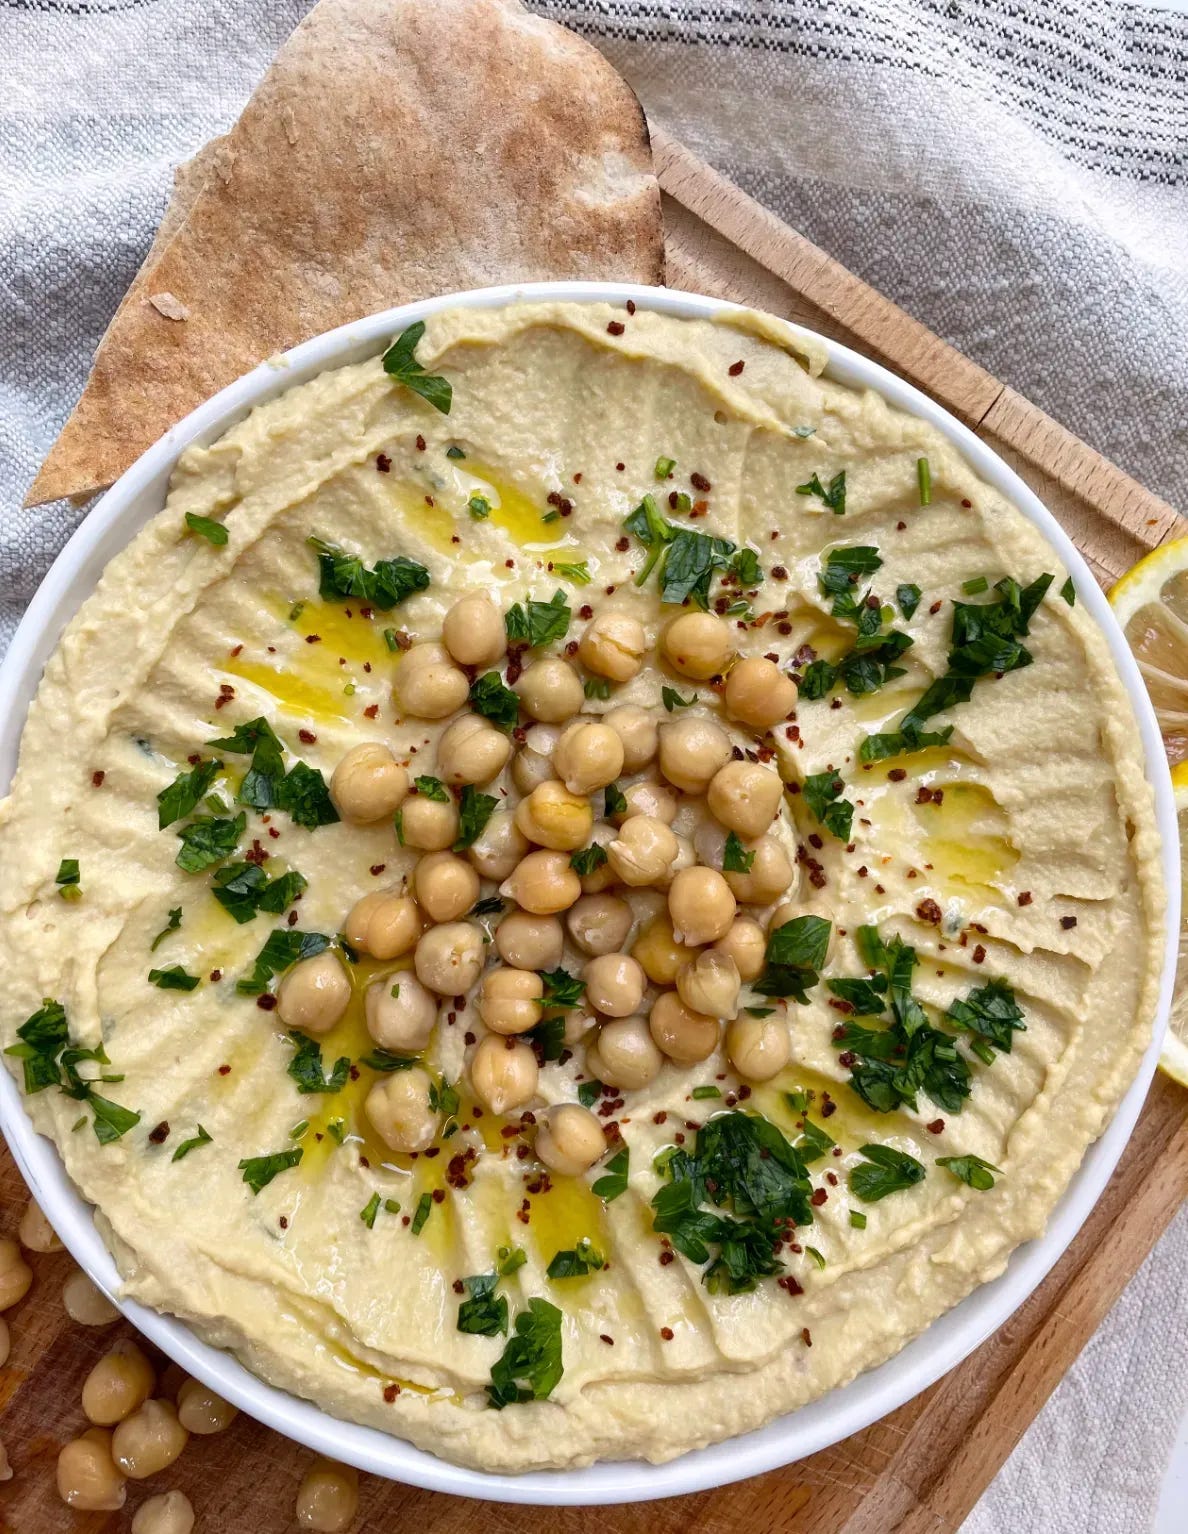
This recipe of mine has over 9000 views on my blog, and for a good reason. As your (Syrian-American) go-to gut health dietitian, I believe it is my civil duty to give you my hummus recipe that has been passed down generations within my family. No more Sabra, no more store bought hummus in general, ok? You’re going to learn how to make your own hummus.
Since I was a little girl, this has been by far, my favorite Middle Eastern food. If you’ve never heard of hummus, well you’re in luck because this is the one person you want to get a homemade hummus recipe from. Before I provide you with this delicious recipe I want to give you a quick background on what hummus is.
Hummus is a traditional Middle Eastern dip that is made of ground chickpeas. It is generally consumed with pita bread but many people have found special ways to incorporate it into their daily lives. Personally, I love to use hummus as a spread on sandwiches/dips or as a dressing on salads/bowls. It is a healthy and nutritious dip since it is made with a healthy plant-based protein source (chickpeas) and healthy fats (olive oil and tahini).
This recipe lasts at least a week or two and costs much less than any of those overpriced hummuses (whats the plural of hummus?) at your local grocery stores.
You’re better off making your own hummus since store bought hummus could contain preservatives.
Since it’s summertime, I thought this would be the perfect time to learn how to make your own hummus—especially if you’re hosting a summer gathering. It’s the kind of appetizer that’s simple to make, crowd-pleasing, and definitely worth learning how to make from scratch. Throughout this recipe I will make sure provide you with tips to ensure you make the best hummus.
Prep time:
canned chickpeas --> 10 minutes
fresh chickpeas --> need to be soaked overnight and boiled the next day
Total time: 15 minutes
This recipe is dairy free, gluten free, vegetarian, and vegan.
What you’re going to need:
Canned chickpea instructions: 1 28oz can of chickpeas
keep the aquafoba on the side for later use
Fresh chickpea instructions: 2 cups raw chickpeas
keep the water from the pot
2 tbsp extra virgin olive oil
2-3 garlic cloves
½ - 1 tsp kosher salt (to taste)
4 tbsp tahini
Juice of 1 lemon
Garnish:
Fresh parsley
Aleppo pepper
Instructions for canned chickpeas:
Prep chickpeas: Make sure your chickpeas are drained, but keep the aquafoba on the side for the hummus.
Blend: In a blender, pour chickpeas in. Drizzle in extra virgin olive oil, tahini, and lemon juice. Purée. Add a splash of aquafoba if need be. It may still be too thick. Purée. You can use a tamper to manually blend as well, sometimes the chickpeas can be stubborn. Add garlic cloves and salt. Purée. Add splash of aquafoba if need be. Purée. Taste and adjust for salt, tahini, olive oil, or lemon.
PSA: do not allow the hummus to get to a smoothie consistency. We want it to be thick, but also creamy.
Cool and Store: Scoop hummus out into a container and allow to cool in the fridge for an hour. Enjoy later!
If you’re making a batch for yourself, skip the next step.
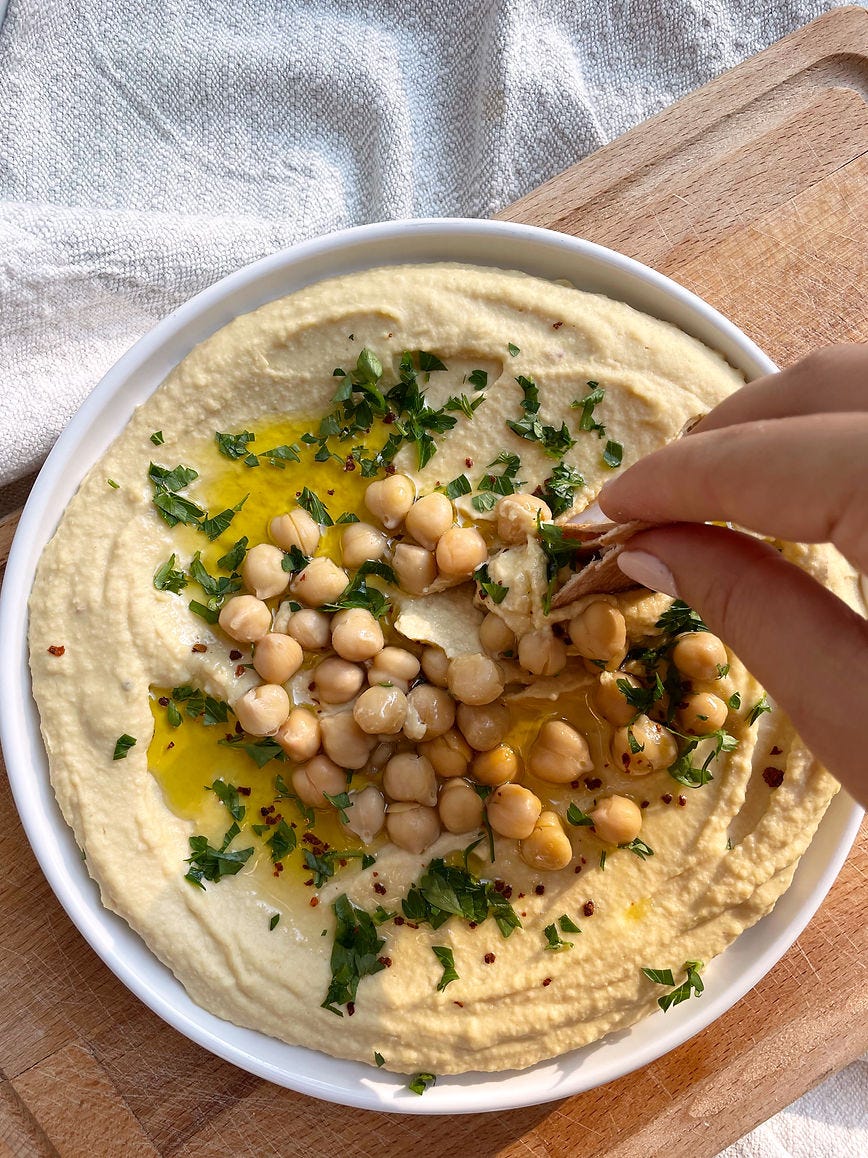
Serve: When it comes time to serve, plate it well as seen in the picture above. Garnish with fresh parsley, Aleppo pepper, and olive oil. Enjoy with pita bread or vegetables of choice.
Instructions for fresh chickpeas:
Prep chickpeas: After soaking over night in cold water, drain chickpeas. On medium-high heat, have a pot filled ¾ of the way with water. Add chickpeas in and allow them to cook until soft and tender. Once done cooking, drain the chickpeas into the bowl and save the water from the pot.
Blend: Repeat the steps from above (instructions for canned chickpeas) Use the water from the pot in place of the aquafoba. Serve and enjoy!
💬 Want to ask your own questions?
Inside my monthly community, you get access to Ask a Gut Health RD, where you can submit gut health, digestion, and nutrition questions anytime and get thoughtful, science-backed answers from me.It’s a supportive space for learning, asking, and growing — without the overwhelm.
You can also find me on Instagram and TikTok for even more ideas and inspiration.
Interested in working on your gut health and nutrition foundations 1:1? - please take advantage of booking a complimentary discovery call with me to get started on your personal healing journey. Don’t wait!
xoxo,
Jasmin D the RD
No posts
Comments
Nothing yet. Say the first thing.
Sign in to join the conversation.