
As a reminder: This article and all of my articles are written from the perspective of a gardener with a 1/4 acre lot in suburban Philadelphia, Pennsylvania, US, zone 6b/7a, with heavy clay, rocky soil.
Compost, according to Merriam-Webster, is defined as, “a mixture that consists largely of decayed organic matter and is used for fertilizing and conditioning land.” The benefits of adding compost to your garden soil include: increasing nutrients, improving soil health, feeding soil life, enjoying a higher crop yield, improving the texture, drainage of heavy soil, water retention in light soil, suppressing plant disease, and reducing or eliminating the need for fertilizers and other products sold in single use plastic waste. My garden is living proof of these benefits. I succession plant all season long, using close spacing and interplanting techniques, with no added fertilizer. I only use a layer of compost spread in the garden beds in the autumn. My plants are healthy. My yield is overwhelming.
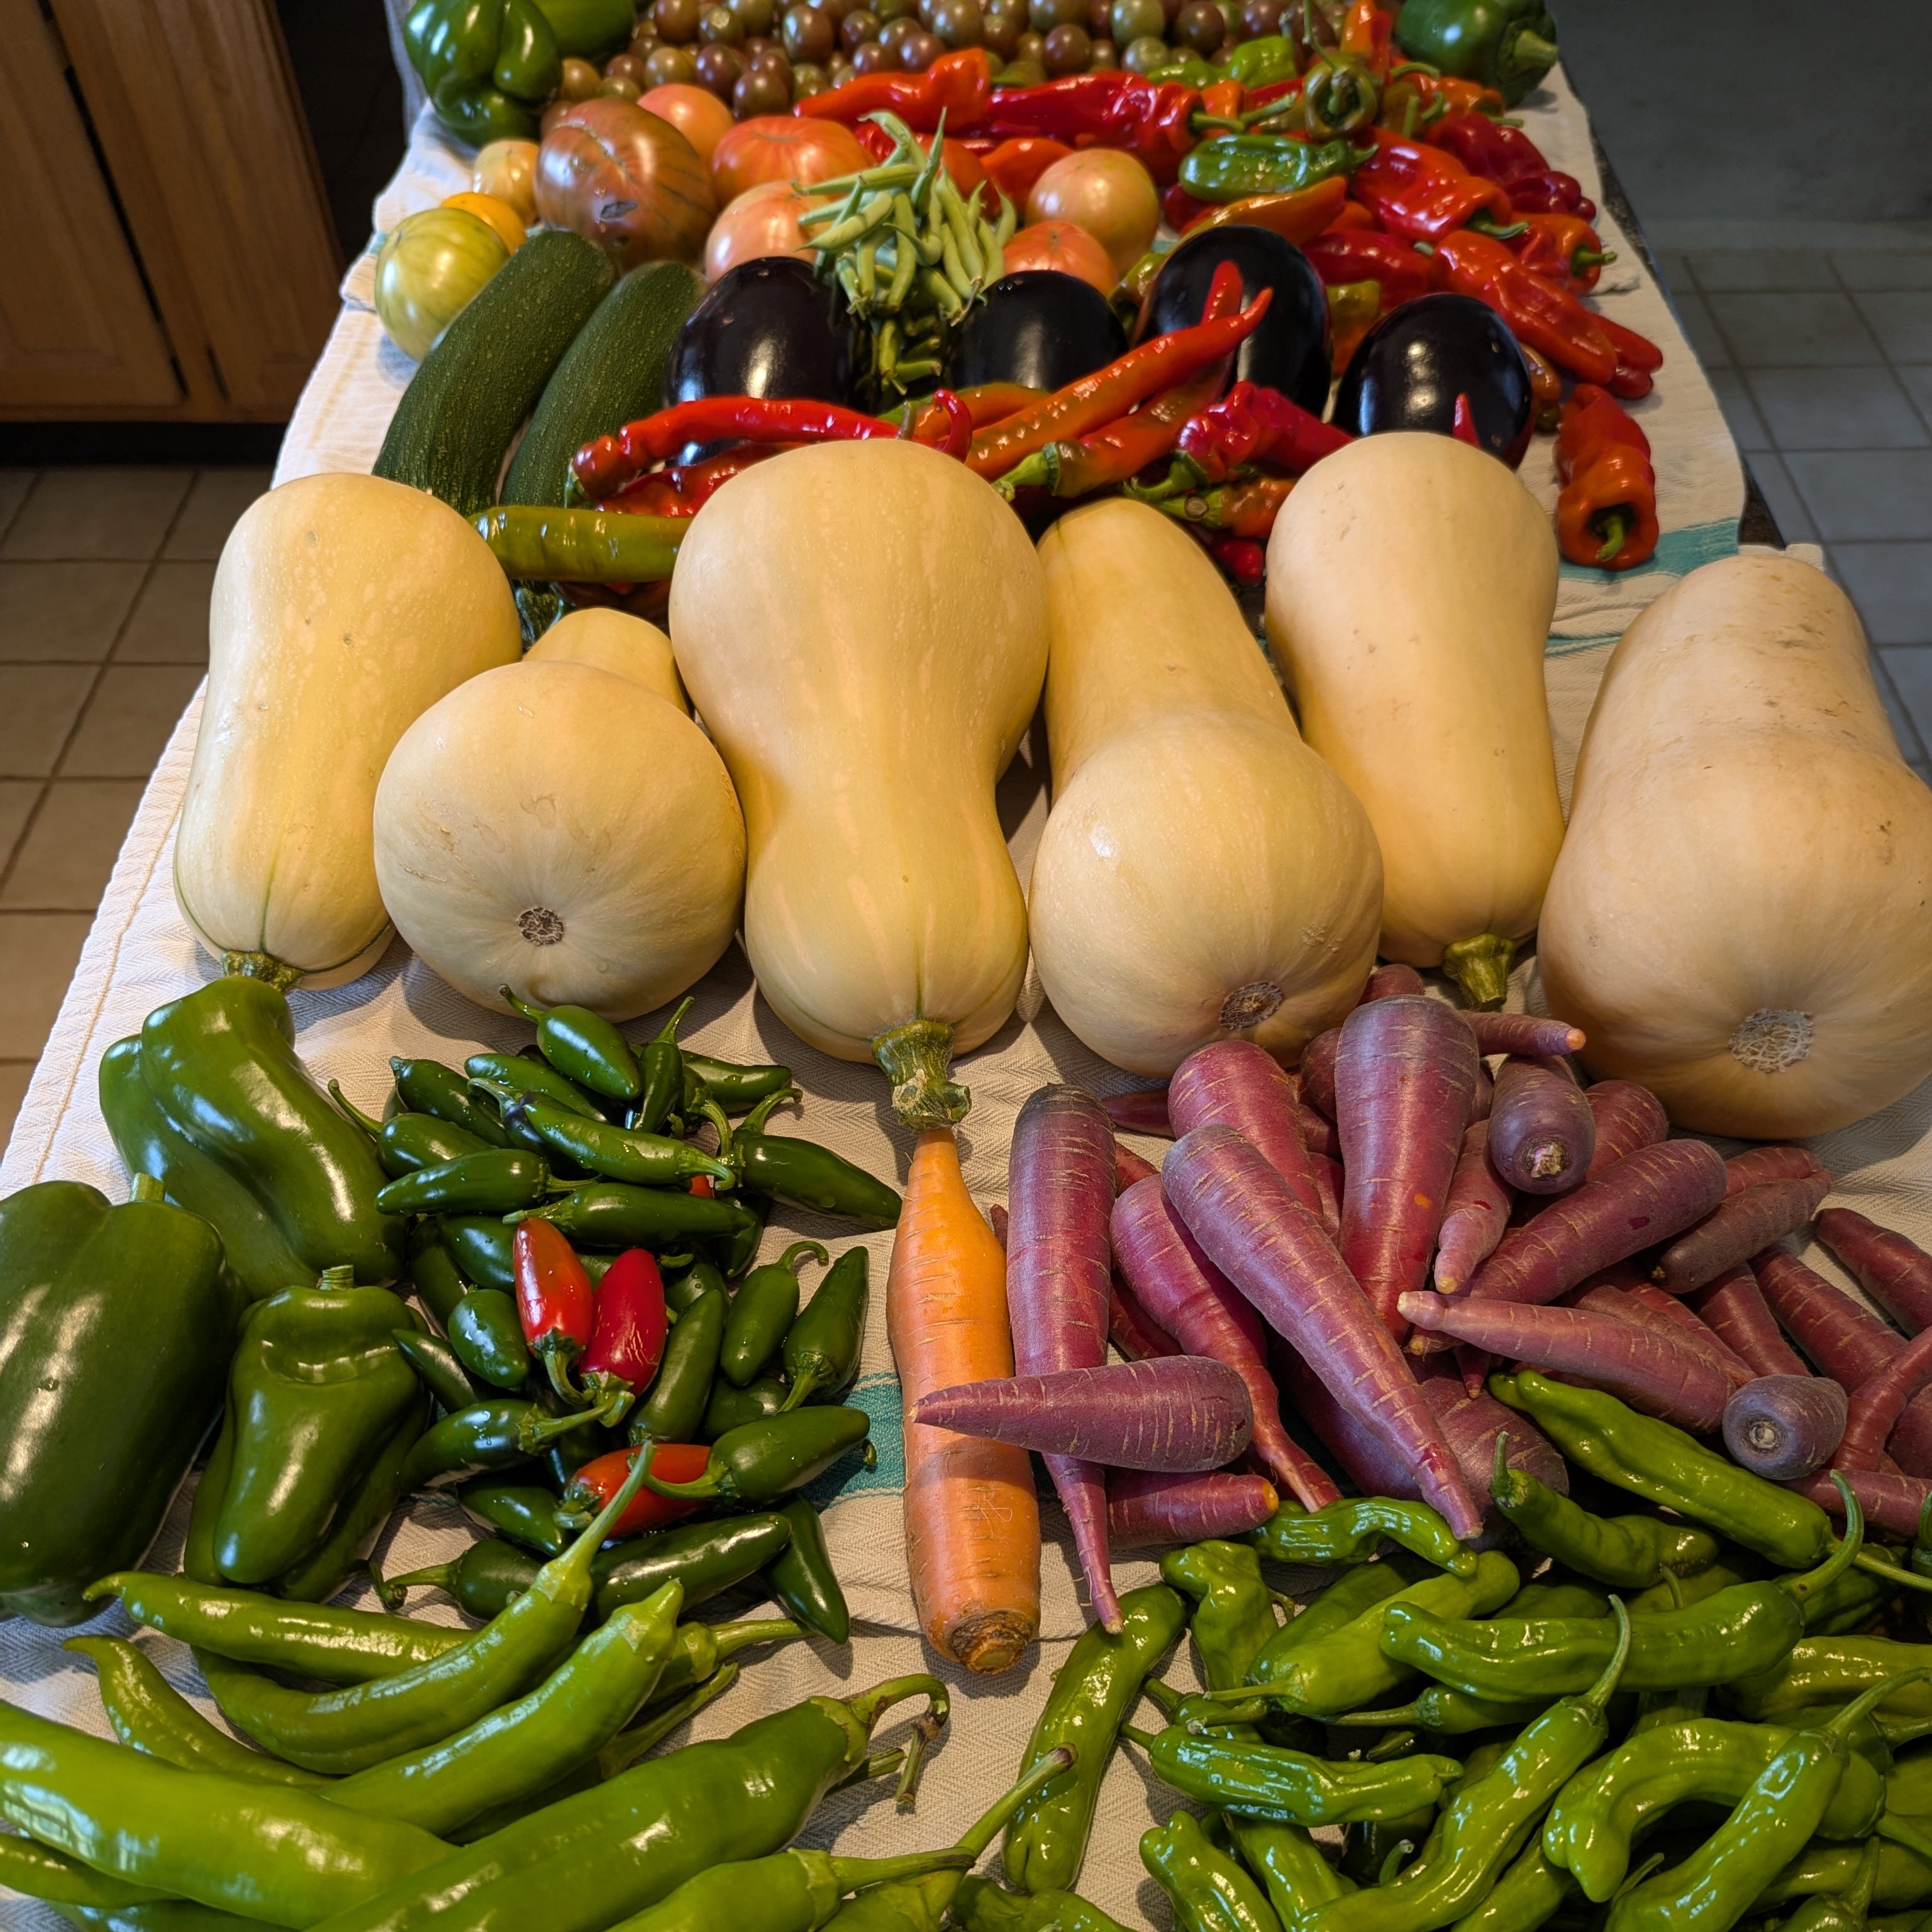
The benefits of establishing a compost operation aren’t limited to your garden beds. Composting your food waste and your garden debris instead of kicking them to the curb for the trash hauler keeps them out of the landfill. Food waste and garden debris does not compost in a landfill. Composting requires oxygen. Landfills are anaerobic environments. Food waste and garden debris turns into methane gas in a landfill. When you compost, carbon produced by your garden is returned to your garden.
There are many ways to compost your food waste and garden debris. You can make some sort of free standing pile, you can bury food scraps directly in your garden beds, you can make a worm bin, you can buy some sort of plastic tumbler, you can construct something simple or complicated to contain a pile. The exact methods are probably almost as numerous as the number of gardeners who compost. Many gardeners do more than one of the above listed methods. Besides the endless methods of composting, there’s a lot of information about ratios of green to brown materials for compost, temperature, turning, making compost tea, and using the bokashi method to ferment your food scraps. On top of all of that there are related subjects like cover crops and mulching. All of this information can be overwhelming for someone who just wants a simple way to get started. Let me reassure you that there is no correct way to compost. There’s only a correct way for you to compost, and that can change over time, with your garden size, and with your ambition. What are your goals? Do you have garden debris to compost or just food scraps? On what sort of scale are you operating? You can find a method that’s appropriate for what you want to compost, the scale of your gardening operation, your household situation, and your lifestyle. Start small, try out some methods you think will work for you, increase your composting practice as your objective or garden size demand. I’m here to describe how I compost, and why I’m happy with this method and level of effort.
My goals for composting include processing all of my garden debris on site as well as all of my food scraps. I also want to save as many bagged autumn leaves from the landfill as possible. What’s garden debris? Here are some examples: bean vines, pea vines, broccoli plants after they’ve stopped producing, annual flowers after they’ve stopped flowering, pepper plants after they’ve been freeze killed, material I’ve pruned, corn stalks, weeds that haven’t flowered, just to name a few. What are food scraps? Here are some examples: vegetable and fruit peelings and off cuts, cores, as well as tea leaves and coffee grounds. We use tea leaves without bags. We use metal strainers inside ceramic tea pots to brew tea. Our paper coffee filters, when we use a drip machine, are made to be composted. I also want to save as many leaves from my neighborhood from the landfill as possible, so I drive around collecting bagged leaves from the curb and ask my neighbors for their bagged leaves. I don’t put anything prepared with oil, grease, or fat of any kind in my compost. I don’t have a need to use compostable manufactured material like paper or cardboard. I have enough autumn leaves to add bulk “brown material” to my compost. Paper and cardboard go into the recycle bin at my house.
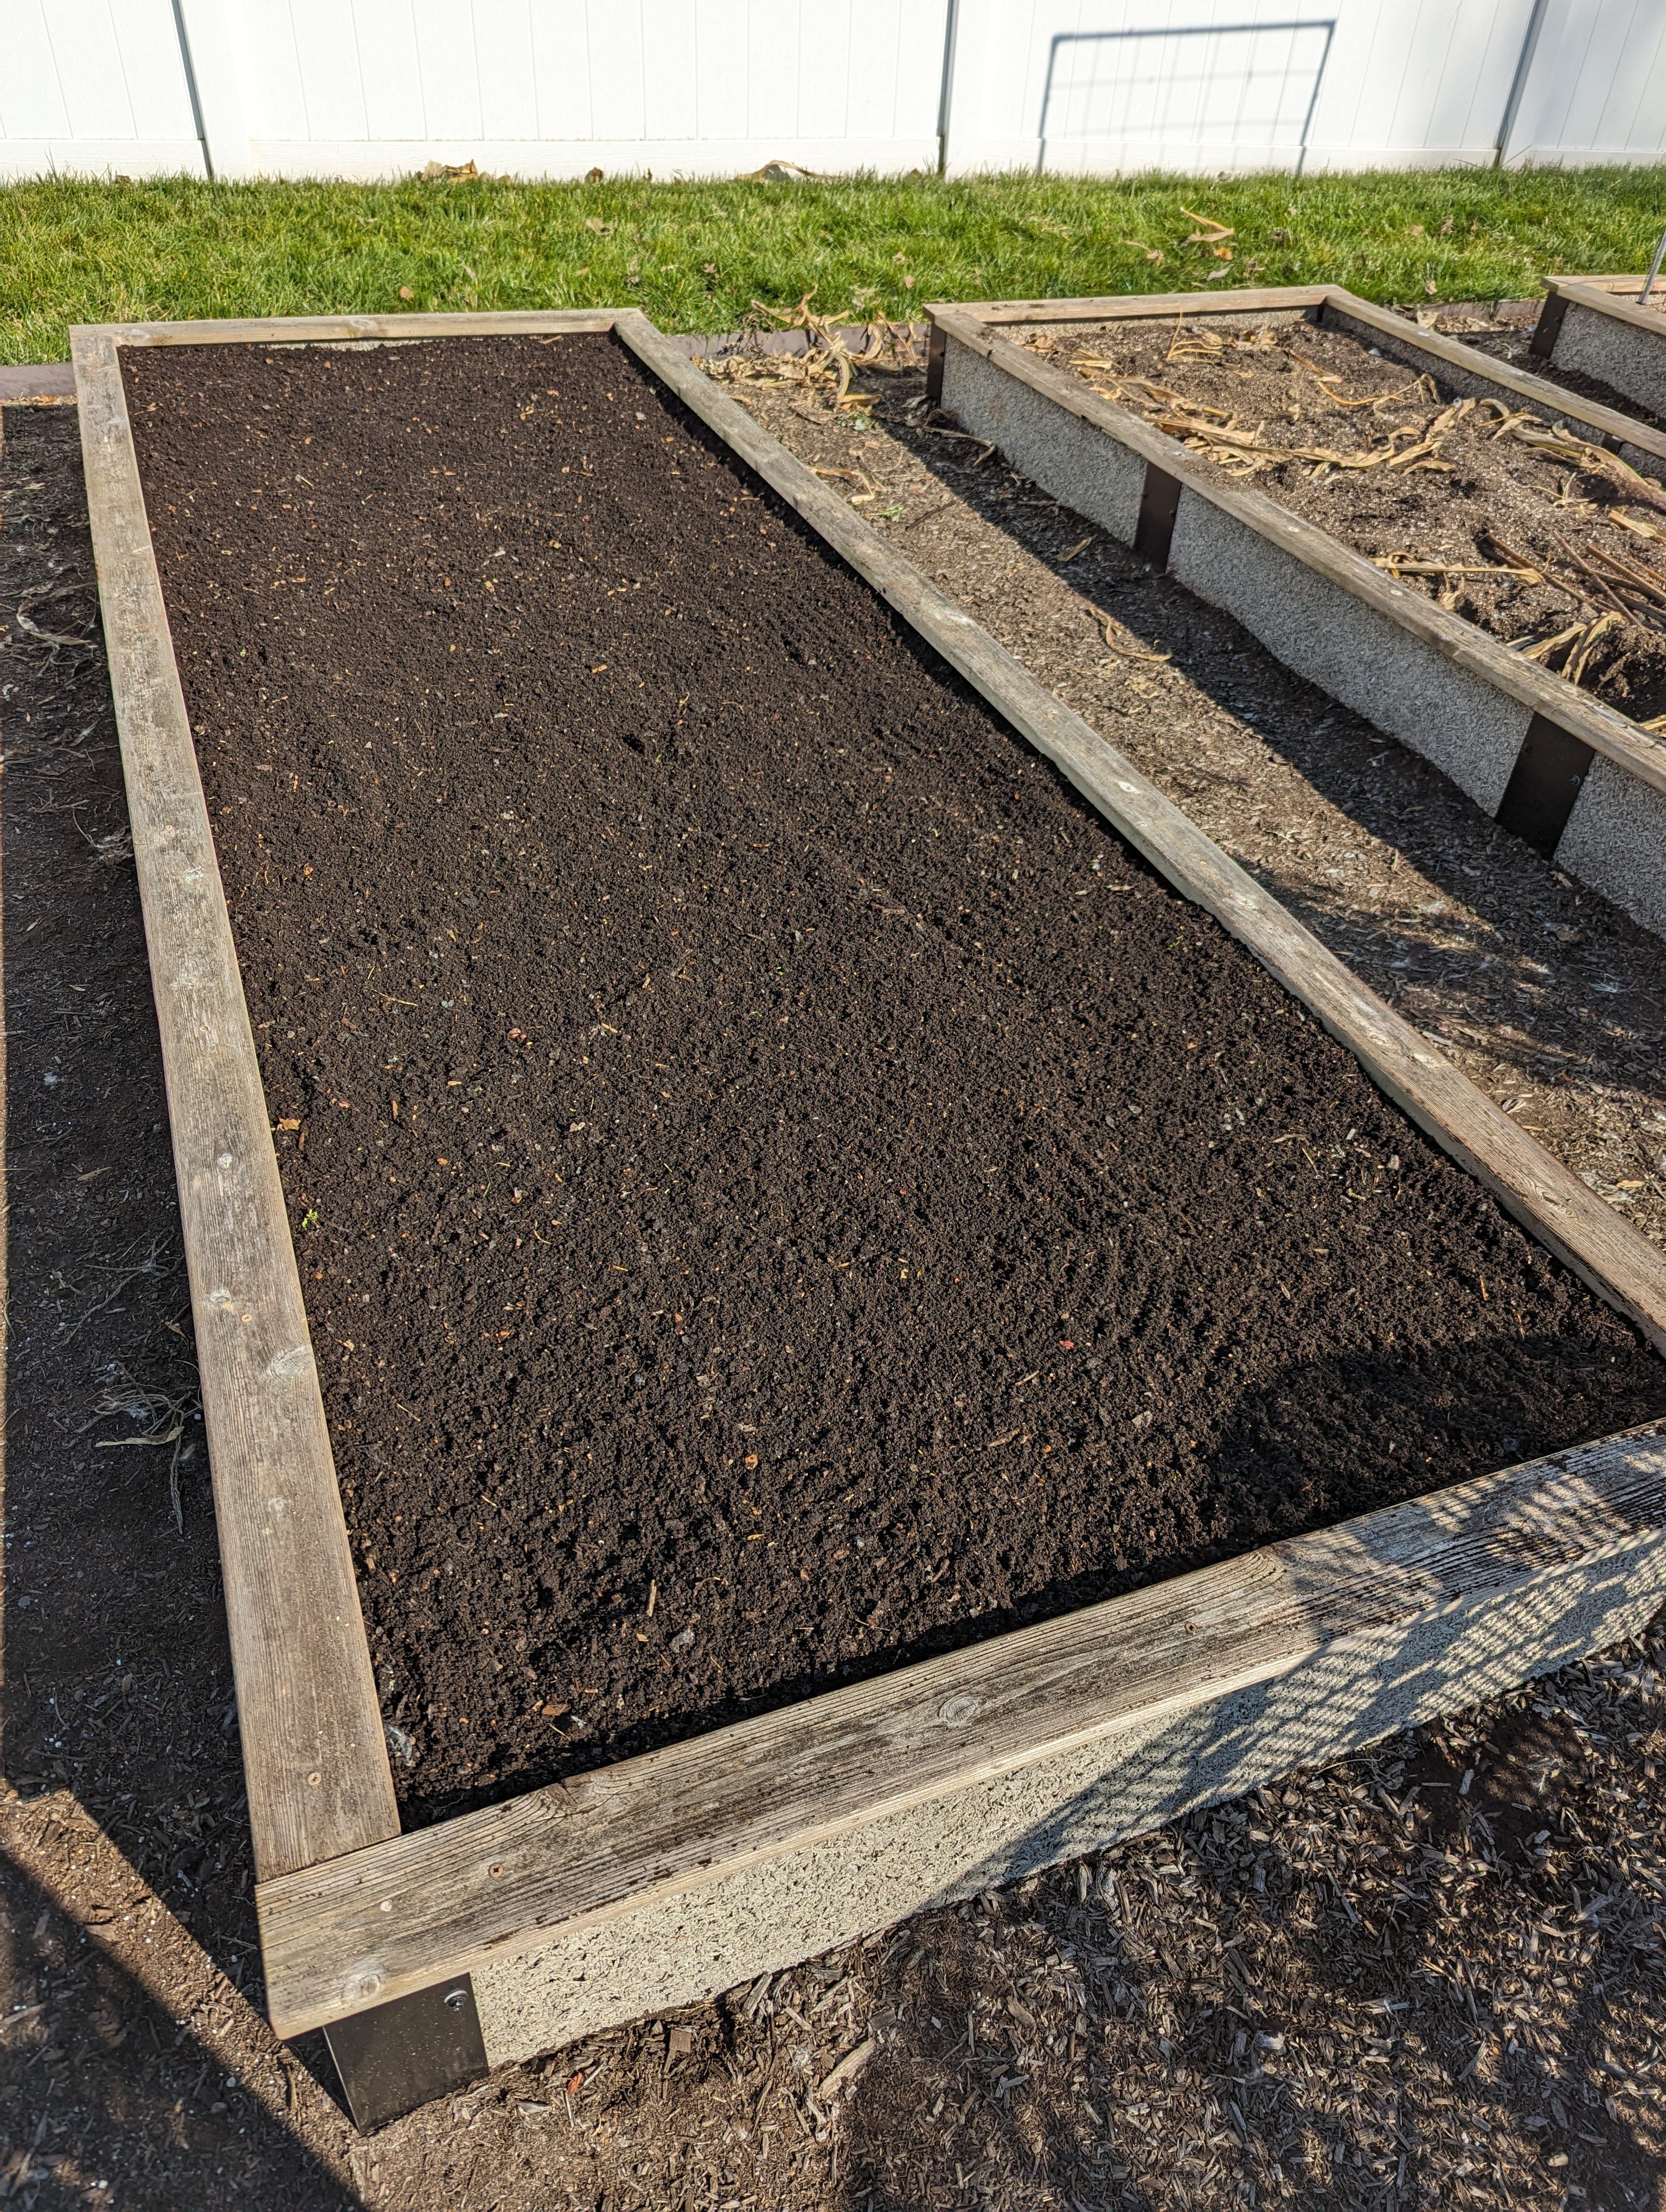
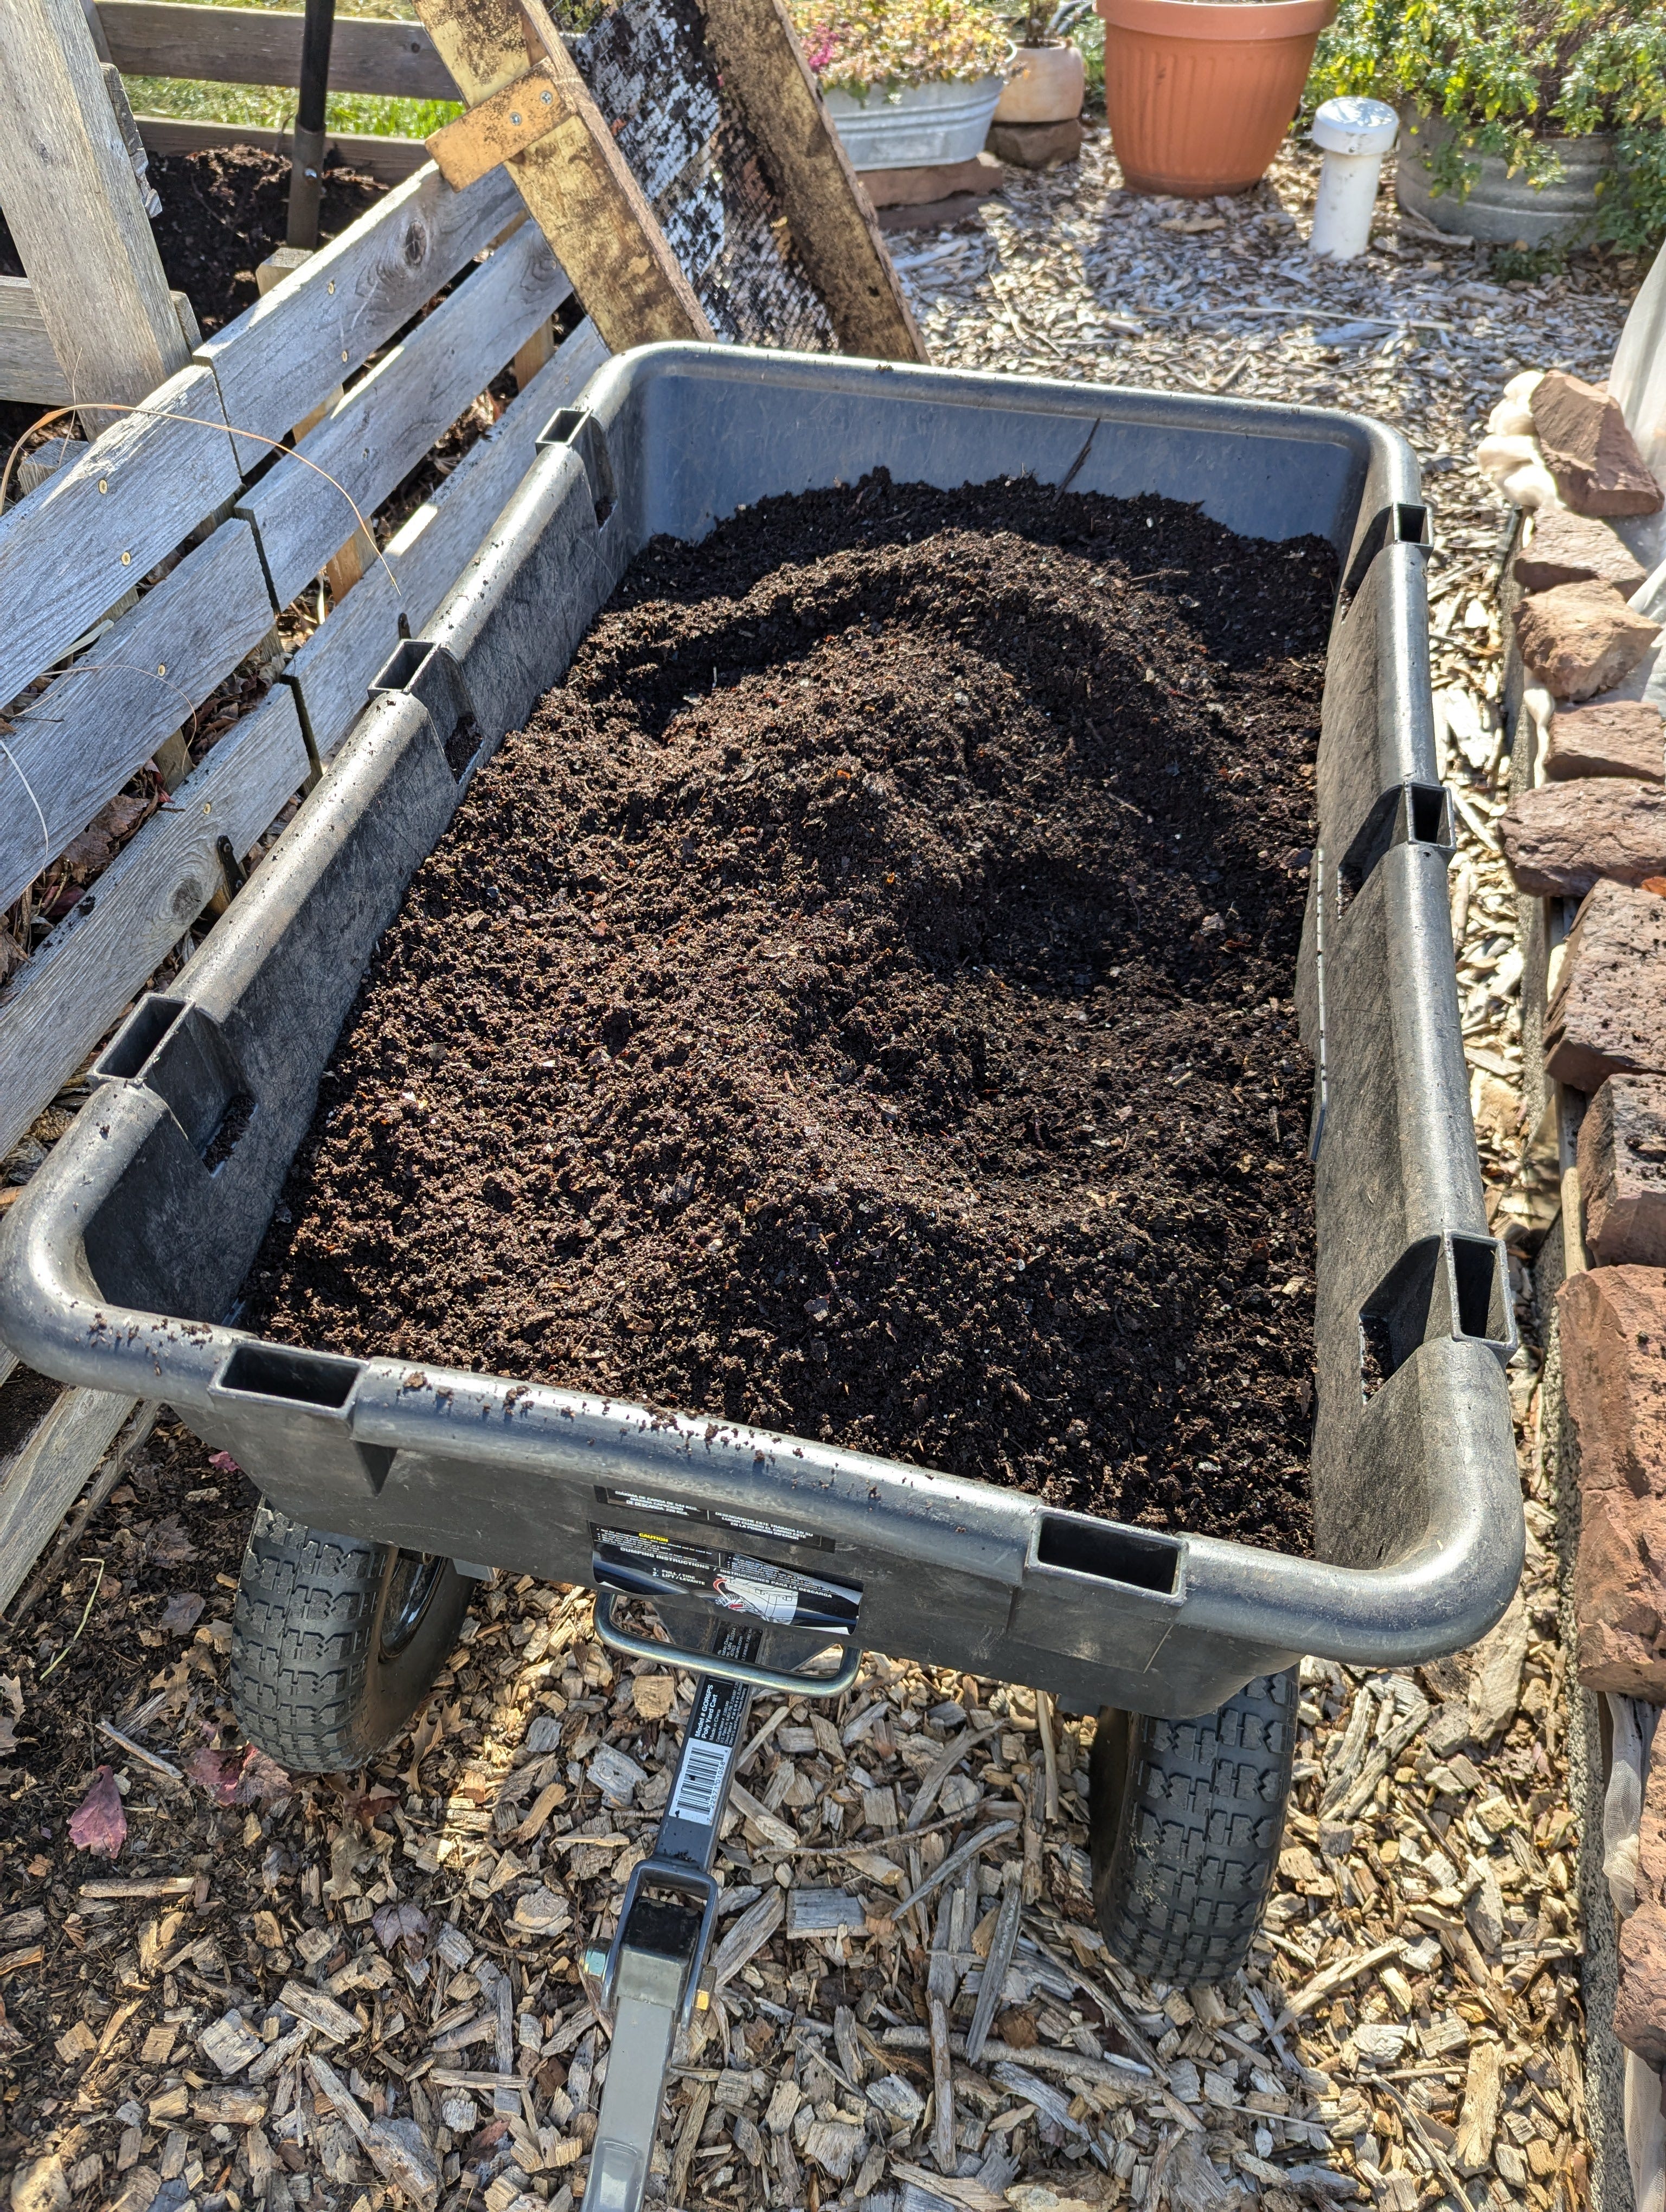
I’m a busy person, like all of you; another goal for my personal composting operation is that I don’t want to spend a lot of time on it. I only deal with my compost once a year. Sometime in November, I sift and spread my finished compost, which was started the previous November, over my raised garden beds. I never turn my compost. I never worry about ratios, temperature, and moisture. Sifting and spreading my compost once a year, in autumn, sets up my garden for success in the following growing season. I don’t add fertilizer. I don’t add compost to my garden beds at any time except for the one day in November. For most of the year, all I do is add food scraps and garden debris to my compost. Let’s get into the details. Let’s start in November with sifting and spreading.
Sifting and Spreading
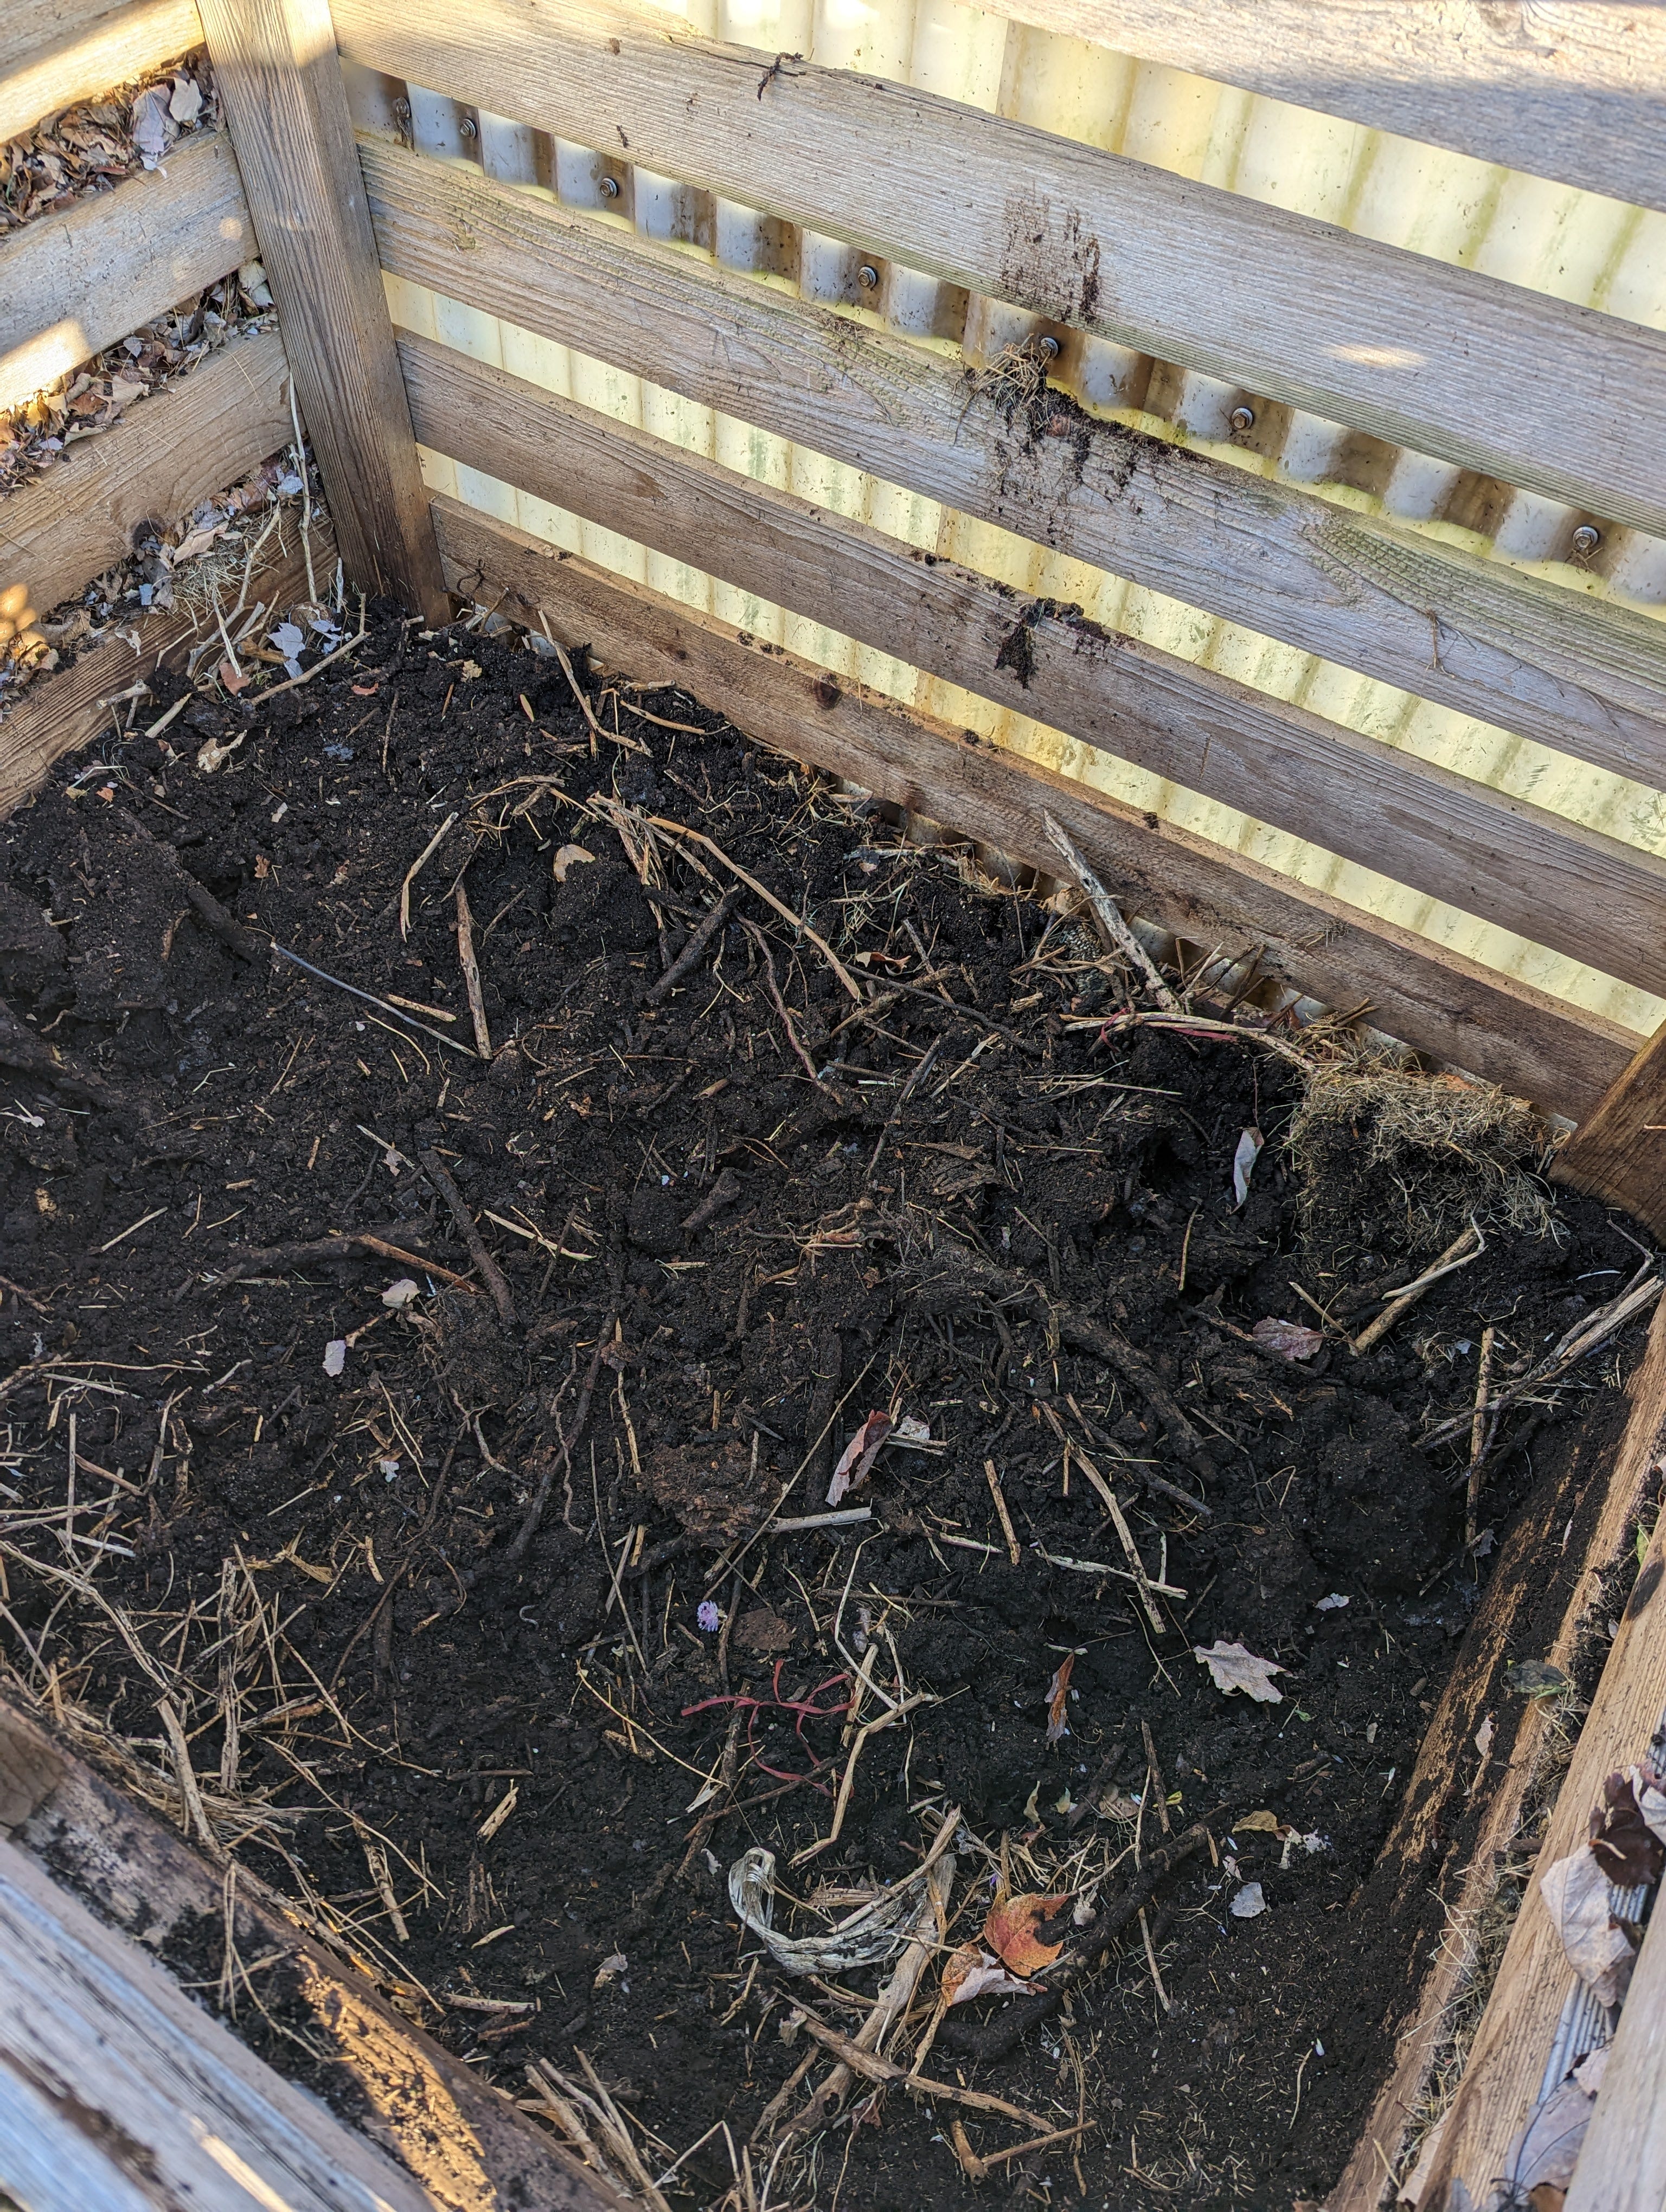
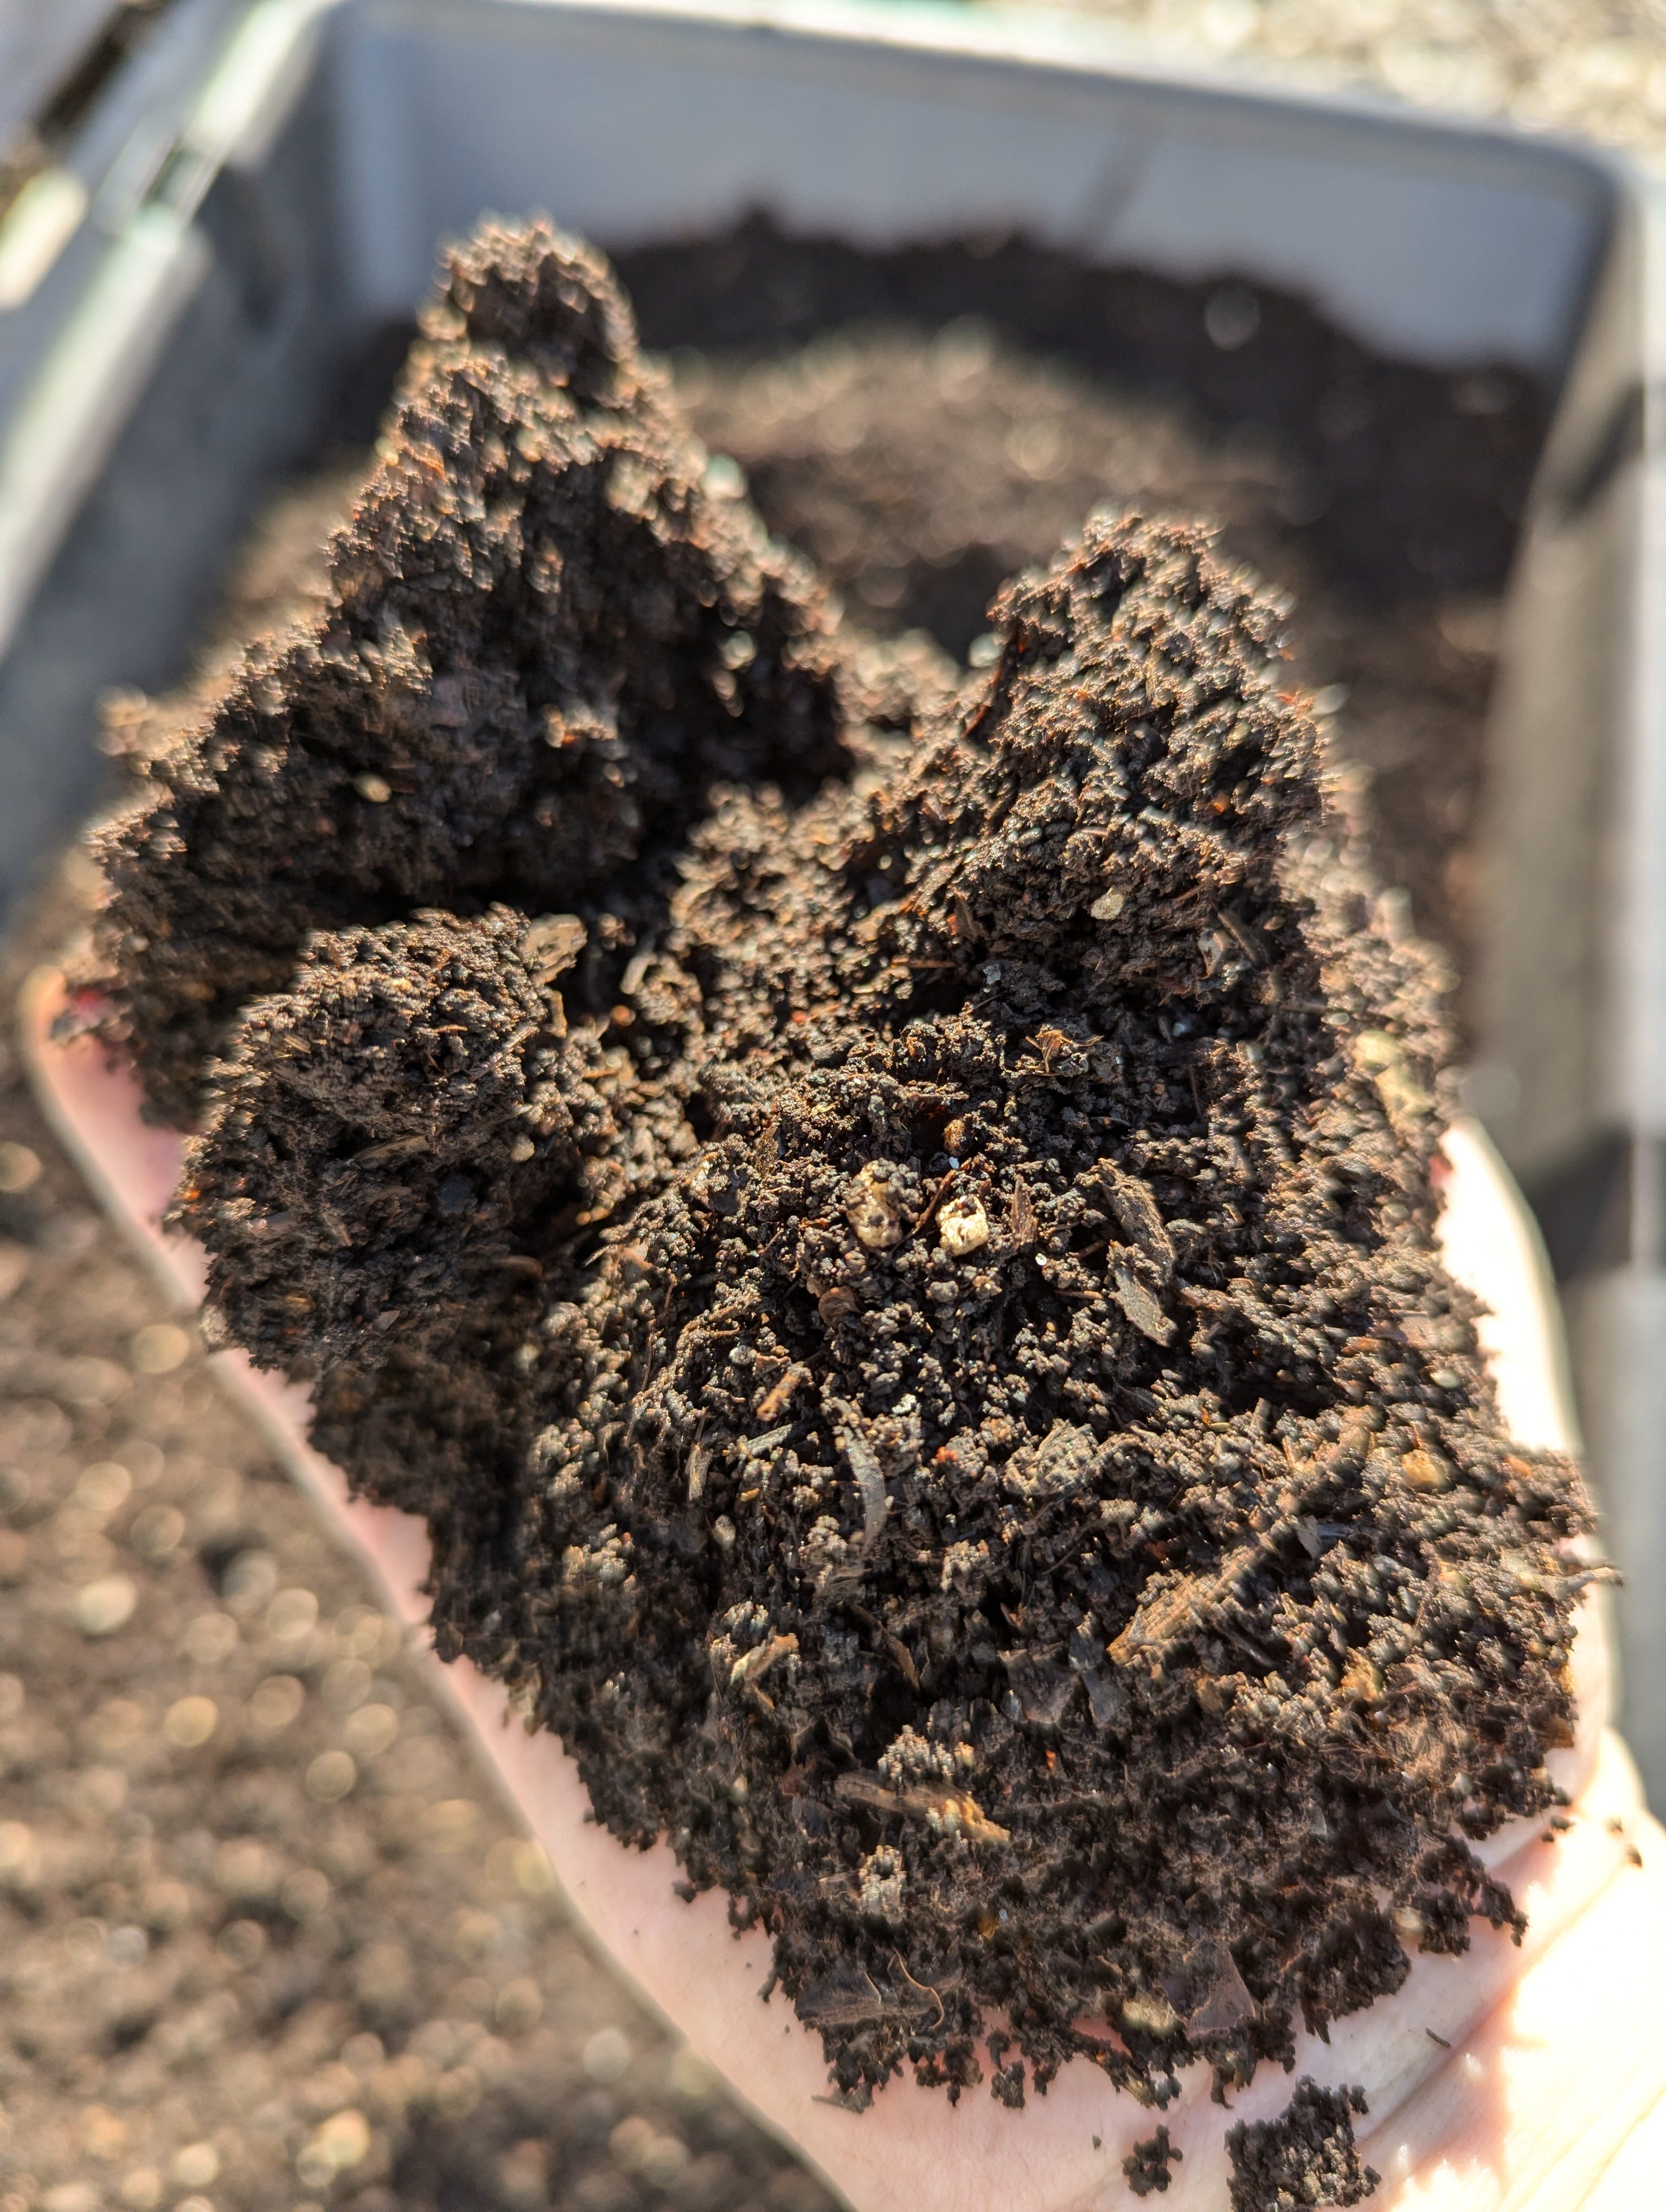
By November, in the Philadelphia Suburbs, we’ve had a few hard freezes and all of the summer crops have been freeze killed. There may still be cold hardy crops in the production vegetable beds, but many of the beds are ready to be cleared of dead plants and covered in compost. Those empty beds are ready to receive their annual layer of compost. I approach my compost piles with my sifter mounted onto my garden cart. I scoop compost into the sifter and push it through with my gloved hands. Here’s what that looks like.


Adding to the Compost
We’ve already covered what I add to the compost: food scraps, garden debris, autumn leaves. How does that work? What are these ratios I keep mentioning? When you have a compost pile, you can add green material like garden debris and apple cores or brown material like fallen autumn leaves, straw, sawdust, or shredded paper. Various Extension resources list brown to green ratios of 30:1, 25:1, or 20:1. That means that you’re supposed to have 30 times the amount of leaves or other brown material as the amount of green material, like food scraps. I don’t worry about any of that. I have no idea what the brown to green ratio of my compost is; I’m sure it varies. When I add my big bucket of food scraps from the kitchen to the top of my compost pile in one bin, I take a thick layer of leaves from another bin and cover up the food scraps. This means my compost pile doesn’t smell. When I pull out the broccoli stems from the spent spring plants in summer and add those to the top of my compost pile, I cover those with a thick layer of leaves as well. The active pile I’m adding to gets layered like that, food scraps, garden debris, and leaves, new stuff on top, never turning, until it’s full. Once it’s full, I let nature do its work and go on to a second pile. Typically, the third pile is reserved just for leaves.
I have a tightly sealed kitchen garbage can under the sink to store my food scraps, tea leaves, and coffee grounds until they are ready to add to the compost. My husband installed the kitchen compost bucket on a device that allows it to slide on rails in and out of the cabinet. It’s very convenient. I’ve found that countertop compost buckets are insufficient to our needs. I’d have to empty them multiple times per day. We drink an embarrassing amount of coffee and tea and eat a lot of vegetables. Kale stems take up a lot of space in a compost bin! Find a system that works for your kitchen and lifestyle. The amount of wet coffee grounds and tea leaves in the kitchen compost bin are probably why I never need to worry about moisture levels in my compost, even when the weather is hot and dry.
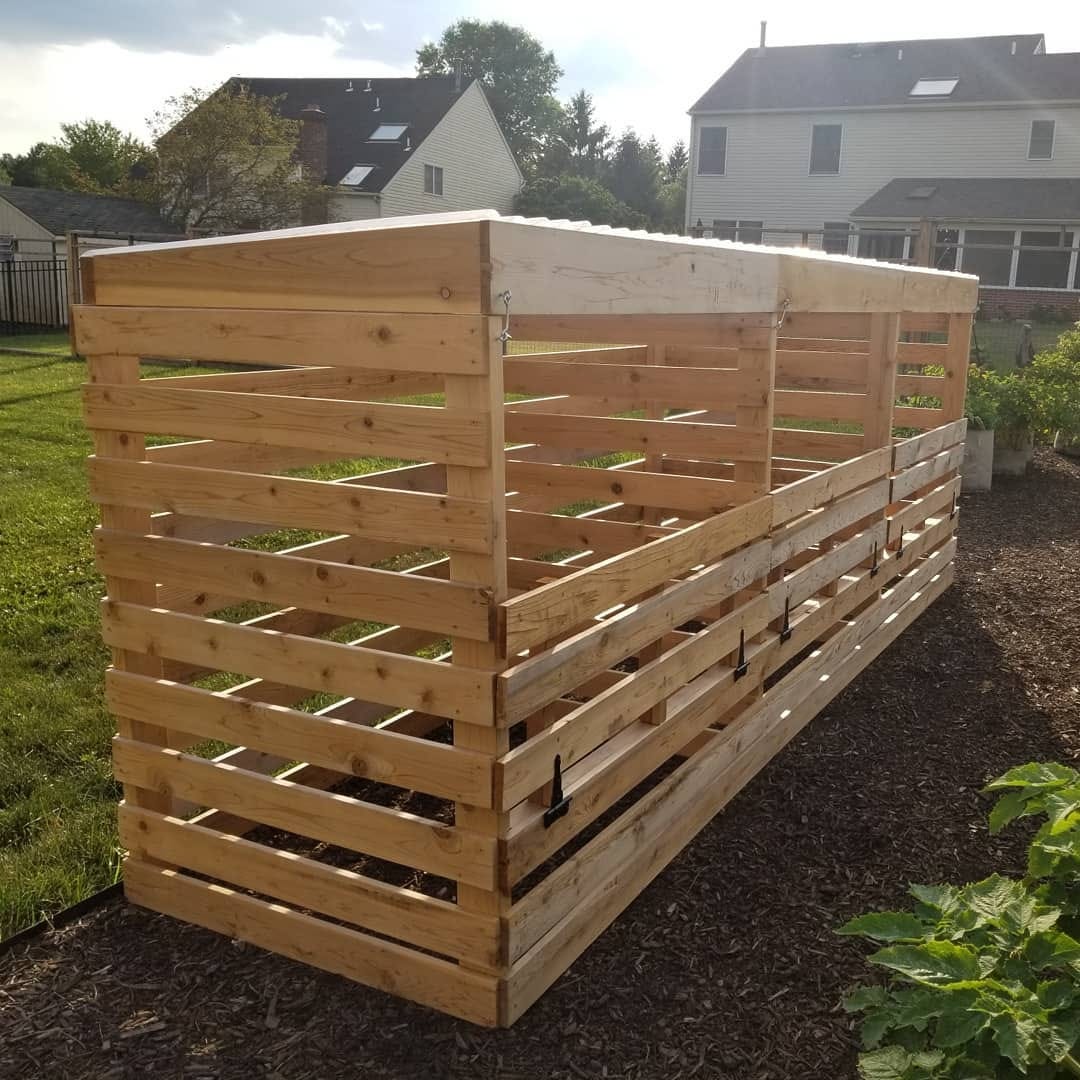
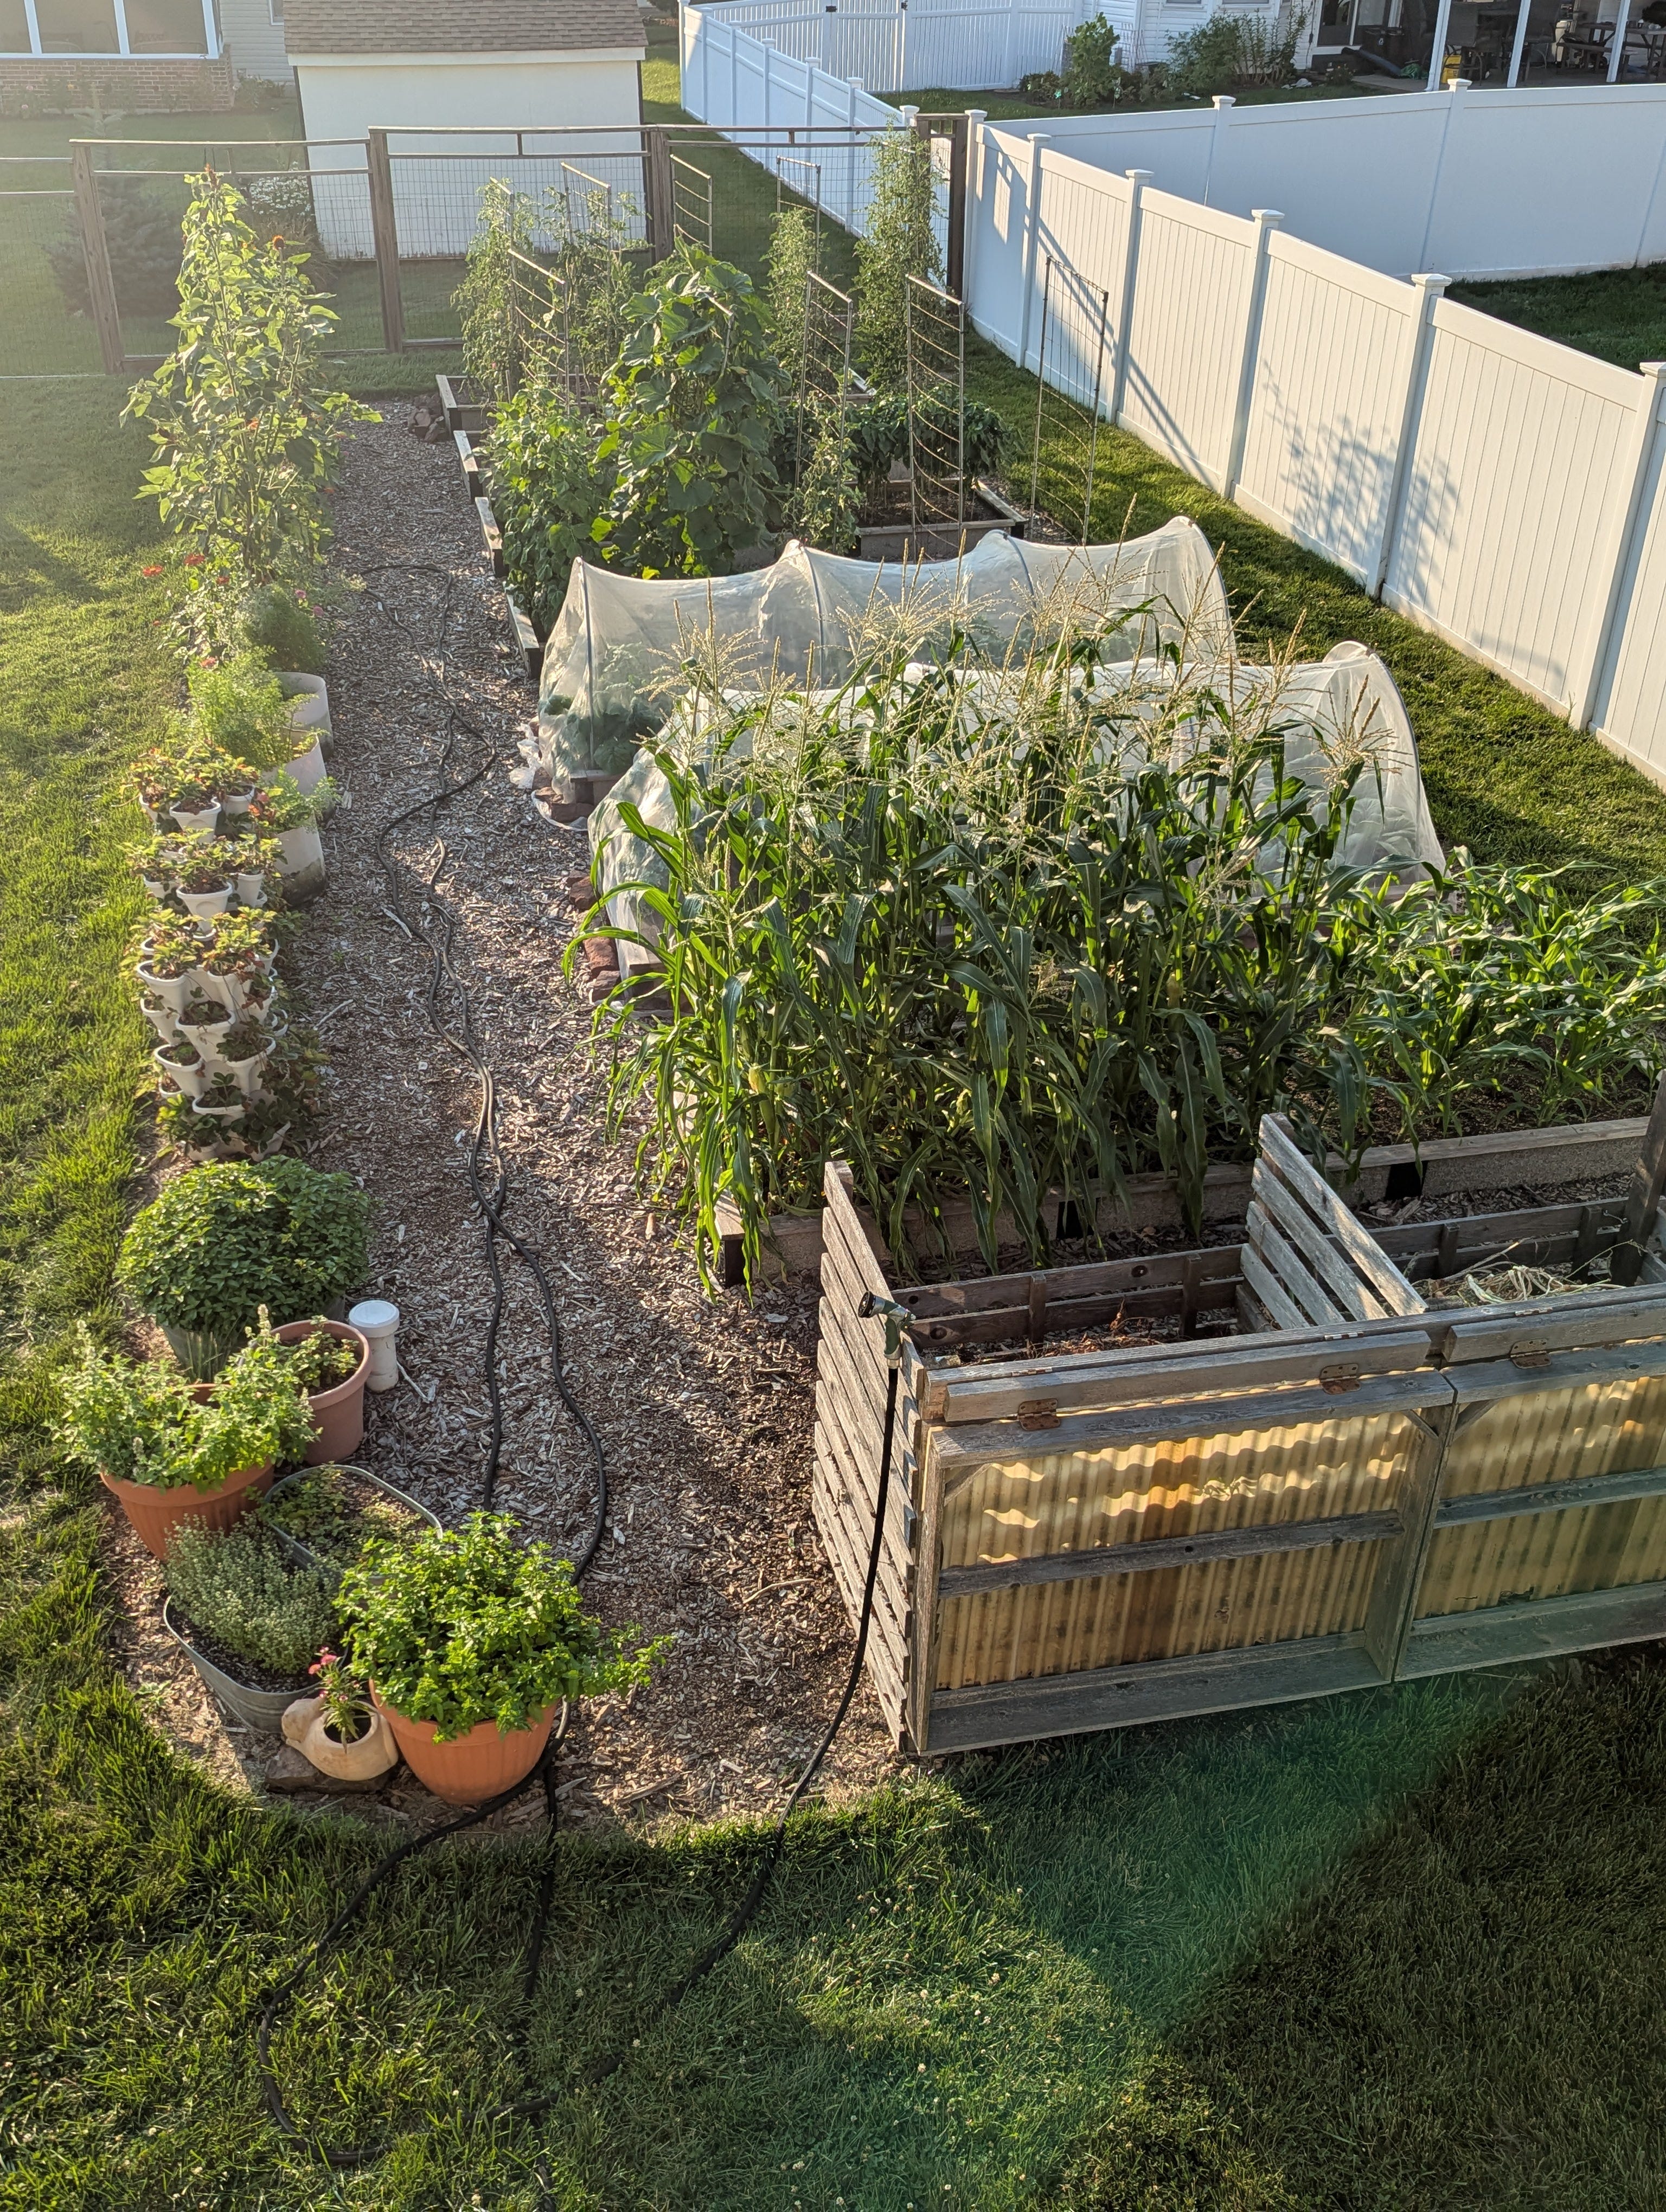
I have a three bin wooden compost structure I bartered with the Scout Leader in my neighborhood to make. I purchased the material and grew all the plants for his garden one year and planted them out for him. I also open up my garden and give a tour to the Scouts when they are doing a badge on gardening, or go to a Scout meeting and give a presentation on the butterfly life cycle. It was a good trade. Here’s what the bin looked like when it was new. I use the lids to protect hardening off seedlings from heavy rain in the spring. I plonk the flats of seedlings on top of the compost and close the lids. The seedlings still get sun, and it saves me from having to carry them in and out of the house when it’s raining buckets. Otherwise the lids stay open unless a remnant hurricane is blowing through and five-ten inches of rain is forecast to fall. I’ll put the lids up then, as well, to prevent my compost from getting too wet. The front of the bins fold down for ease of getting material in and out. There are no plans for this bin system. People always ask for plans or drawings when they see this photo. I described what I wanted to my Scout Leader. He came up with the clever design himself. It’s about twelve feet long and five feet tall.
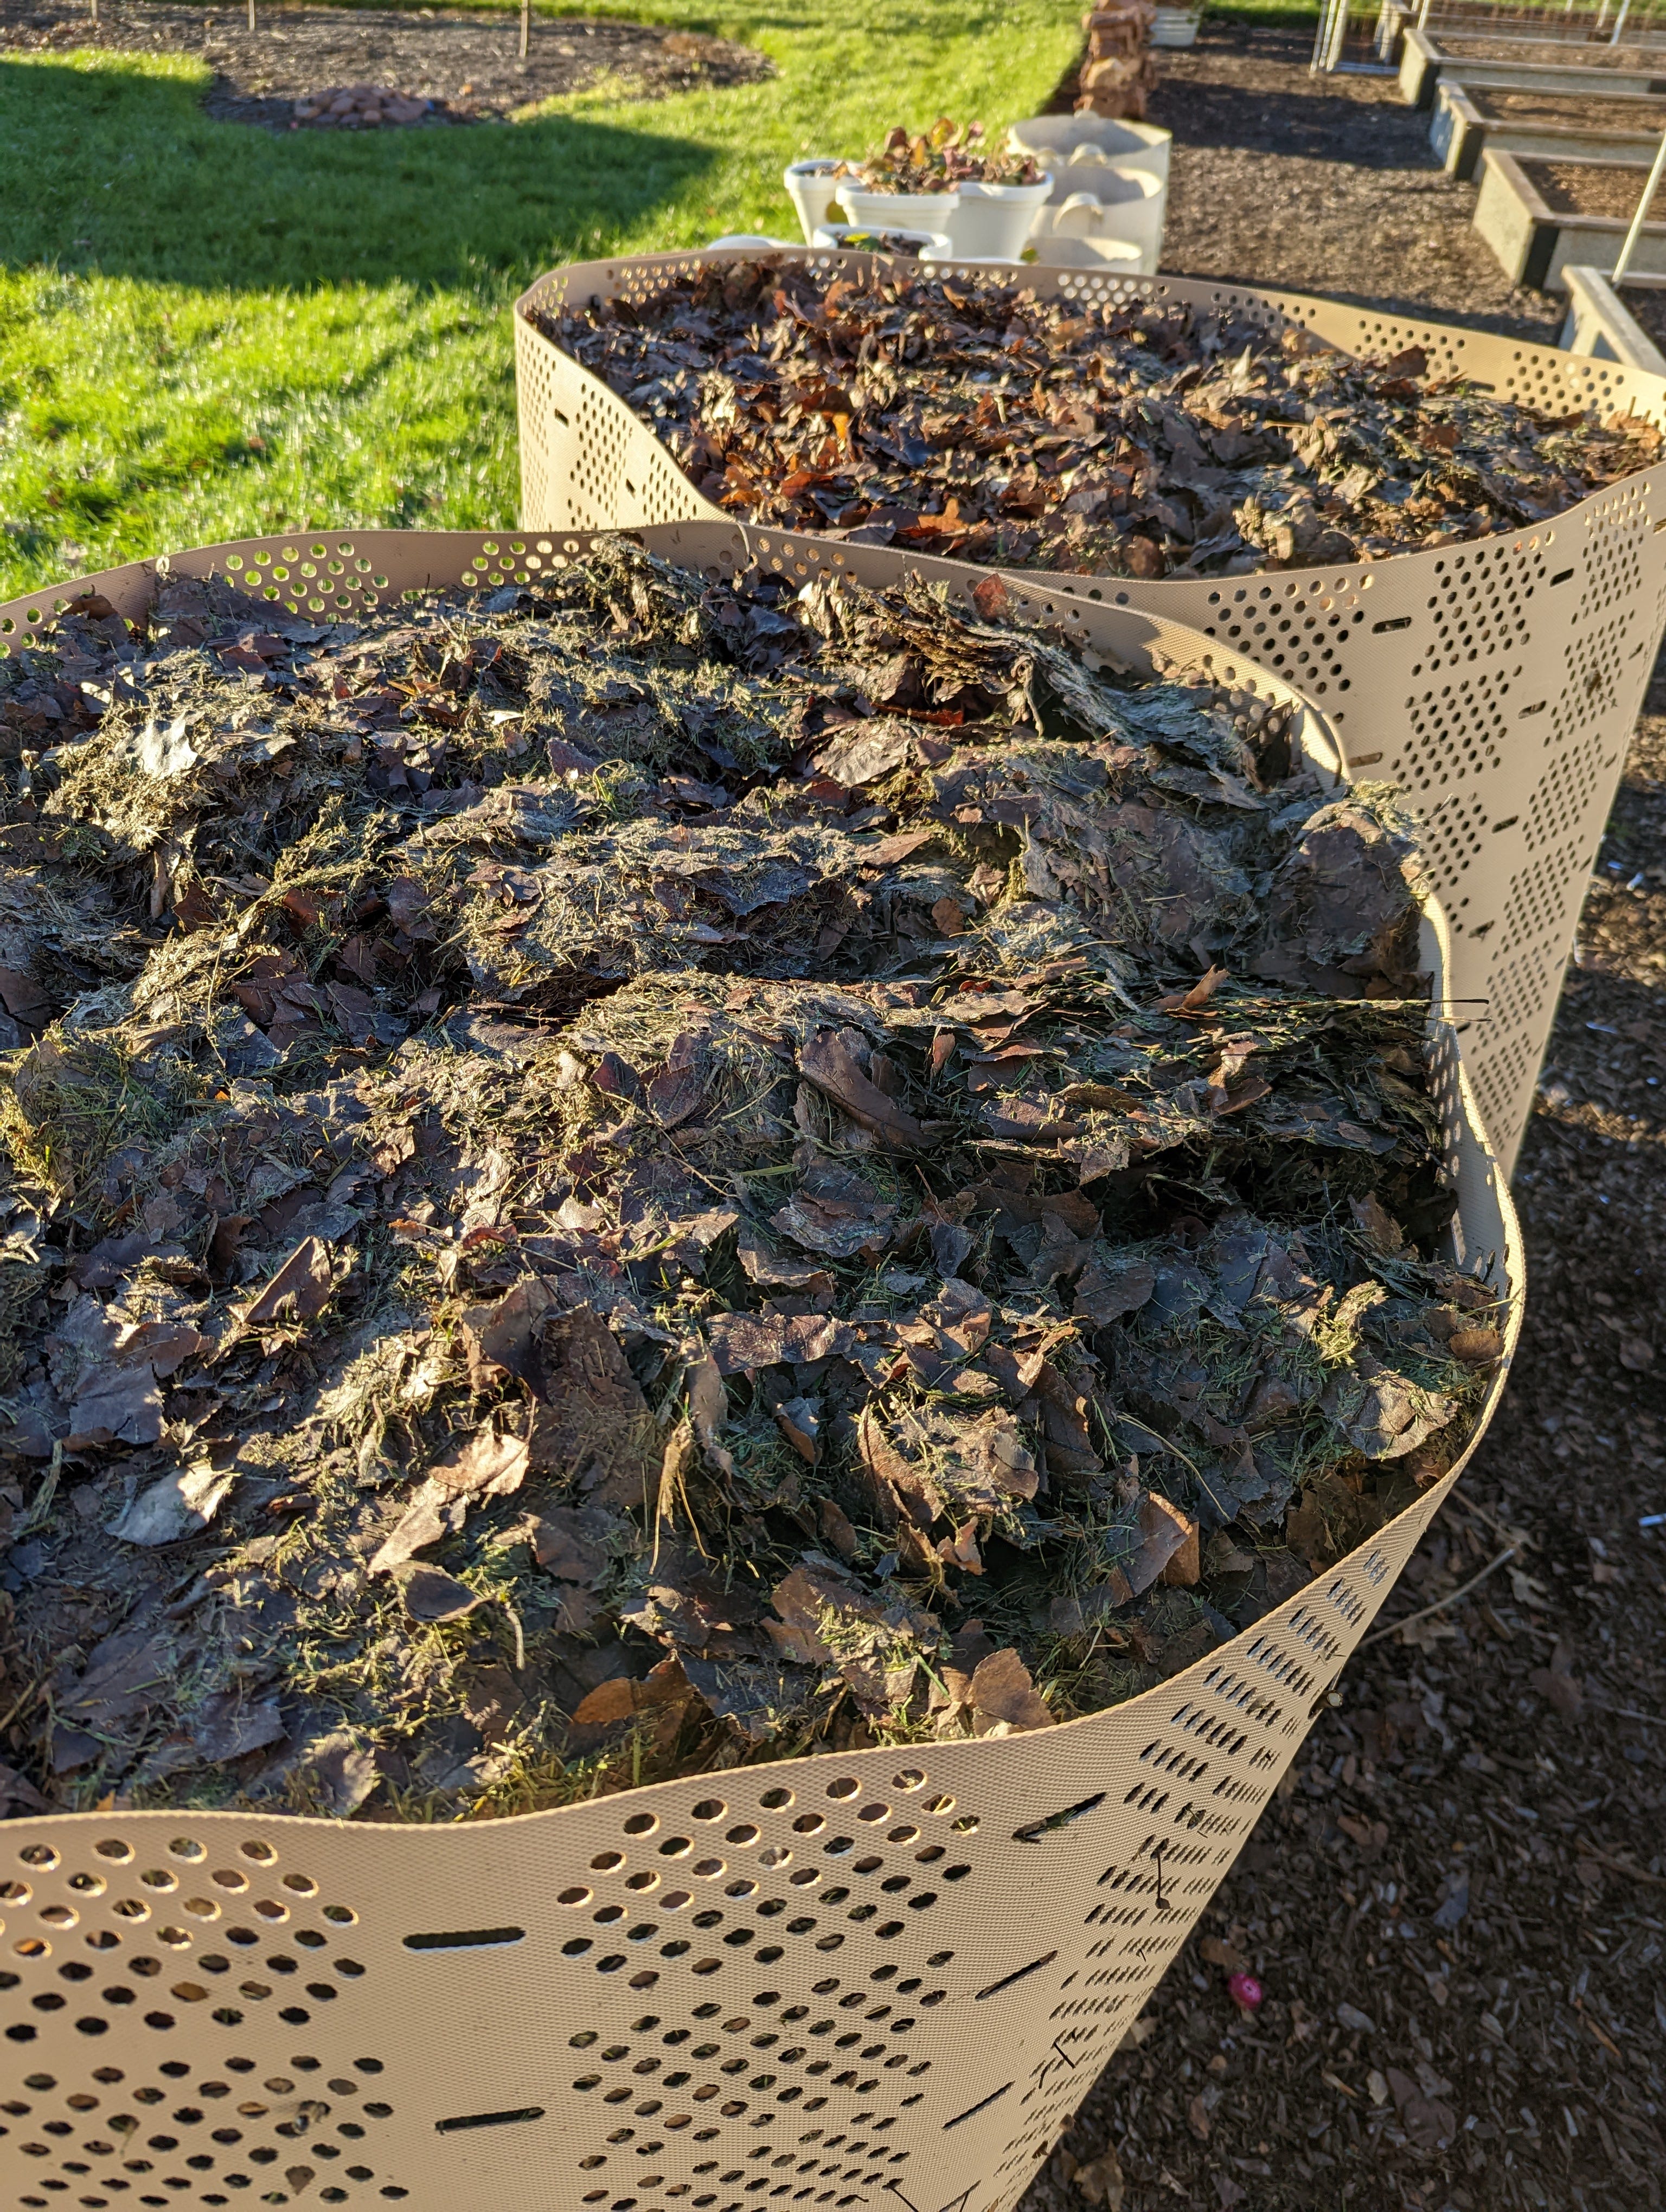
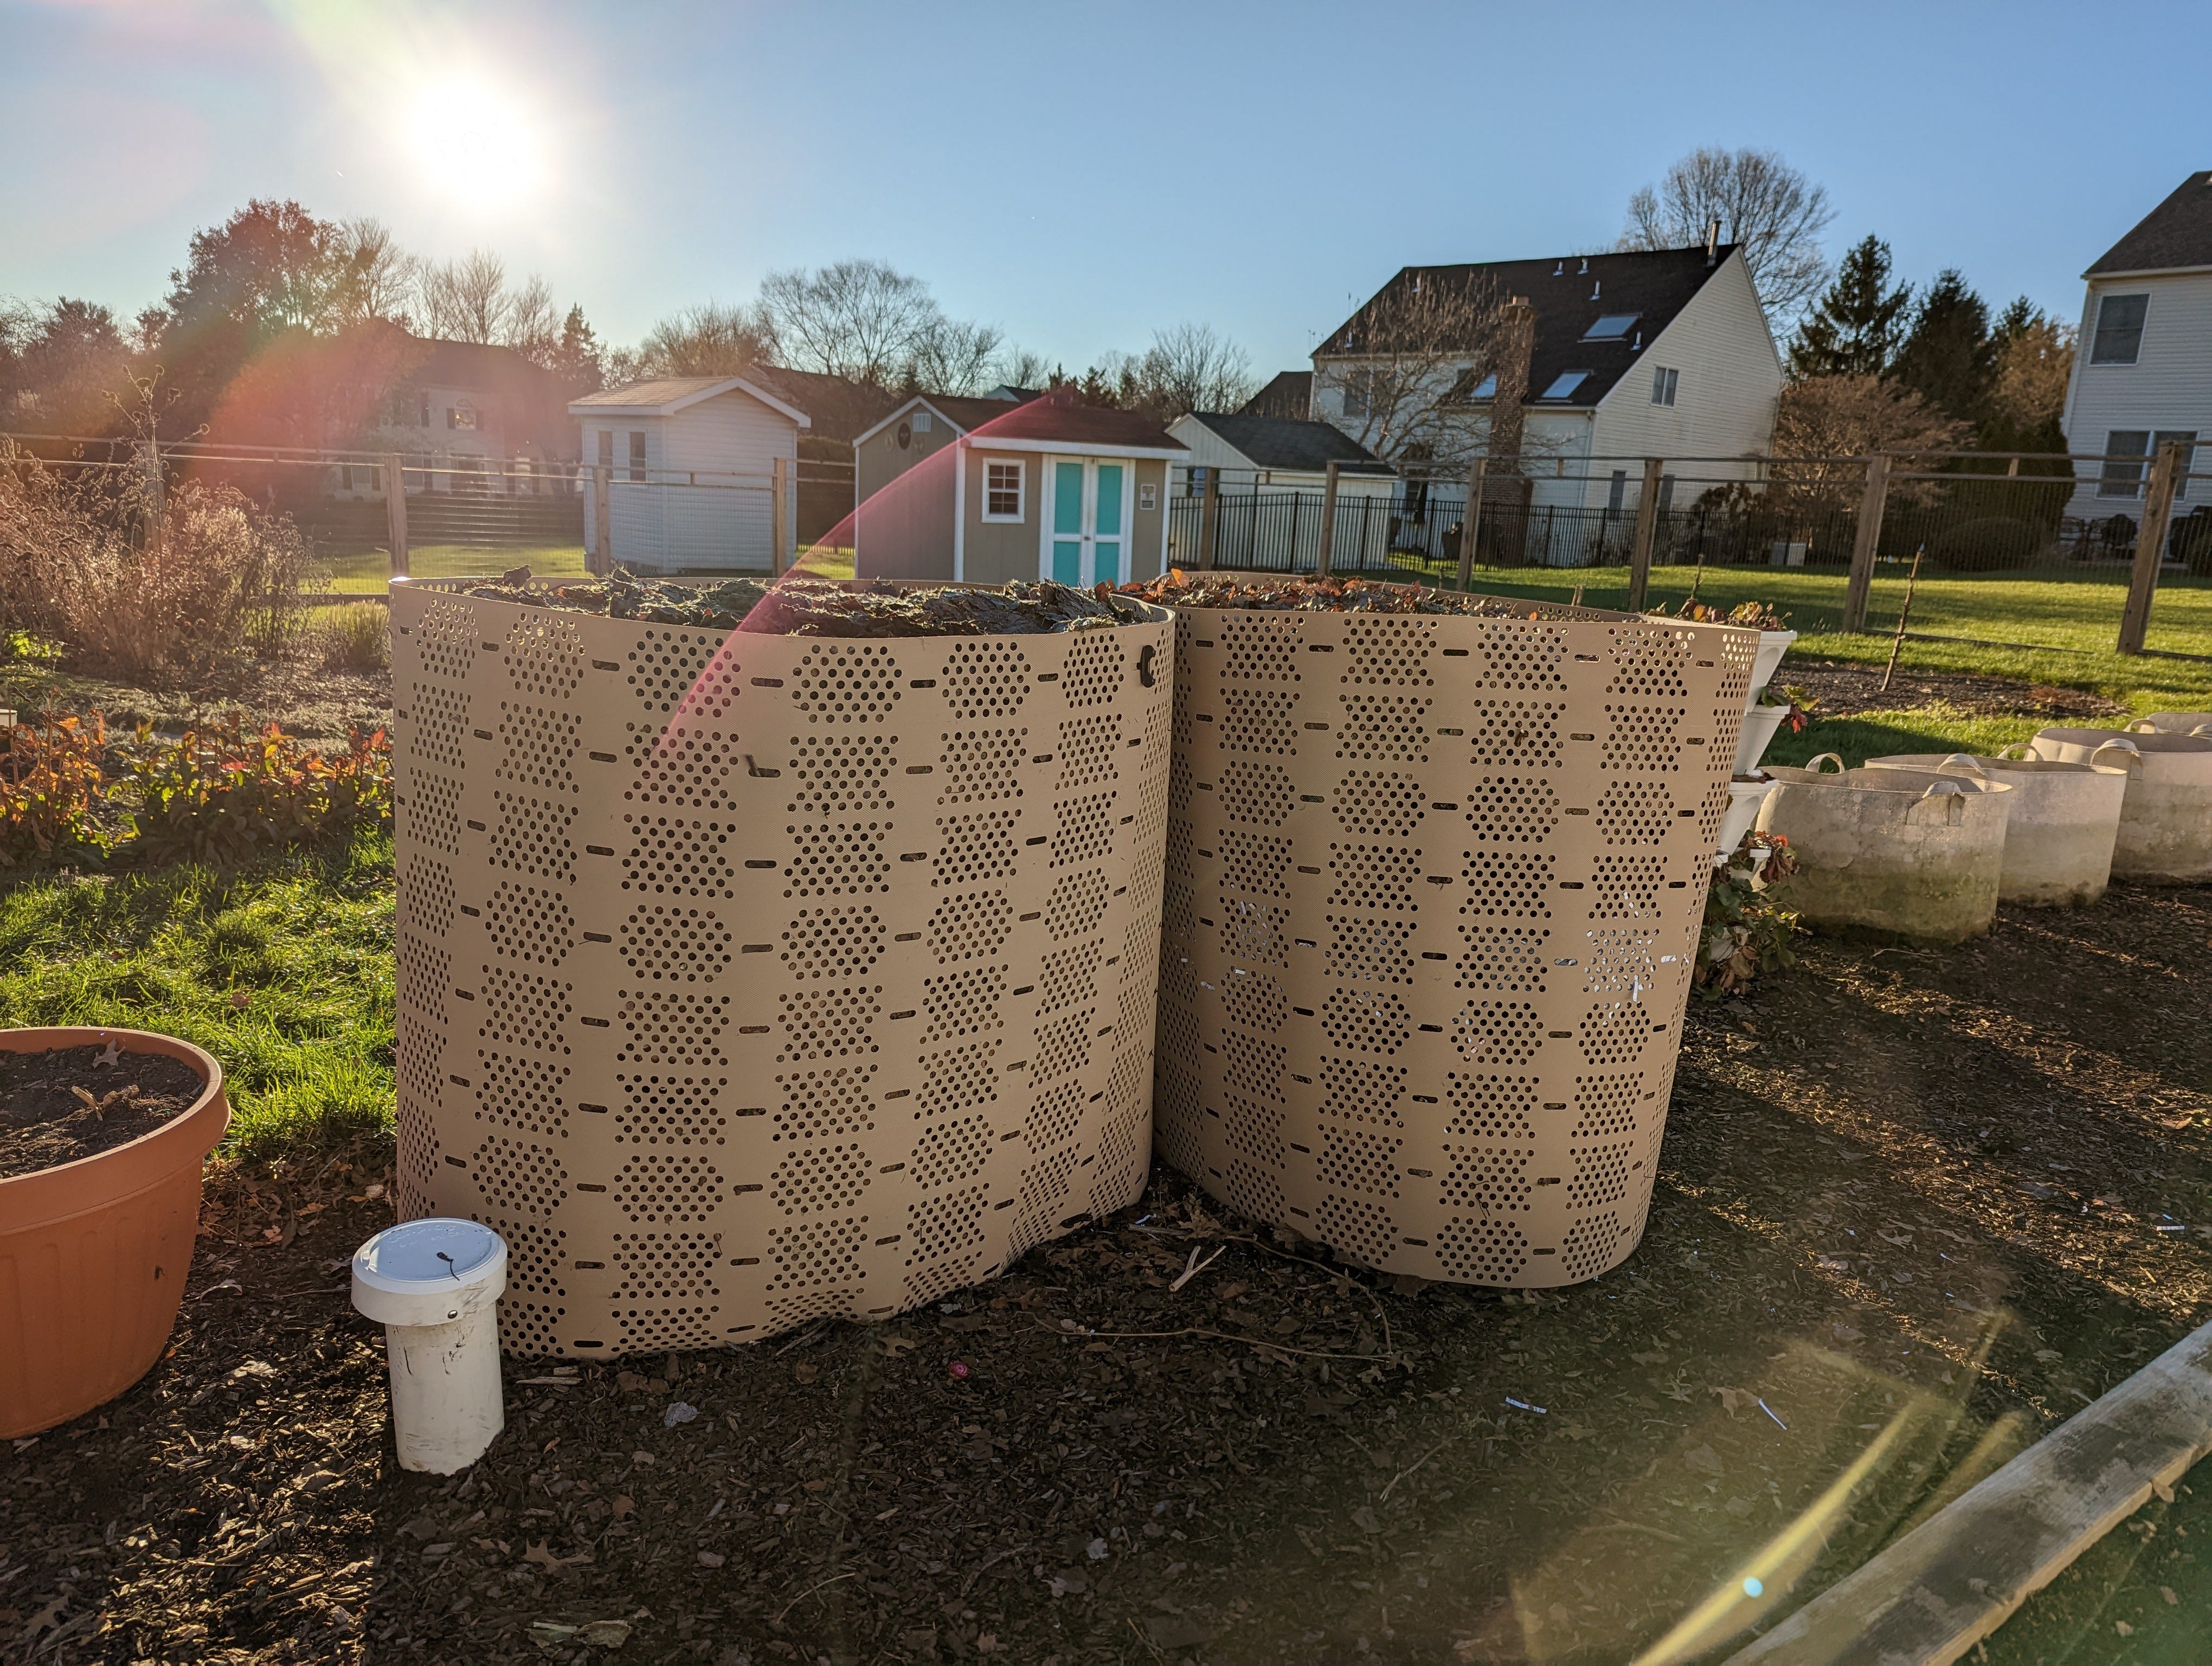
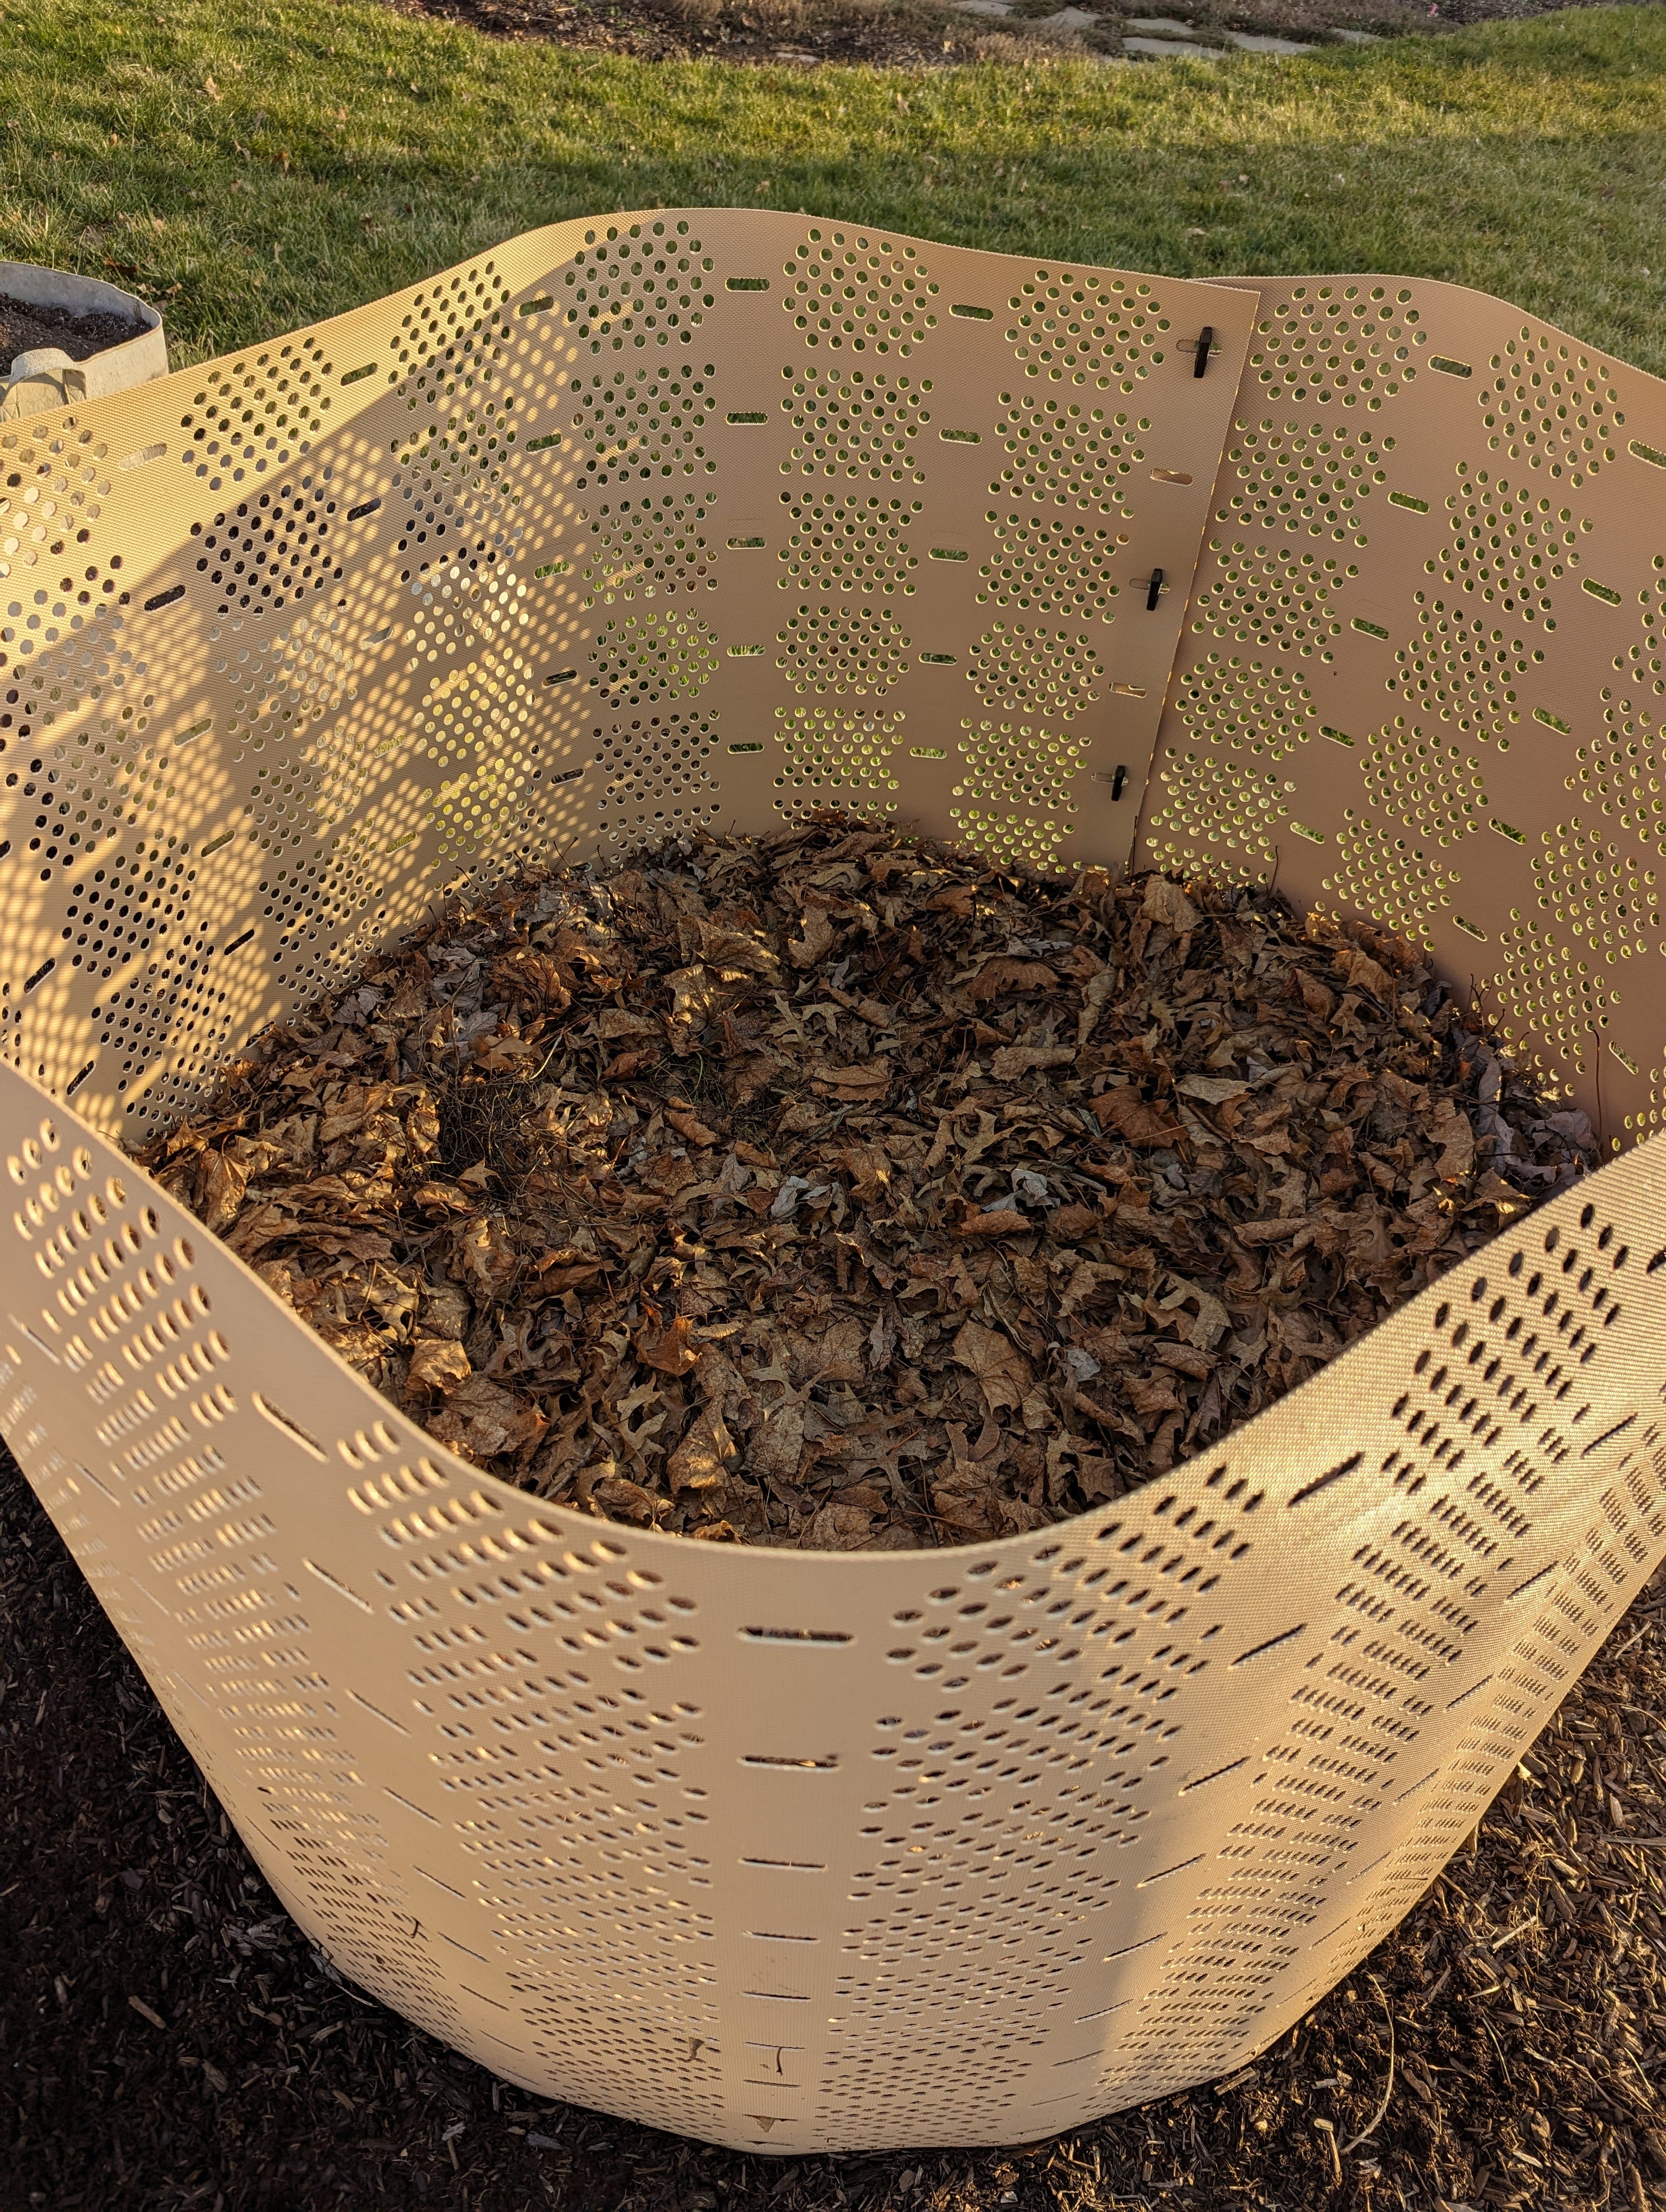
What if you don’t have a handy neighborhood Scout Leader who is also a talented carpenter to help you build a compost bin? My fancy wooden compost bin isn’t sufficient to hold all of the leaves I collect in autumn. I have a series of temporary bins to store garden debris and leaves. I set them up in November and take them down in April. I could leave these up all year long, and that is what I would do if I didn’t have the wooden bin system. You can make circular compost bins from a metal fencing material, chicken wire, or hardware cloth. I do not like working with wire. I’m a solo gardener and I find it hard to manage wire products on my own. Even wearing thick gloves, I also always poke and cut myself. Lastly, I can never roll wire up as tightly as I want to for storage, so it takes up as little room as possible in my small shed. I found these Geobin compost bins that are much easier for me to use, they roll up very small for storage, and I don’t get poked or cut when setting them up or taking them down. I’m not here to make money. I’m not sponsored by the company that makes Geobins. I just really like them because they are so easy to use. I have four of them now.
Trusting the Process
Compost happens, no matter what. A pile of leaves and garden waste outside will compost whether you want it to compost or not, with no interaction from you. If you want to speed it up, you can turn it, manage the moisture, and be careful about the ratios of brown and green material. You can get a compost thermometer. If you don’t do any of that, you will still get compost. It will just happen more slowly. That works fine for me. Right now, at the end of November, 2025, I have three wooden bins completely full of leaves and garden debris and three Geobins completely full of leaves and garden debris, and I’m not done collecting leaves yet. By April, with no action from me except for adding my food scraps to the top of one of those piles, and putting leaves on top of the food scraps, every pile will have composted down to 1/4 of its current volume. Here’s what the piles made in November look like in April.
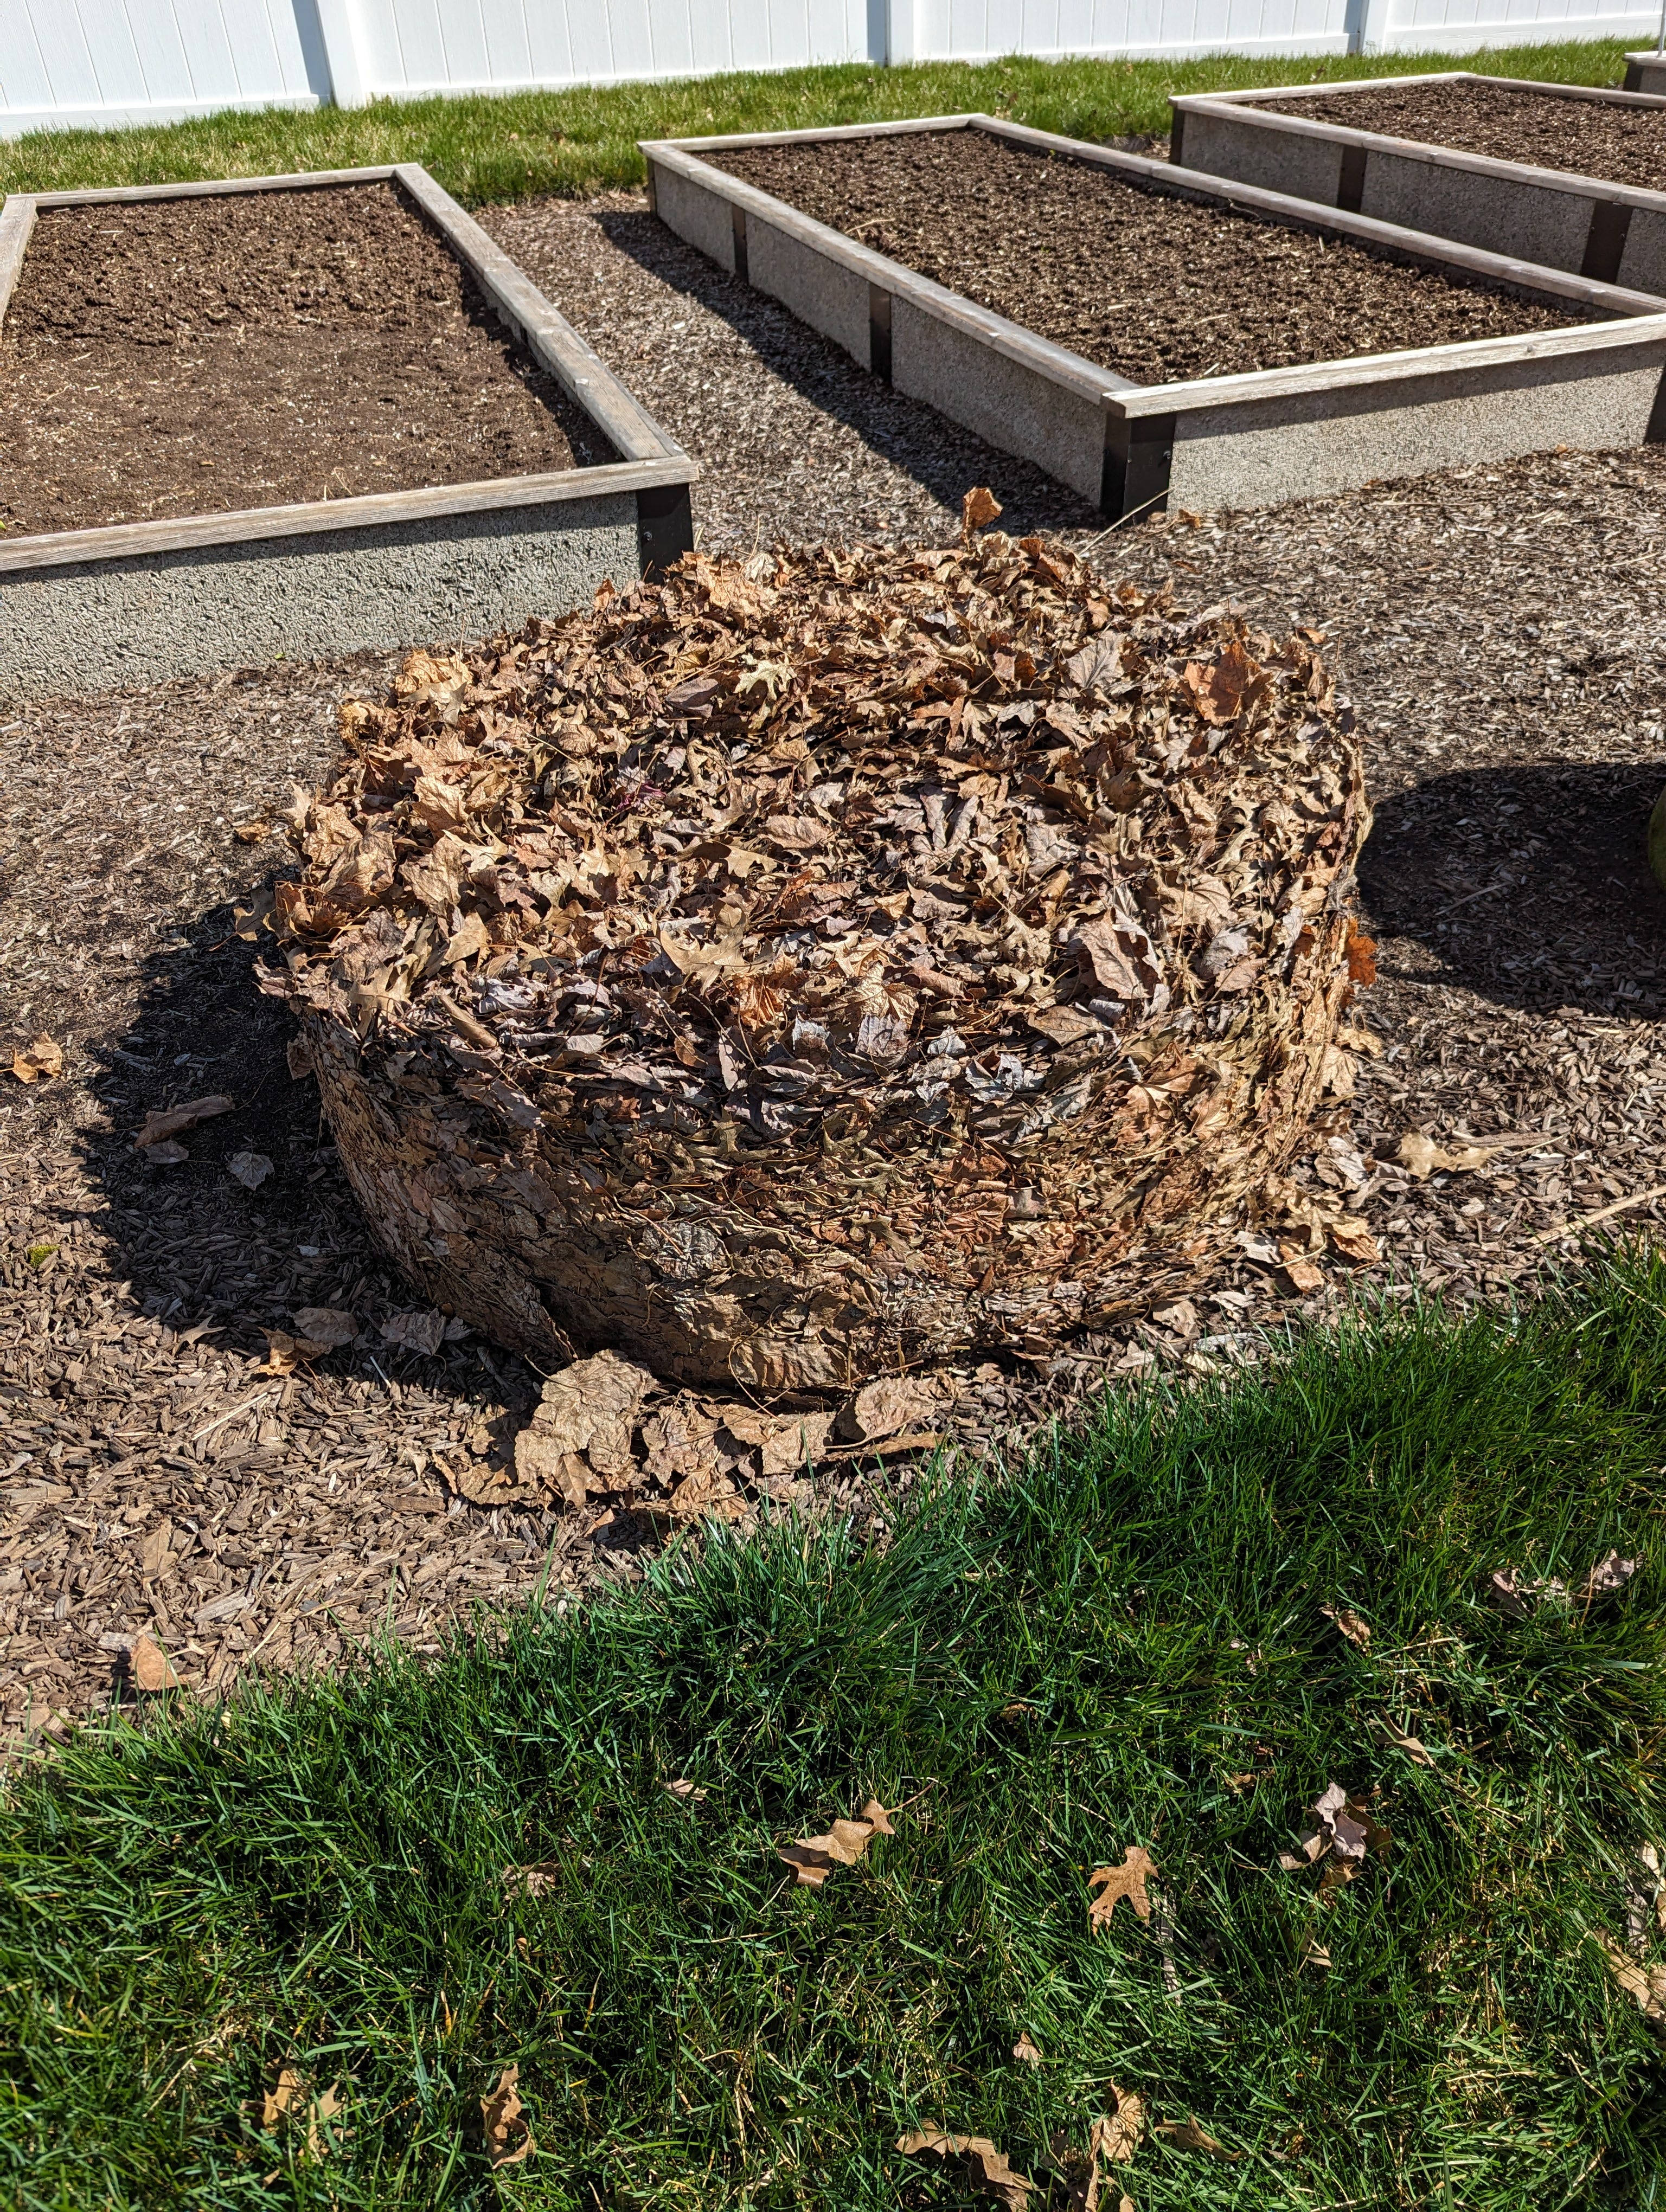
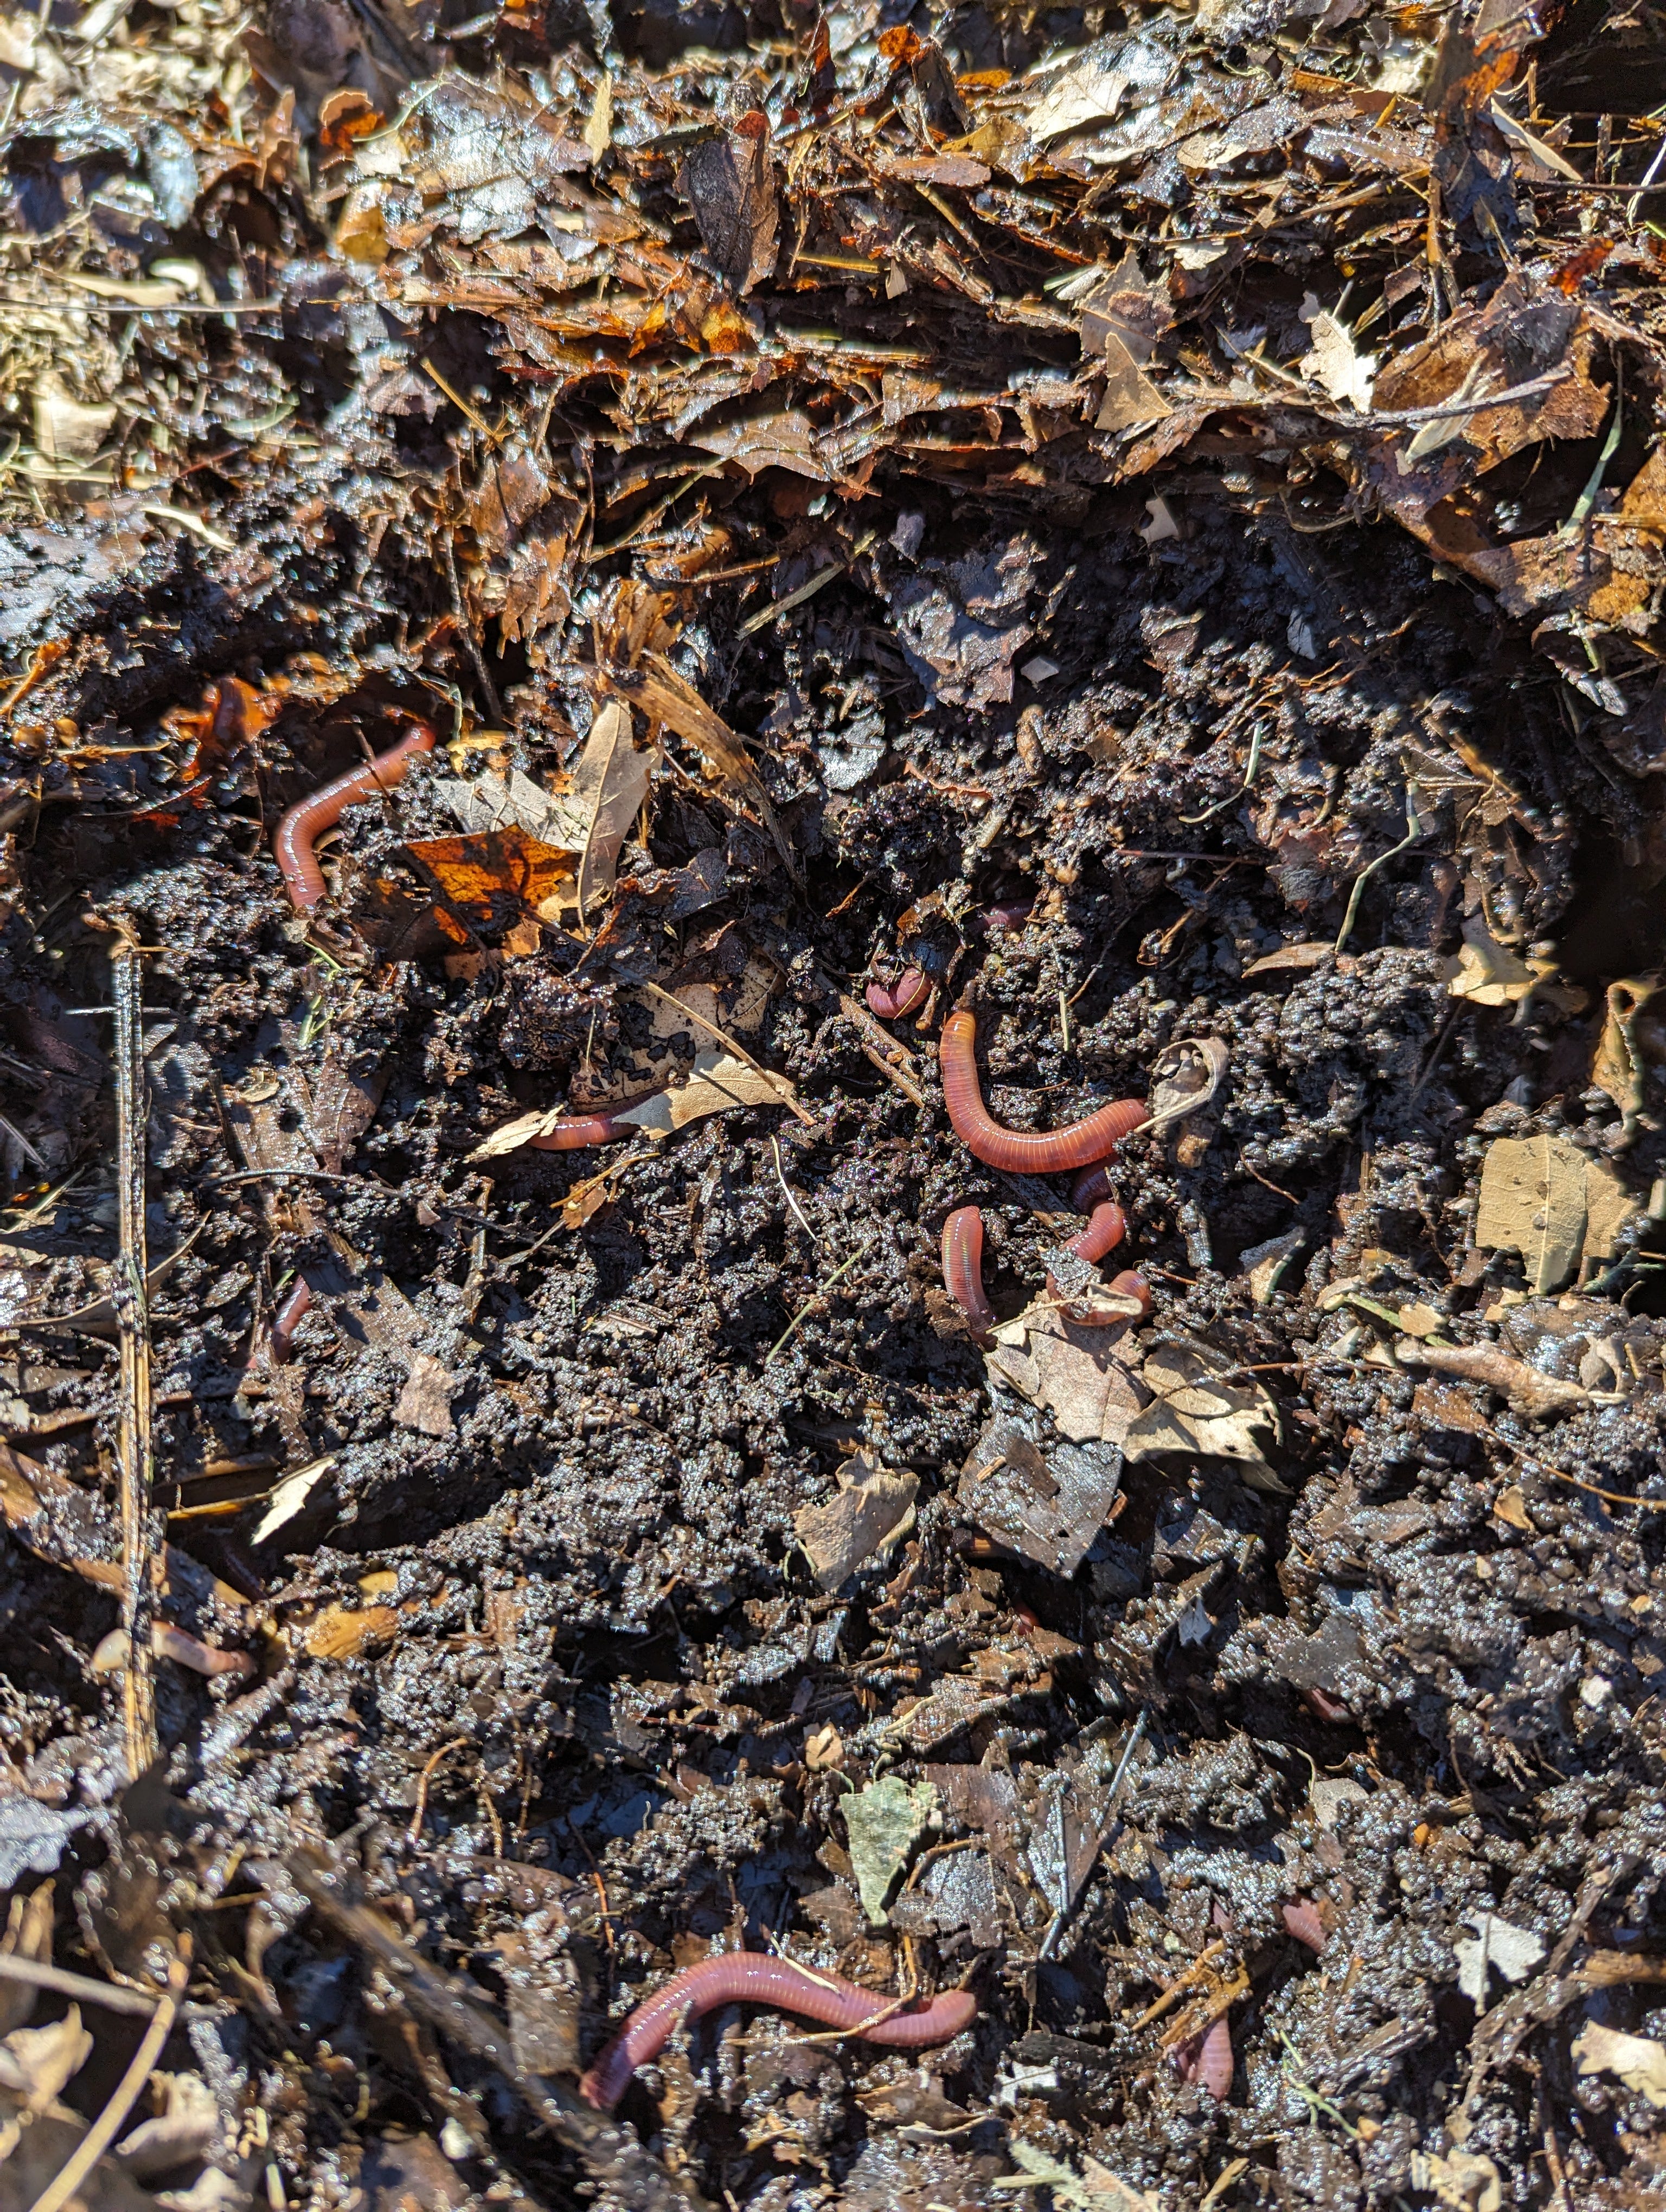
The contents of the wooden compost structure have also composted down by a significant amount by April. I use a garden fork to lift the Geobin contents into my garden cart and add them to the wooden compost structure. The Geobins are rolled up and put away until November. For the entire growing season I will add my food scraps and garden debris to a compost pile and cover the scraps with composting leaves.
It takes an extraordinary amount of compost material to make a small amount of finished compost. Think about all of the coffee and tea a household might drink in a year, as well as a year’s worth of vegetable cores, stems, peels, tops, and off cuts. Think about the volume of annual garden debris from three succession plantings of vegetables and annual flowers. Think about dozens and dozens of bags of leaves rescued from the landfill, enough leaves to fill two wooden compost bins and three or four Geobins. In November, when the finished compost is sifted, I’ll have enough to spread a nice layer of compost on my seven raised vegetable beds, if I’m lucky. This year, I covered six vegetable beds completely and only about a third of the seventh bed. Also think about how much methane that same material would produce if they were added to the landfill instead of the compost pile. That alone, for me, is sufficient incentive to compost. The garden benefits are an added bonus.
What are the disadvantages of lazy composting, the way I do it? Since I don’t worry about the temperature of my compost piles, since I don’t turn the compost, since I don’t bother with the ratios, there are a lot of viable seeds in my compost. I don’t add weeds that have gone to seed to my compost bins. The seeds in my compost are vegetable and flower seeds. In the spring, I’ll have a lot of “volunteer” tomatoes, tulsi, squash, zinnias, and sunflowers coming up in the raised beds. This doesn’t bother me in the least. They’re easy to weed out if I don’t want them, or let them grow and transplant them if I do want to let them grow in the garden. I don’t have any disease problems in my garden, maybe because of all this composting, but if I had problems with plant disease, I would avoid adding the diseased plant material to the compost pile.
I hope this article encourages you to find a composting method that works for you. There are a lot of methods to choose from, pick one that sounds good to you and give it a try. If it doesn’t work out, try a different method. Keeping your garden debris, food waste, and leaves out of the landfill reduces greenhouse gas emissions. Putting the finished compost in your garden increases your yields. If you’d like to read more about composting, please check out the following links.
Reference Material and Links for More Reading
Joe Gardener Interview with Dr. Lee Reich
As always, all of the photos in this article were made by me, of my own garden, of my own produce, and of my own compost, here in the Philadelphia suburbs.
Comments
Nothing yet. Say the first thing.
Sign in to join the conversation.