
If there’s one tool in my kitchen that has changed the way I preserve fruit, it’s the steam juicer.
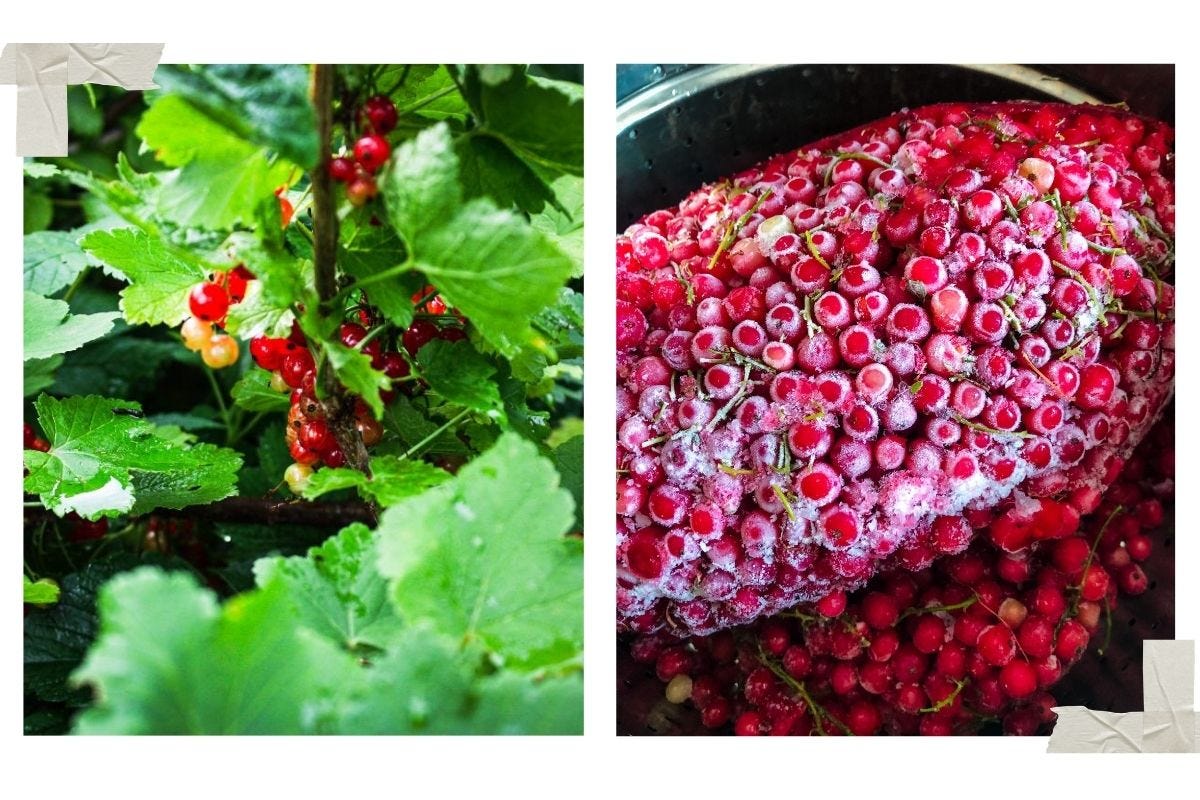
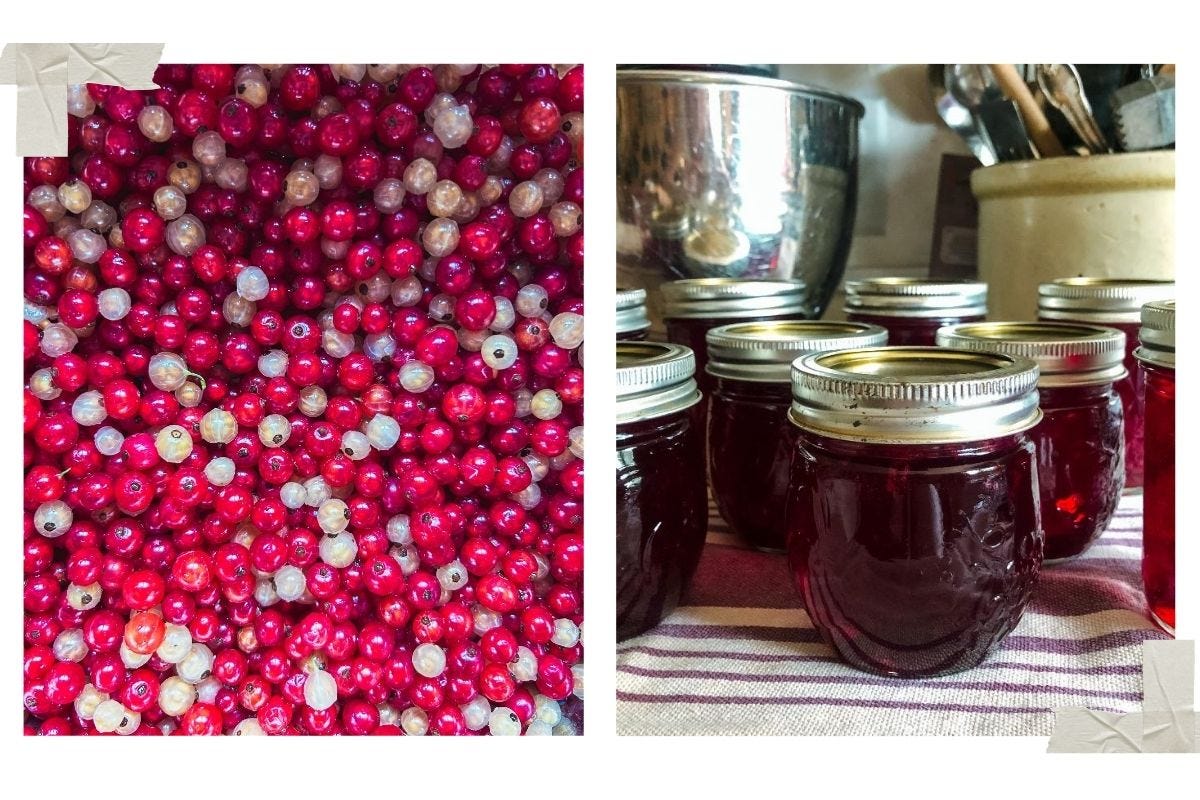
As I write this, I have a batch of red and white currants gently steaming away, filling my kitchen with the gloriously tart scent of midsummer. In just a couple of hours, I will have just enough crystal clear currant juice ready to be turned into beautiful currant jelly.
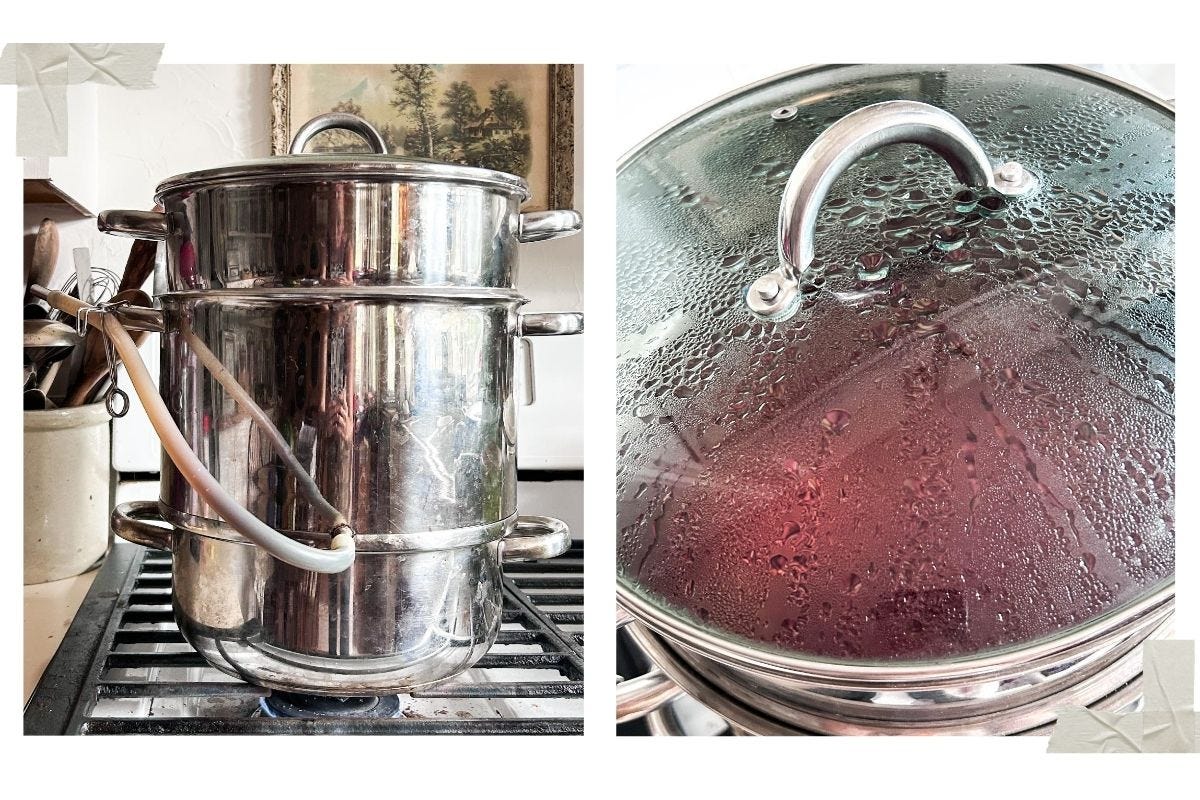
If you've never used a steam juicer before, it's essentially a three-piece pot. Water simmers in the bottom section, steam rises through the fruit sitting in the top basket, and as the fruit softens, its juice collects in the center reservoir. From there, you simply drain the hot juice through a hose into jars or a saucepan.
No jelly bags, and no squeezing juice from messy pulp.
The juicer does all of the work for you.
Currants
Currants are packed with natural pectin, making them ideal for beautiful homemade jelly. And although I don’t drink much wine anymore, the best wine I ever had was a homemade sparkling currant wine. Incredible!
Chokecherries/Cherries
Anyone who’s picked chokecherries knows how tedious they can be to process. A steam juicer makes the job remarkably simple. The juice separates cleanly from the pits, leaving you with beautiful juice for jelly, syrup, or wine. The same applies to regular cherries.
Plums
Plums are another fruit that shines in the steam juicer. Instead of wrestling with pits, the steam extracts every bit of juice while leaving the solids behind. The resulting juice makes some of the prettiest ruby-red jellies you’ll ever see.
Apples
Most people think of apples for applesauce first, but I find myself consistently reaching for my steam juicer when it comes to apple harvest time. The juice can become apple jelly, homemade cider, or serve as the base for homemade wine. Sometimes I simply can the juice to enjoy throughout the winter, even using it in my favorite BBQ pork recipe.
Rhubarb
Rather than cooking rhubarb down in a pot and straining it afterward, I simply chop it and let the steam juicer do the work. The result is a gorgeous pink juice that’s wonderful for jelly, lemonade, sparkling drinks, sauces, or simple syrup.
You can use whatever fruit you like. These are just some of the most common ones I’ve used. I know I’ve mentioned wine quite a bit (I was once very much into wine making), and one year a neighbor gifted me a bunch of grapes she’d picked from the southern part of the state. I juiced them and it produced what looked and tasted just like Welch’s grape juice. Which I then turned into a sparkling grape wine that tasted like grape pop. Talk about dangerous!
A steam juicer can look a little intimidating the first time you take it apart. There are several pieces and a rubber hose with a clamp. But once you understand what each section does, it is one of the simplest preserving tools you can use.
Most steam juicers have three main sections: A bottom pan that holds the water, a middle section that collects the juice, and a strainer-looking basket on top that holds the fruit.
As the water boils, steam rises through the fruit basket. The heat causes the fruit to release their juice, which drips through the openings into the collection pan below. The juice can then be drained through the attached hose without ever needing to mash the fruit or pour it through a jelly bag.
Steam juicers vary somewhat by manufacturer, so always read the directions that came with yours. But this is the basic method I use.
Step 1: Wash and Sort the Fruit
Begin with ripe fruit. Wash it well and remove any leaves, insects, or moldy fruit.
One of the pleasures of using a steam juicer is that most fruits require very little preparation. Currants can generally go into the basket with their stems attached, chokecherries and plums do not need to be pitted before juicing, and apples can be washed and roughly chopped without peeling or coring them first.
Larger fruits should be cut into pieces so the steam can work through them more easily. I chop rhubarb stalks into short lengths (2-inch chunks( and cut apples into quarters.
There is no need to crush the fruit before placing it in the basket. The steam will soften it and gradually draw out the juice.
Step 2: Fill the Bottom Pan With Water
Fill the bottom section of the juicer with the amount of water recommended by the manufacturer. My goal is to begin with enough water to produce steady steam without filling it so high that it could bubble into the juice-collecting pan.
Set the water pan on the stove along with the lid and bring to a boil.
Before adding the fruit basket, check that the rubber hose is securely attached to the juice outlet. Close the clamp so the juice cannot begin draining before you are ready.
The hose may become very hot during use, so I clip the clamp to one of the steam juicer handles where it stays in place until I need to drain the juice.
Step 3: Fill the Fruit Basket
Place the prepared fruit into the perforated basket. You can fill the basket quite generously, but avoid packing or pressing the fruit down. Leaving some room at the top for the steam to circulate helps the fruit release its juice more evenly.
Some people sprinkle sugar between the layers of fruit while steaming, but I prefer to extract plain, unsweetened juice. That gives me much more freedom later. I can turn it into jelly, wine, syrup, or a drink, or combine it with another fruit without having already committed to a particular amount of sugar.
Step 4: Assemble the Juicer and Add the Lid
Set the filled fruit basket over the juice-collecting pan and place the lid firmly on top.
Make sure all three sections are sitting together properly. You want the steam to rise through the basket rather than escape through a gap between the pans.
Step 5: Let the Fruit Steam
Once the water is simmering, the steam begins softening the fruit and releasing its juice. Depending on the fruit, the size of the batch, and your particular juicer, it may take a while before enough juice collects to drain.
Soft berries will usually begin releasing juice sooner than firm apples. I allow the fruit to steam until it has collapsed, is pale in color, and the flow of juice has slowed considerably.
During this time, I can wash jars, prepare my jelly-making supplies, work on another kitchen project, or move on to something else nearby. The steam juicer does not need constant attention, but it should never be left completely unattended.
Step 6: Drain the Juice
Place a heat-safe container beneath the hose. A warmed gallon glass jar or stainless steel stock pot works nicely.
Release the clamp carefully and allow the juice to flow into the container. The juice and hose will be extremely hot, so I use caution and keep my hands away from the stream and use an oven mitt while holding the hose.
As more juice gathers in the middle pan, I drain it periodically. Do not allow the juice reservoir to become so full that juice reaches the bottom of the fruit basket.
One important thing to know is that the earliest juice may be different in strength and sweetness from the juice extracted later. Rather than treating each container as a separate batch, I usually combine all the extracted juice and stir it before measuring what I need. This gives me a more even flavor throughout the finished jelly or other recipe.
Step 7: Decide How You Will Use the Juice
Once the fruit has released its juice, you can use it right away or preserve it for another day.
For jelly, I measure the extracted juice into a saucepan and follow a tested jelly recipe appropriate for that particular fruit. Steam juicing gives me beautifully clear juice without squeezing a bag of cooked fruit, which can force pulp through and make jelly cloudy.
Depending on the fruit, I may also use the juice for:
Syrup
Wine
Cordials
Lemonade and sparkling drinks
Sauces
Drinking juice
Canning for later jelly-making
The juice produced by a steam juicer is hot, but hot juice is not automatically shelf-stable. If I am not using it immediately, I refrigerate, freeze, or can it.
Step 8: Cool and Clean the Juicer
When the batch is finished, turn off the heat and allow the juicer to cool before taking it apart. There may still be hot water in the base and hot juice in the reservoir, so I never try to carry or disassemble the entire thing while it is full and steaming.
Once it is safe to handle, empty the fruit basket and wash each section thoroughly. Pay special attention to the outlet and hose, where juice residue can collect.
I rinse the hose promptly so sugary juice does not dry inside it. Then I allow all the pieces, including the hose and clamp, to dry completely before putting the juicer away.
This truly is one of those tools that will earn its keep in no time- and once you’ve used it just a couple of times, it really does become second nature. If you love fruit, you will absolutely love your steam juicer.
That is all.
Thanks for joining me today, friends. I’ve got work to do in the kitchen- I’ll be back next week!

Comments
Nothing yet. Say the first thing.
Sign in to join the conversation.