
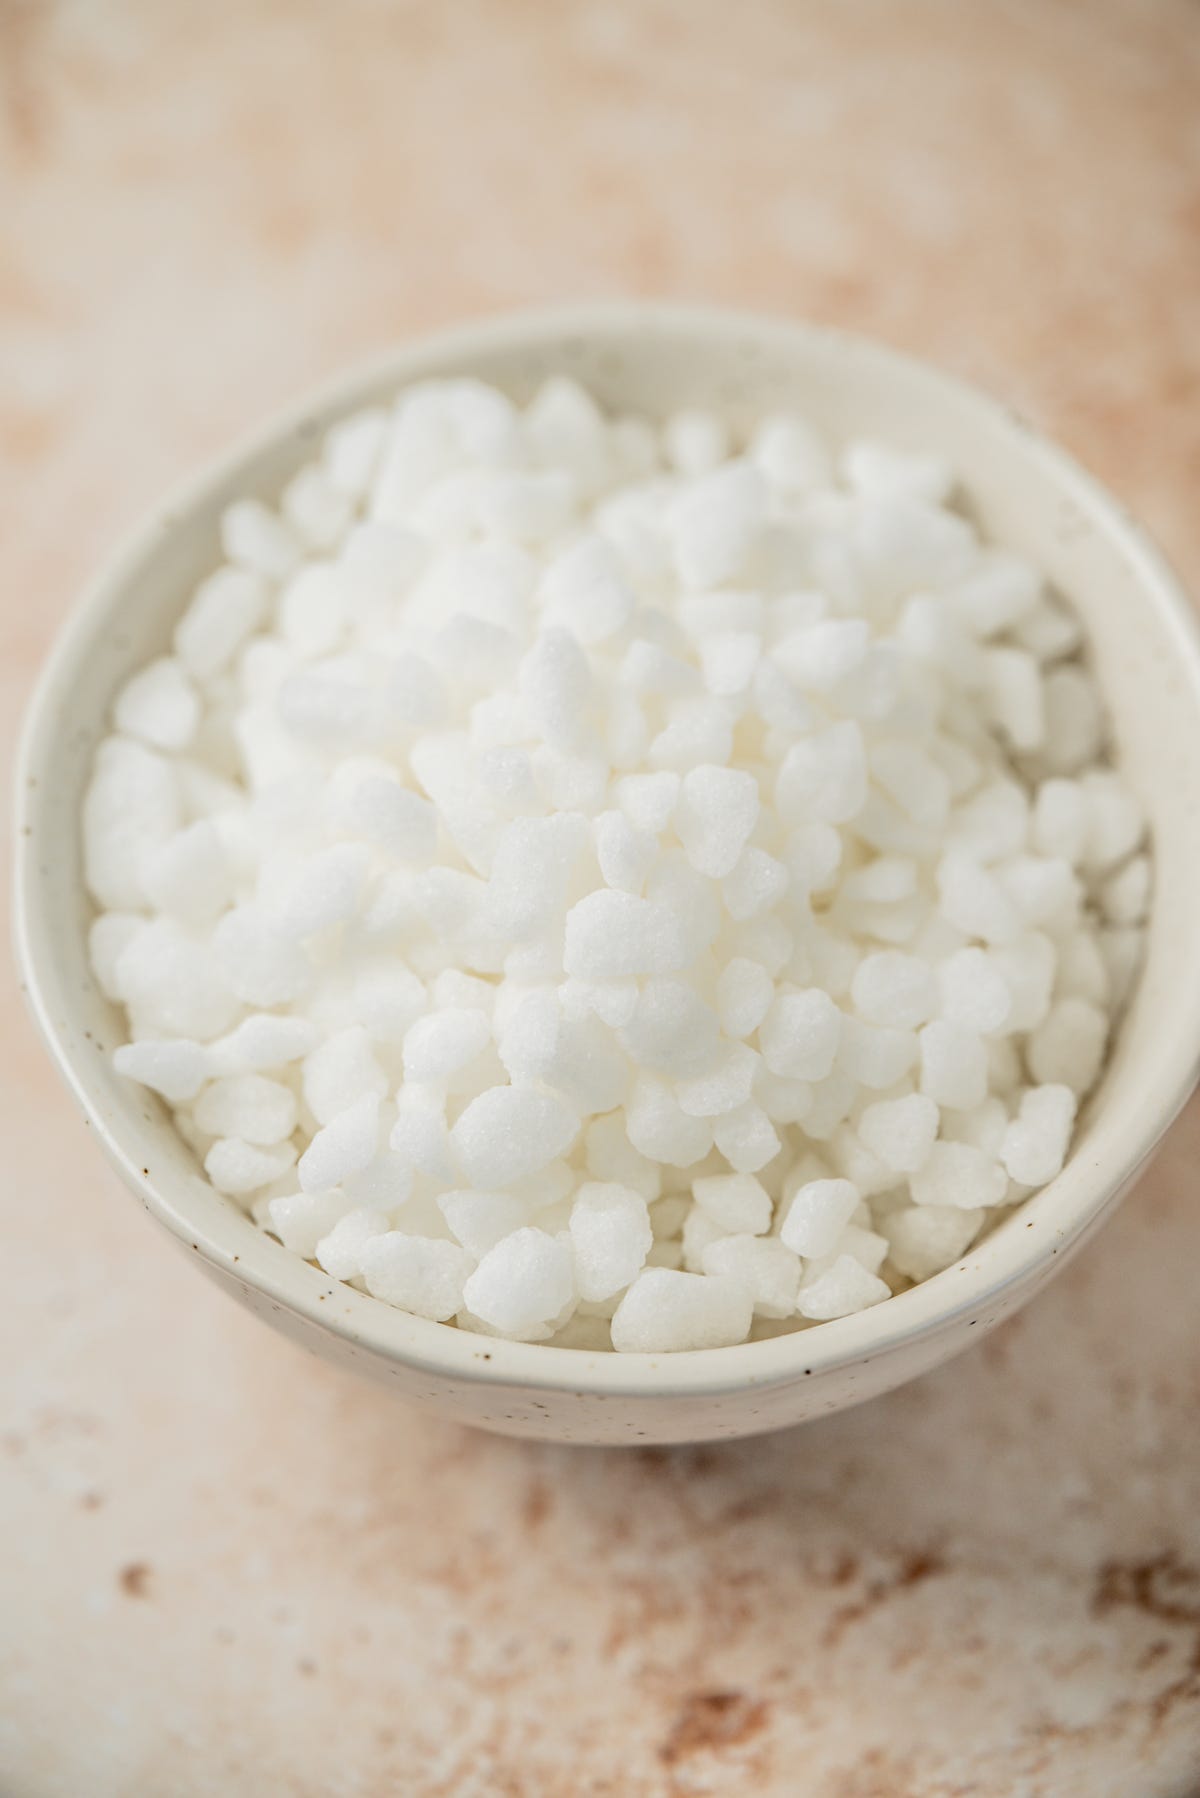
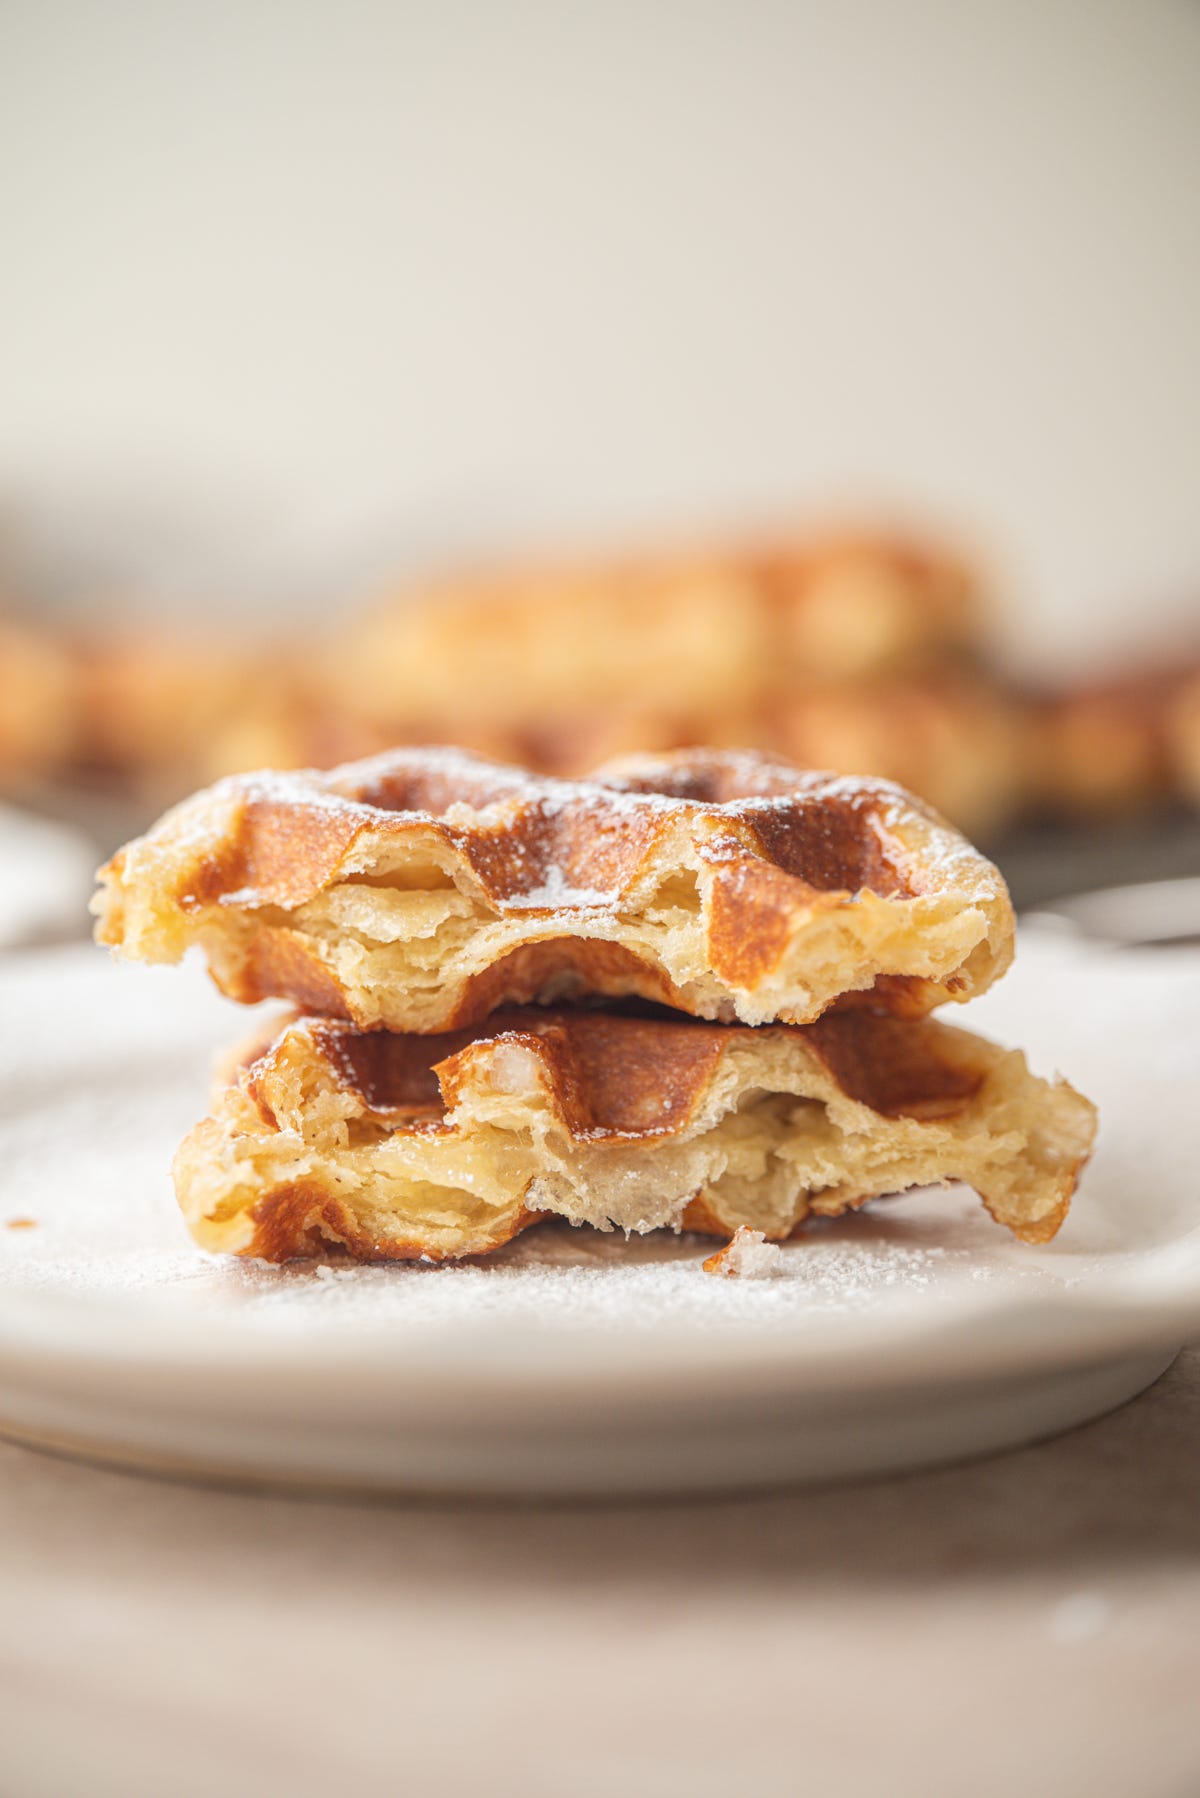
I’ve been making these nonstop for the past few weeks, and I think maybe the limit of too many waffles is approaching. 😅 If you’ve not had a Liège waffle before, let me tell you a bit about them. They are made from an enriched and yeasted dough, filled with chunks of pearl sugar. The pearl sugar used is the Belgian kind, which is much bigger than the Swedish pearl sugar that you might see on Scandinavian buns and pastries. The Belgian pearl sugar is big enough so that it doesn’t dissolve completely into the dough and instead makes little sugary pockets throughout the waffle. The pieces on the outside melt into caramel which is what gives a caramelised shell and the ones in the middle go syrupy, and firm up again as the waffle cools. The texture of these waffles is closer to brioche than a standard waffle. They’re denser but not heavy, with a soft crumb and gentle chew.
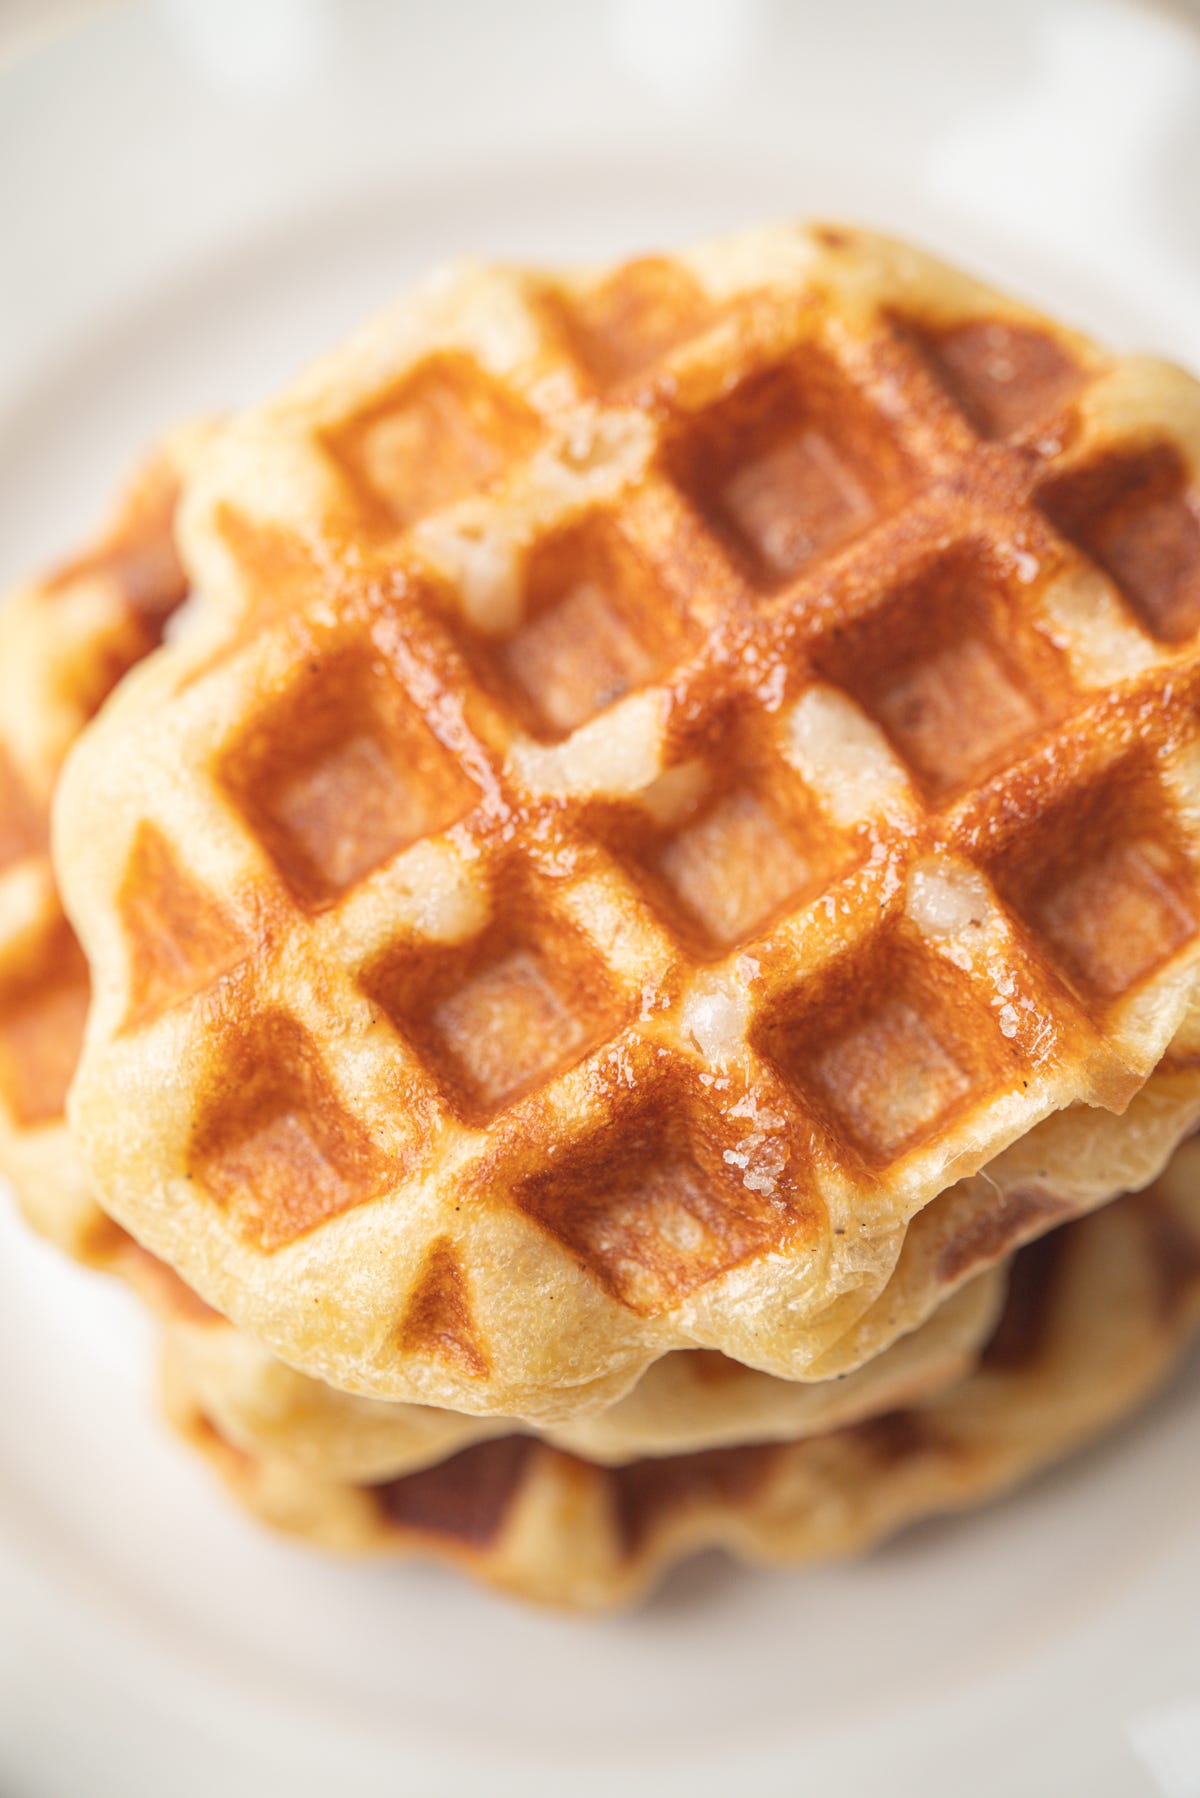
If you get the timing and temperature right, these waffles shouldn’t taste sour, just have a very mild tang.
Enriched sourdough can take a while to rise, especially in a cool kitchen. The colder it is, the slower the dough rises, which means it spends longer fermenting and can build more acidity. A warm spot helps speed things up, ideally somewhere around 24 to 26°C. Much warmer than that and the dough can rise pretty quickly, so keep an eye on how it’s rising and looking, rather than the clock. If you pop it in a container with straight sides you can make a mark on the side where the dough starts, to compare later how much the dough has risen. I recently got a proofing box and immediately thought, why have I waited 10 years to get this! Usually in winter I put my dough in a turned-off oven next to a mug of boiled water, but it’s a bit of a faff having to keep replacing the water as it cools.
I also only let this dough rise by about 30 to 40% before it goes into the fridge. It doesn’t have to be exact, but I don’t let it double because there is still plenty of fermentation to come during the cold proof and the second rise.
The cold proof firms up the butter, makes the dough easier to shape and gives you a lot more flexibility with timing. Once the dough is properly chilled, fermentation slows right down.
This dough is easiest to make in a stand mixer because there is a lot of butter in it and it can make it feel quite wet. Butter makes gluten development harder so you want to mix the dough without the butter first to get the gluten started, about 5-6 minutes of kneading. Once that’s done you can start adding the butter a bit at a time, and letting it mix into the dough. Keep mixing until the dough passes the windowpane test which is when you can stretch a piece of dough so thin that you can see through it without it tearing right away. Depending on your mixer that might take another 10-15 minutes.
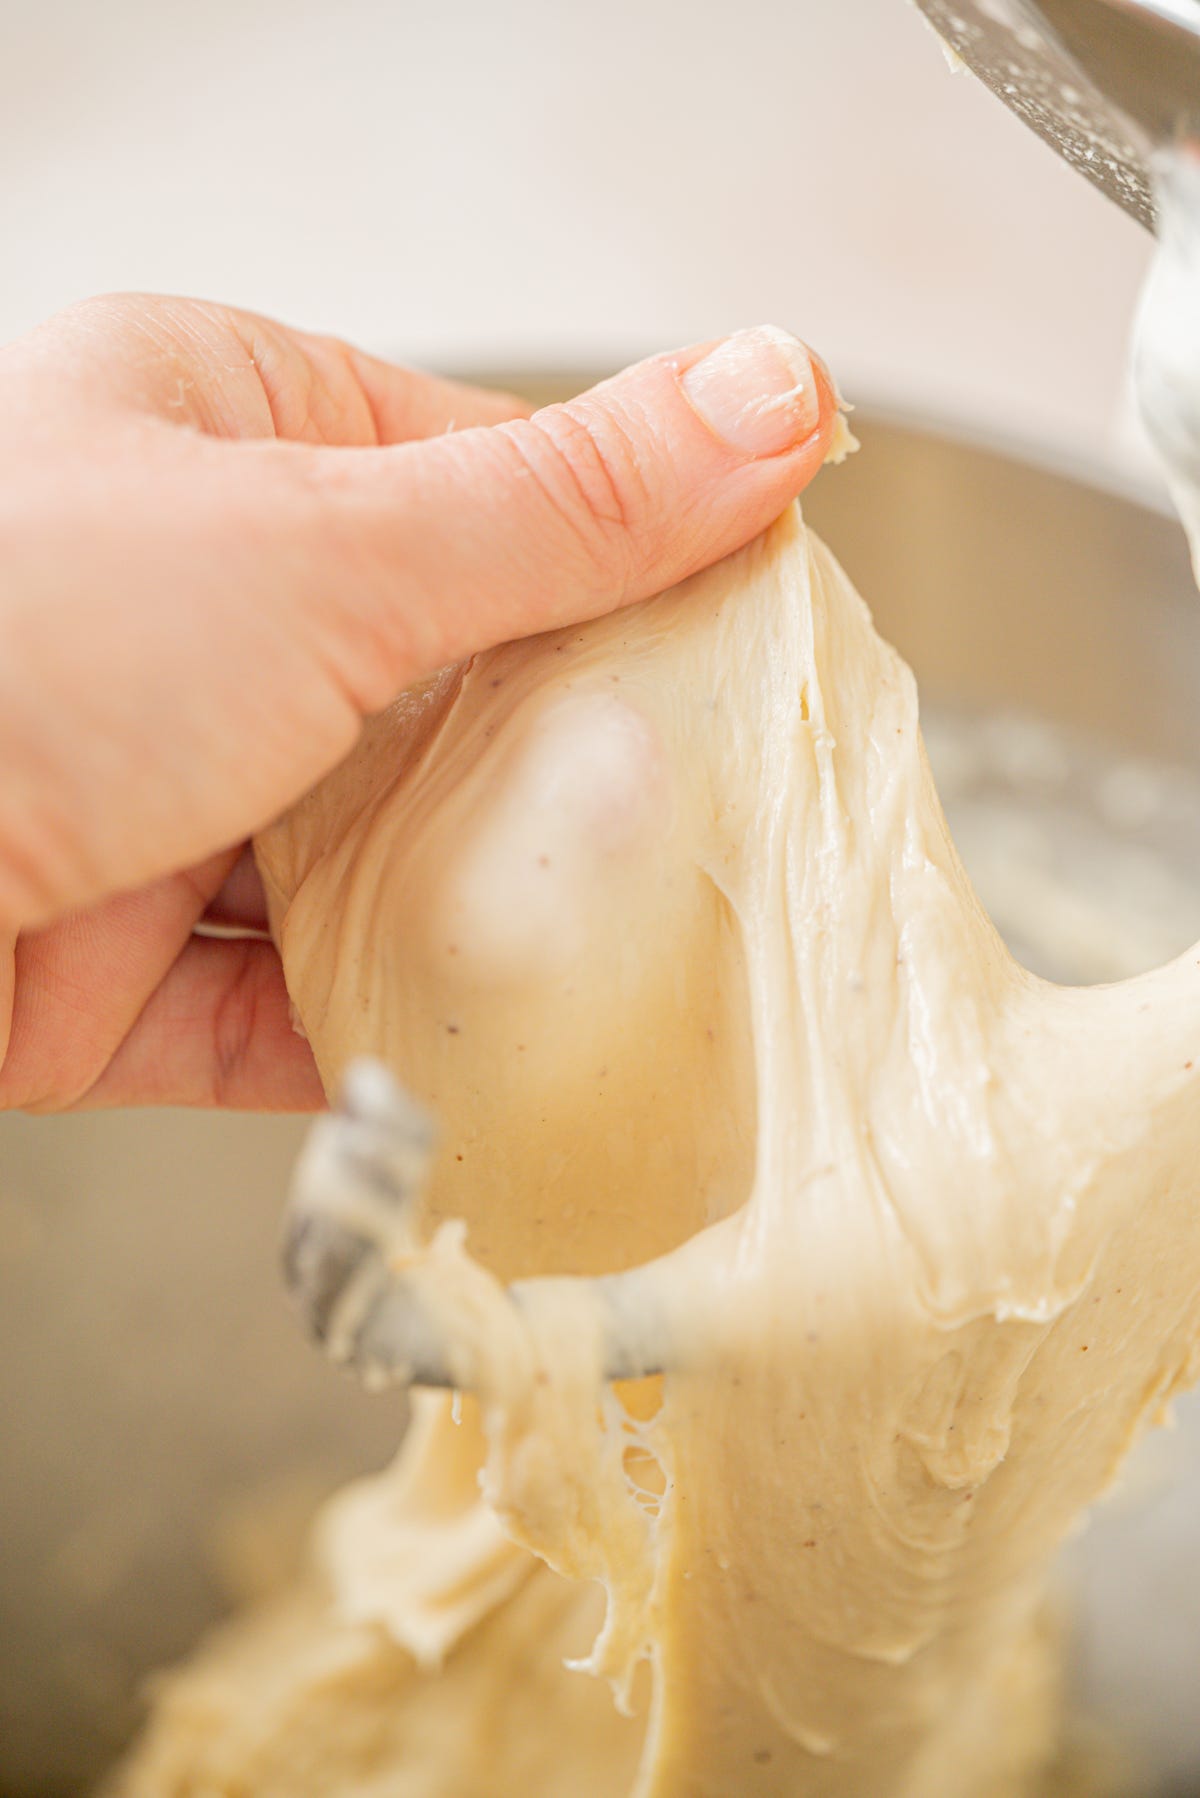
You can make this by hand too but I’m not going to lie and say it’s easy! Make sure to develop the dough fully before the butter goes in. Get the dough to pass the windowpane test first, and then when you start adding the butter it incorporates much more easily. Don’t be tempted to add more flour. Also, take breaks in between the kneading to give the gluten and your arms some time to rest.
Another tip - watch the dough temperature so that it doesn’t get too warm. It’s winter here at the moment so it’s not an issue but in summer time it is. If the dough starts looking or feeling really greasy and it isn’t gaining any strength no matter how long you mix, stop and put the bowl in the fridge for 20 minutes until the butter firms up again, then continue.
Comments
Nothing yet. Say the first thing.
Sign in to join the conversation.