
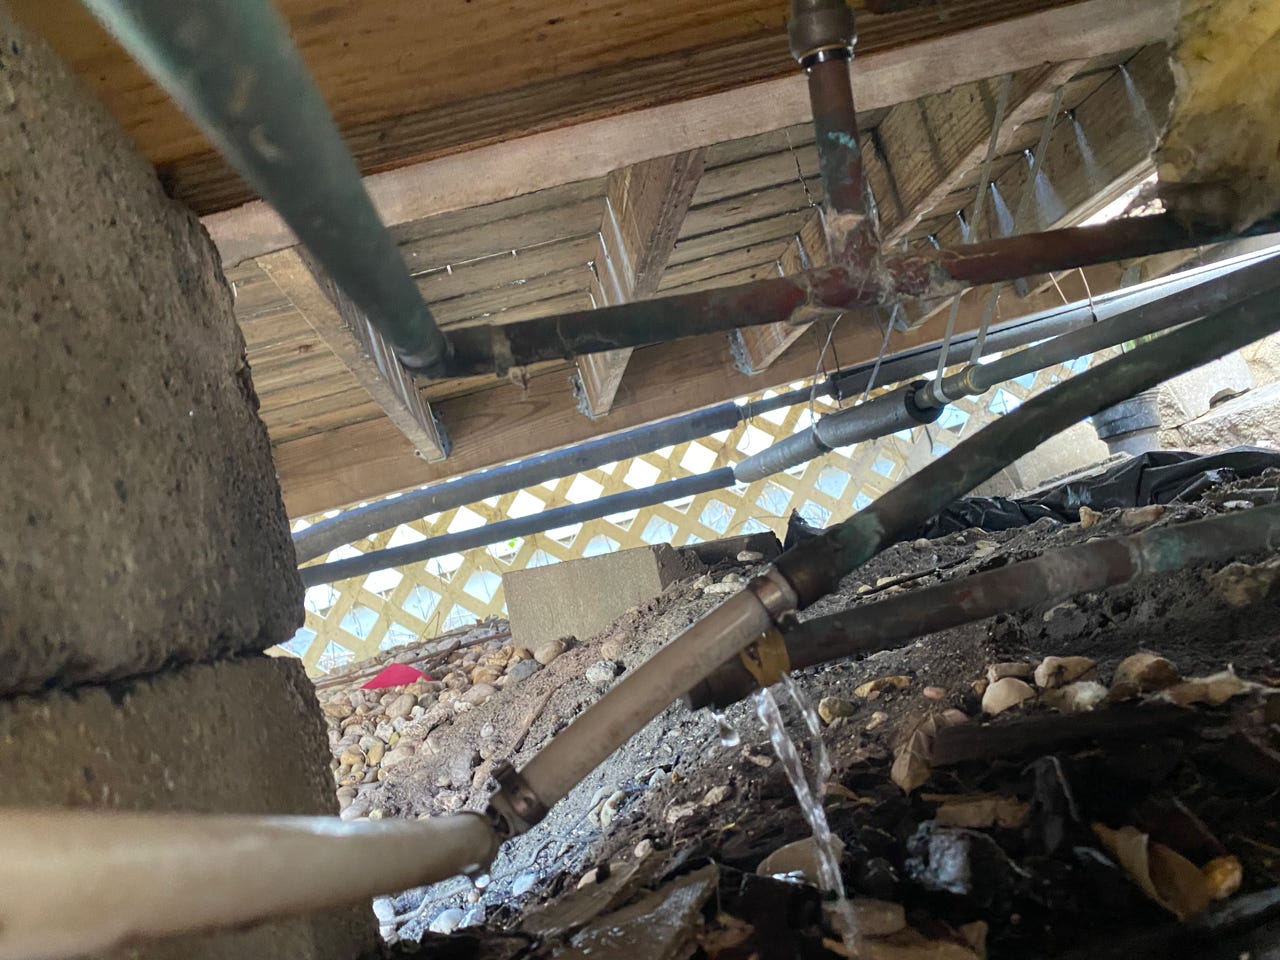
I pause the work in the dry kitchen to start getting the cottage ready for summer rental. First up is turning on the water. This winter was rough and a pipe burst in the house. I try my best to blow air through the pipes after turning off the water, but still have had bursts from less intense winters. I get the cold water on and there’s no issues, but when I put the hot water on, I hear the spray of water under the crawlspace. I shut it off and remove a lattice panel to see what’s going on. Luckily the issue is on a pipe that is capped and the cap has blown off. I get a SharkBite cap and replace the one that failed. I also use some straps to secure some of the pipes that are hanging loose.
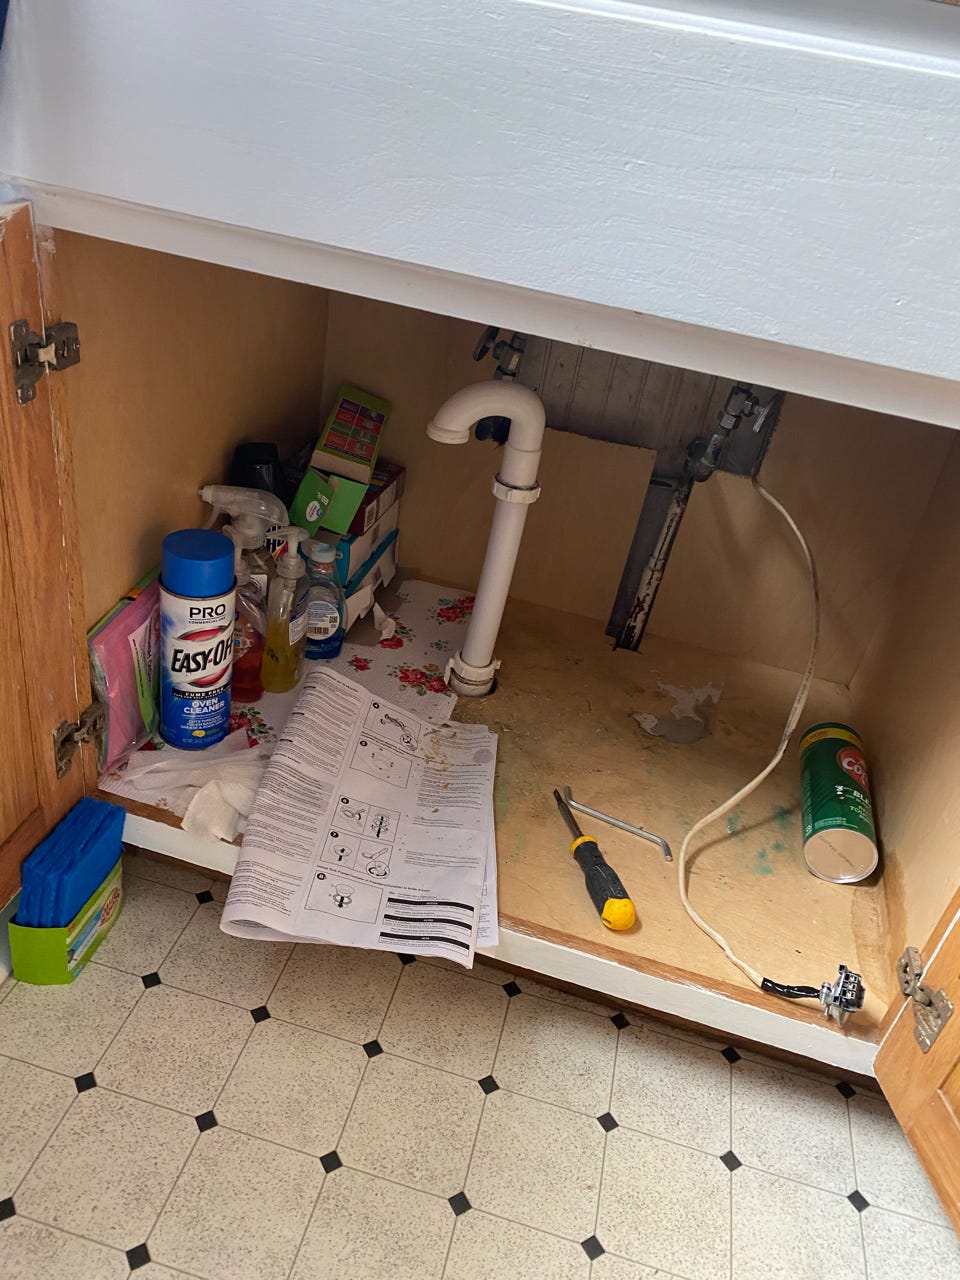
Inside the cottage I start cleaning. The plumbing woes continue with the toilet where after flushing the water valve doesn’t shut off. I assume it’s failed due to sitting empty all winter and being exposed to extreme cold. I pick up a new one at Home Depot and swap that out. While cleaning the kitchen, I notice some water under the sink. Originally I think the leak is coming from the seal between the sink and counter because I’m washing a lot of dishes and the counter has a lot of water spilling on it. I do some tests by filling the sink and laying paper towels down to see if I can find a drip. I notice one coming from the bottom of the garbage disposal. I confirm my suspicion by dabbing a dry paper towel around. I don’t see any moisture except for at the bottom of the disposal. I do one final test by filling the sink and then draining it and turning on the disposal. I clearly see the bottom leaking so I head back to Home Depot for a new garbage disposal.
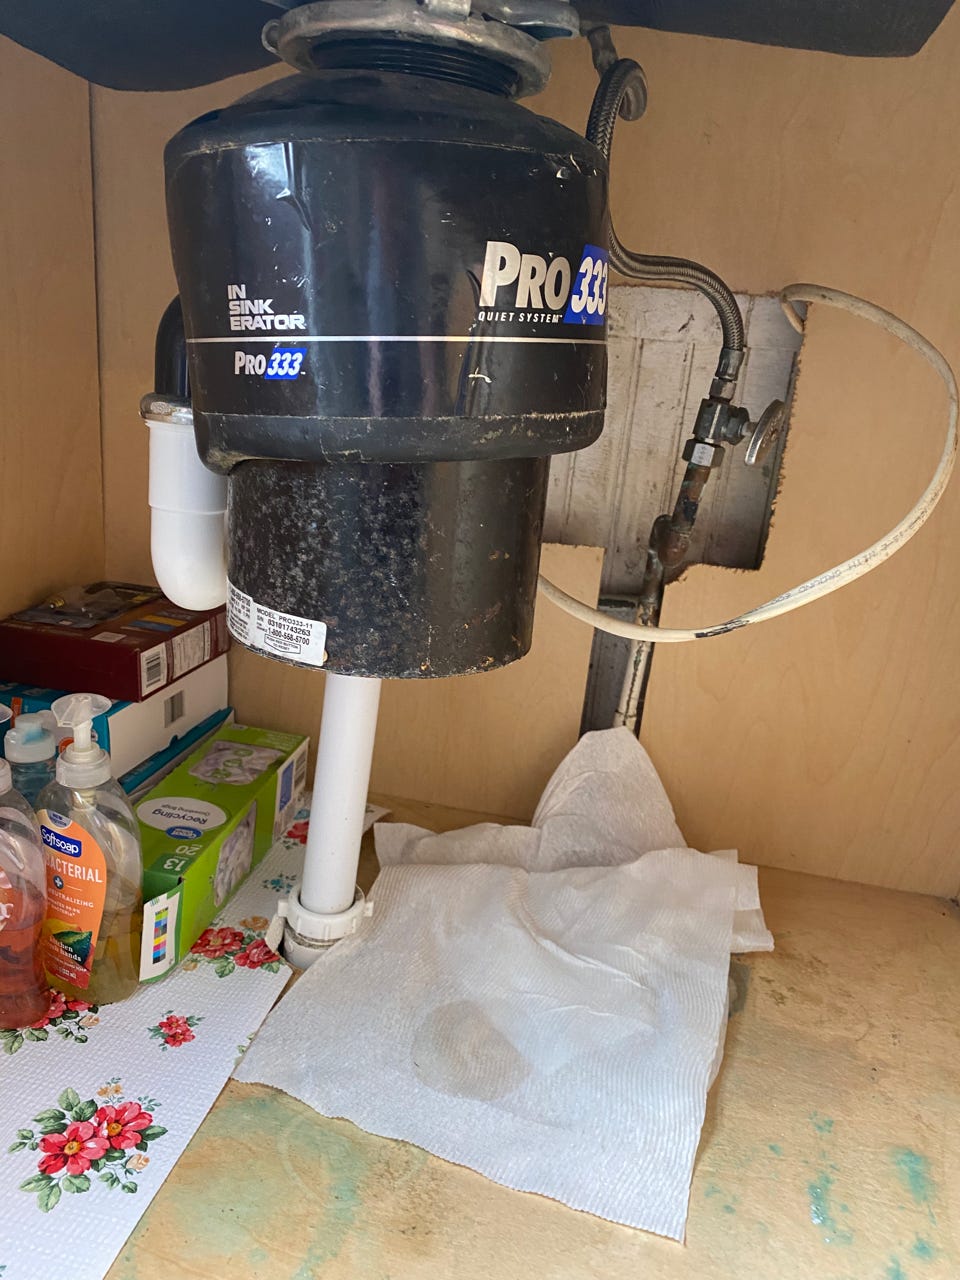
I spend a while removing the old one and then replacing the new one. For the most part it’s not too difficult. The disposal is hard-wired, so I employ Karen to help remove the old wiring and re-wire for the new one. Luckily the newer model uses a connector for the hard-wiring so you don’t need to screw wires into the disposal. I also get a rubber gasket for the sink drain to avoid using plumber’s putty. Once I get everything set up, I fill the sink and give the disposal a test run. I’m happy to see no leaks and the disposal works.
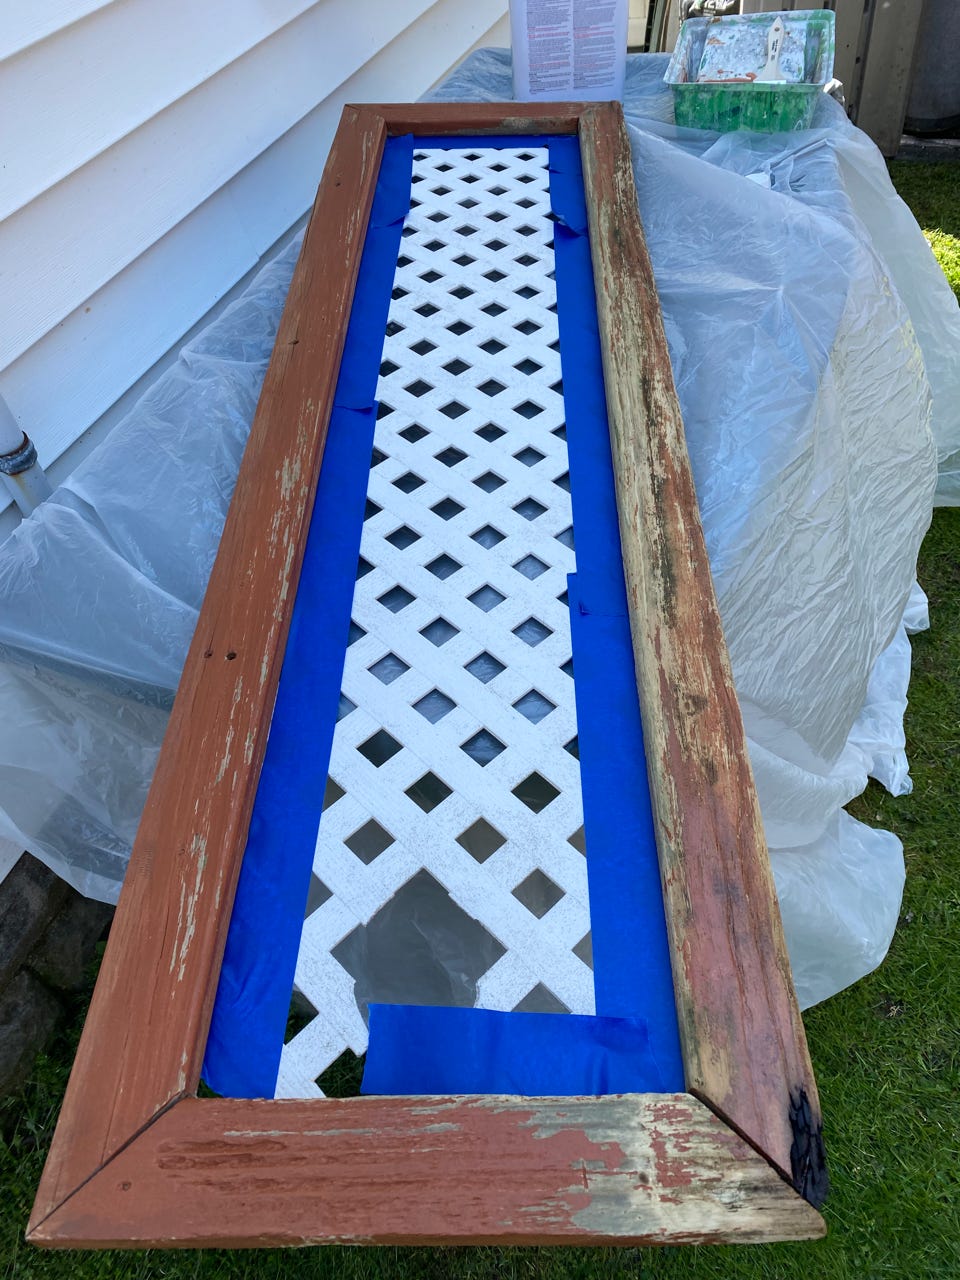
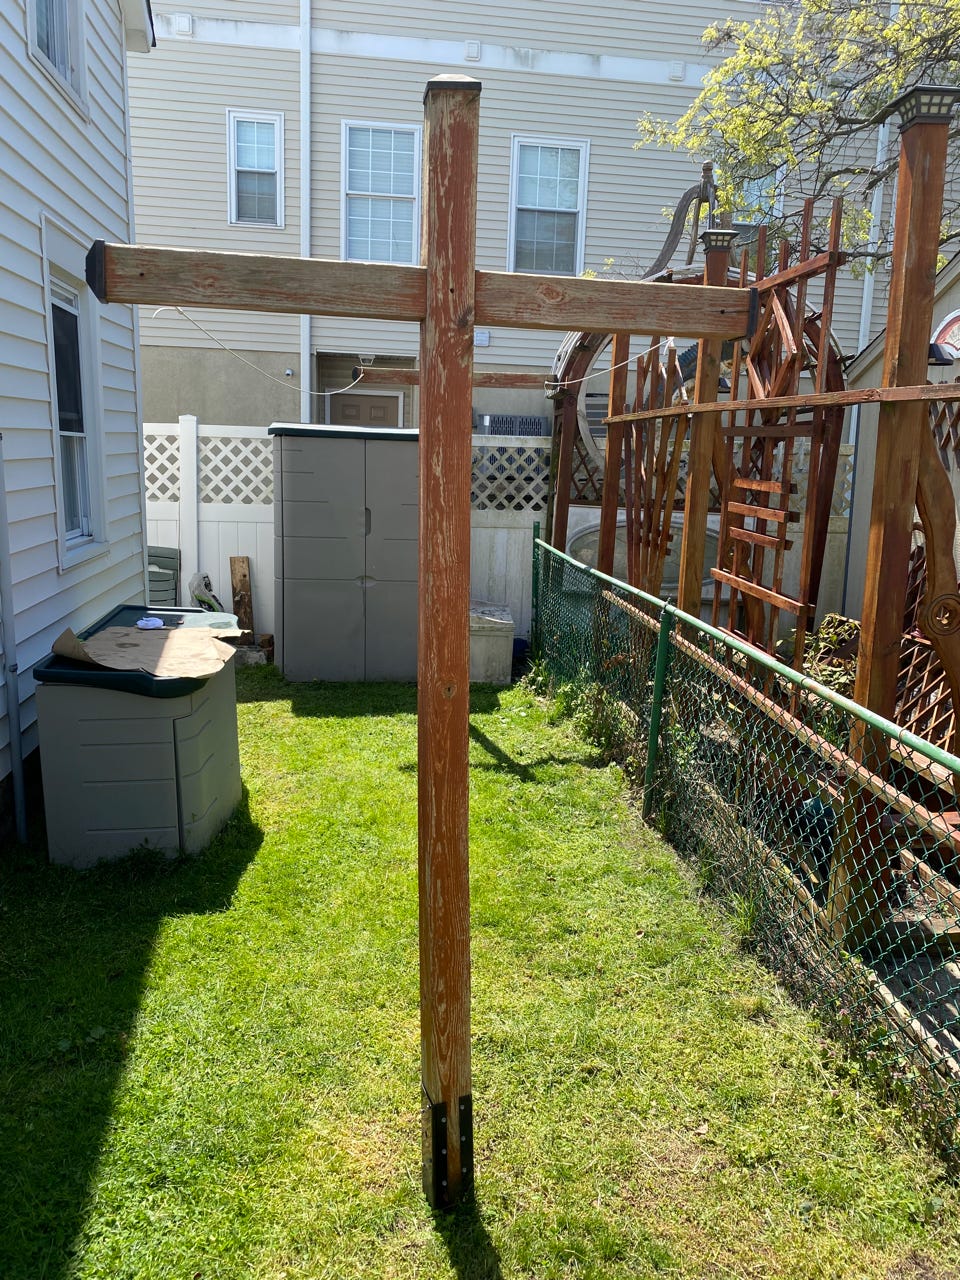
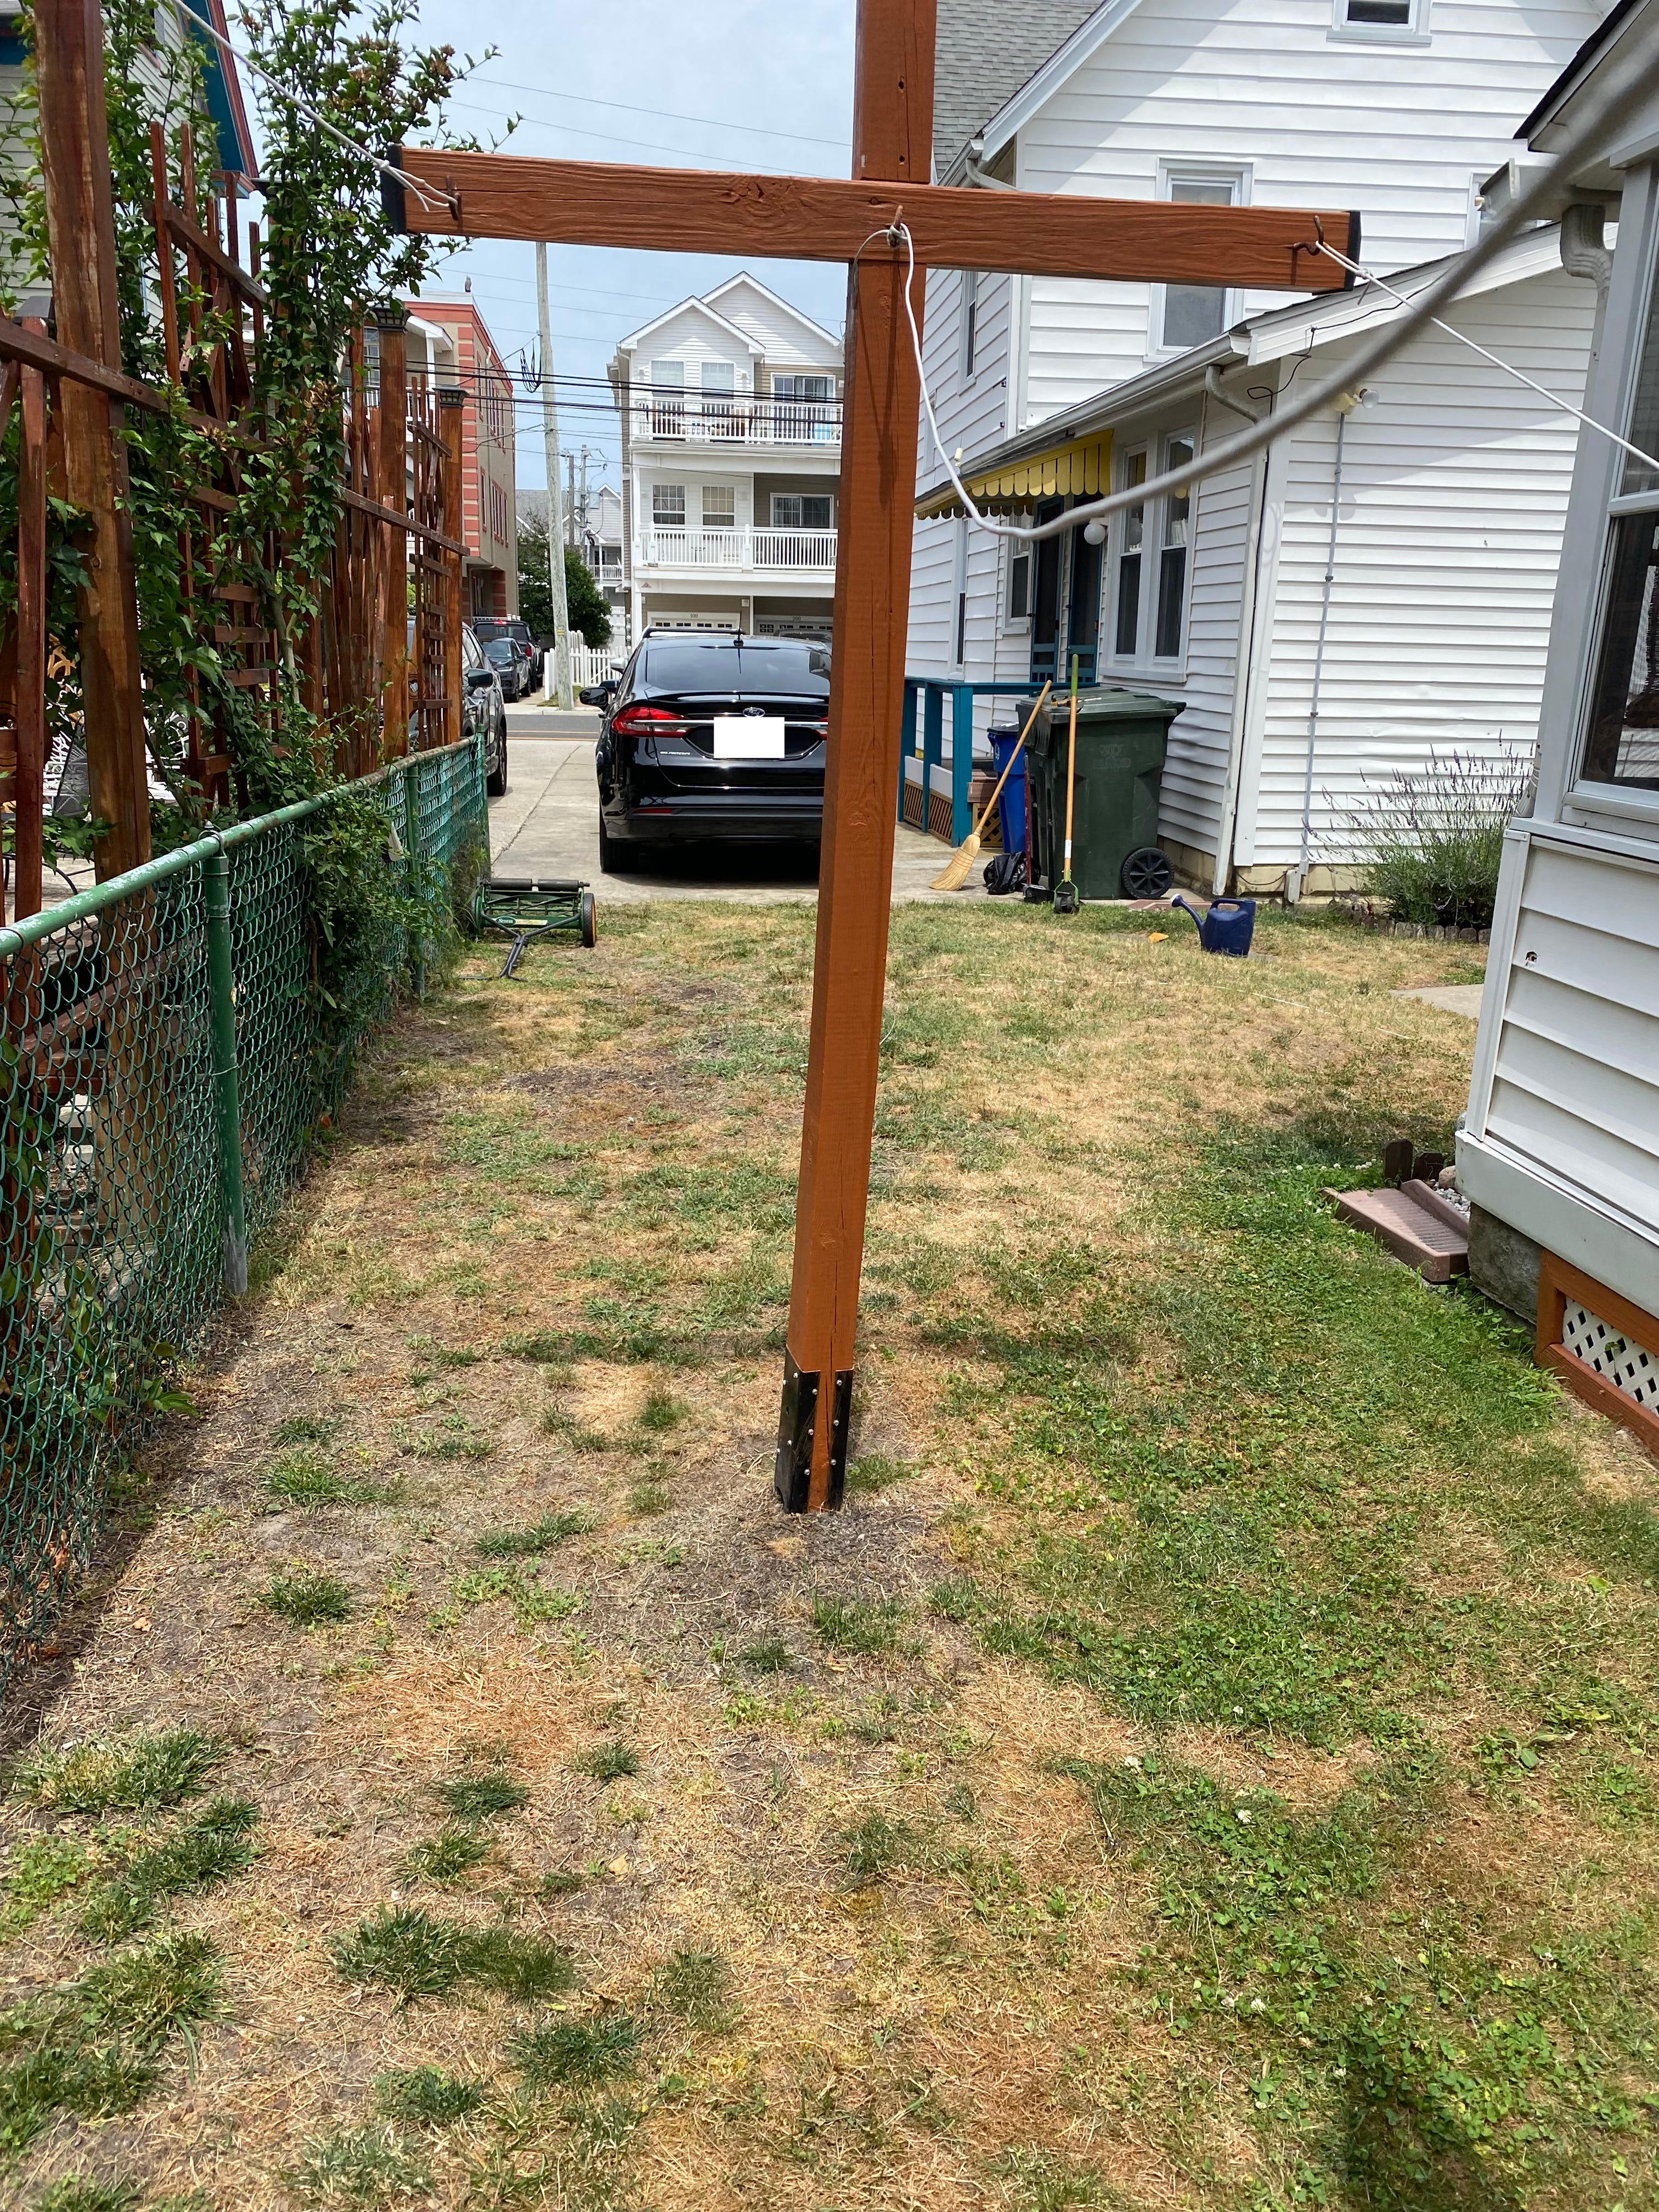
Outside I have some things to address as things are wearing down from the elements. I have a few pieces of wood such as clothesline poles, a shower mat, and some lattice frames that all were sealed with Thompson’s Water Stain. I don’t know if Thompson’s is the best product, but I’m not going to sand everything off to change things so I’ll just recoat. I decide to move from semi-transparent to solid colored cedar. None of these wood pieces have valuable grain so there was no reason to let the grain show through and sacrifice some durability.
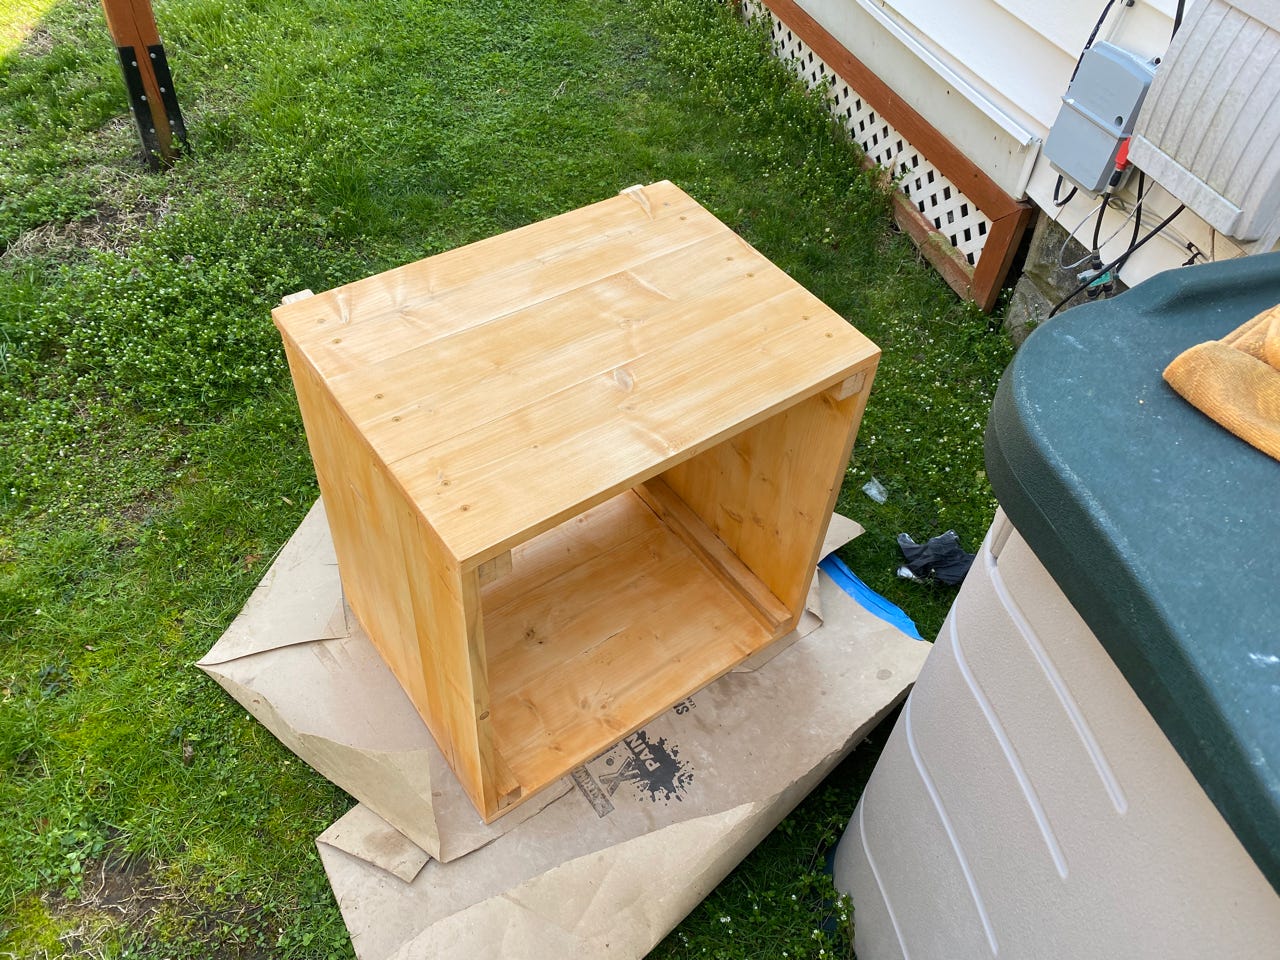
I also start finishing the hose box with a pass with some water based dye I had laying around. During all of my wood experiments I mixed up a few jars of various shades to test and I had a honey color that I never used. Figured I’d throw that on to the box just to use up some old supplies. After the dye dries, I’ll give the box 3 coats of pine tar mixed with raw linseed oil and a little bit of turpentine.
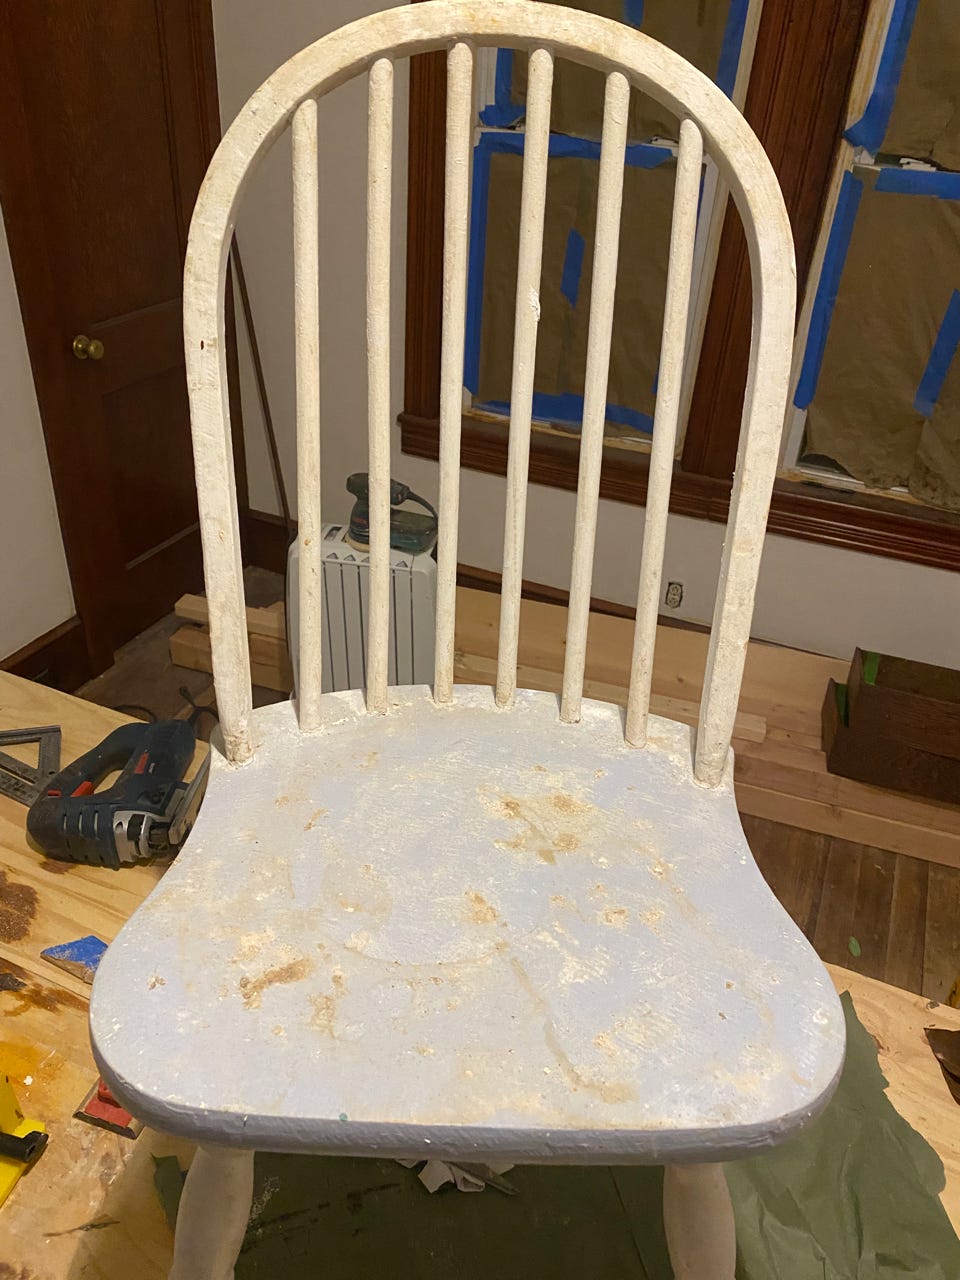
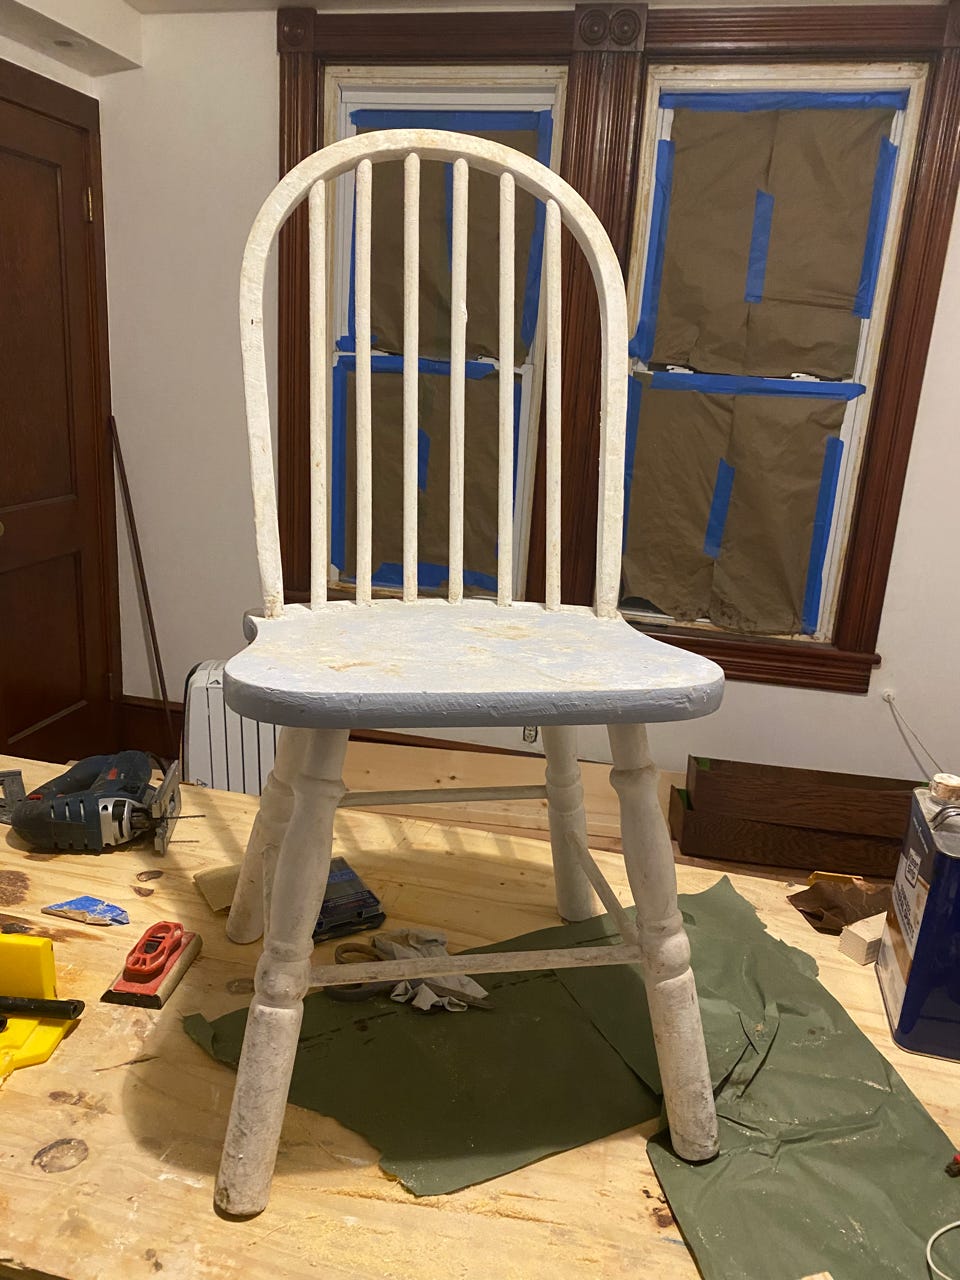
Inside the cottage are 2 table and chair sets that are 1980s restaurant style. The tables are vinyl fake wood tops and the chairs are black painted metal with red vinyl seat pads. The vinyl is splitting and the paint is flaking off. None of it fits the cottage aesthetic and every year I get annoyed seeing them, but I keep punting to next year because real wood tables and chairs are expensive. This year as I’m considering my options and possibly going to bust out the spray paint to fix the chairs, I spot a wooden chair in the house. The chairs have much more of a cottage aesthetic. Why didn’t I just use these. There were originally 6 of the chairs. One I took up to Jersey City to refinish as a test of linseed oil paint. Another one has snapped spindles (side stretcher or wide rails?) on the bottom of the chair so that can’t be used. The other 4 are in decent shape except for some loose spindles in the backrest on a few chairs, but nothing too serious. So with 4 chairs I can remove 4 of metal chairs from the cottage.
First thing is to clean them up. That’s the biggest issue with the chairs is that they are caked with dirt and grime. Some of it is from the previous tenants and some of it is from me using the chairs as stands during my work so there’s lots of paint stripper gunk and plaster drips on them in addition to dirt. Luckily with this project I don’t need to do my full stripping and instead will just do a good scrubbing and sand down any loose paint. I’ll refinish with extra paint I have on hand (which means I’ll leave the linseed oil chair up in Jersey City because I don’t want to waste expensive linseed oil paint on the other 4 chairs).
Comments
Nothing yet. Say the first thing.
Sign in to join the conversation.