
Month four of the zero waste zine-club has been released!
The Zero Waste Travel Case is a pattern born out of necessity. Over the last few years I’ve travelled a lot. Like A LOT. I got fed up with using the same crappy pouch that never worked quite right.
So I designed this!
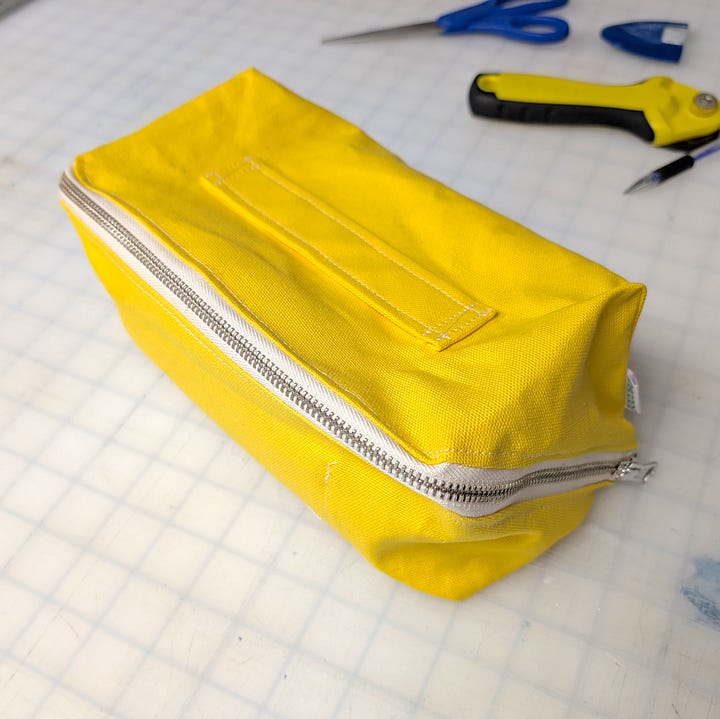
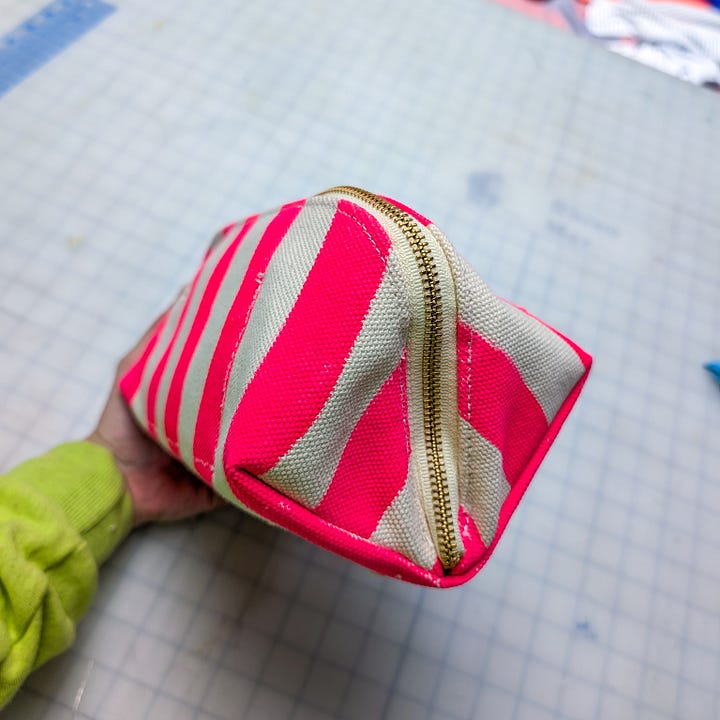
The Zero Waste Travel Case is a zero waste pattern for a structured, heavy-duty pouch that actually holds its shape. Fits your life, your bag, and your sustainability values, in that order.
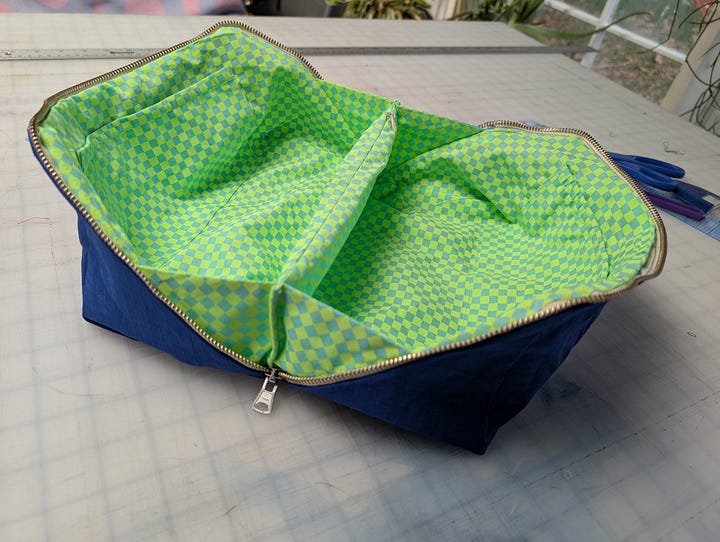
I started designing it in Clo3D and made two versions of it with and without lining before landing on the version you see here.
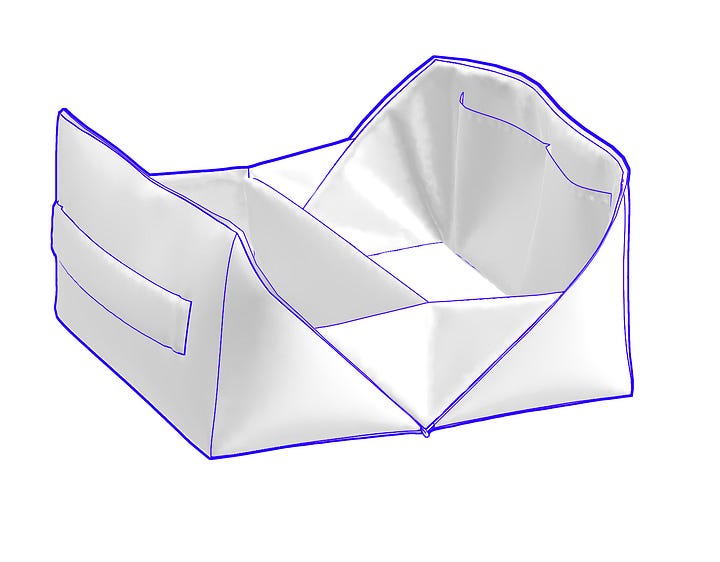
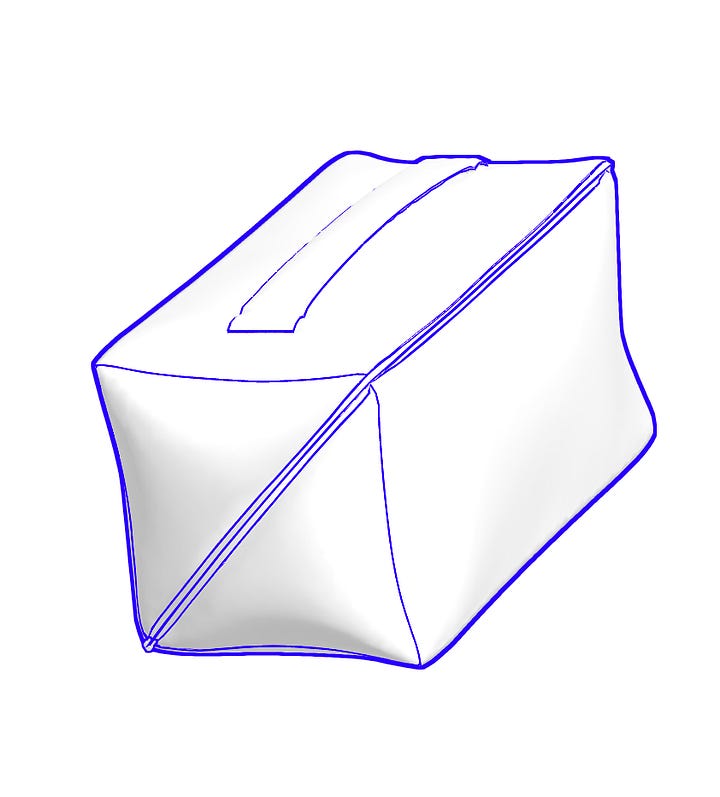
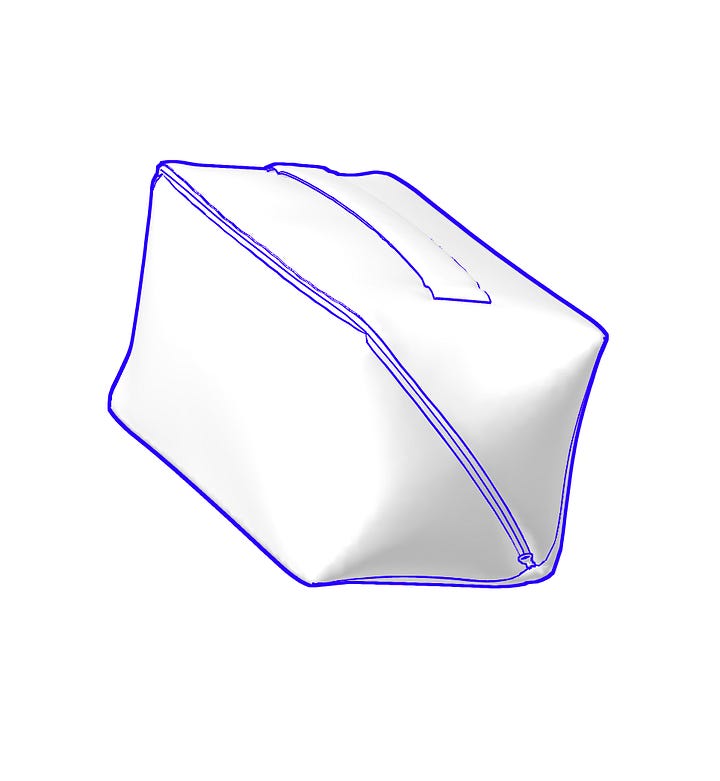
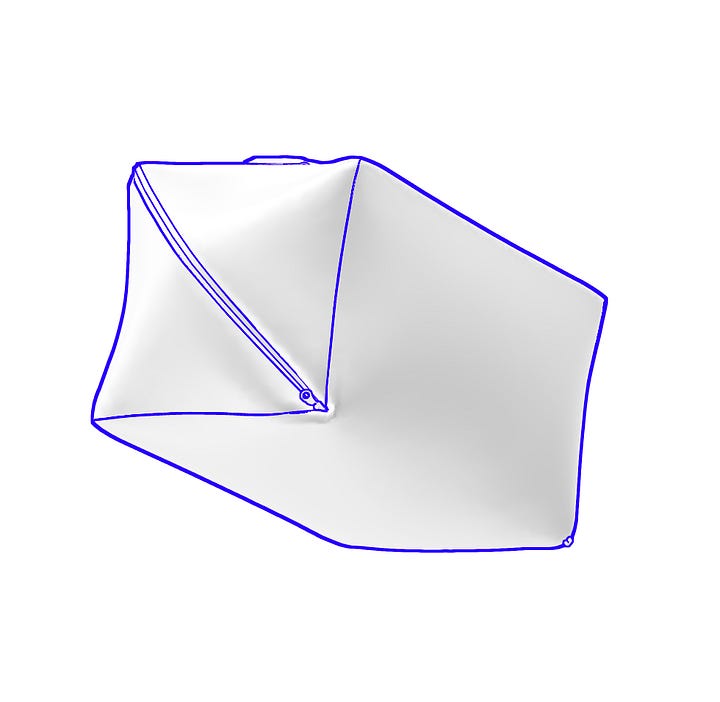
The versions I made with linings were really cute but VERY complicated for a 6 page zine instruction booklet. If there is a demand for the lining version I’ll post that eventually.
My toxic trait is that I use the good fabric on samples 😭
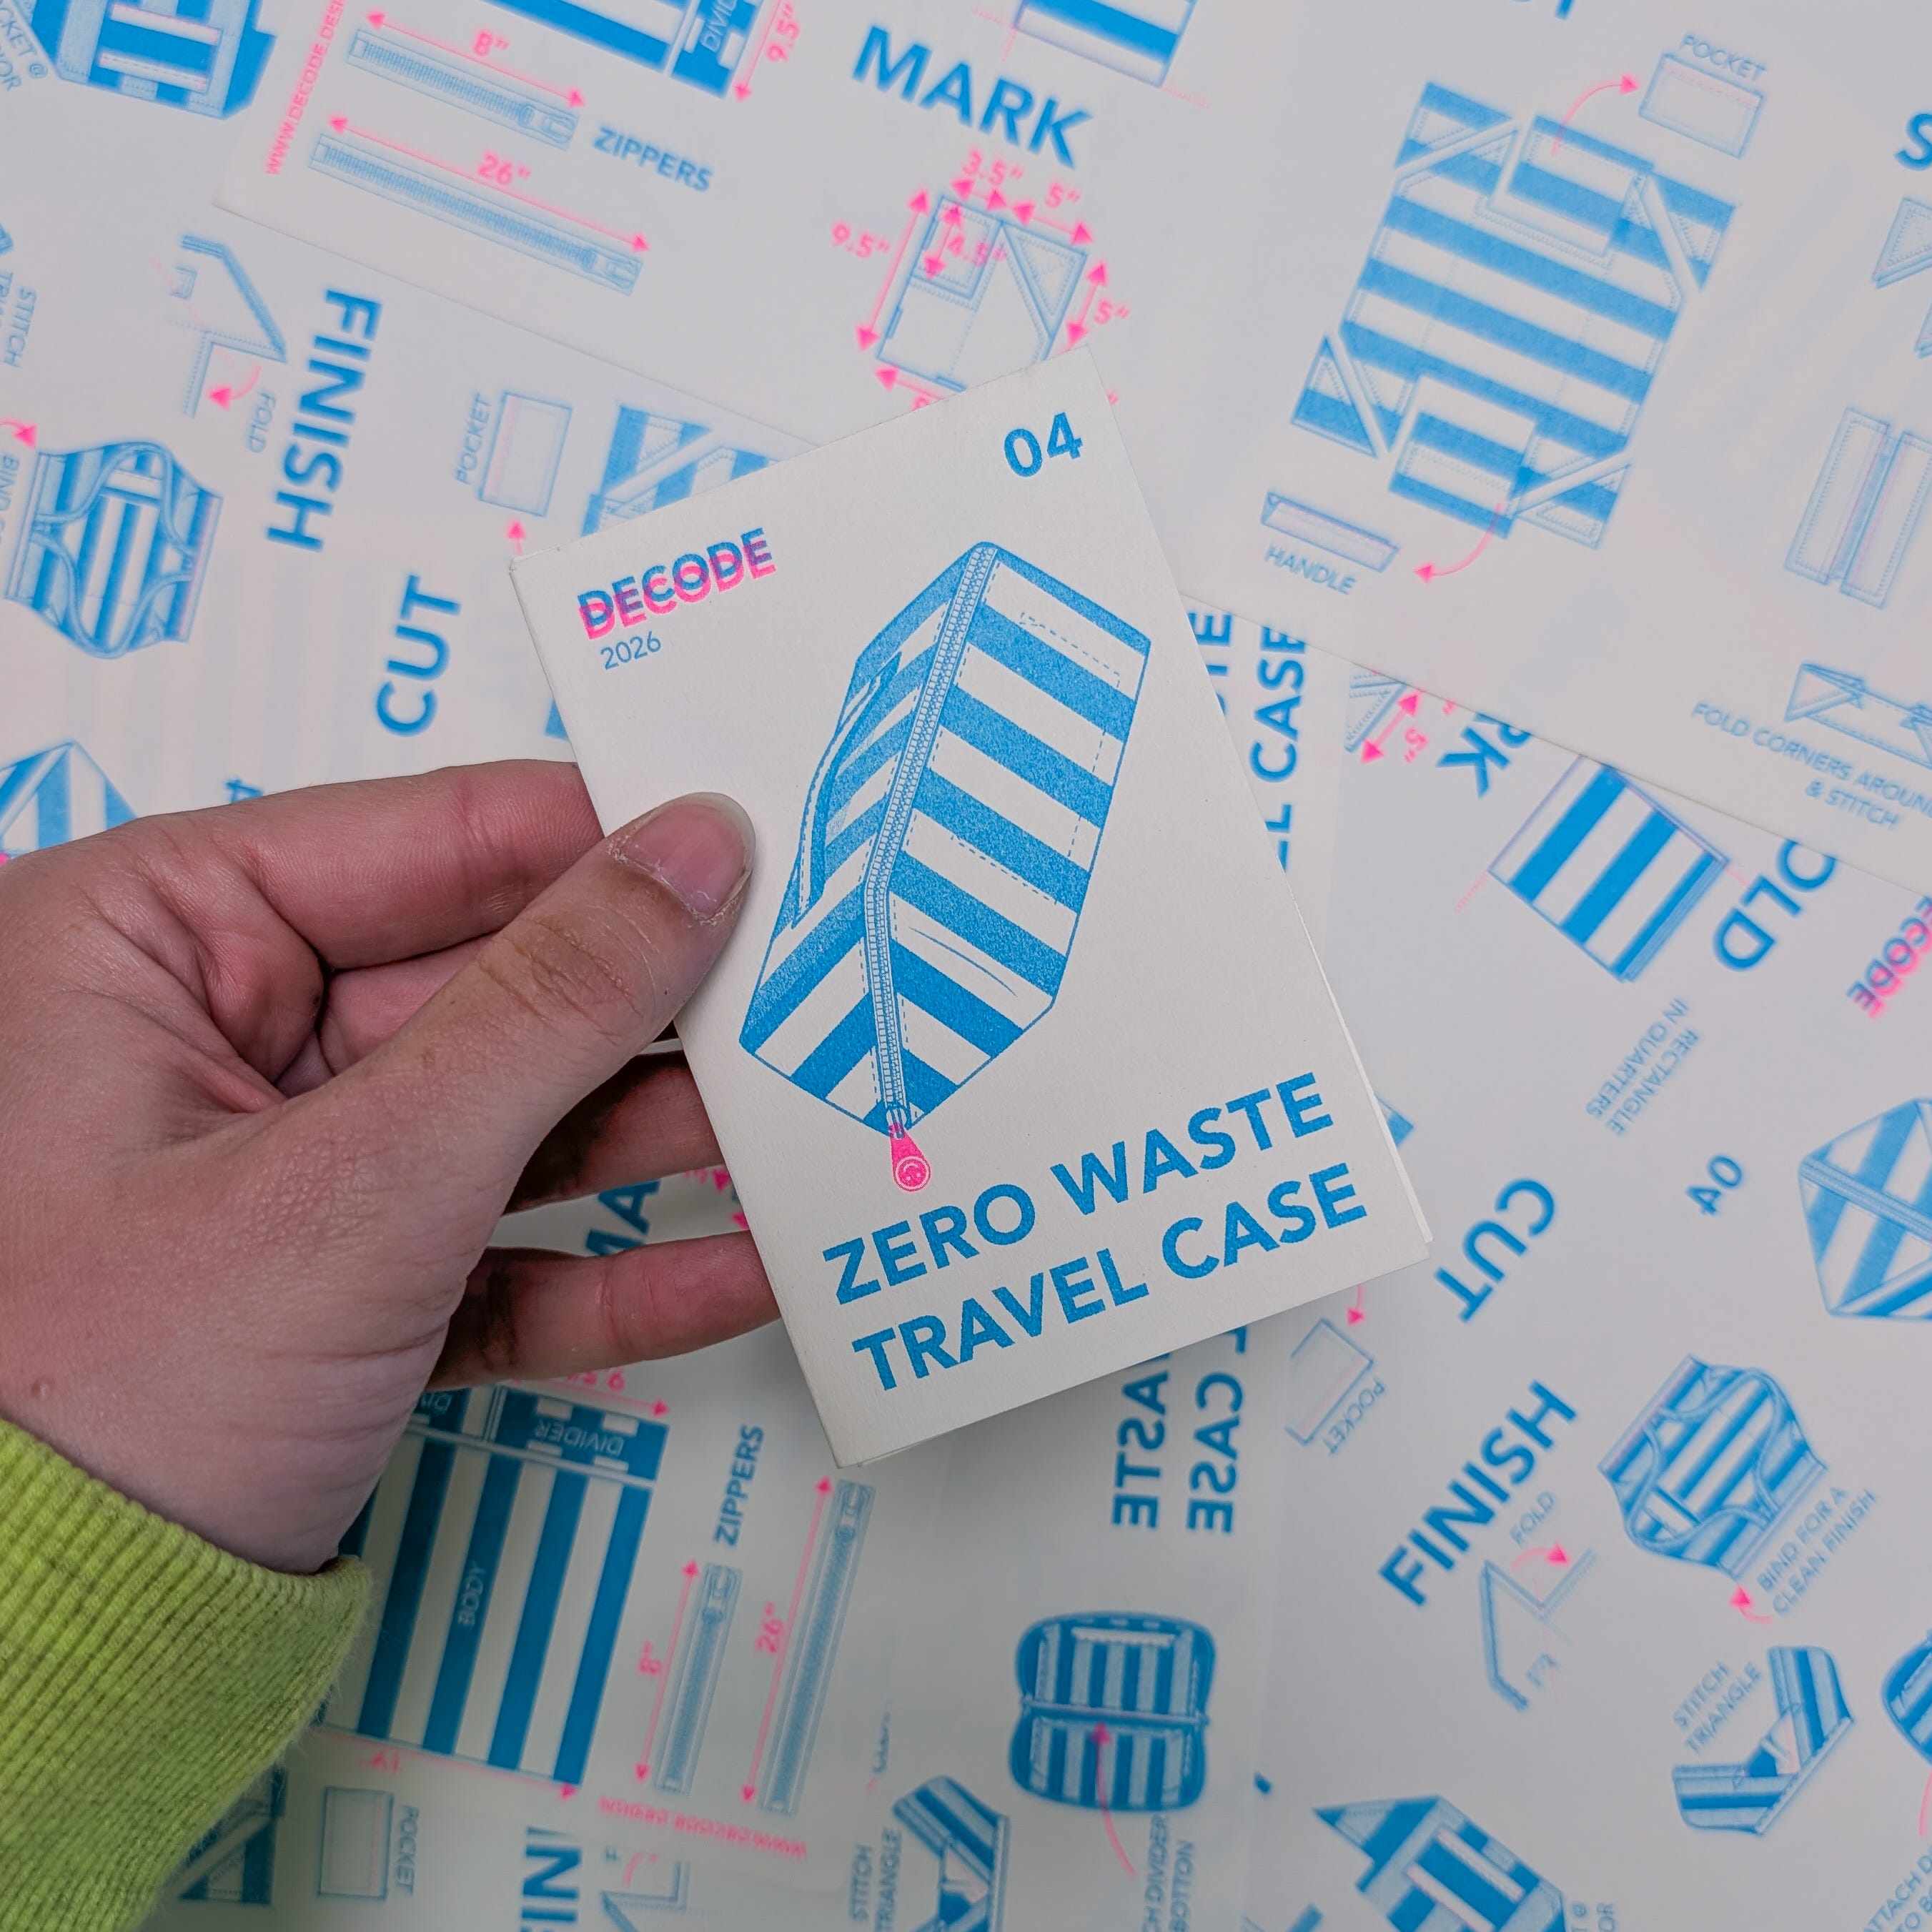
The physical copy of the mini Riso-zine I developed for this project is available for $12 here: RISO_ZINE_04
The digital copy of the zine that can be printed can be found here for $9: Digital Riso Zine
Now onto the instruction! Late is better than never.
If you have purchased the Riso-zine already, reach out and I will give you free access to the step by step content below.
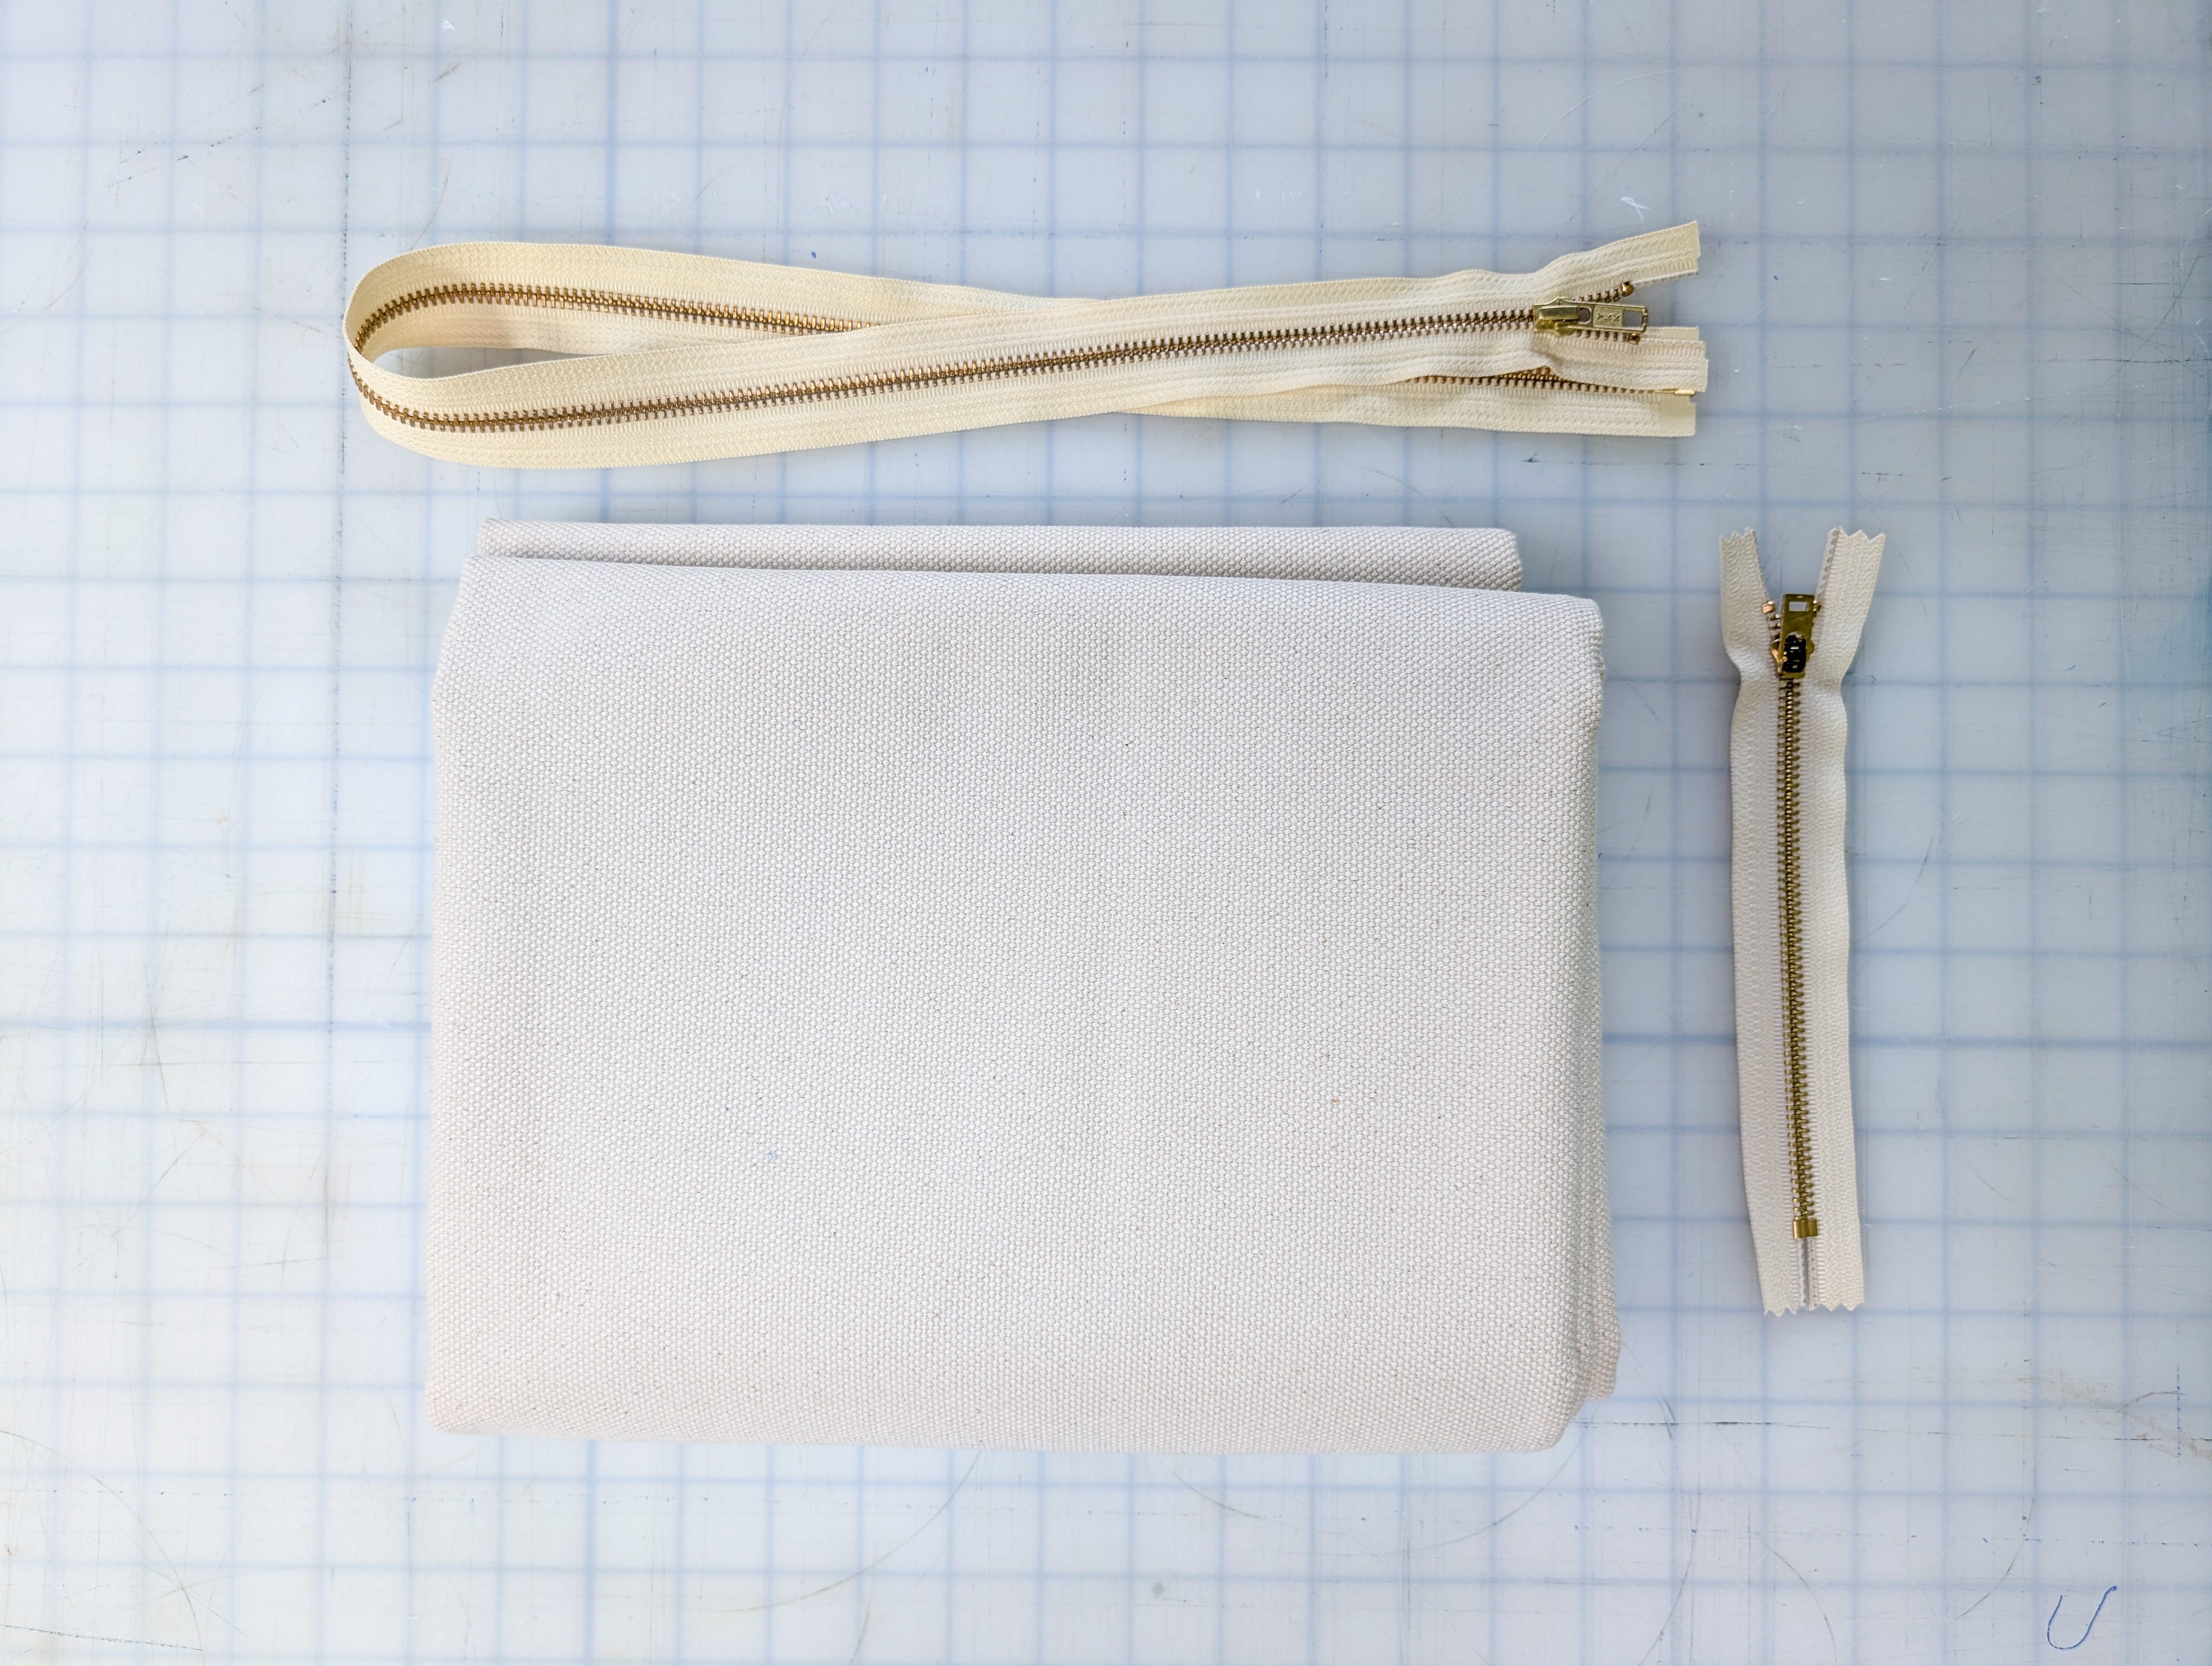
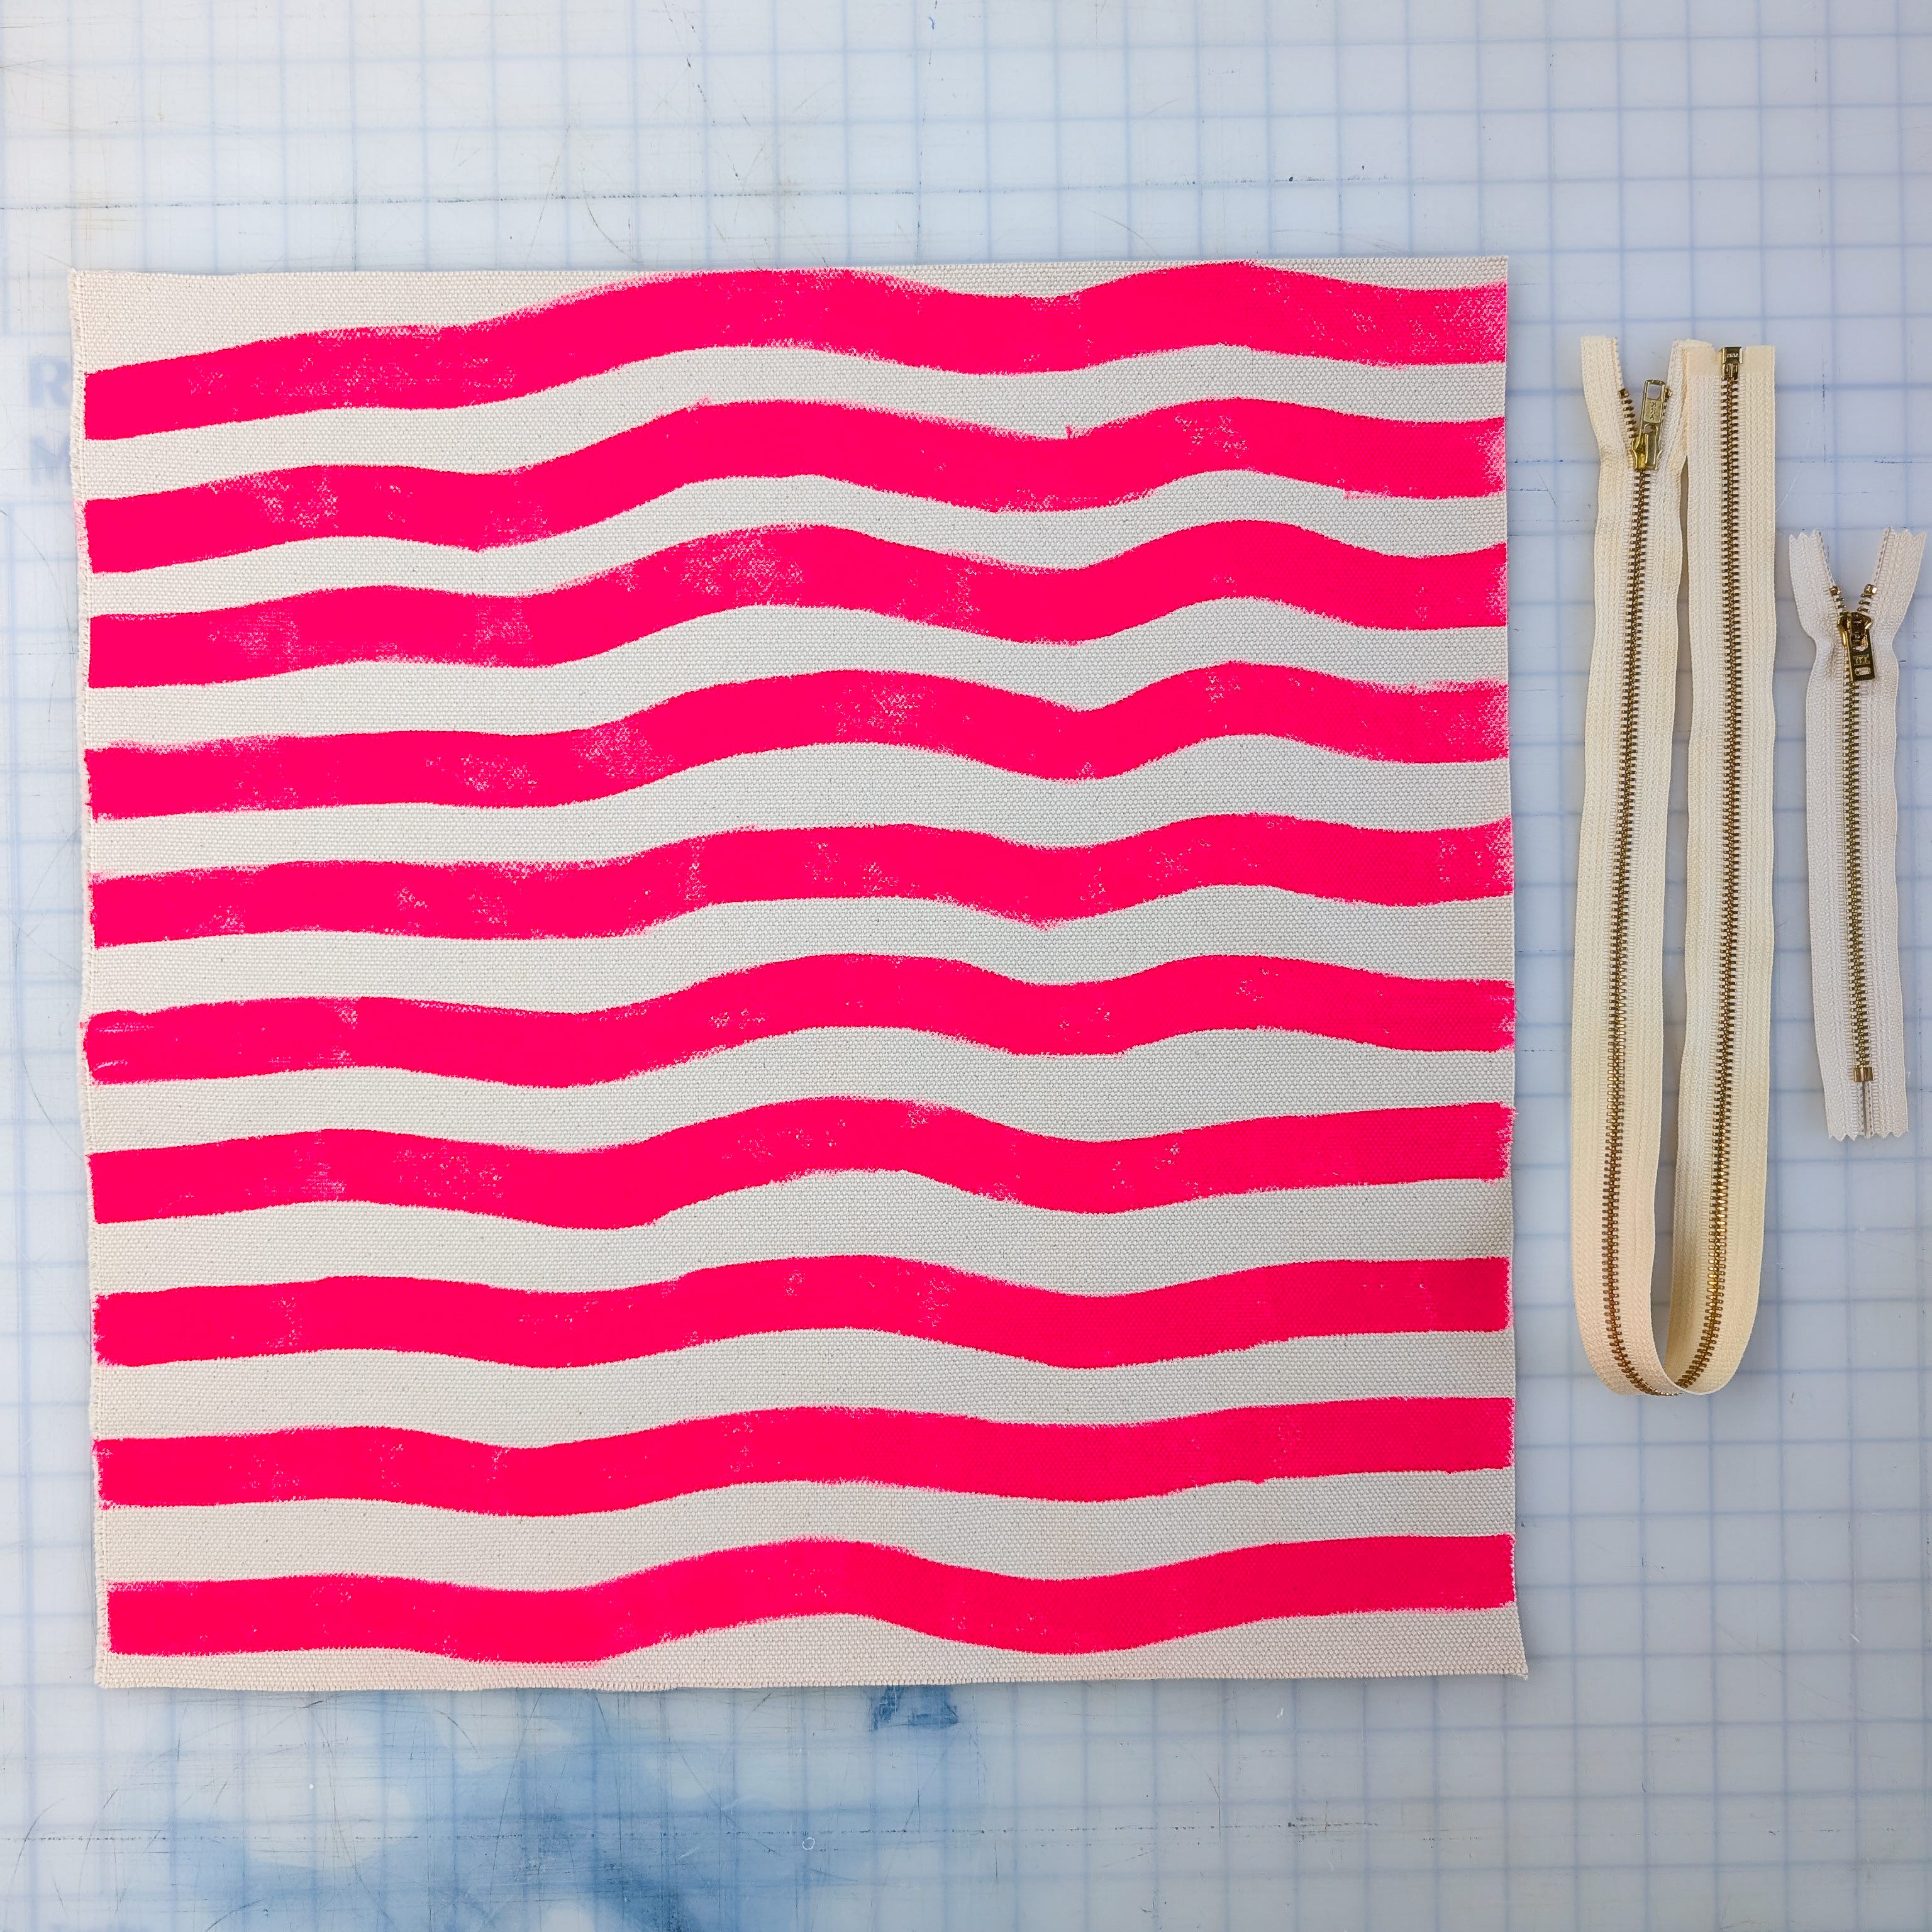
100% woven cotton/denim (something with structure is HIGHLY encouraged. That being said, I made this version in a 24 OZ canvas that was IMPOSSIBLE to sew. So don’t go quite as thick as that.):
(1) 19” x 20” rectangle - Feel free to scale up or down
Zippers:
(1) 8” zip (approximate, you can use what you already have!)
(1) 26”+ zip - again, use what you have!
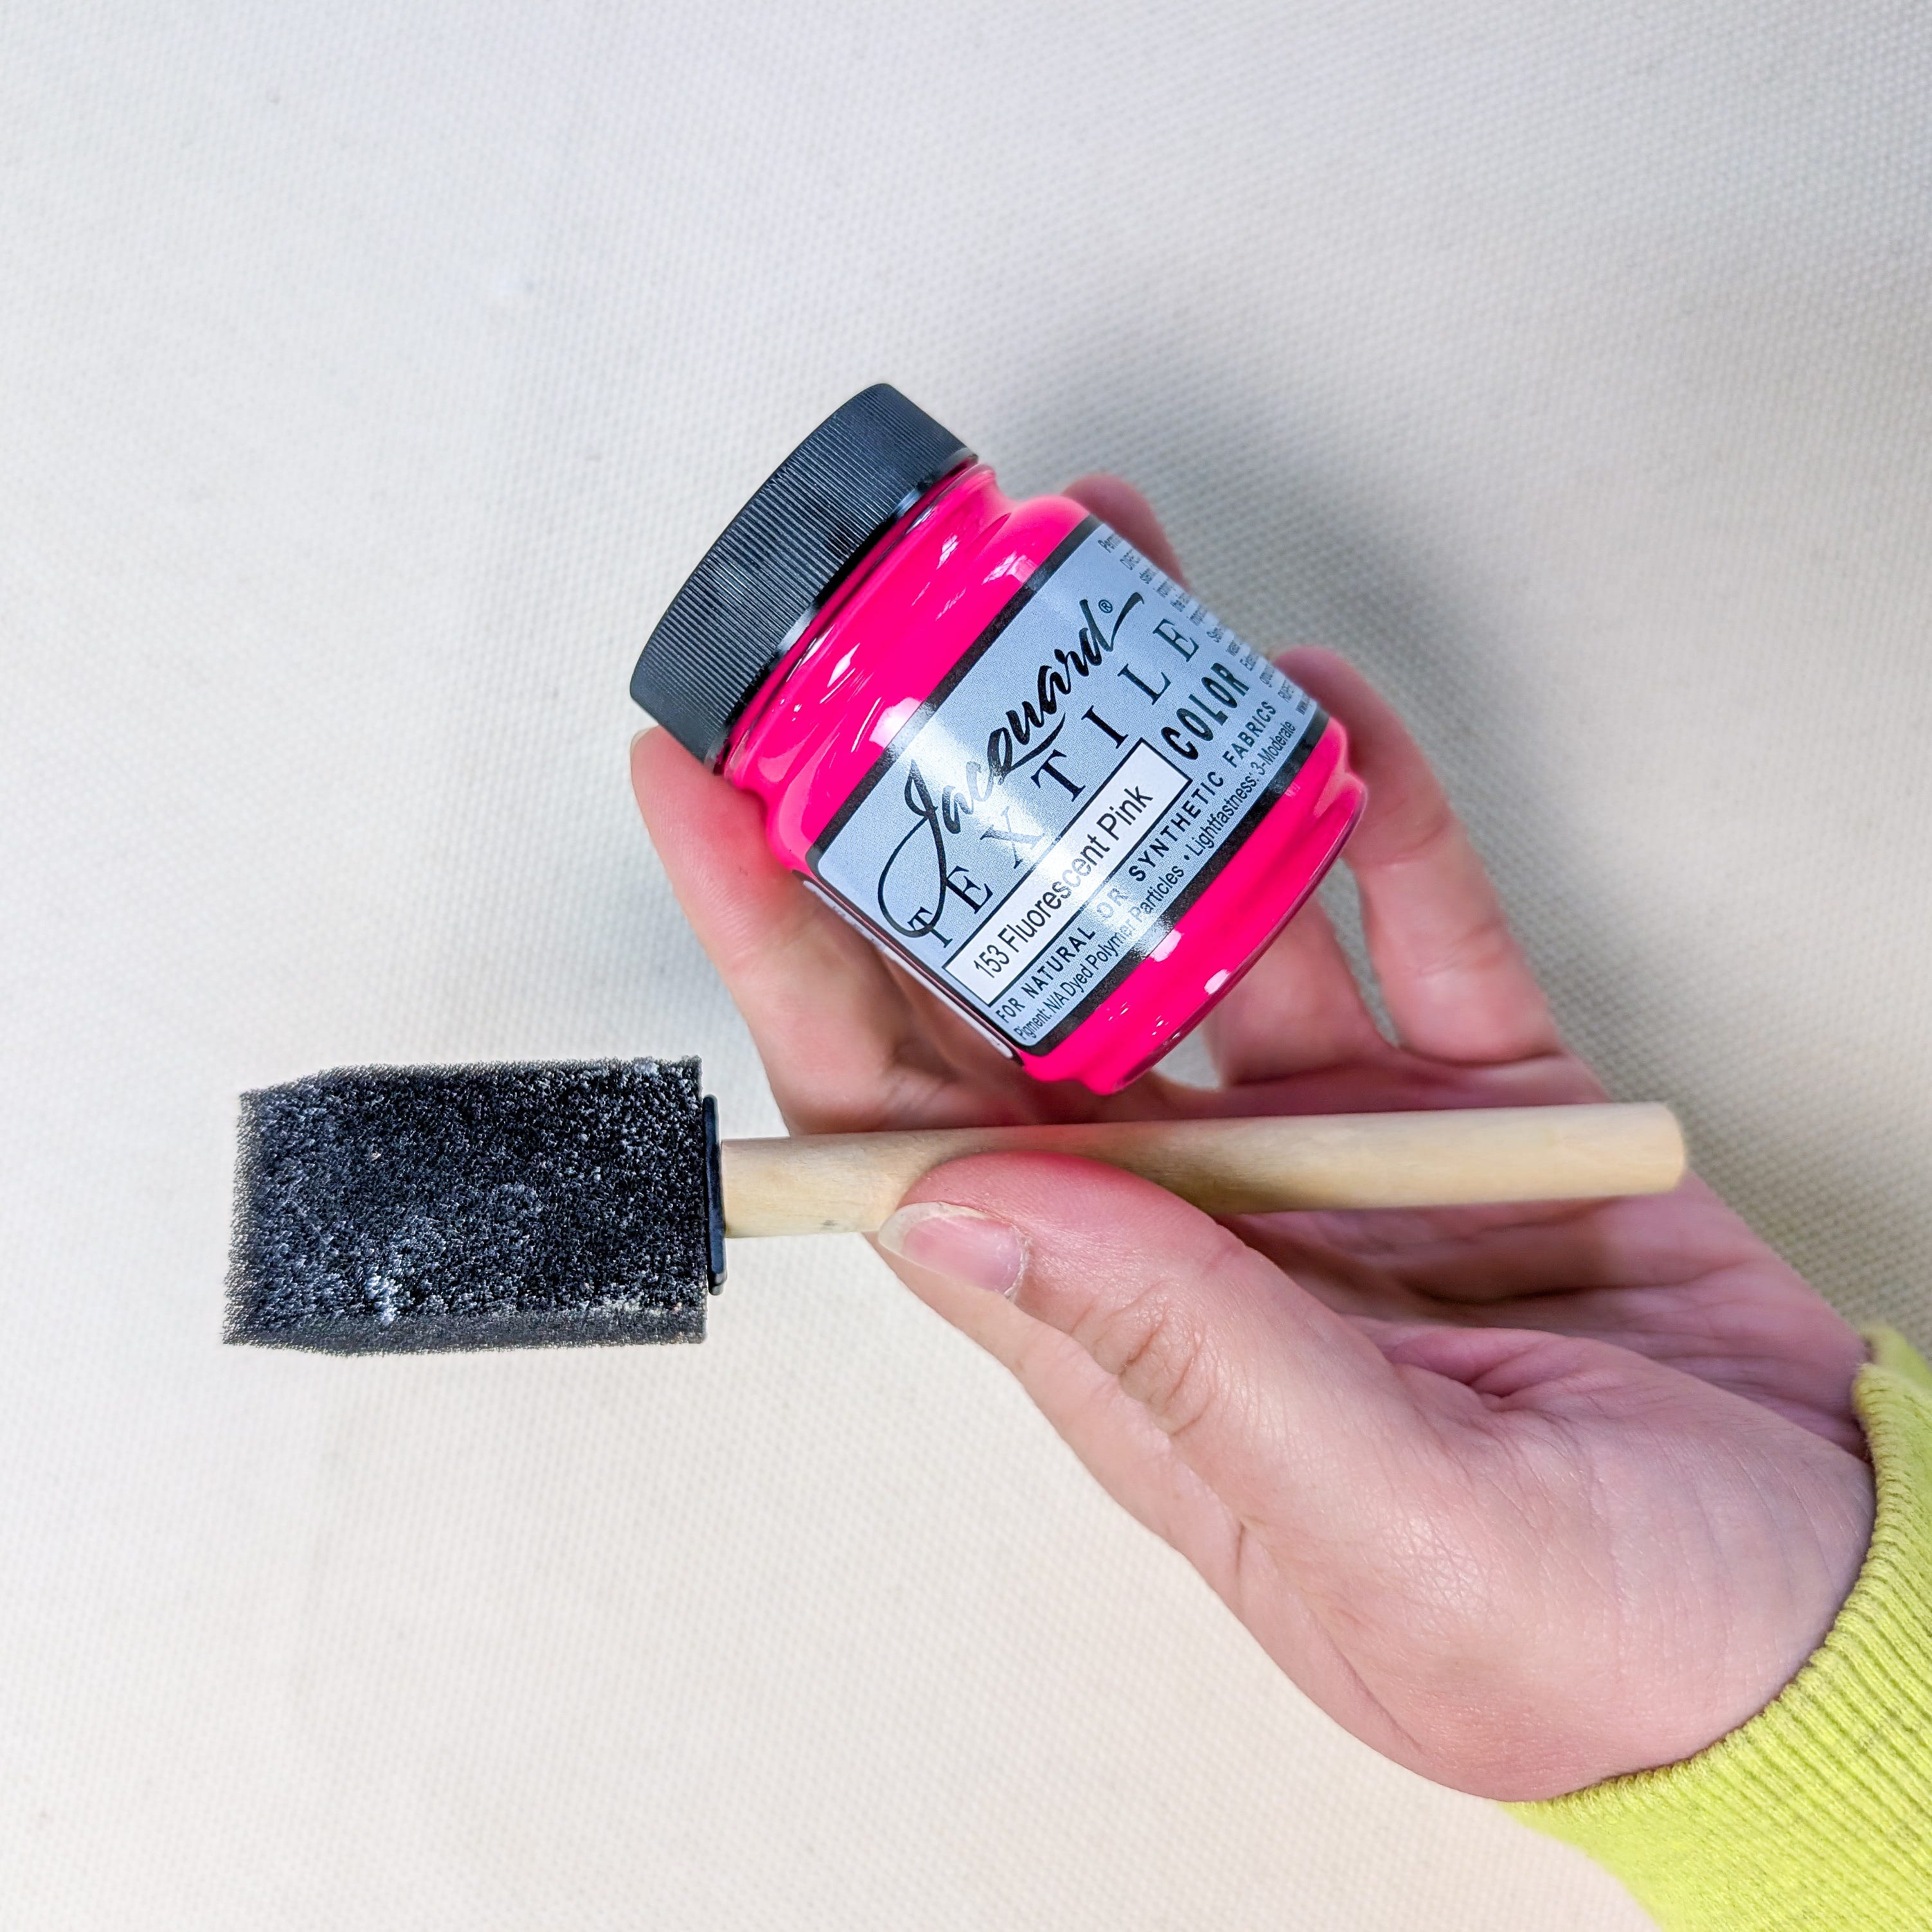
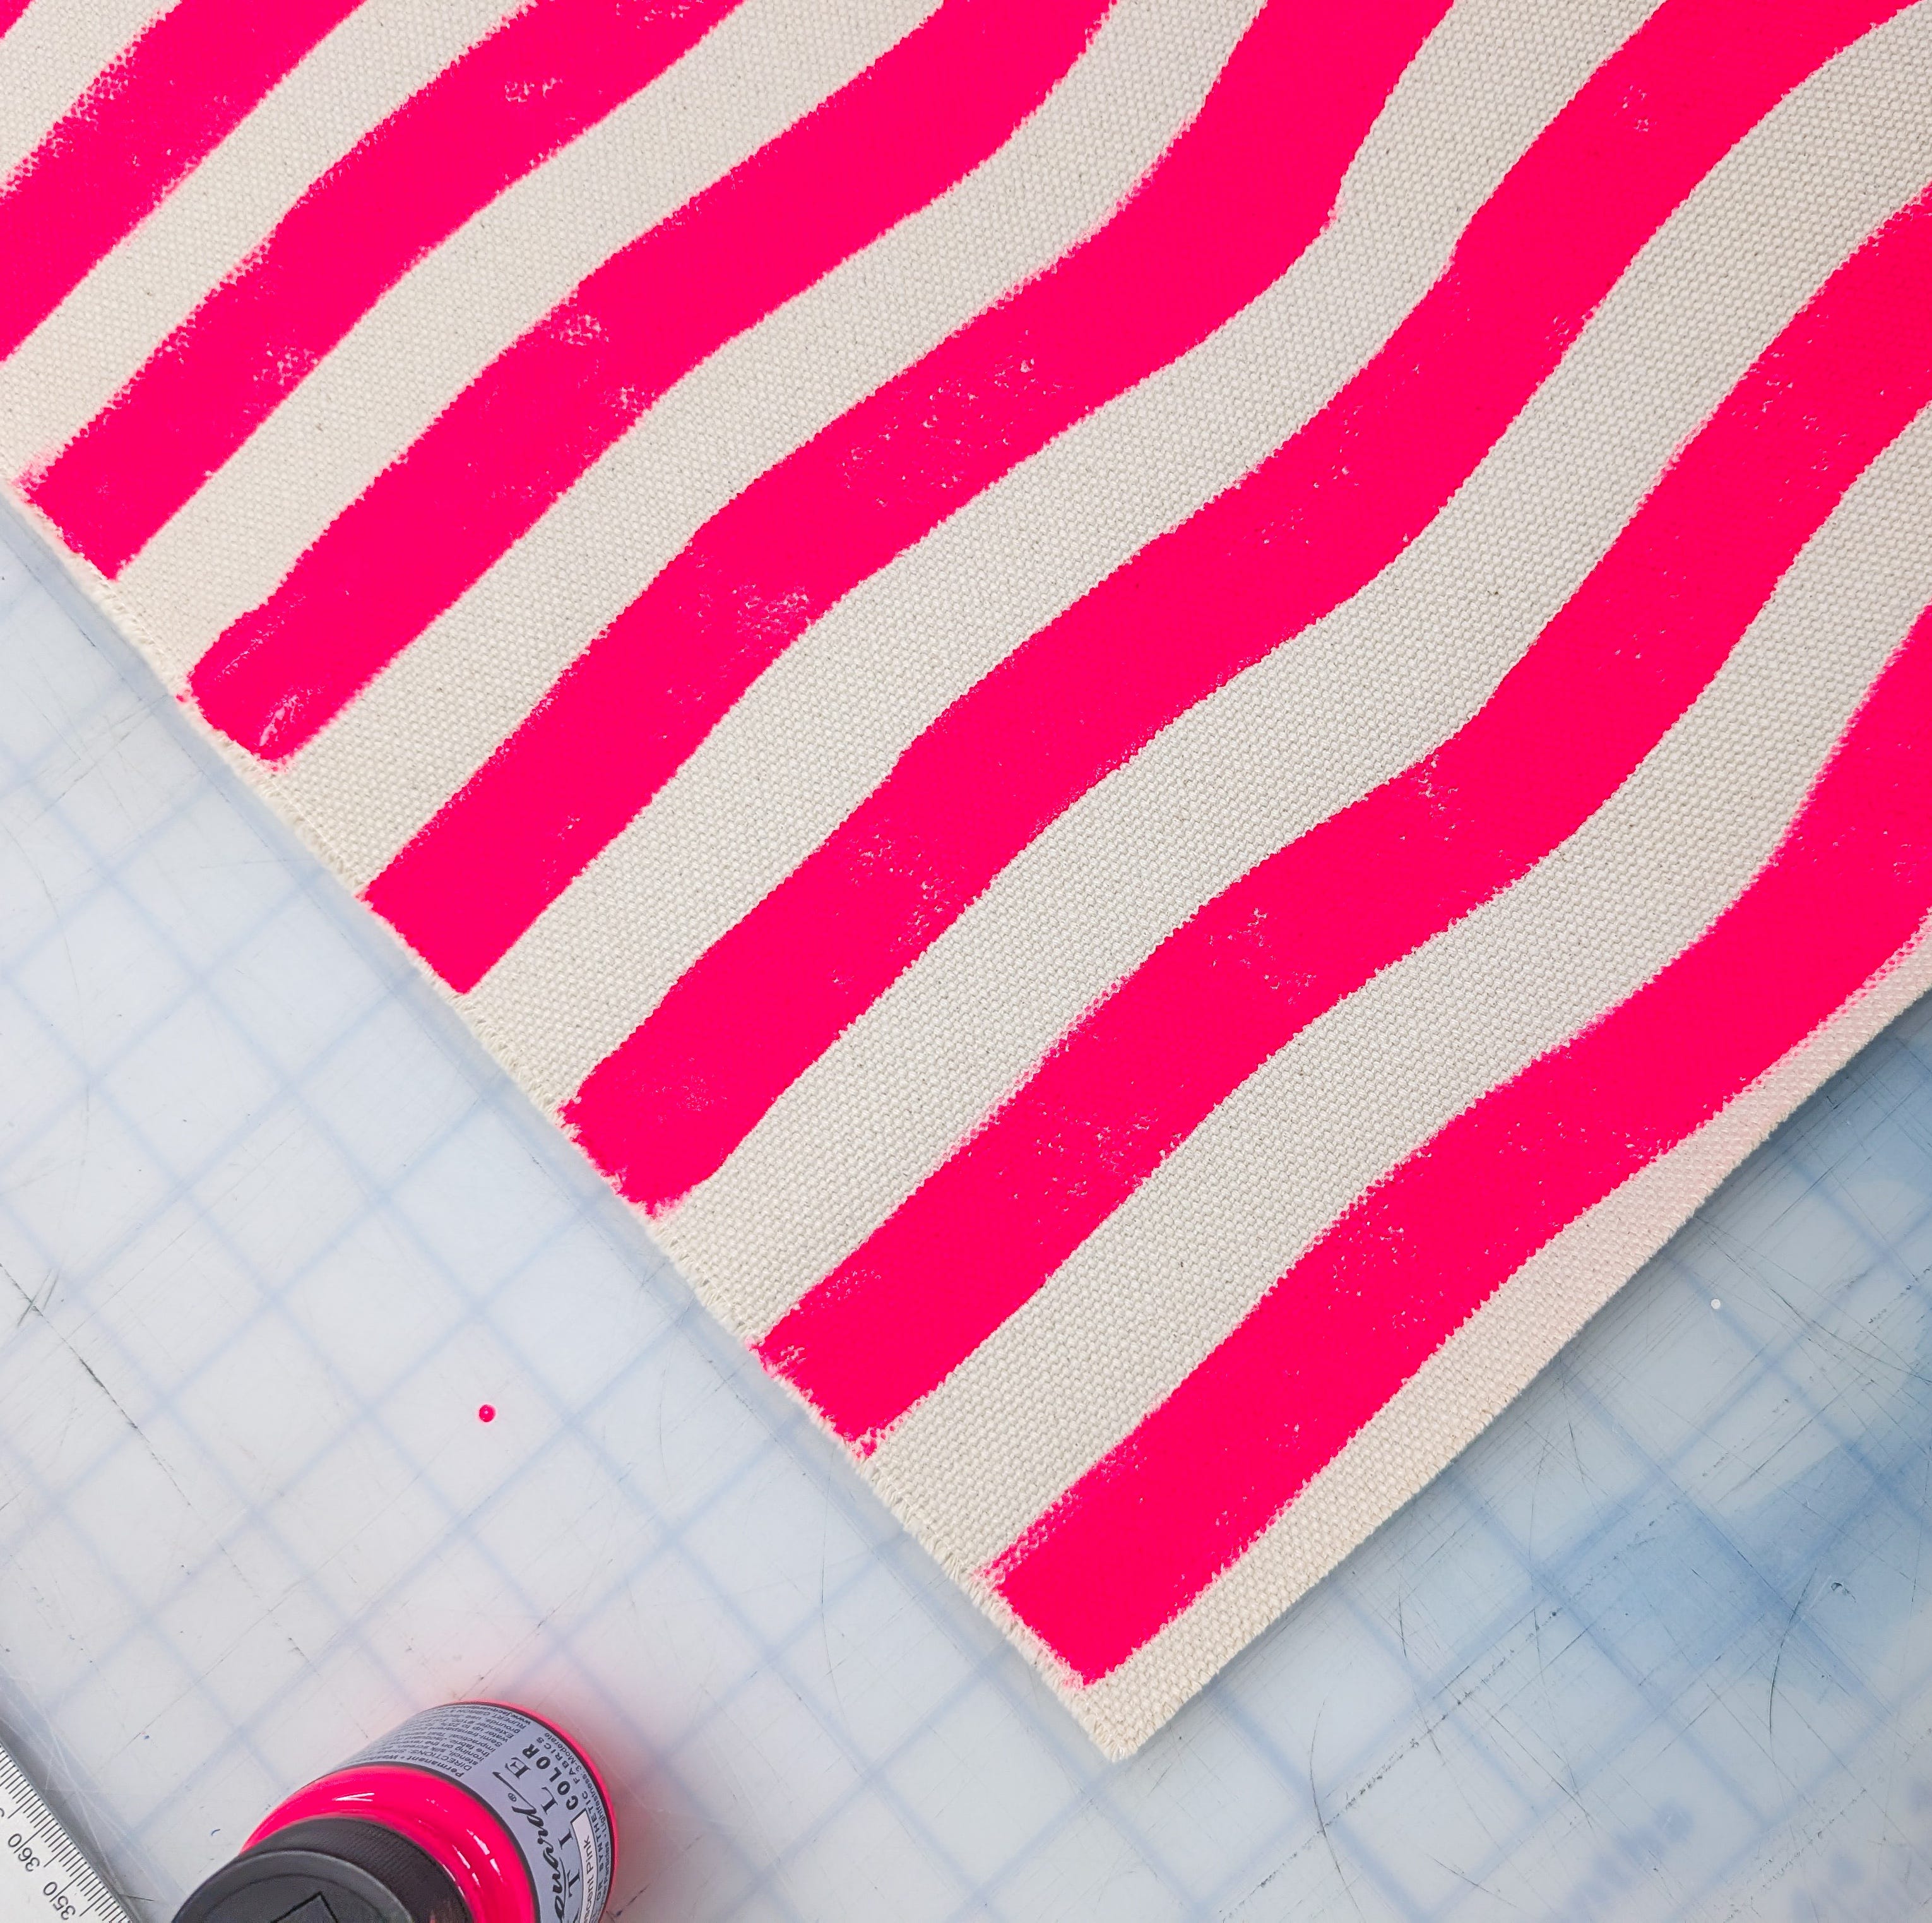
I ordered this screen printing ink for playing with patterns and decided to dive in with a brush on this project. You know I love a good vibrant squiggle…
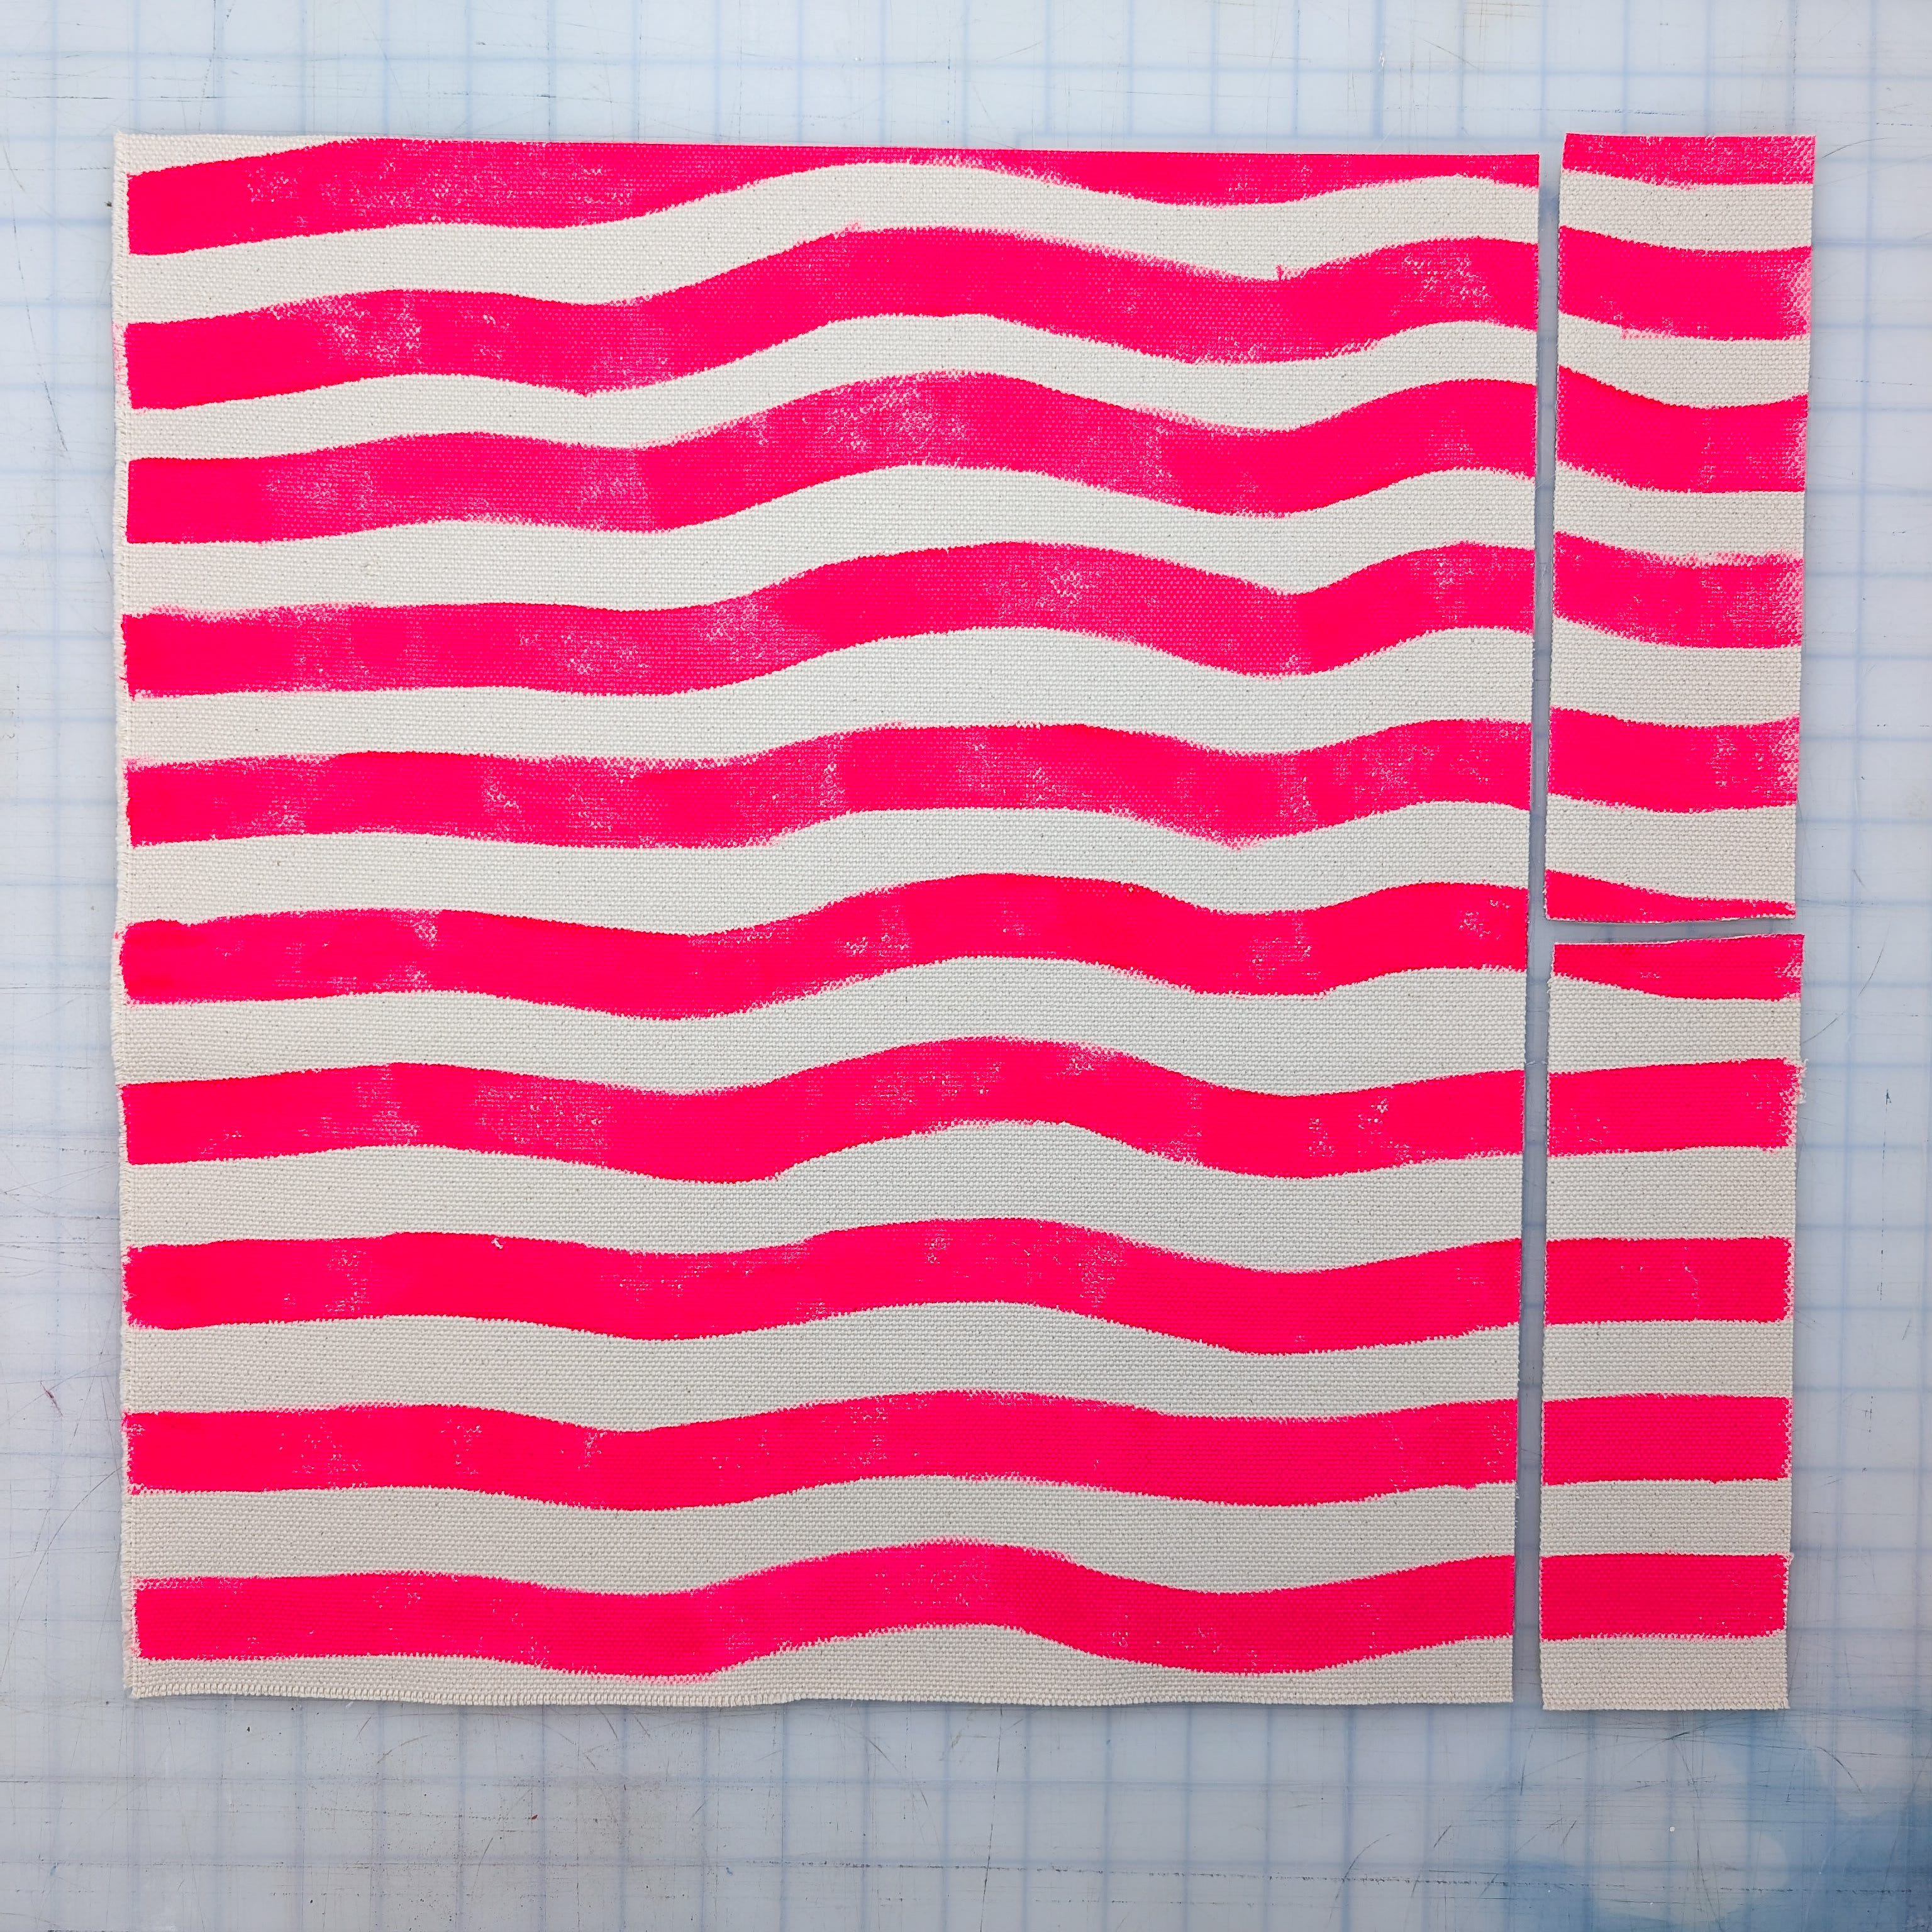
Divide your 19” x 20” rectangle into three pieces. Mark a 3” strip on the longer side and divide that piece in two to create them.
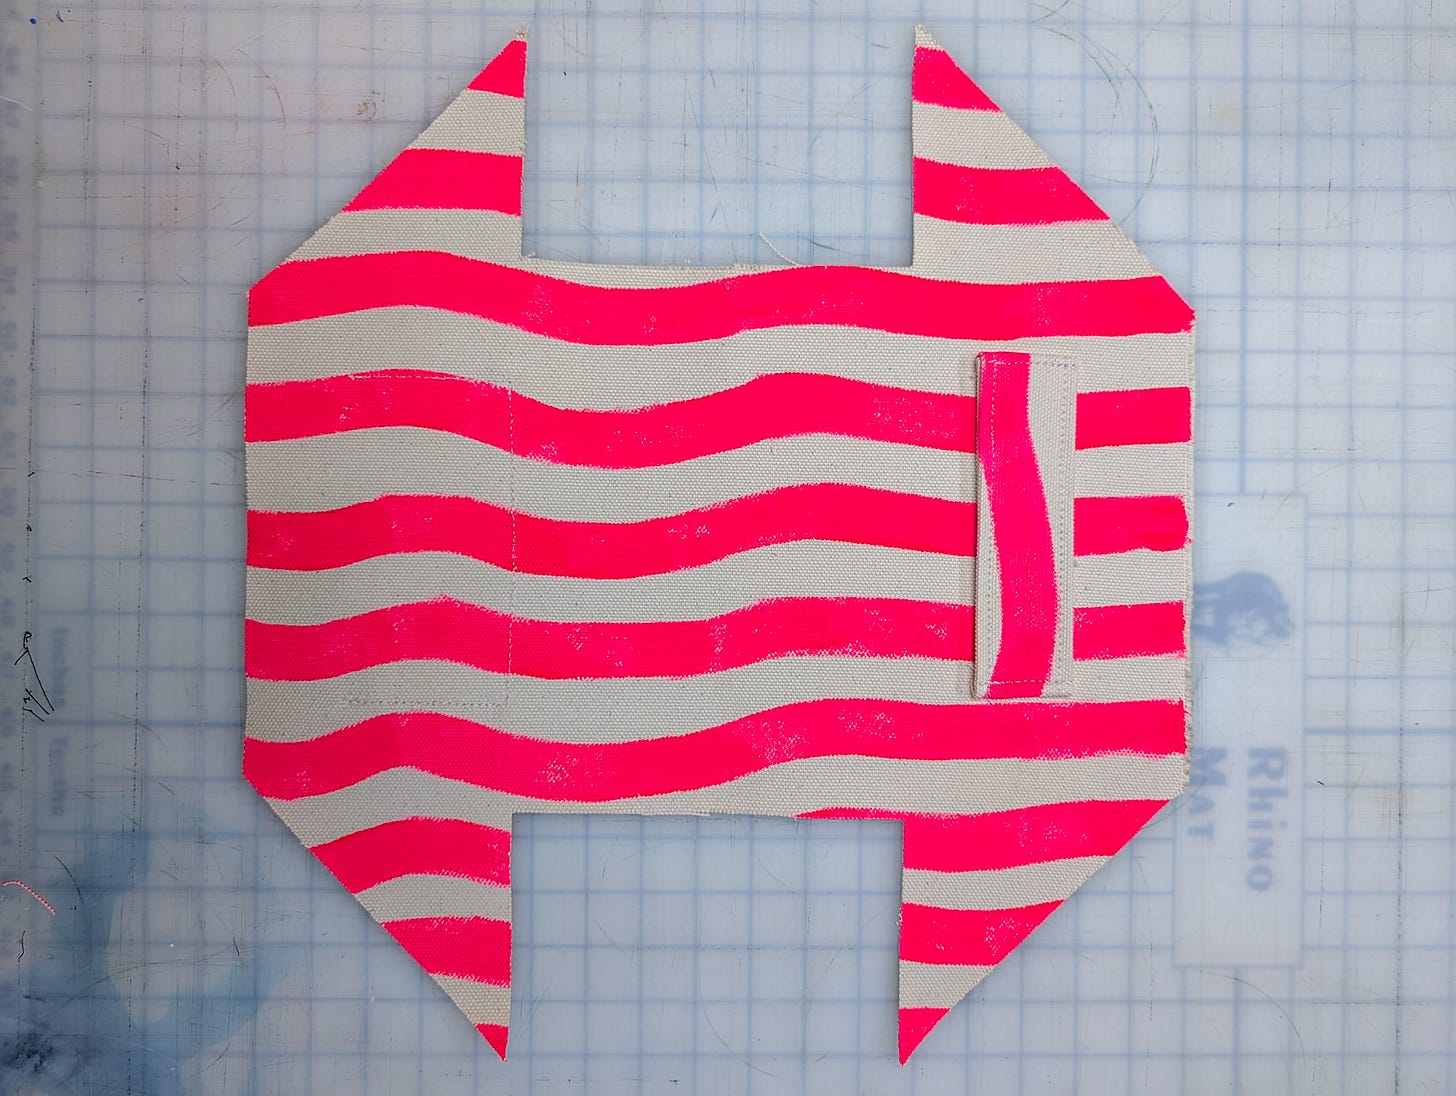
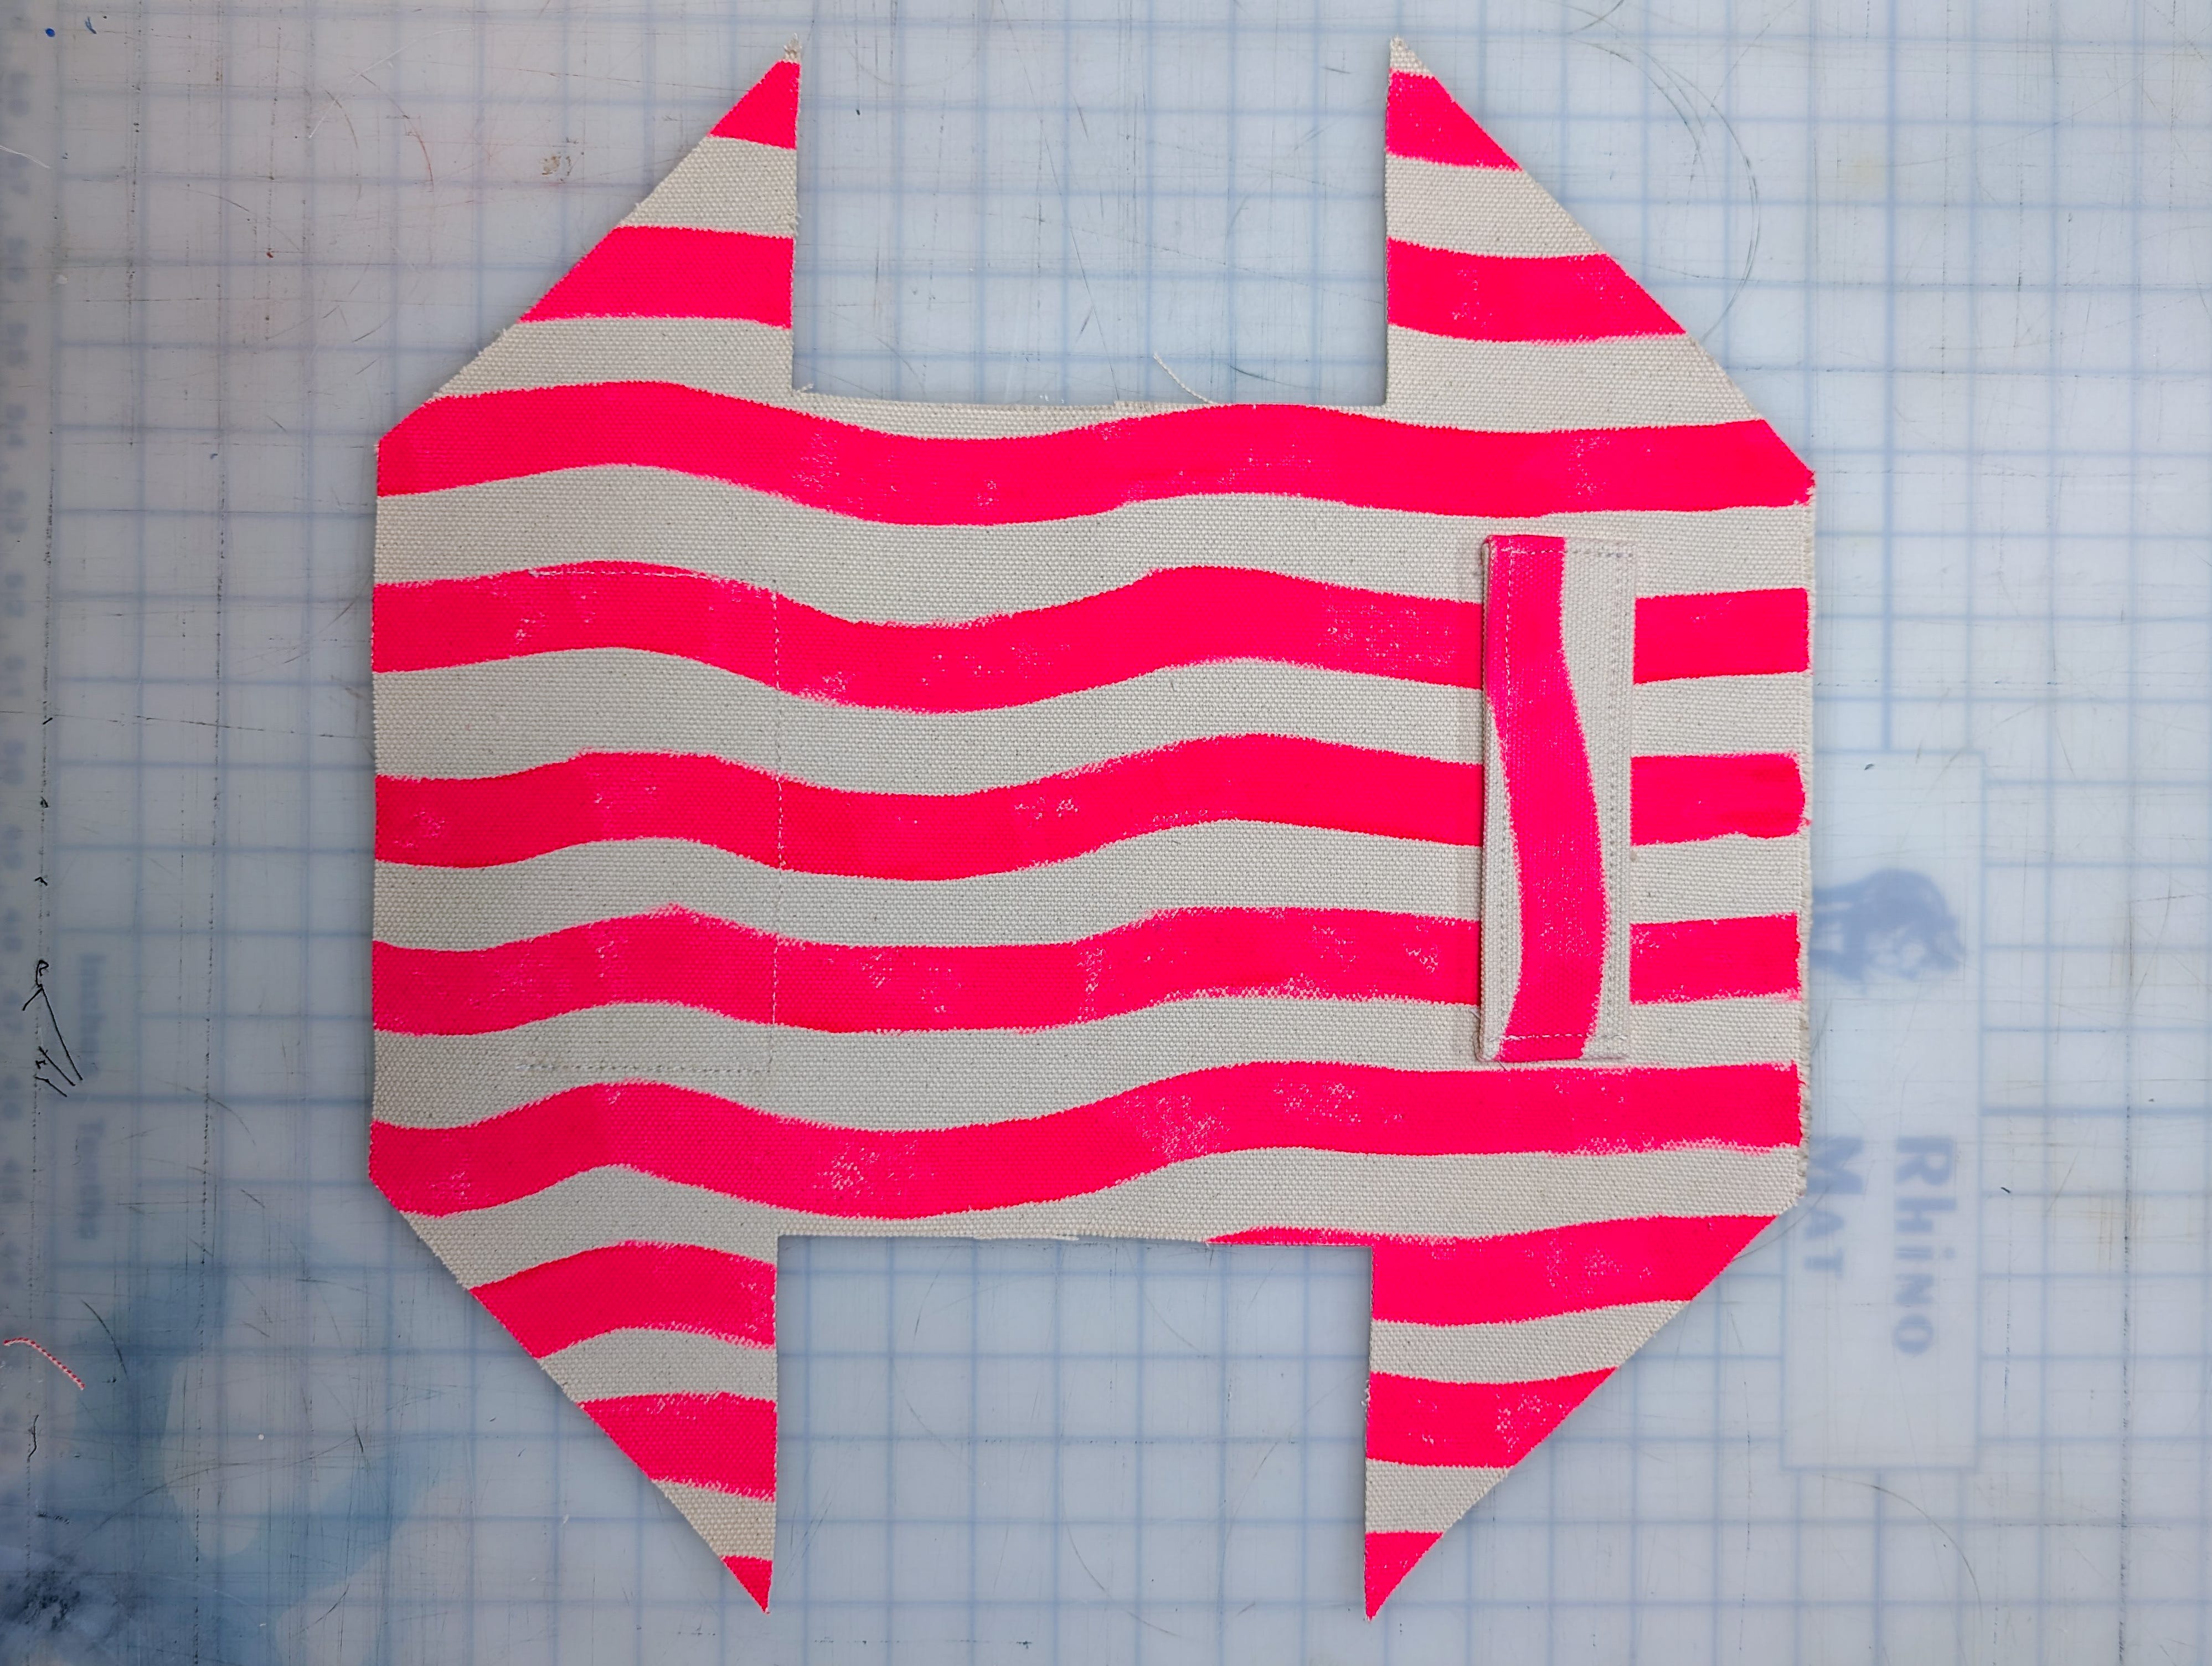
Fold your 17” x 19” rectangle into quarters. Mark out the diagram as shown in the zine. It kind of ends up looking like the top half of an arrow.
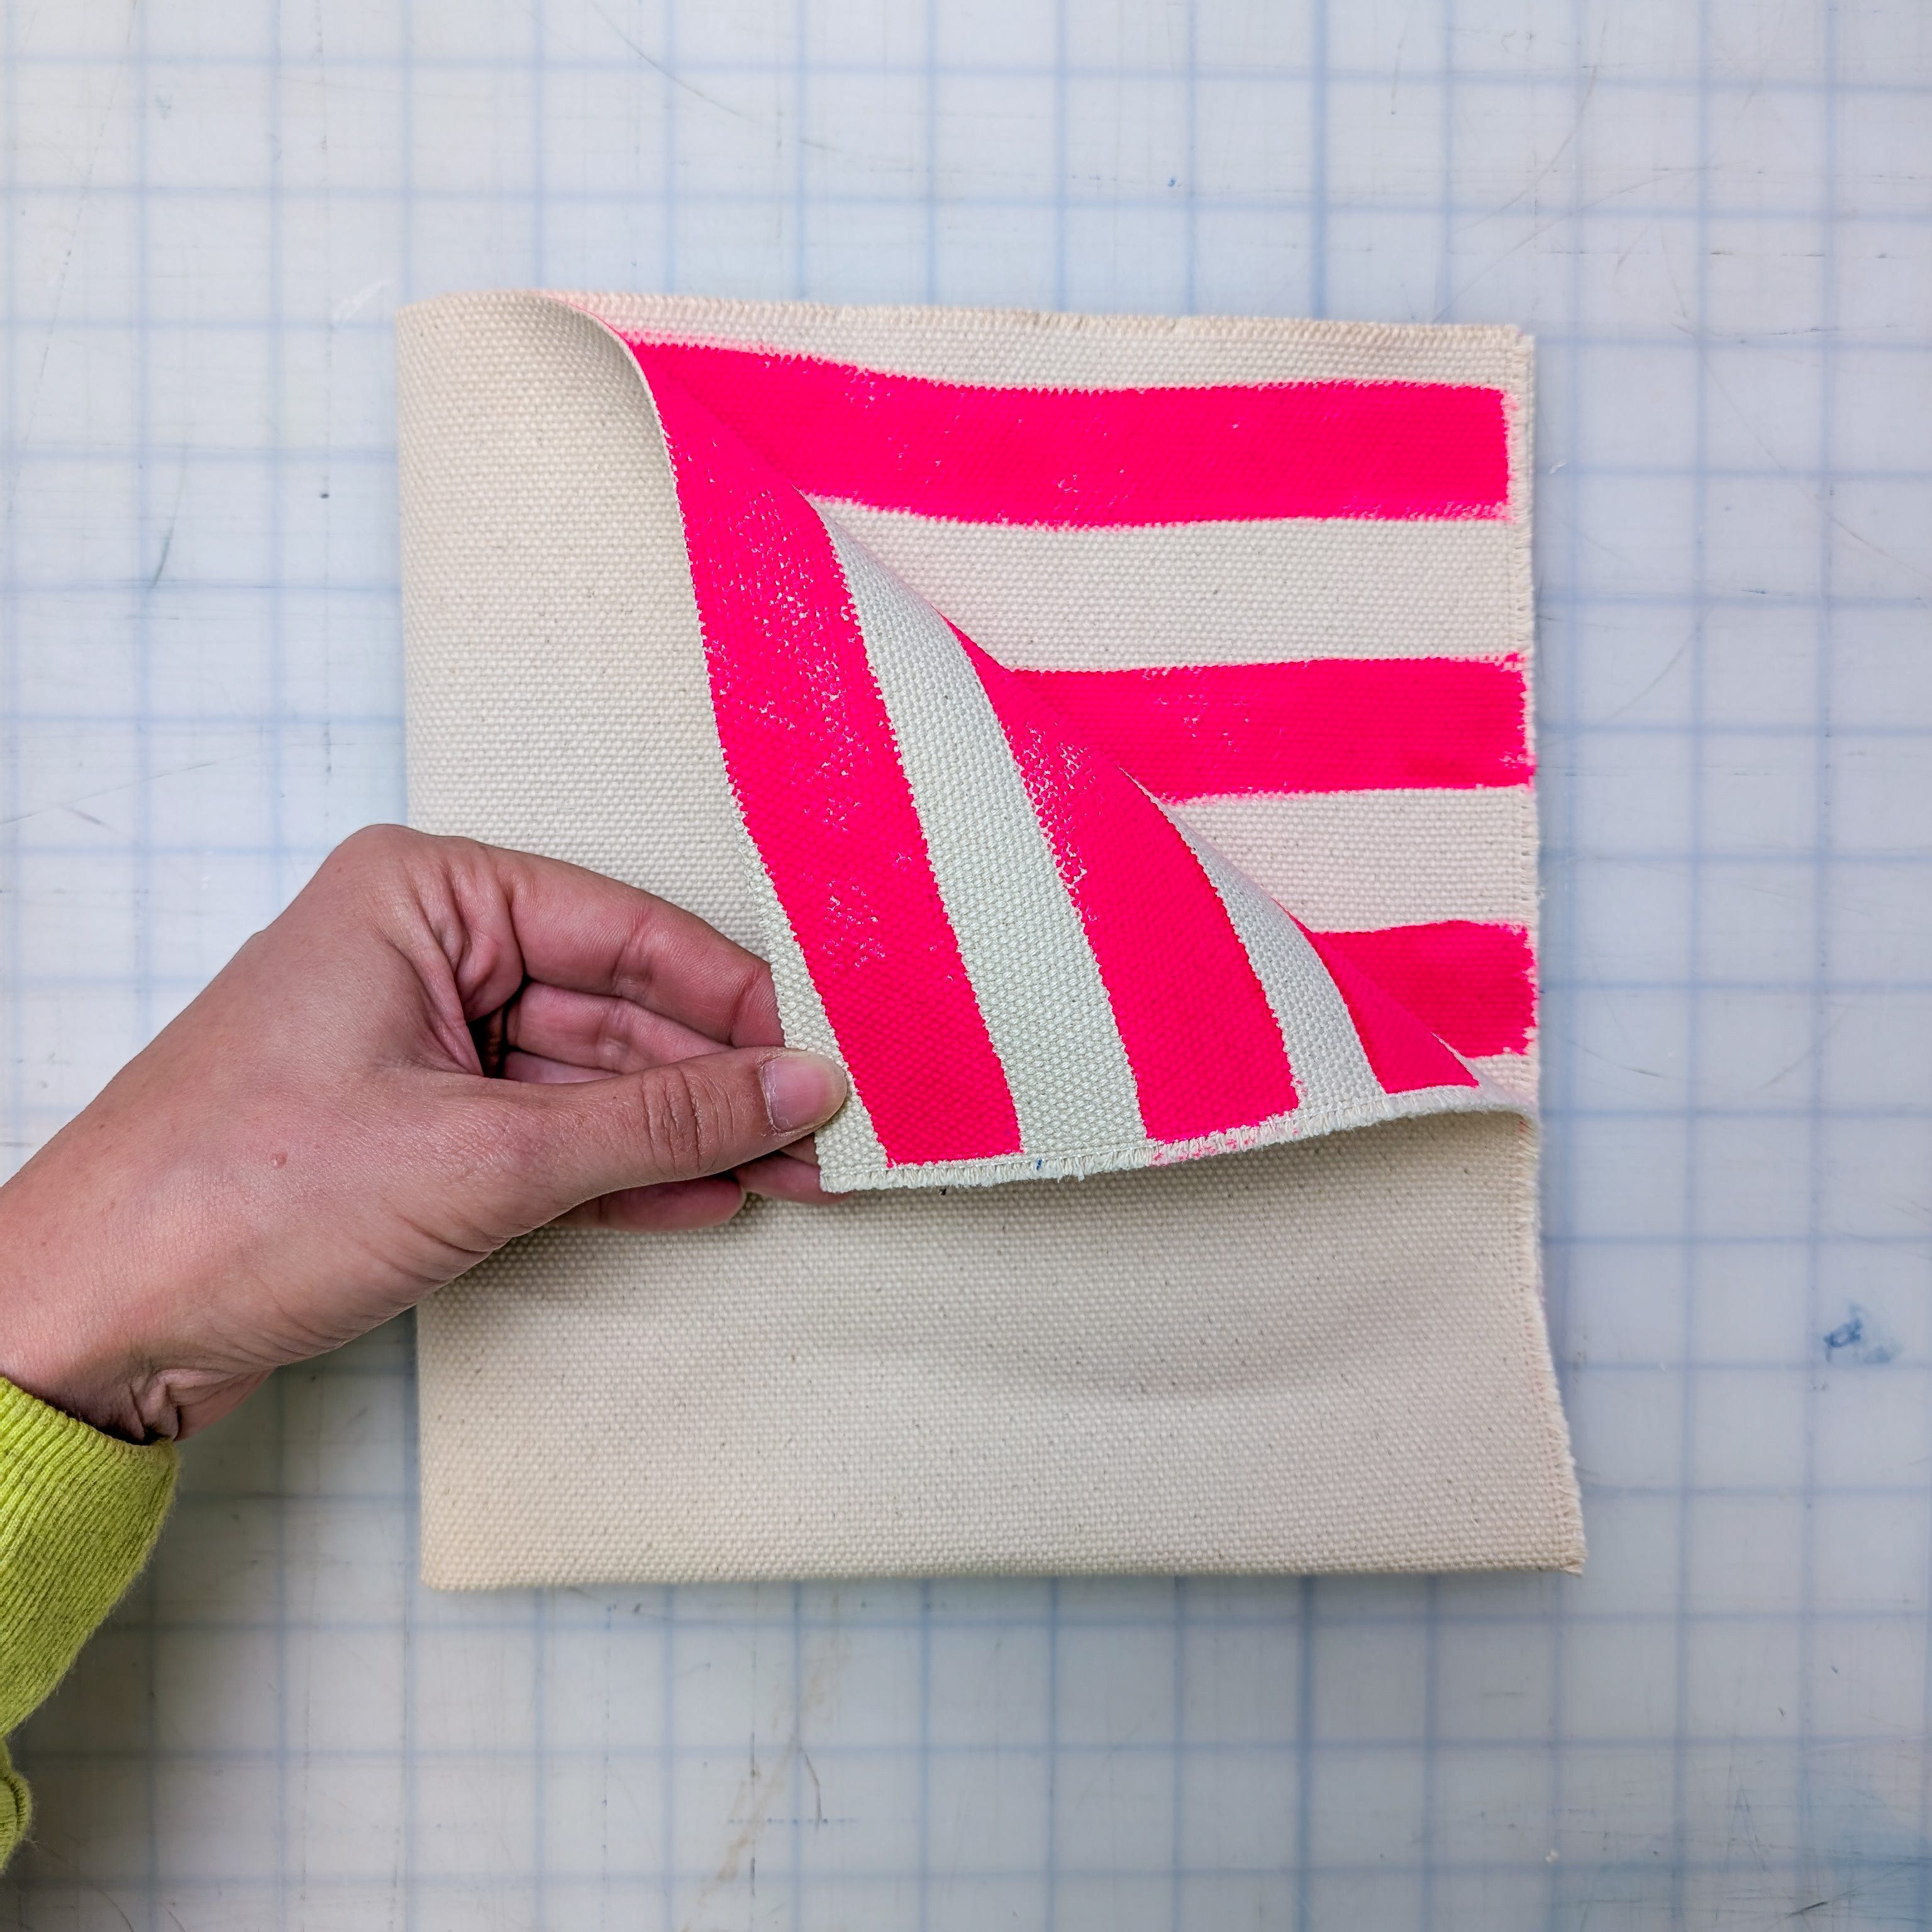
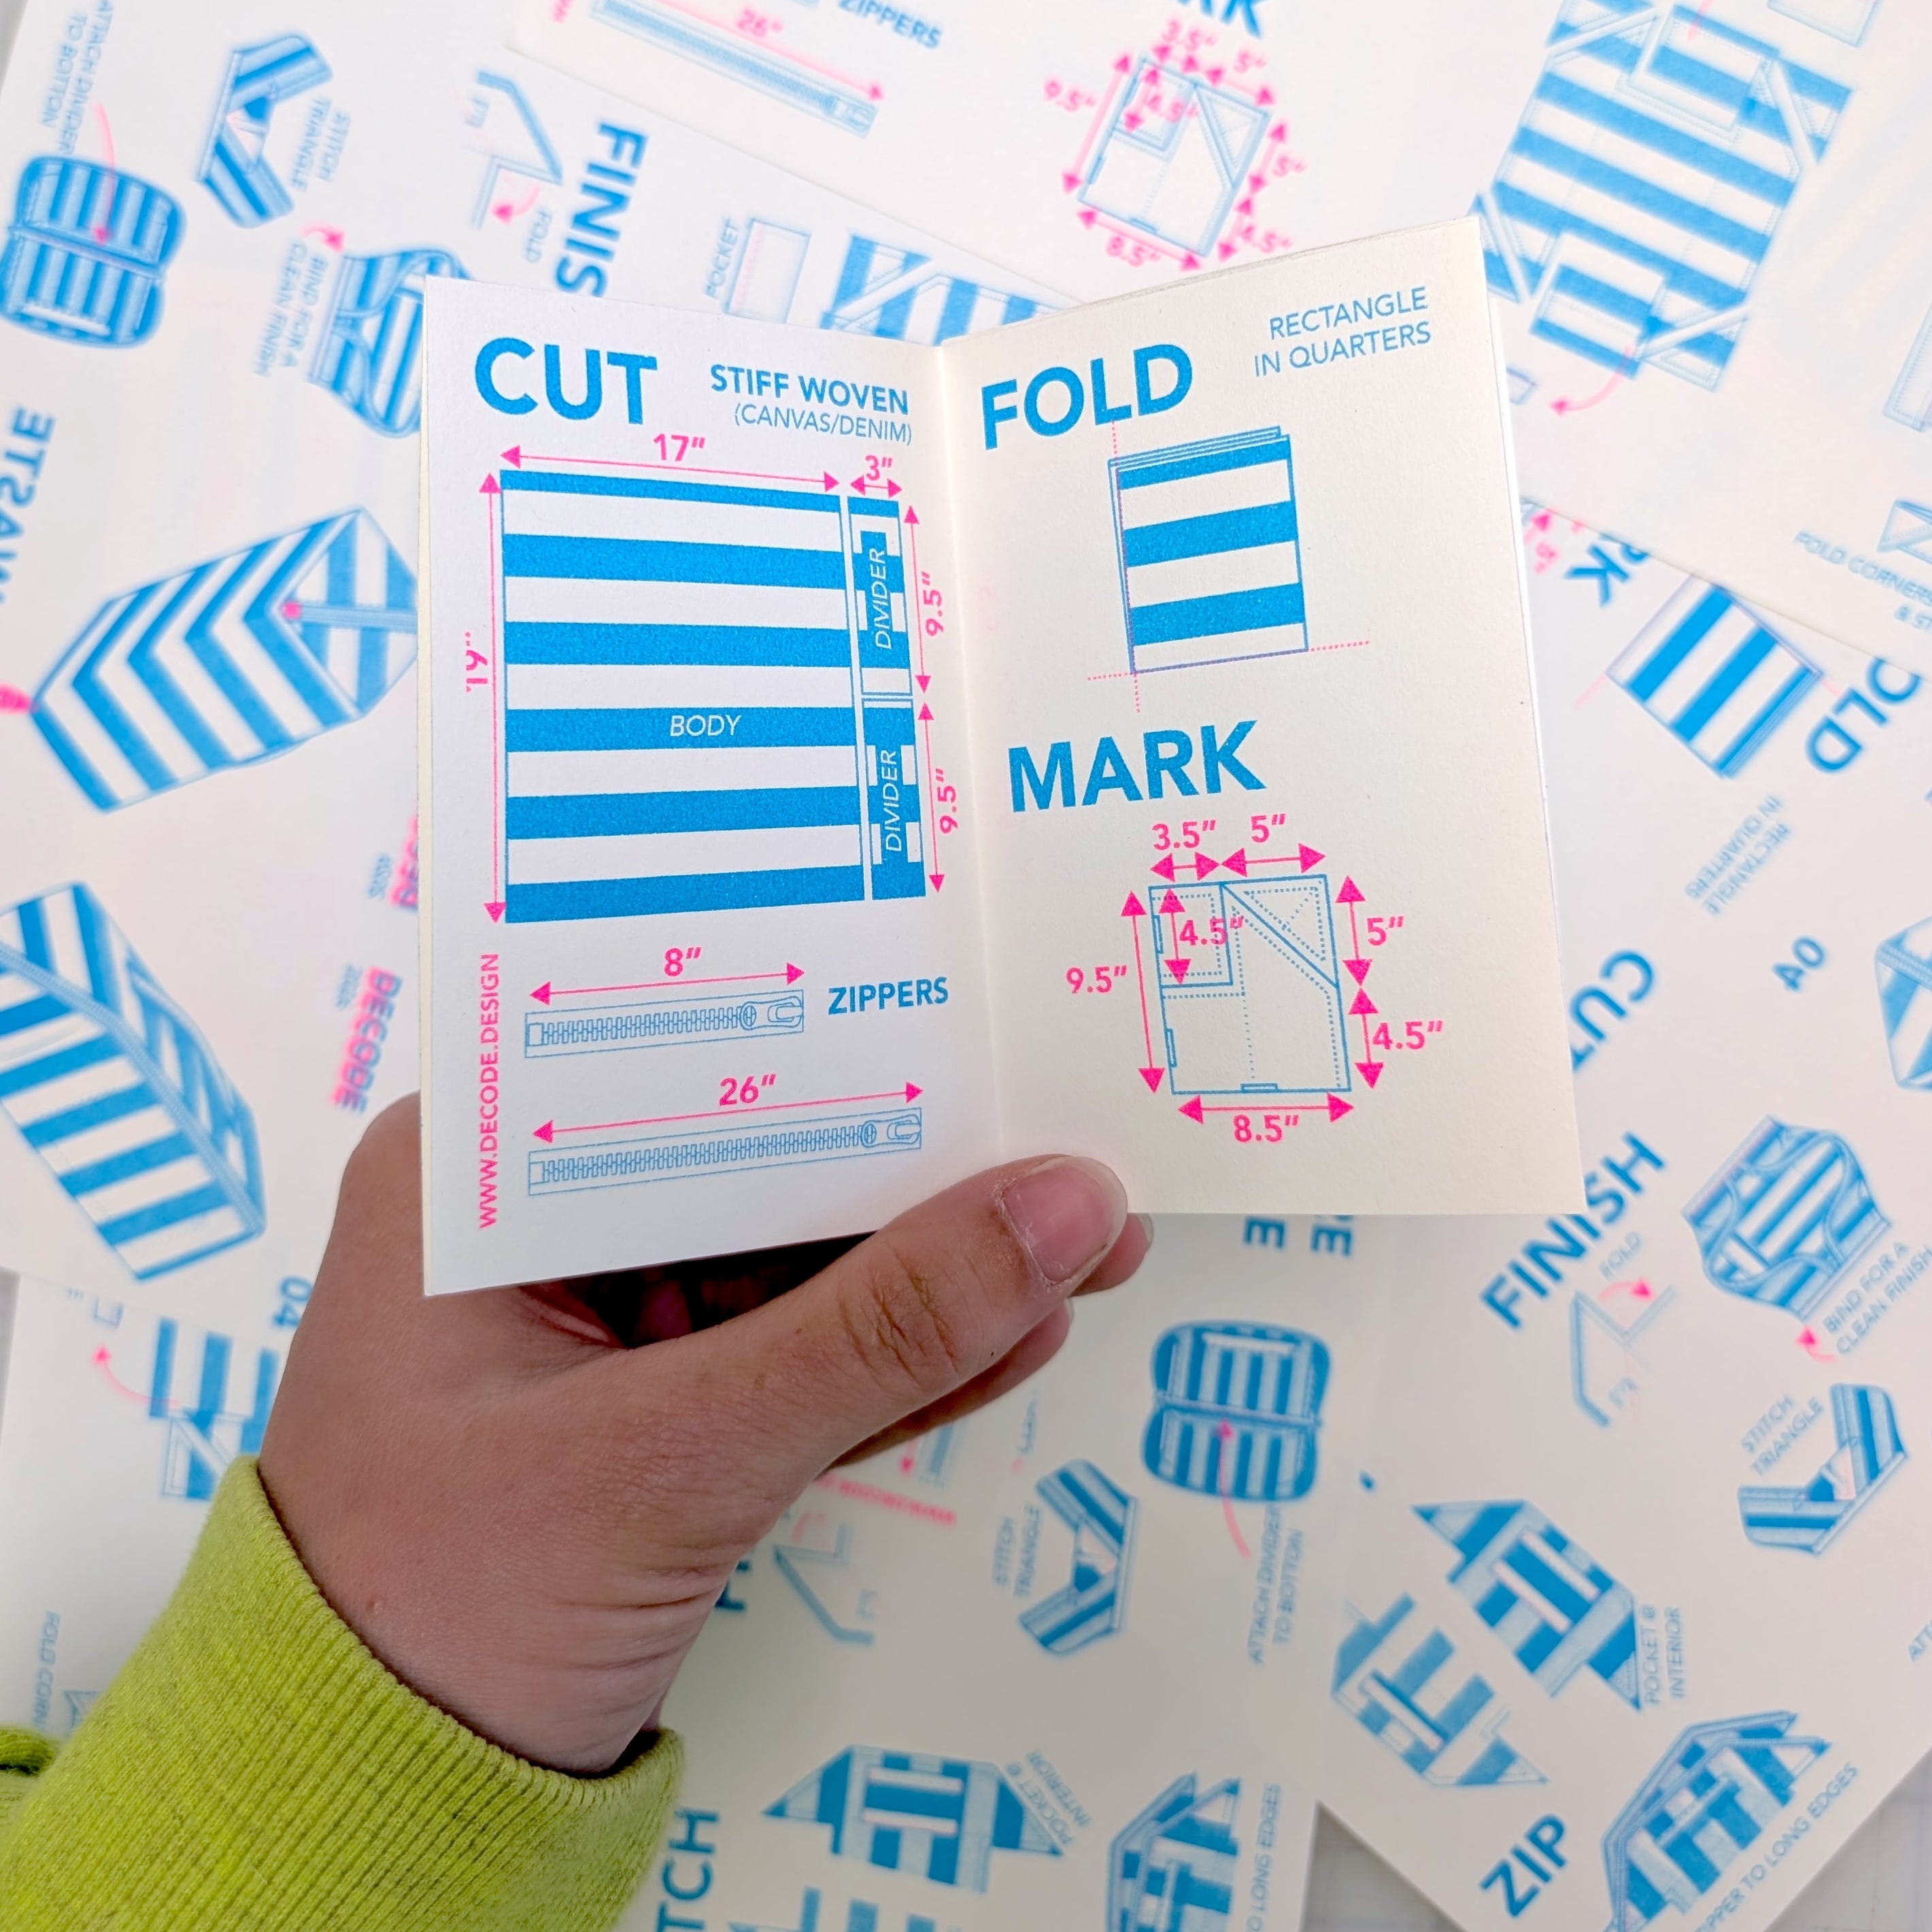
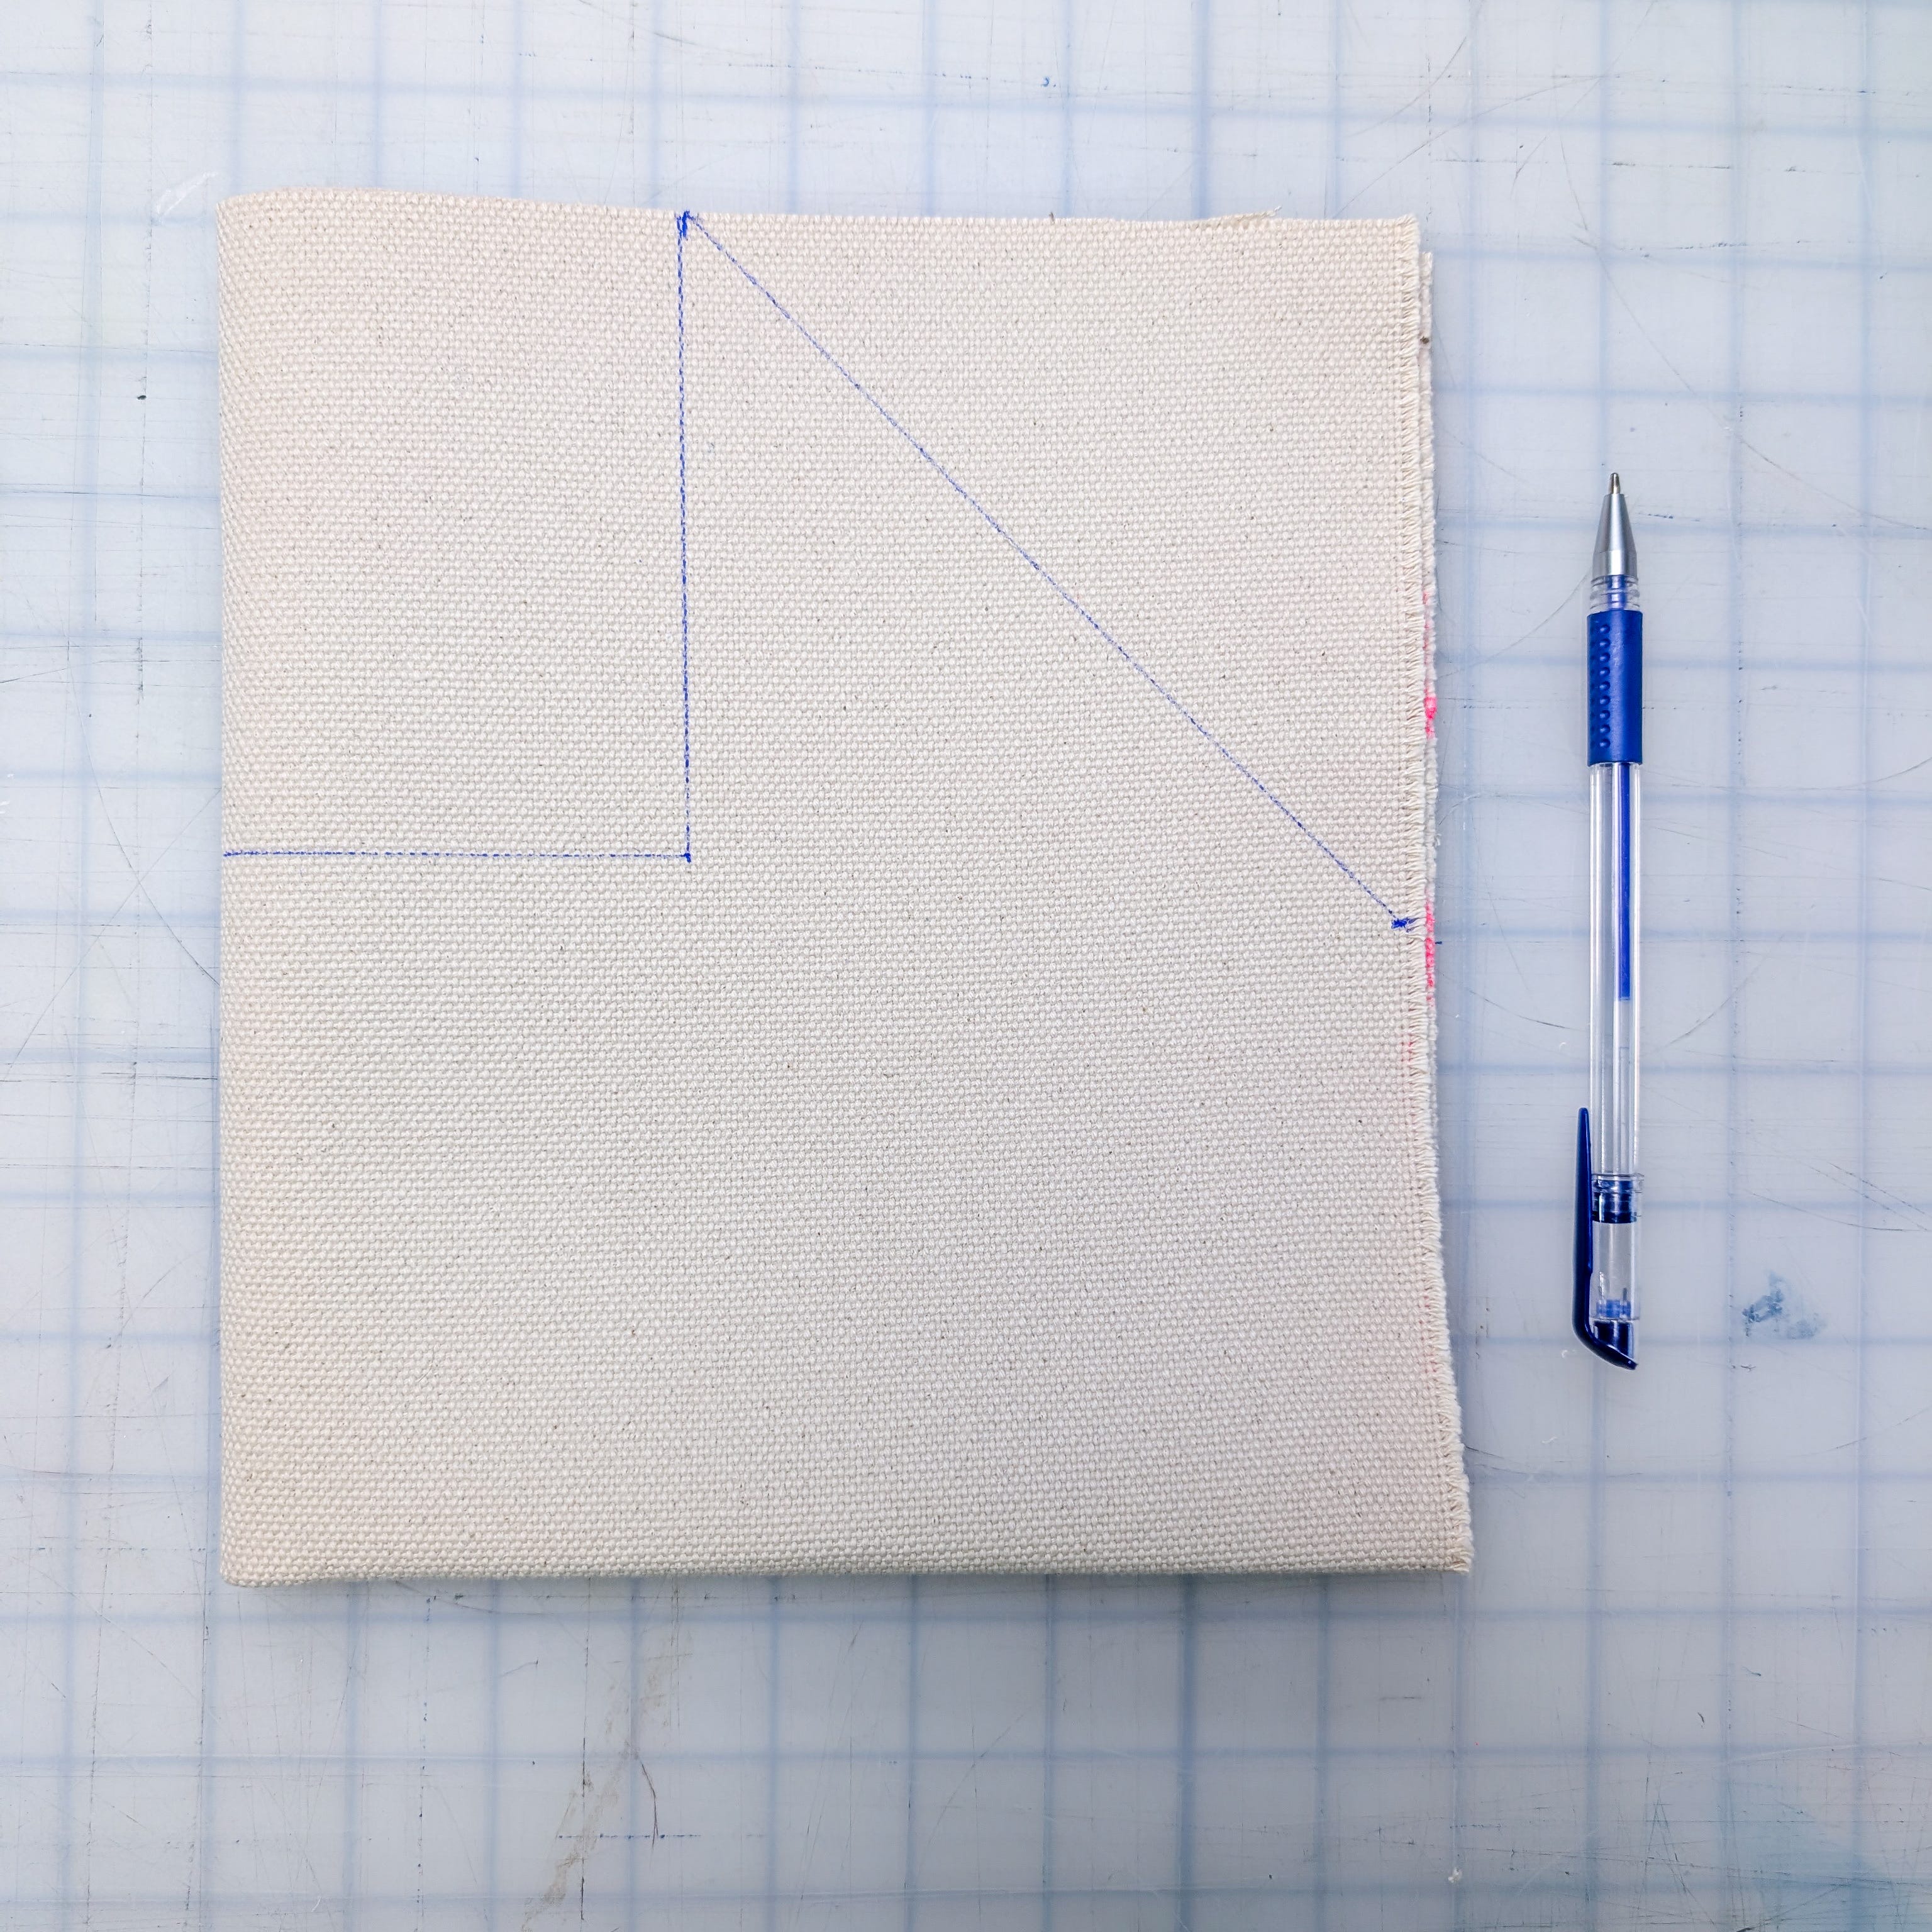
Cut out the shapes you just drew through all four layers and open it up
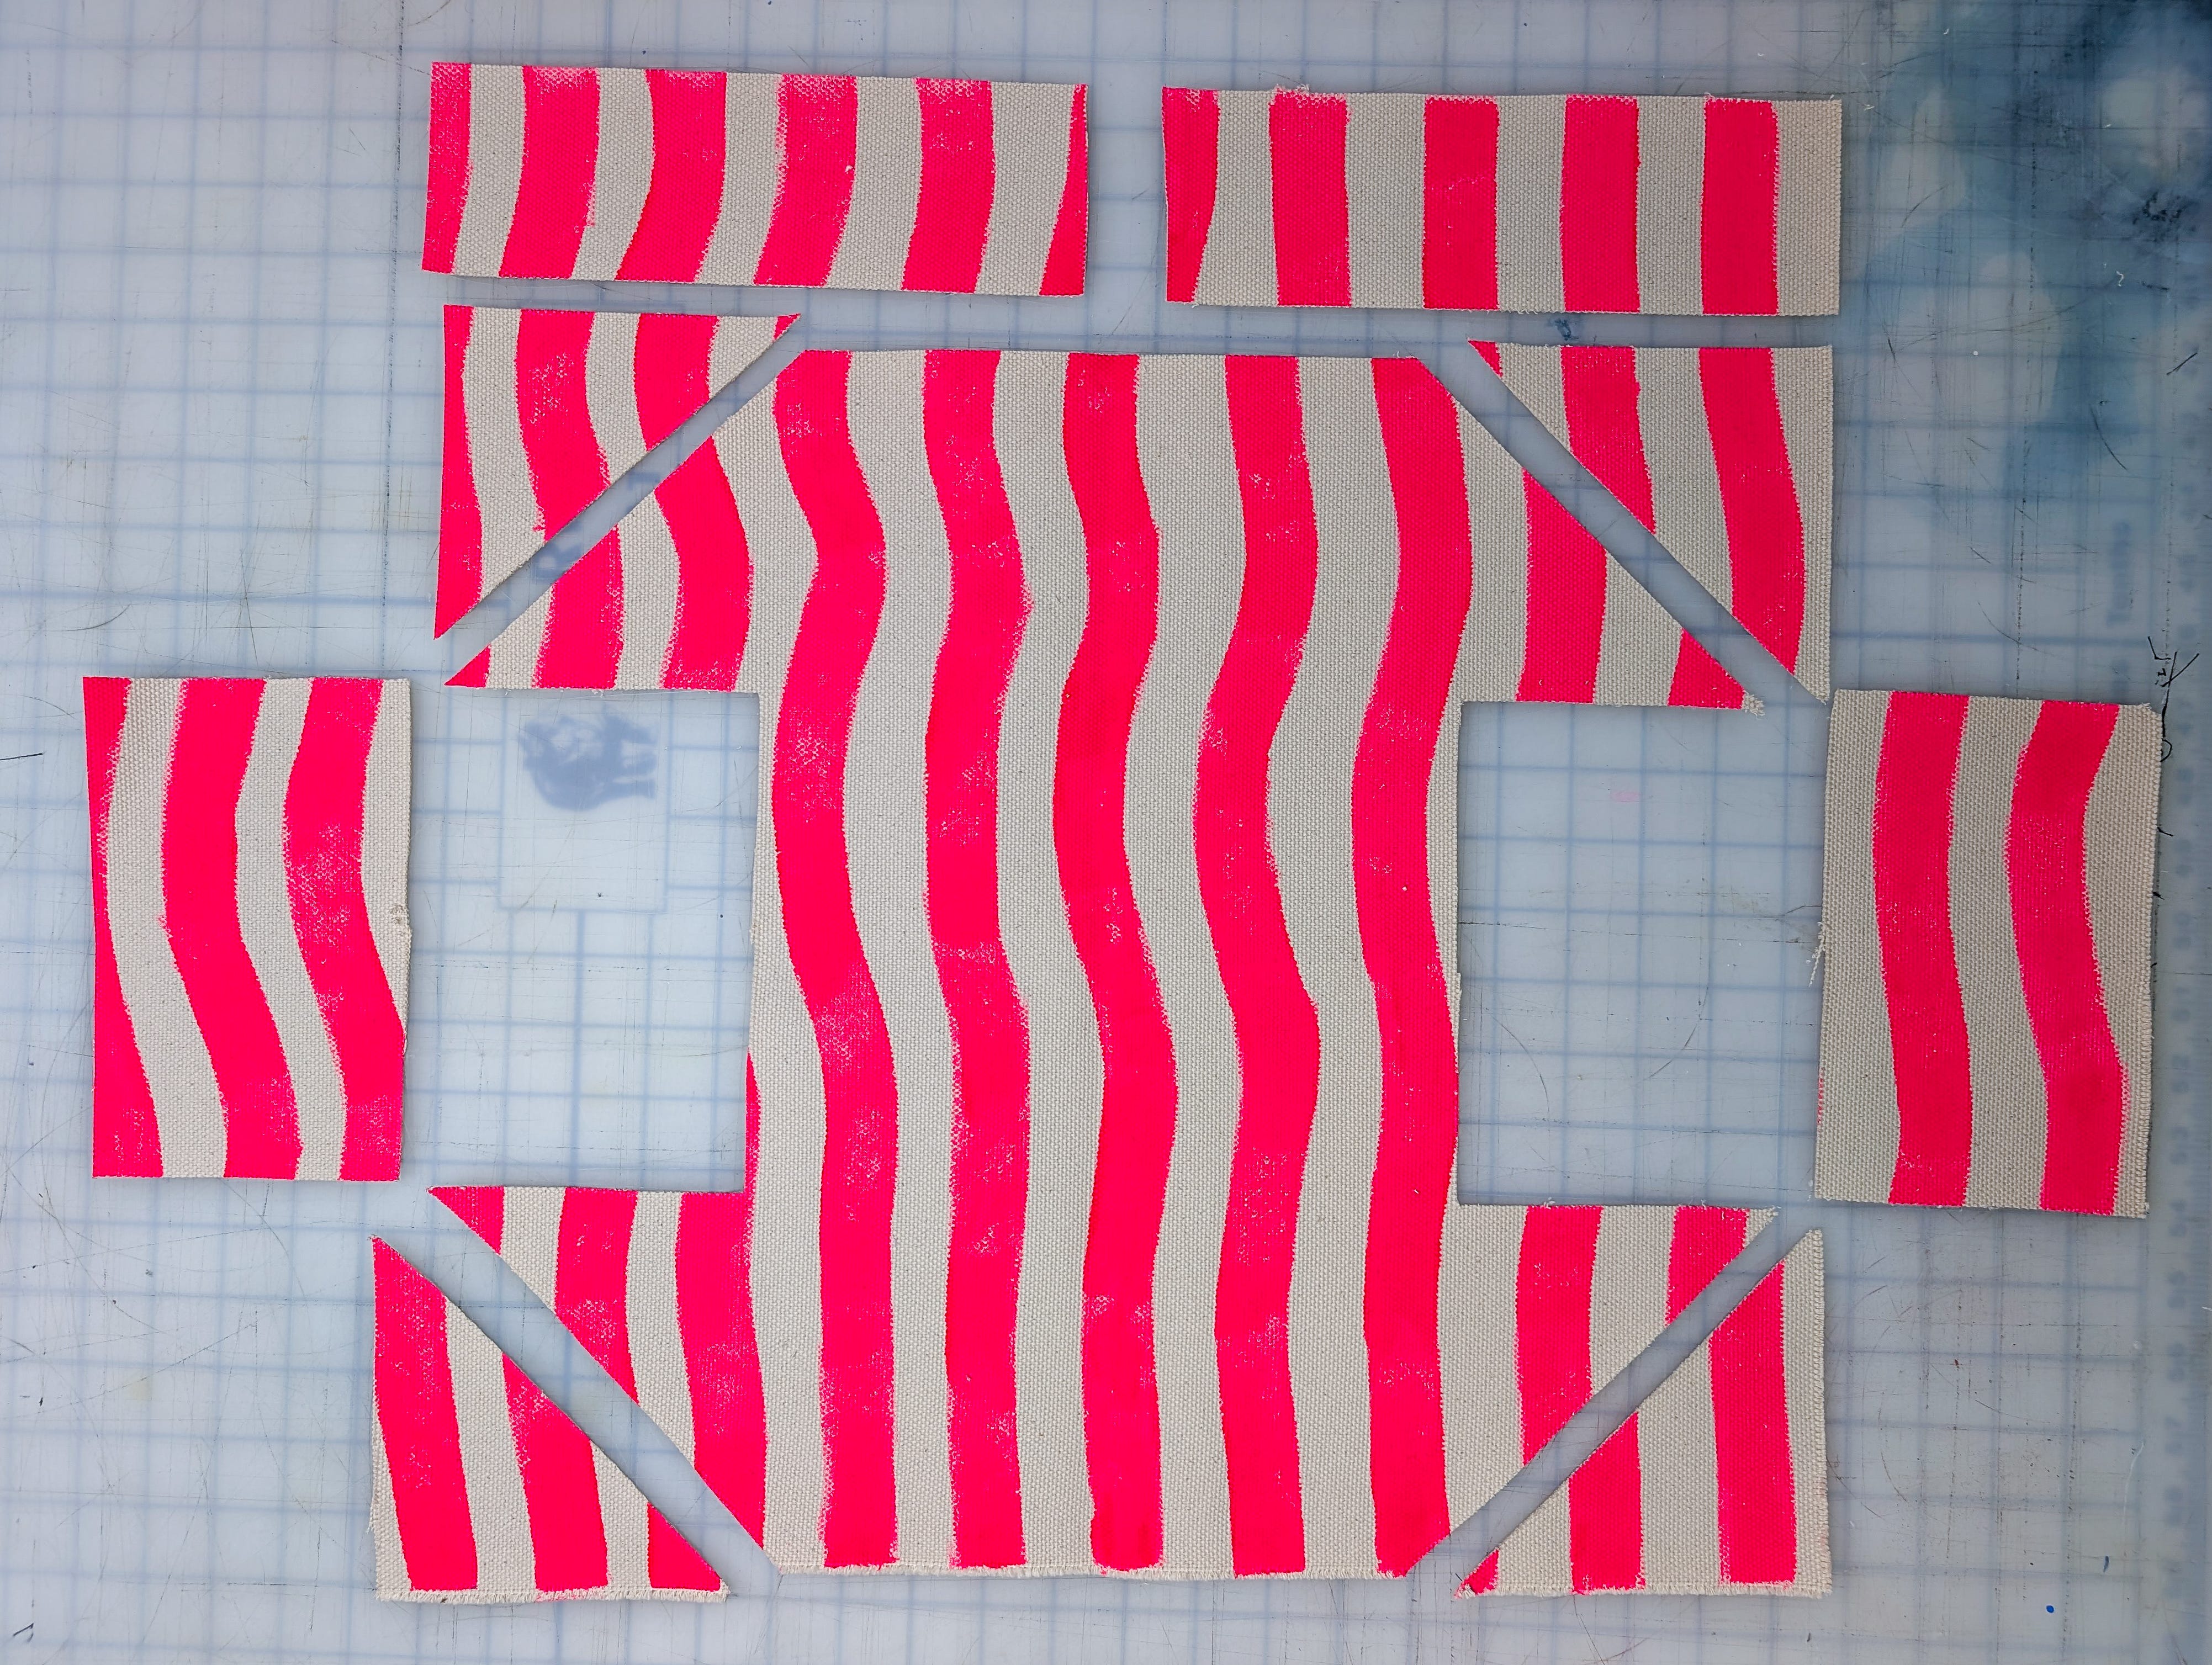
The two rectangles that you cut out will be turned into:
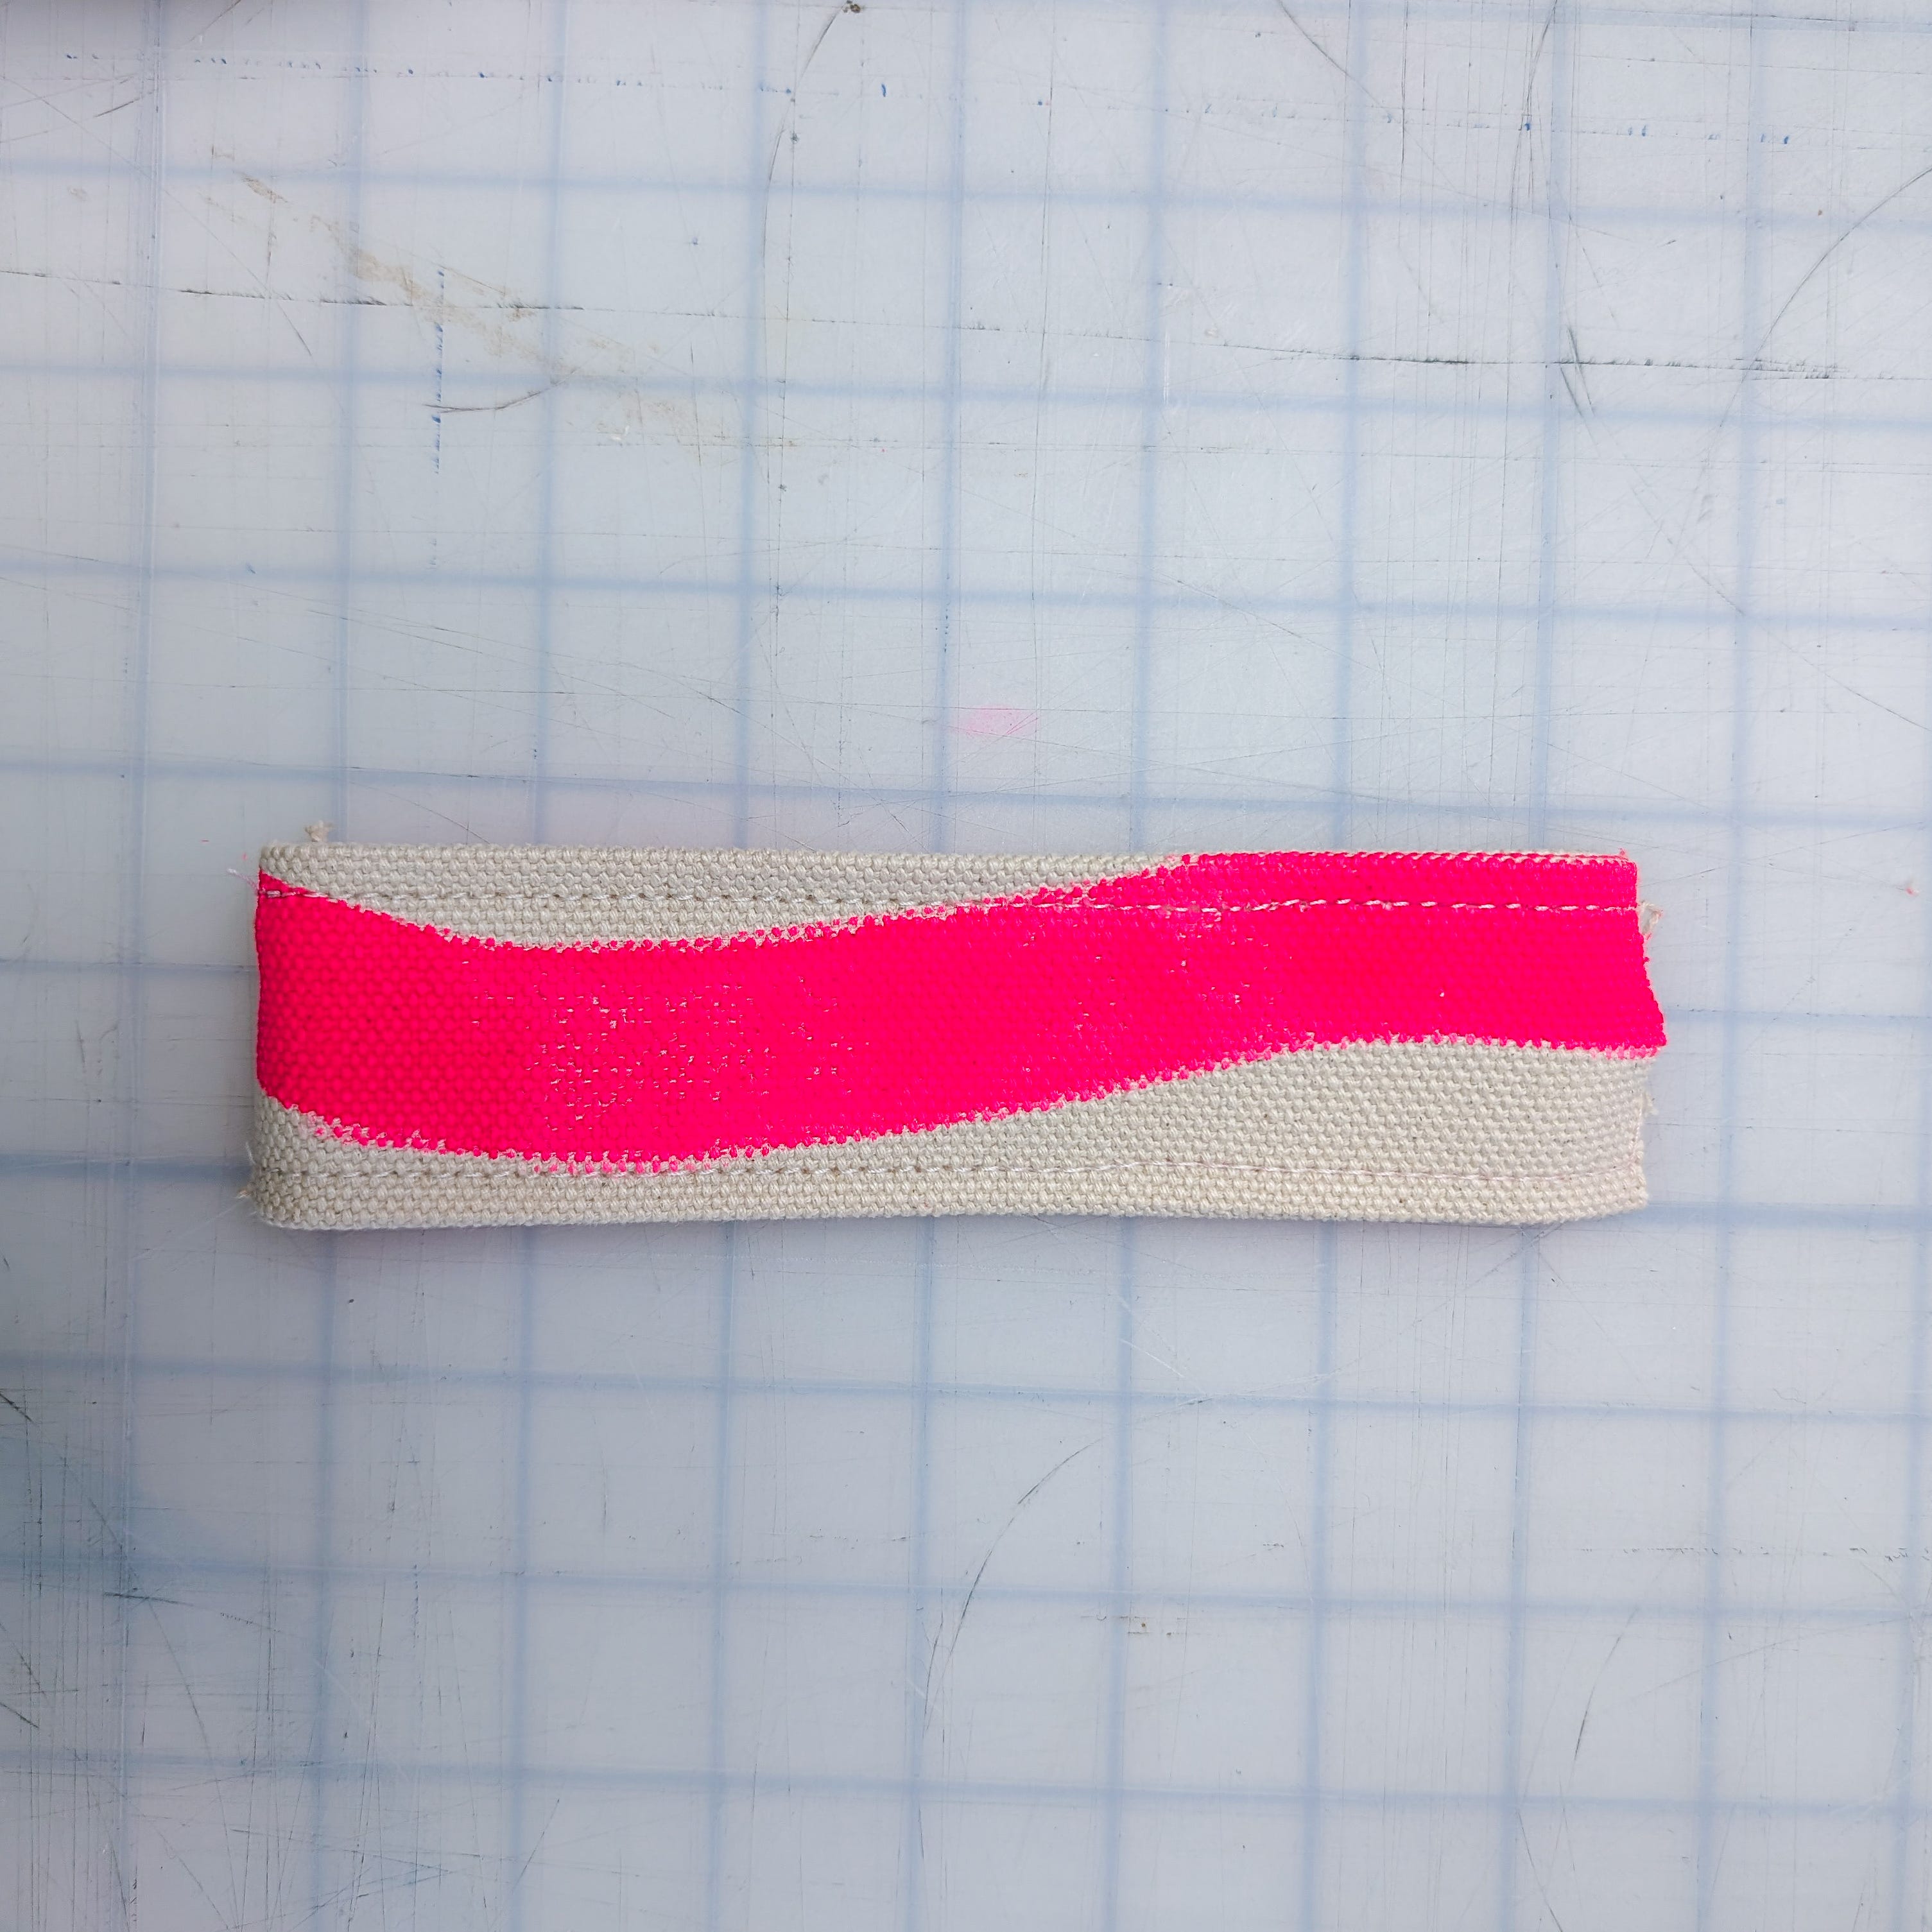
A handle - Iron the seam allowance down on the long ends and fold the rectangle in half. Stitch the edges together, then iron down the seam allowance where it will be stitched to the bag.
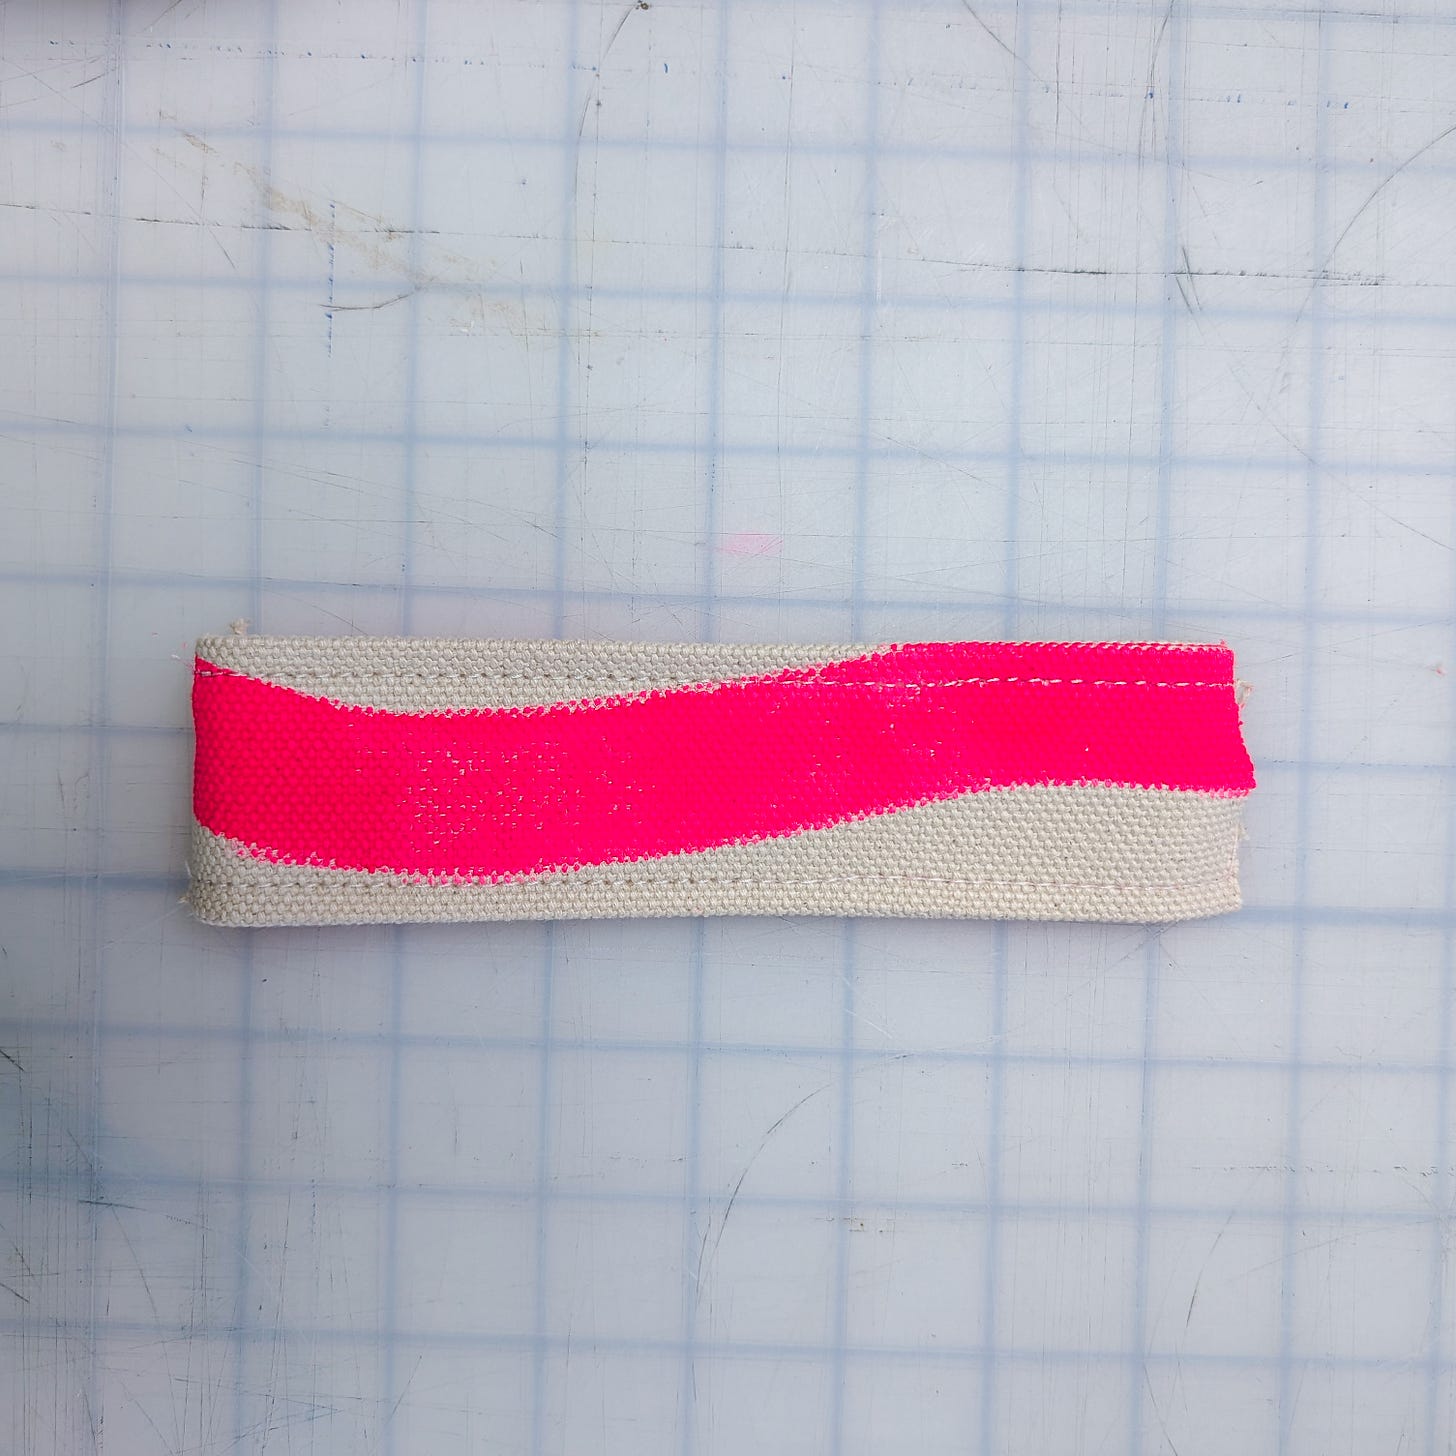
You can then stitch it to the outside of the bag - centering it in one of the “arrow” sections
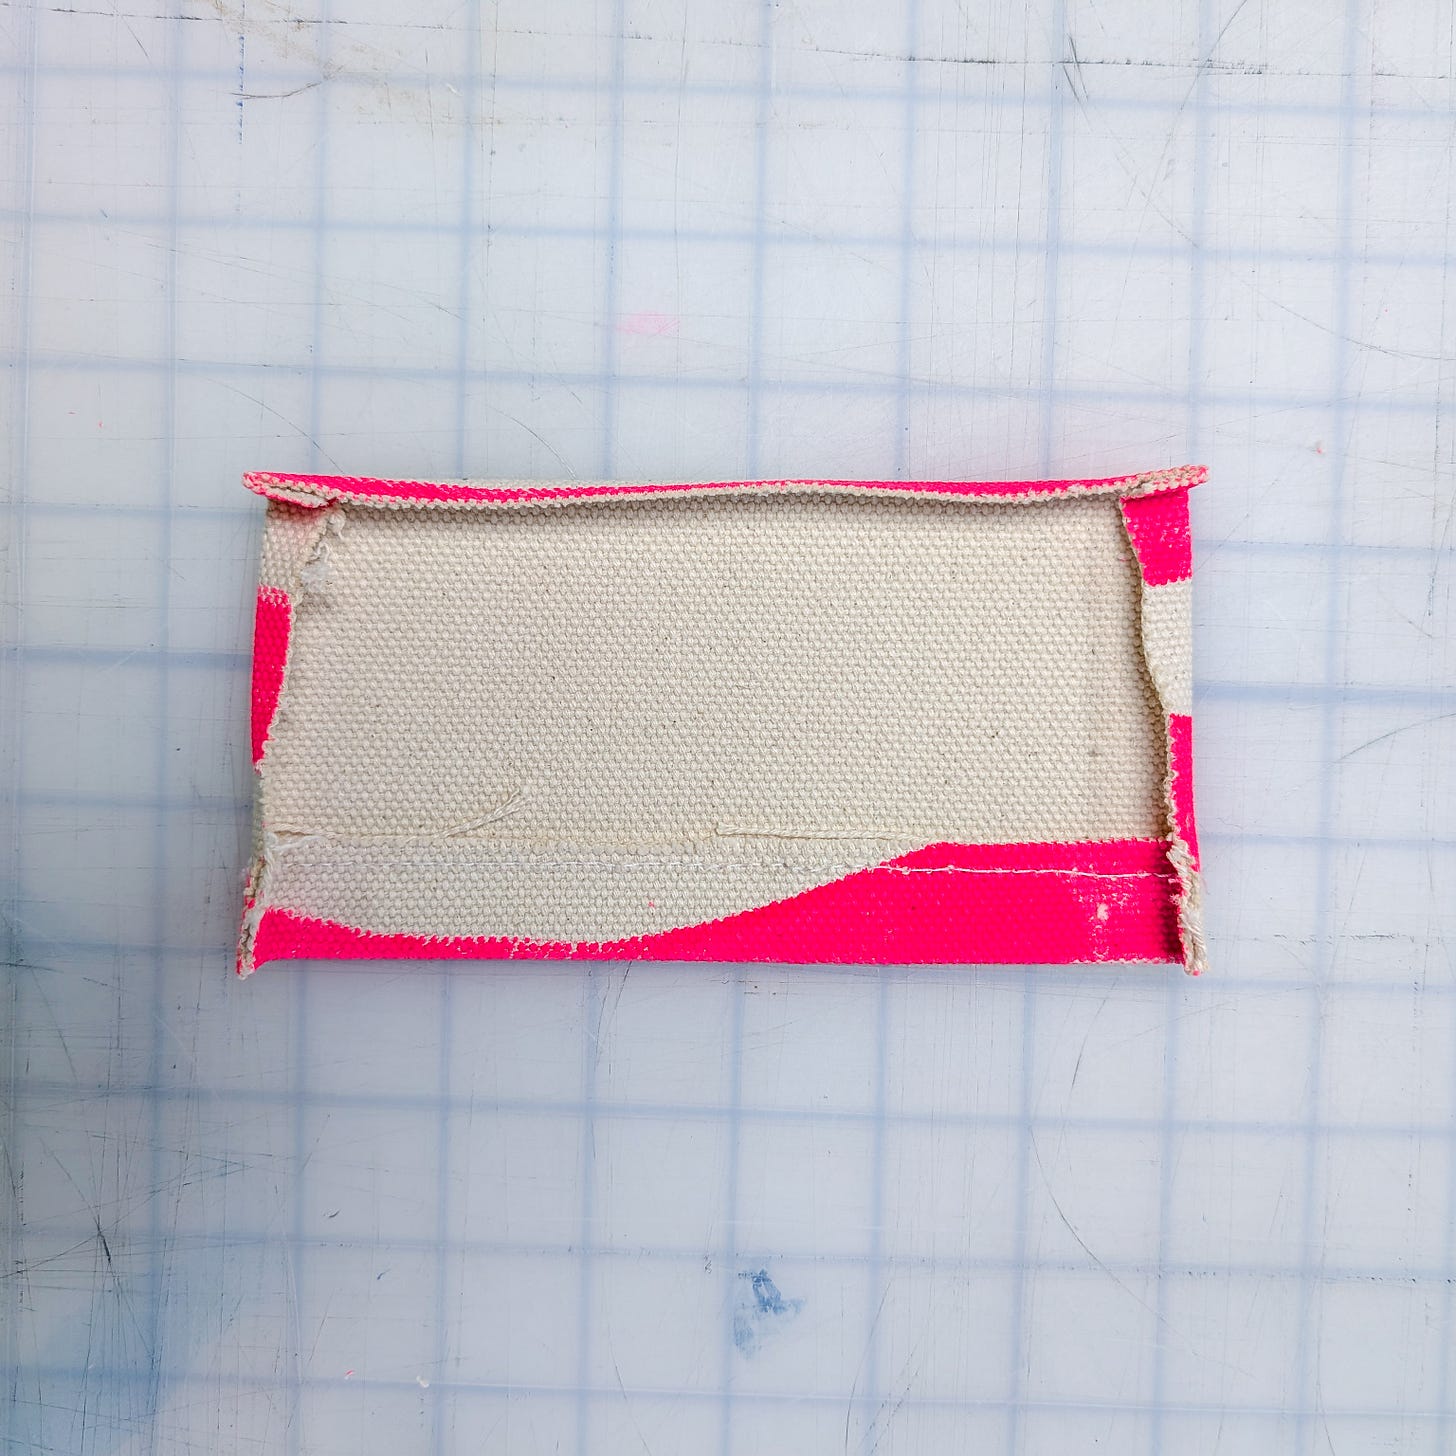
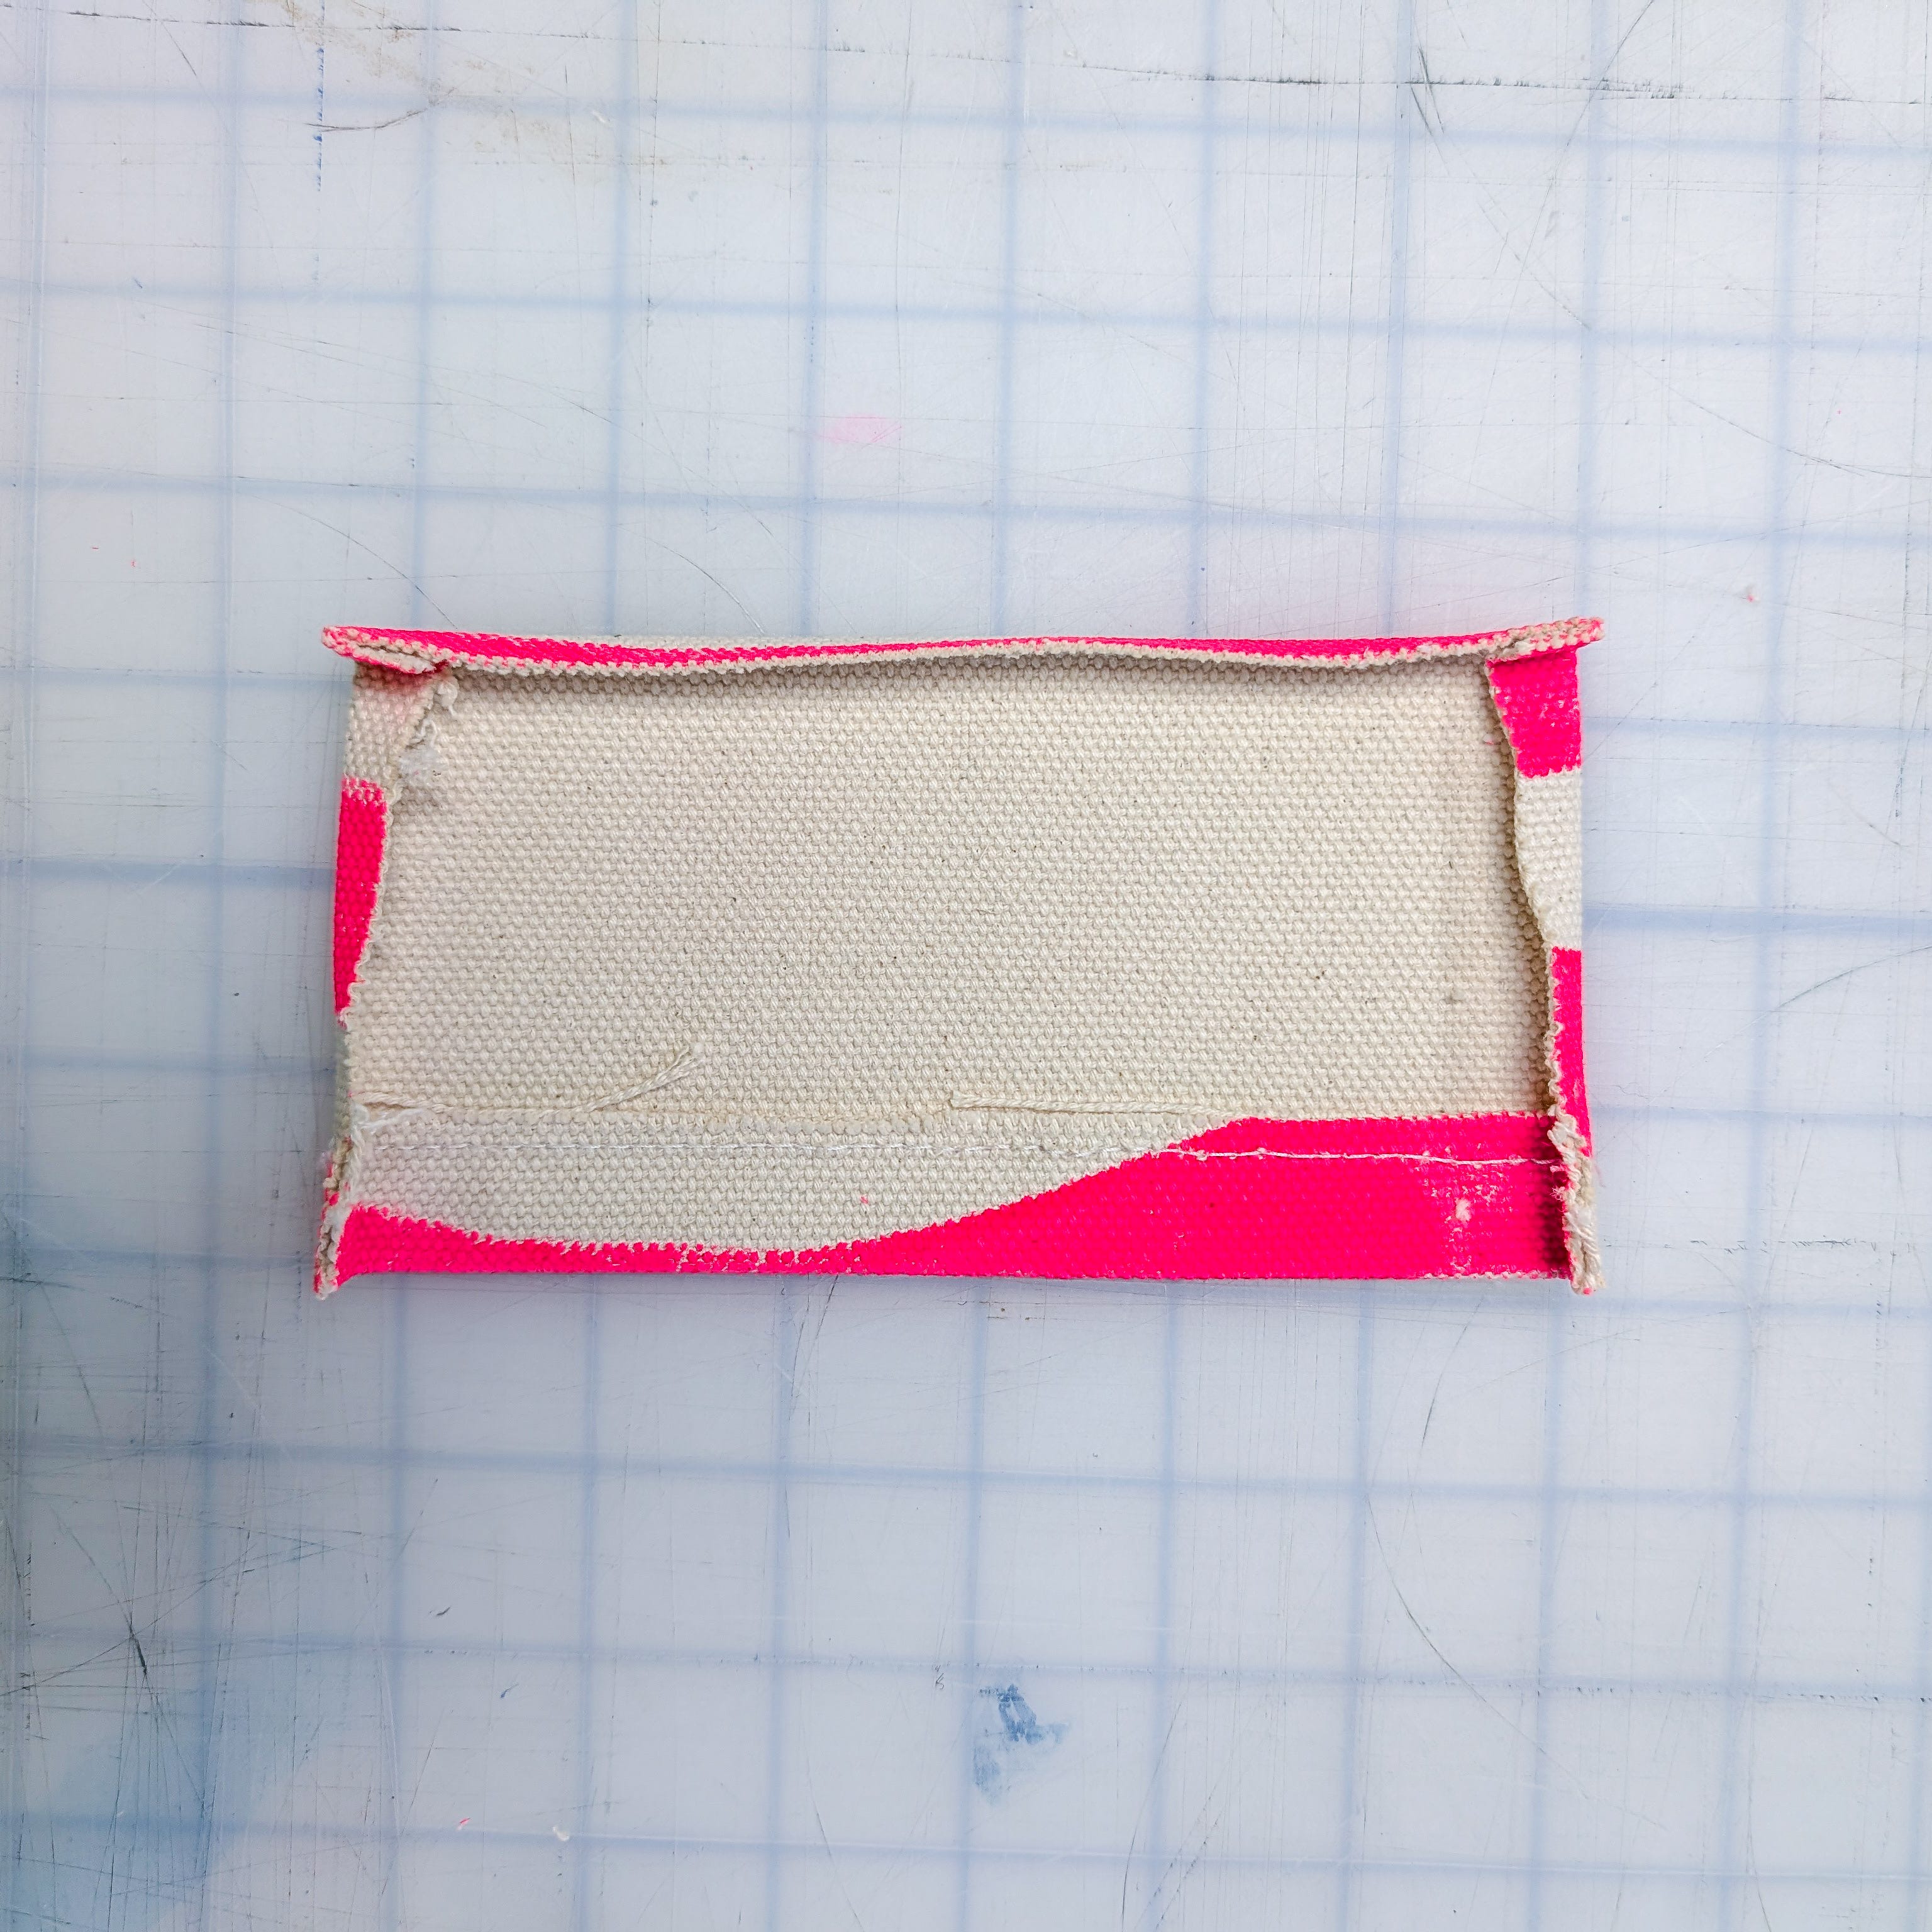
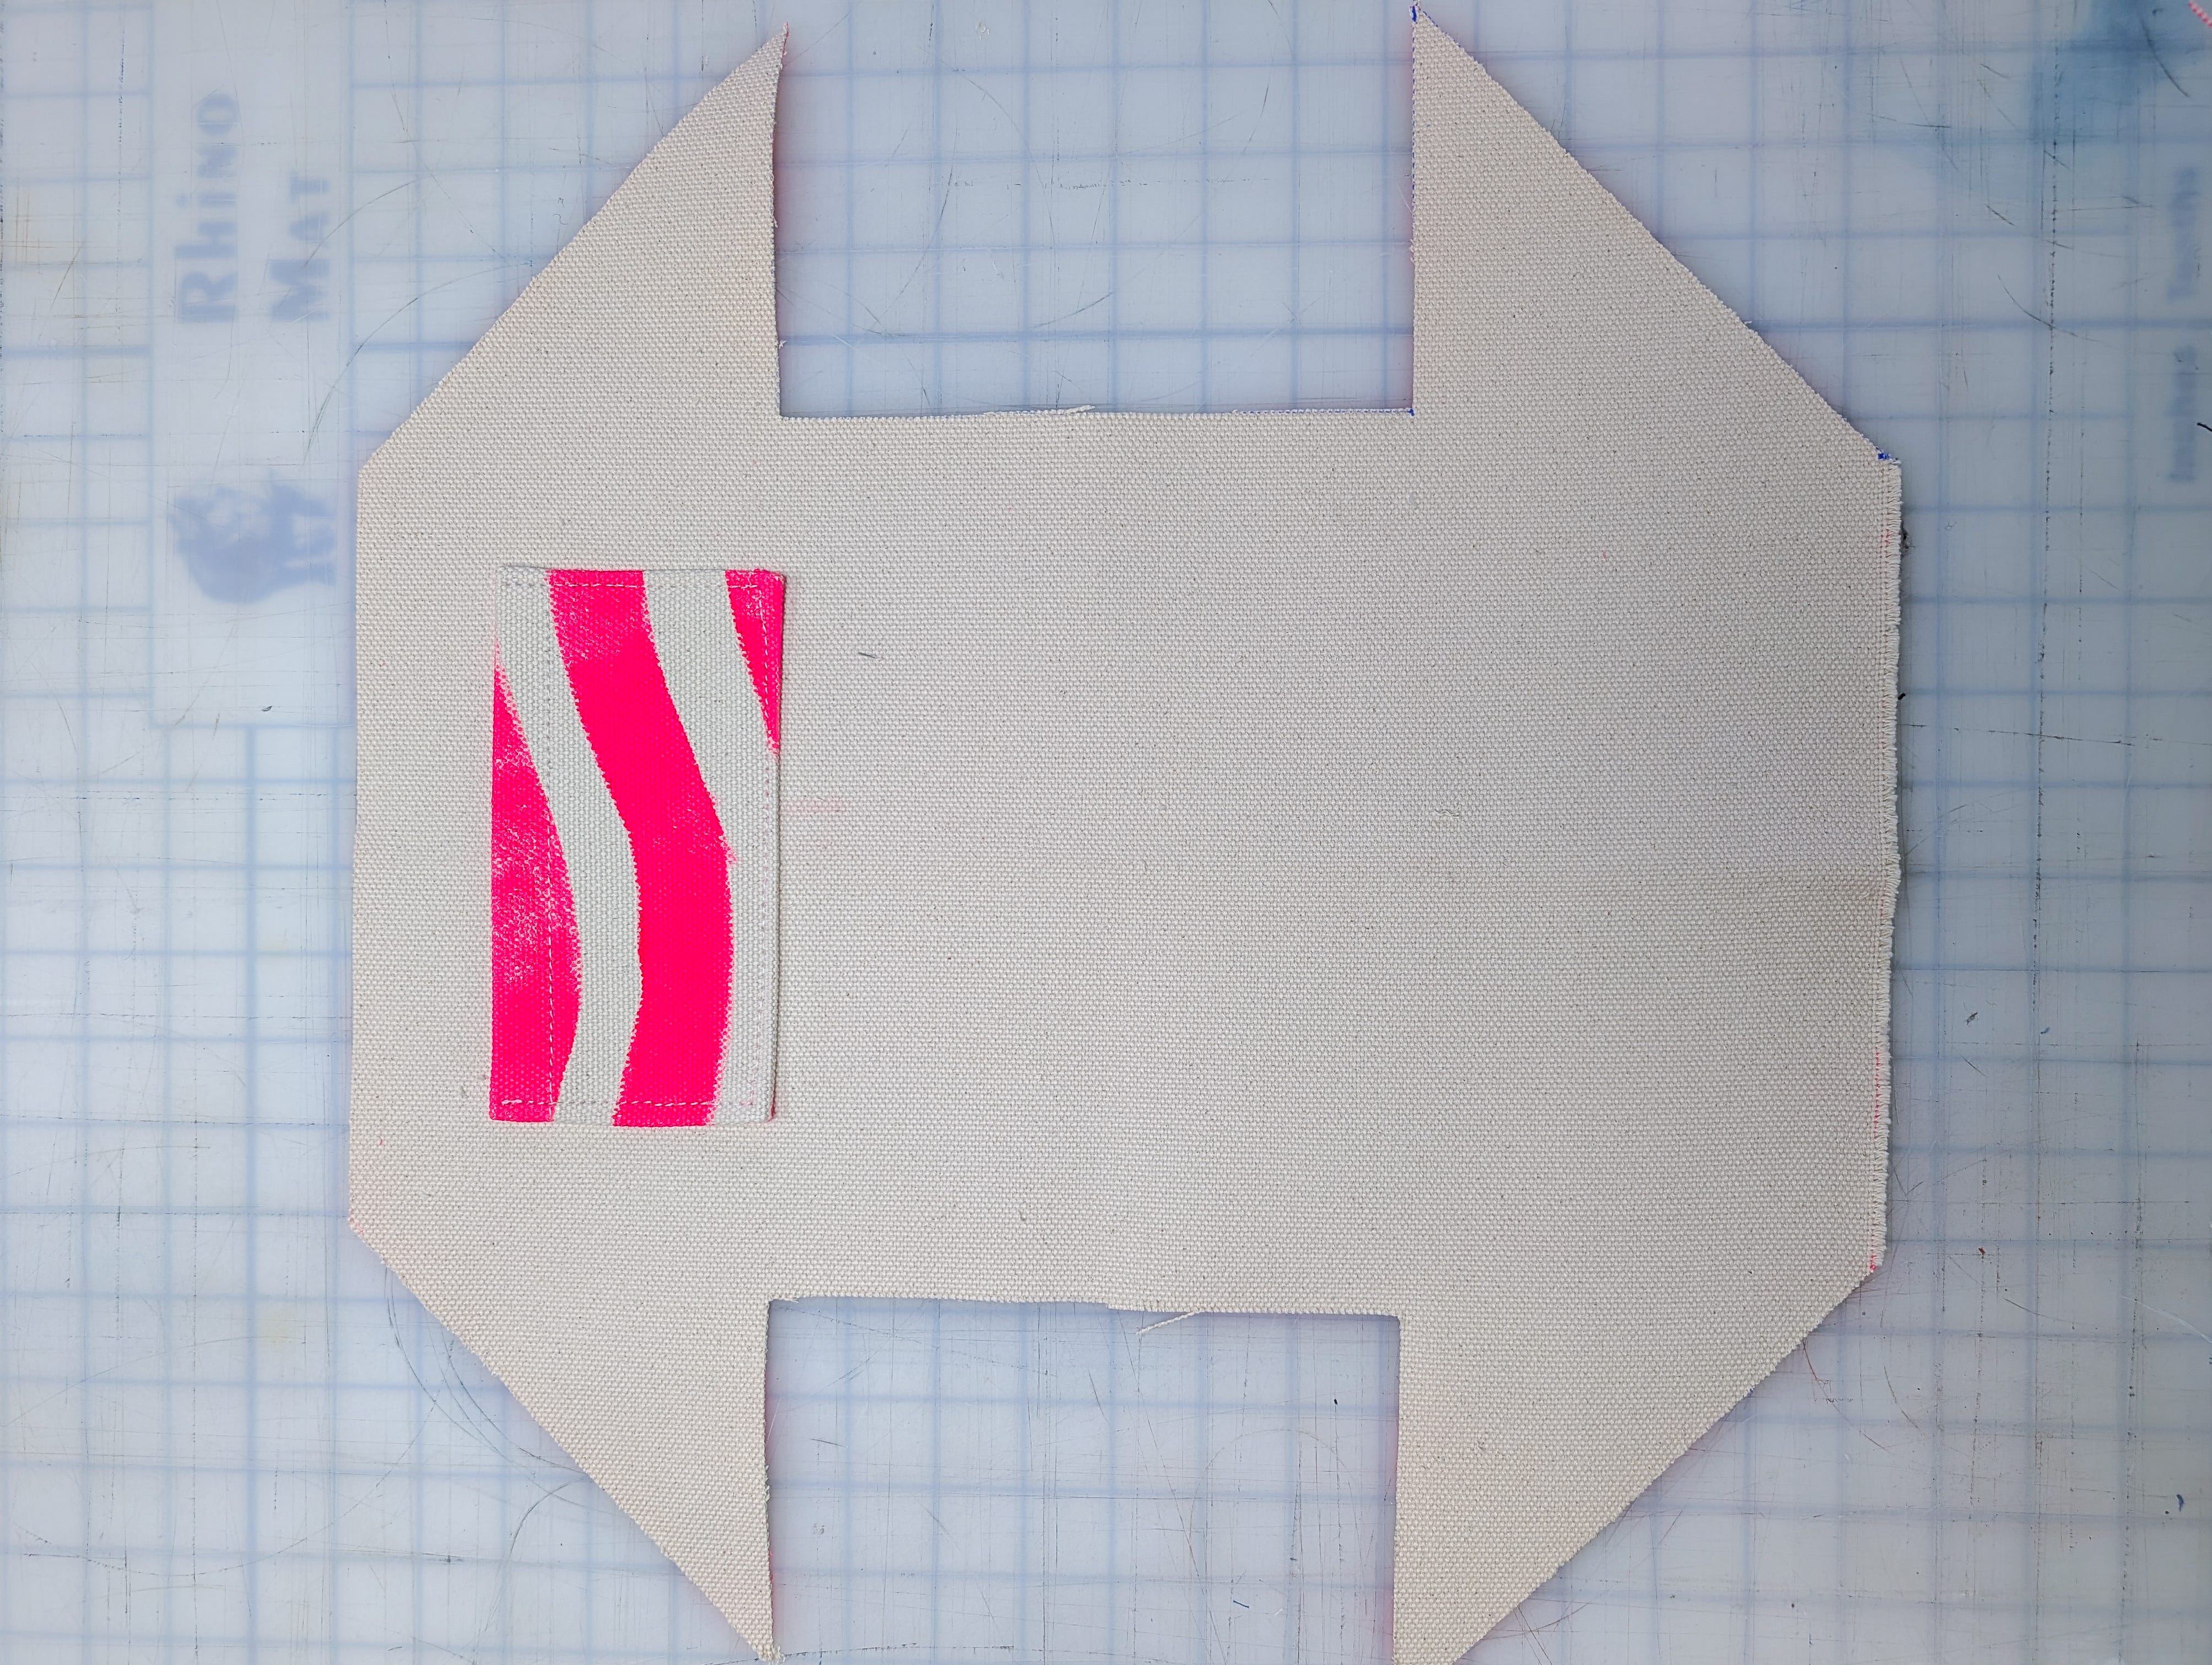
A pocket - fold down around 1” seam for the entry and stitch down. Fold and iron in seam allowances on the remaining three sides.
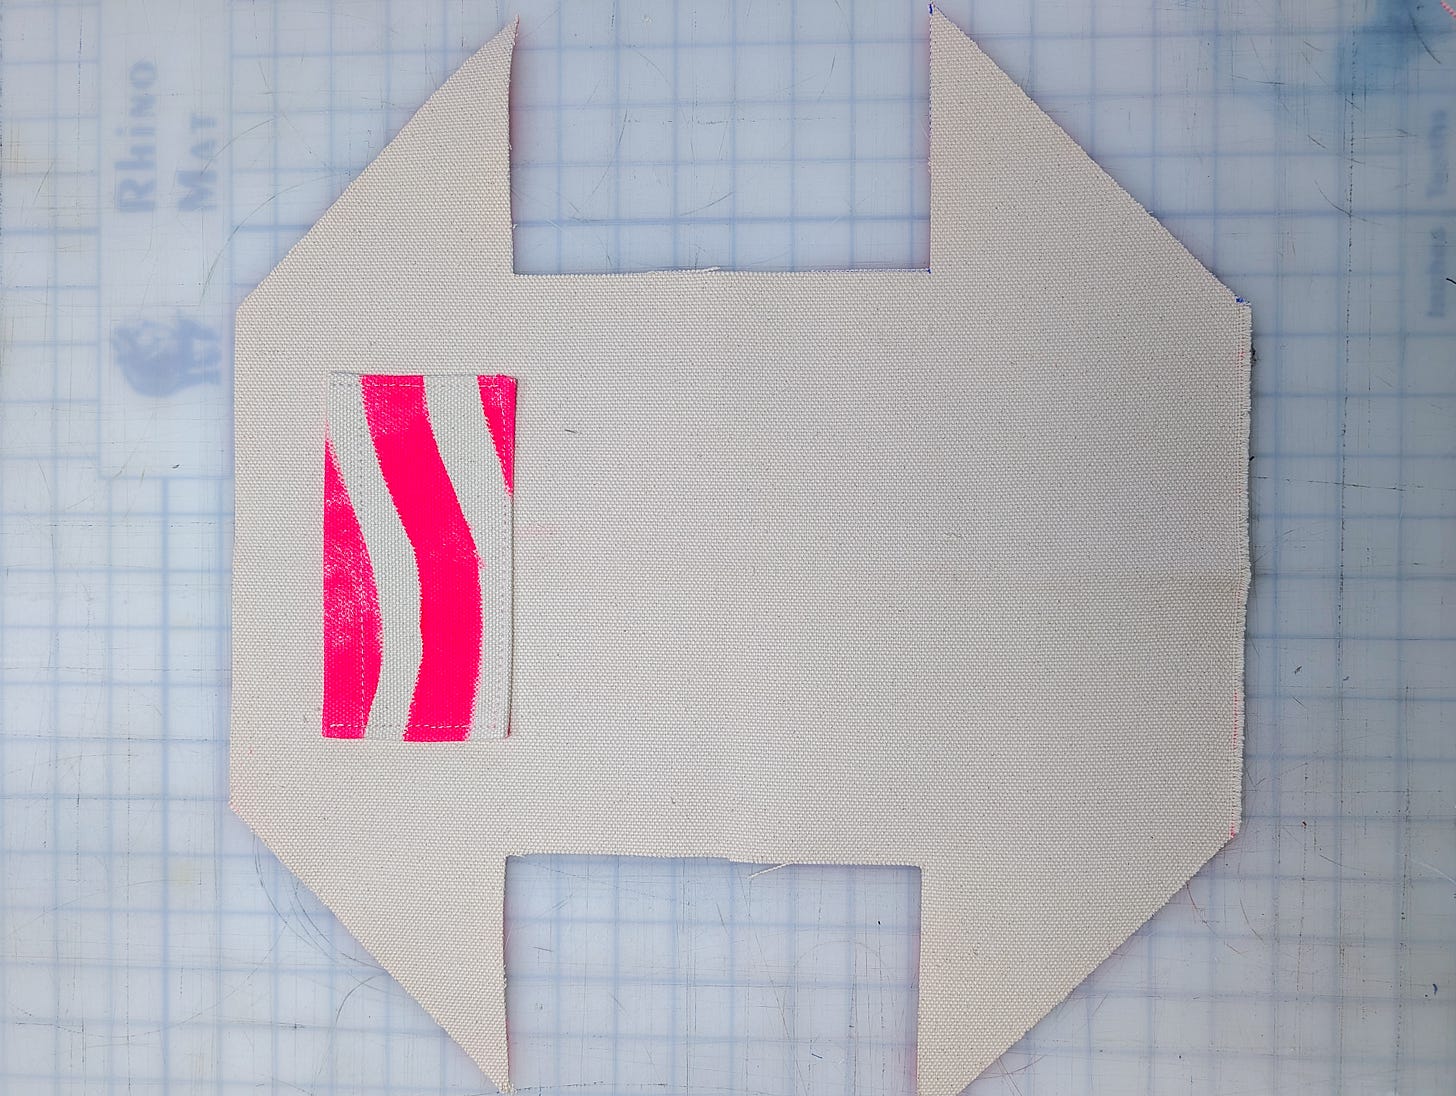
You can then stitch it to the inside of your bag. I align it with the bottom of the “arrow” seam allowance and center it. I place it on the opposite side of there the handle is sewn.
Gusset:
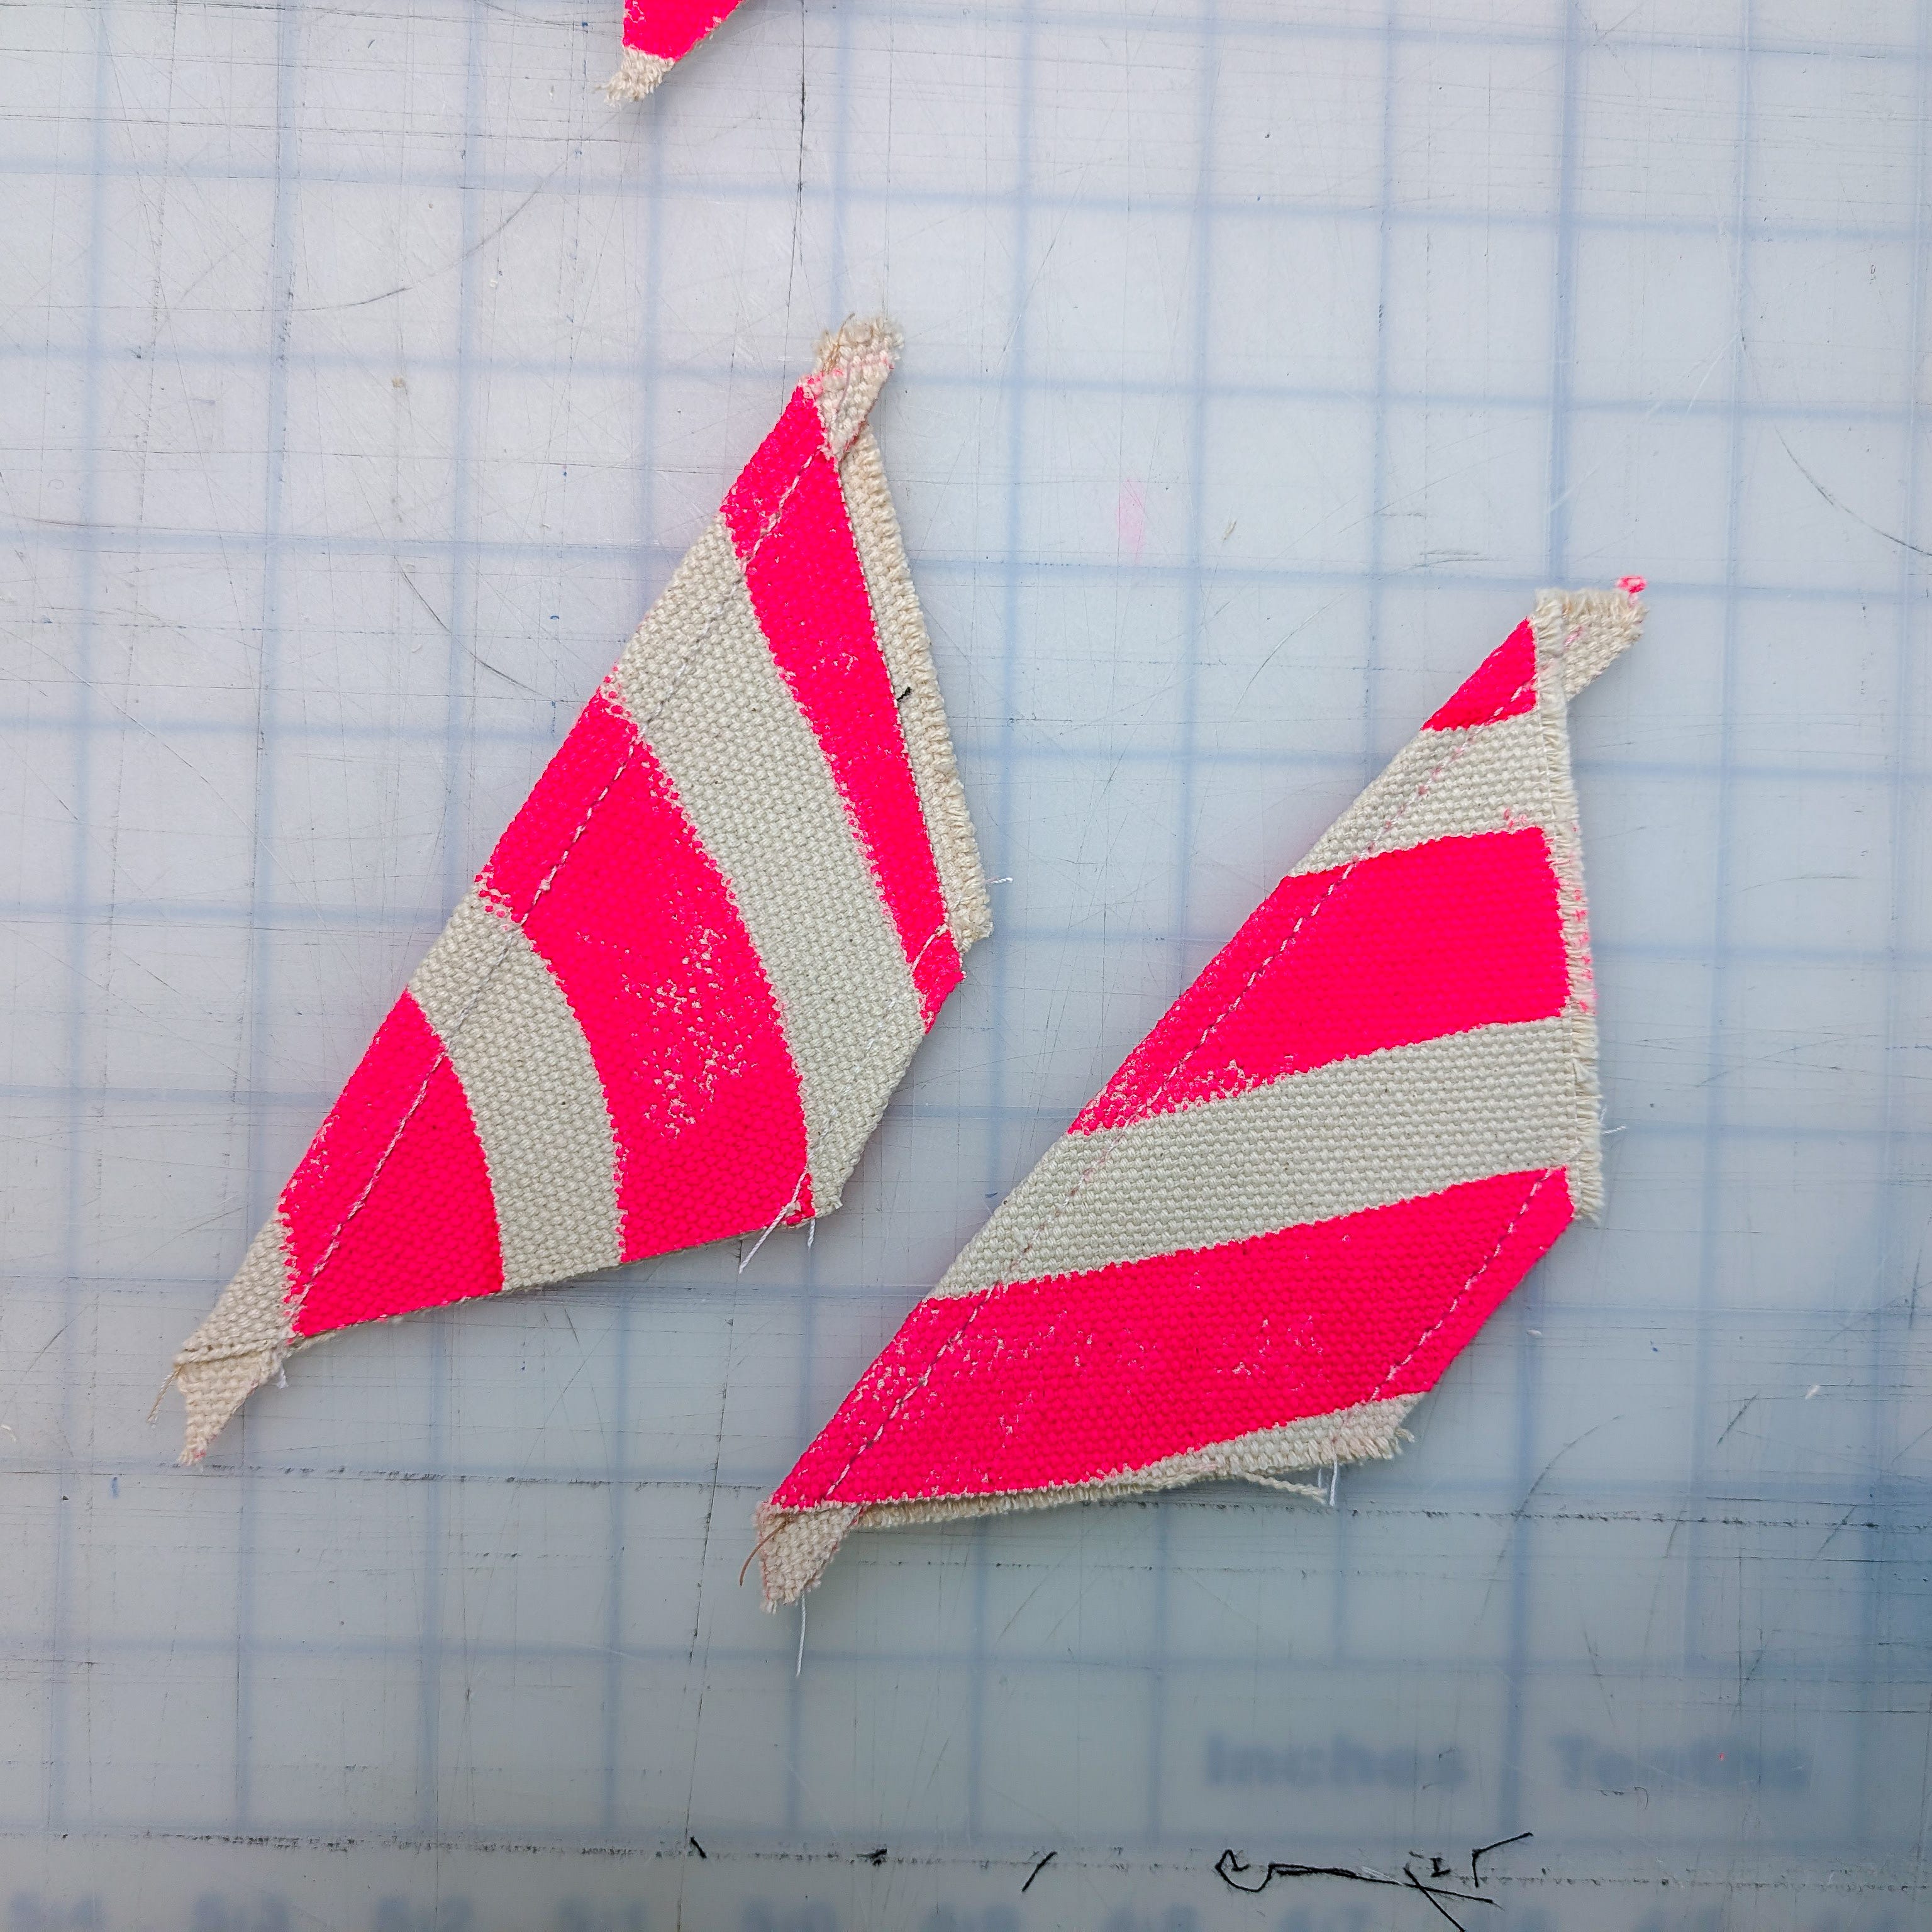
The triangles will need to be joined to create to create two gusset pieces.
Stitch them faces together across the long edge.
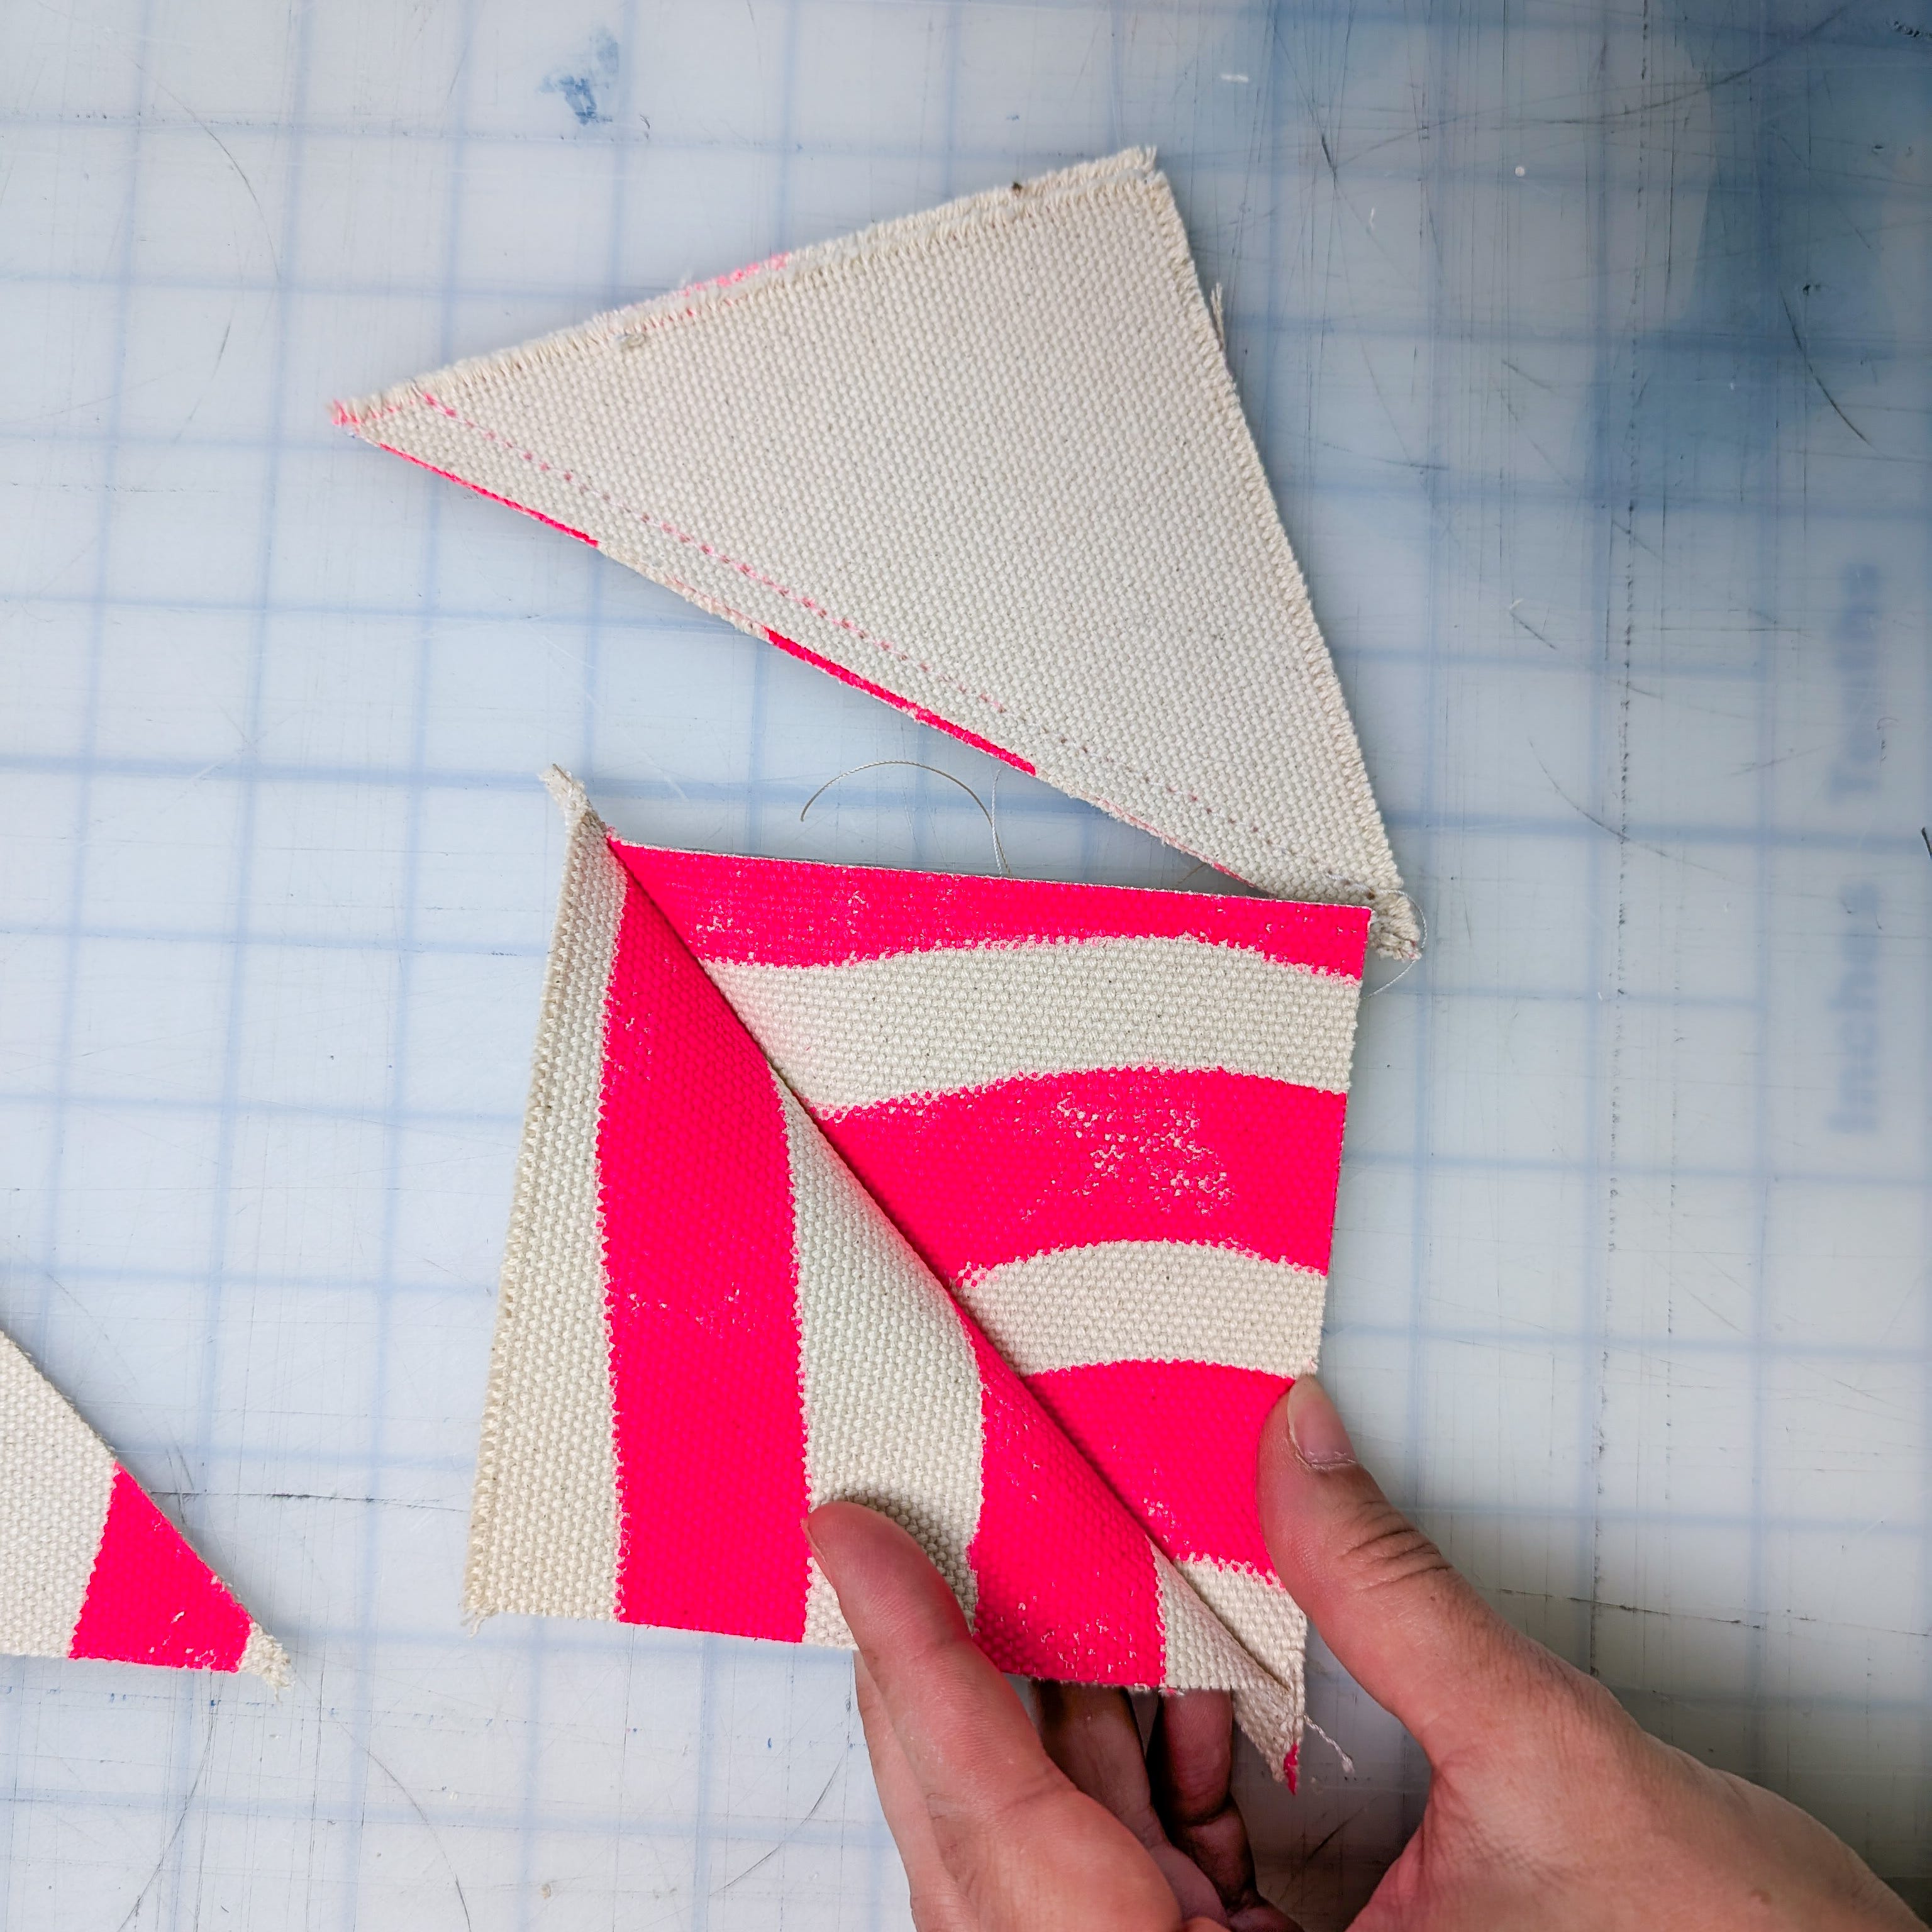
Next, iron that seam flat, and iron your seam allowance at the bottom corners in. Top stitch the top and bottom edges.
Divider:
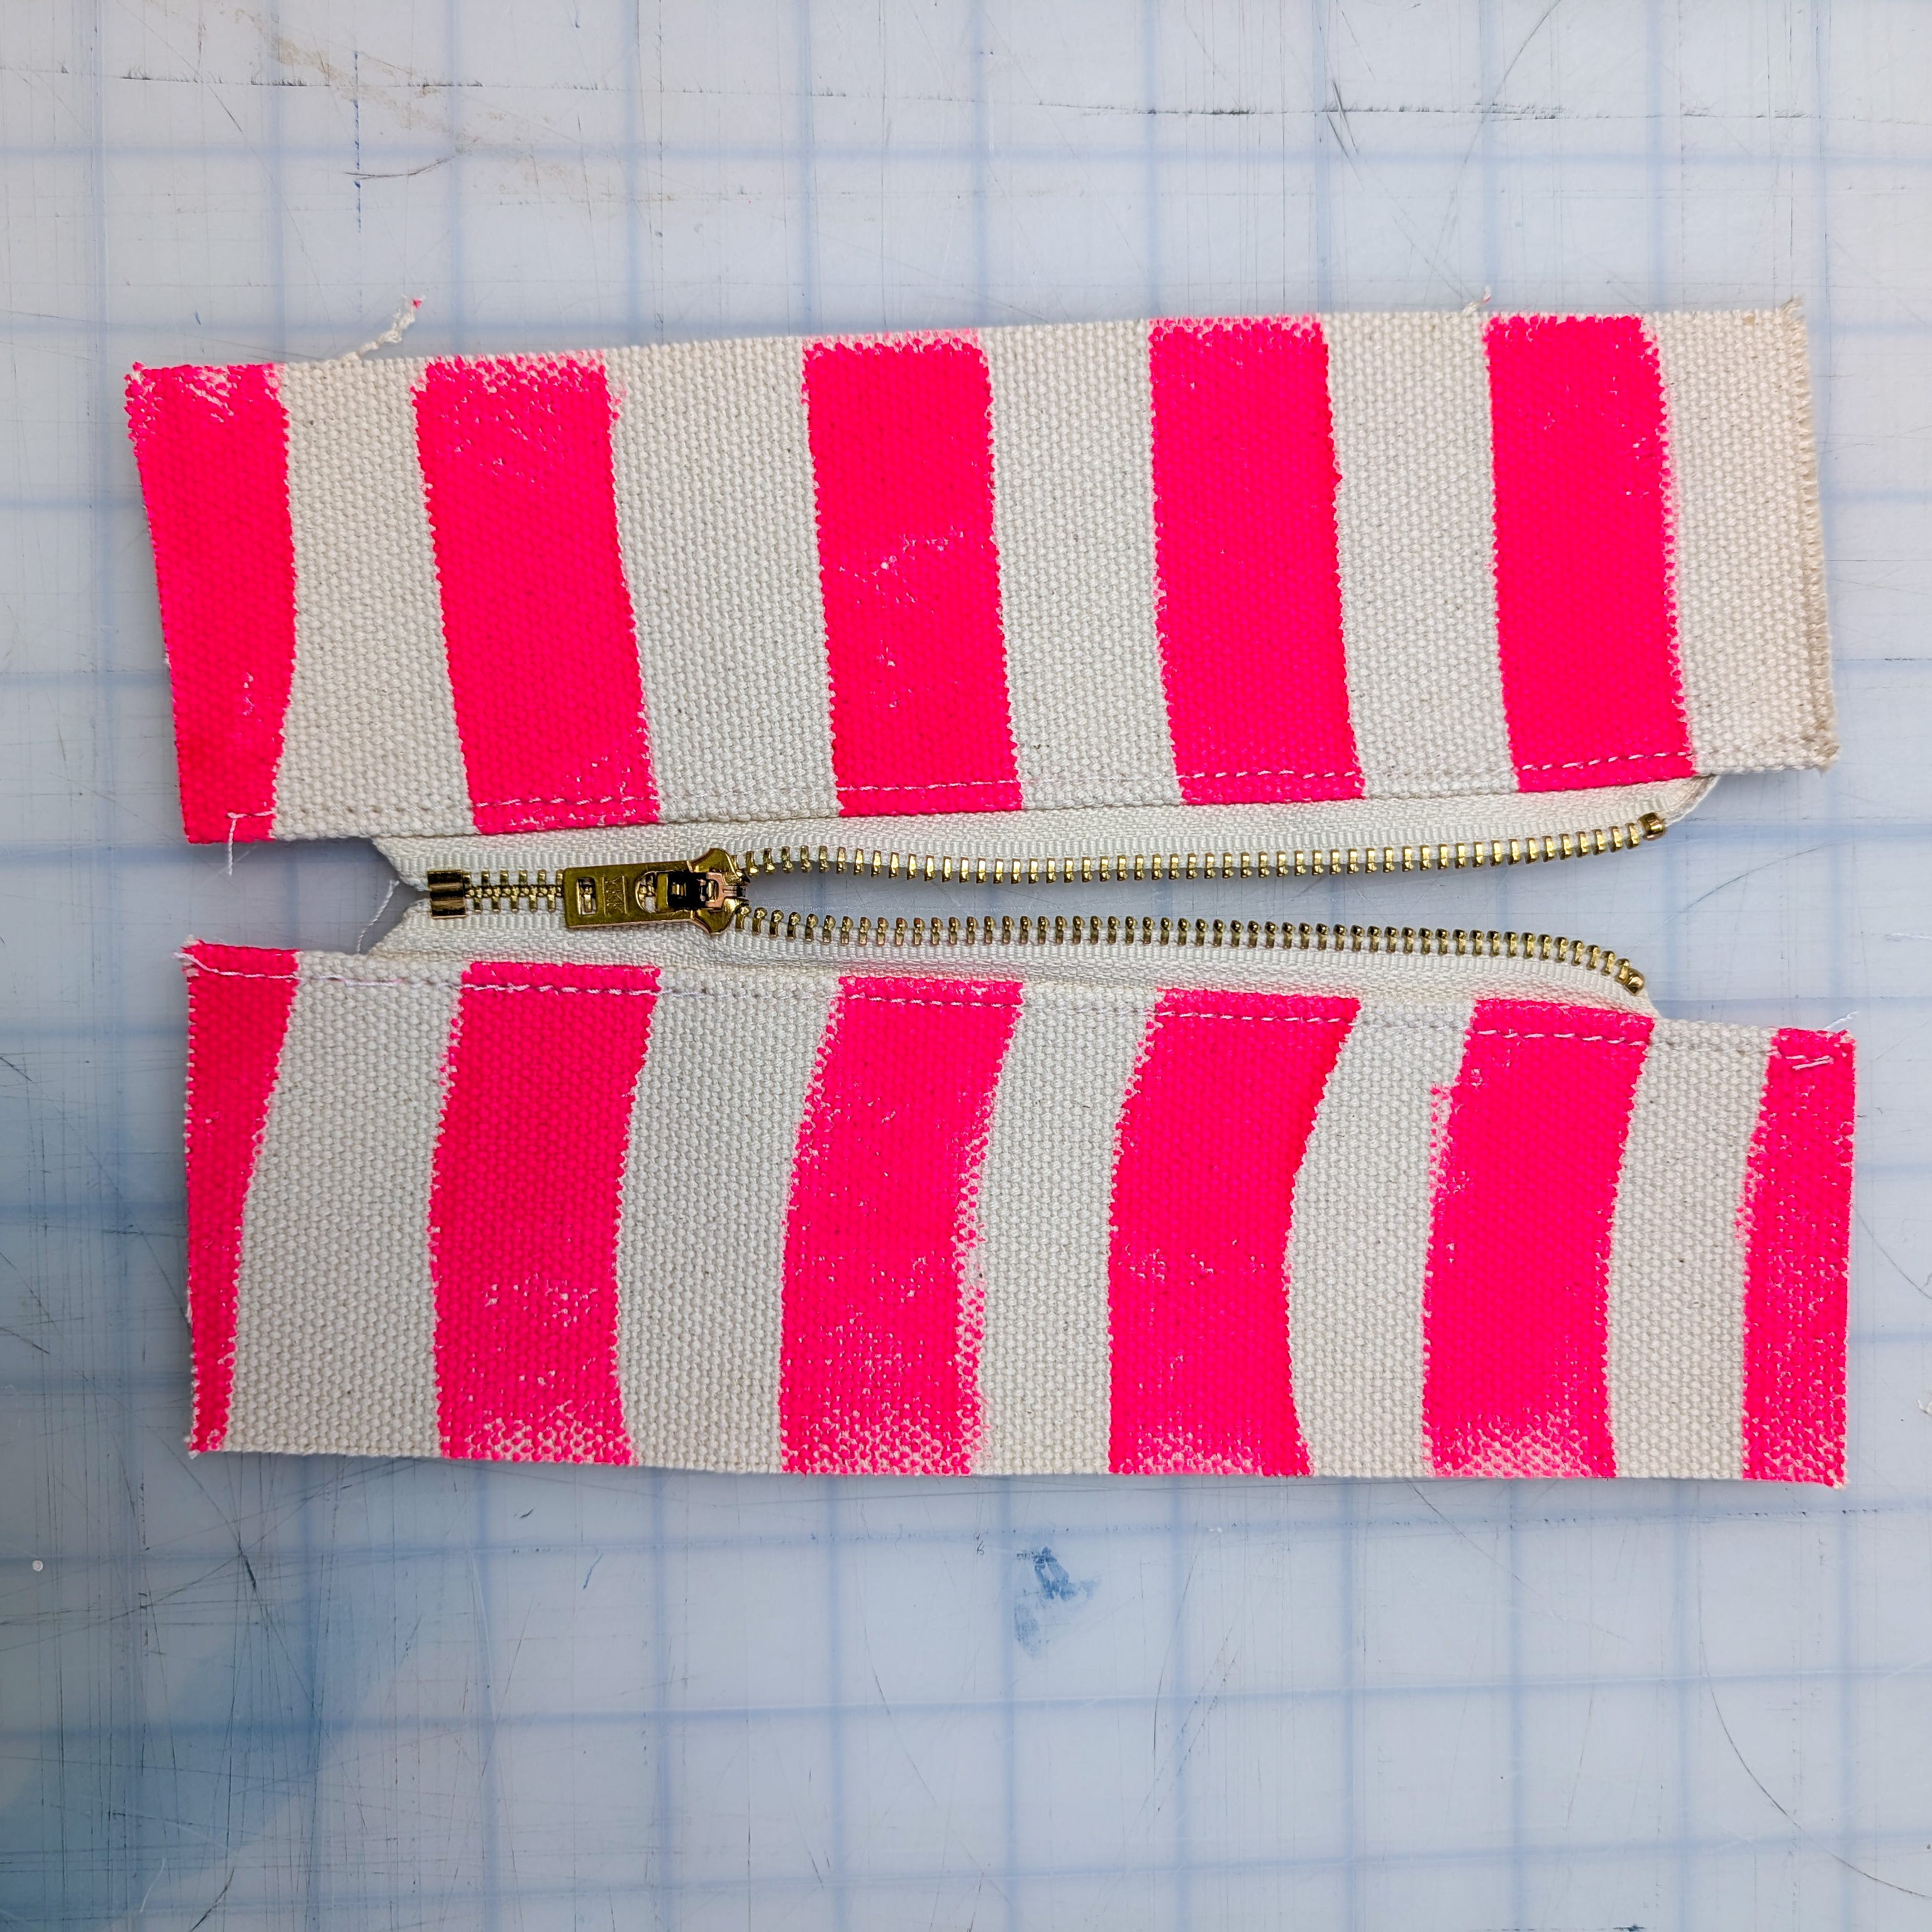
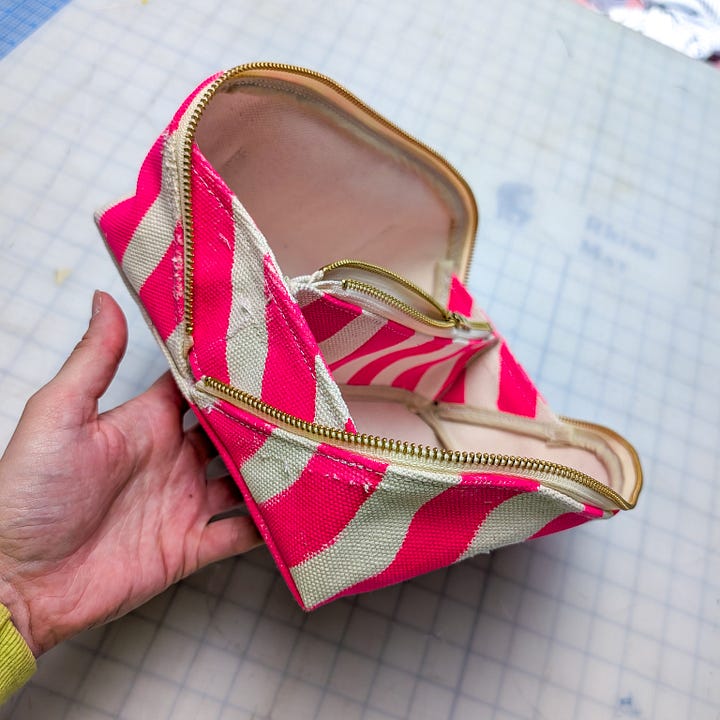
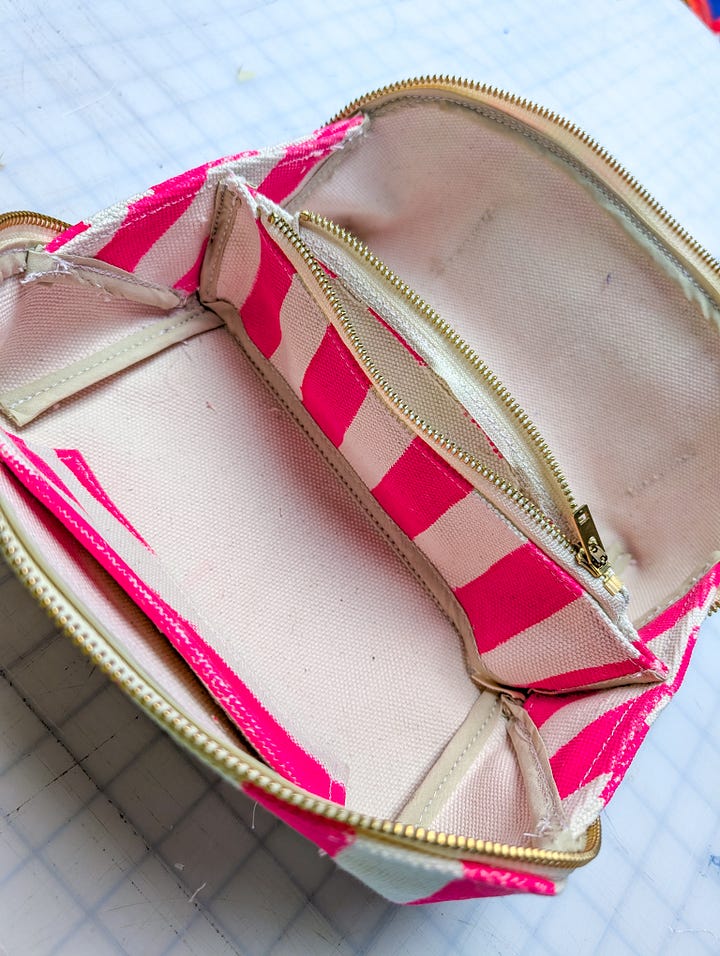
The edge pieces you drafted will become the divider. Stitch the 8” zipper between them and top stitch the seams down. Here you can change the zipper insertion to meet whatever preferences you have. With such a thick fabric I couldn’t do a very clean inserted zipper.
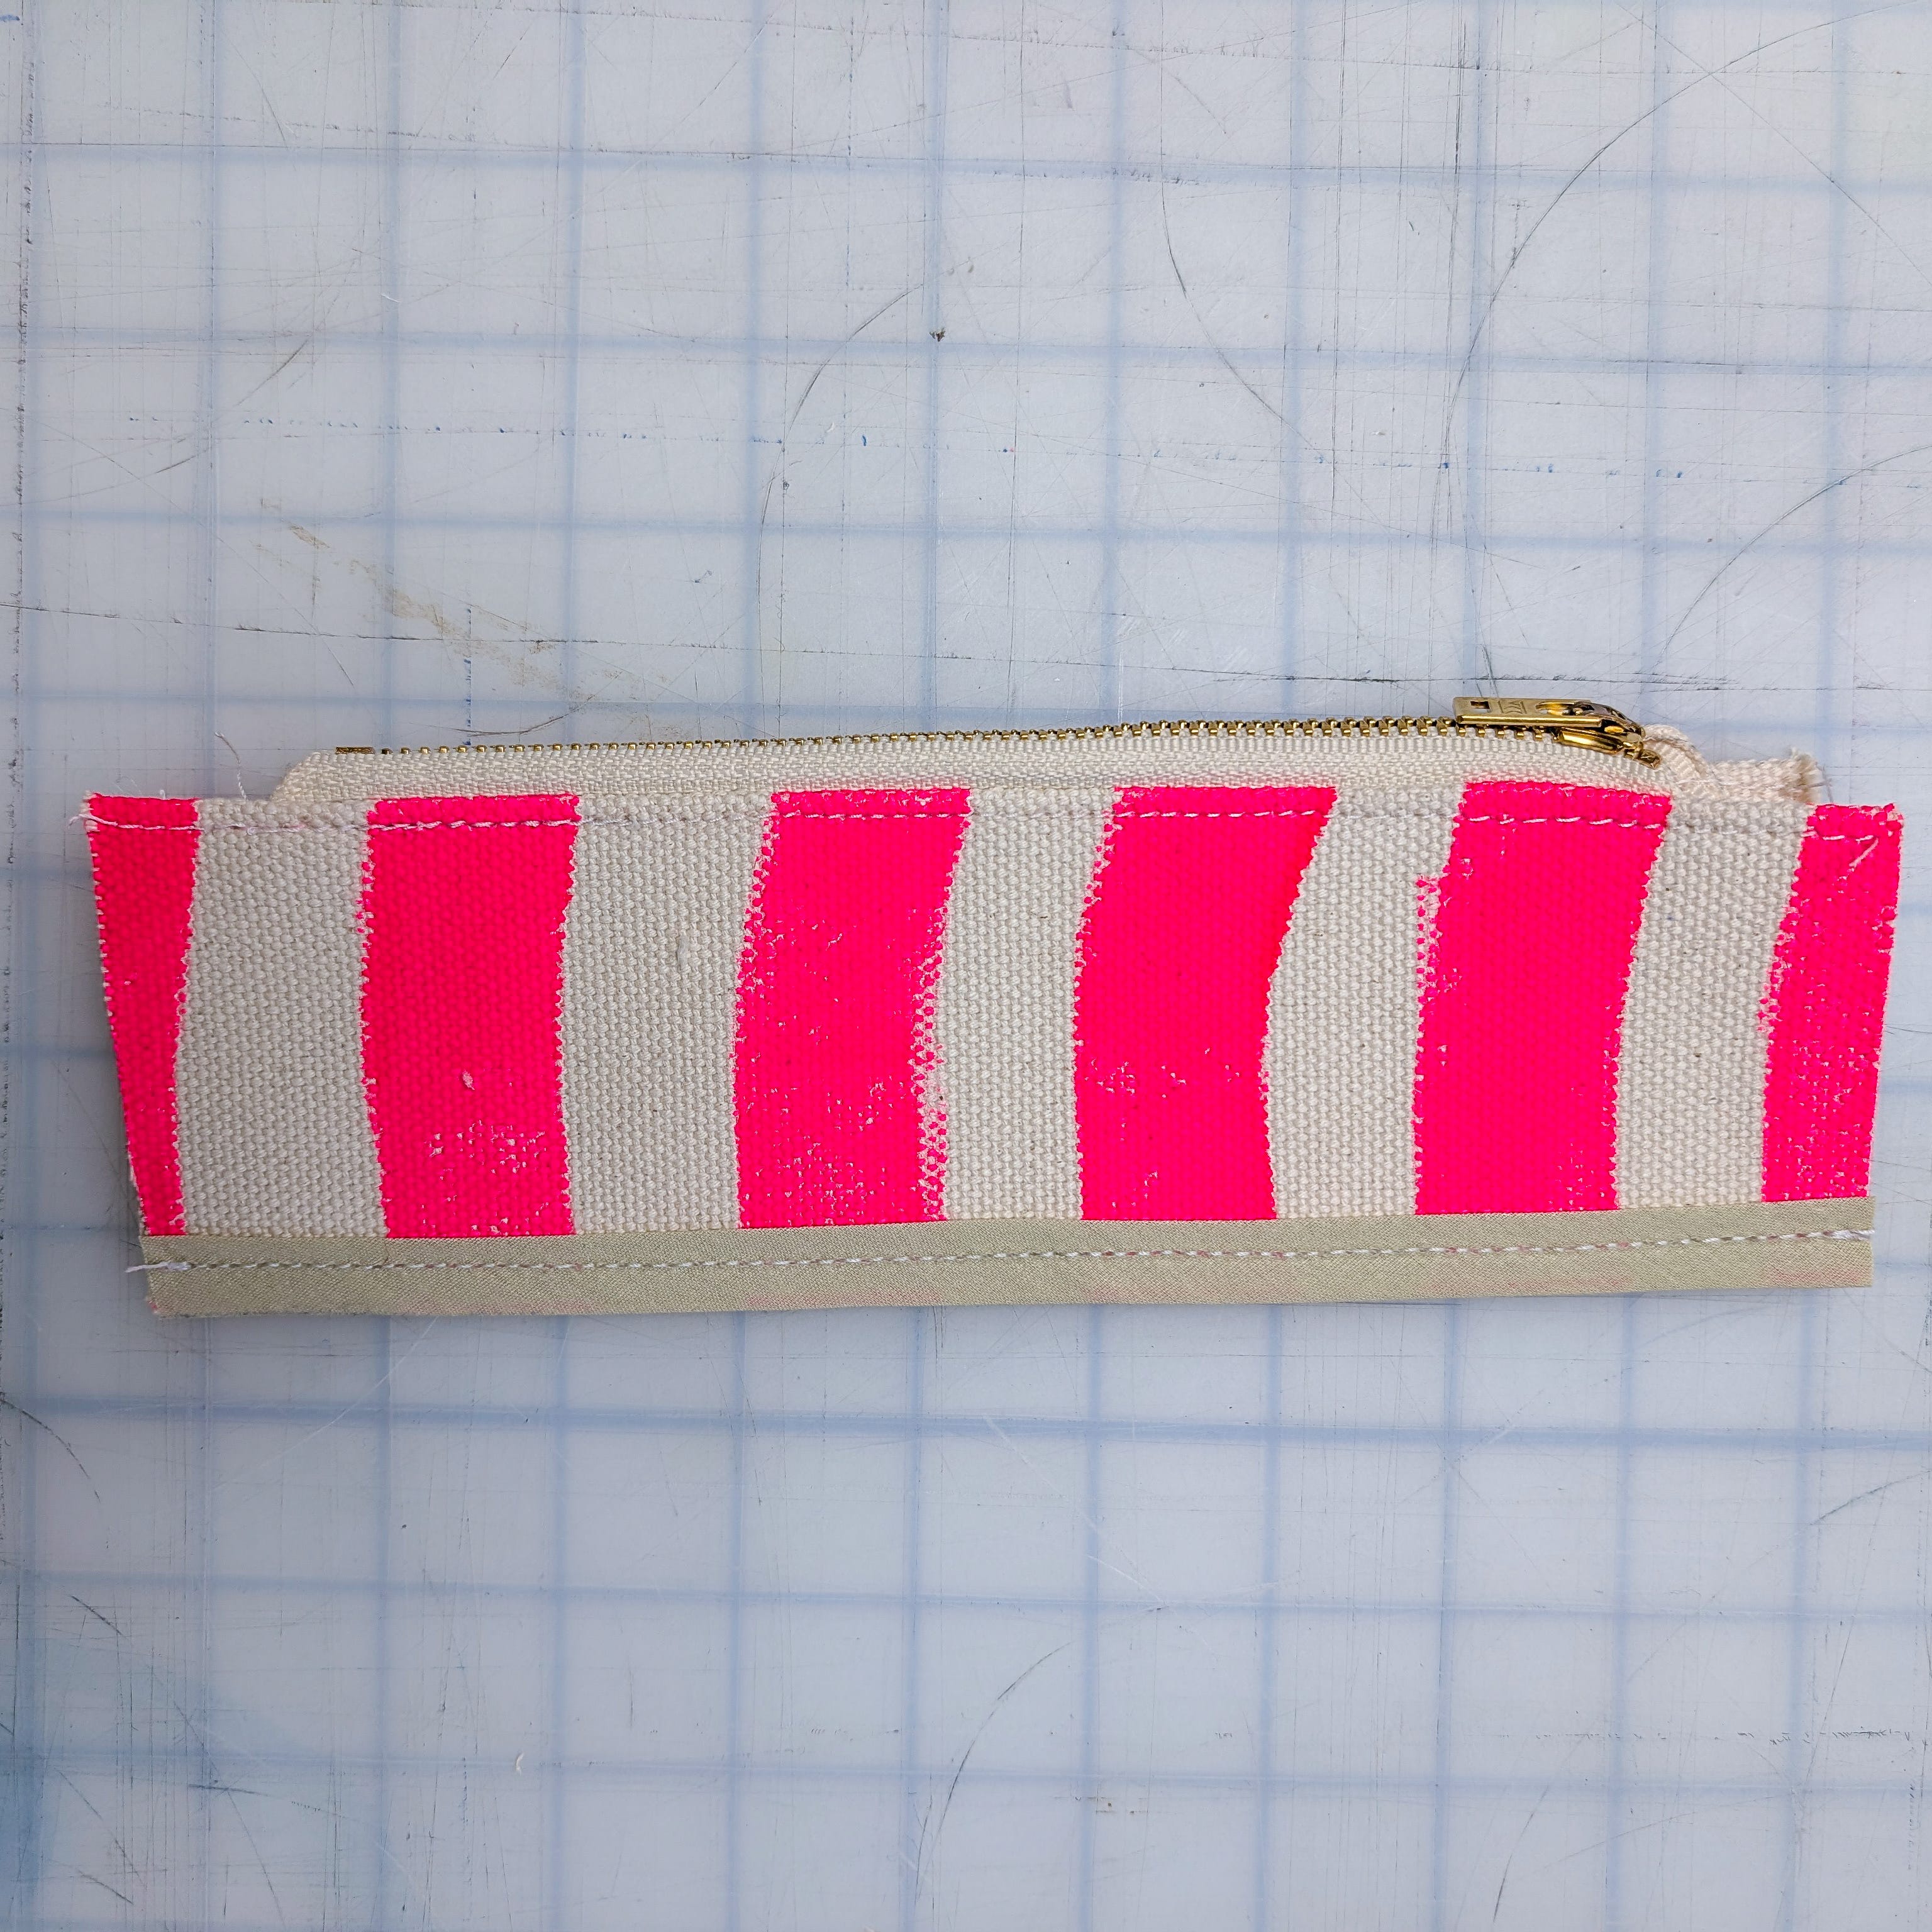
Next, close the bottom of the divider. In other samples I did a traditional seam and turned the divider inside out, but again, with this this fabric I wasn’t able to do that. I ended up adding a bias strip at the bottom to close it. Not a bad solution here!
The side edges are still raw here, which is correct. They will be caught by the gussets! sandwich the edges in the center of the gussets and stitch. This fabric stopped me from being able to stitch all the way down as shown in the instructions, so I just tacked it in a few places.
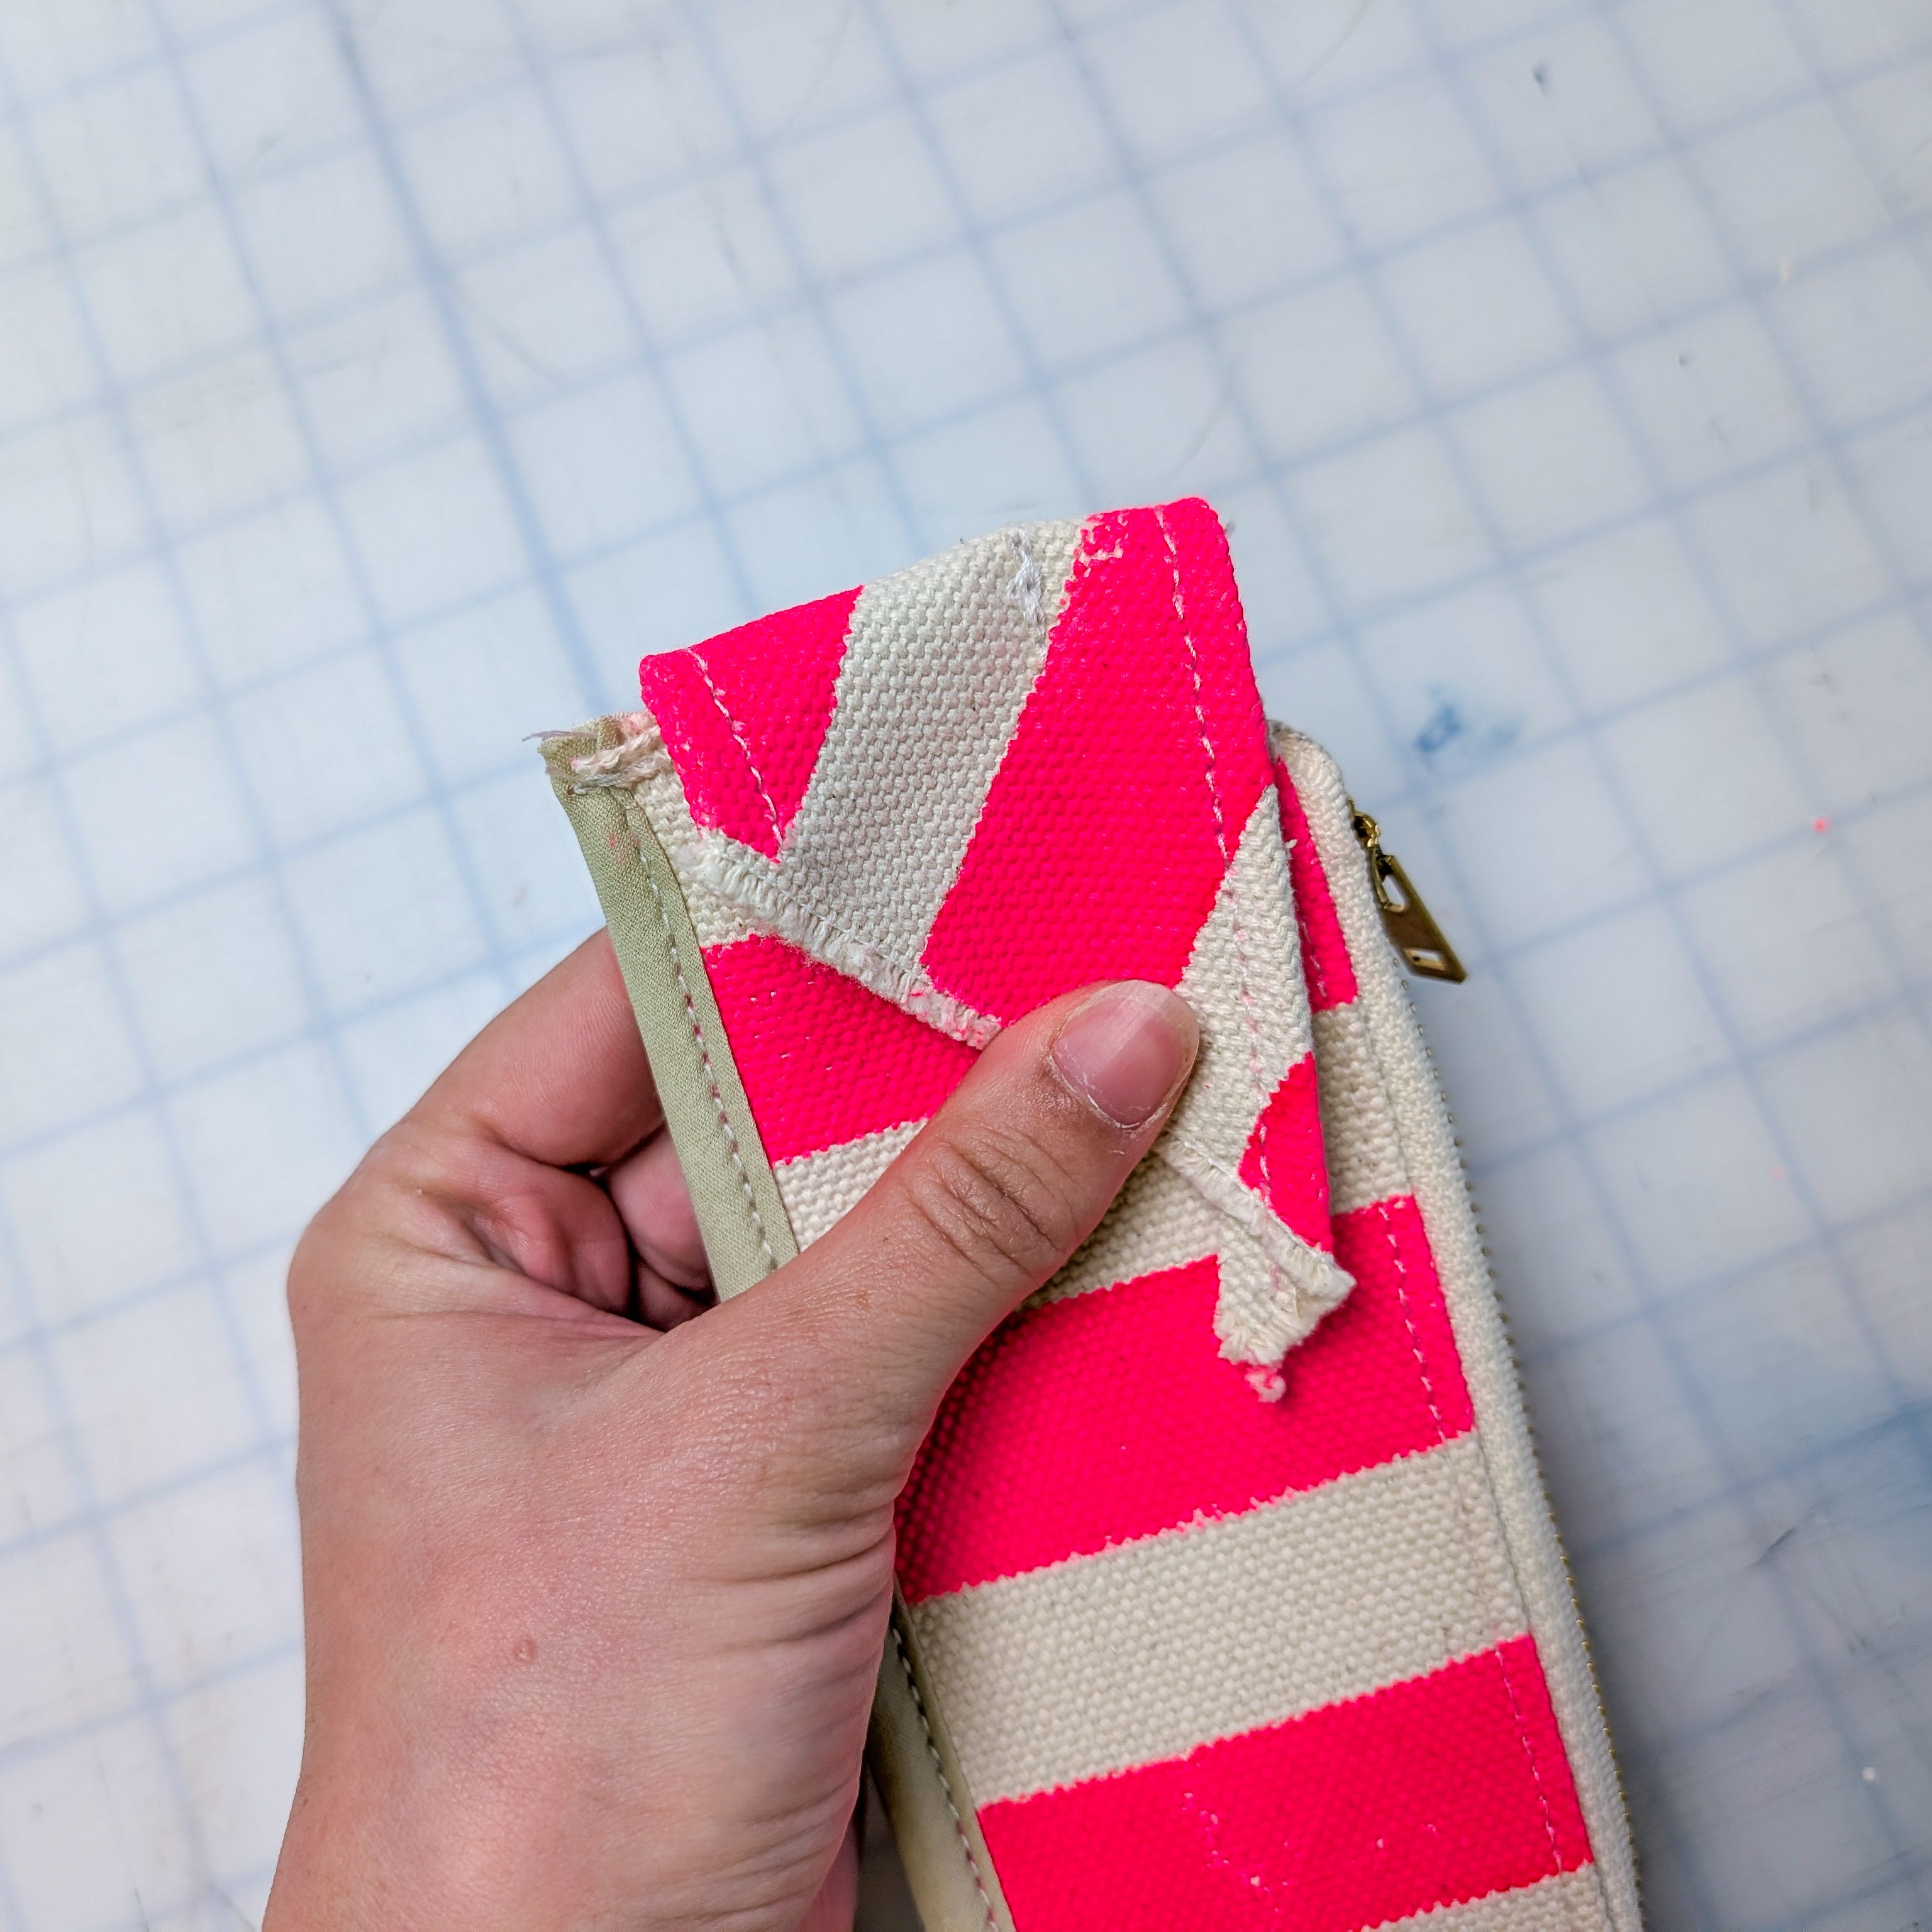
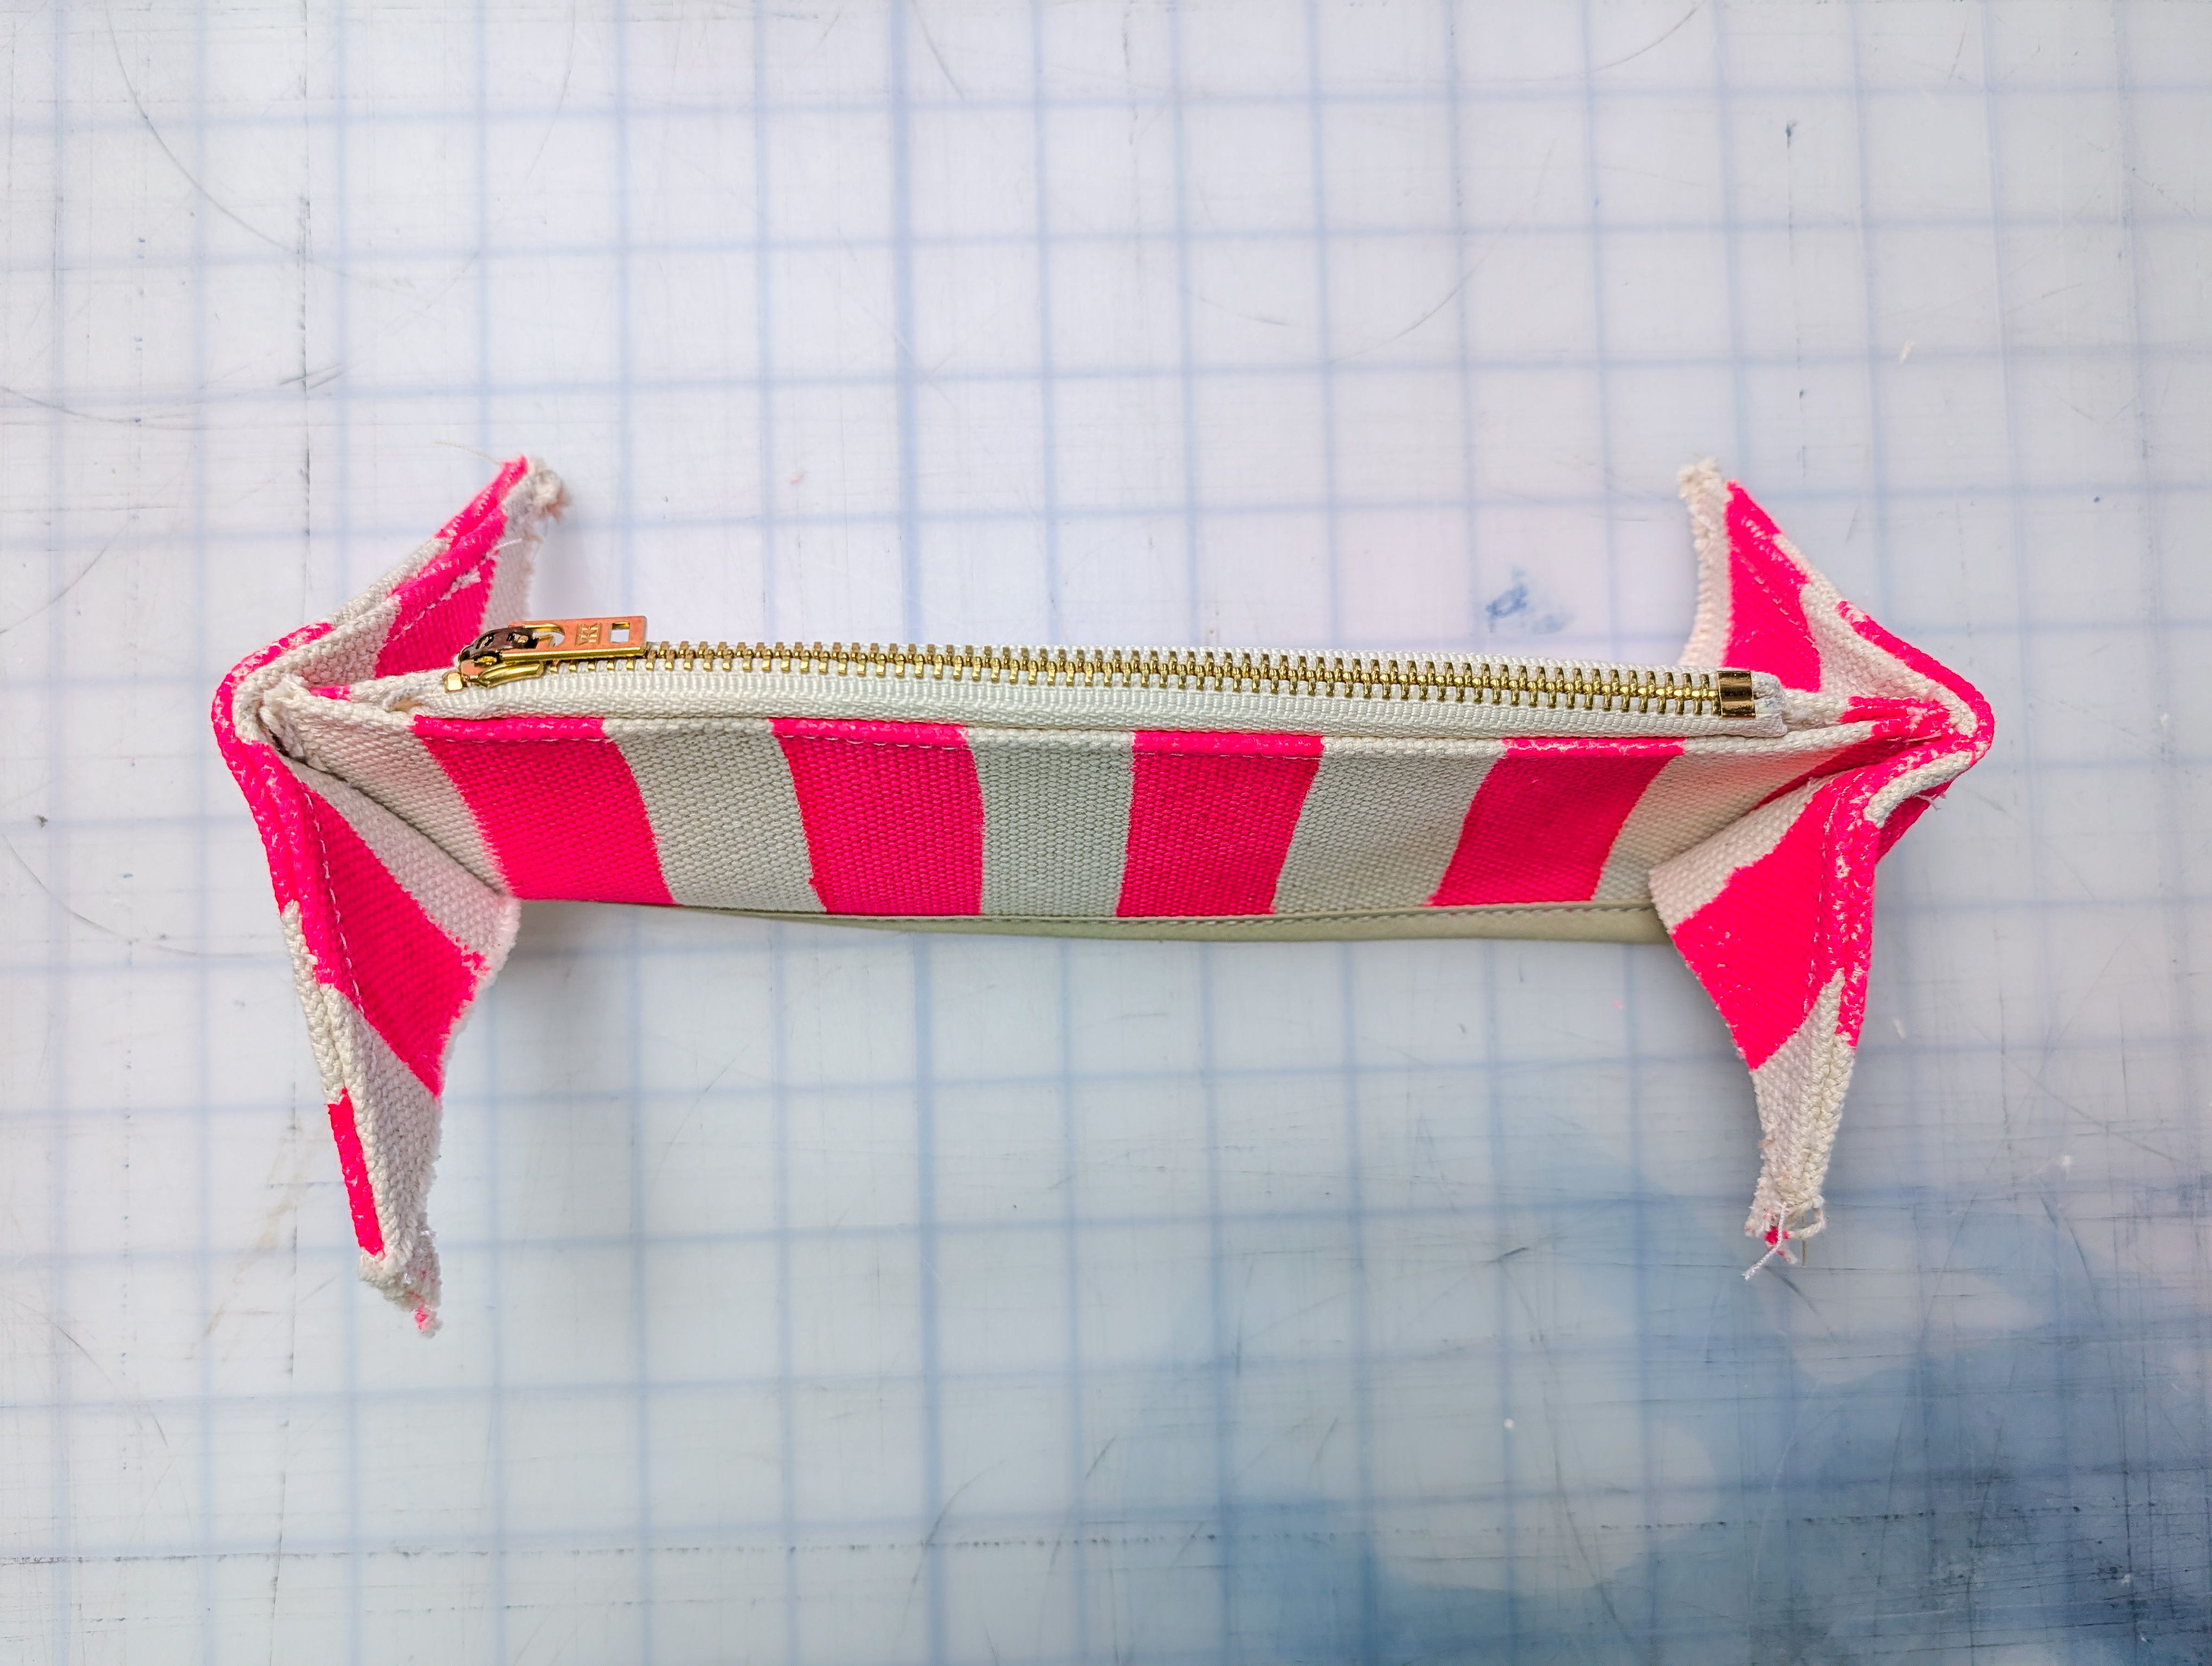
Not pictured here - I ended up bias binding the edges of the triangles for a clean finish.
At this stage you are going to sew your zipper to the outside edges of your fabric as shown. My zipper is too long, but I let it stay long and end up tucking the excess inside. I start the zipper about an inch in from the point of the arrow.
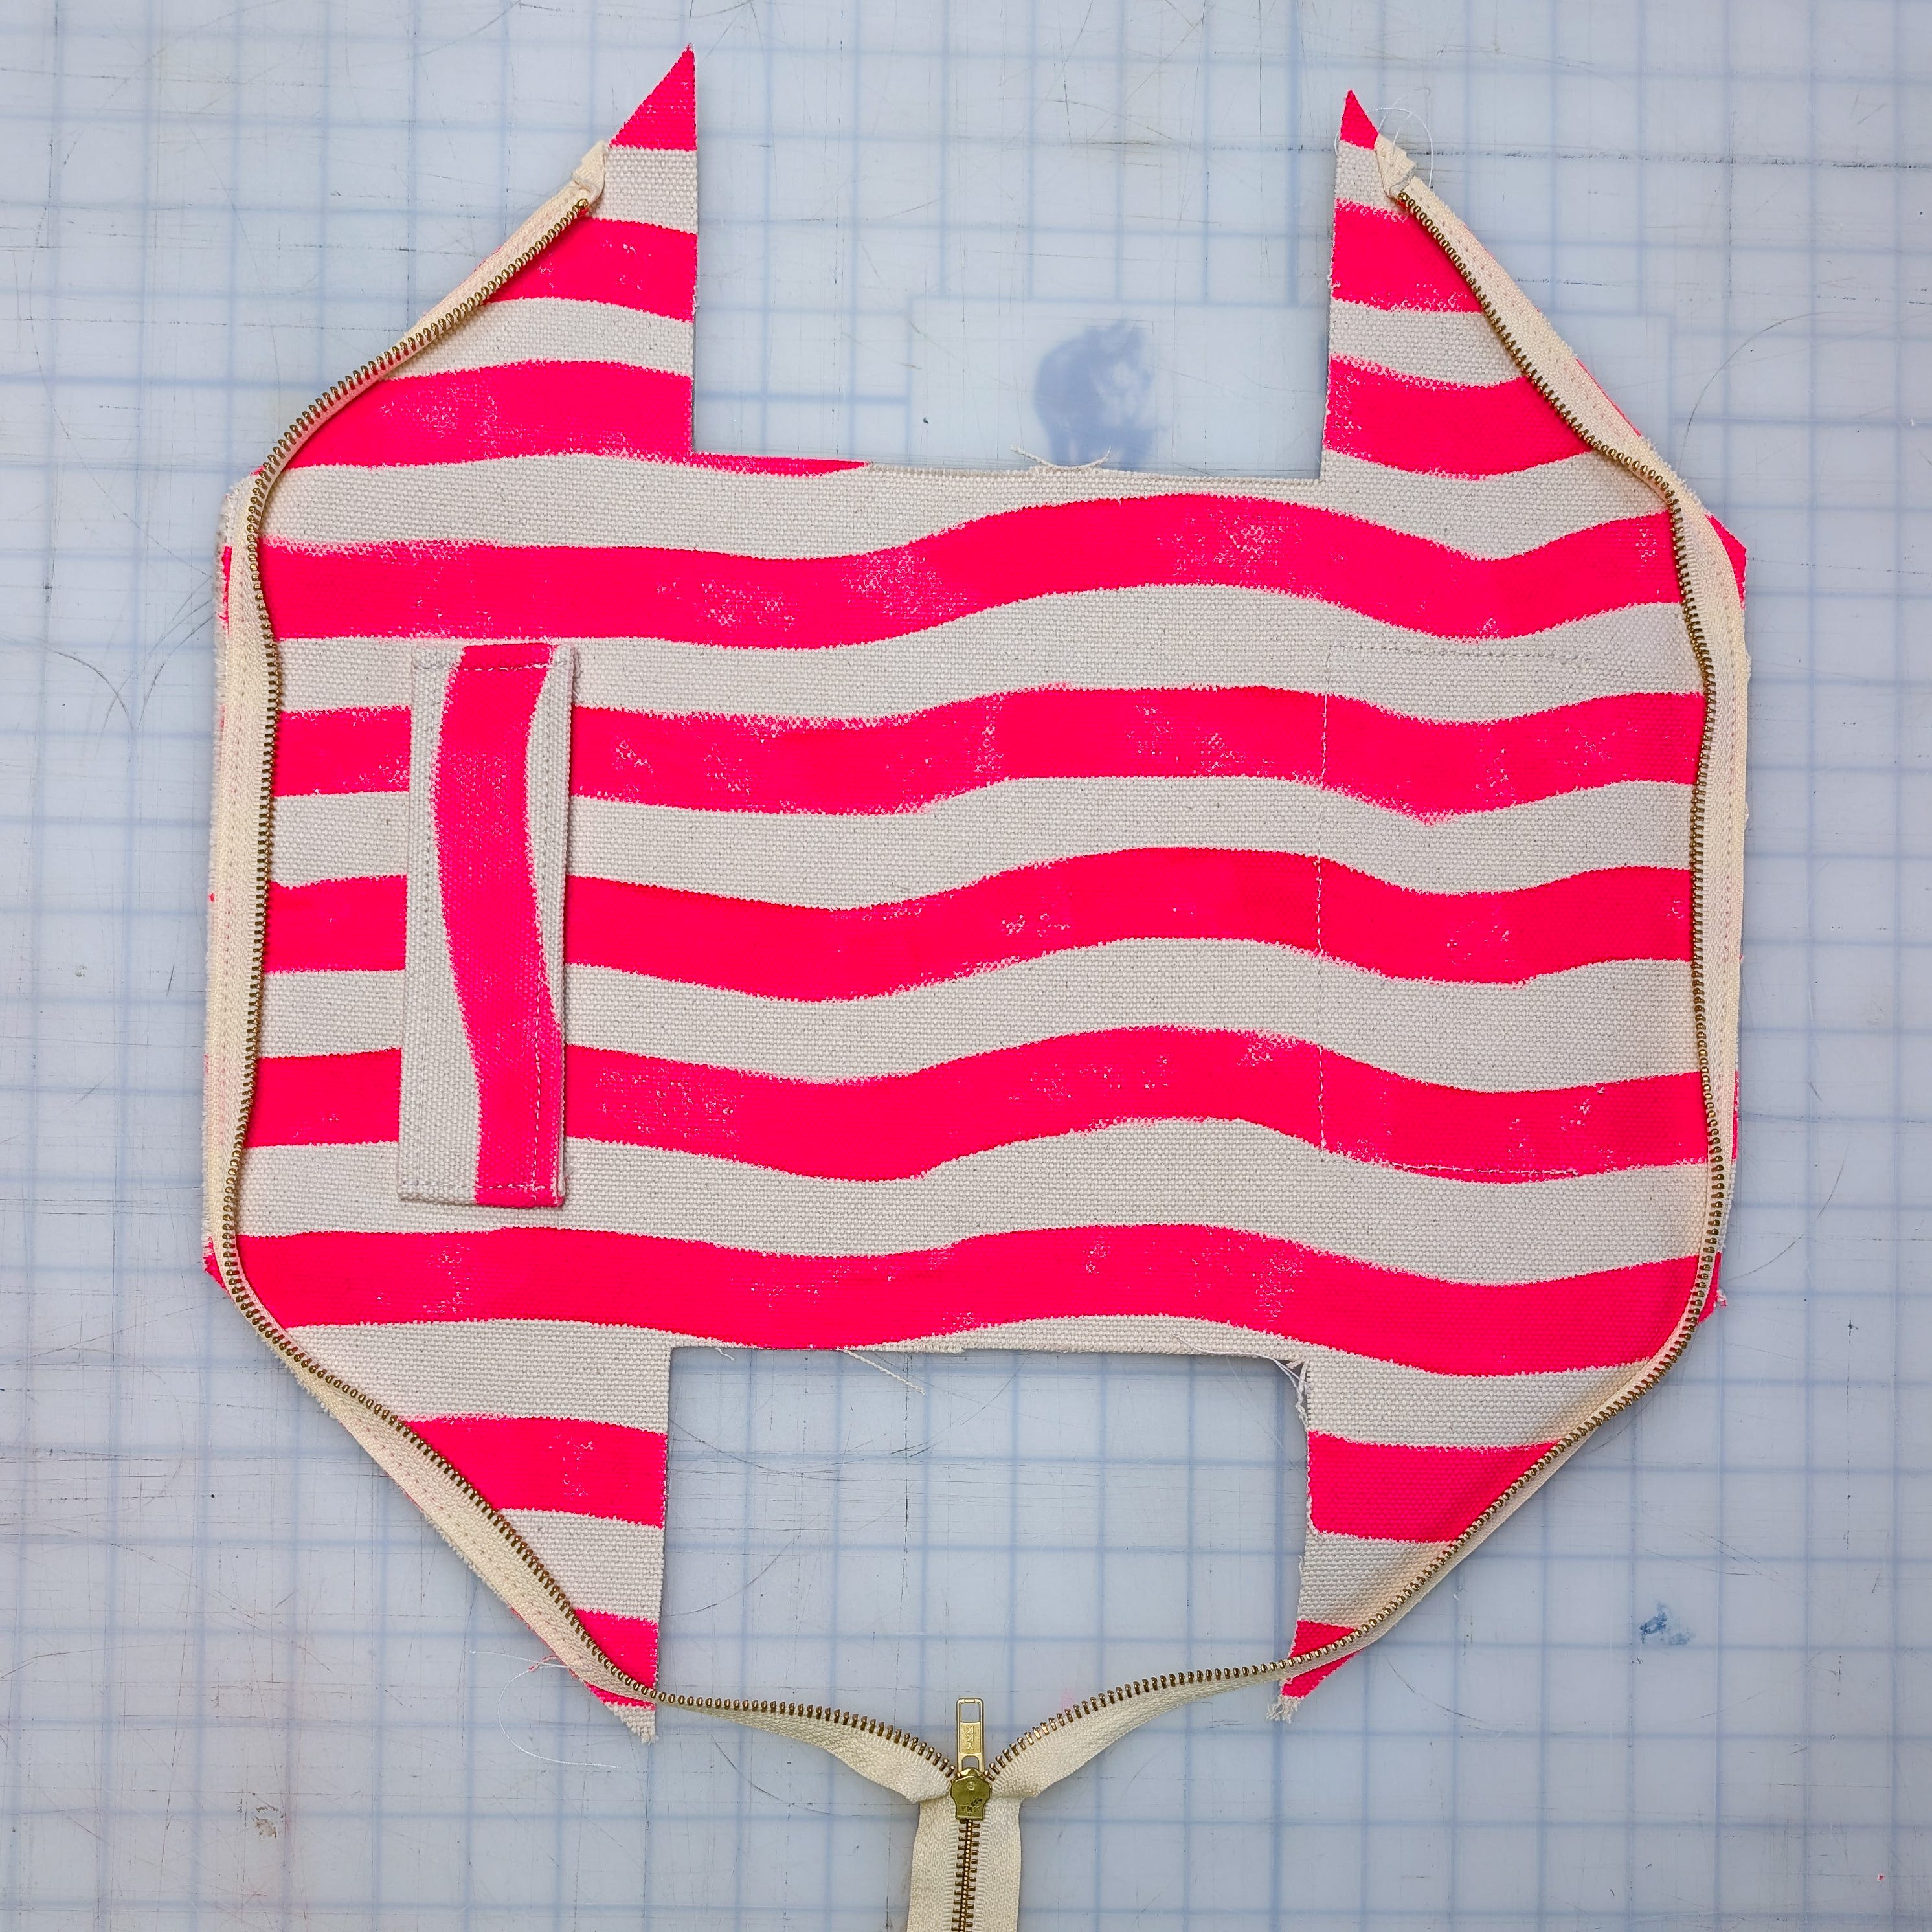
I also added a bias binding to clean finish the zipper seams.
Close up the rectangles by folding the arrow points to meet in the center of the rectangle.
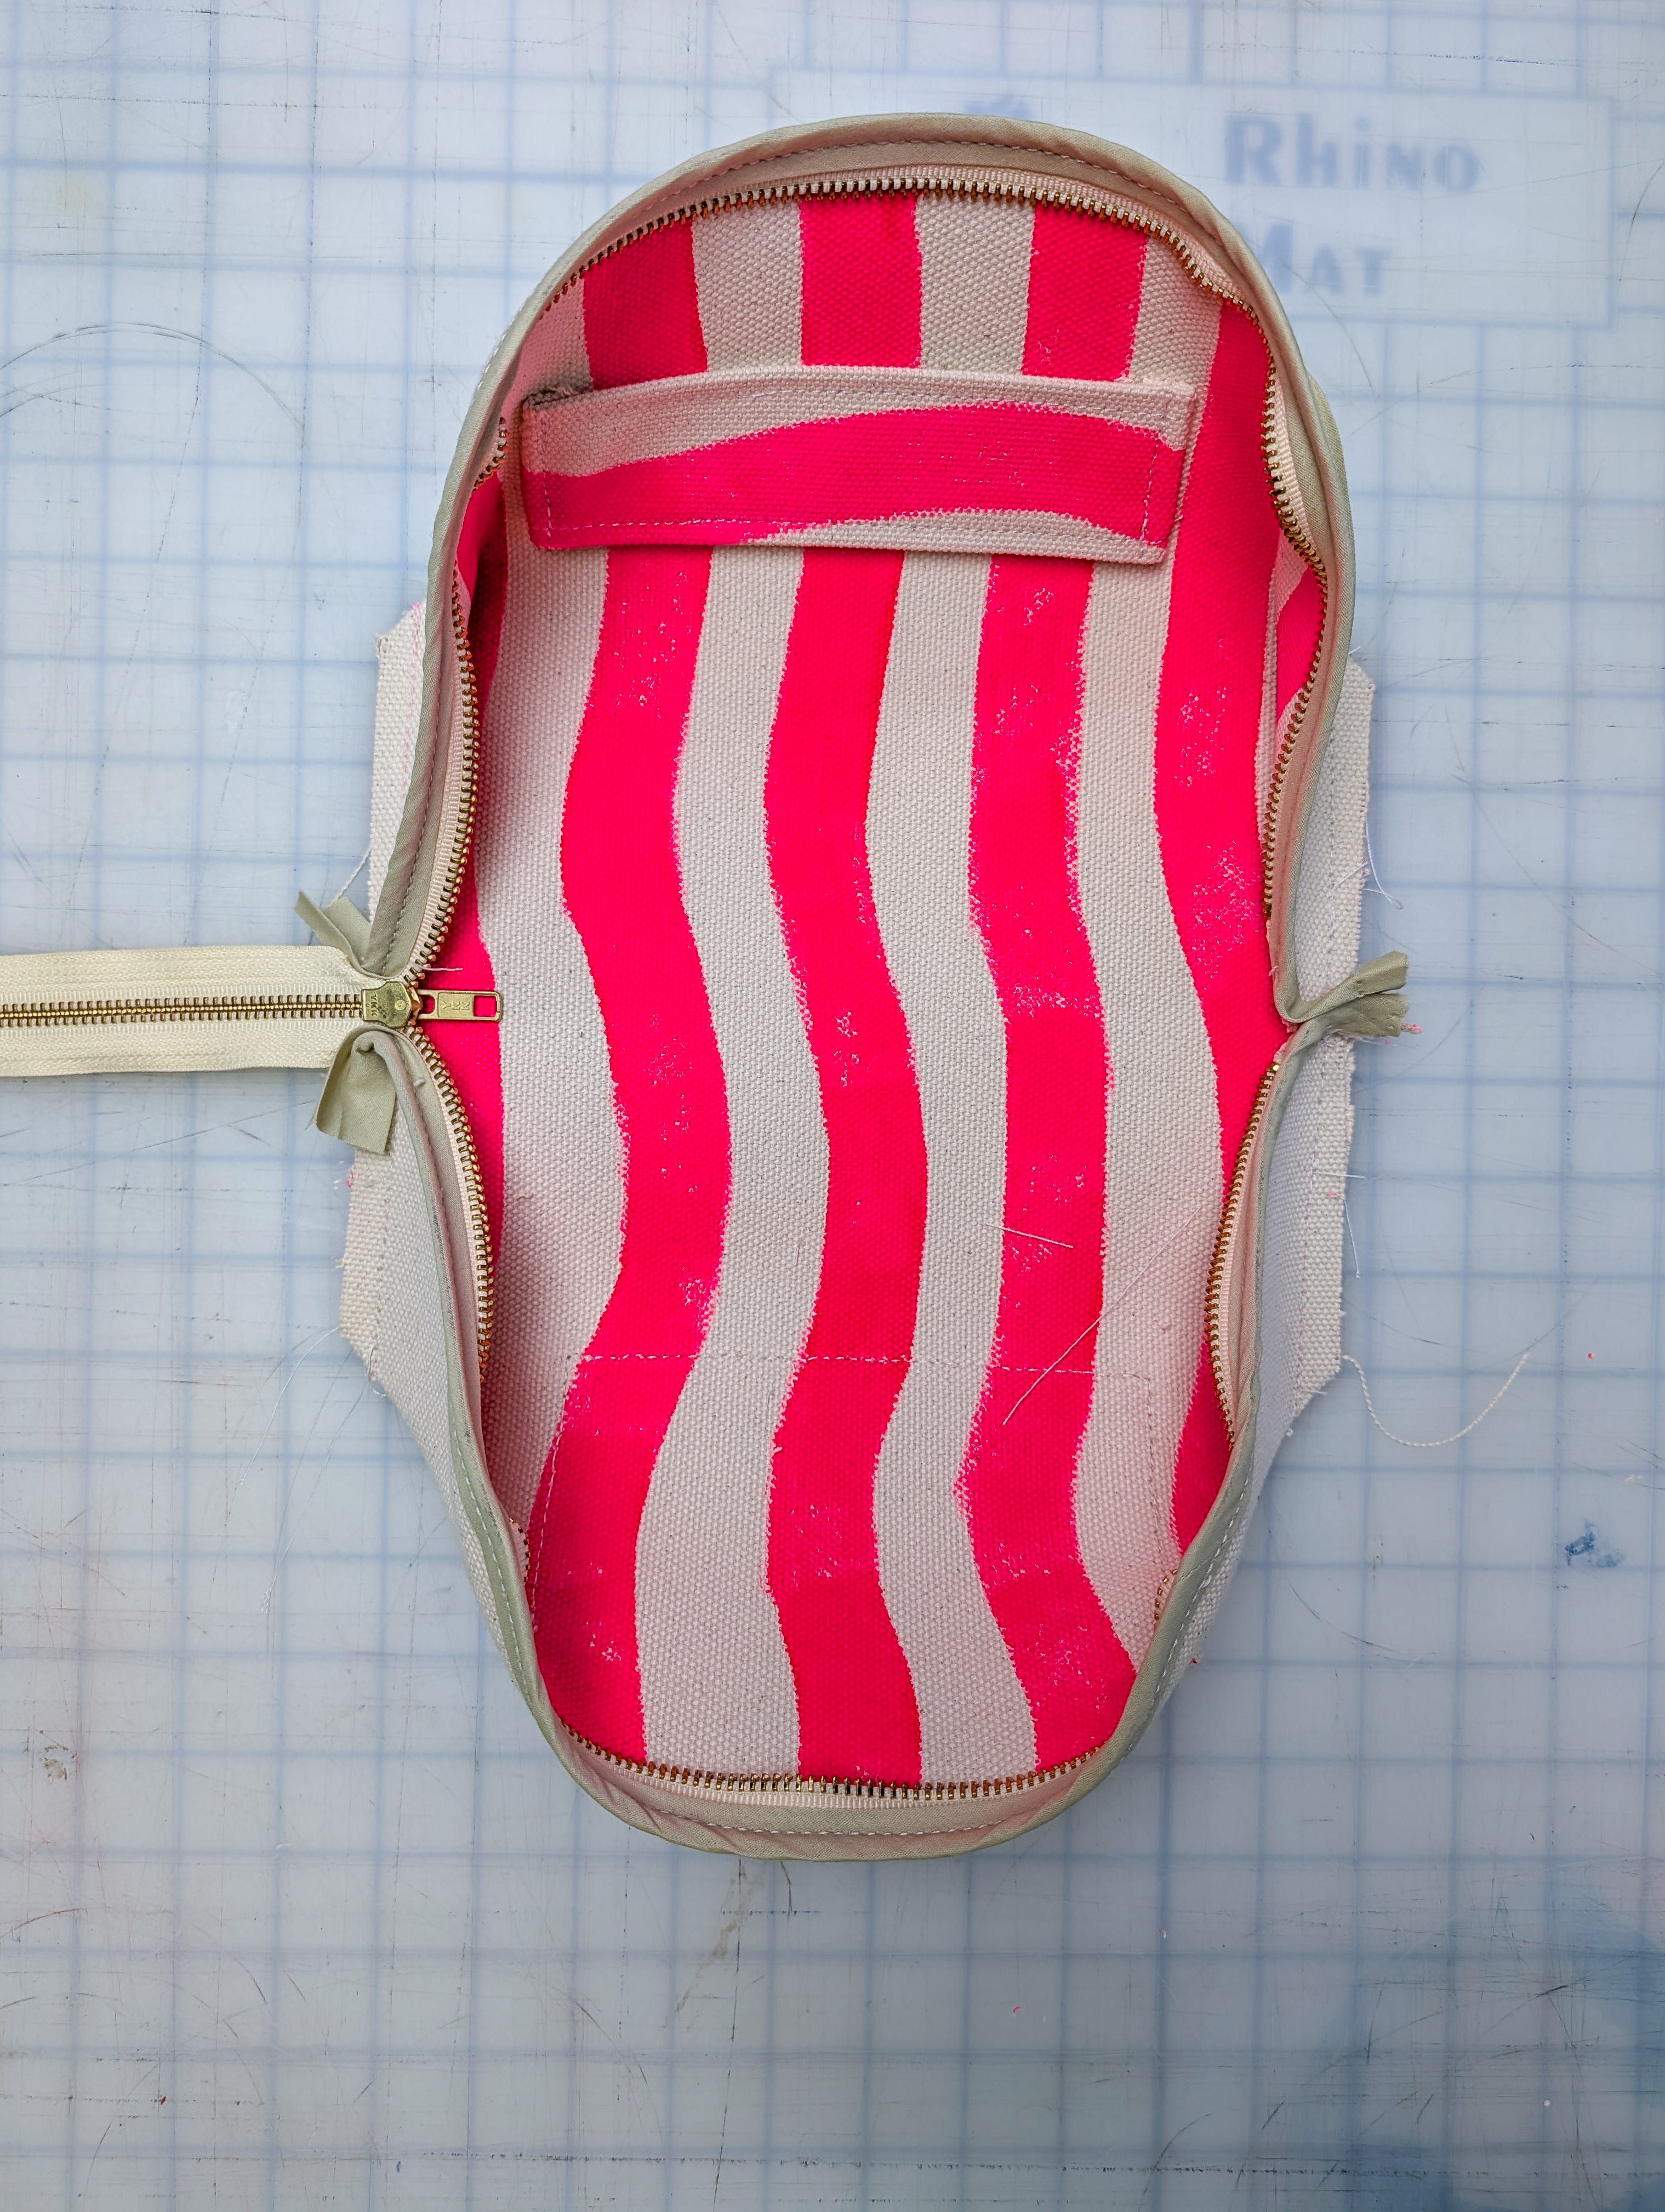
I finished this section with a bias tape, leaving enough room for the zipper to escape.
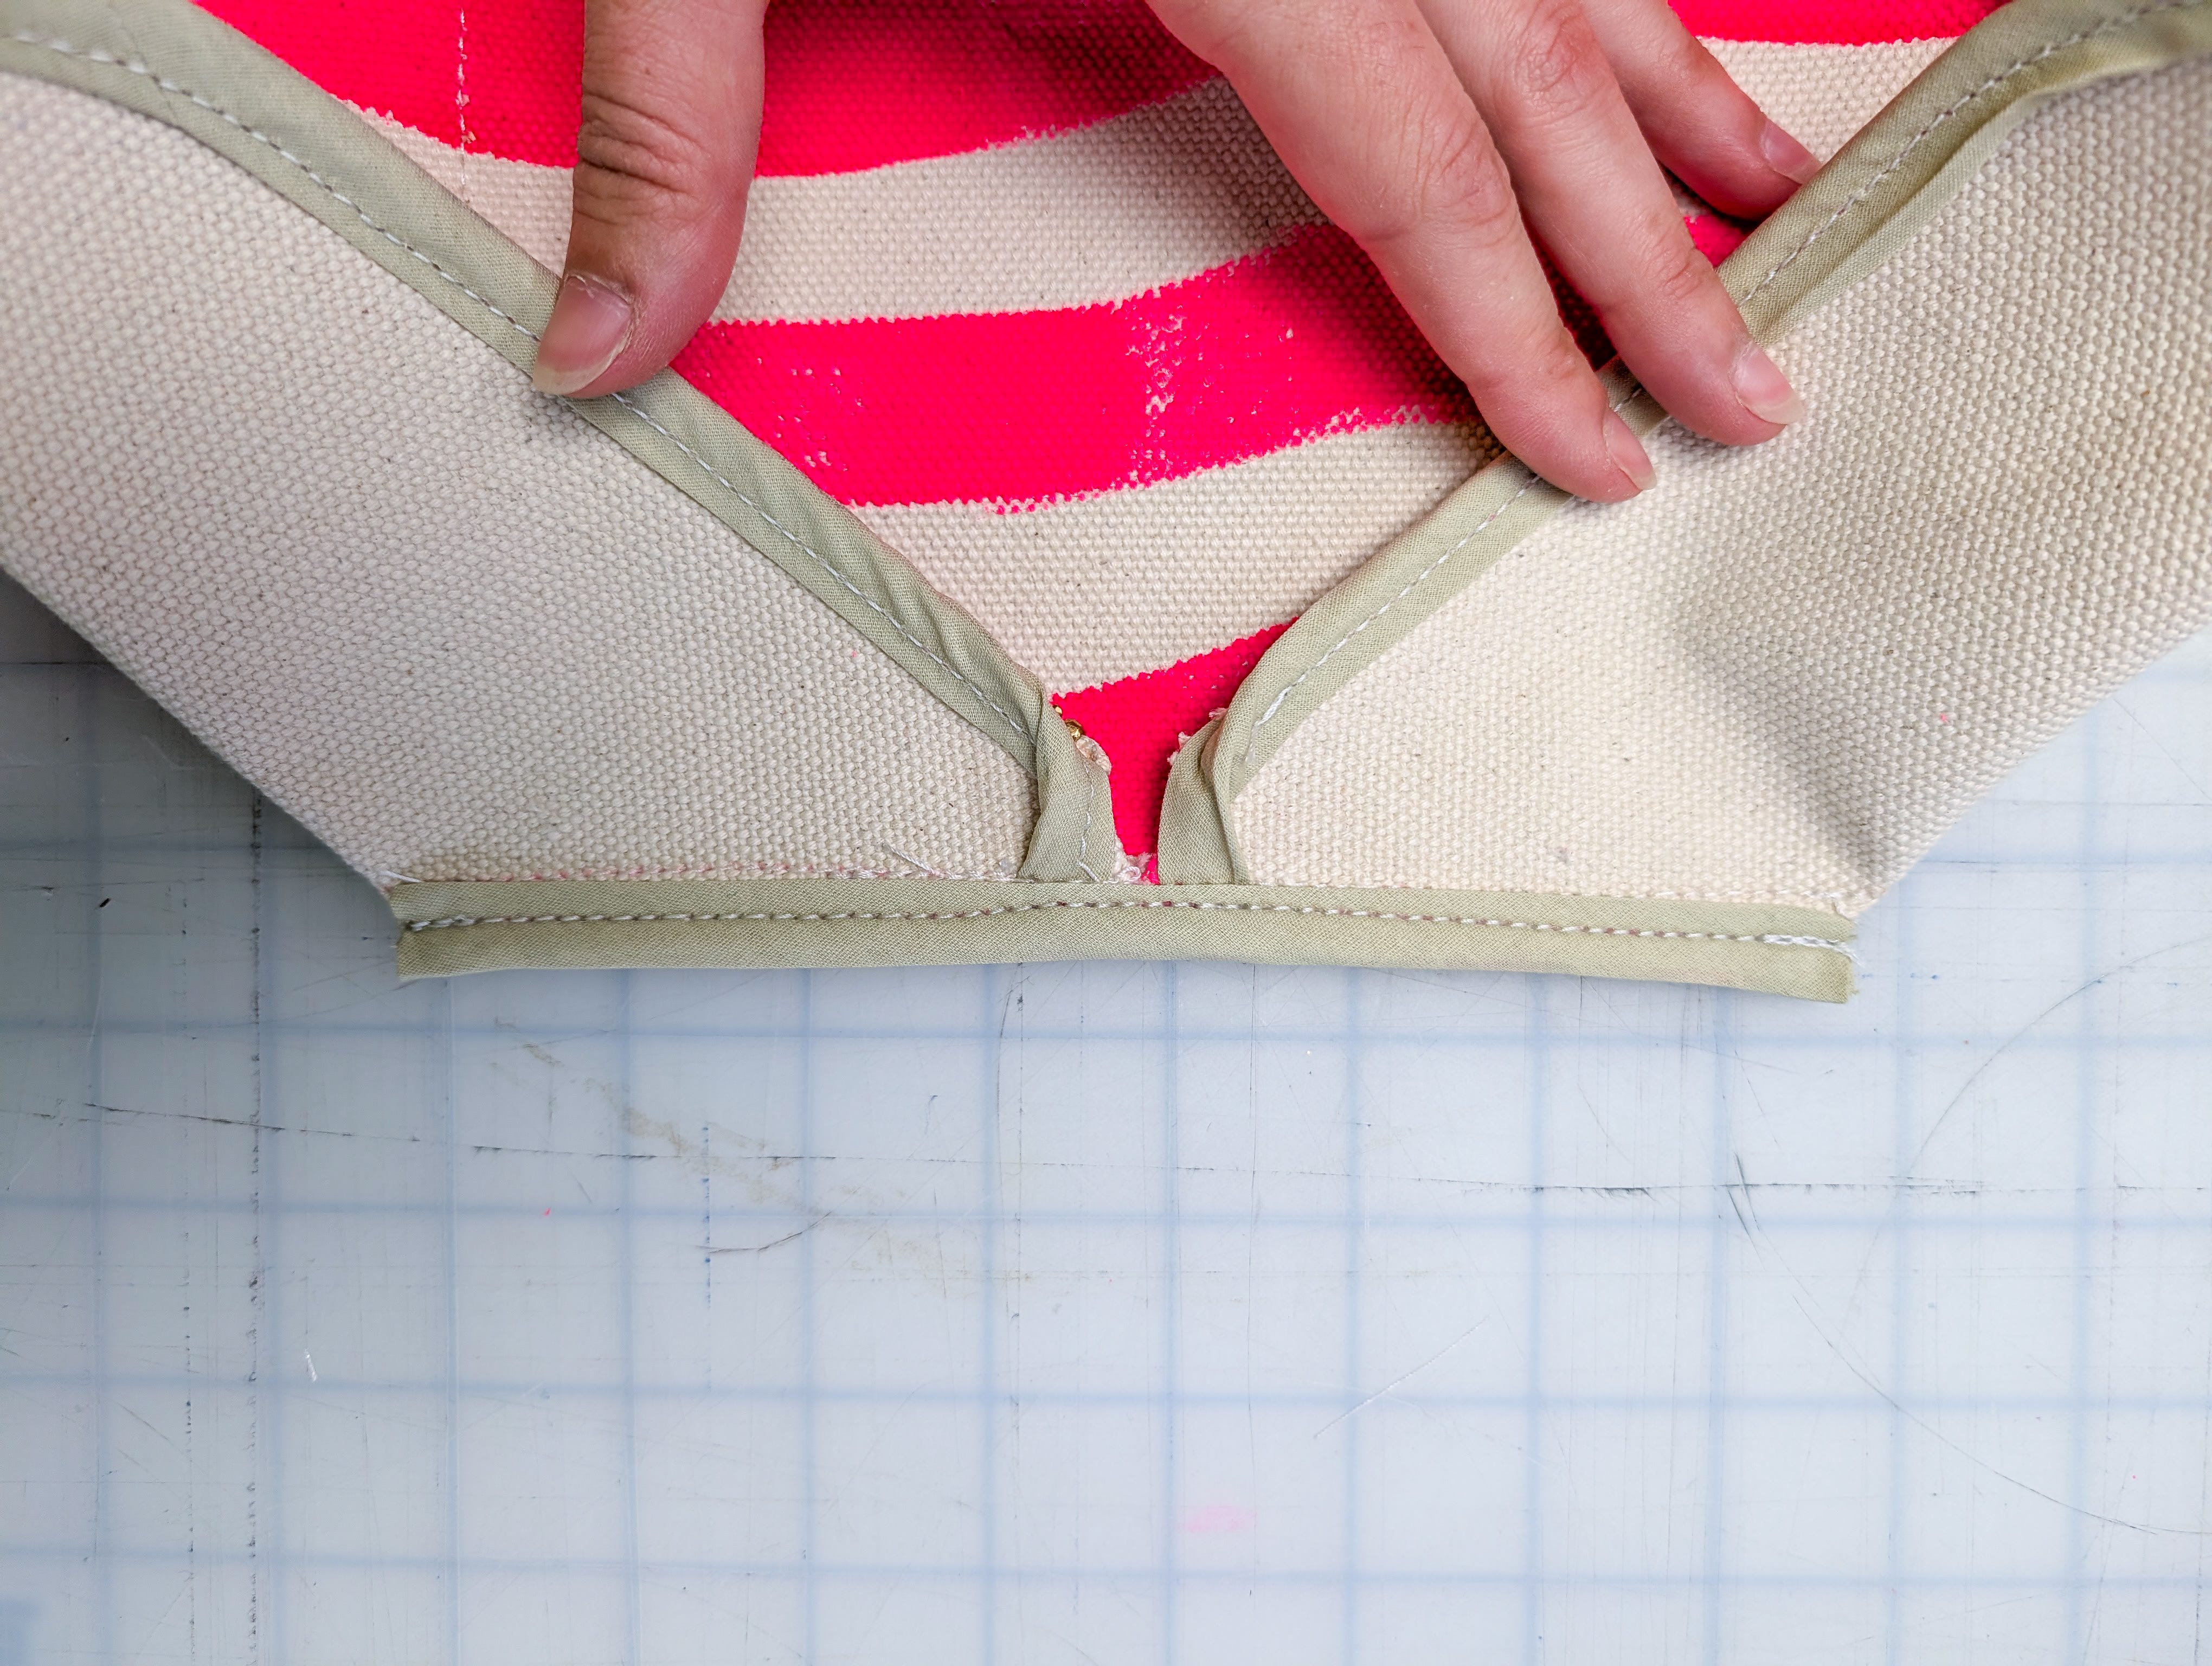
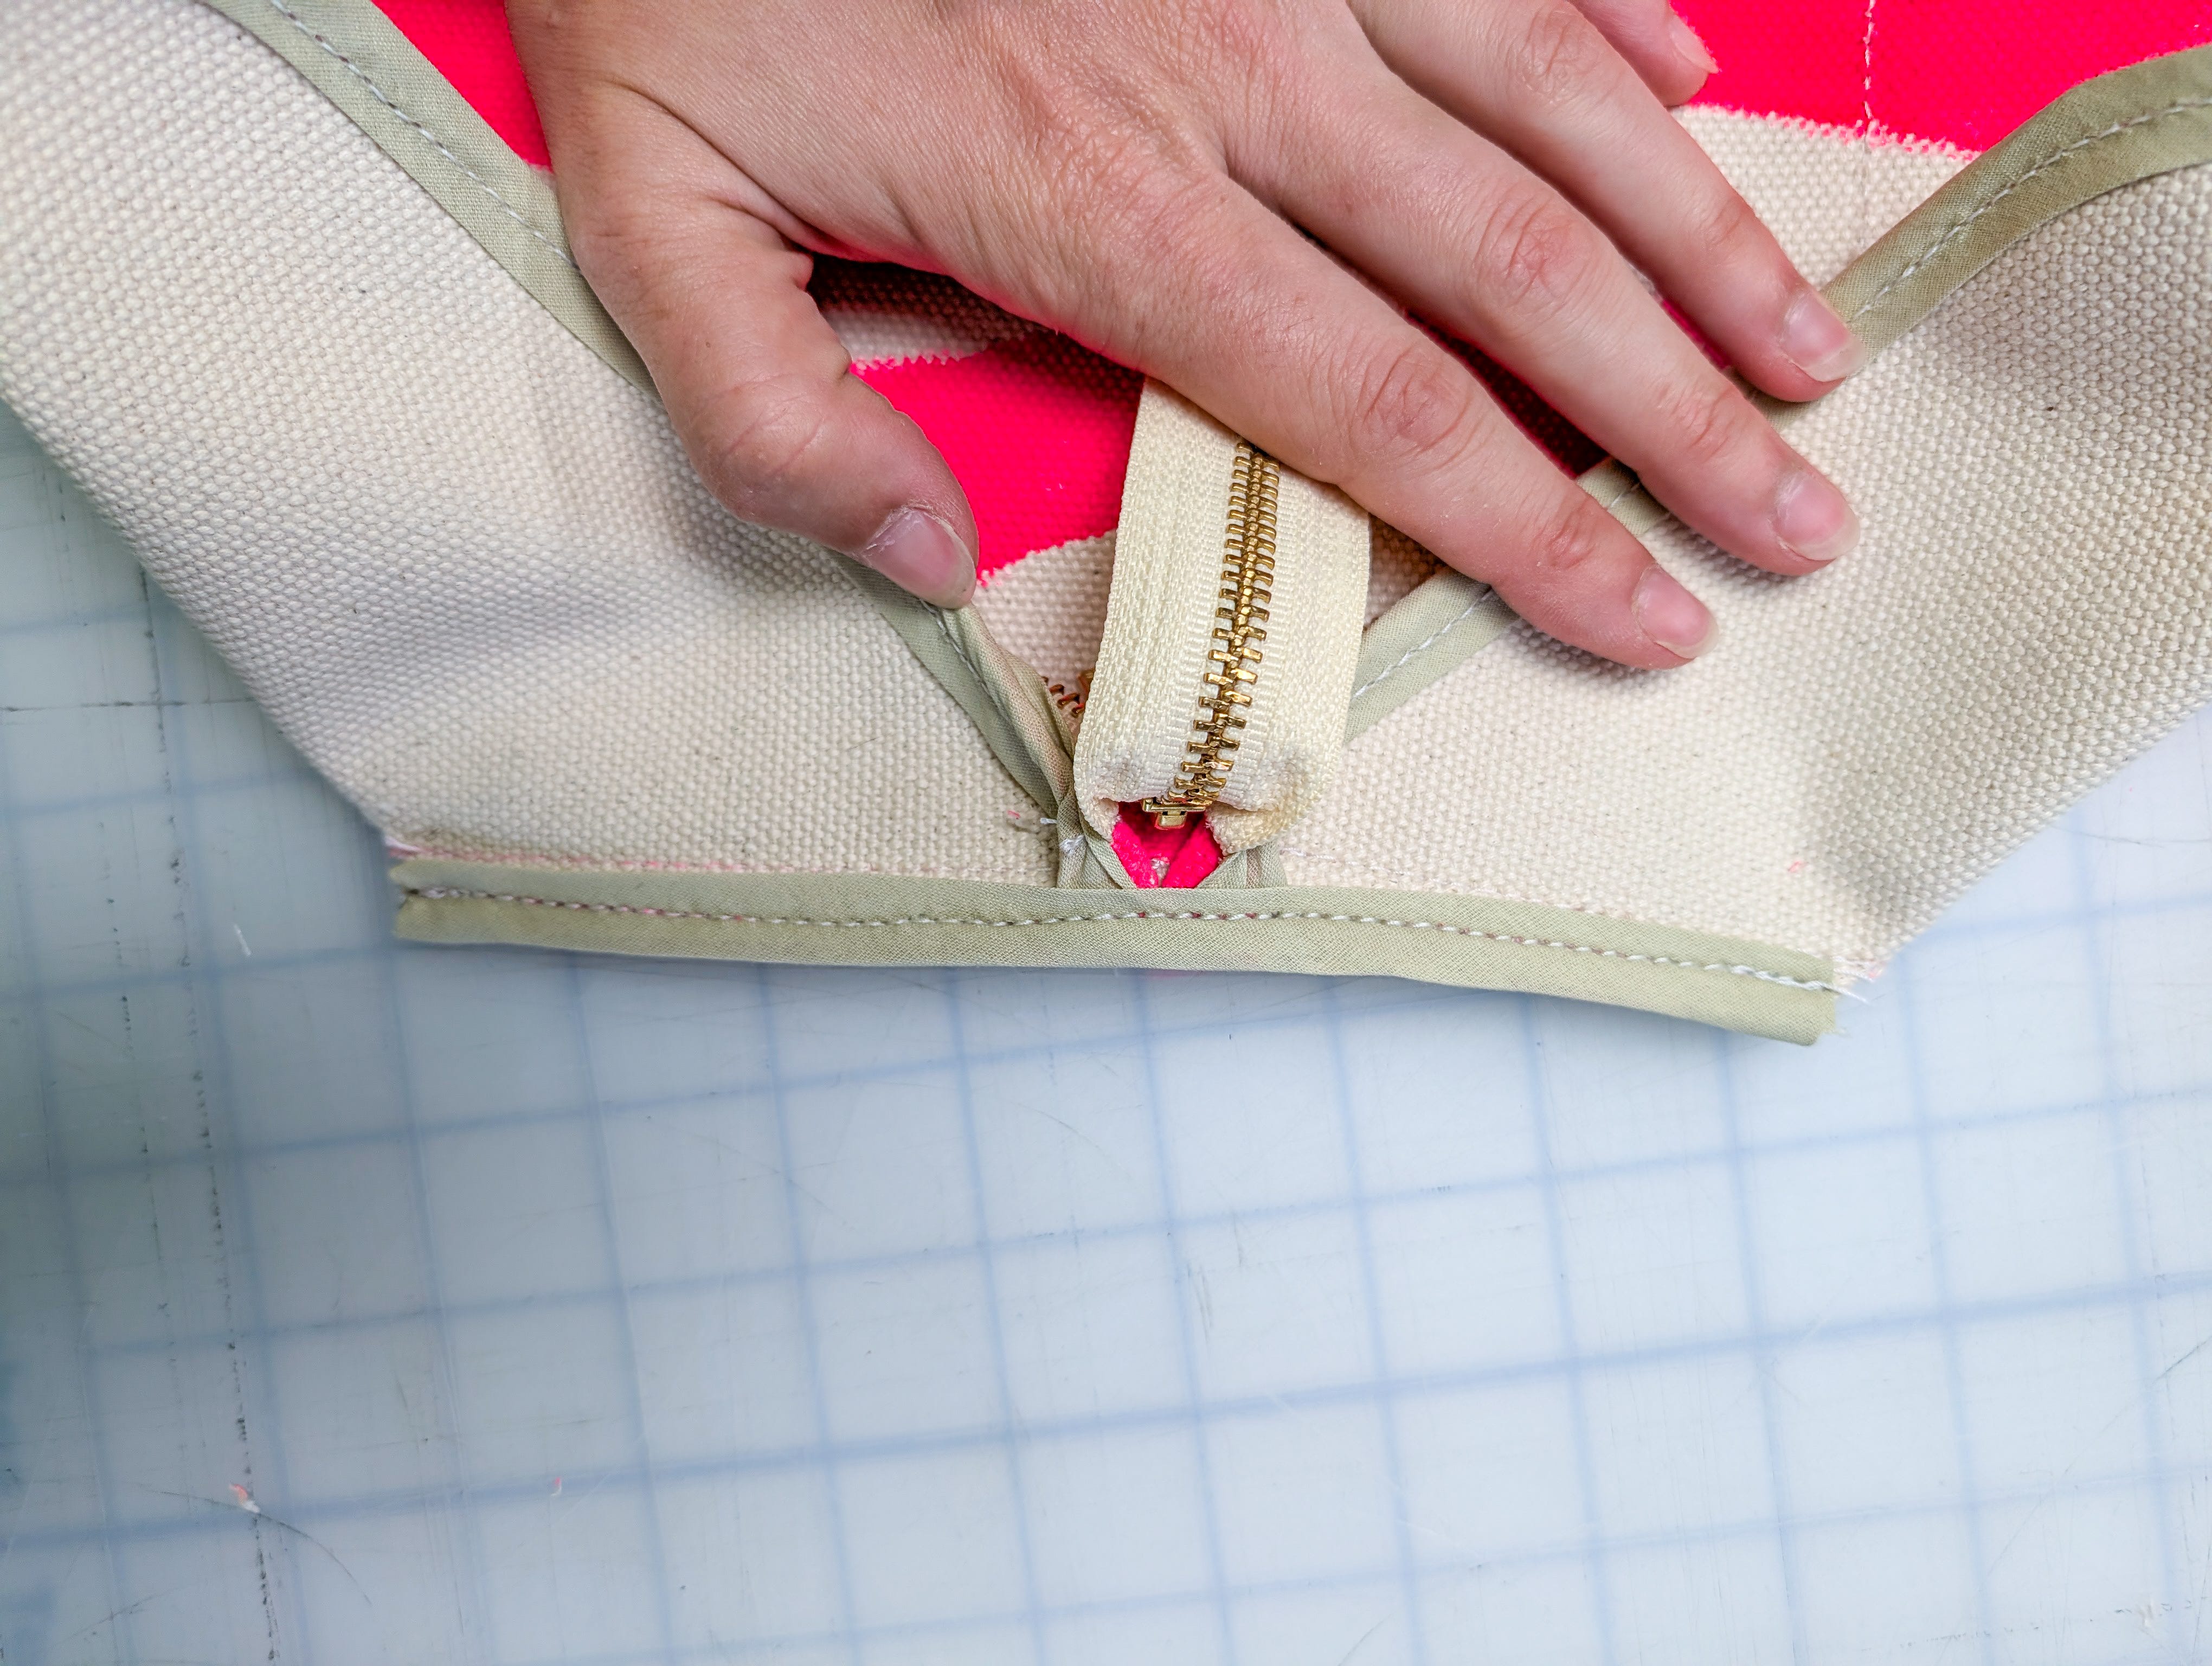
The next step is where I questioned all of my life decisions. Sewing a very thick fabric in a very narrow space. Even though I have an industrial walking foot machine, this fabric bested it. I didn’t even take many photos because I was so frustrated. But basically you are going to stitch your triangle gusset pieces into the spaces formed in the last step. They should sit really nicely in that space.
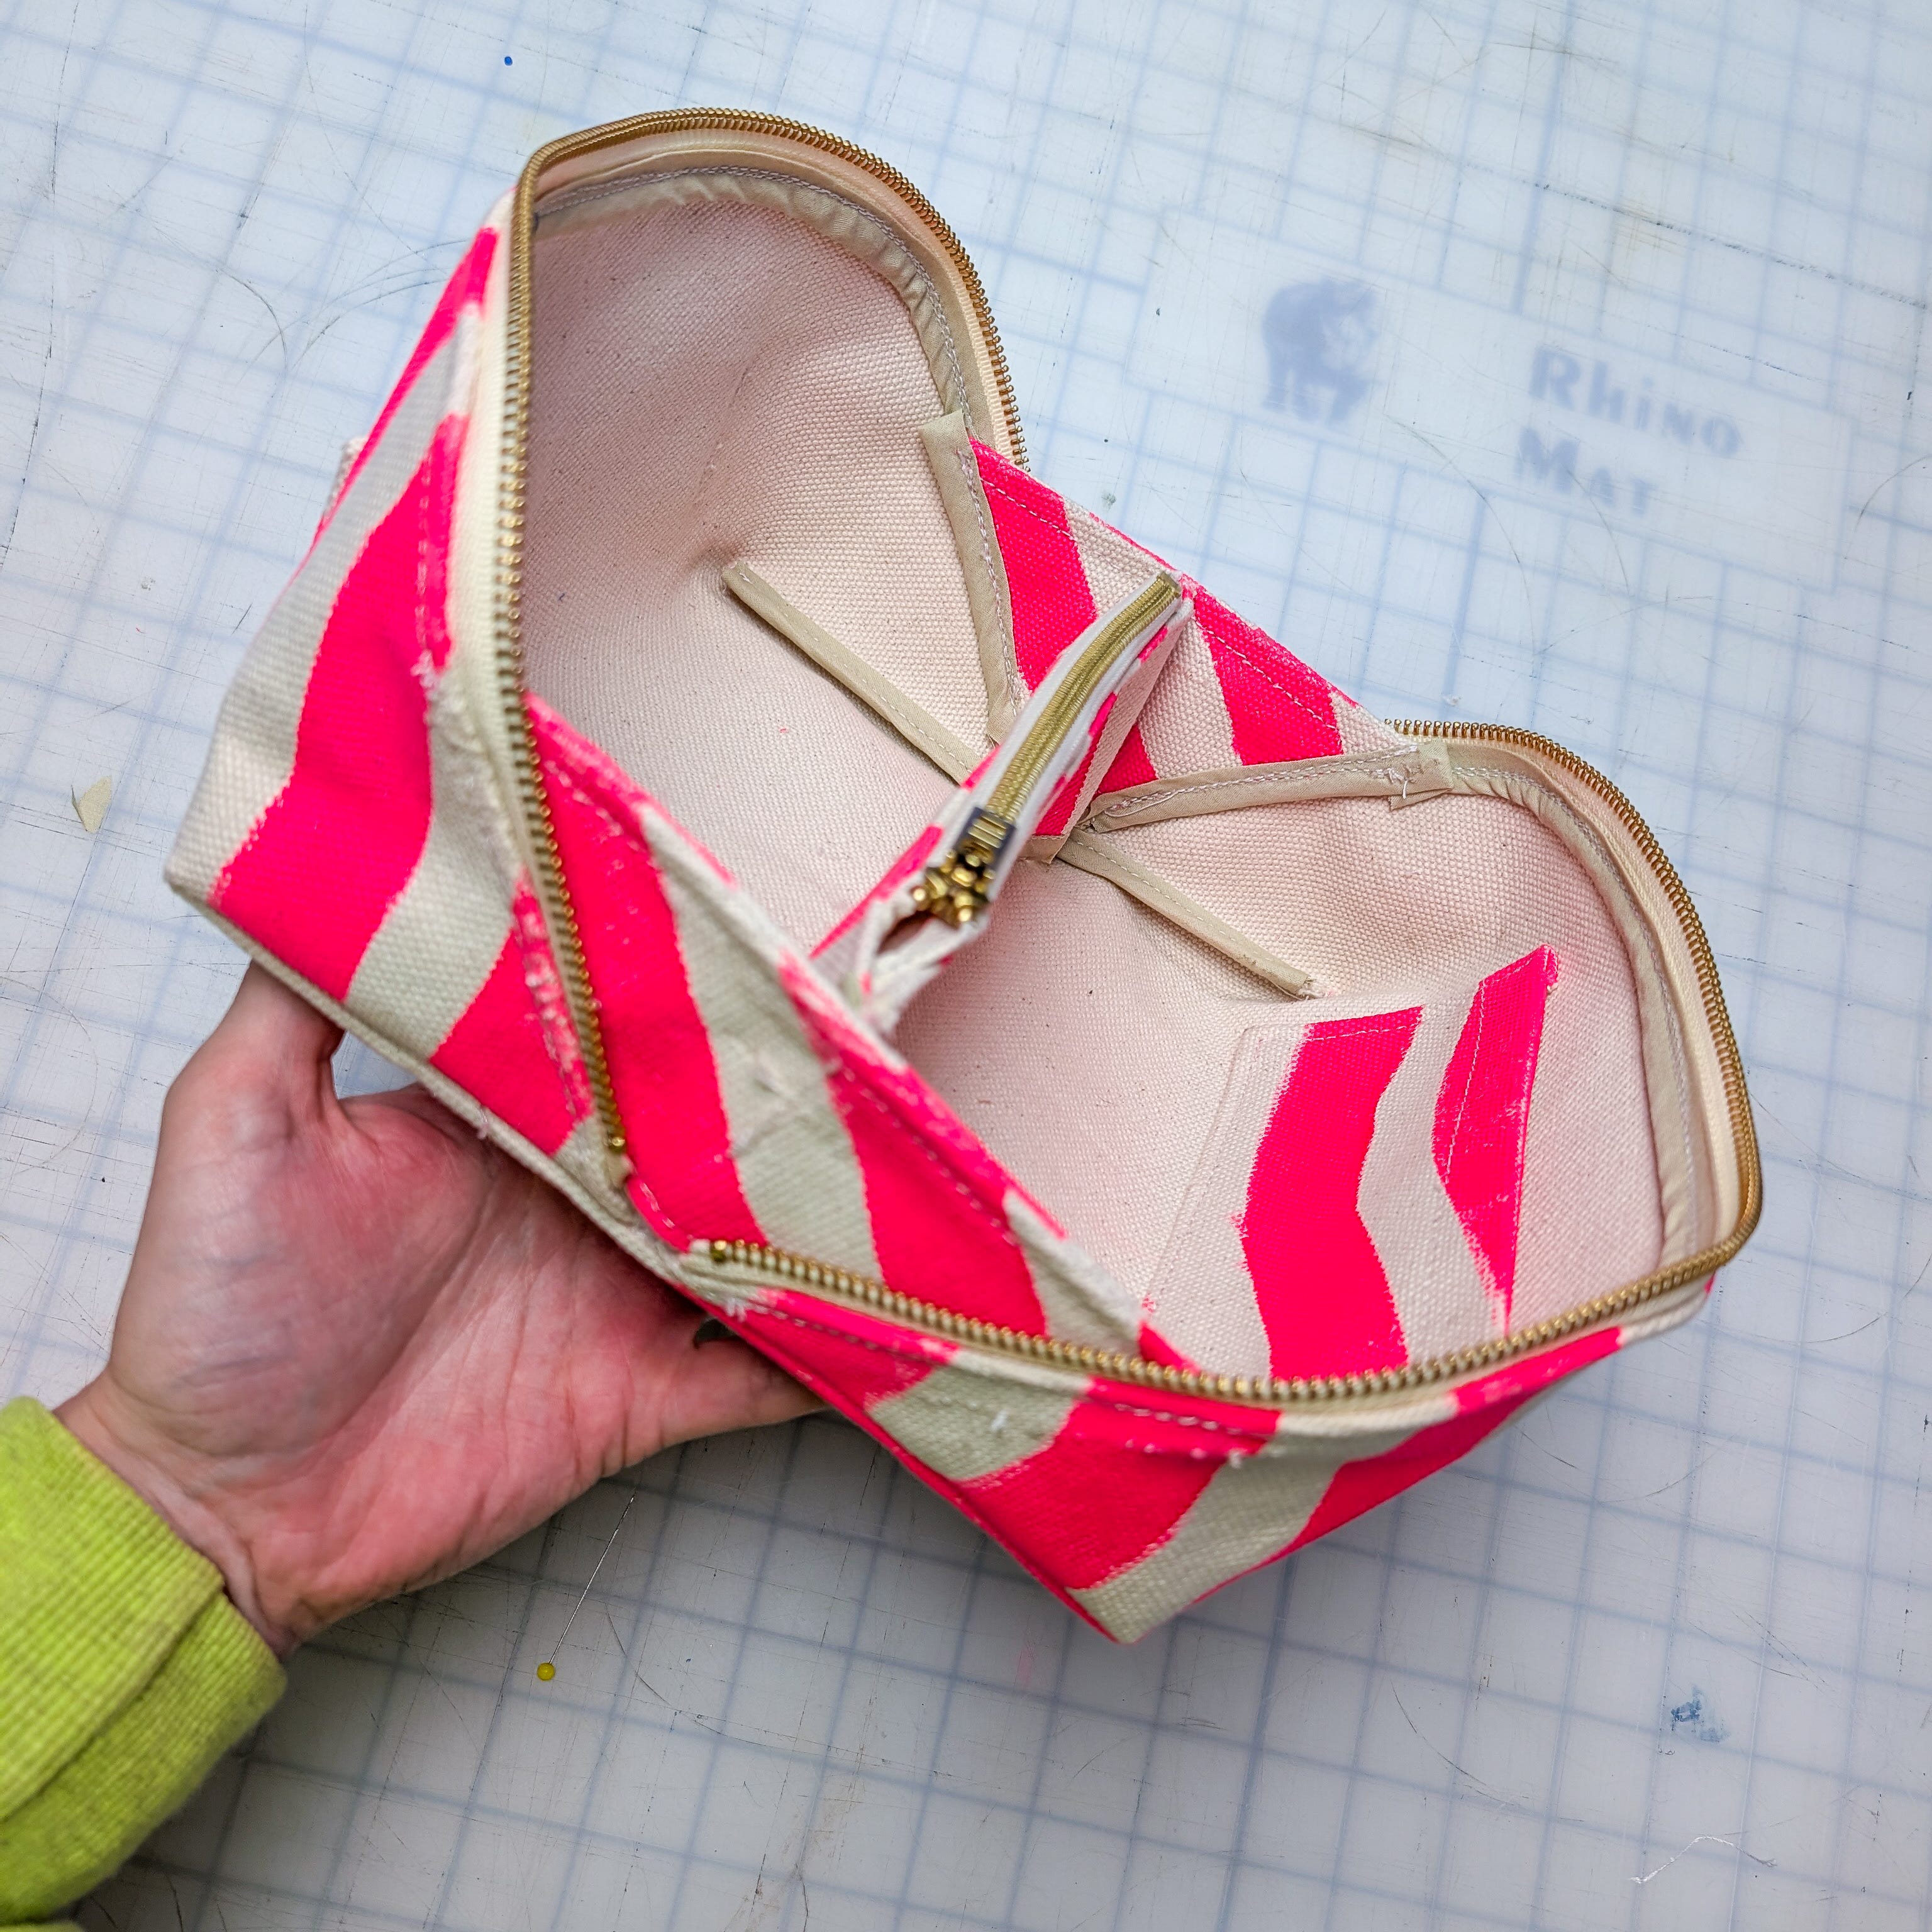
Ignore the multiple stitch holes that appear at this stage - I had to rip and redo SO. MANY. TIMES.
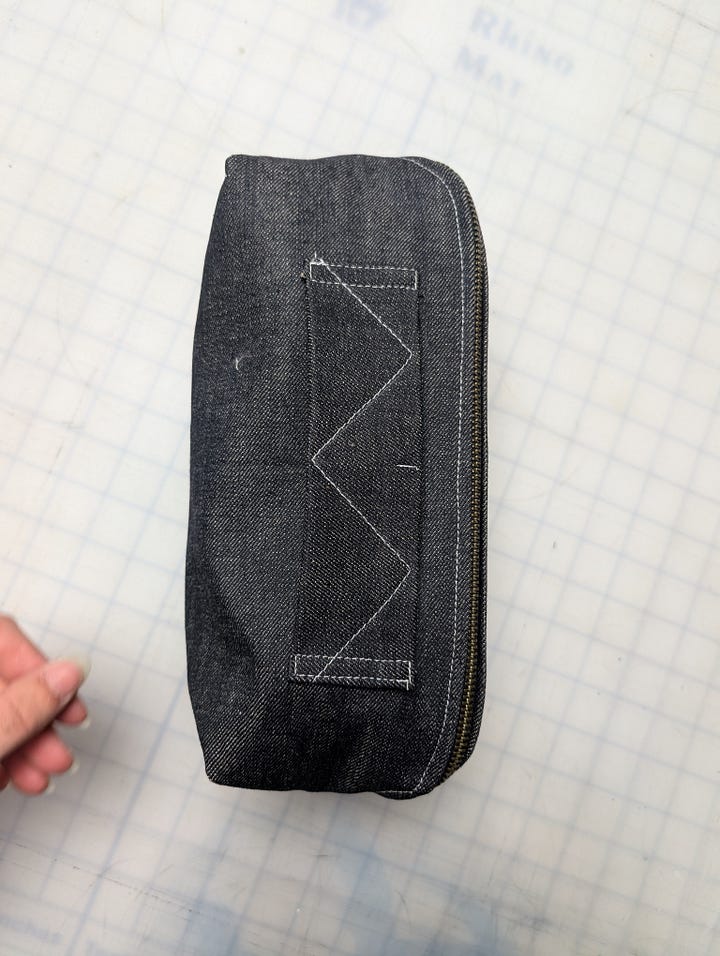
Enjoy your zero waste travel case! Feel free to play with proportion, sizes, and construction methods to find what best suits you. My favorite ended up being the selvedge denim one I made one sample previously. Photos below.
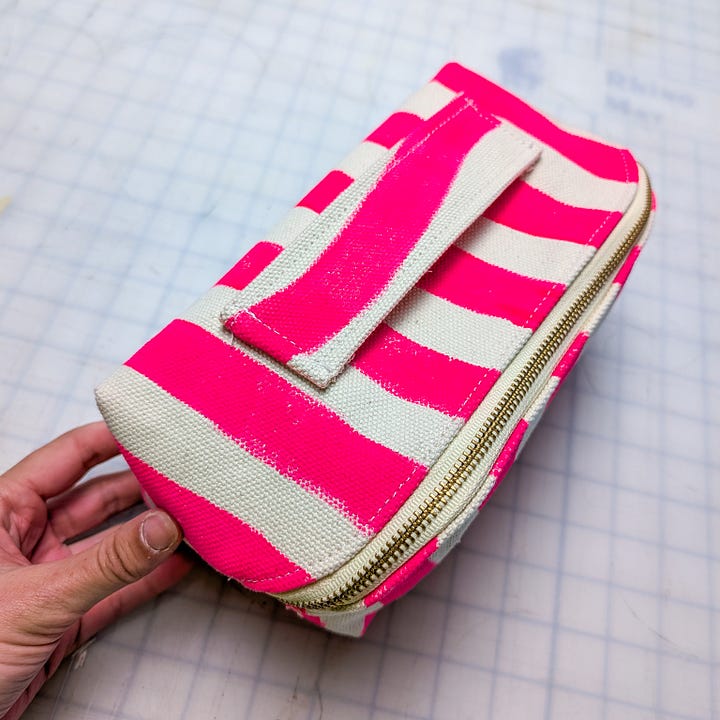
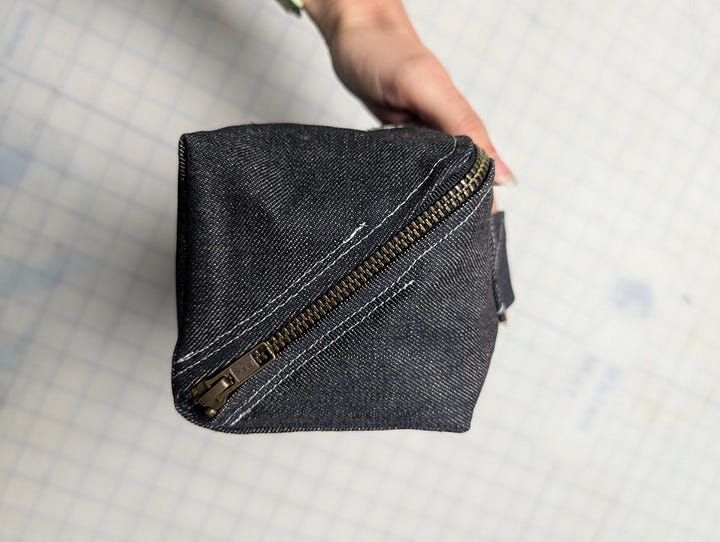
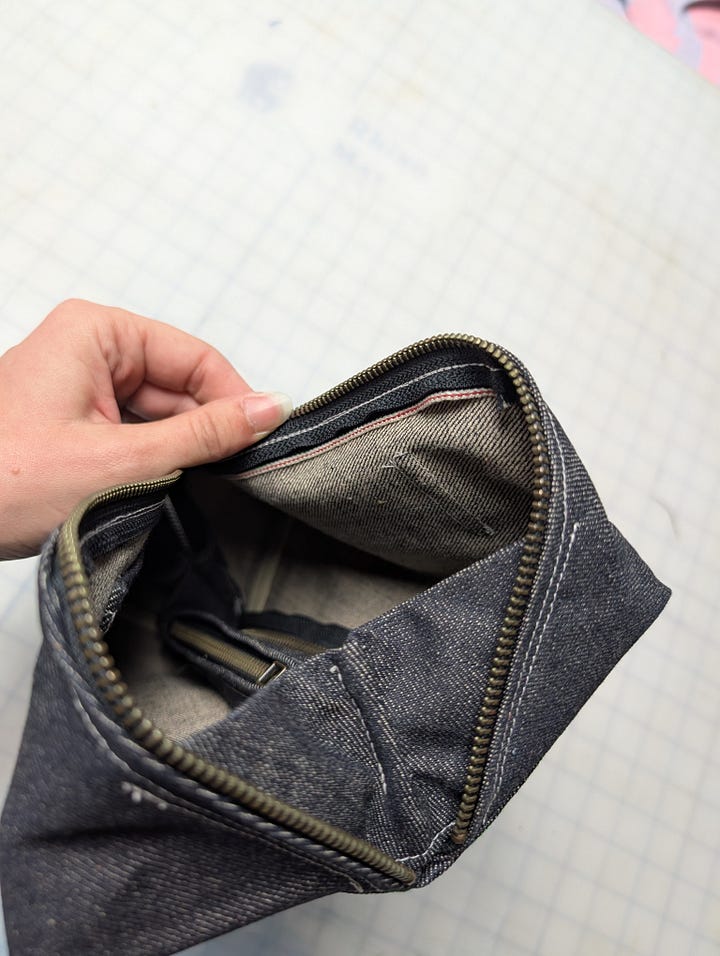
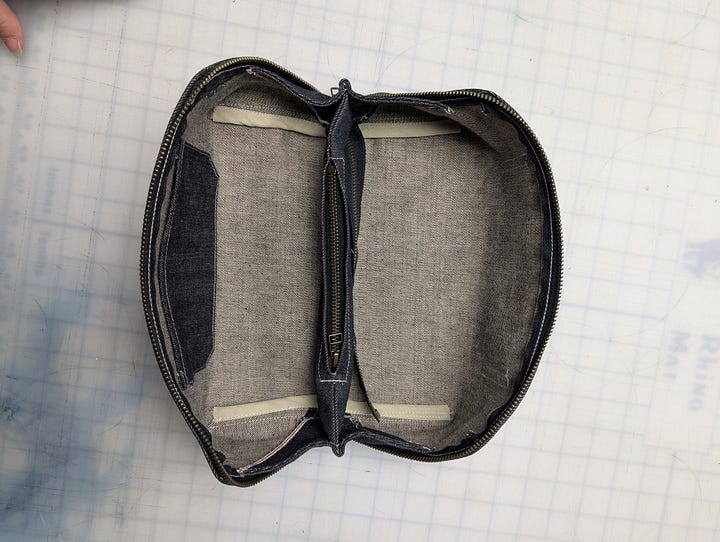
I hope you enjoy this project and please share your beautiful outcomes!
<3 Danielle
No posts
Comments
Nothing yet. Say the first thing.
Sign in to join the conversation.