
Month three of the zero waste zine-club has been released!
The zero waste pincushion is possibly the simplest zero waste project you can possibly make. It also does double duty, as you stuff it with any thread scraps or accidental oops pieces. Extra zero waste!
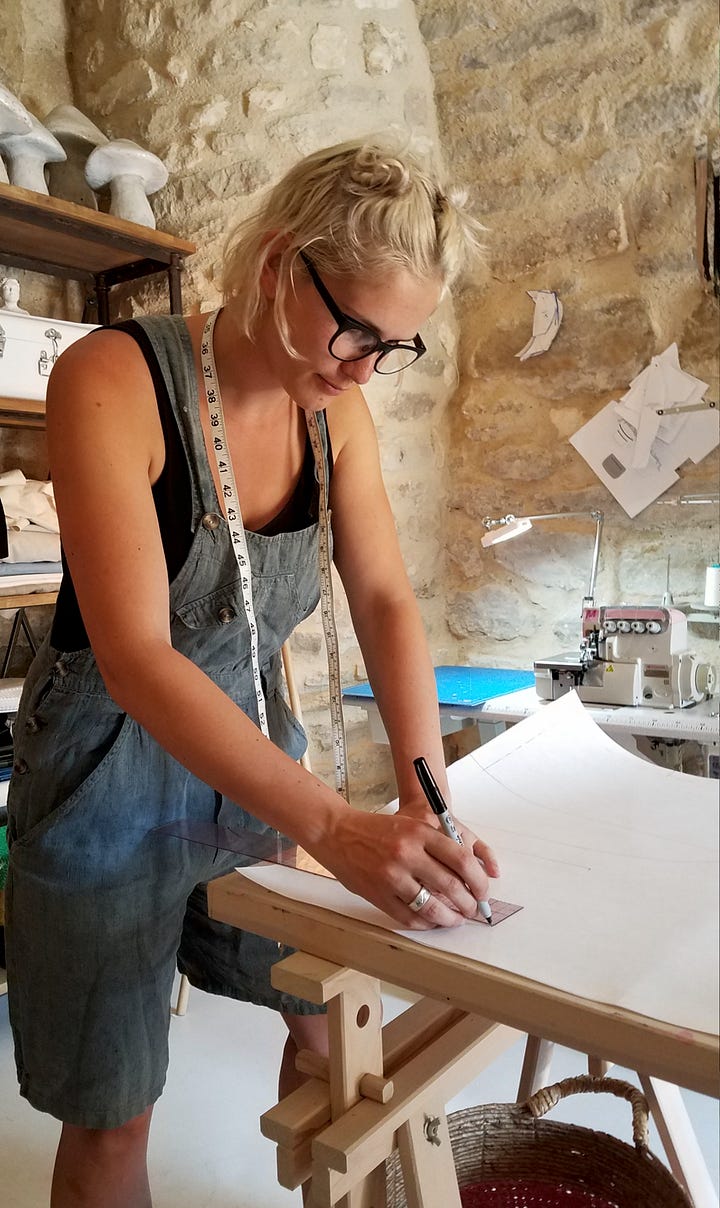
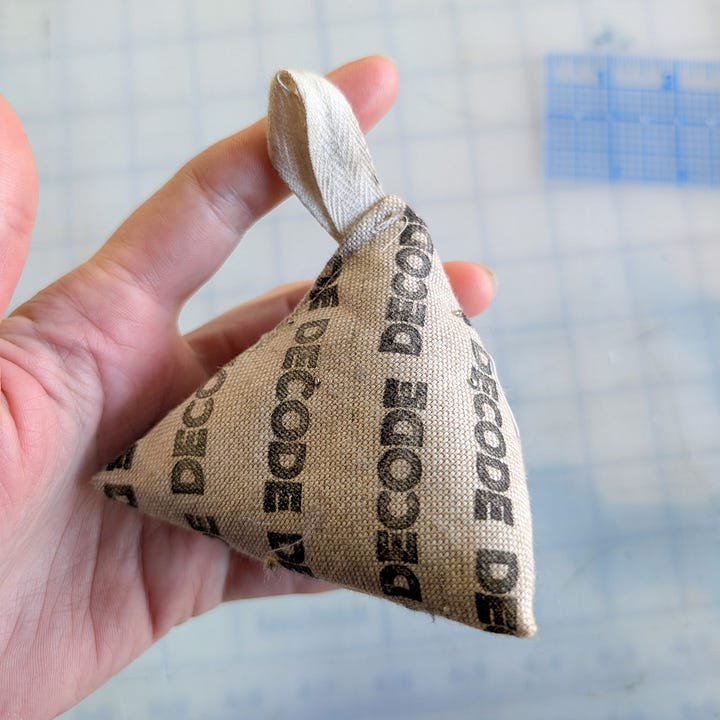
The pattern came to life back in 2017 when I was an artist in resident with my alma mater, SCAD, in Lacoste, France. Possibly the best three months of my life. I made the initial pincushion with local linen, stamped it with a DECODE stamp I had brought with me, and stuffed it with local dried lavender. It is still used in my studio to this day!
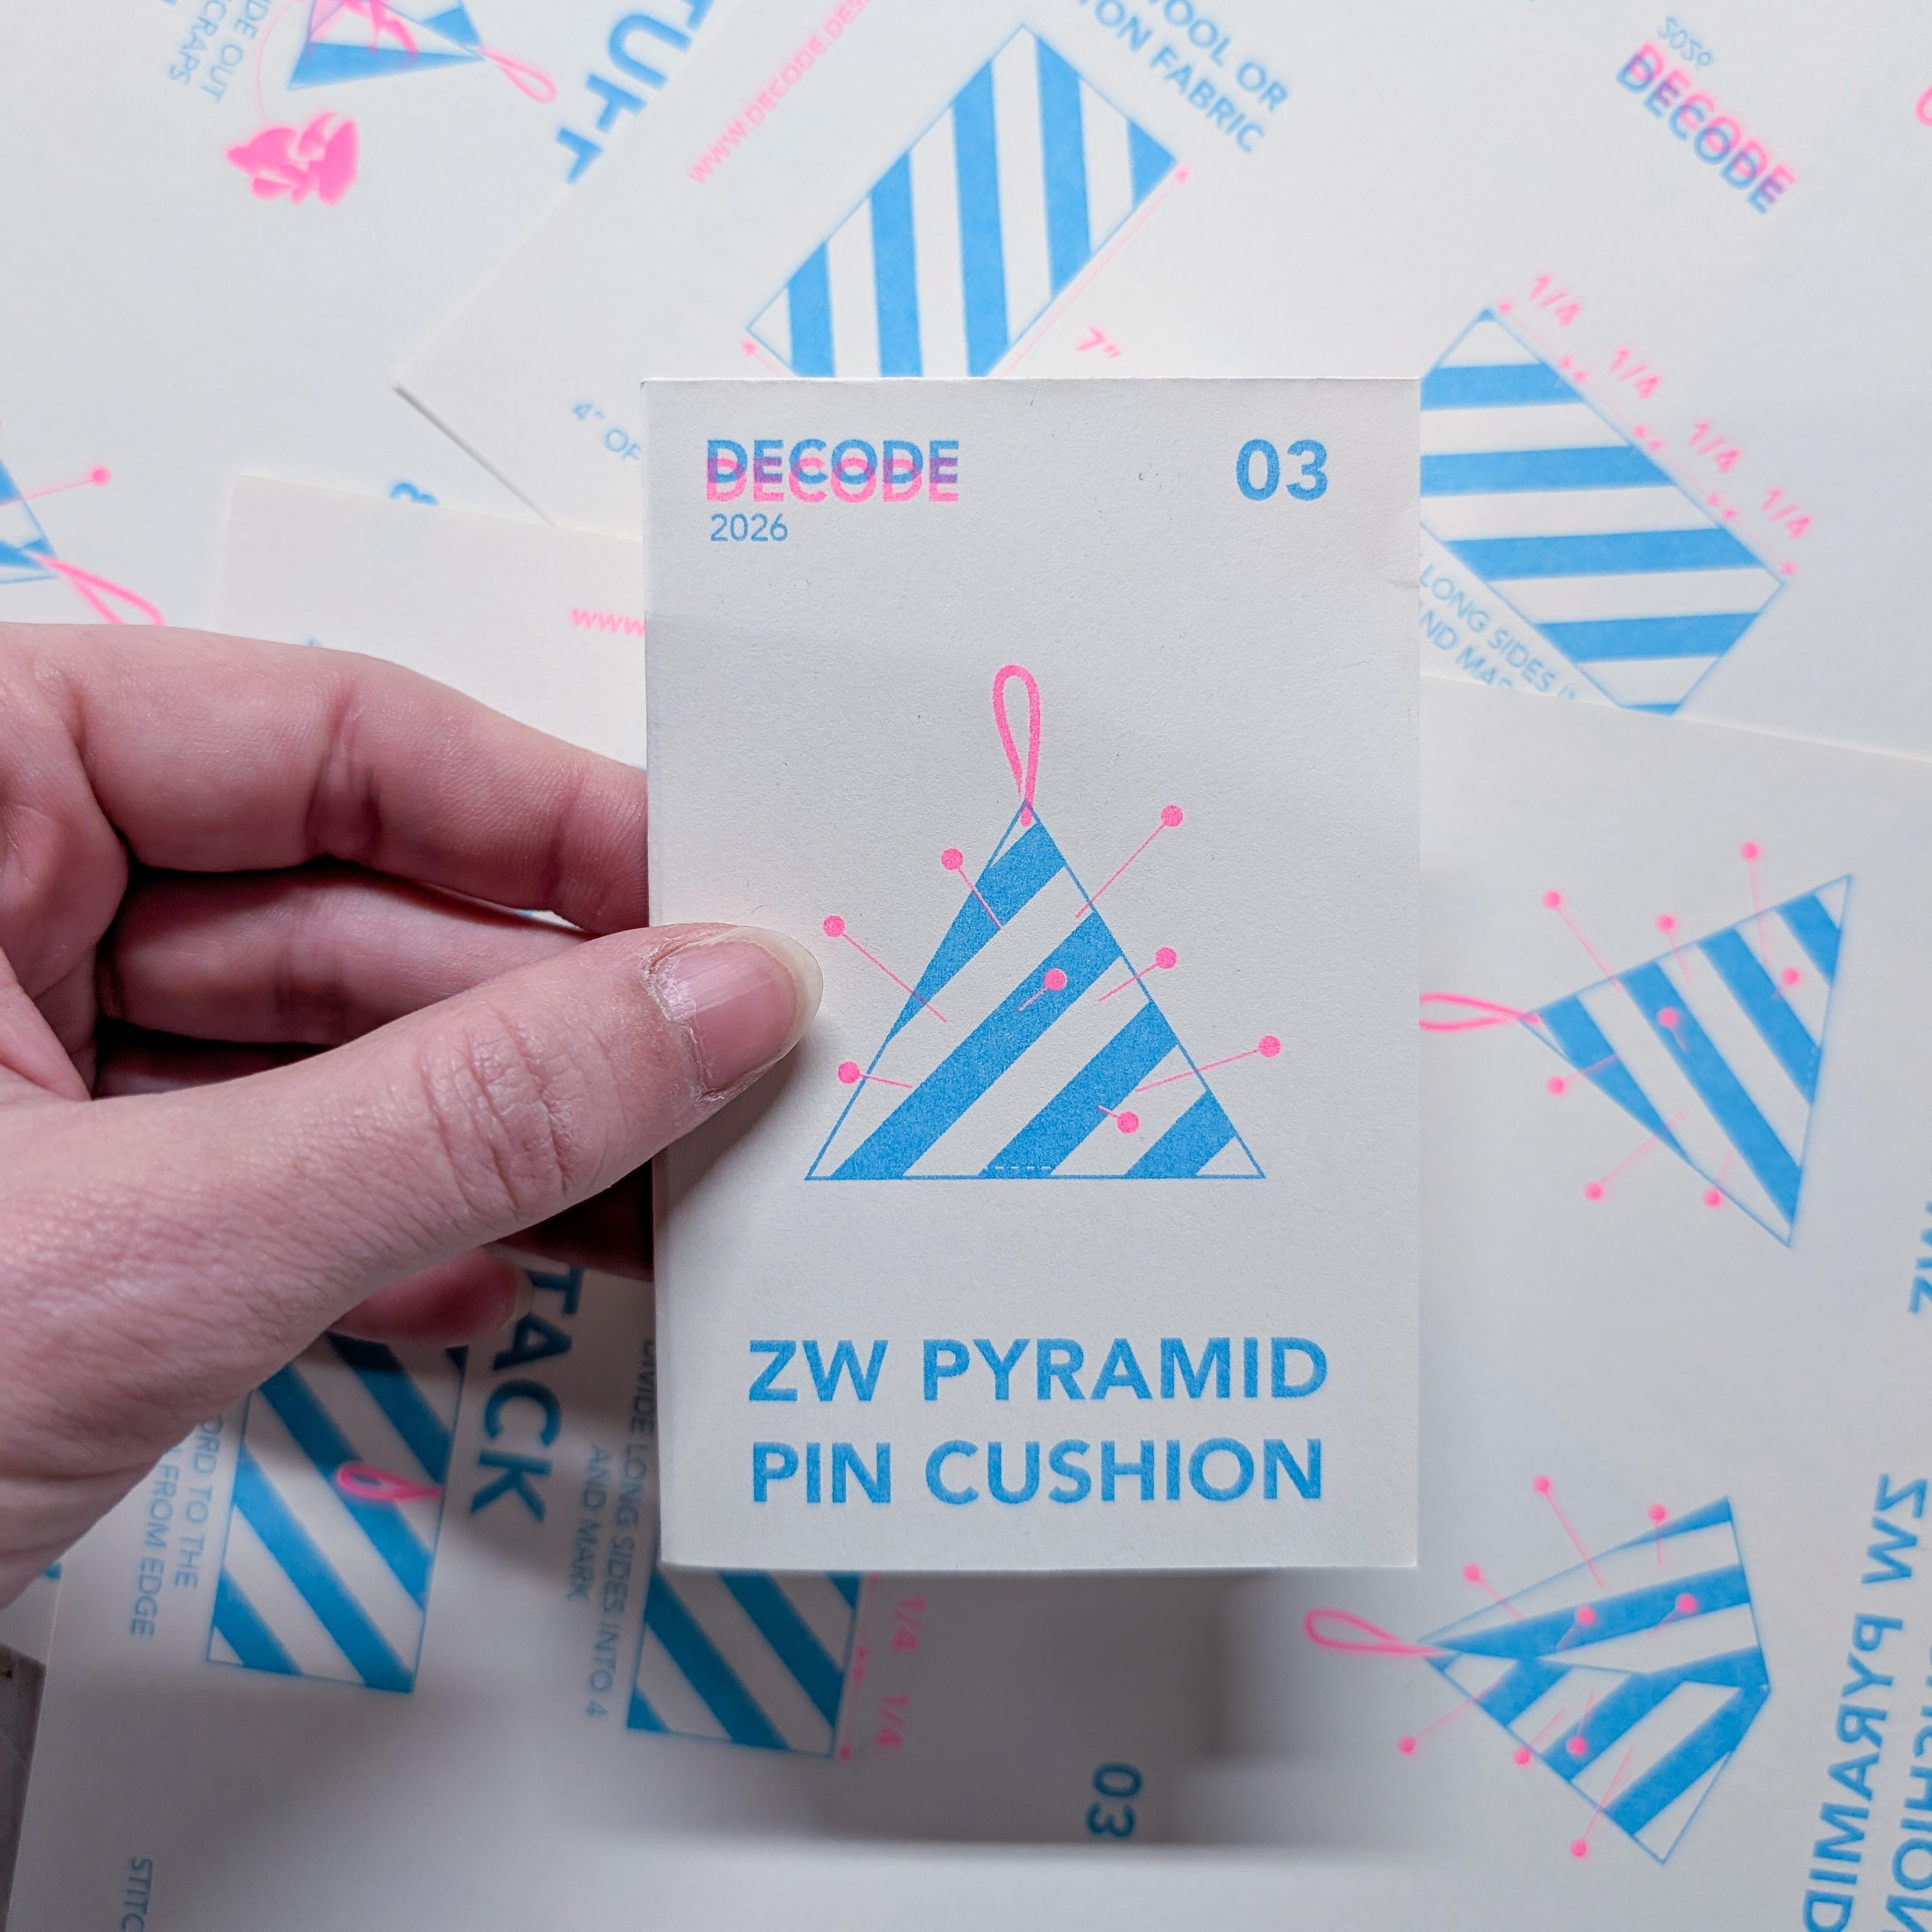
The mini Riso-zine I developed for this project is available for $12 here: RISO_ZINE_03
In other exciting news, the zines are now also available within the UK!
My good friend and colleague Cass (of The Stitchery Studio) is selling them at her studio. I printed a batch with Rizotto studio in Glasgow, who I’ve been following for years. I’m so stoked to be able to print with them! Reach out if you would like to see them in person or place an order within the UK.
Now onto the instruction!
If you have purchased the Riso-zine already, reach out and I will give you free access to the step by step content below.
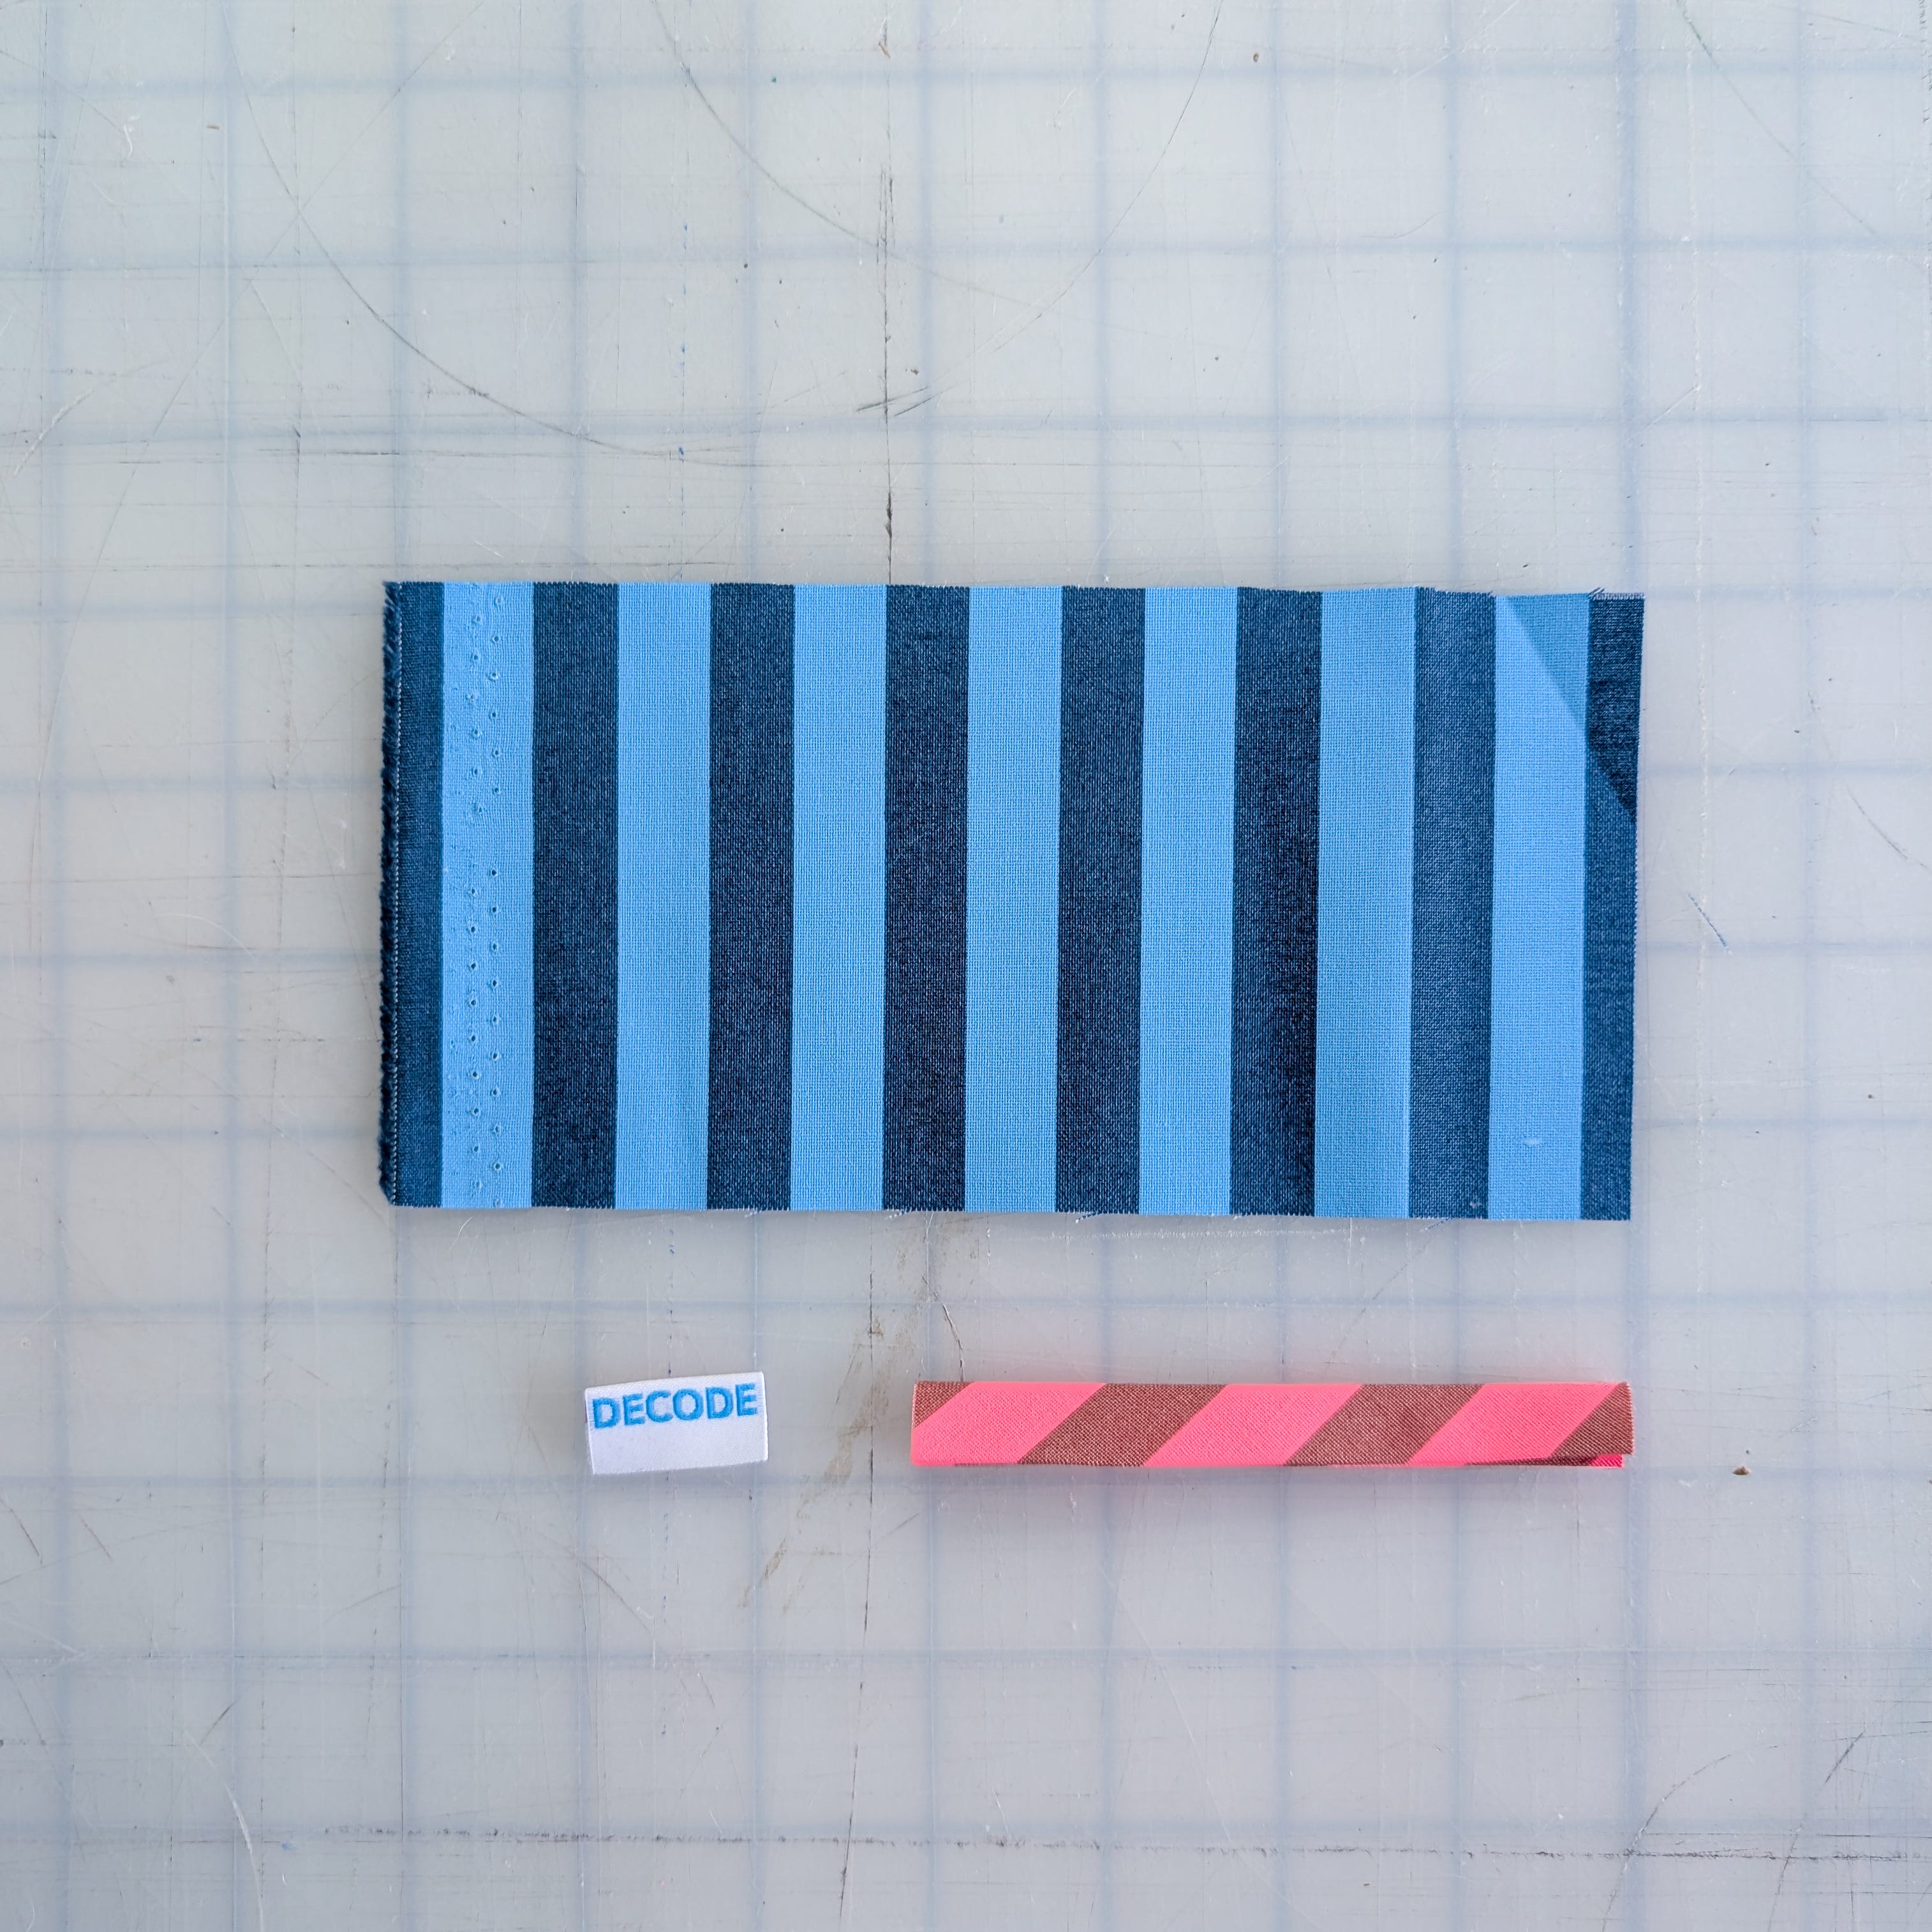
100% woven cotton/linen/wool:
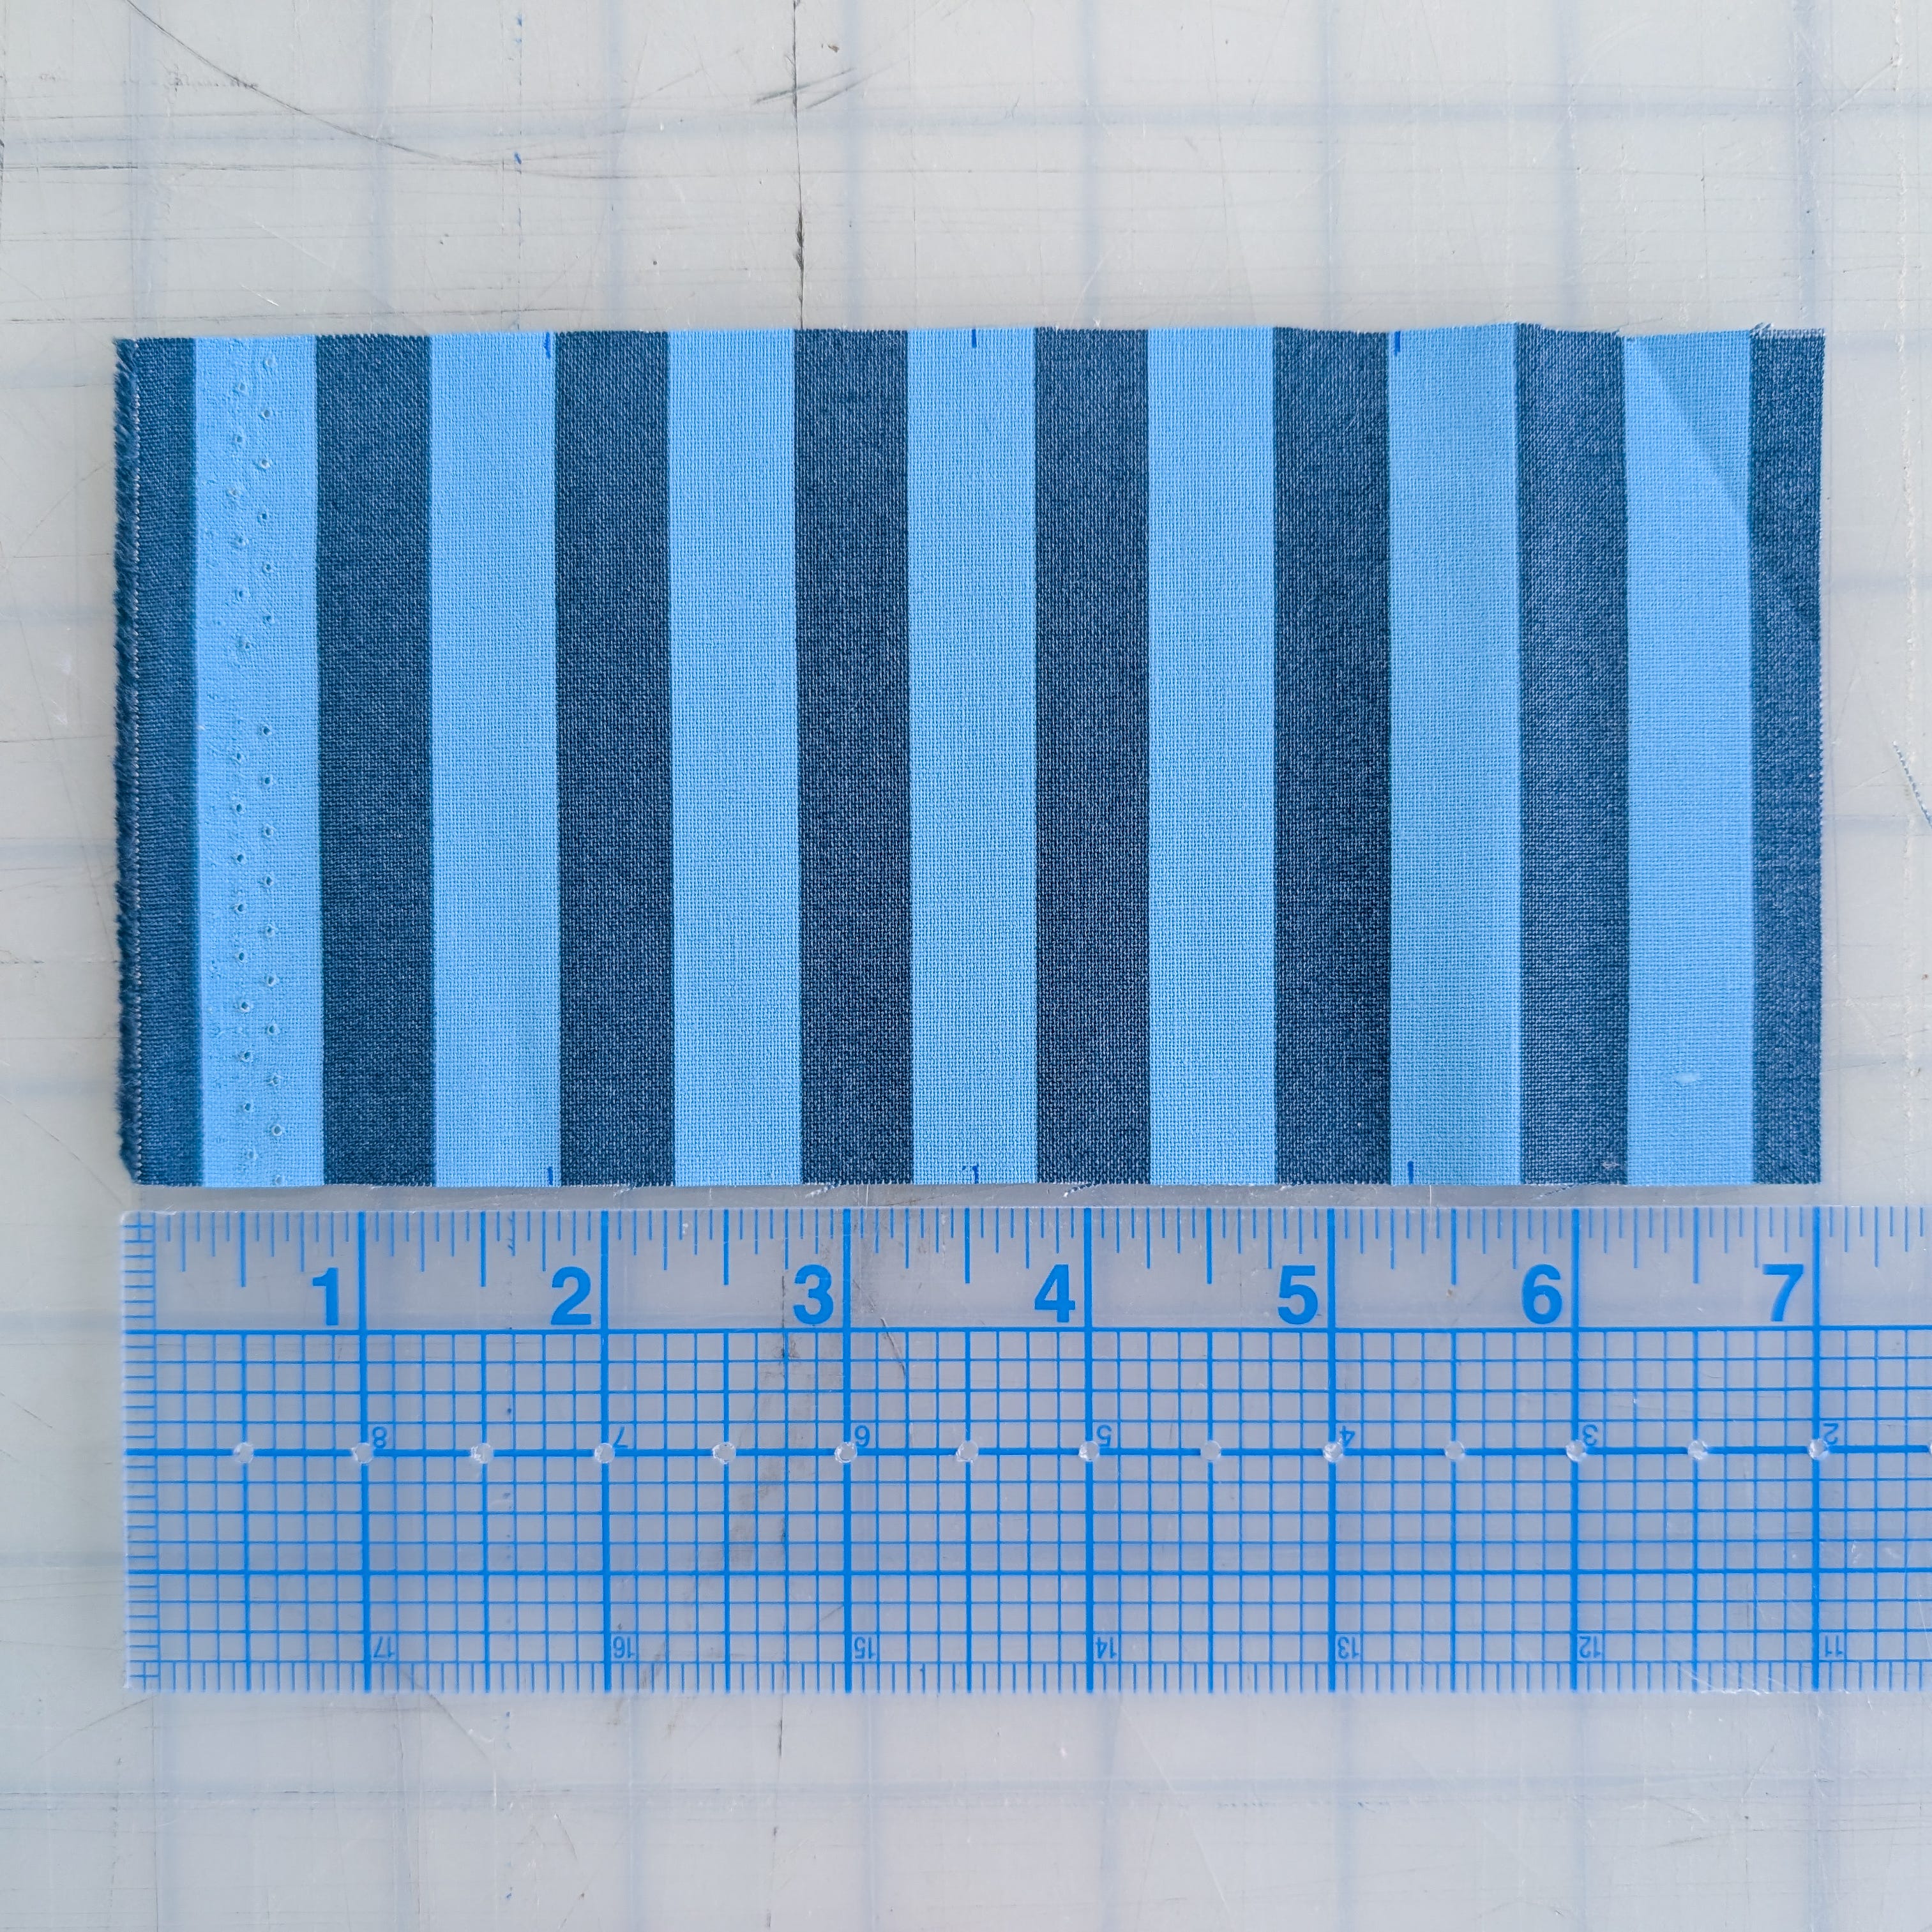
(1) 7” x 3.5” rectangle - Feel free to scale up or down
Cord or tape:
(1) 4” piece
Optional
Label
Divide the long sides of your rectangle into 4 even parts and mark the top and bottom with chalk or fabric pen.
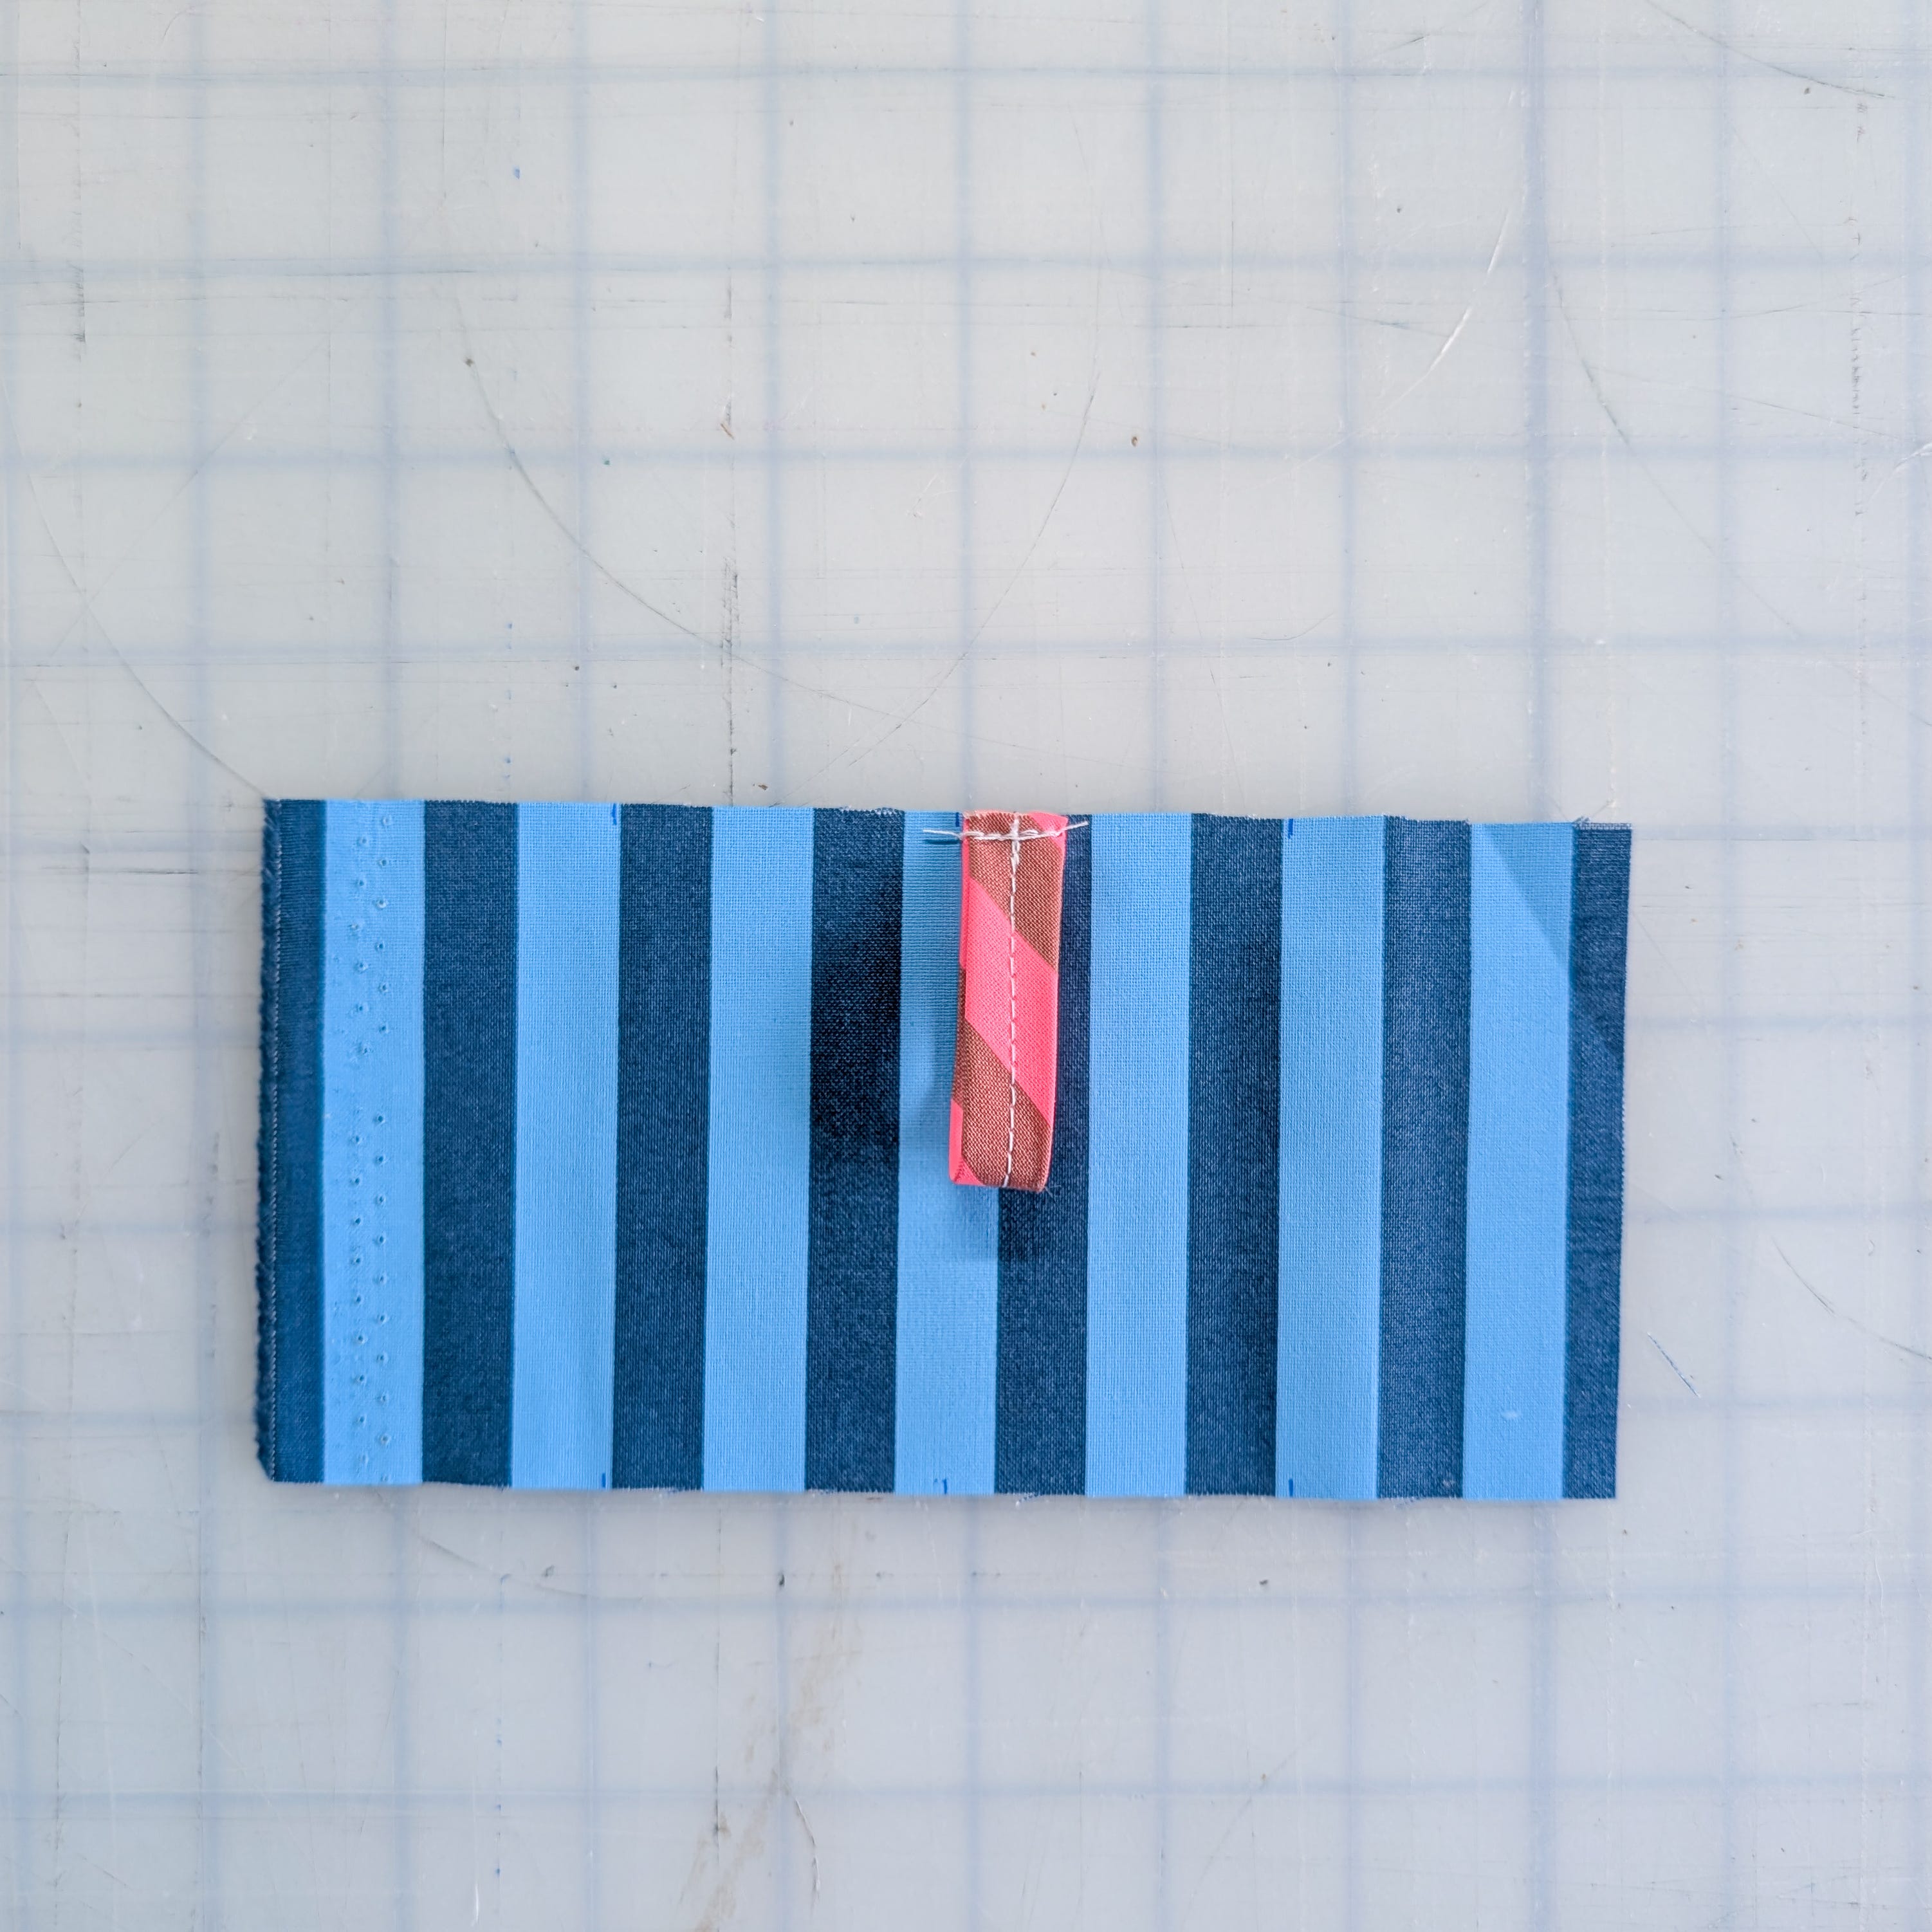
Tack your cord or bias tape in a loop to the middle of your long edge. Make sure you tack it within the 0.394” or 1 CM seam allowance!
I chose to use bias tape and ended up aligning the edge to the center mark for easy sewing later on.
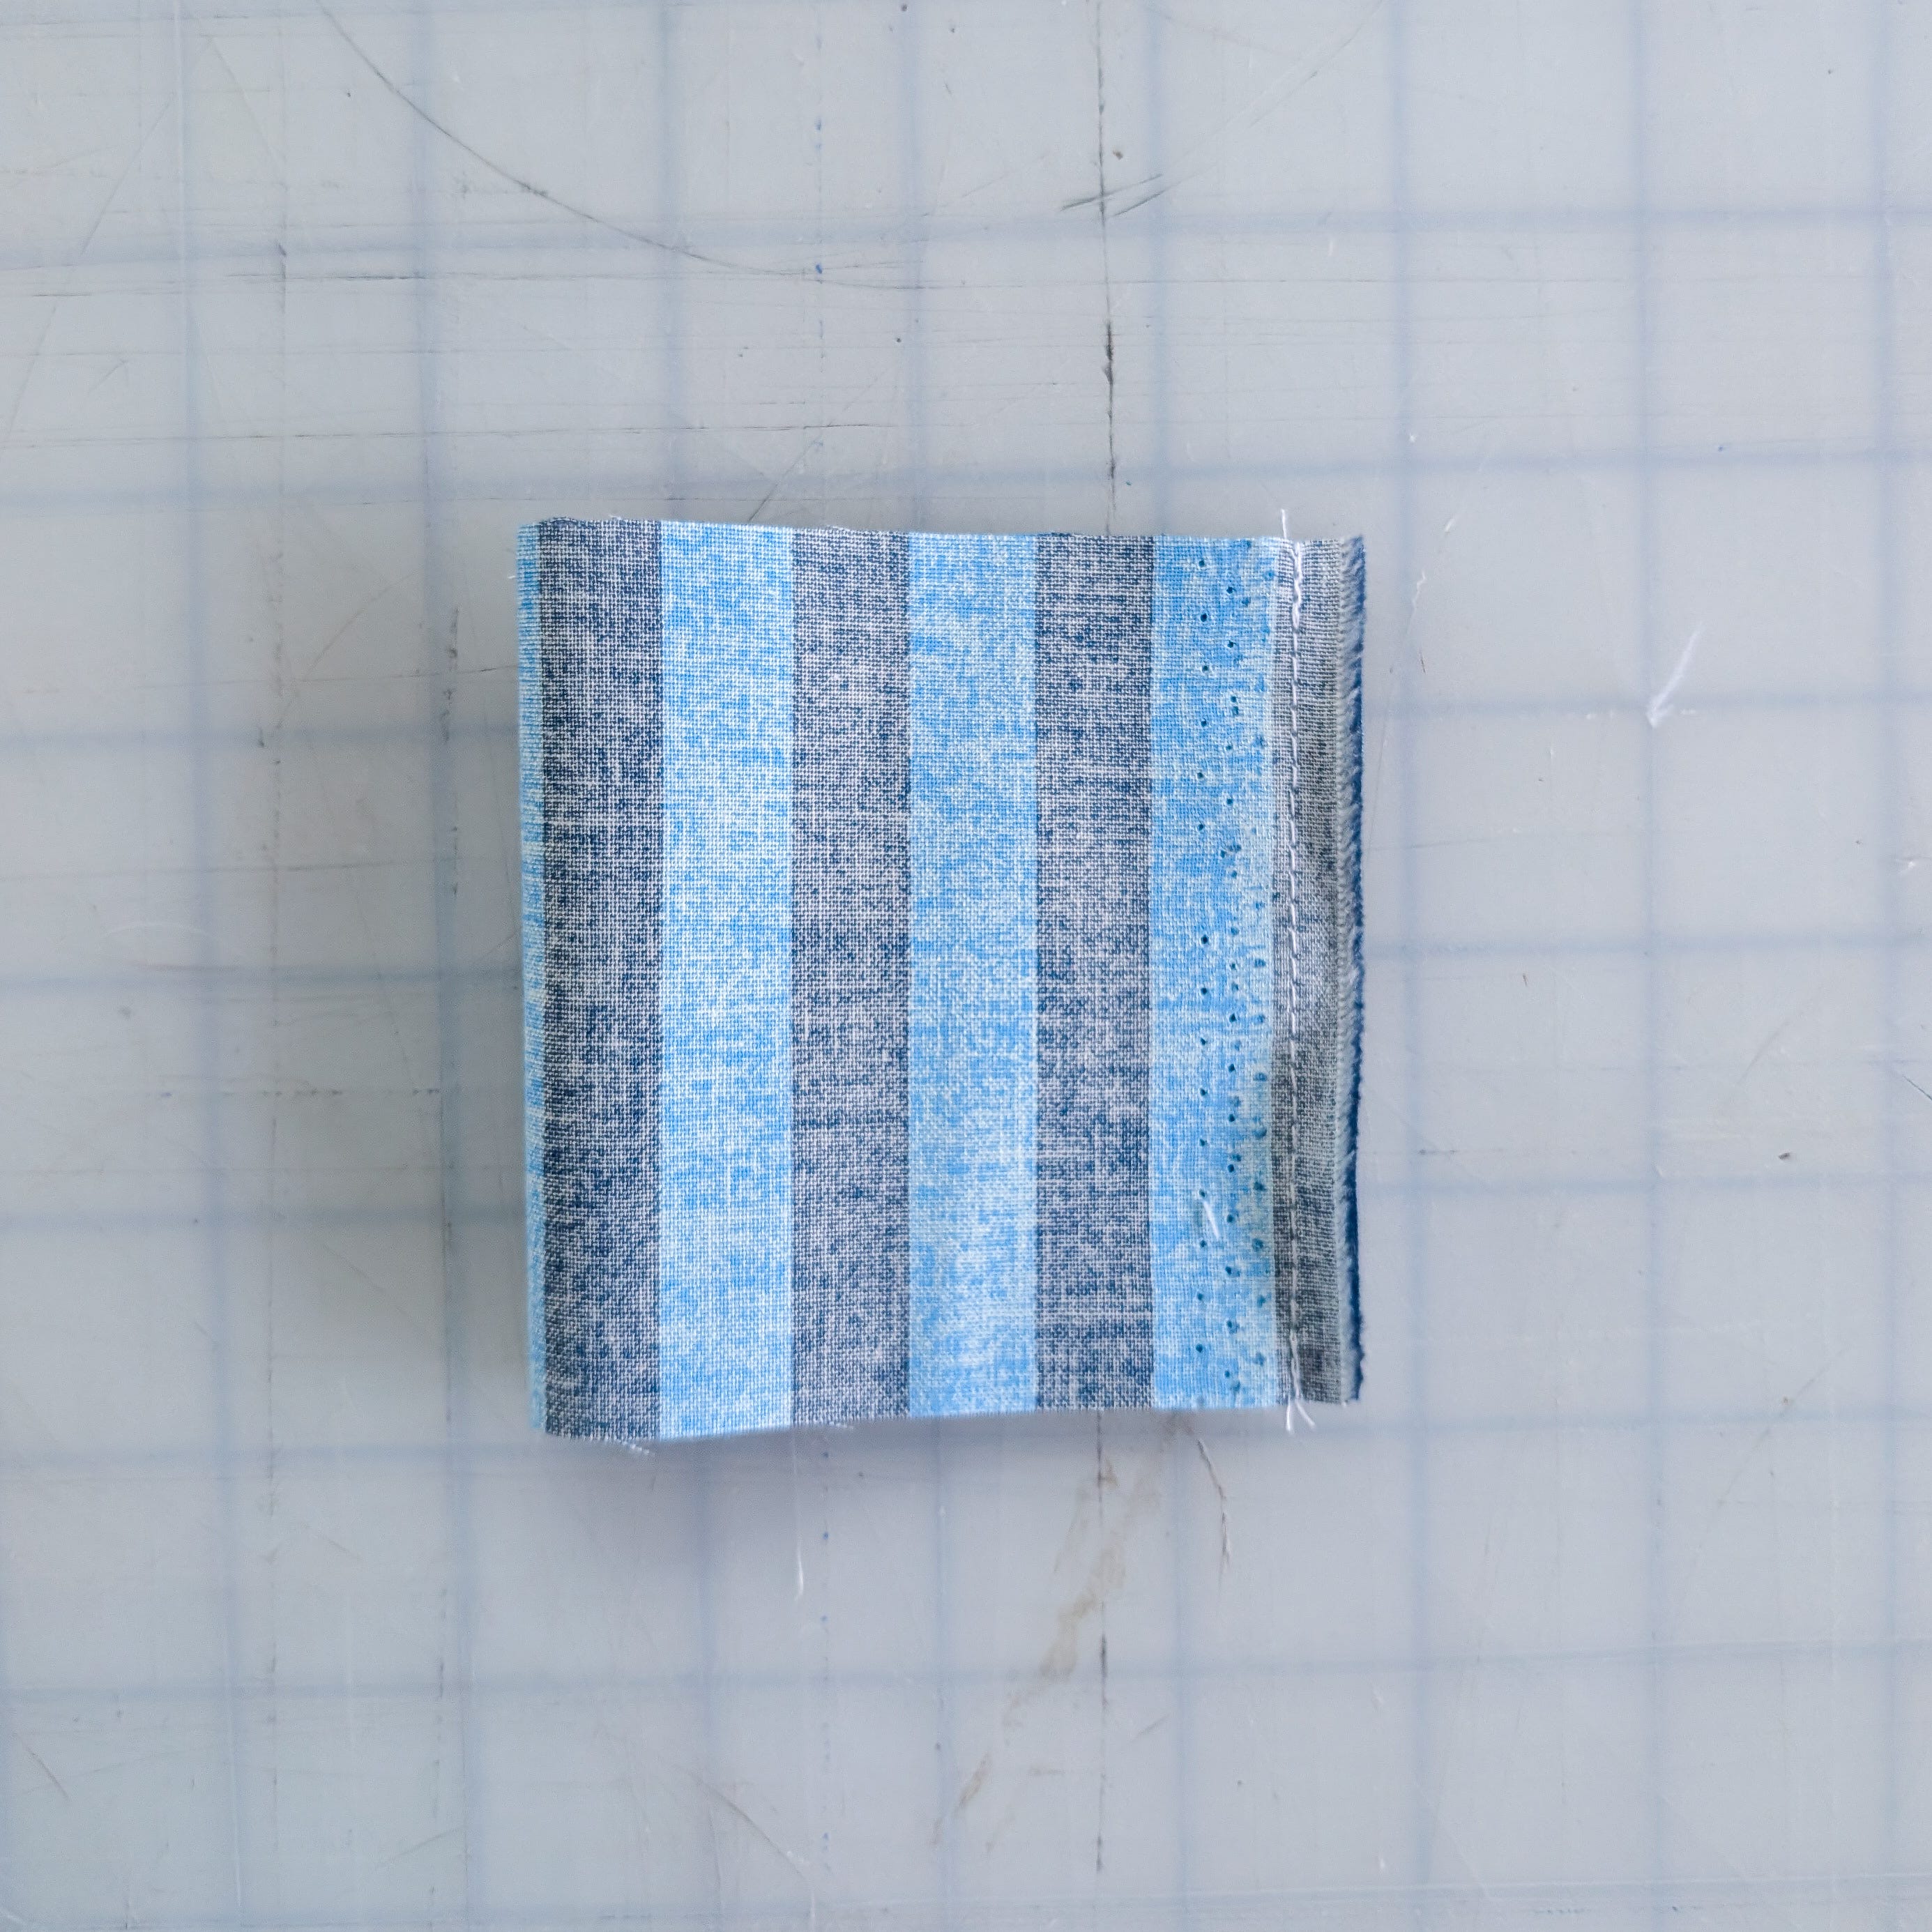
Stitch your short edges right sides together with 0.394” or 1 CM seam allowance.
At this point I place my label (if you chose to do so), aligning it in the center of the folded top edge where it can be caught in the seam.
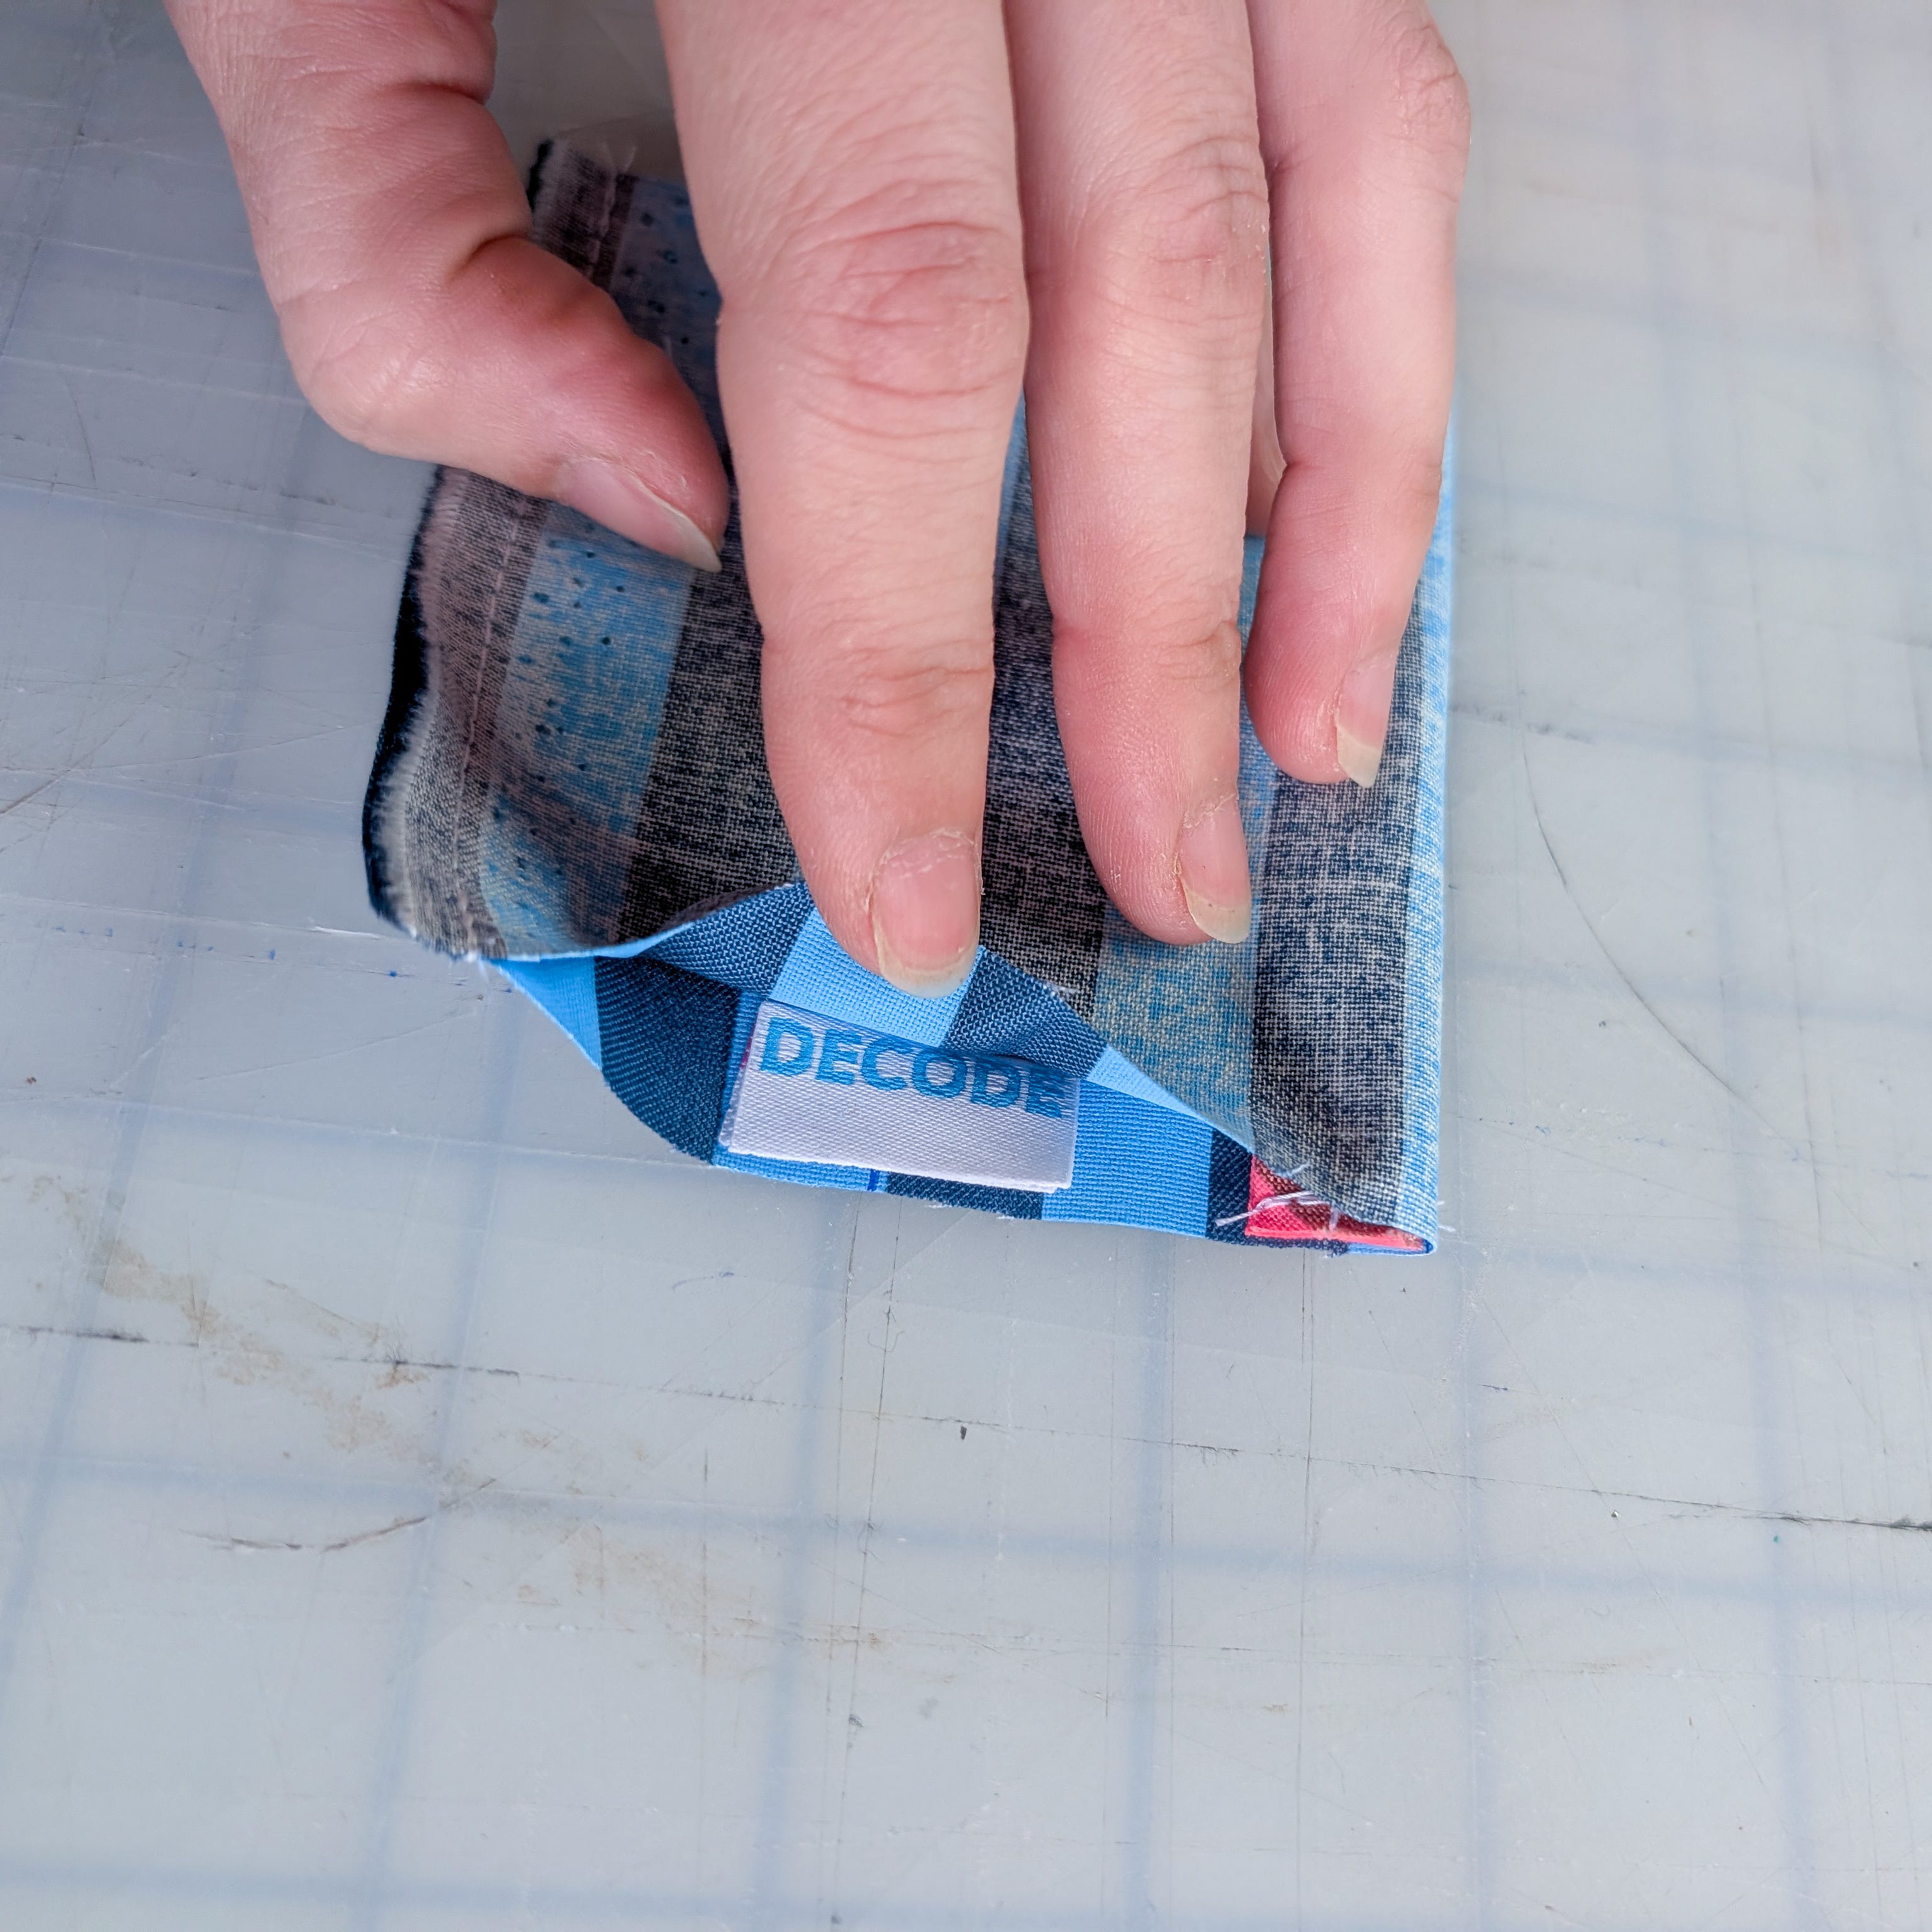
Next, sew your top edge together.
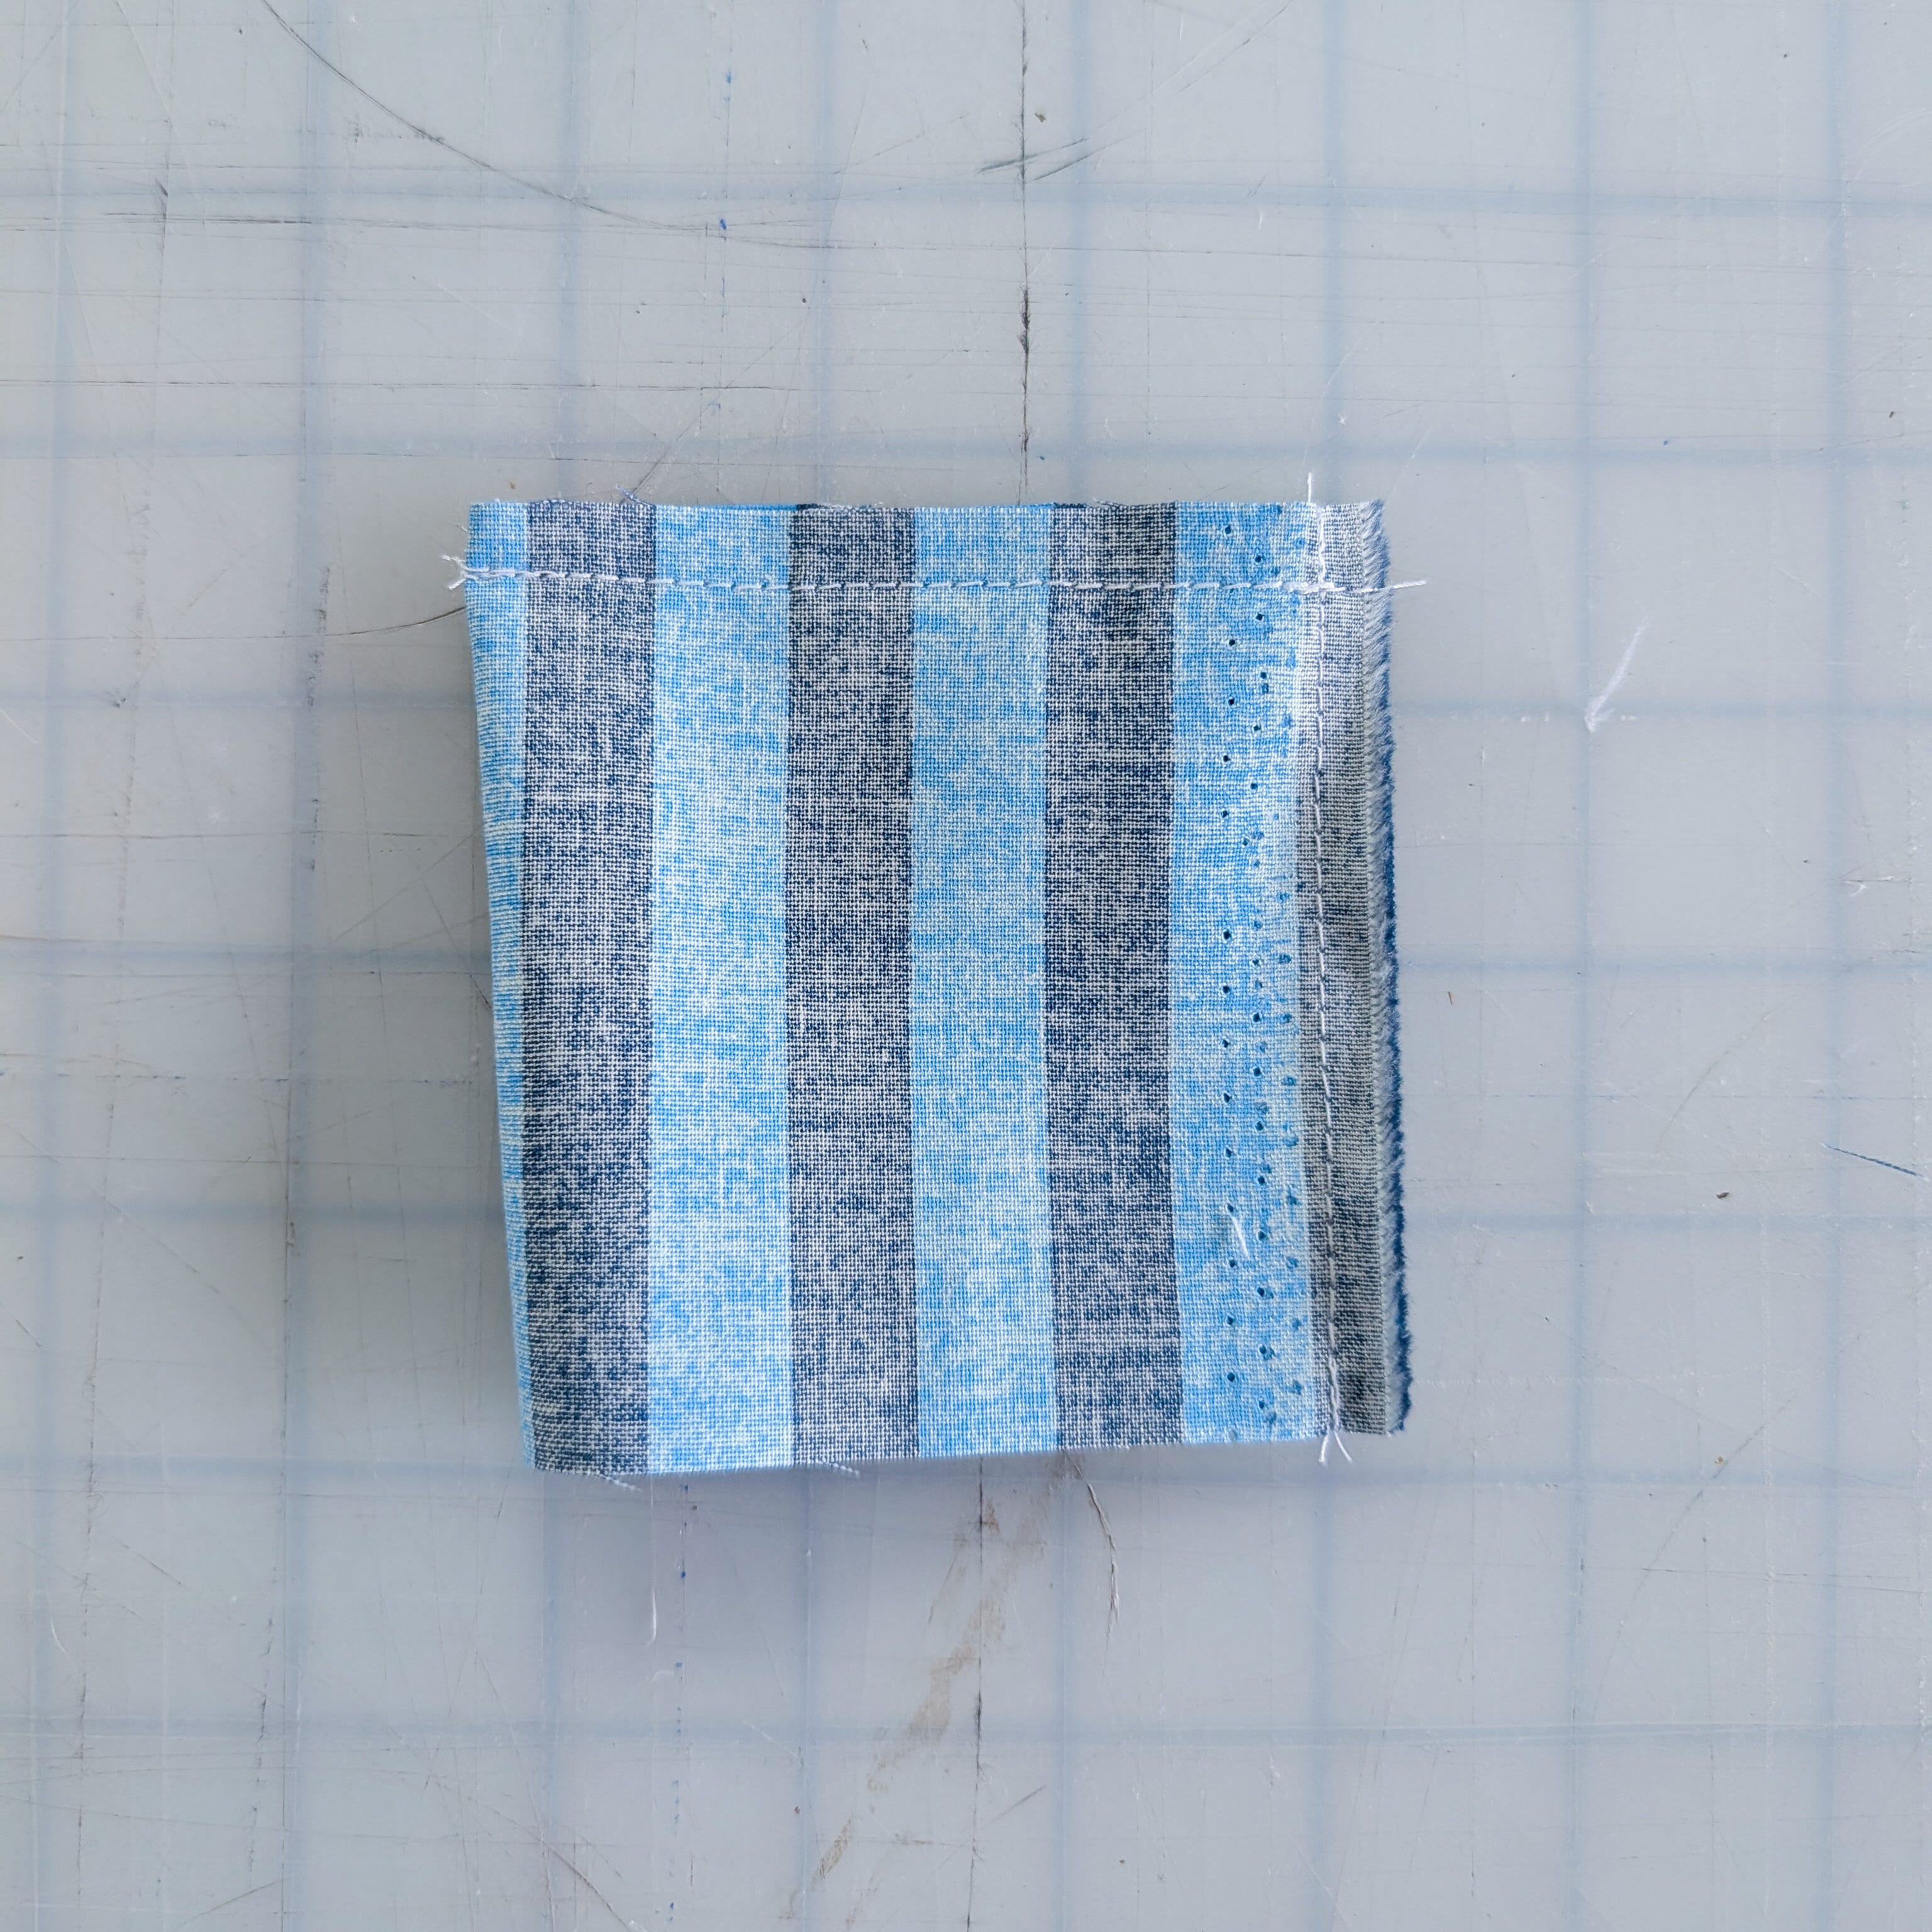
At this stage you’re going to shift where you are sewing your fabric.
The open edge you are going to shift so that the sewn edge meets up with the center of the bottom edge.
You are going to stitch from the edge to about 1” from the seam on each side, leaving a 2” gap where we can turn and stuff.
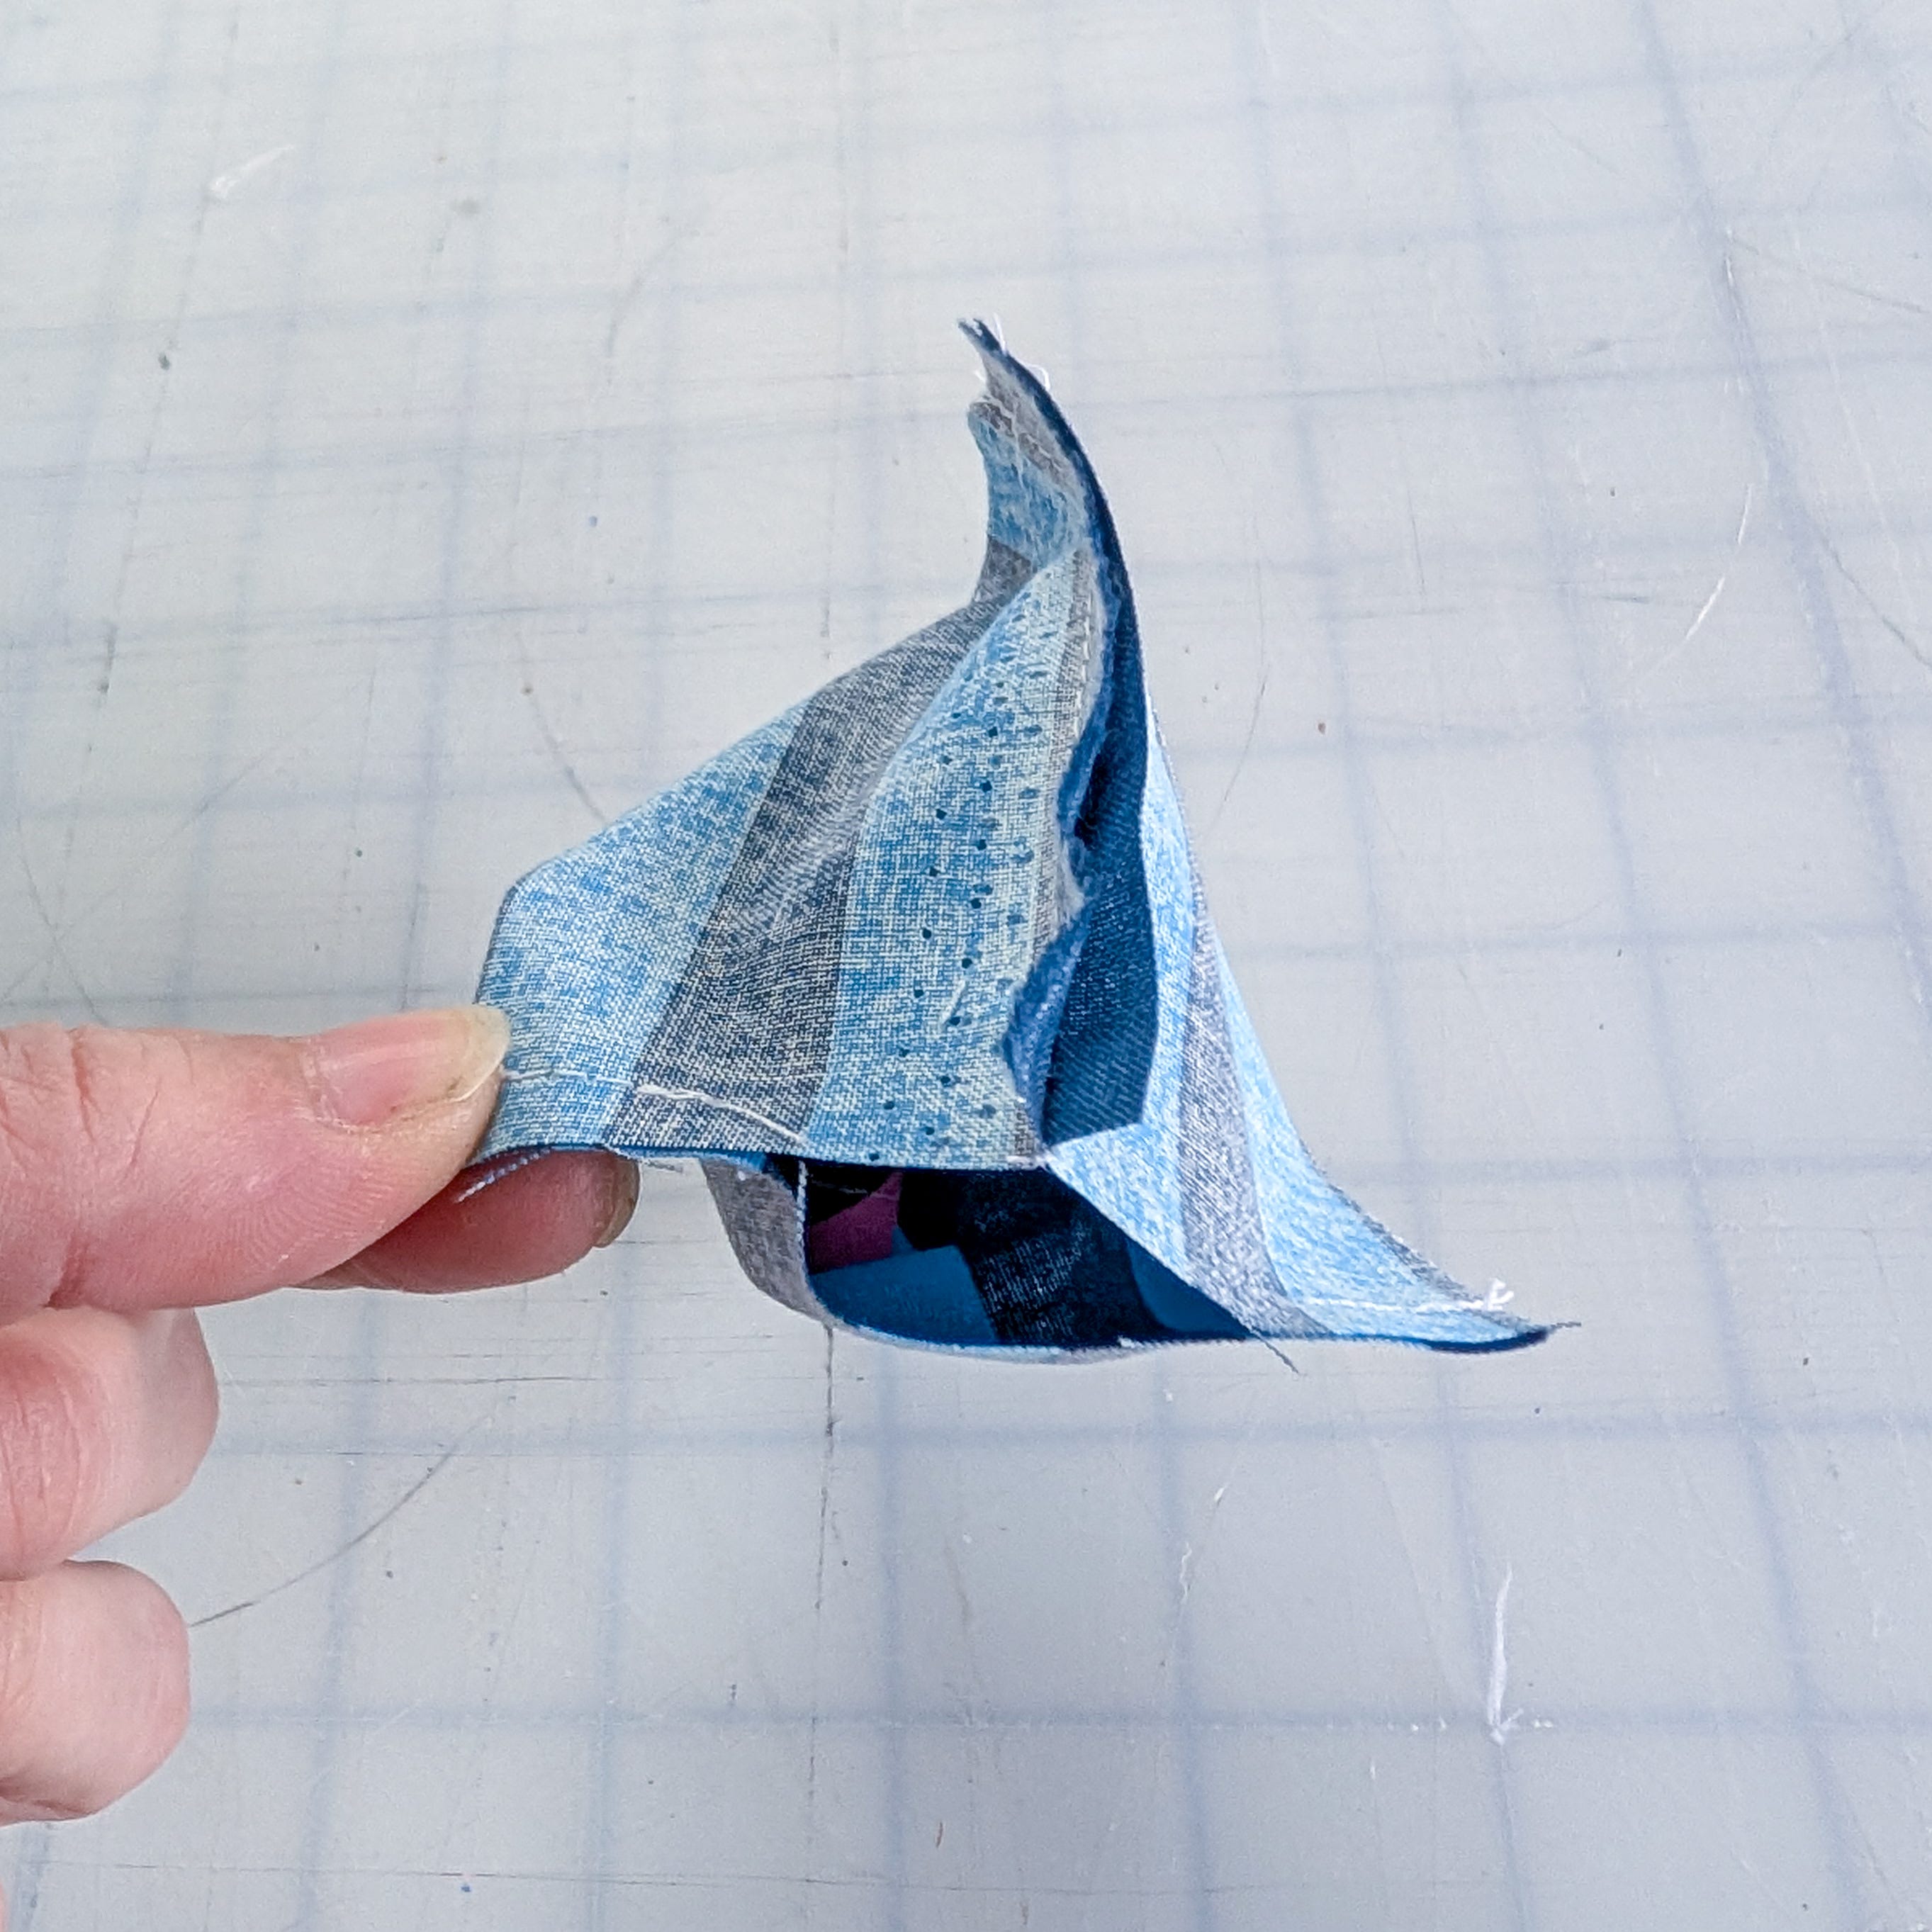
Turn your pincushion inside out. Grab your thread/scrap stuffing and fill it up! I like to over-stuff mine, but make sure you’ll have enough room to sew it closed.
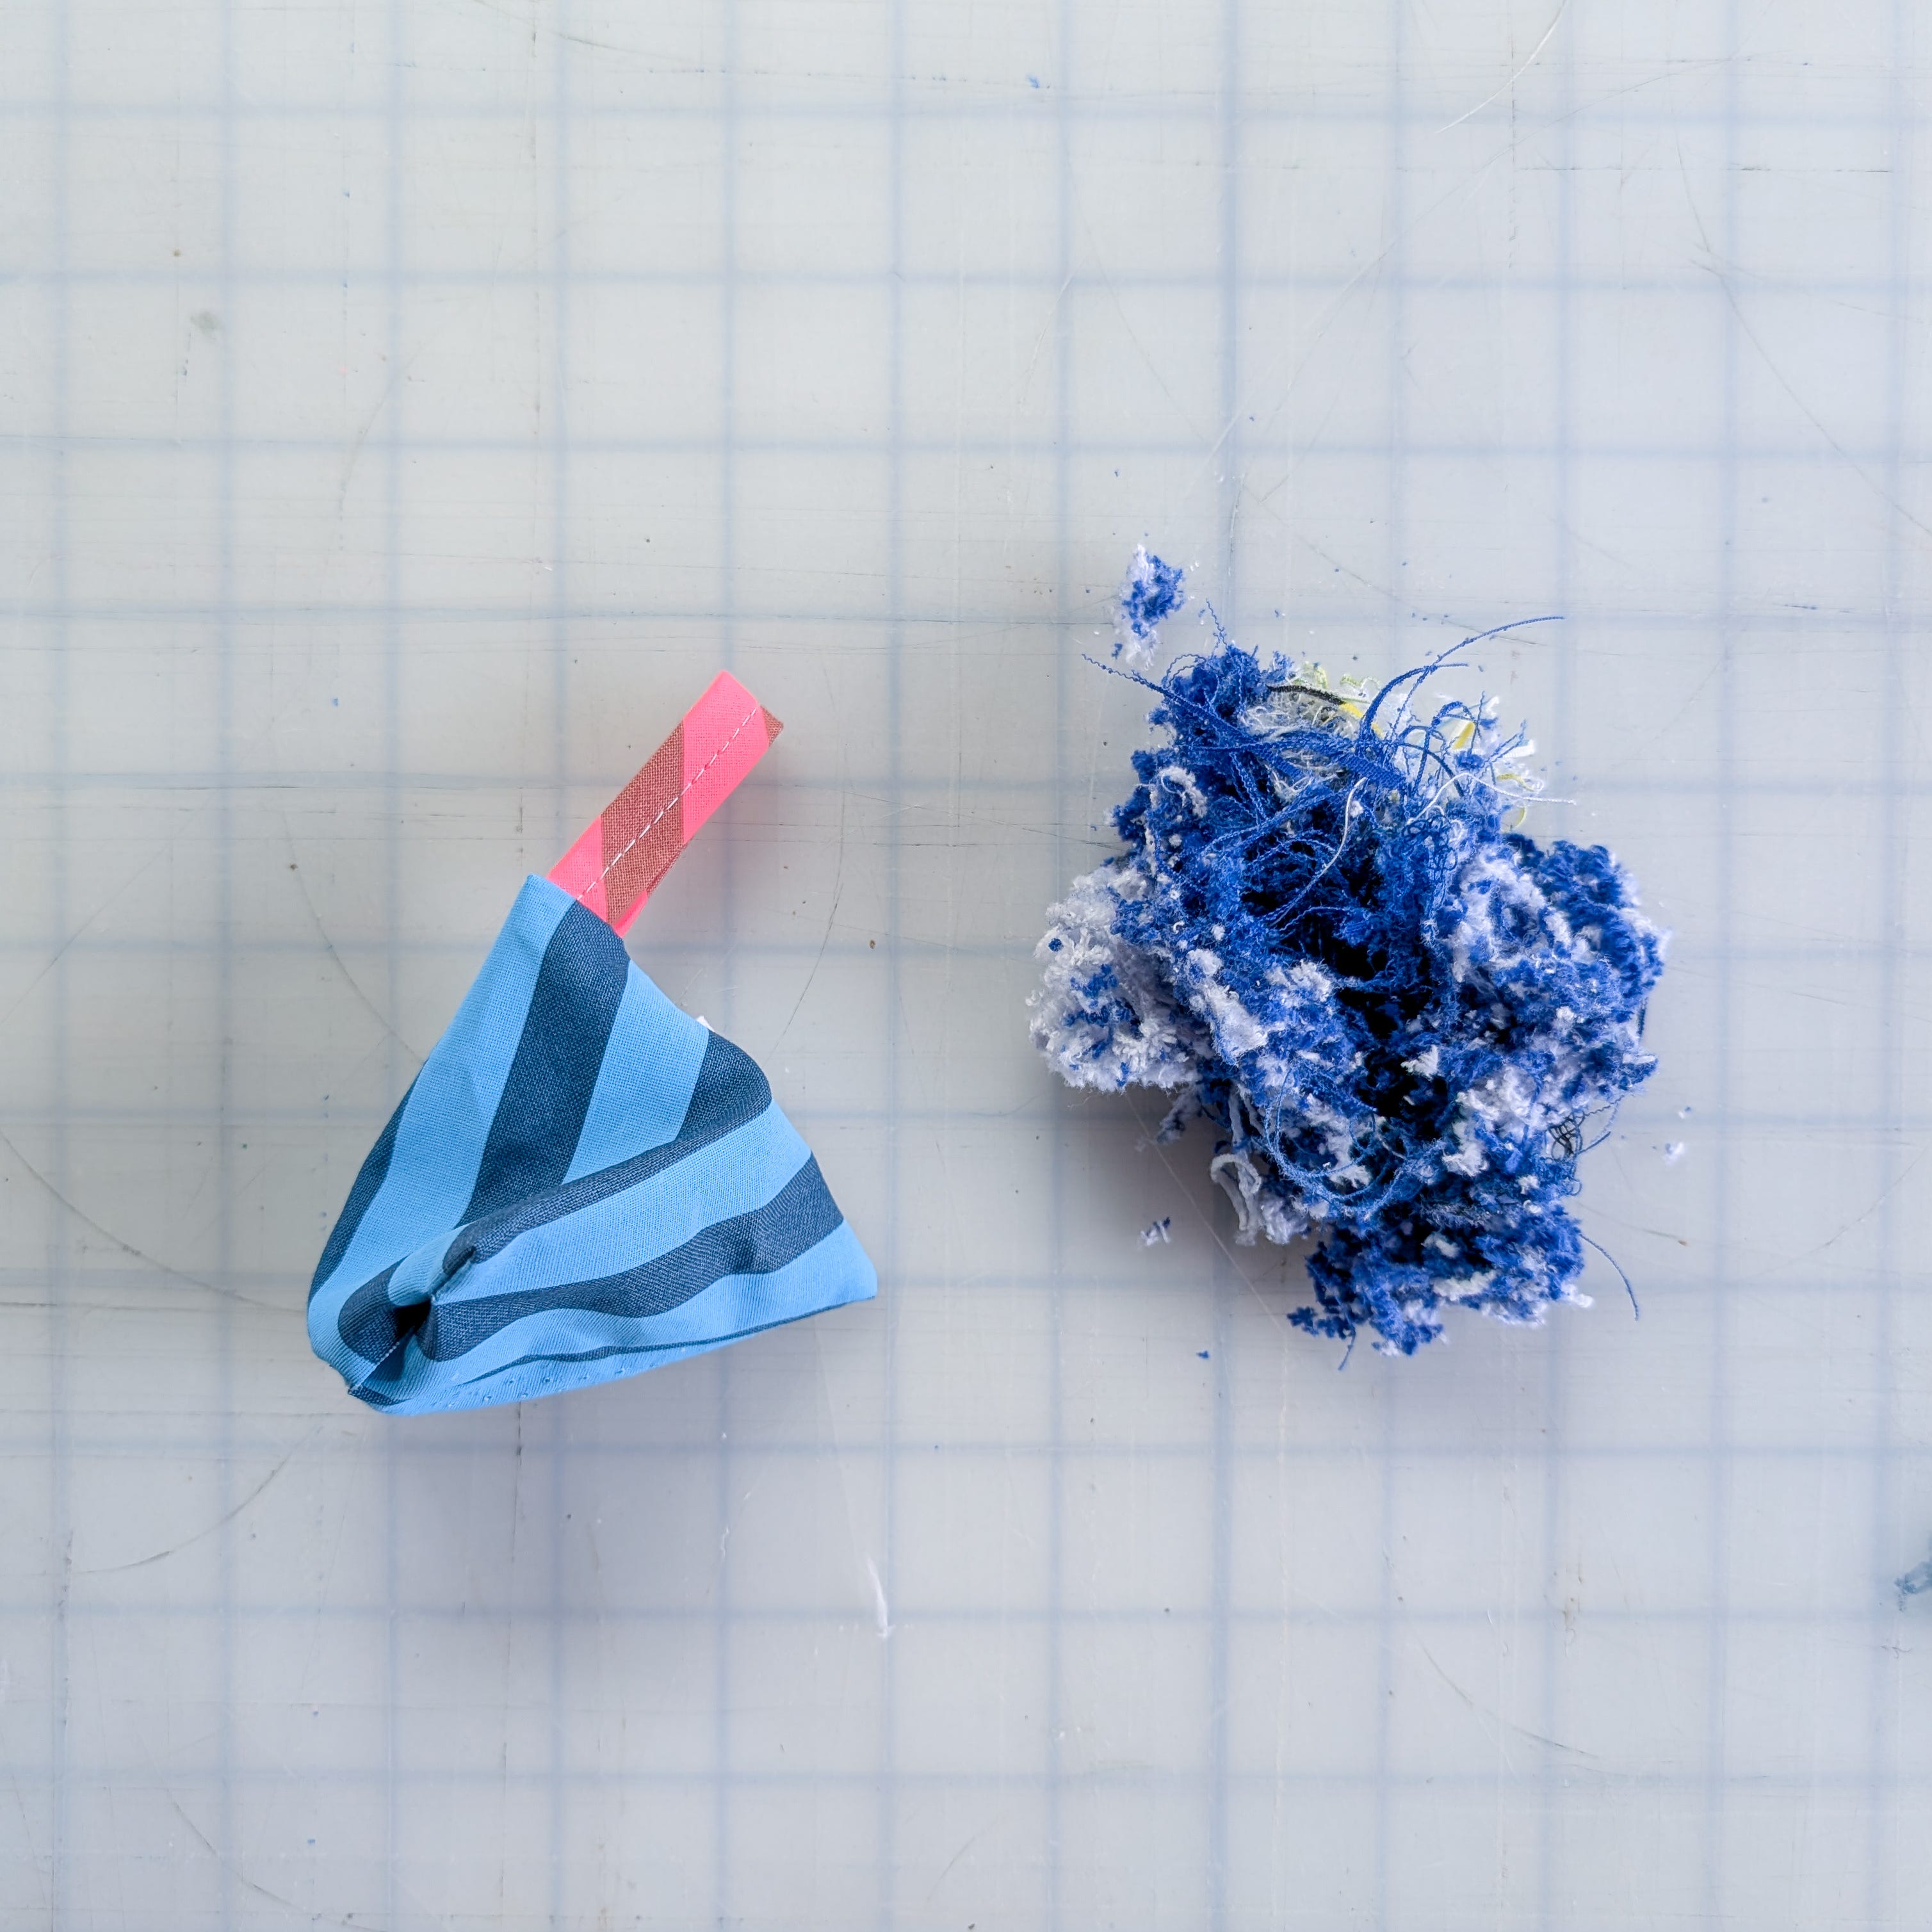
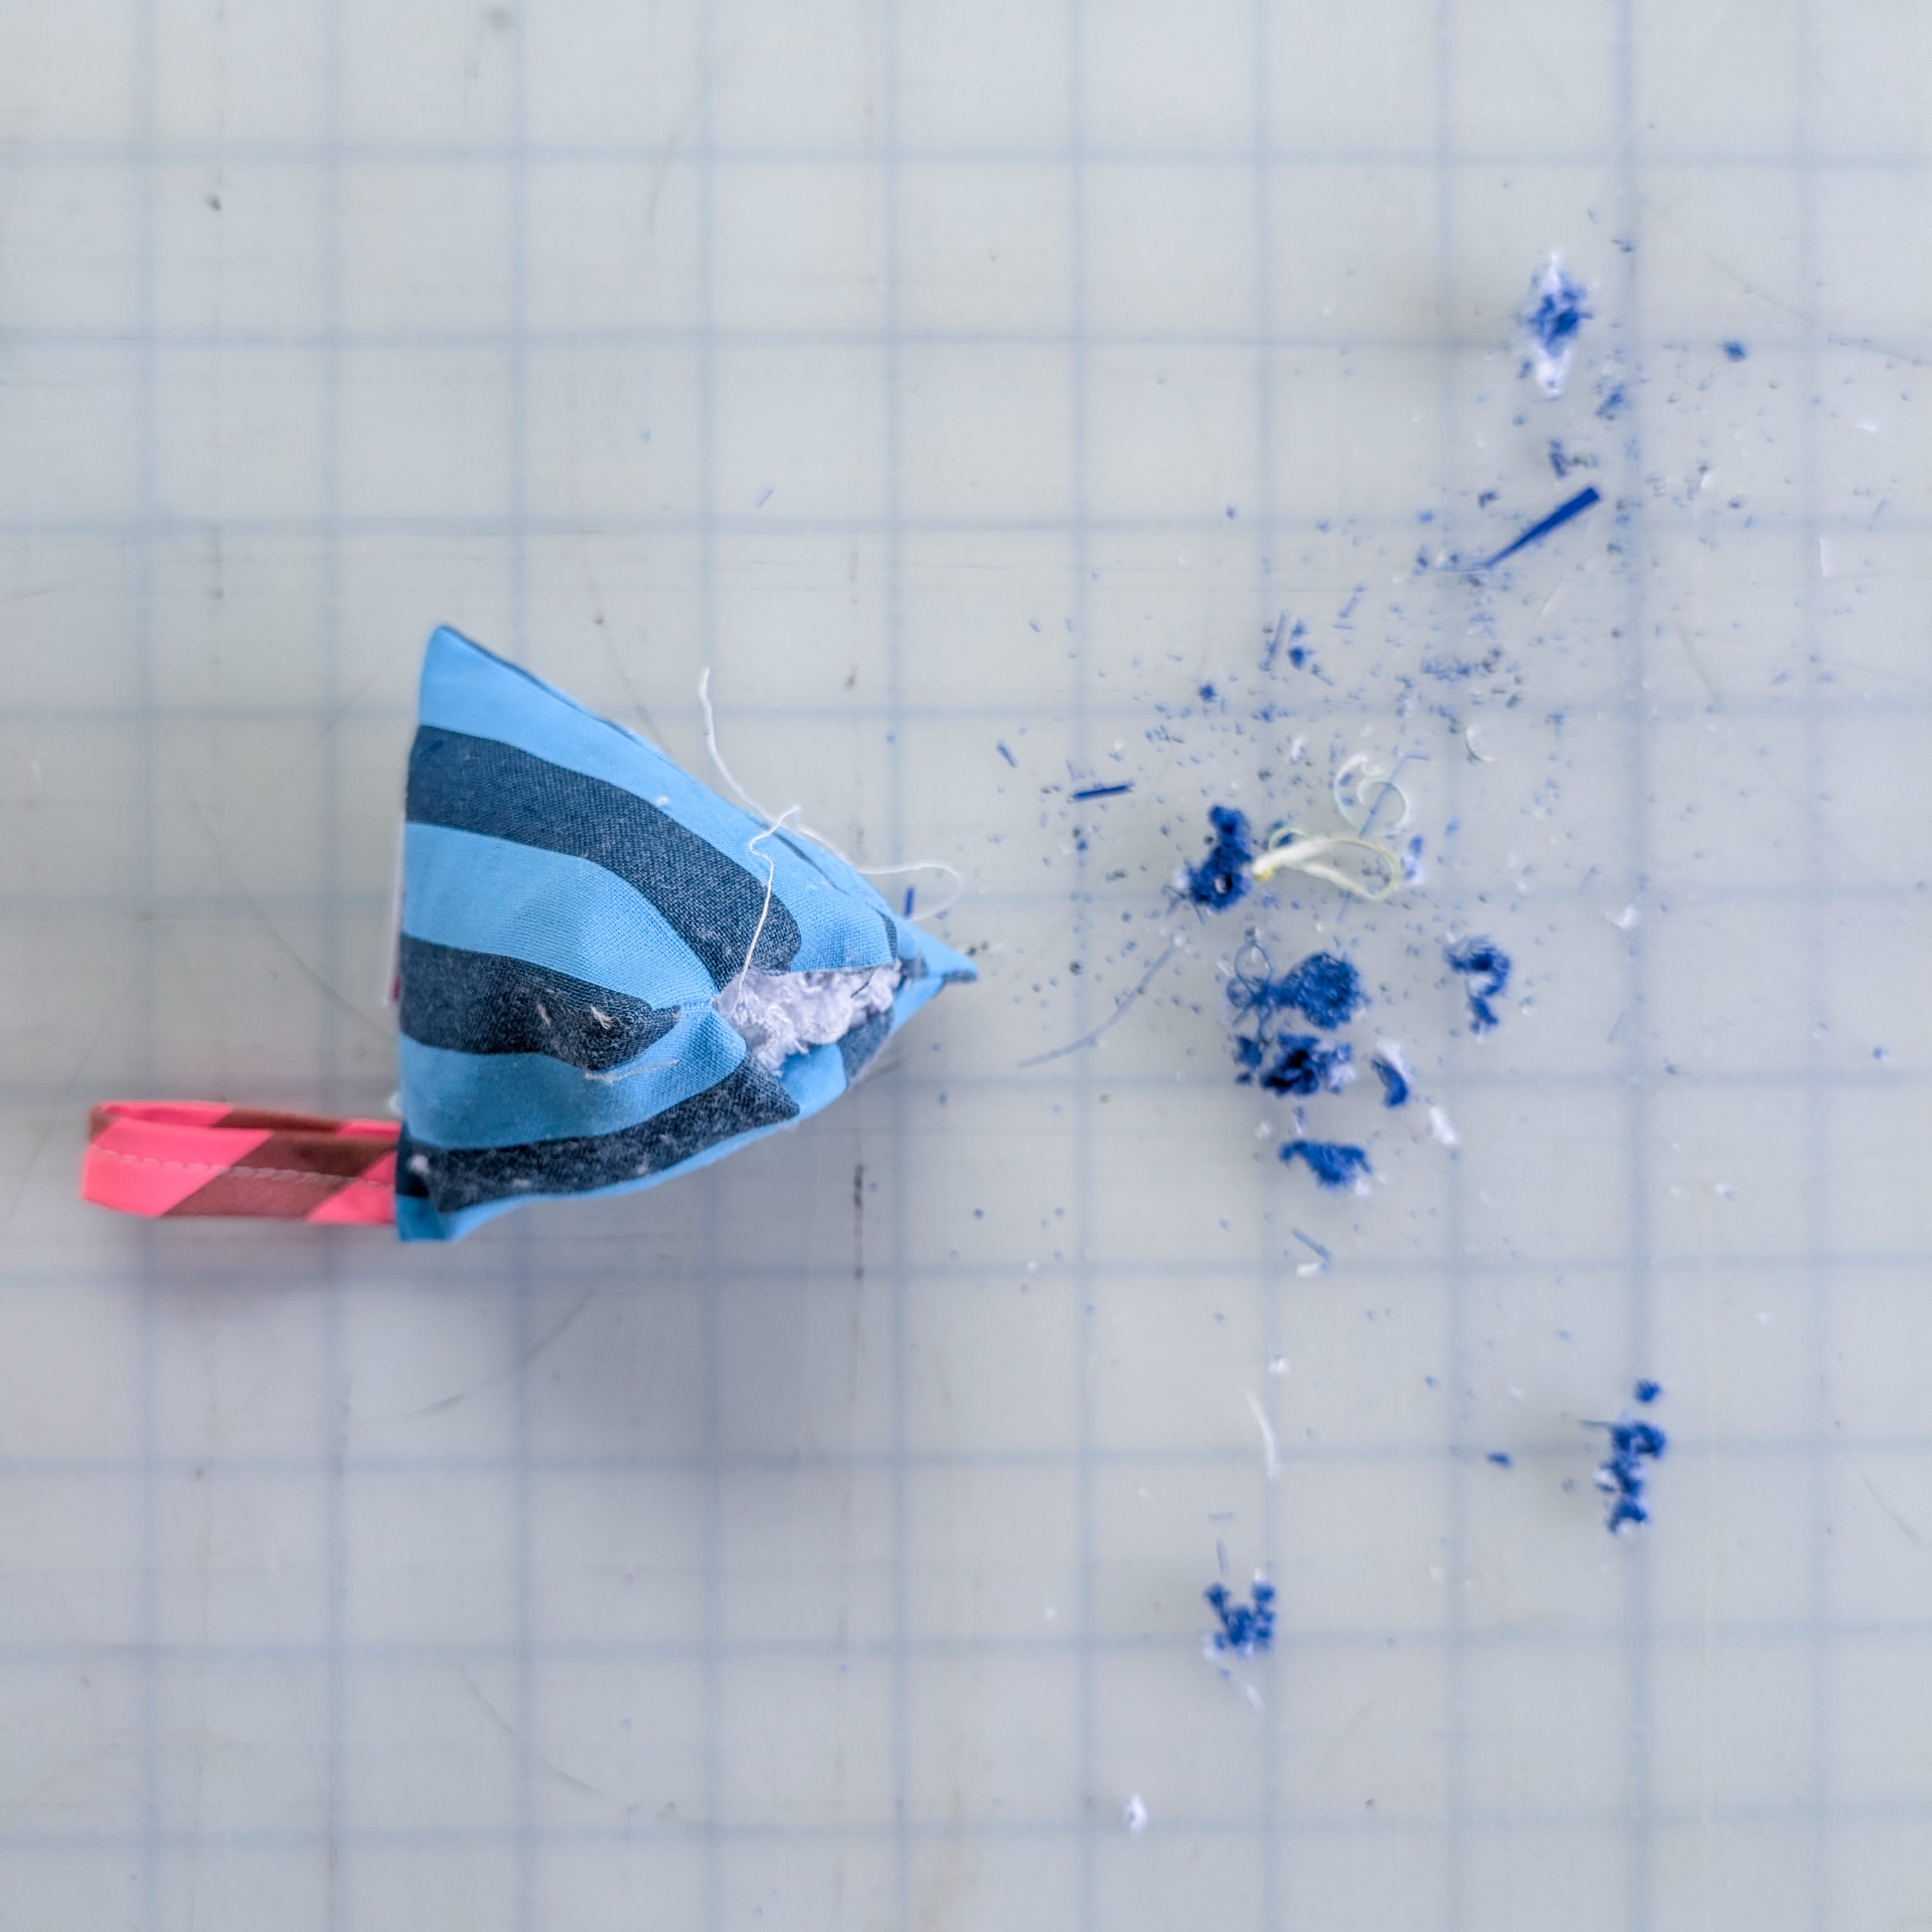
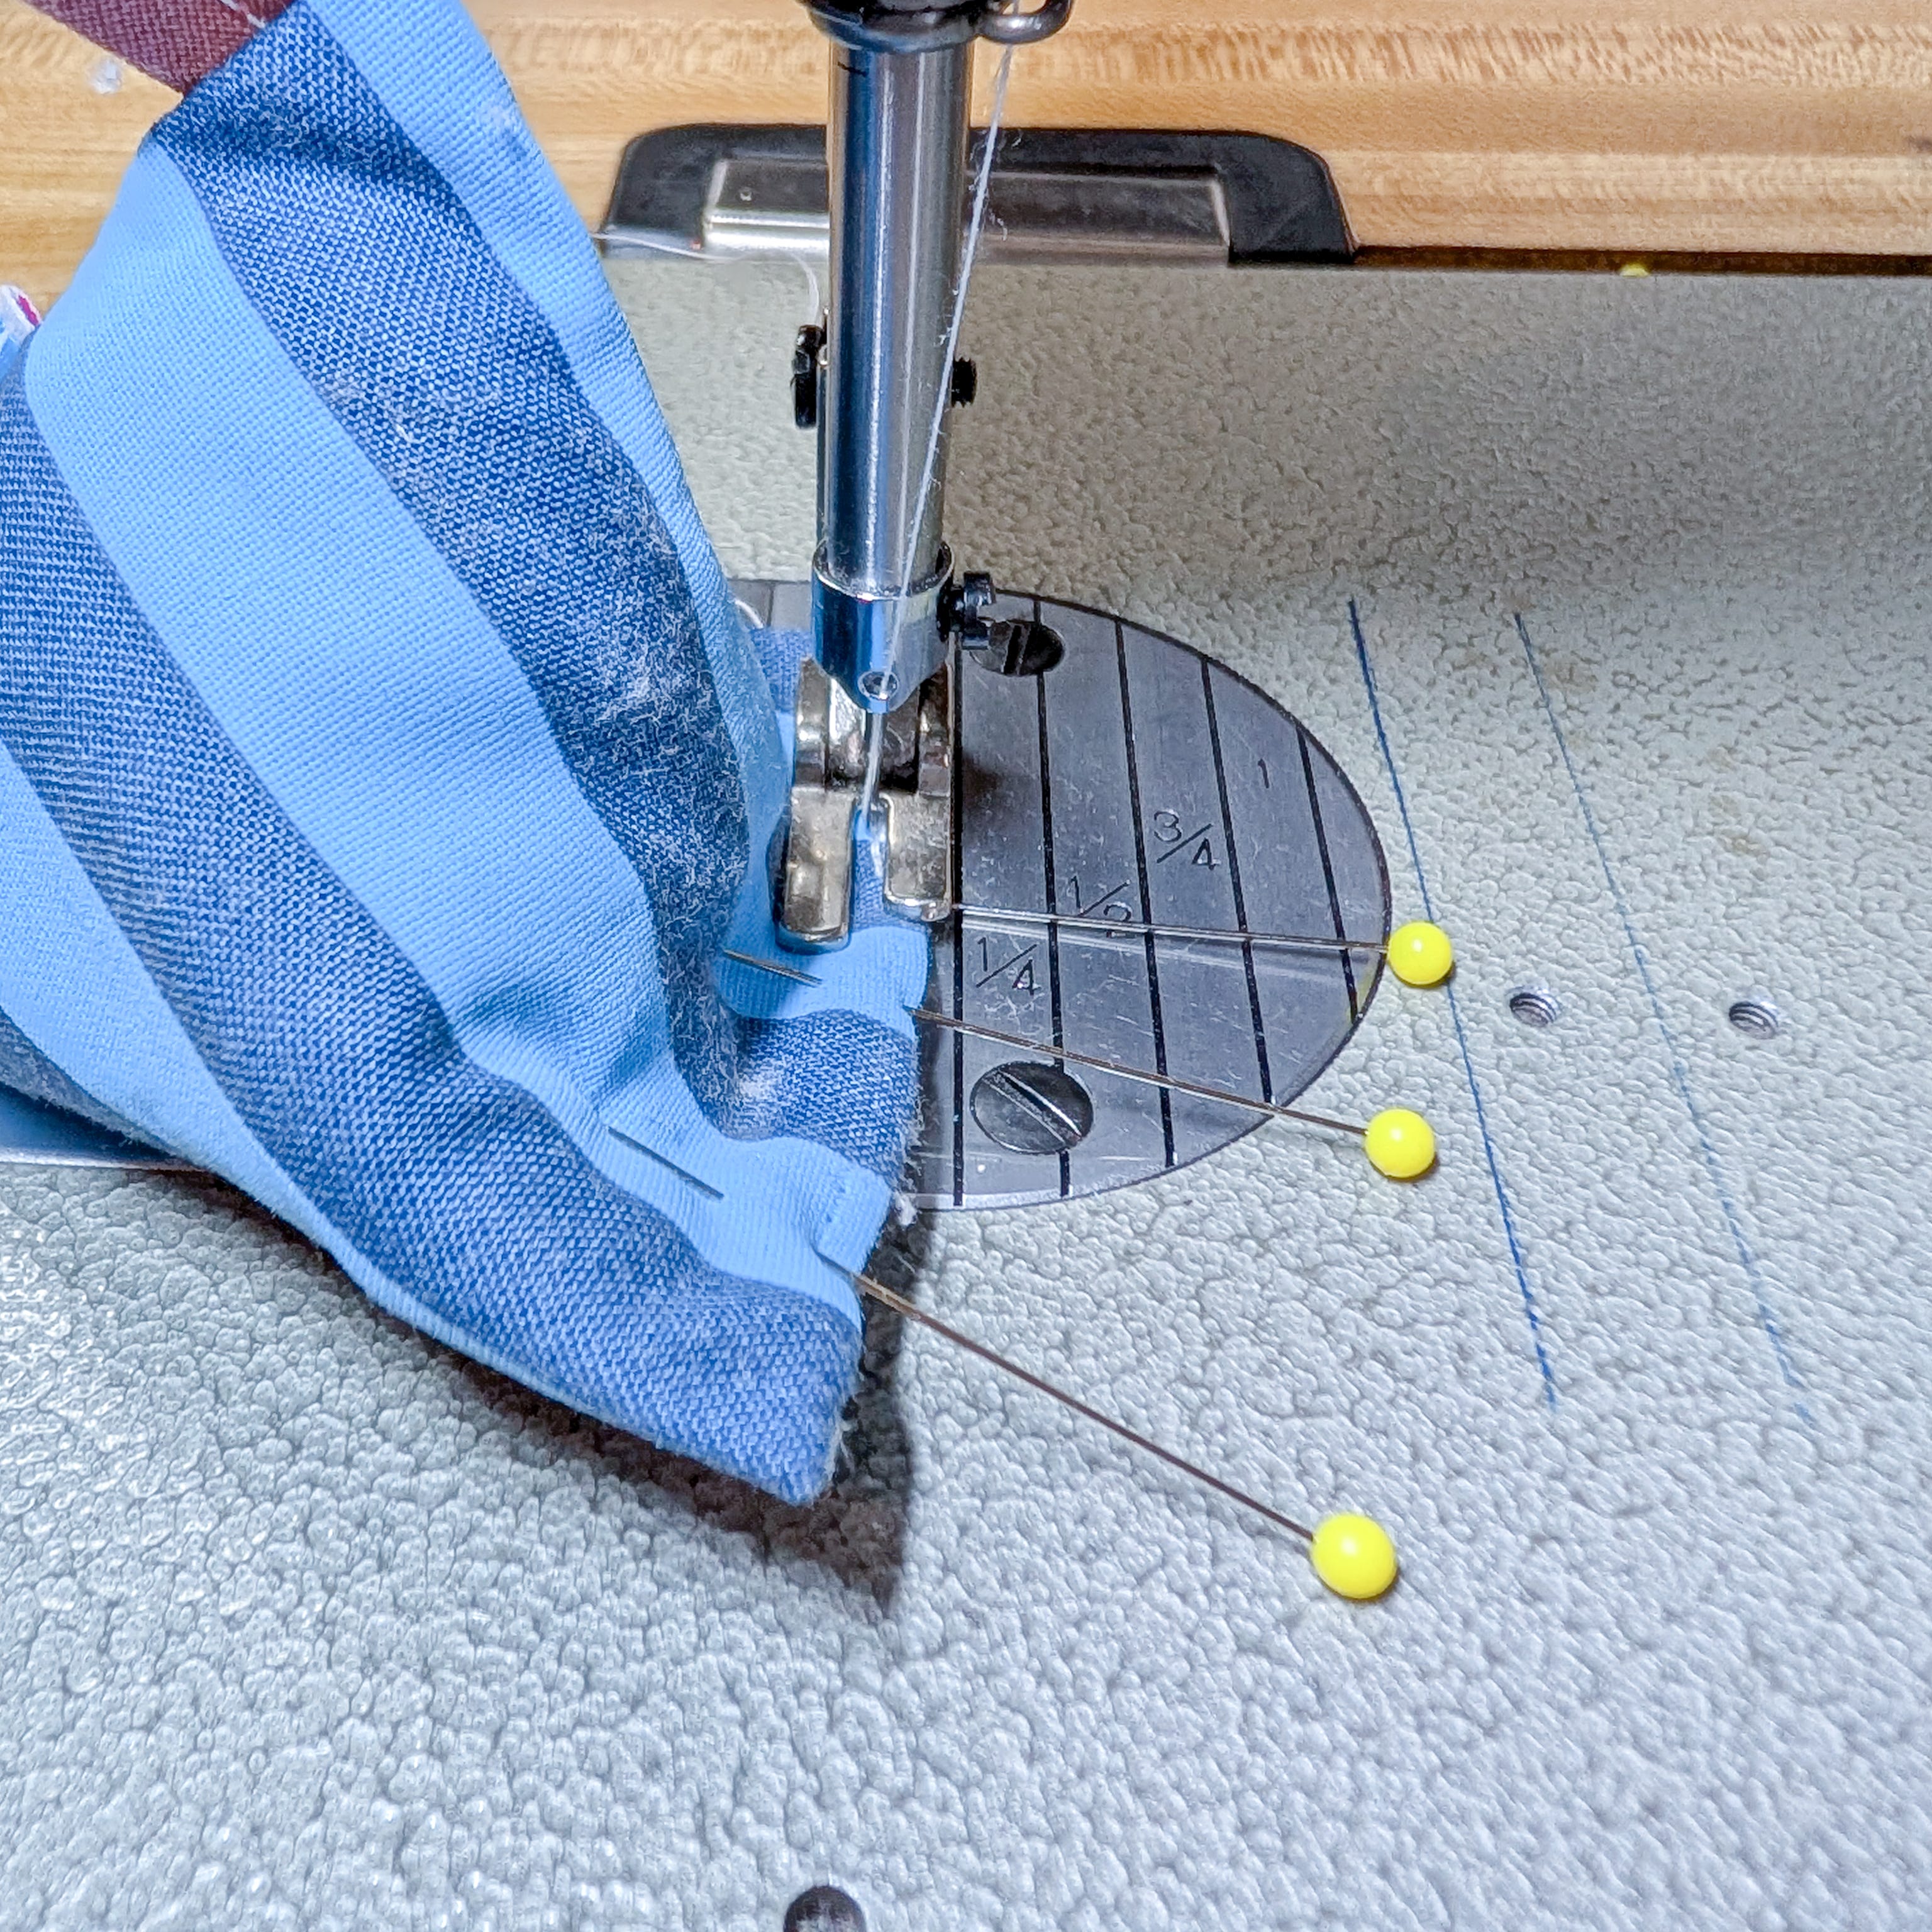
Turn in your seam allowances at the opening and pin shut. Top stitch from edge to edge of the opening, making sure to go past a few stitches to secure it.
I stitched this on the machine, but you can hand sew the opening closed for a cleaner finish.
Now time to lint roll!!
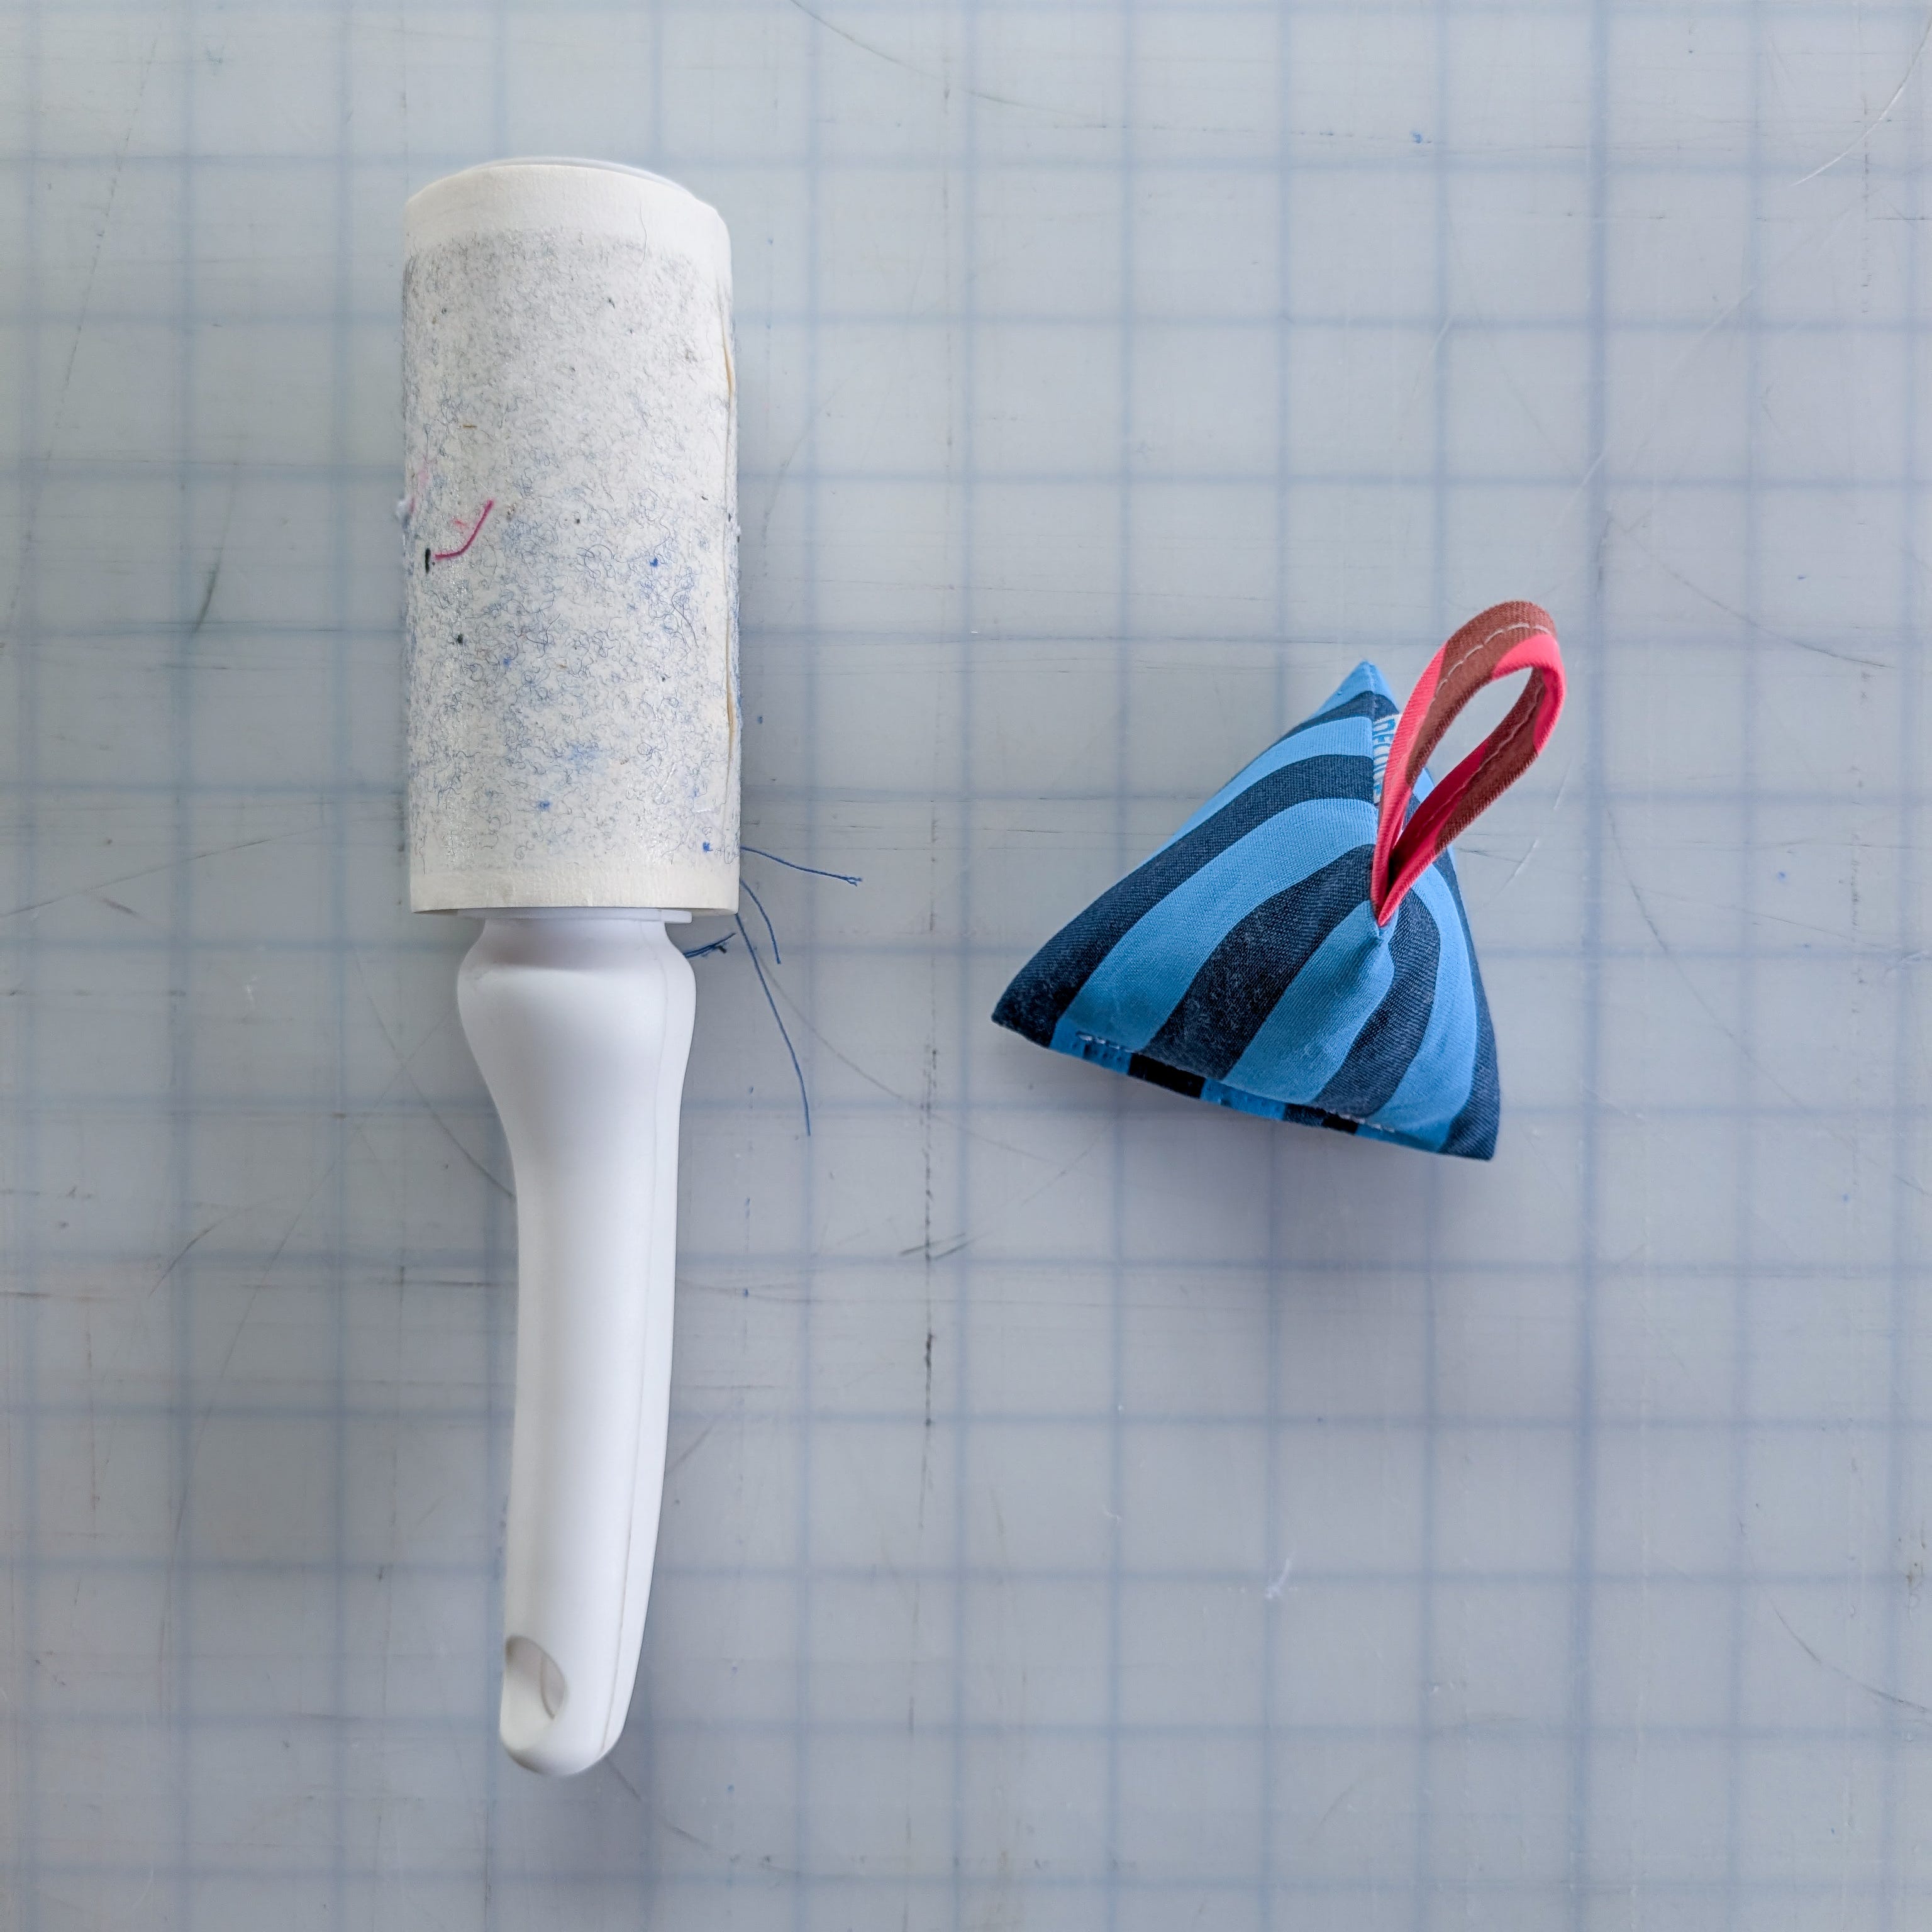
Enjoy your pincushion!
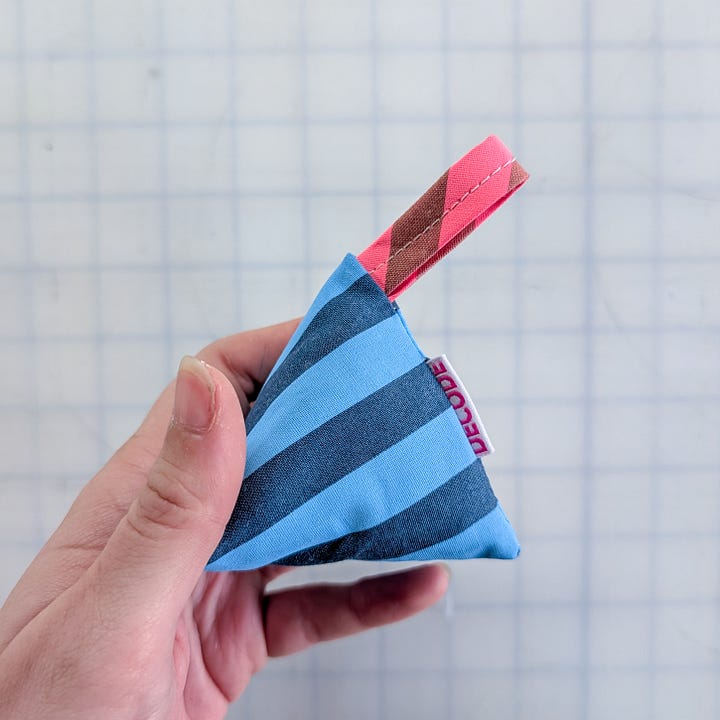
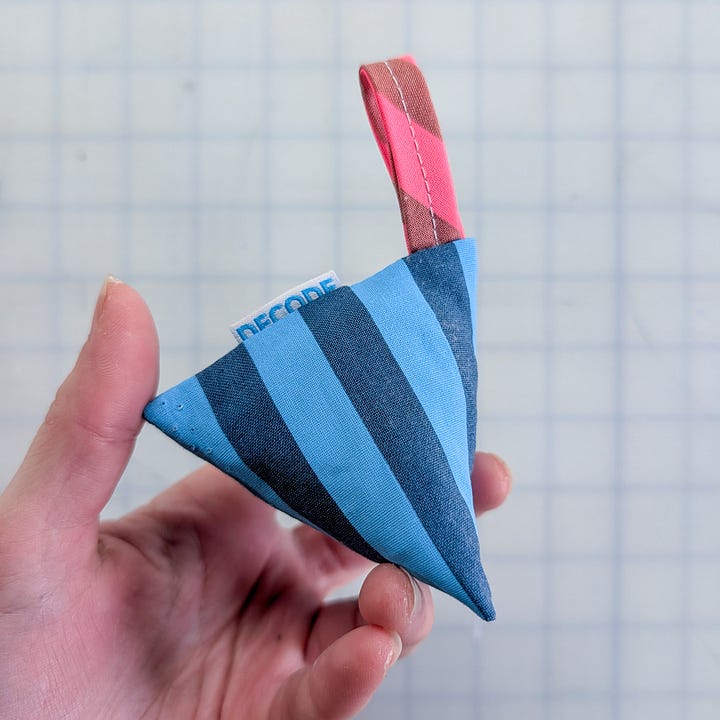
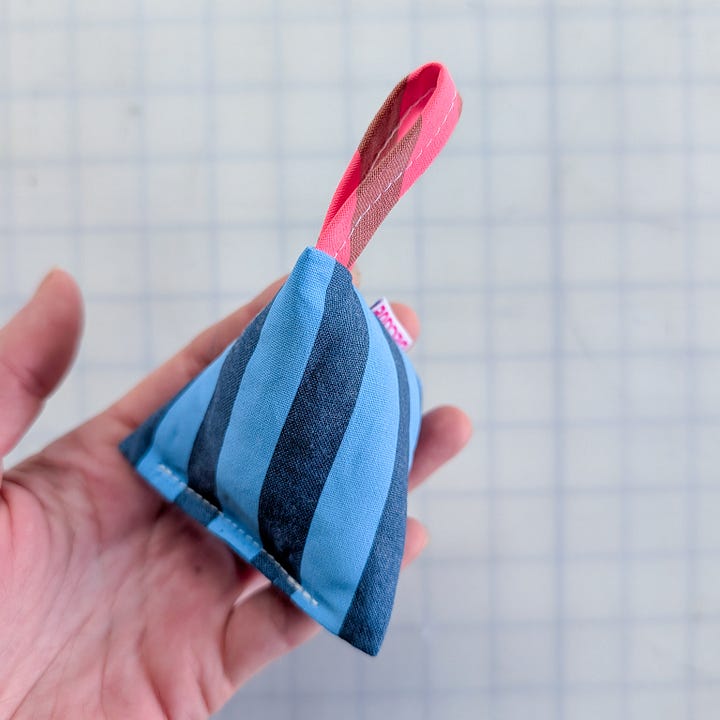
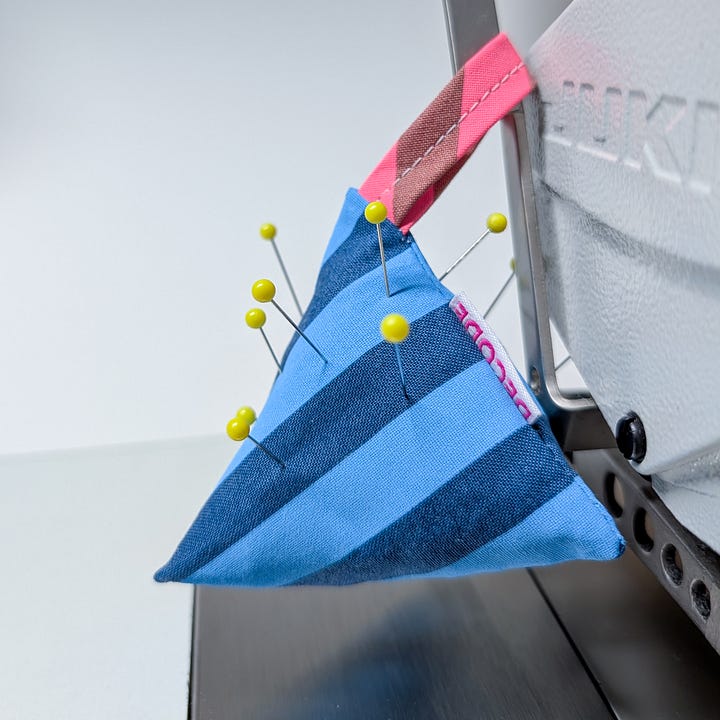
And that’s it!
Play with print, pattern, shapes, you name it. If you need to weigh the cushion down a bit you can add a few quarters to the bottom.
I hope you enjoy this project and please share your beautiful outcomes!
<3 Danielle
No posts
Comments
Nothing yet. Say the first thing.
Sign in to join the conversation.