
I love this time of year in the garden. Despite the challenge of this year’s growing season, everything still manages to gather all the weight and fragrance of summer into itself, as though making up for lost time in the looming shadow of autumn. To step foot in the garden is to enter a curated wildness of melons, still small and pale, hanging from their vines in the close heat of the polytunnel and tomatoes pulling their trusses earthwards, heavy with ripening fruit. Beyond the tunnel, flowers crowd around winter squash hanging from the canes like large, smooth stones, swelling in shades of blue and grey beneath their broad leaves. Lemon thyme, oregano and coriander are in full bloom too, their soft greens interrupted by umbels and spikes of white and lilac. Bees fill the warm air with their low, unbroken hum, paddling through the thick clouds of fragrant of bloom released with every brush of my hand or passing welly. The garden has lost much of spring’s freshness, but gained a richer pace: a fullness, sweetness, and the unmistakable sense that the year is beginning to turn.
My wife grows huge amounts of flowers and hangs them to dry in her pottery studio and our living room. Beautiful as they are, it’s actually the smell of them drying that I love most. Not the fragrant bloom, but the place where she has tied the stems together tightly with string. The pressure is enough to crush the cell walls and trigger oxidation, the same transformation encouraged in teas such as Ivan Chai and some fermented tea cakes from China. Over a few days, the vibrant, colourful, floral aroma fades, giving way to something altogether mellower; like warm hay, bruised apple skin and dried fruit, with a faint tannic woodiness of fallen leaves on a warm late summer morning.
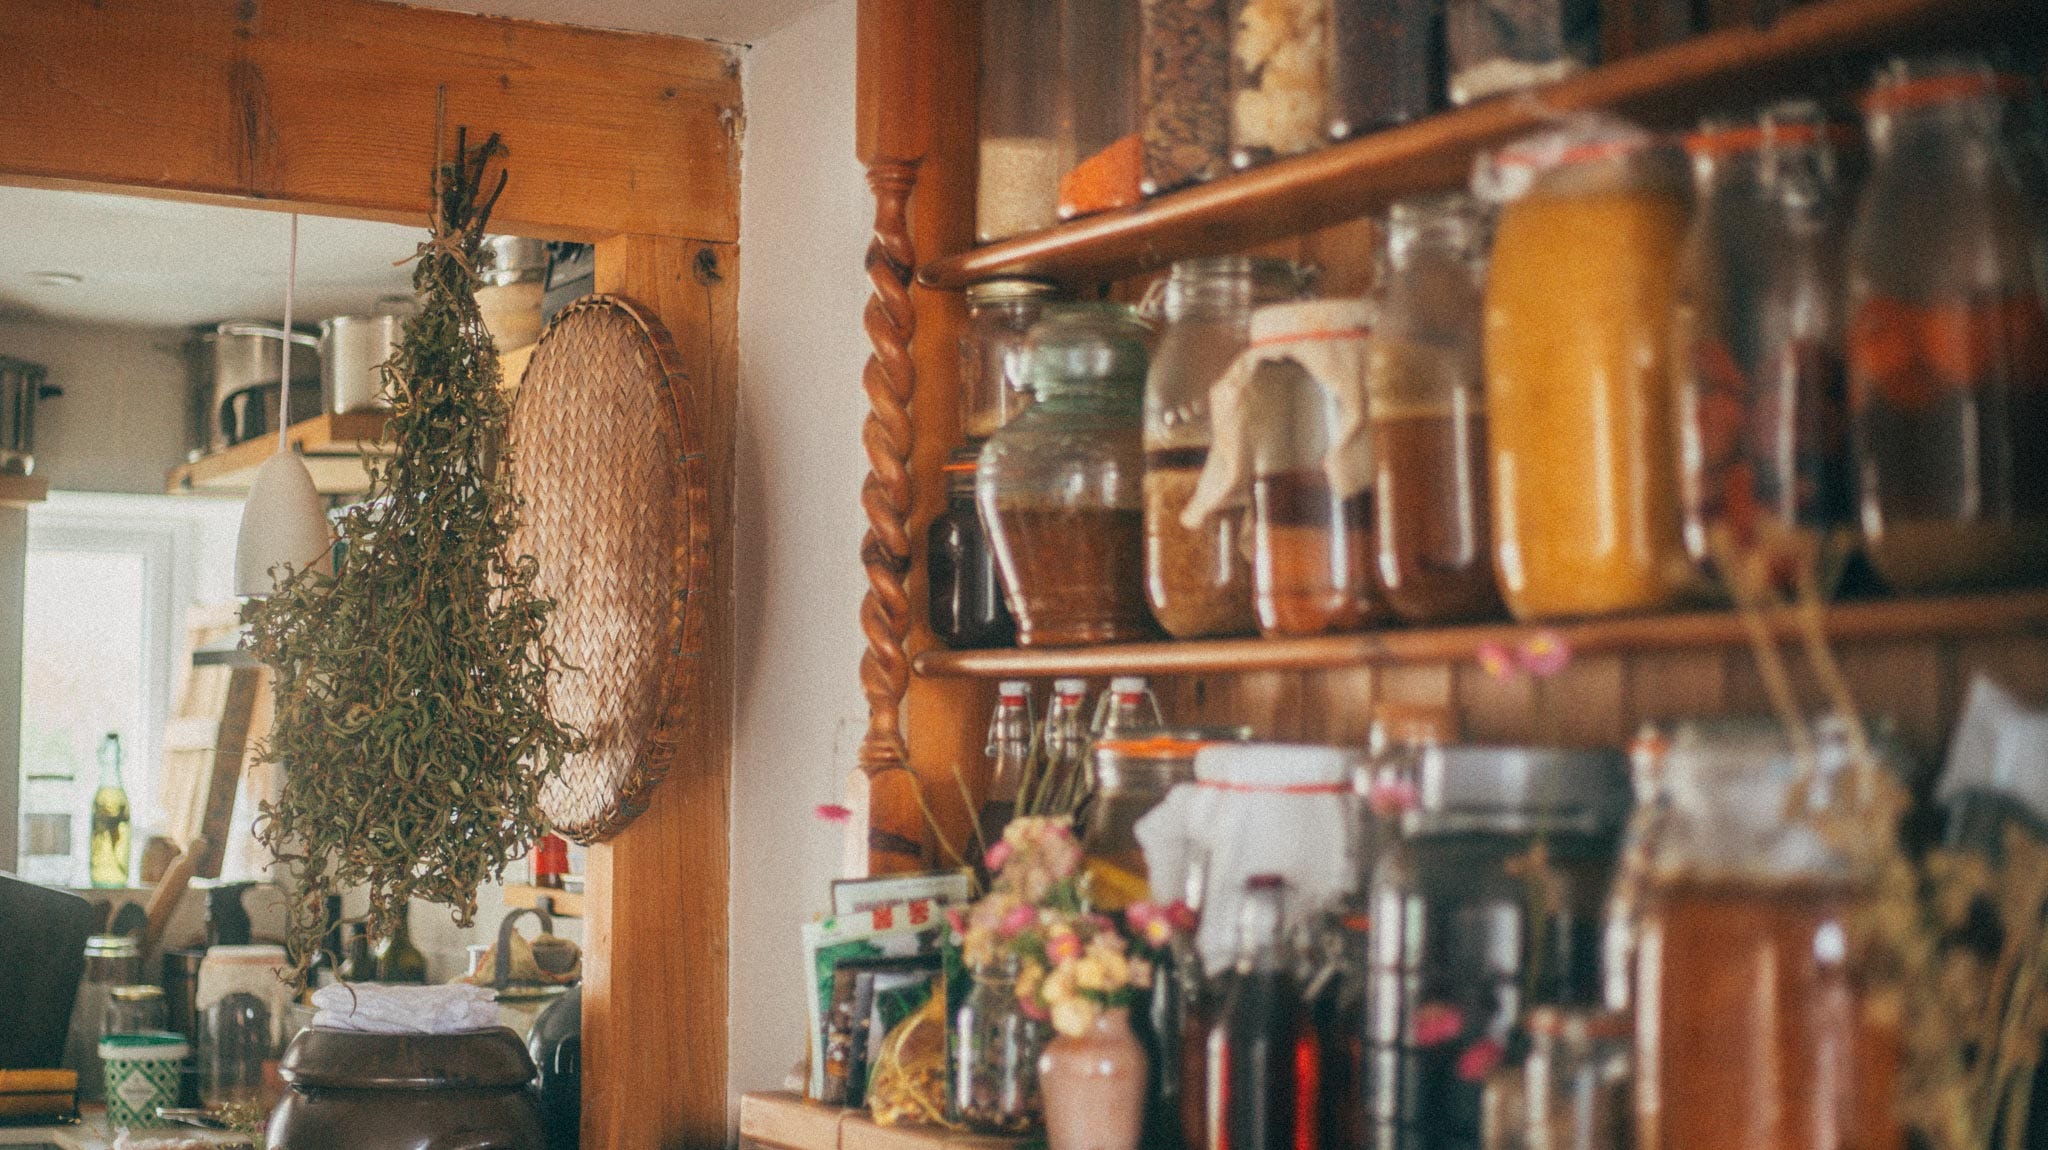
Every method of preservation captures particular qualities while surrendering others. Drying, salt, vinegar or freezing, each intervenes in its own way, providing us with a different side to the herb, a preference for which part of the plant to use (the seed, leaf, or blossom), and a different culinary application in the kitchen.
Salt captures a herb as a finished seasoning, whilst drying concentrates the aroma, but also rearranges it through oxidation and sometimes more bitter resinous notes. Vinegar preserves it through acidity, but overwhelms mild herbs, infusing the vinegar itself with aroma and colour, ready to offer lively notes to dressings, sauces or stews. Freezing retains something closer to the fresh flavour, but at the cost of the structure of the leaf, which collapses into green mush. And oxymels produces a sweet-sour condiment that sits somewhere between syrup, shrub and flavoured vinegar.
In this article, I thought I’d invite you into my kitchen and cover the many techniques I use to preserve herbs for the whole year. And, as a thank you for paid members, I’ve included a downloadable Full Herb Preservation Chart covering which parts of the plants can be treated in different ways, drying / dehydration timings and temperatures, as well as the best techniques applicable to each herb. Click here to download the full table.
For most leafy herbs, the best time to harvest is shortly before the flowers first open, when the plant has gathered the energy needed to flower but has not yet redirected as much of it towards making seed. My golden rule for harvesting is during the cooler part of the morning, after the dew has evaporated (which is true for herbs as well as other leaf and blossom harvests like elderflower, magnolia, and cherry). This reduces how much they wilt and means less surface water must be removed before preserving them.
There are obvious exceptions though. For dill, fennel and coriander, their flowers, green seeds and fully ripened seeds are some of the best parts, and each can be collected in turn. Chive blossoms, oregano flowers, flowering thyme, bergamot and anise hyssop are also useful ingredients in their own right, imparting fantastically vibrant fragrance and colour to pale vinegar infusions like apple cider or white wine vinegar. And, if you’ve ever let one of these herbs flower in your garden before, you’ll know that bees and pollinators of all kinds adore them.
You can wash herbs under cool running water if you need to, though I tend to give them a shake instead (to free them of tiny insects), then remove anything damaged or discoloured. If washed, dry them thoroughly in a salad spinner and between clean cloths, before spreading them out beside an open window until there’s no surface moisture left. This step also gives time for any remaining insects to evacuate before processing.
I usually save myself some time by preserving tender stemmed herbs alongside their leaves. The younger stems of parsley, basil, coriander, dill, thyme, marjoram and oregano carry a great deal of flavour. Older, woody stems have become bitter and unpleasant, so best remove them and dry separately for other uses like herb infused smoking or leave them on a baking tray on the shelf below a roast dinner to infuse it with their aroma.
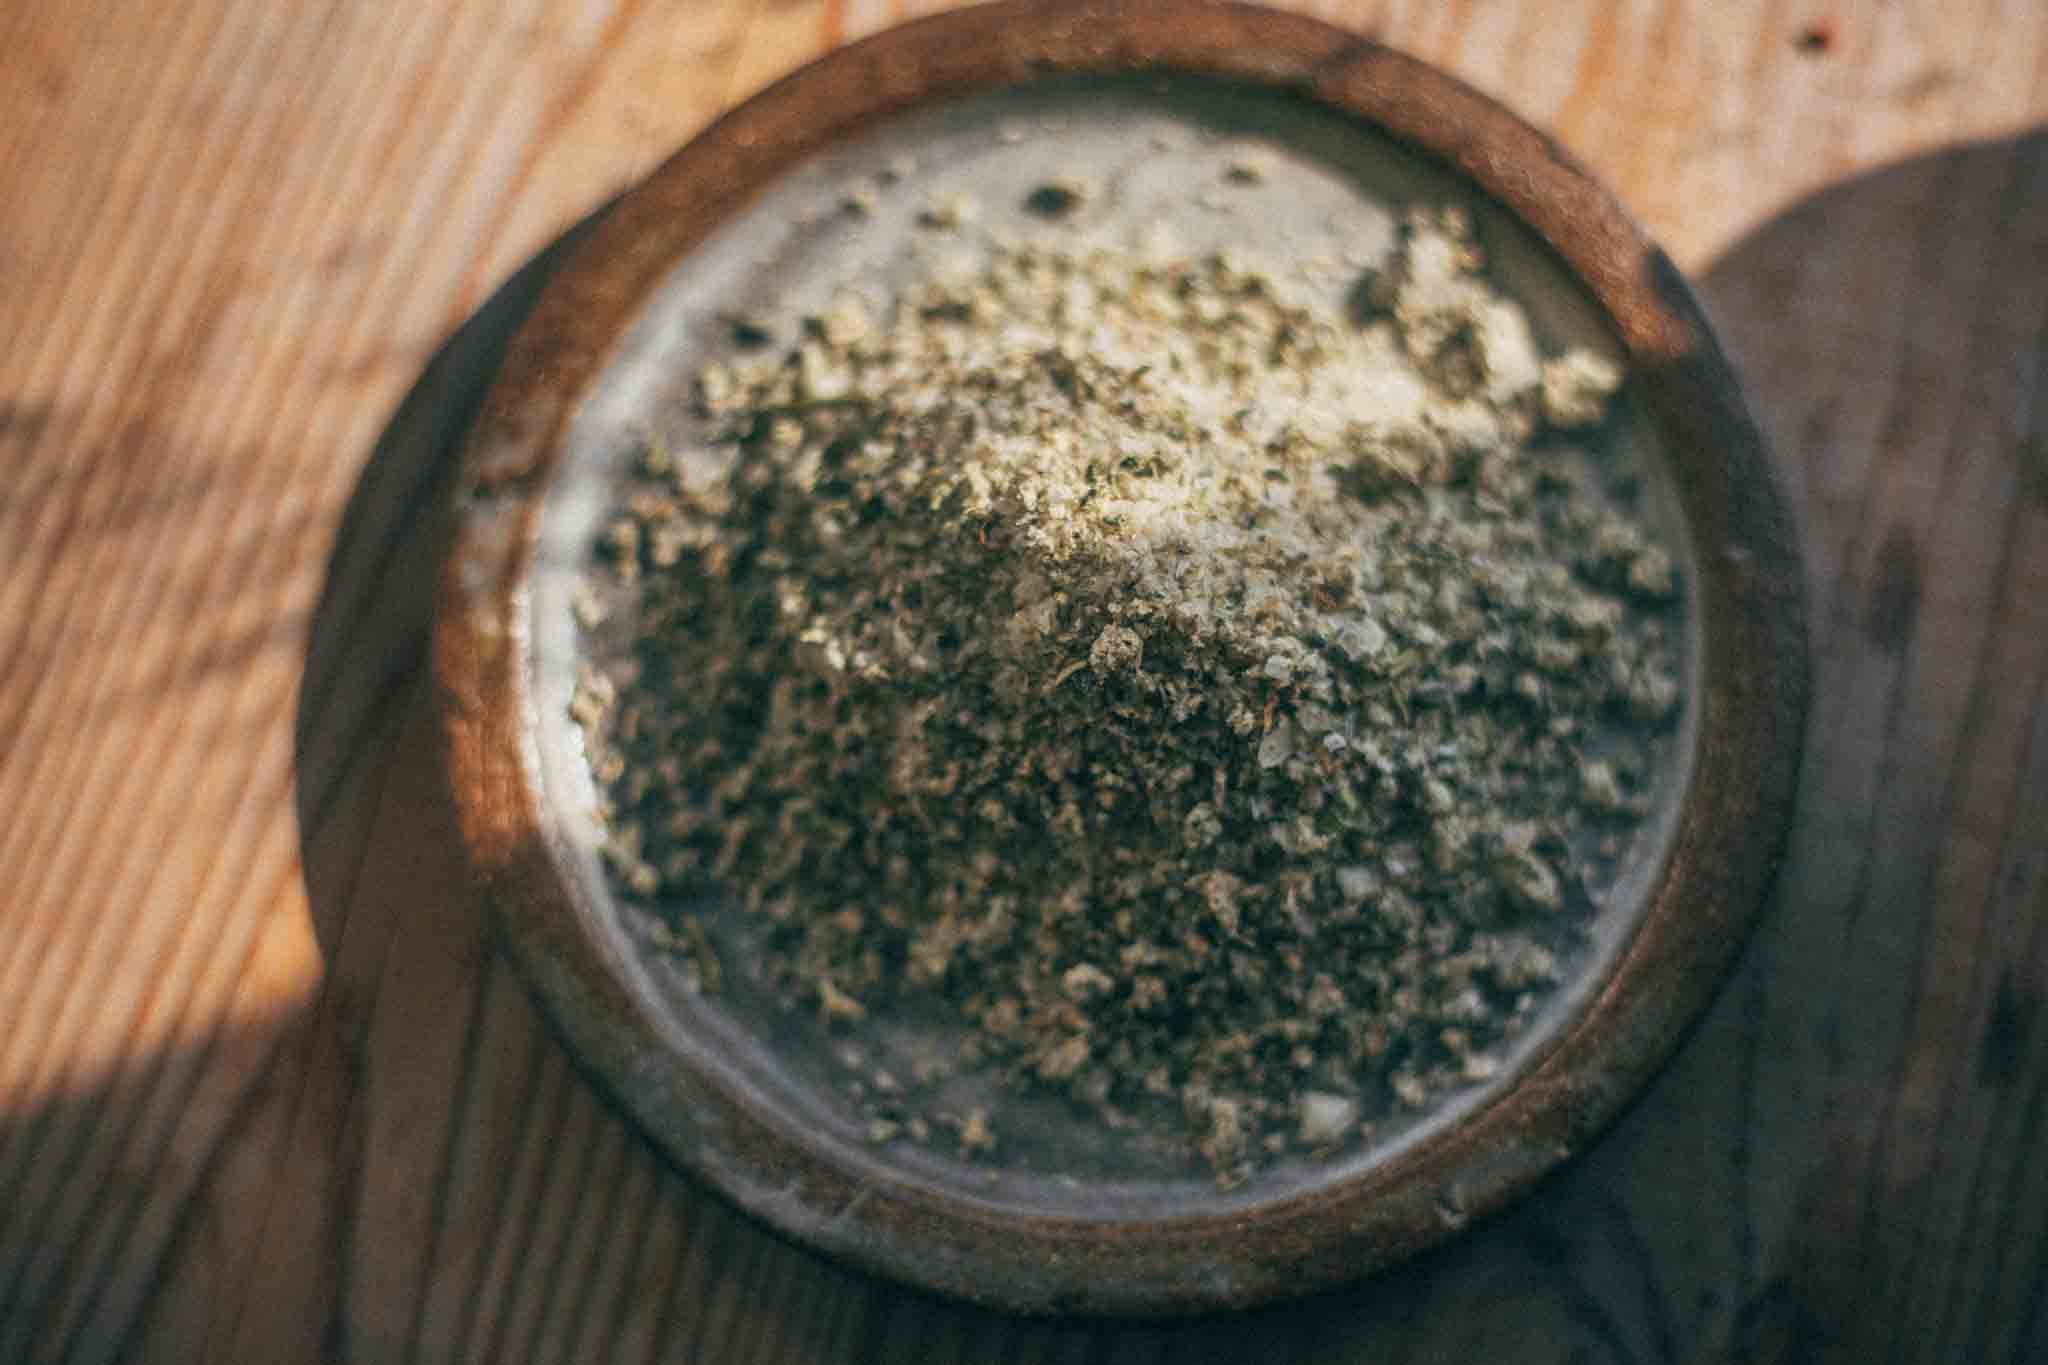
Herb salt is one of the simplest ways to capture a large harvest and one of the most useful. It requires no specialist equipment beyond something with which to chop, pound or process the herbs, followed by a means of drying them.
My basic method, which we used in the restaurant, is:
100g fresh herbs
100g dry sea salt
Equal weights make the recipe easy to scale. Weigh the prepared herbs, then use the same weight of salt.
The finished salt becomes more interesting when the ingredients are divided before processing. For a 200g starting batch, I use:
80g herbs for pounding
20g small leaves and tender tips, reserved
75g salt, crushed or ground more finely
25g salt kept coarse
Strip away genuinely woody stems but retain the tender growth, then finely chop the reserved 20g of herbs and spread them on a separate cloth or tray.
Pound or pulse the remaining 80g with the 75g of finer salt until the mixture resembles damp green sand: intensely fragrant and evenly combined, but still recognisably granular. A food processor is efficient, but use short pulses to avoid warming the herbs and diminishing their aroma.
Grinding ruptures the plant’s cells and oil-bearing structures, releasing aromatic compounds as the salt draws out moisture and distributes them through the mixture. The finer crystals maintain close contact with the herbs and disperse evenly through food, while the coarse salt and recognisable pieces of herb added later provide occasional bursts of salinity, fragrance and texture.
Stir the remaining coarse salt into the pounded mixture, then spread it no more than a few millimetres deep over a tray, alongside the reserved herbs.
A dehydrator gives the most dependable combination of low heat and moving air. Dry at 35–40°C until completely crisp, checking after five hours, stirring occasionally and breaking apart damp clumps.
For the low-tech method, place the trays beside an open window on the shady side of the house, since direct sunlight can diminish aroma. During a warm Welsh summer this takes around two days, although the colour may become less vivid. Stir everything occasionally and break apart any clumps as they form.
An oven can also be used at its lowest setting, provided it maintains a genuinely low, stable temperature. Sometimes I turn on just the fan and leave the door open, although this can sometimes get a little hairy and blow the herbs everywhere when they dry.
The finished salt should feel completely dry and loose, without cool or soft pockets hidden inside the clumps. Store it in a clean, airtight jar away from direct sunlight. Its flavour will be brightest during the first six months, although a thoroughly dried salt remains usable for years. If you want the most vivid colour and freshest aroma, skip drying altogether and freeze the herb salt in portions.
Use it wherever the herb would ordinarily suit the dish: basil salt with tomatoes, parsley salt with roast potatoes or fish, celery salt with mushrooms, oregano salt with roasted courgettes, rosemary salt with fresh cheese and honey, or fennel-seed salt over flatbreads. Add it towards the end of cooking or use it as a finishing salt to preserve the most aroma.
A note for fermenters: the recipe begins with 50% salt by total starting weight, but this percentage rises as the herbs lose water. If using herb salt in fermentation or curing, weigh the finished dried batch and calculate its salinity by dividing the original weight of salt by the finished weight, then multiplying by 100. This allows you to use it without falling below the salt range required by the technique.
Celery leaves and lovage share a deep savoury fragrance, somewhere between celery heart, parsley stalk and the smell released when a large bunch of garden herbs is first cut. Lovage is considerably stronger and a single plant can produce an astonishing amount of flavour.
Celery salt ordinarily means ground celery seed combined with salt. A salt made from fresh celery leaves is more green and rounder, and less dominated by the warm bitterness of the seed.
For one batch, use:
70g celery leaves and tender stalks
30g lovage leaves and tender stalks
100g sea salt
The proportions can be adjusted, although a salt made entirely from lovage will be extremely powerful. Process and dry it using the same divided method as outlined above: reserve 20g of the best leaves and 25g of the coarse salt, pound the remainder together, combine it all together, then dry out completely and jar up once completely crisp.
The finished seasoning is particularly good with tomatoes, potatoes, butter beans, lentils, mushrooms, roast root vegetables and vegetable broths. A surprisingly small amount can give a bowl of soup an extraordinary savoury depth.
I began thinking about this after a chat with Johnny Kyunghwo, where he told me that one of South Korea’s most highly regarded jang makers uses bamboo salt to give her ferments an extraordinary flavour. Bamboo salt develops its character through repeated high-temperature roasting inside bamboo, traditionally sealed with mineral-rich clay. I plan to attempt some sort of local equivalent later this year, as a garden salt cannot reproduce that process, but celery leaves and lovage do create a local seasoning with an equally recognisable identity of its own. More on that soon.
Despite how common it is, especially online, fresh herbs should not be submerged in oil and stored at room temperature. Herbs are low-acid ingredients and oil produces an airless environment in which Clostridium botulinum can grow and produce toxins. For those who don’t know, this is the bacterium responsible for botulism poisoning, one of the most potent toxins known to man.
Refrigeration slows microbial growth but doesn’t turn an ordinary homemade herb oil into a long-term preserve. Because of this, I highly recommend keeping herb oils and homemade pesto refrigerated and using them within four days, or freezing them immediately in small portions. Even apparently dry herbs may retain or introduce enough moisture to create a risk, so this should not be treated as a preservation technique.
Pure honey remains stable primarily because very little of its water is available to microorganisms. It has a reputation for being antimicrobial, which can encourage the belief that almost anything submerged in honey will be safely preserved, but fresh herbs introduce water and create a moist boundary between the plant and the honey. Anyone who has tried dissolving a lot of honey into water for mead knows just how much stirring it takes to fully combine them, and laboratory trials have found that bacteria can grow at this interface.
For a room-temperature herb honey, use herbs dried until brittle and keep them below 15% of the finished mixture by weight. Hold the honey at 60°C or above during infusion, infuse for around 15 minutes and then strain out the herbs completely.
I would avoid putting raw fresh herbs into cold honey and leaving the jar at room temperature, or relying on a casual one-week storage rule. Fully dried herbs or the controlled hot-infusion method offer clearer and more dependable routes. Or, in my opinion, oxymels make for a far more interesting and reliable alternative (see below).
P.S. We all know someone who has kept herb oil or infused honey this way without becoming ill. That does not mean every jar will become unsafe, but botulinum toxin cannot be seen, smelled or tasted. When the possible consequence is this serious, I find it difficult to justify either method.
Drying is simple in principle, yet there is a surprising amount of finesse in the detail, since the rate at which water leaves the plant, together with airflow, temperature, light and even the size and looseness of the bundle, all determine how well the herbs will hold on to their colour and aroma once they’re finished.
Rosemary, thyme, sage, bay and the various savory herbs are particularly well suited to hanging, and they respond best when gathered into small, loose bundles suspended indoors, out of direct sunlight, in a place where air can circulate gently and continuously around every stem (rather than being blocked or trapped).
Large bunches may look generous and lovely, but they tend to dry unevenly and often badly, because moisture collects in the centre (especially around the tied stems) where the same compression that can produce a rich, slightly oxidised aroma also creates conditions where mould can begin to form, while at the same time loose string risks slipping as the herbs shrink. My usual workaround is to keep a length of the thicker stem in the bundle and tie around that instead, allowing the finer growth I want to preserve to dry more quickly and be removed as soon as it is ready.
It is also worth placing a clean tea towel or similar cloth beneath the hanging herbs, both to catch the small leaves that inevitably fall and to collect seeds as they loosen, since seedheads from dill, fennel, coriander, celery and sweet cicely in particular dry very cleanly and lend themselves beautifully to this method.
In warm, reasonably dry conditions most herbs will take around five to ten days to dry fully, although denser material such as bay leaves may need anything from seven to fourteen days, and in the humid conditions of West Wales I sometimes find it helpful to encourage a gentle draught with a nearby fan, to keep air moving around the bundles so that moisture is carried away as it is released.
You can tell the herbs are ready when the leaves crumble easily between your fingers, the stems snap cleanly rather than bending, and the seeds fall away from their heads with little resistance, whereas anything that still feels cool, leathery or flexible is a sign that moisture remains inside and more time is needed.
More delicate or tender herbs such as basil, tarragon, lemon balm, mint, chervil, chives and shiso tend to benefit from a faster, more controlled approach, so I spread the leaves in a single, uncrowded layer and use a dehydrator set between 35–43°C, where most will dry within one to four hours, although thicker leaves will take longer.
It is tempting to increase the temperature to speed things up, but doing so risks driving off the volatile compounds that give herbs their character in the first place, so the real balance is in removing moisture quickly enough to prevent decay while still keeping conditions cool enough to preserve the more fragile aromatic compounds.
Once fully dry, the herbs should be allowed to cool completely before being stored whole in airtight containers, and it is best to crush them only at the moment of cooking, since every broken edge increases the surface area exposed to oxygen and whole leaves therefore retain their aroma for far longer than the pre-ground herbs found in supermarkets, especially when kept somewhere cool, dark and dry, where they will generally remain at their best for six months to a year. As a rough starting point, use about one-third the quantity of dried herb compared to fresh when measuring by spoonful, then adjusting to taste.
The results of drying vary widely between species, with oregano often becoming warmer, rounder and in some ways more recognisably itself when used in tomato-based dishes, while coriander leaf tends to dry poorly even though its seeds are excellent, and tarragon retains a hint of anise but loses its most delicate top notes. Rosemary, thyme and sage remain robust and expressive even through long cooking, and dried basil, by contrast, is usually disappointing when compared with its fresh counterpart.
It’s worth remembering that drying actively transforms the aroma of herbs. As plant tissues break down, oxidise and lose water, some of the terpene hydrocarbons associated with fresh herbs (the bright, green, citrusy, resinous and floral notes) evaporate or shift into new compounds, while the changing balance of aldehydes, alcohols and esters can evoke entirely different impressions such as cut grass, warm hay, dried fruit, wood and spice. In a way, we think of drying herbs as the most unchanged preservation technique, but it’s worth learning to recognise the transformation in your own herbs and think about how their warmer, rounder character might be used more deliberately in the kitchen through the darker months of autumn and winter.
Freezing often preserves the fresh, green character of basil, coriander, dill, parsley and chives better than air-drying. Wash and dry them thoroughly, then freeze whole sprigs in sealed bags or chopped leaves in small portions with a little water or oil.
The downside to this happens once the herbs are thawed. Ice crystals rupture the leaf cells, however, so the herbs turn into a soft green mush. They’re still excellent for soups, curries, sauces and braises, but are of little use for much else.
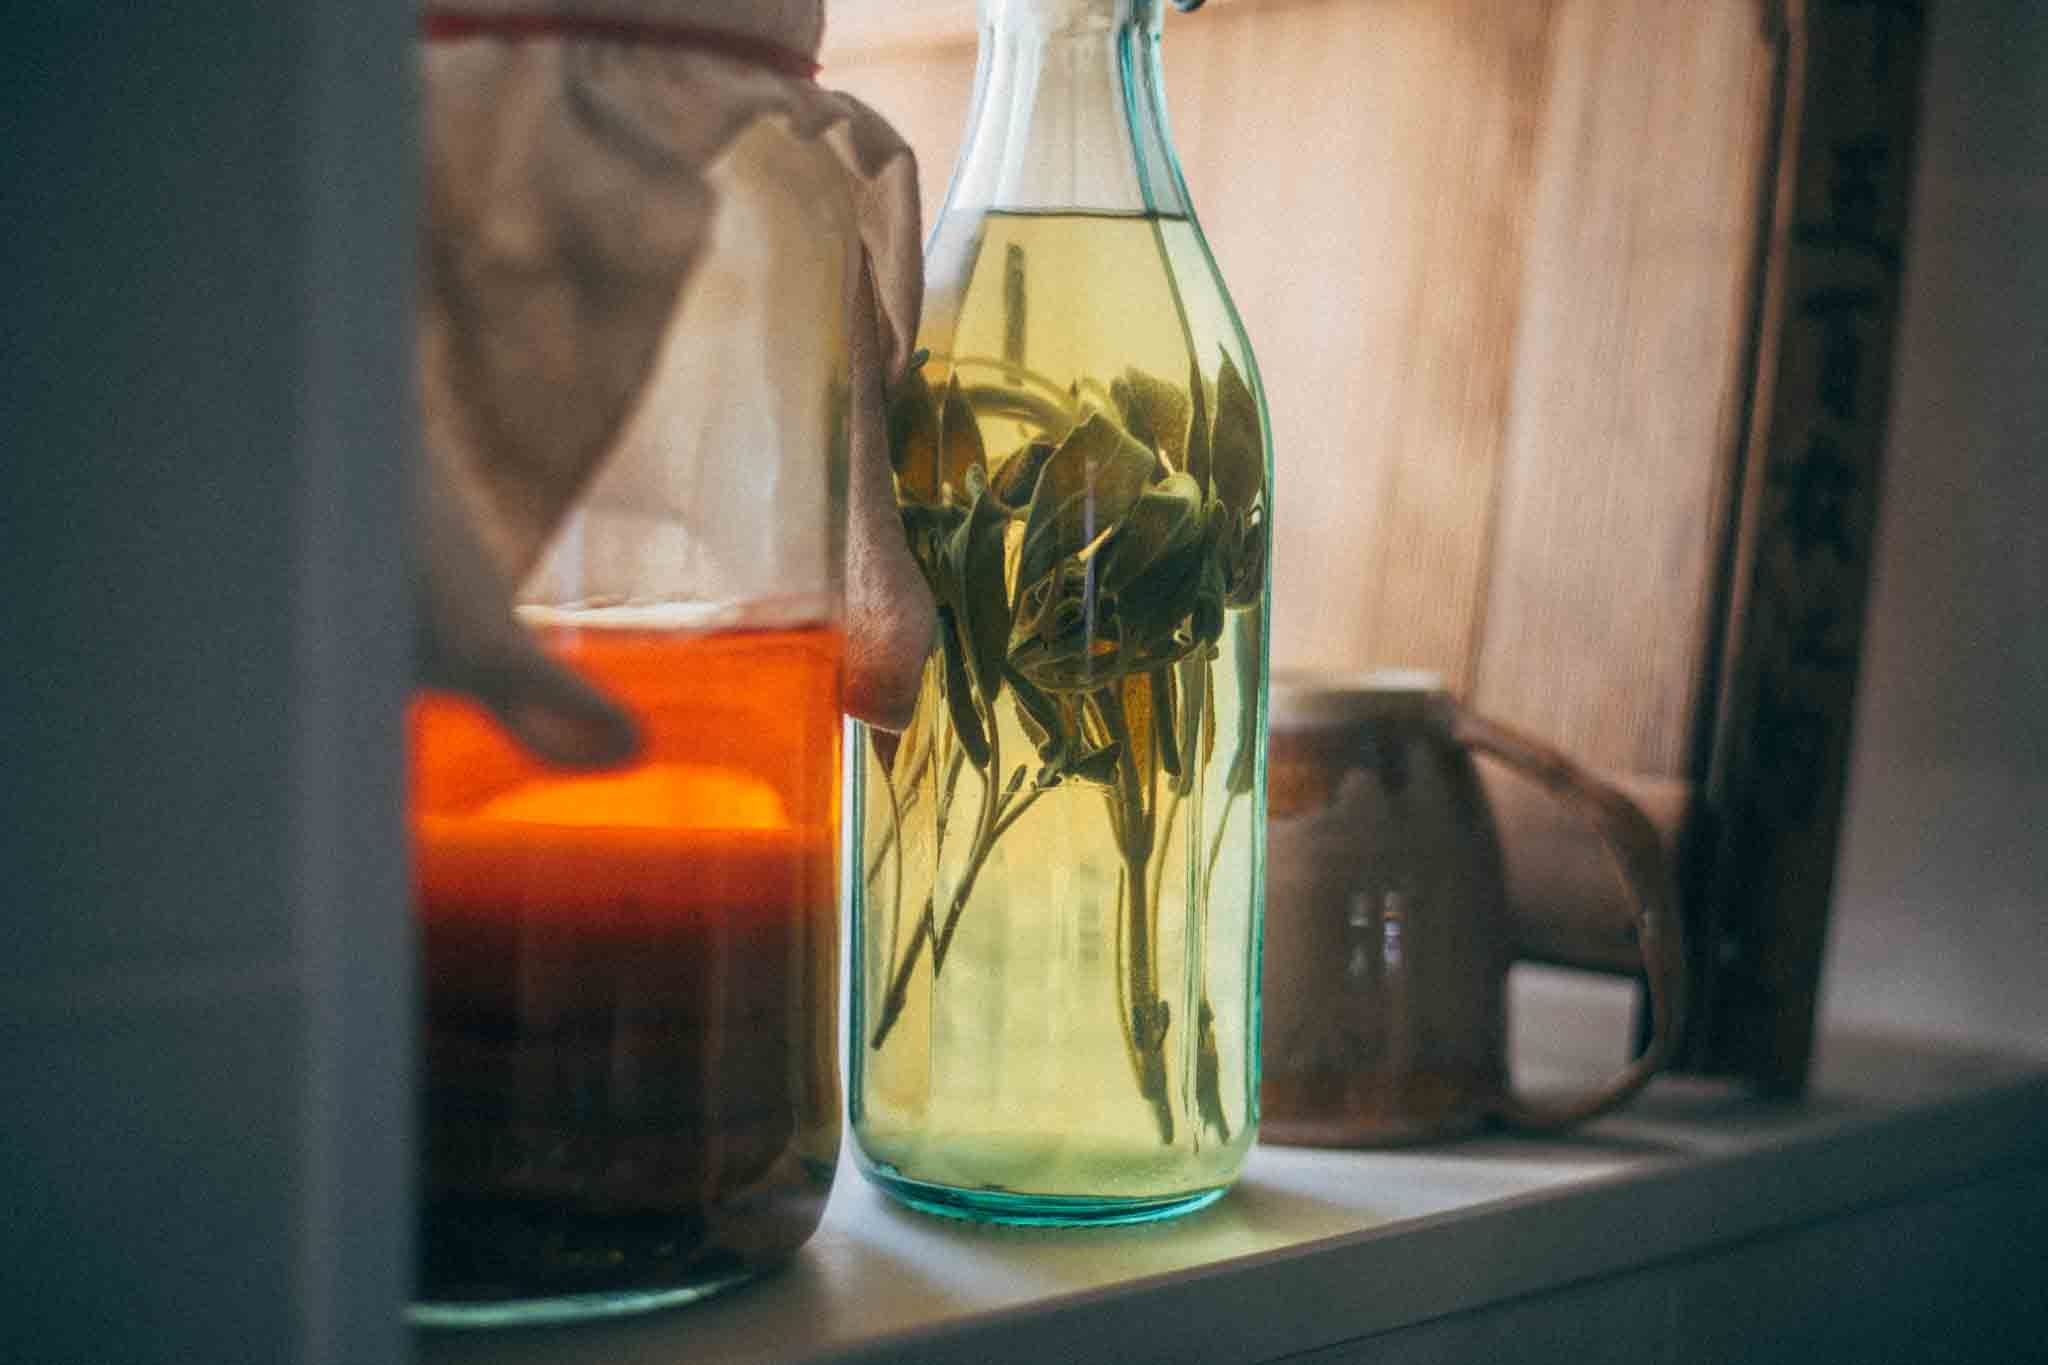
Vinegar is particularly well suited to herbs that already pair naturally with acidity, such as tarragon, mint, dill, fennel, chervil, lovage, celery leaf, lemon verbena, thyme, basil and rosemary.
For safety, always use vinegar marked as at least 5% acidity and don’t dilute it. Homemade vinegar is tricky to judge but can still be used if you’re certain it is 5% acidity, or simply keep it refrigerated.
Distilled white vinegar is clear and sharp, making it useful for delicate herbs and vividly coloured chive blossoms or red shiso. White wine vinegar is smoother and suits tarragon, dill, basil, chervil and lemon verbena; cider vinegar is softer and fruitier with mint, sage, lovage, celery leaf and lemon balm. Red wine vinegar complements rosemary, oregano, thyme, bay and the savory herbs, while malt vinegar works with robust leaves and seeds where its familiar British sharpness is welcome. Rice vinegar is mild and slightly sweet, but often contains less than 5% acidity; check the label and refrigerate lower-acidity versions.
For a useful starting batch, combine:
500g vinegar containing at least 5% acidity
20–30g sturdy herbs, or 30–40g soft leafy herbs
Shake or wash the herbs, dry their surfaces thoroughly and place them in a clean glass jar with a non-corrodible lid. Bruise the leaves and stems with the back of a knife or rolling pin to encourage extraction without creating the muddy sediment produced by finely chopping them.
For a cold infusion, pour the vinegar over the herbs, keep them covered and seal the jar. This retains a fresher, greener aroma and suits tarragon, dill, basil, chervil, lemon verbena and flowers.
For the hot method, heat the vinegar to 88–91°C, stopping before it boils, then pour it over the herbs. The warmth begins extraction immediately and works well with rosemary, sage, thyme, bay and tougher stems.
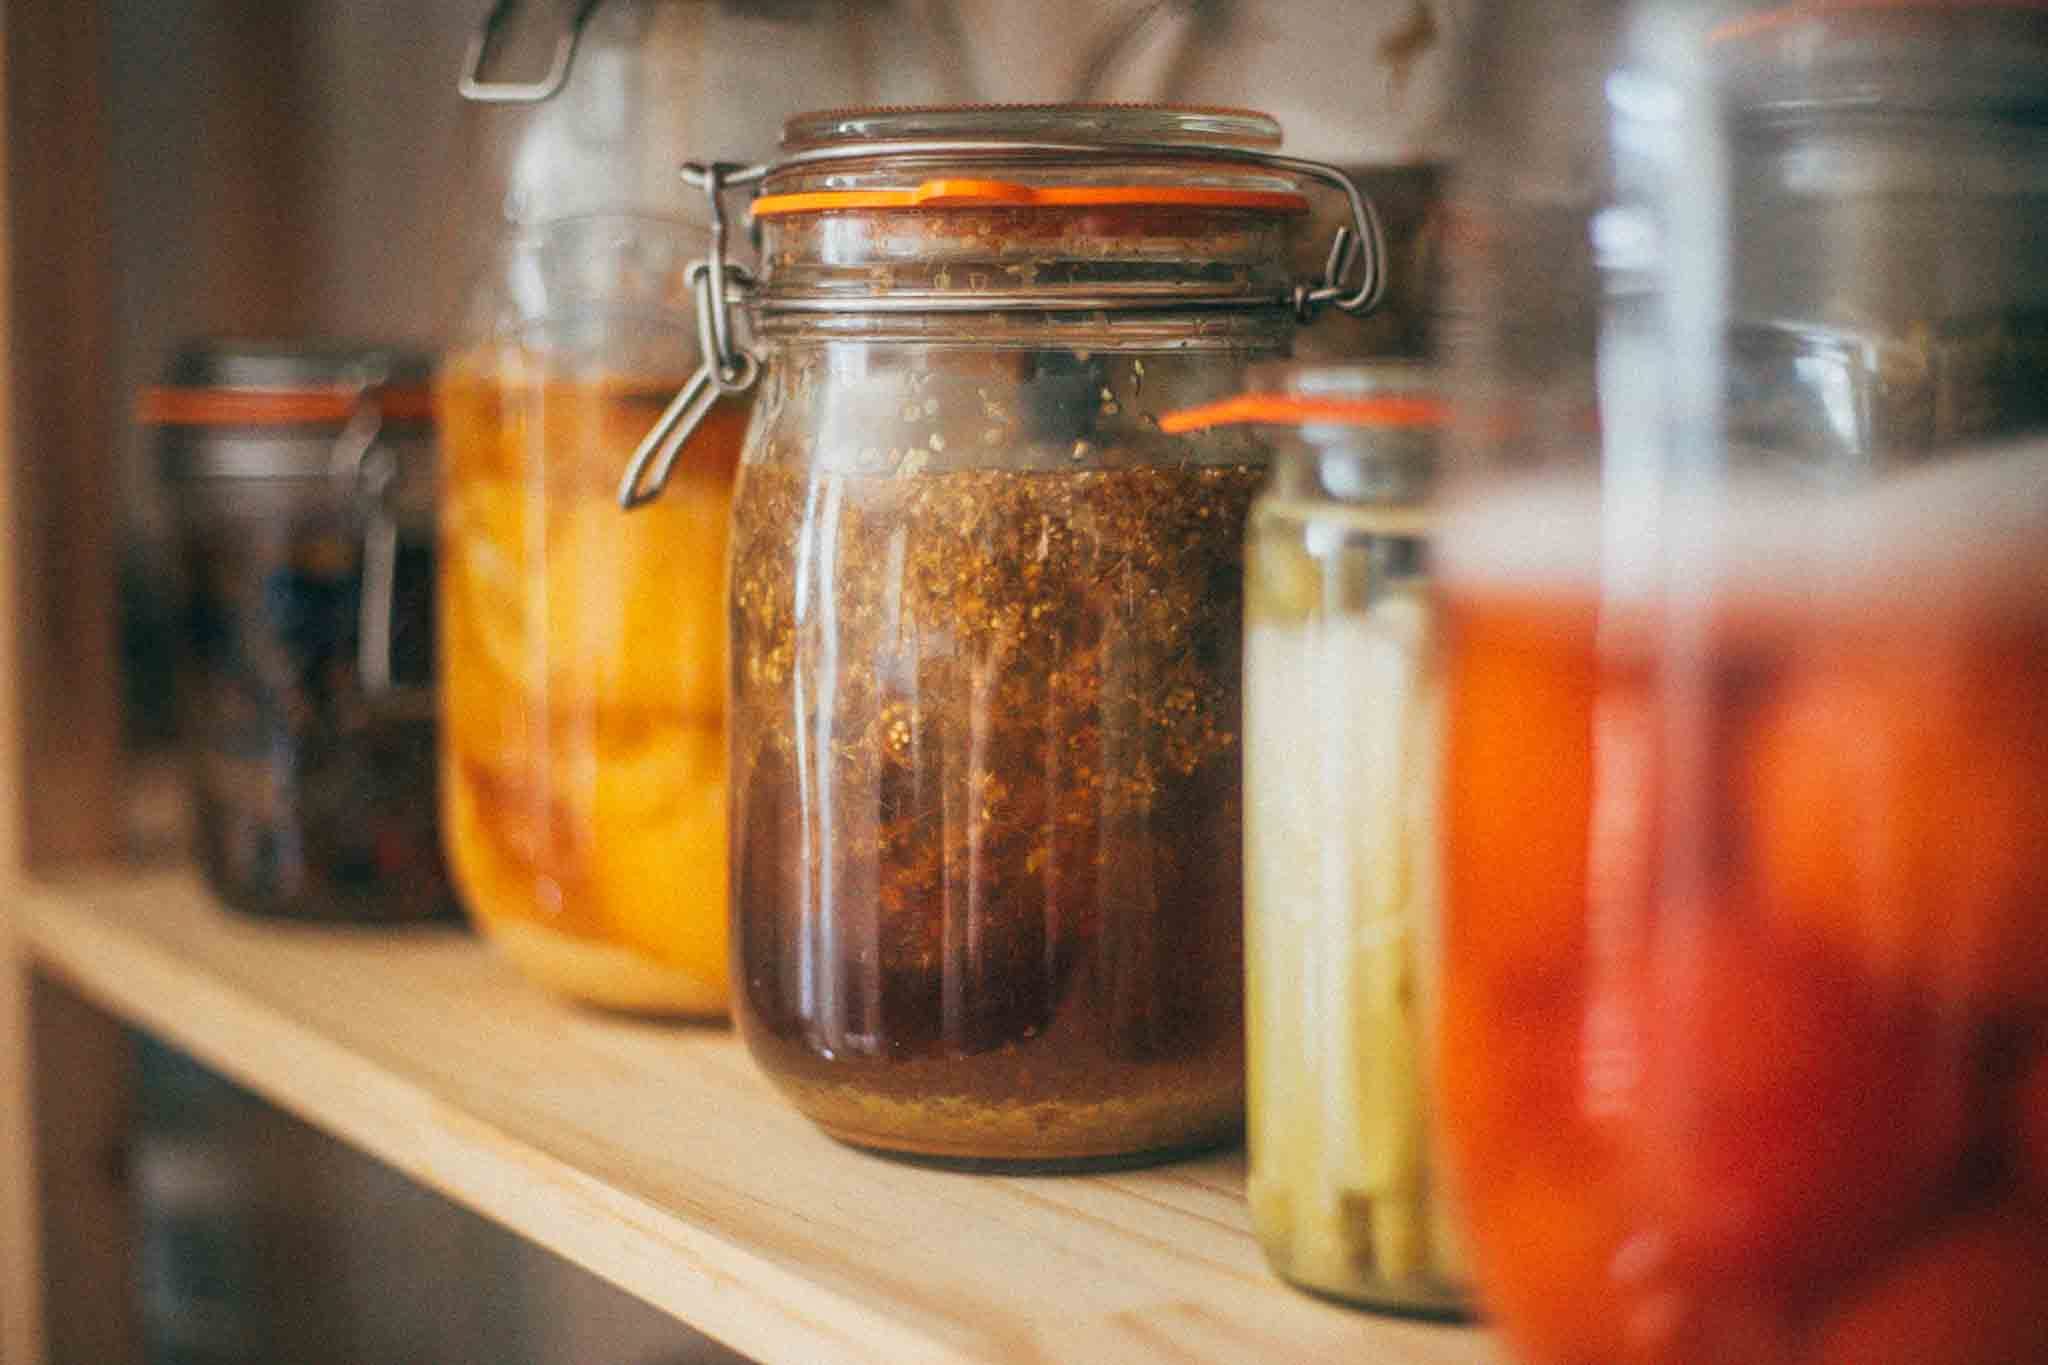
Keep the jar in a cool, dark place and begin tasting after ten days; most herb vinegars are ready within three to four weeks. Dilute a few drops with water or taste them on plain bread, since neat vinegar can obscure the herb you are trying to judge.
Once the flavour is right, strain through damp muslin, a jelly bag or a paper coffee filter until clear, then bottle and label with the herb, vinegar and date. Removing all the plant material gives a more dependable result than leaving a decorative sprig in the bottle, however pretty it looks.
Store tightly sealed in a cool, dark place, although refrigeration retains colour and fragrance best. Use within six months and discard without tasting if mould or slime appears around the surface.
Some of my favourite combinations:
Tarragon and white wine vinegar for mustard dressings, beans and cream sauces
Mint or dill vinegar for peas, potatoes, cucumber, beetroot and fish
Lovage or celery-leaf vinegar for lentils, tomatoes and soup
Rosemary, sage or thyme vinegar for mushrooms, roast roots, beans and pan sauces
Lemon verbena vinegar for tomatoes, fruit and summer dressings
Red shiso or chive-blossom vinegar for a beautifully coloured seasoning
Set out a little thyme salt, dried thyme and thyme vinegar, for example. Dilute the vinegar with water so its acidity doesn’t obscure the herb, then smell each preparation before tasting it with something neutral, such as boiled potatoes or plain bread.
In salt, thyme remains at its greenest and most immediate. Released oils mixed with salt carrying them across the tongue, revealing citrus, green wood, fresh growth and the slight metallic bitterness of the living leaf. Coarse crystals provide flashes of flavour, making this a thyme for garnishing or finishing a dish.
Dried thyme becomes warmer, more concentrated and distinctly woody. Its lightest aromas recede, allowing the resinous and earthy parts to move forward. This is a thyme for beans, braises, soups and sauces that need time to come together.
In vinegar, acidity lifts thyme’s floral and balsamic notes while the woody character sits underneath. Brighter than dried thyme but less leafy than the salt, it suits dressings, pan sauces and lentil stews, seasoning through acidity as well as aroma.
One herb has become three distinct ingredients: salt for immediacy, drying for slow, lingering depth, and vinegar for a lively lift. Use them wisely.
I have made a three-page Full Herb Preservation Chart for paid members of The Black Butter Club. It covers thirty-two culinary herbs, including several that receive less attention in generic preserving guides, such as: sweet cicely, shiso, Korean mint, angelica, bergamot, lovage, salad burnet and both summer and winter savory.
For each herb, the chart includes:
Which parts of the plant can be collected
Whether it is suitable for hanging
Typical air-drying times
Dehydrator temperatures and starting times
Whether it makes a good herb salt
The vinegars that suit it best
Additional flavour and safety notes
It has a white, low-ink background, is designed to print across three A4 landscape pages and, if you’re anything like me, will probably end up folded into the back of your kitchen notebook for quick reference.
Before we jump into the paid-members section, I wanted to squeeze in some exciting news. For the first time, signed copies of my new book are available to preorder until 19 August, ready to be shipped worldwide from 27 August. You can also request a personalised message, all for £20 (only £1 more than Amazon is currently charging for the unsigned book during its 24% sale).
I’m genuinely thrilled to offer something a little more personal as we enter the month in which the book is finally published. In a few weeks, I’ll be heading to Backstory, an independent bookshop in London, to sign every copy ready for publication week. You can order yours here or using the button below. Once the signing window closes, they’re gone.
The free part of this article ends here, but there is still one final preservation method waiting below. Paid members can continue for my fermenter’s take on the traditional oxymel, along with the complete sources and further-reading list and the downloadable Full Herb Preservation Chart. If you’re a free member and would like to make the fermenting oxymel or keep the chart in your cookery notebook, you can join The Black Butter Club below.
Comments
Nothing yet. Say the first thing.
Sign in to join the conversation.