
Sauerkraut is one of the easiest ways to start fermenting at home.
No fancy equipment. No complicated steps. No culinary degree required.
Just vegetables, salt, and time. That’s it. You’re essentially creating the right environment and then stepping back while billions of beneficial bacteria do exactly what they’re designed to do.
I made my first batch years ago and I haven’t stopped since. Once you understand the process, it becomes one of those kitchen rituals you actually look forward to.
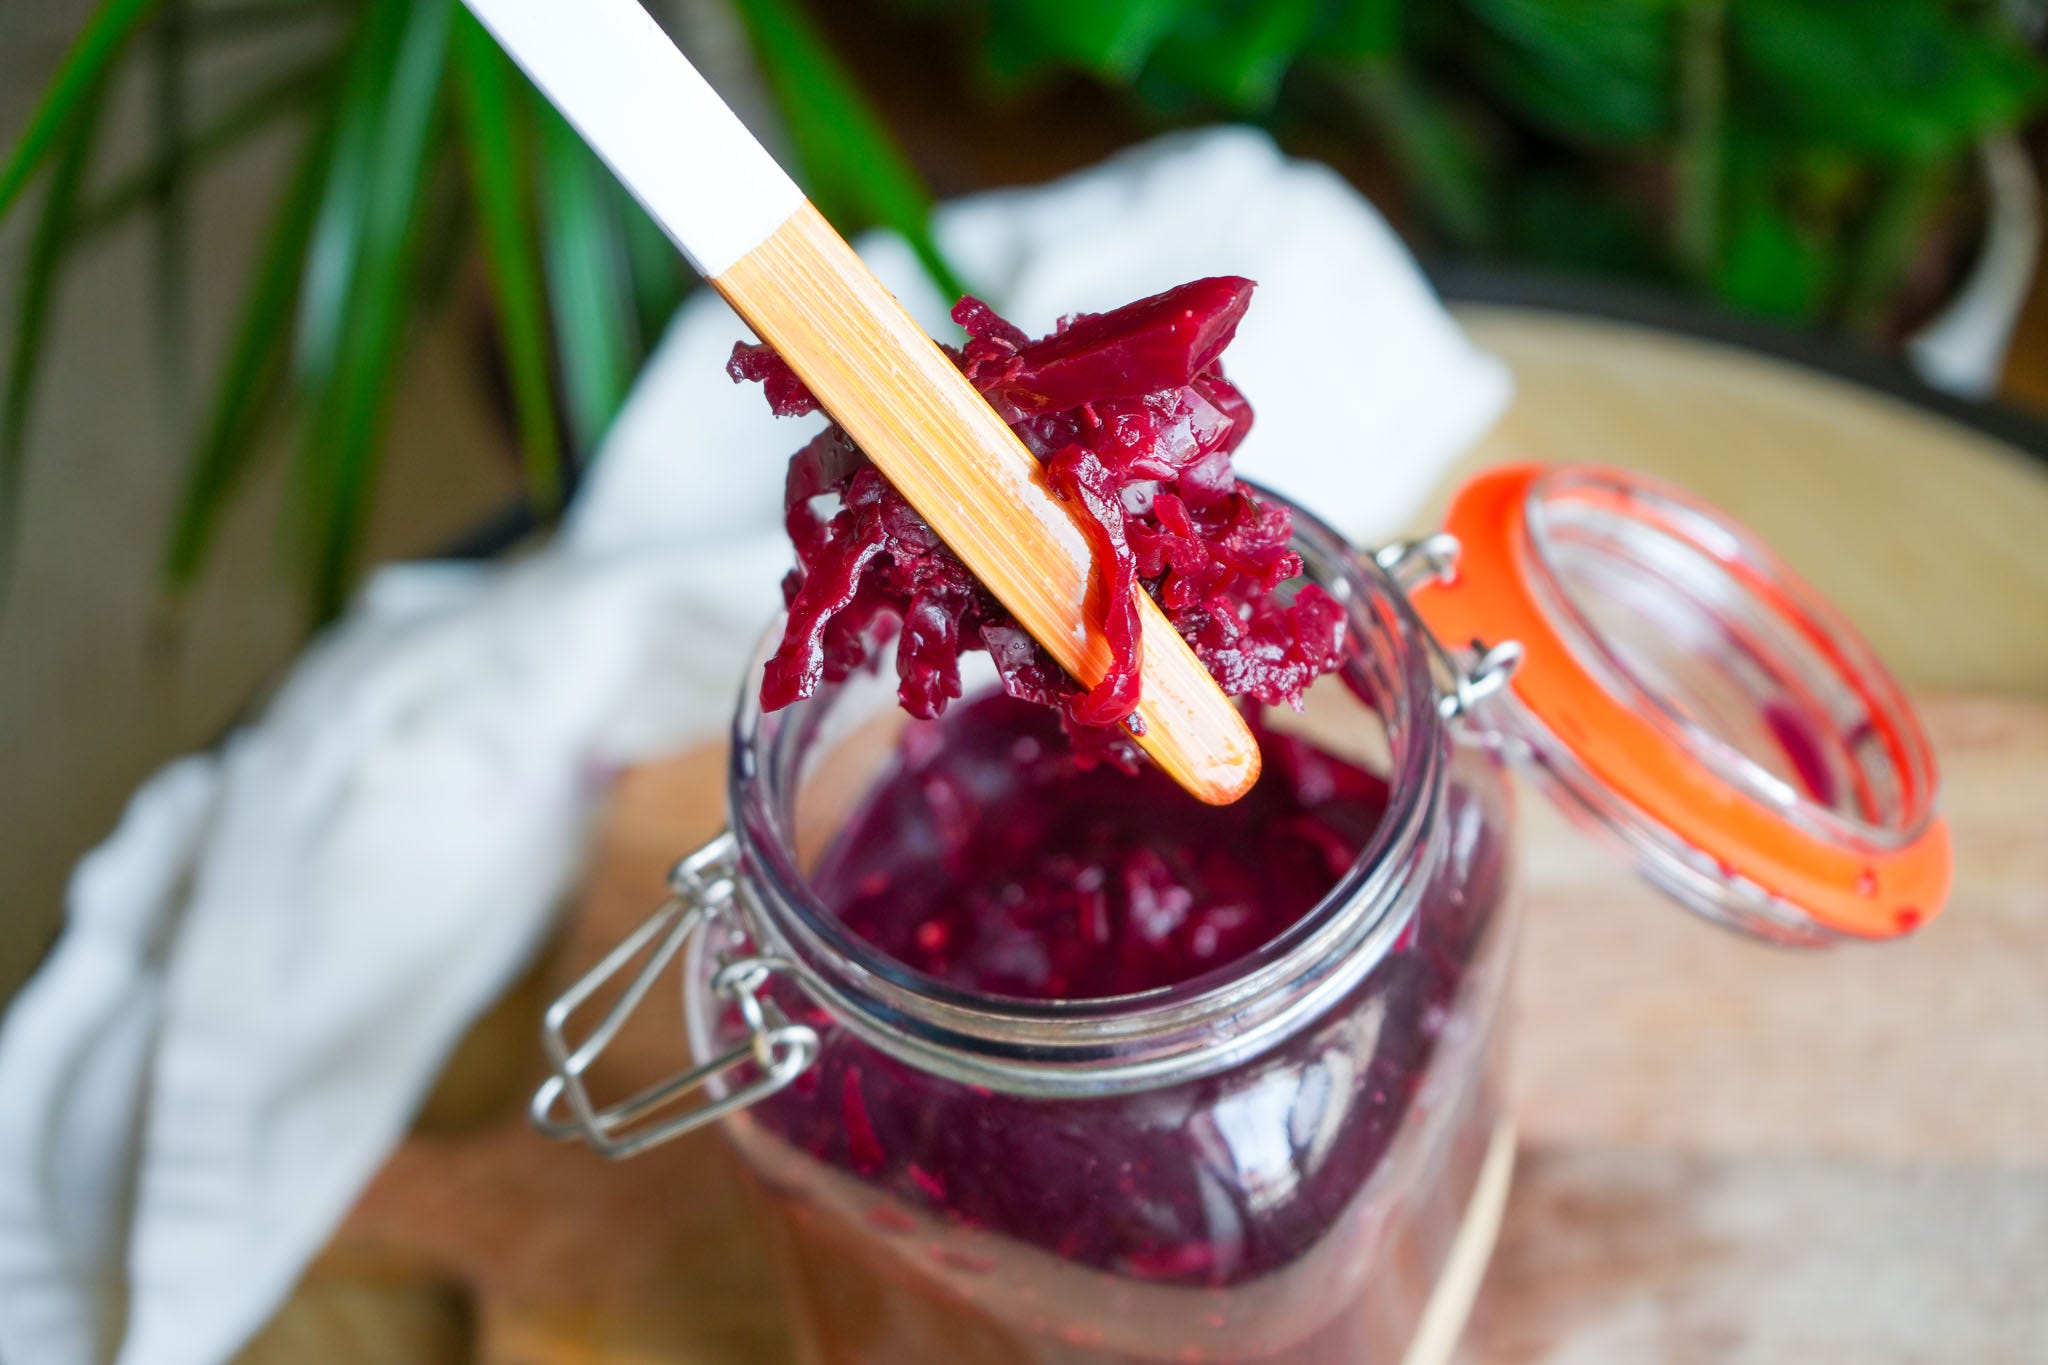
This version, with beets and ginger, is one I come back to often. The beets bring a natural earthiness and a deep, ruby color that makes the finished jar look almost too beautiful to eat. The ginger adds just enough warmth to keep it from feeling heavy. And the red cabbage provides the fermentation foundation, the fiber, and that slight crunch that makes every bite satisfying.
It’s slightly sweet. A little earthy. Gently warming. Complex in the way that only fermented food can be, because the flavor keeps developing the longer it sits.
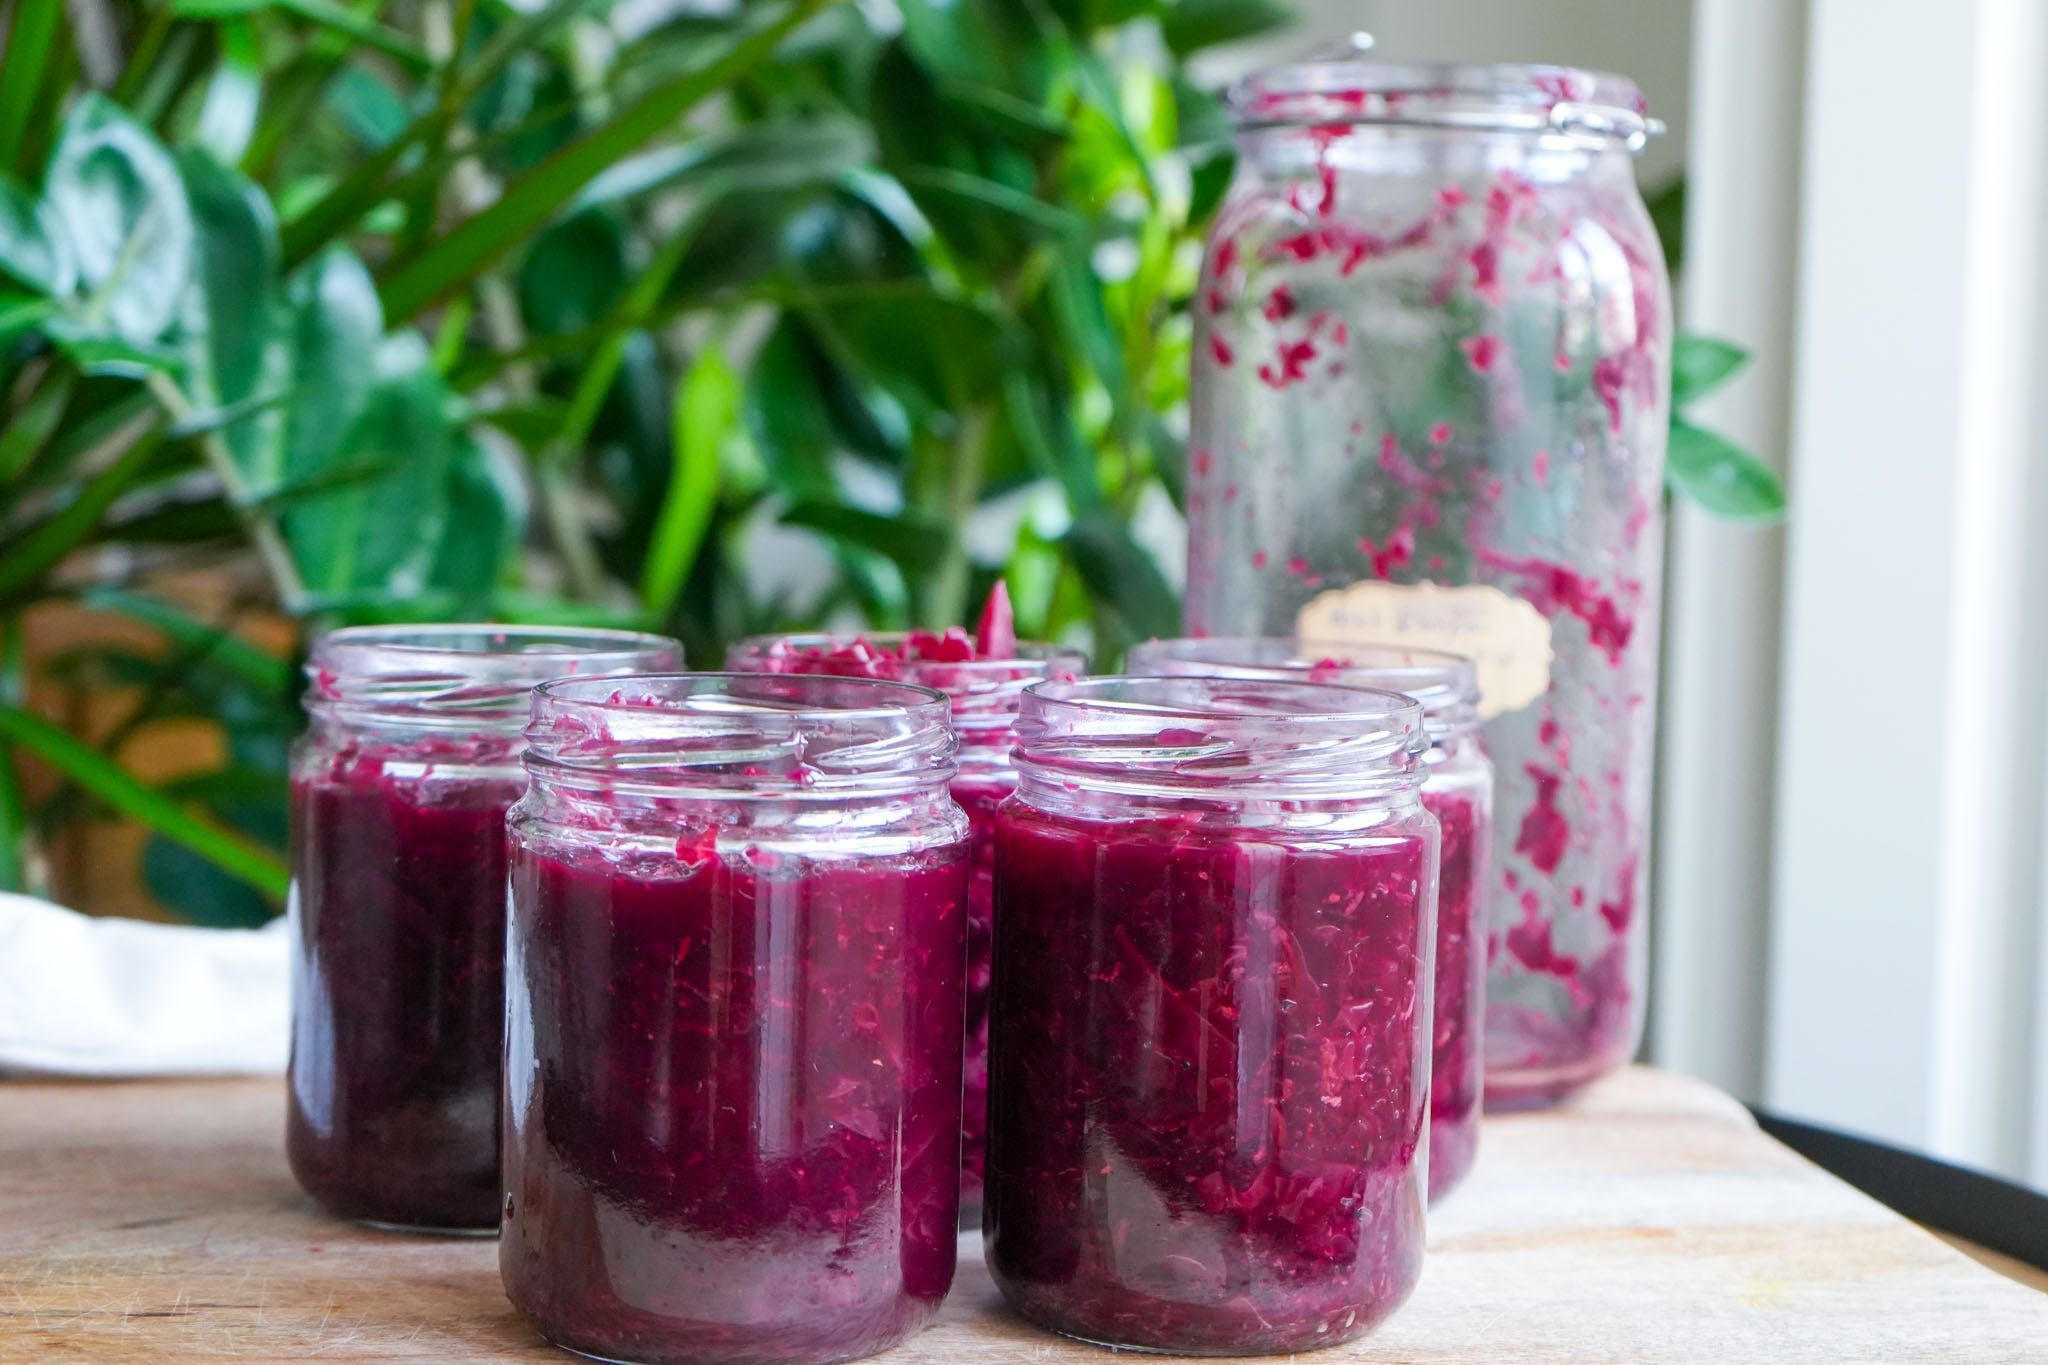
One head of organic red cabbage, two organic beets, a knob of fresh ginger, and good salt. I picked up everything for $5.87 at my local market. One batch filled a 64-ounce jar and portioned out into five 10-ounce jars. Five jars of living, probiotic-rich sauerkraut from a single $5.87 run. The 8-ounce jar at the grocery store costs $8 and lasts me a week. This batch will last me a month.
That’s the part that gets me every time.
And once you understand the process, you can adjust it however you like. Different vegetables, different spices, different fermentation times. The foundation stays the same. Everything else is yours to play with.
Lacto-fermentation is a natural process where beneficial bacteria break down sugars in vegetables and produce lactic acid.
That acid:
preserves the vegetables
creates that tangy flavor
supports a healthier gut environment

Most sauerkraut is cabbage and salt. That’s it. And that is still a genuinely valuable fermented food. But when you add beets and ginger, you are layering three distinct sets of health benefits on top of each other in a single jar.
The cabbage is what makes fermentation possible. Red cabbage has natural bacteria living on its surface. When you add salt, those bacteria wake up and start multiplying, producing lactic acid that preserves everything in the jar and creates a probiotic-rich food. It is also packed with fiber and vitamin C.¹
The beets are what give this sauerkraut its deep magenta color and a lot of its health benefits. Beets contain compounds called betalains (the pigments responsible for that ruby color) that research has linked to reduced inflammation in the body.² They also contain natural nitrates, which help support healthy blood pressure. And here is the interesting part: fermentation actually makes those compounds easier for your body to absorb than if you just ate a raw beet.
The ginger is doing more than adding flavor. Ginger contains active compounds called gingerols that studies have shown can increase the good bacteria in your gut, reduce harmful bacteria, and help strengthen the gut lining, which is the barrier that protects your bloodstream from things that do not belong there.³ The ginger and the probiotic bacteria in this ferment are both working to support the same thing, just in different ways.
Put all three together and you have a single tablespoon of food delivering probiotics, fiber, anti-inflammatory compounds, and gut-strengthening nutrients at the same time. No supplement does all of that at once.
Ingredients:
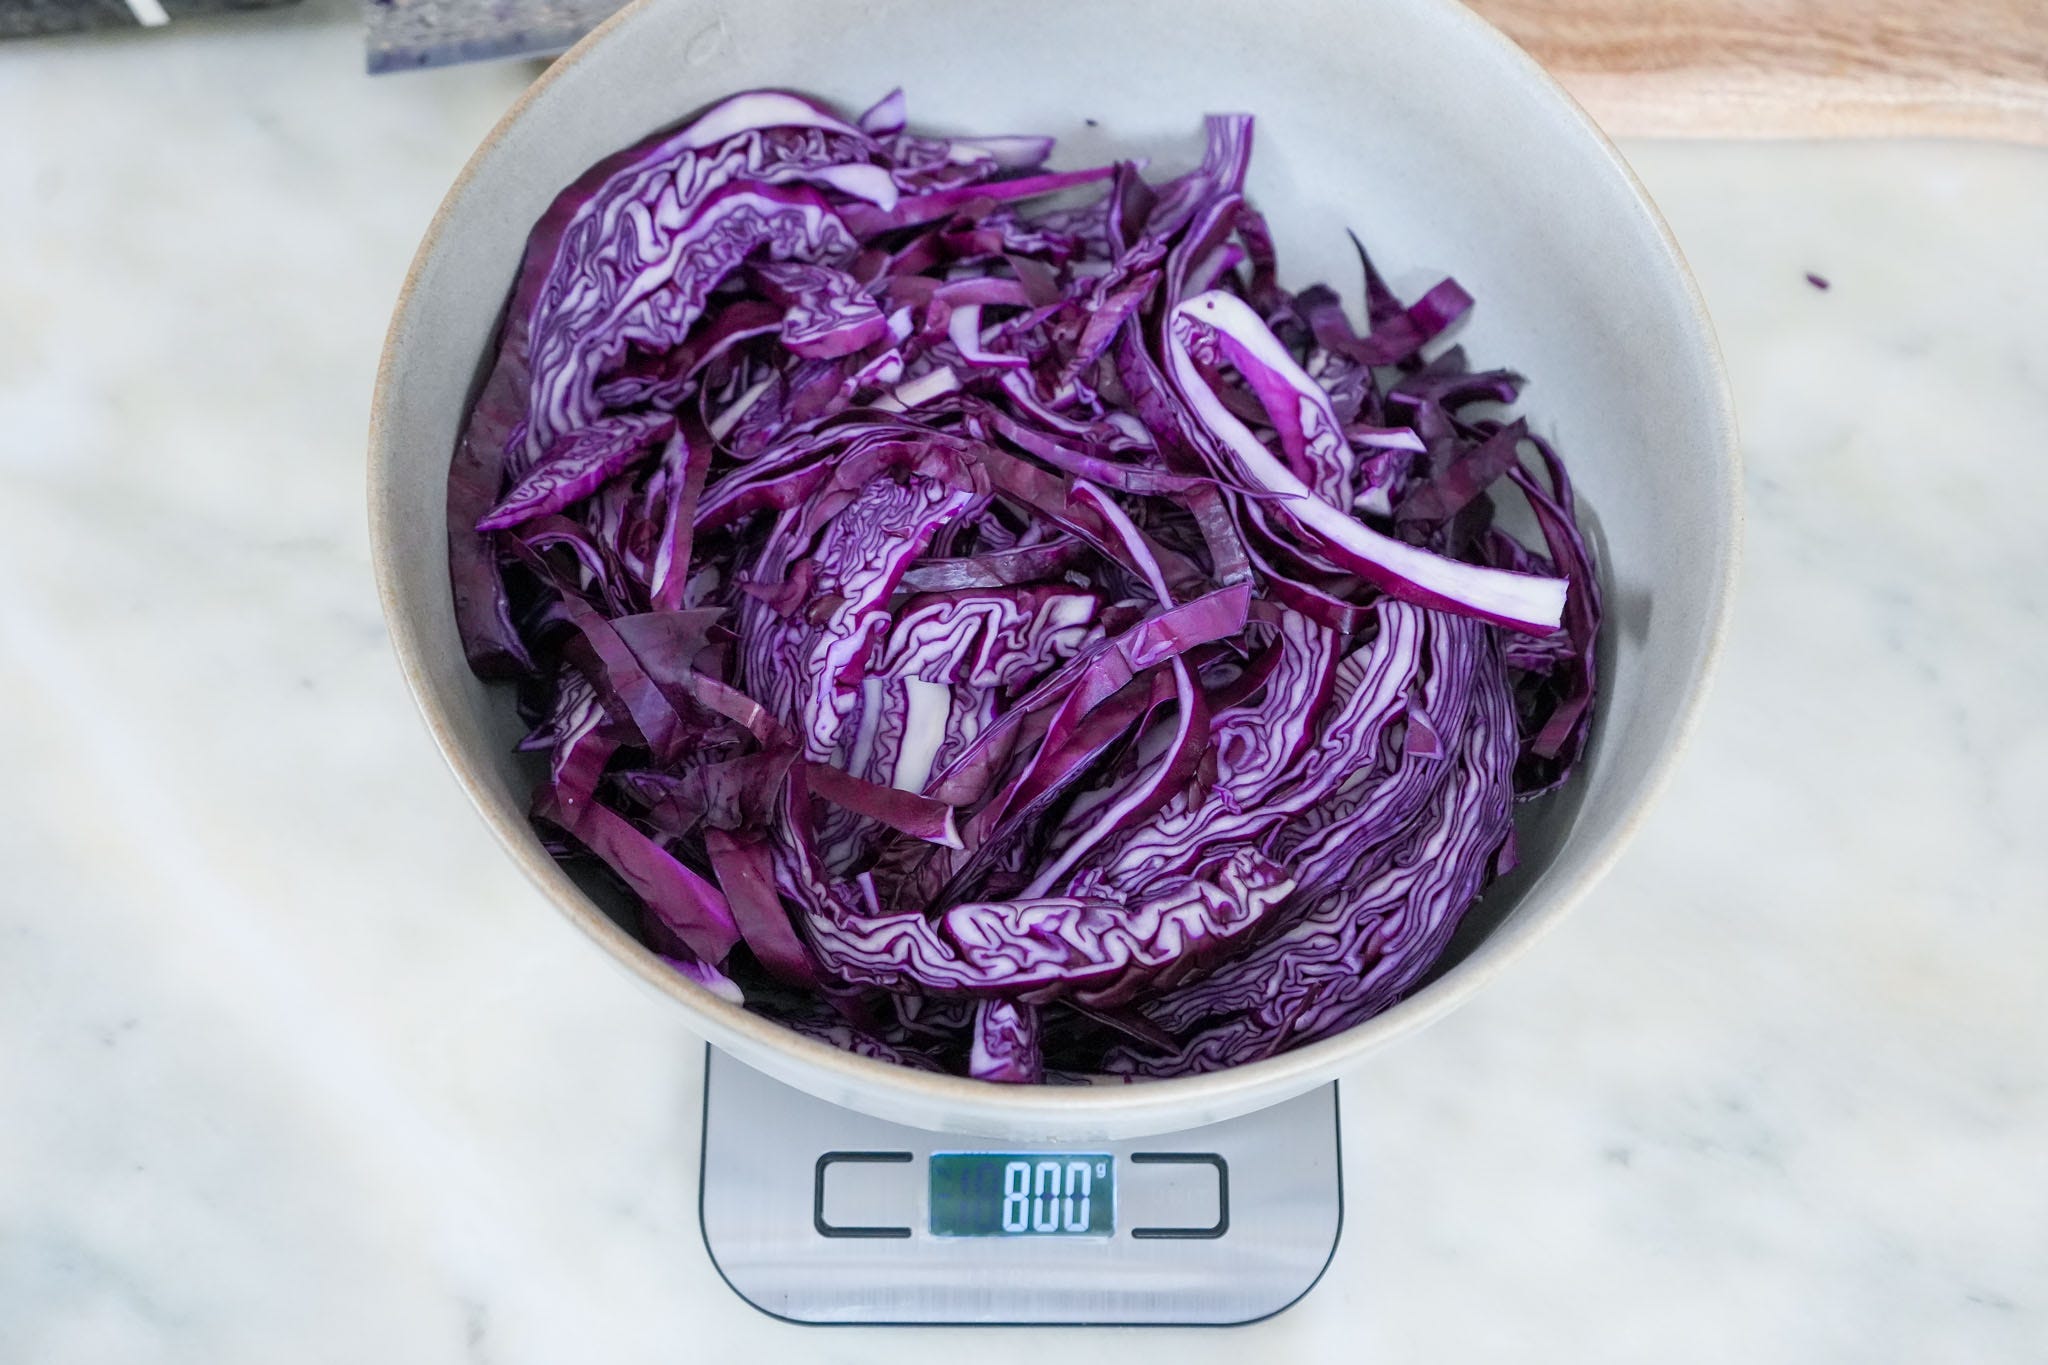
800g shredded red cabbage
400g shredded beets with skin
60g shredded ginger with skin
2 to 4% non-iodized salt (see the FAQ section below for when to use 2% vs 4%)
The ratio is 2 parts cabbage : 1 part beet : a small amount of ginger. More precisely: for every 100g of cabbage, use 50g of beet and 7.5g of ginger.
Equipment:
Large mixing bowl
Kitchen scale (this matters more than you think, eyeballing salt is the most common beginner mistake) This one only cost $6.
Clean glass jar, wide-mouth mason jar preferred, at least 1 quart. Here are a few of my favorite fermentation kits: Mason Jar Fermentation Kit. Fermentation Kit With Airlock.
Something to weigh the vegetables down (a zip-lock bag filled with brine, a smaller jar, or a fermentation weight)
Clean hands or gloves
Airlock. 1 Liter Fermentation Jar With Airlock (this is what I use)
As an Amazon Associate I earn from qualifying purchases.
This is the step most people skip and then wonder why their ferment went wrong.
Weigh your vegetables after shredding. Add the cabbage, beets, and ginger together on your scale. Whatever that total weight is, multiply by 0.02 for a 2% salt ratio, or 0.04 for a 4% salt ratio.
Example: if your total vegetable weight is 1,260g, a 2% brine means 25g of salt. A 4% brine means 50g of salt.
Use the salt weight, not a volume measurement. Salt density varies by brand and grind, and this is where precision matters.
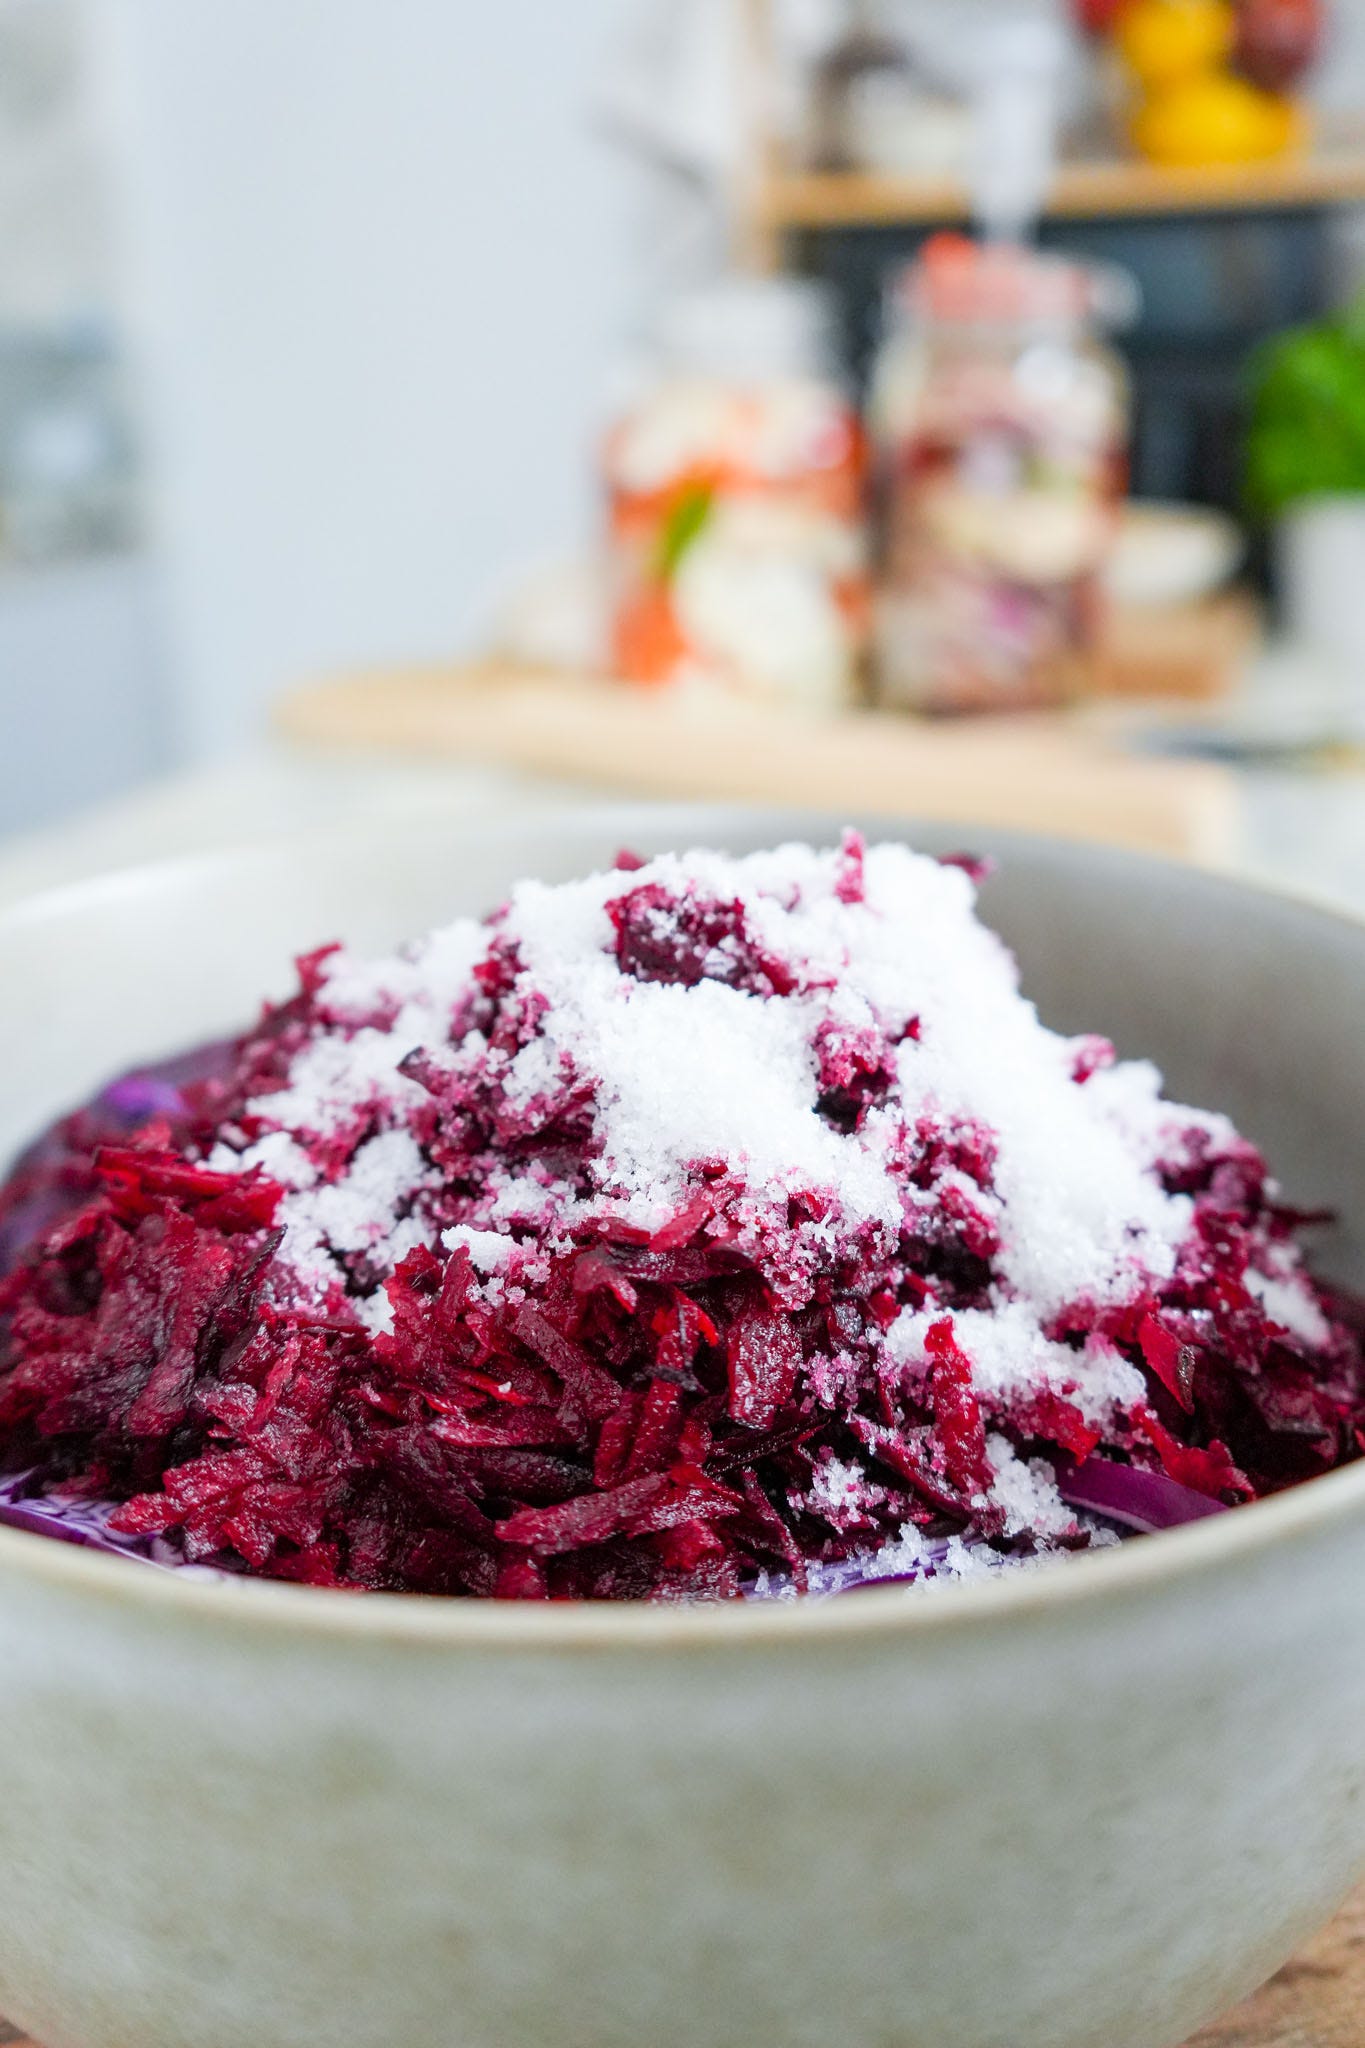
Step 1: Shred everything. Shred the red cabbage thinly. Shred the beets and ginger with the skin on. The skin of both the beets and ginger contains wild bacteria that contribute to a more diverse ferment, which is why this recipe keeps it on.
Step 2: Weigh and salt. Combine everything in a large bowl. Weigh the total and calculate your salt. Sprinkle the salt over the vegetables evenly and let it sit for at least one hour (or overnight if time permits).
Step 3: Massage. This is the step that cannot be rushed. Use clean hands to massage the salt into the vegetables for 8 to 10 minutes. You are breaking down the cell walls of the cabbage to release its natural liquid, which will become your brine. By the end of this step, the bowl should have a significant amount of liquid at the bottom and the vegetables should feel noticeably softer. The color will already begin shifting toward that deep magenta.
If after 10 minutes you don’t have enough liquid to submerge the vegetables, mix a small amount of additional brine (1 teaspoon of non-iodized salt dissolved in 1 cup of filtered water) and add just enough to cover.
Step 4: Pack the jar. Transfer the vegetables into your clean glass jar, pressing firmly down after each handful. The goal is to eliminate air pockets and ensure the brine rises above the surface of the vegetables. Leave at least an inch of headspace at the top of the jar for expansion during fermentation.
Step 5: Weigh it down. The vegetables must stay submerged below the brine throughout fermentation. Use a fermentation weight, a small jar filled with water, or a zip-lock bag filled with brine pressed down on top of the vegetables. Anything that keeps the vegetables under the liquid.
Step 6: Cover and ferment. Seal the jar, use an airlock if you have one. The ferment needs to release carbon dioxide gas, which it will produce as fermentation progresses. If not using an airlock you will need to burp the jar regularly.
Place the jar at room temperature, away from direct sunlight. Ideal temperature range is 65 to 75°F (18 to 24°C). Cooler temperatures mean slower, more complex fermentation. Warmer temperatures mean faster fermentation with a sharper flavor.
Step 7: Ferment and taste. Begin tasting at day 5 to 7. The flavor will be mild and lightly tangy at this point. Continue fermenting to your preference. Most people enjoy beet ginger sauerkraut somewhere between 2 and 4 weeks. The longer it ferments, the more sour and complex the flavor becomes, and the higher the probiotic content.
Step 8: Refrigerate. Once you’re happy with the flavor, seal the jar and move it to the refrigerator. This slows fermentation dramatically without stopping it entirely.
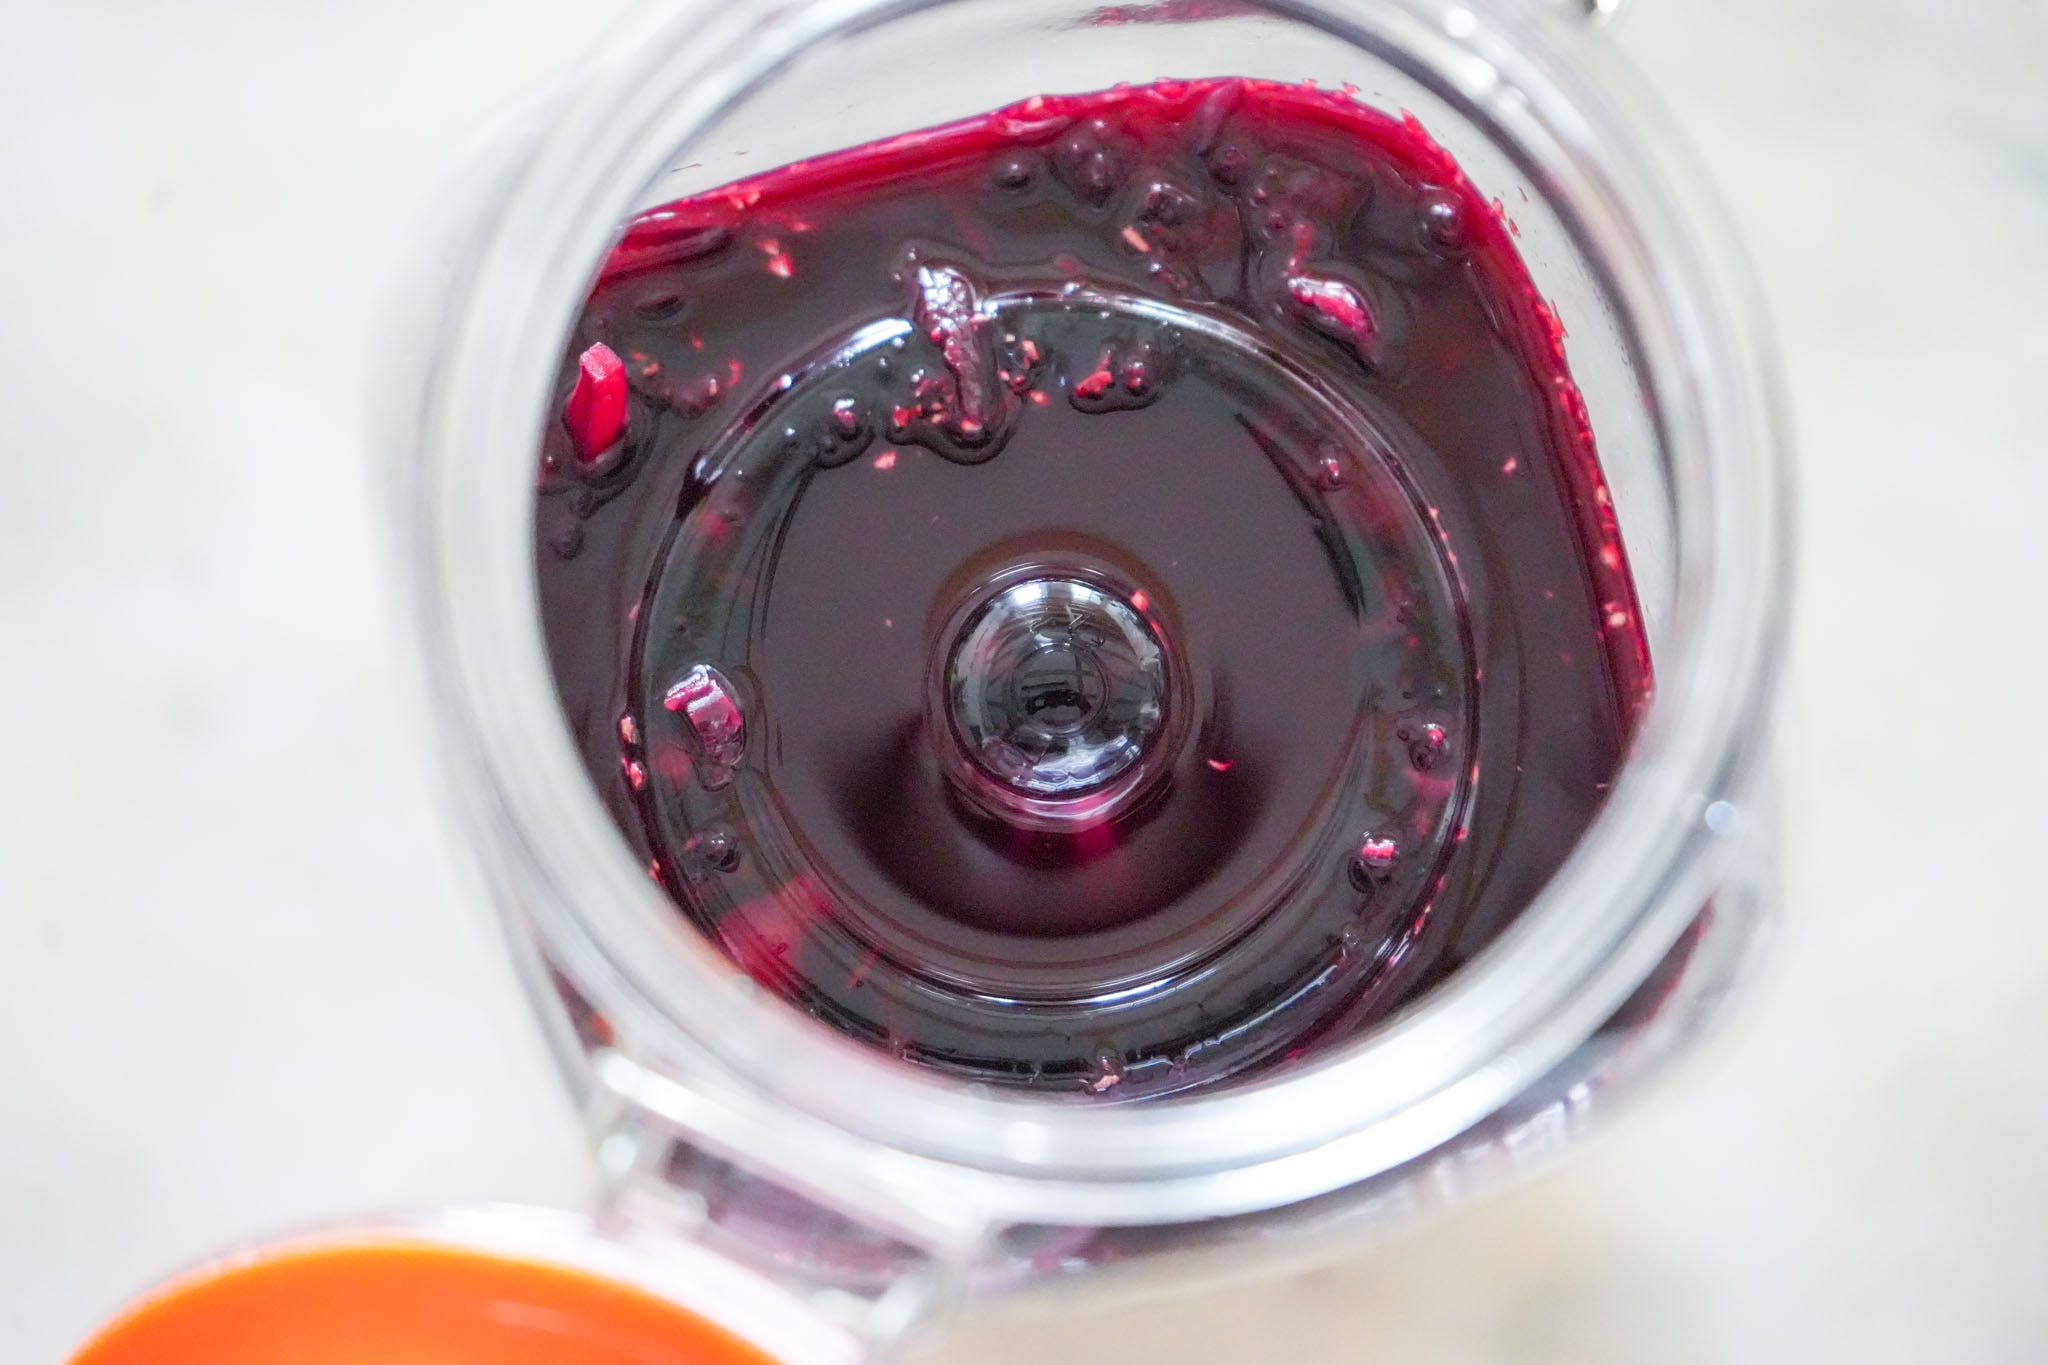
This recipe yields approximately 1 to 1.5 liters of finished sauerkraut depending on how tightly it’s packed. It keeps in the refrigerator for 3 to 6 months. The flavor will continue to develop slowly in the fridge.
One to two tablespoons daily is enough to get consistent probiotic benefit. Add it to eggs at breakfast, on top of grain bowls, alongside any protein, stirred into soups after cooking, or eaten straight from the jar with a fork.
The next section covers every scenario you might encounter during fermentation, from day one through refrigerator storage. Every smell, every color change, every texture question, every equipment decision, and every mistake that’s actually fixable, answered in the kind of detail that means you will never have to Google “is my sauerkraut safe” at midnight.
If this is your first time fermenting, this section will make the difference between a batch you confidently eat and one you throw away out of uncertainty. The two most common reasons people give up on fermentation are fear of getting it wrong and not knowing what normal looks like. This FAQ section removes both of those.
I covered my sauerkraut with a saltwater brine because the jar was too big and had too much empty air space. That extra space can increase the chance of mold forming, because mold grows where vegetables are exposed to oxygen.
Because my sauerkraut was made with a 4% salt ratio, I used a 4% saltwater solution to cover it. This matters because adding plain water would dilute the salt concentration, making the ferment less protected. By using a brine with the same salt percentage, I kept the environment consistent while filling the extra space in the jar.
In simple terms: I added matching saltwater brine to keep the cabbage submerged, reduce oxygen exposure, prevent mold, and support a safe fermentation environment.
Comments
Nothing yet. Say the first thing.
Sign in to join the conversation.