
HOW TO COMPENSATE YOUR DECORATIVE STITCHES
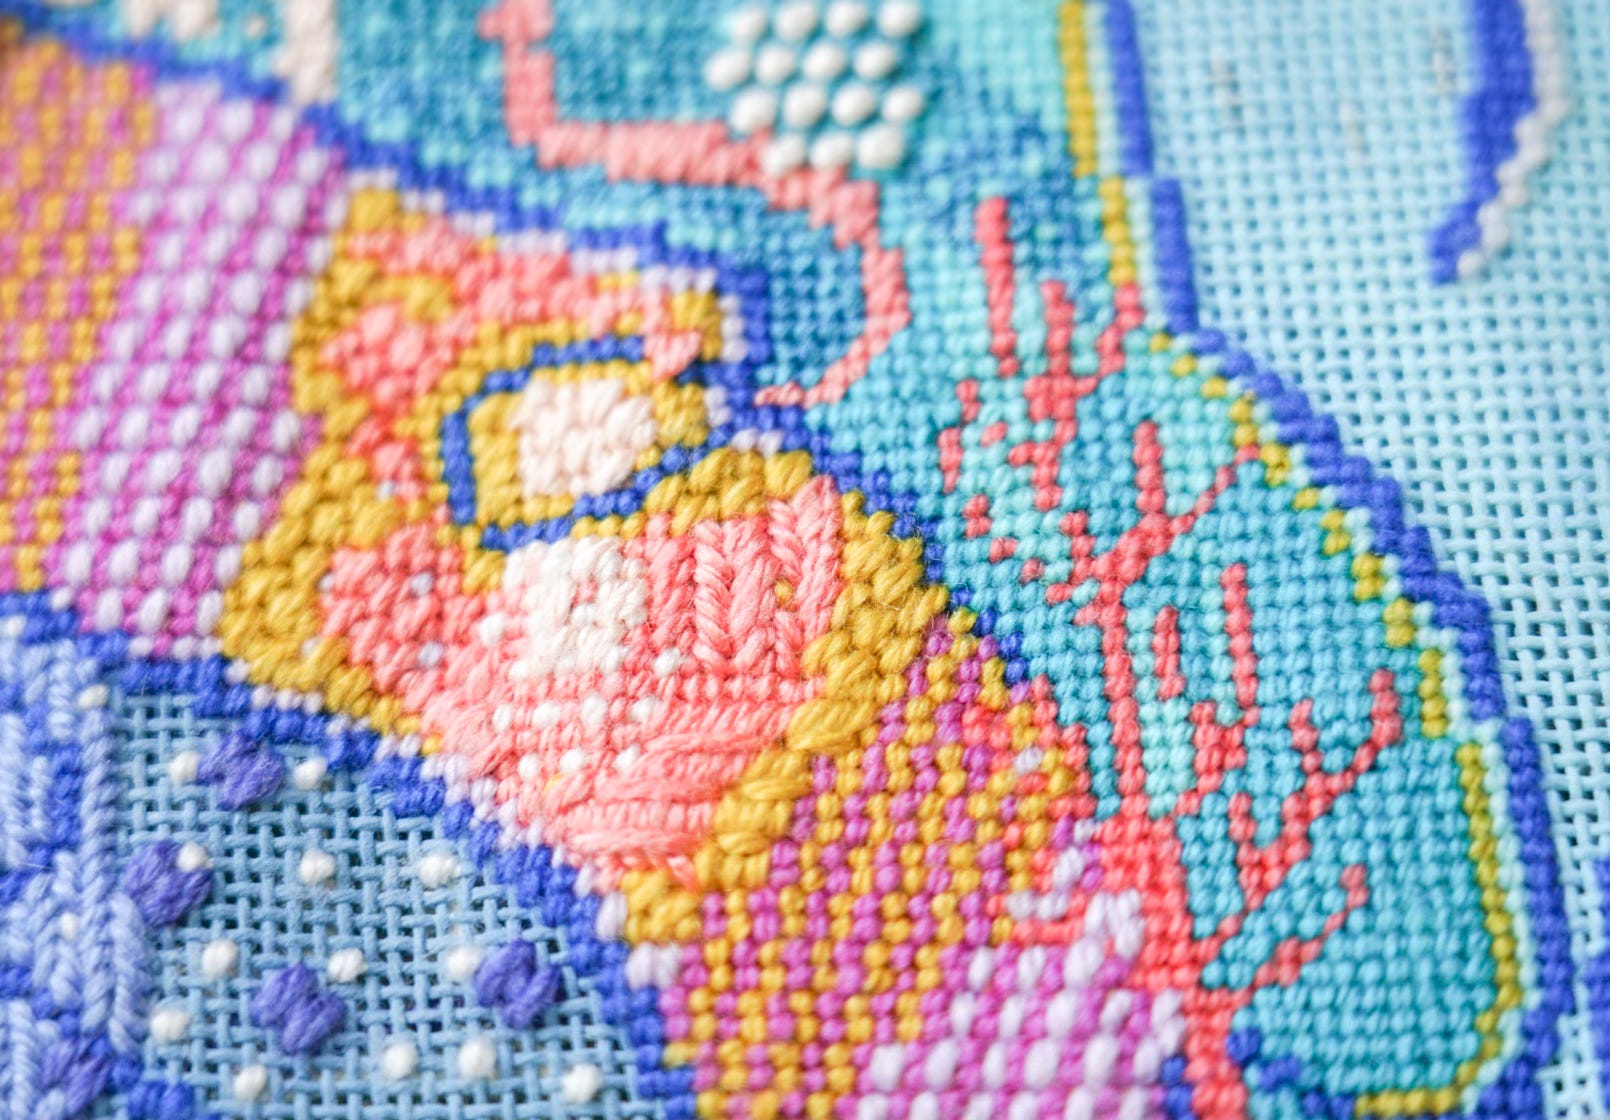
You may have heard stitchers talk about something called “compensation” or “compensating stitches.” In the needlepoint world, this refers to the process of adjusting or modifying stitch patterns to fit into irregular spaces, such as edges, corners, or areas around motifs. “Proper compensation” ensures that your design looks seamless and polished without gaps or overlapping threads, but we’re all just doing our best! When in doubt, tent stitches are a great supplement. Simply ensure the orientation fits the pattern. If you look closely at the image above, all of these stitches include compensated stitches on the top rows and edges. For the most part, this how-to is in regard to real-life applications beyond the sampler.
LET’S DIVE IN!
1. SCOPE OUT IRREGULARITIES AND PLAN YOUR LAYOUT:
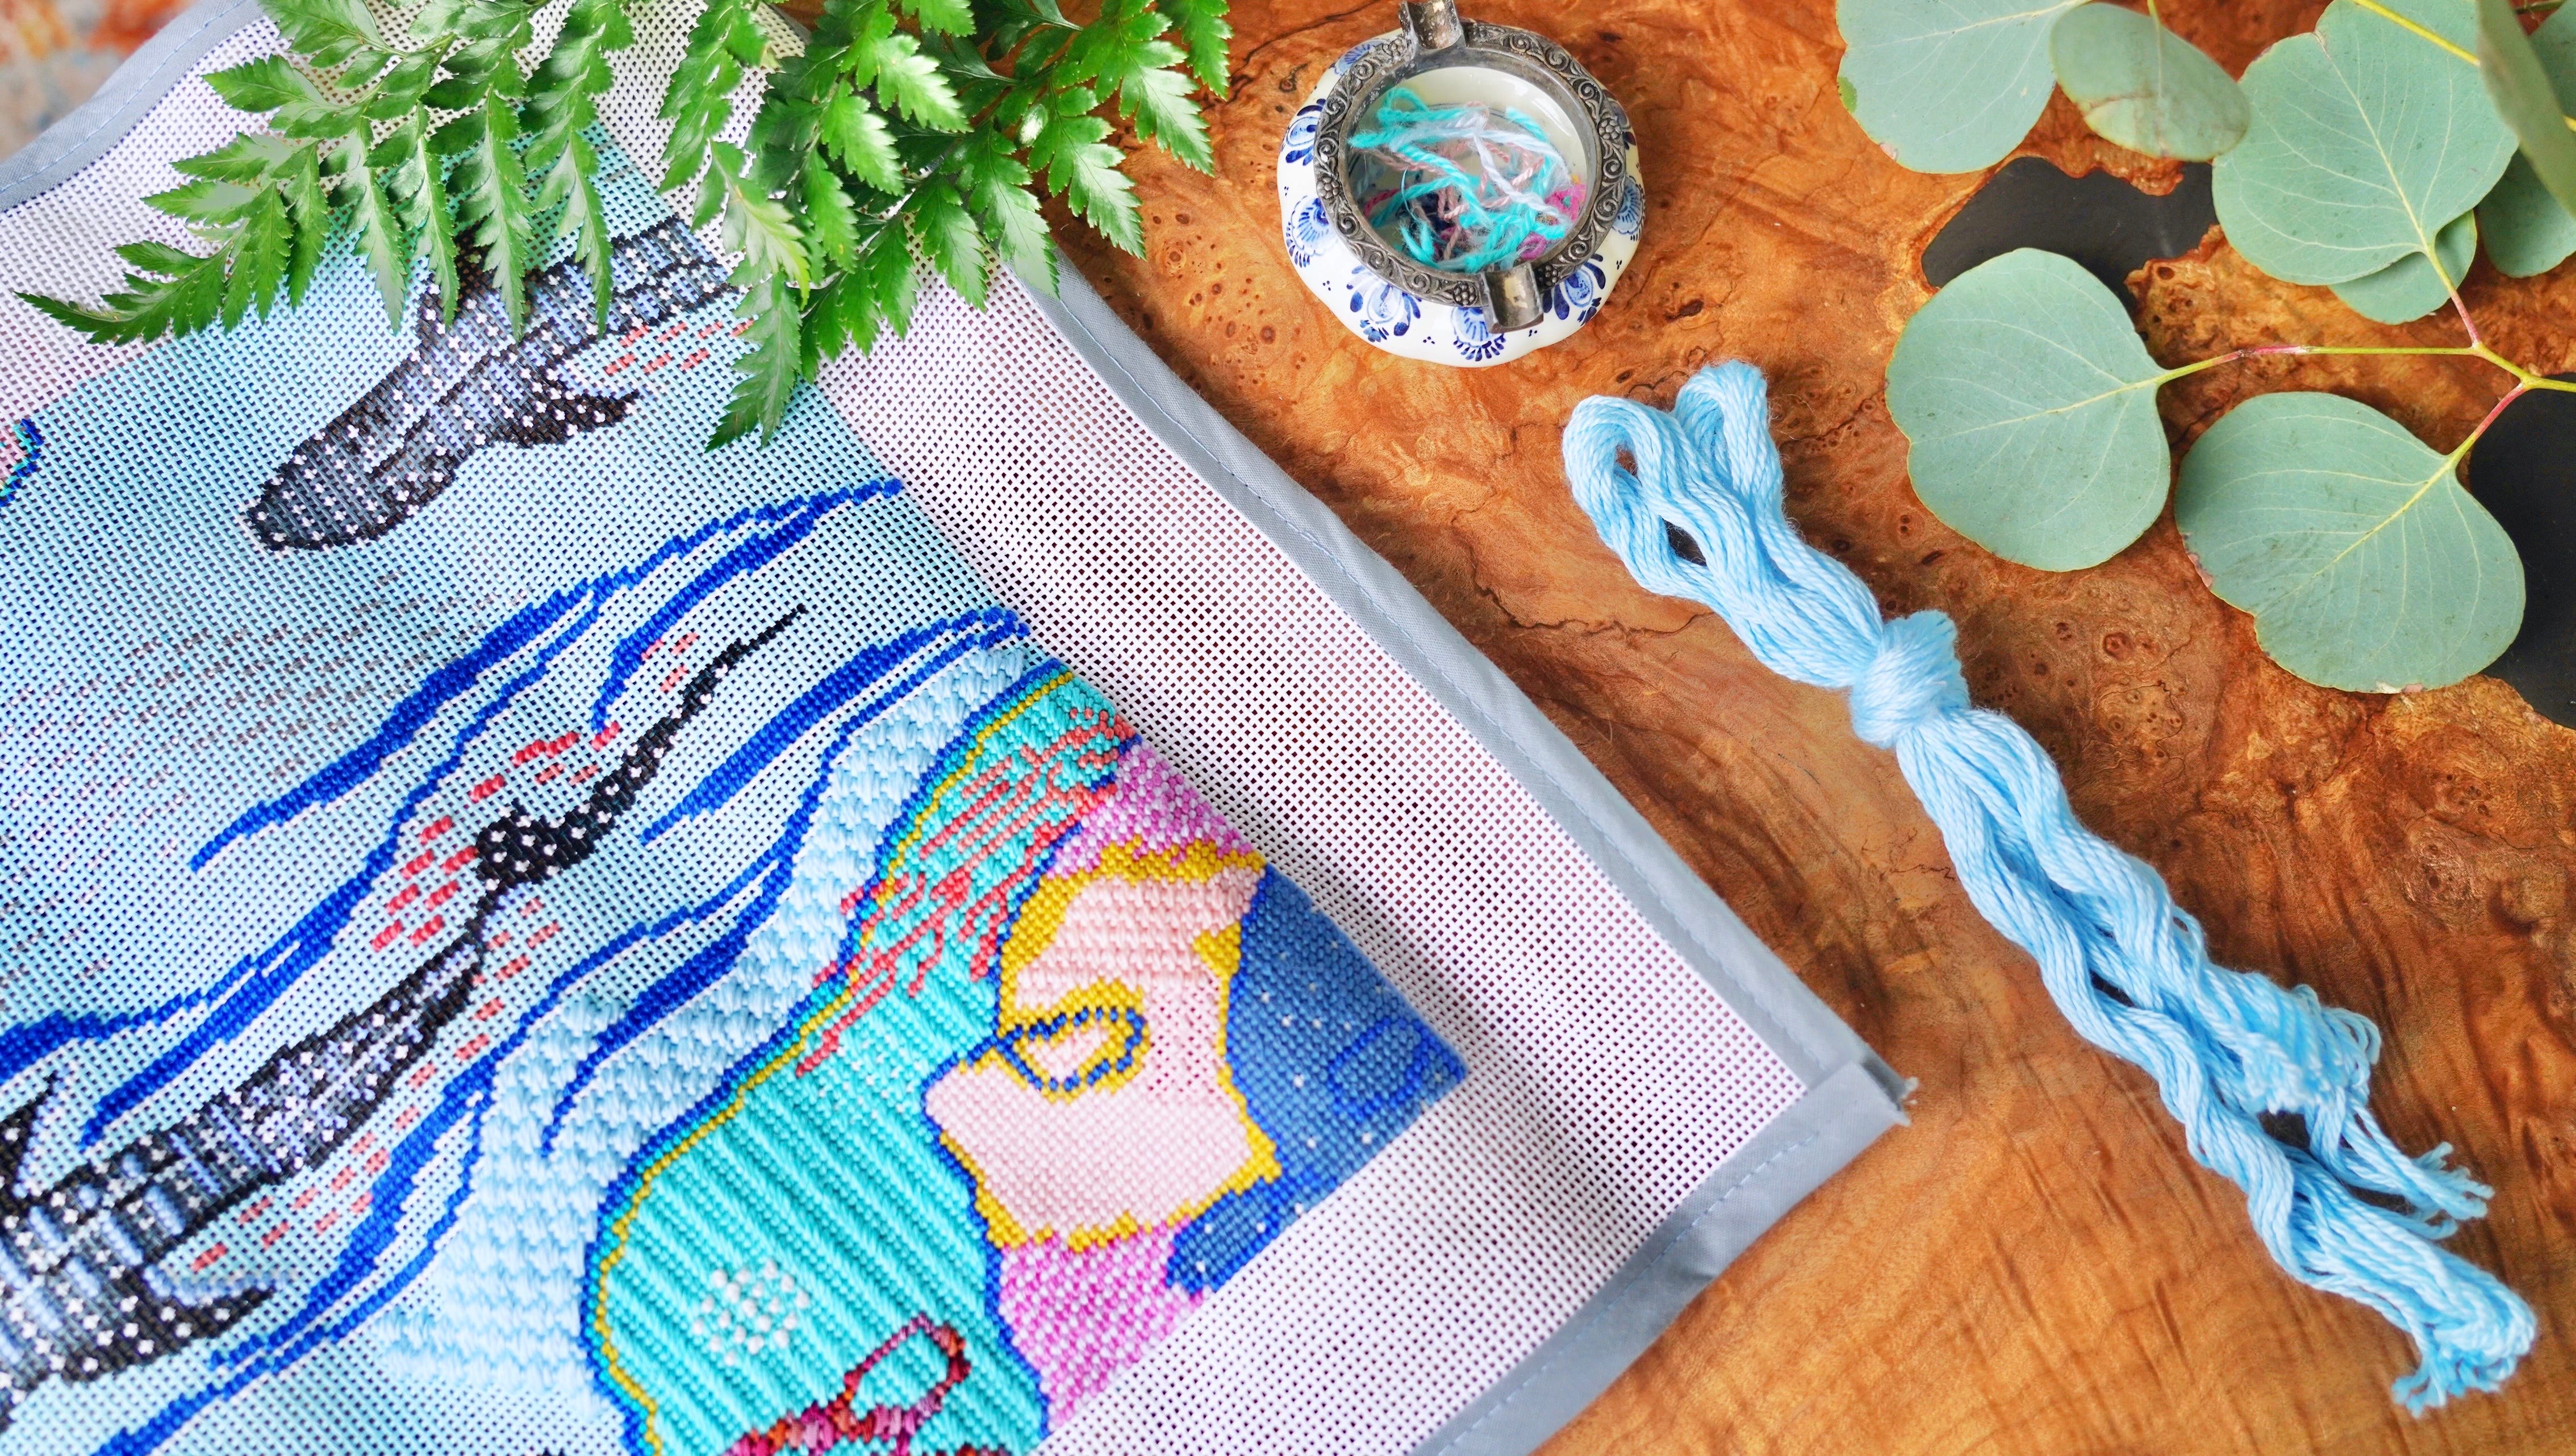
Assess your canvas for scale opportunities, desired texture, or aesthetics. Stitchers typically choose background stitches that don’t dominate foreground work. I sometimes take a photocopy of the canvas and mark up the sheet to make my notes and suggestions. Since I don’t have mental imagery, this is also helpful to return to.
How will the stitch pattern look if it extends into the area's perimeter? Does it require a lot of compensation? Is it worth the hassle for that space?
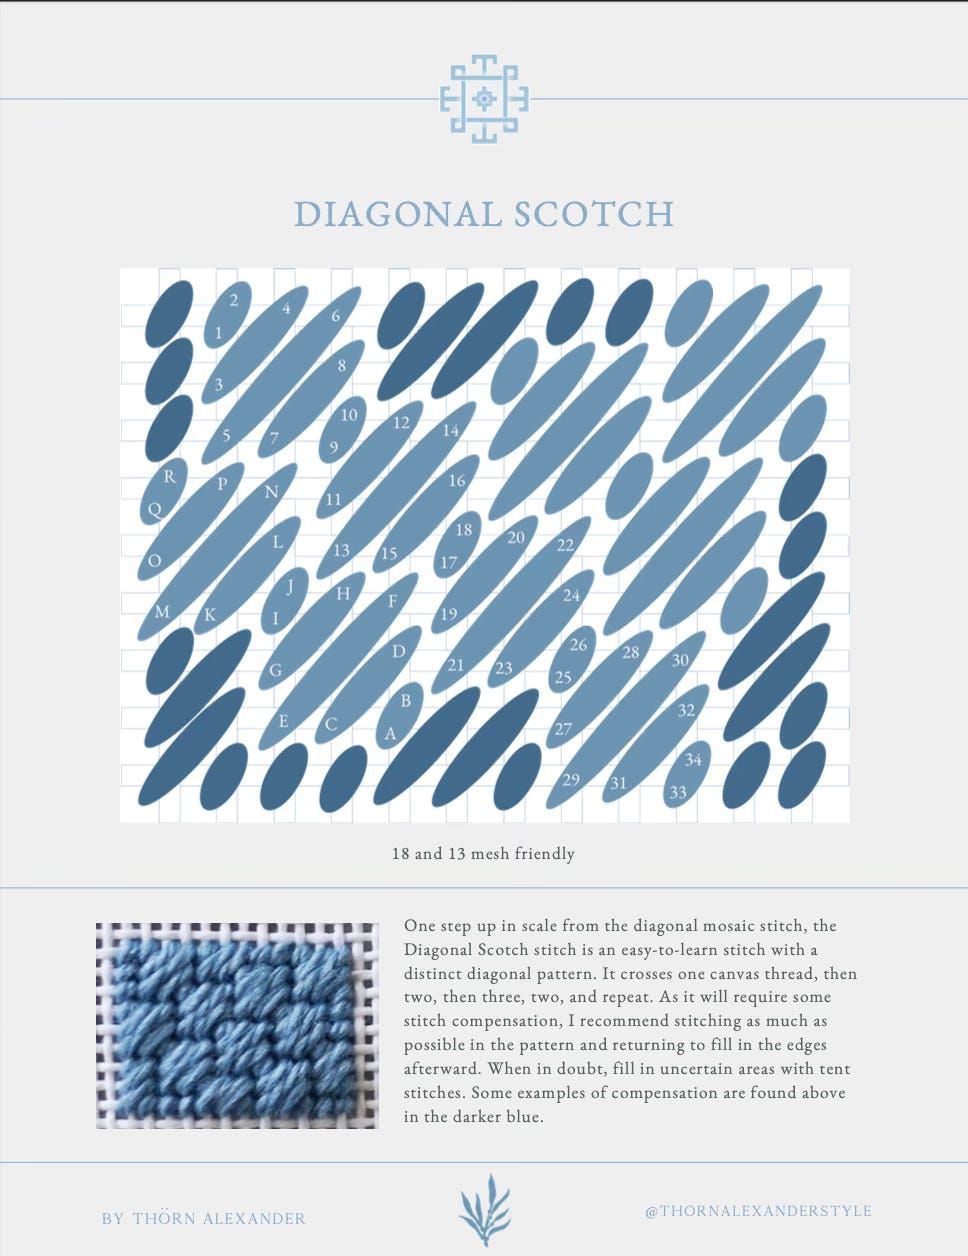
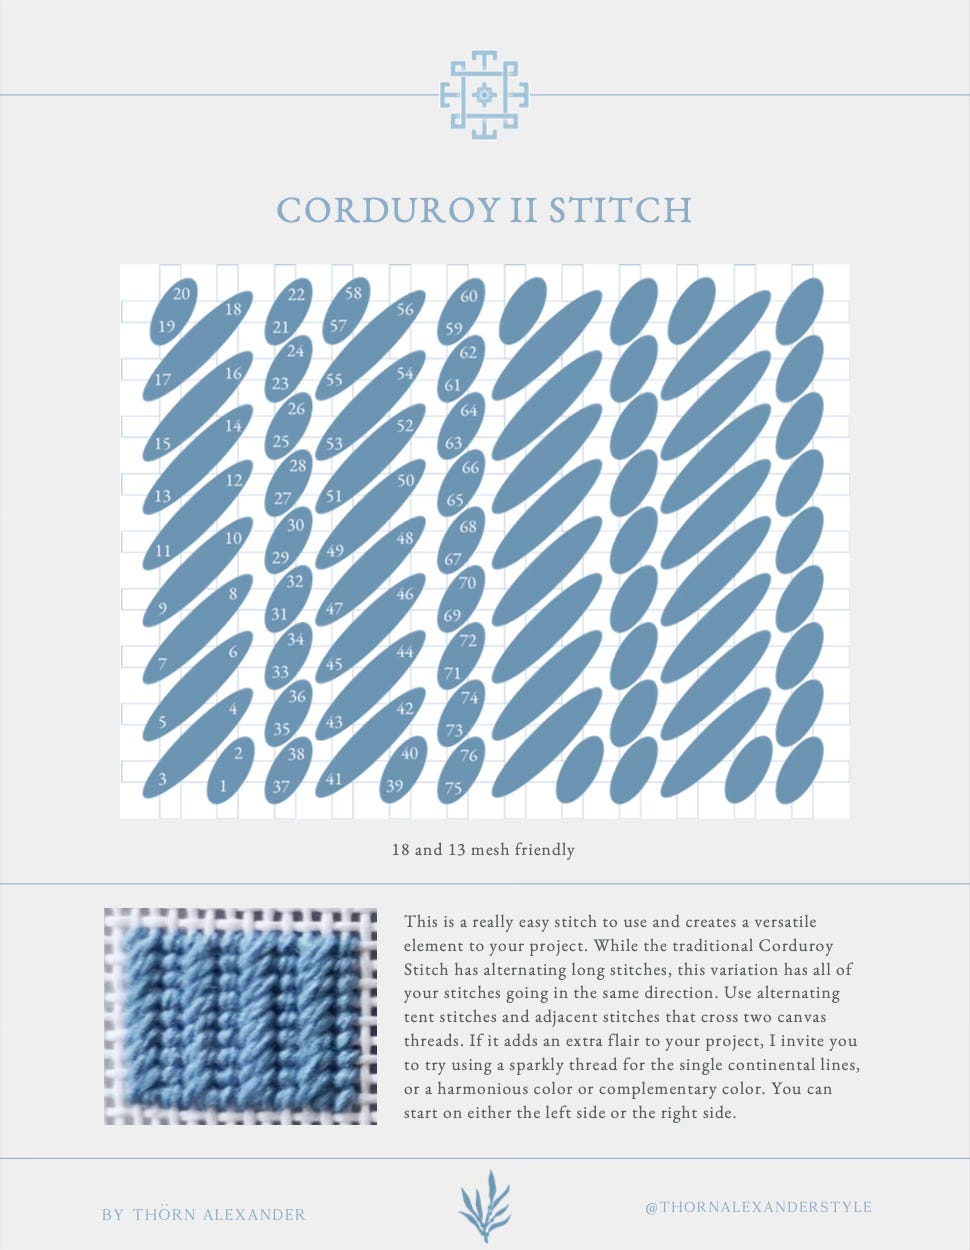
In the above image, you can see that I chose to use a corduroy variation in the aqua section, and a larger, diagonal scotch stitch in the body of water (light blue). The scale of the stitch made most sense to me for sizes of the different features.
I’ve included charts for both stitches for you below.
2. PLACE THE ESTABLISHED PATTERN, THEN COMPENSATE:
Begin stitching and following the pattern in the largest part of the project, and branch out. You will see my charts are planned this way, too. Fill the space to the best of your ability while maintaining the stitch pattern as completely as you can manage. Then go back and begin your compensation.
When compensating, try to maintain the overall direction and flow of the stitch pattern. This keeps the design cohesive. If the original pattern uses specific angles or orientations, replicate those in the adjusted stitches as best you can.
3. USE PARTIAL STITCHES AND BLEND COLOR:
Use smaller portions of the stitch to fit into tight areas. For instance:
If a diagonal stitch won't fit, shorten it so it fills only part of the space.
For upright stitches, reduce their height to fit into a narrow row. This applies to horizontal, too.
If using multiple colors, ensure the compensated stitches follow the color scheme of the full pattern. Blend colors subtly in small areas for a natural transition.
Gradually taper the stitches for curved edges.
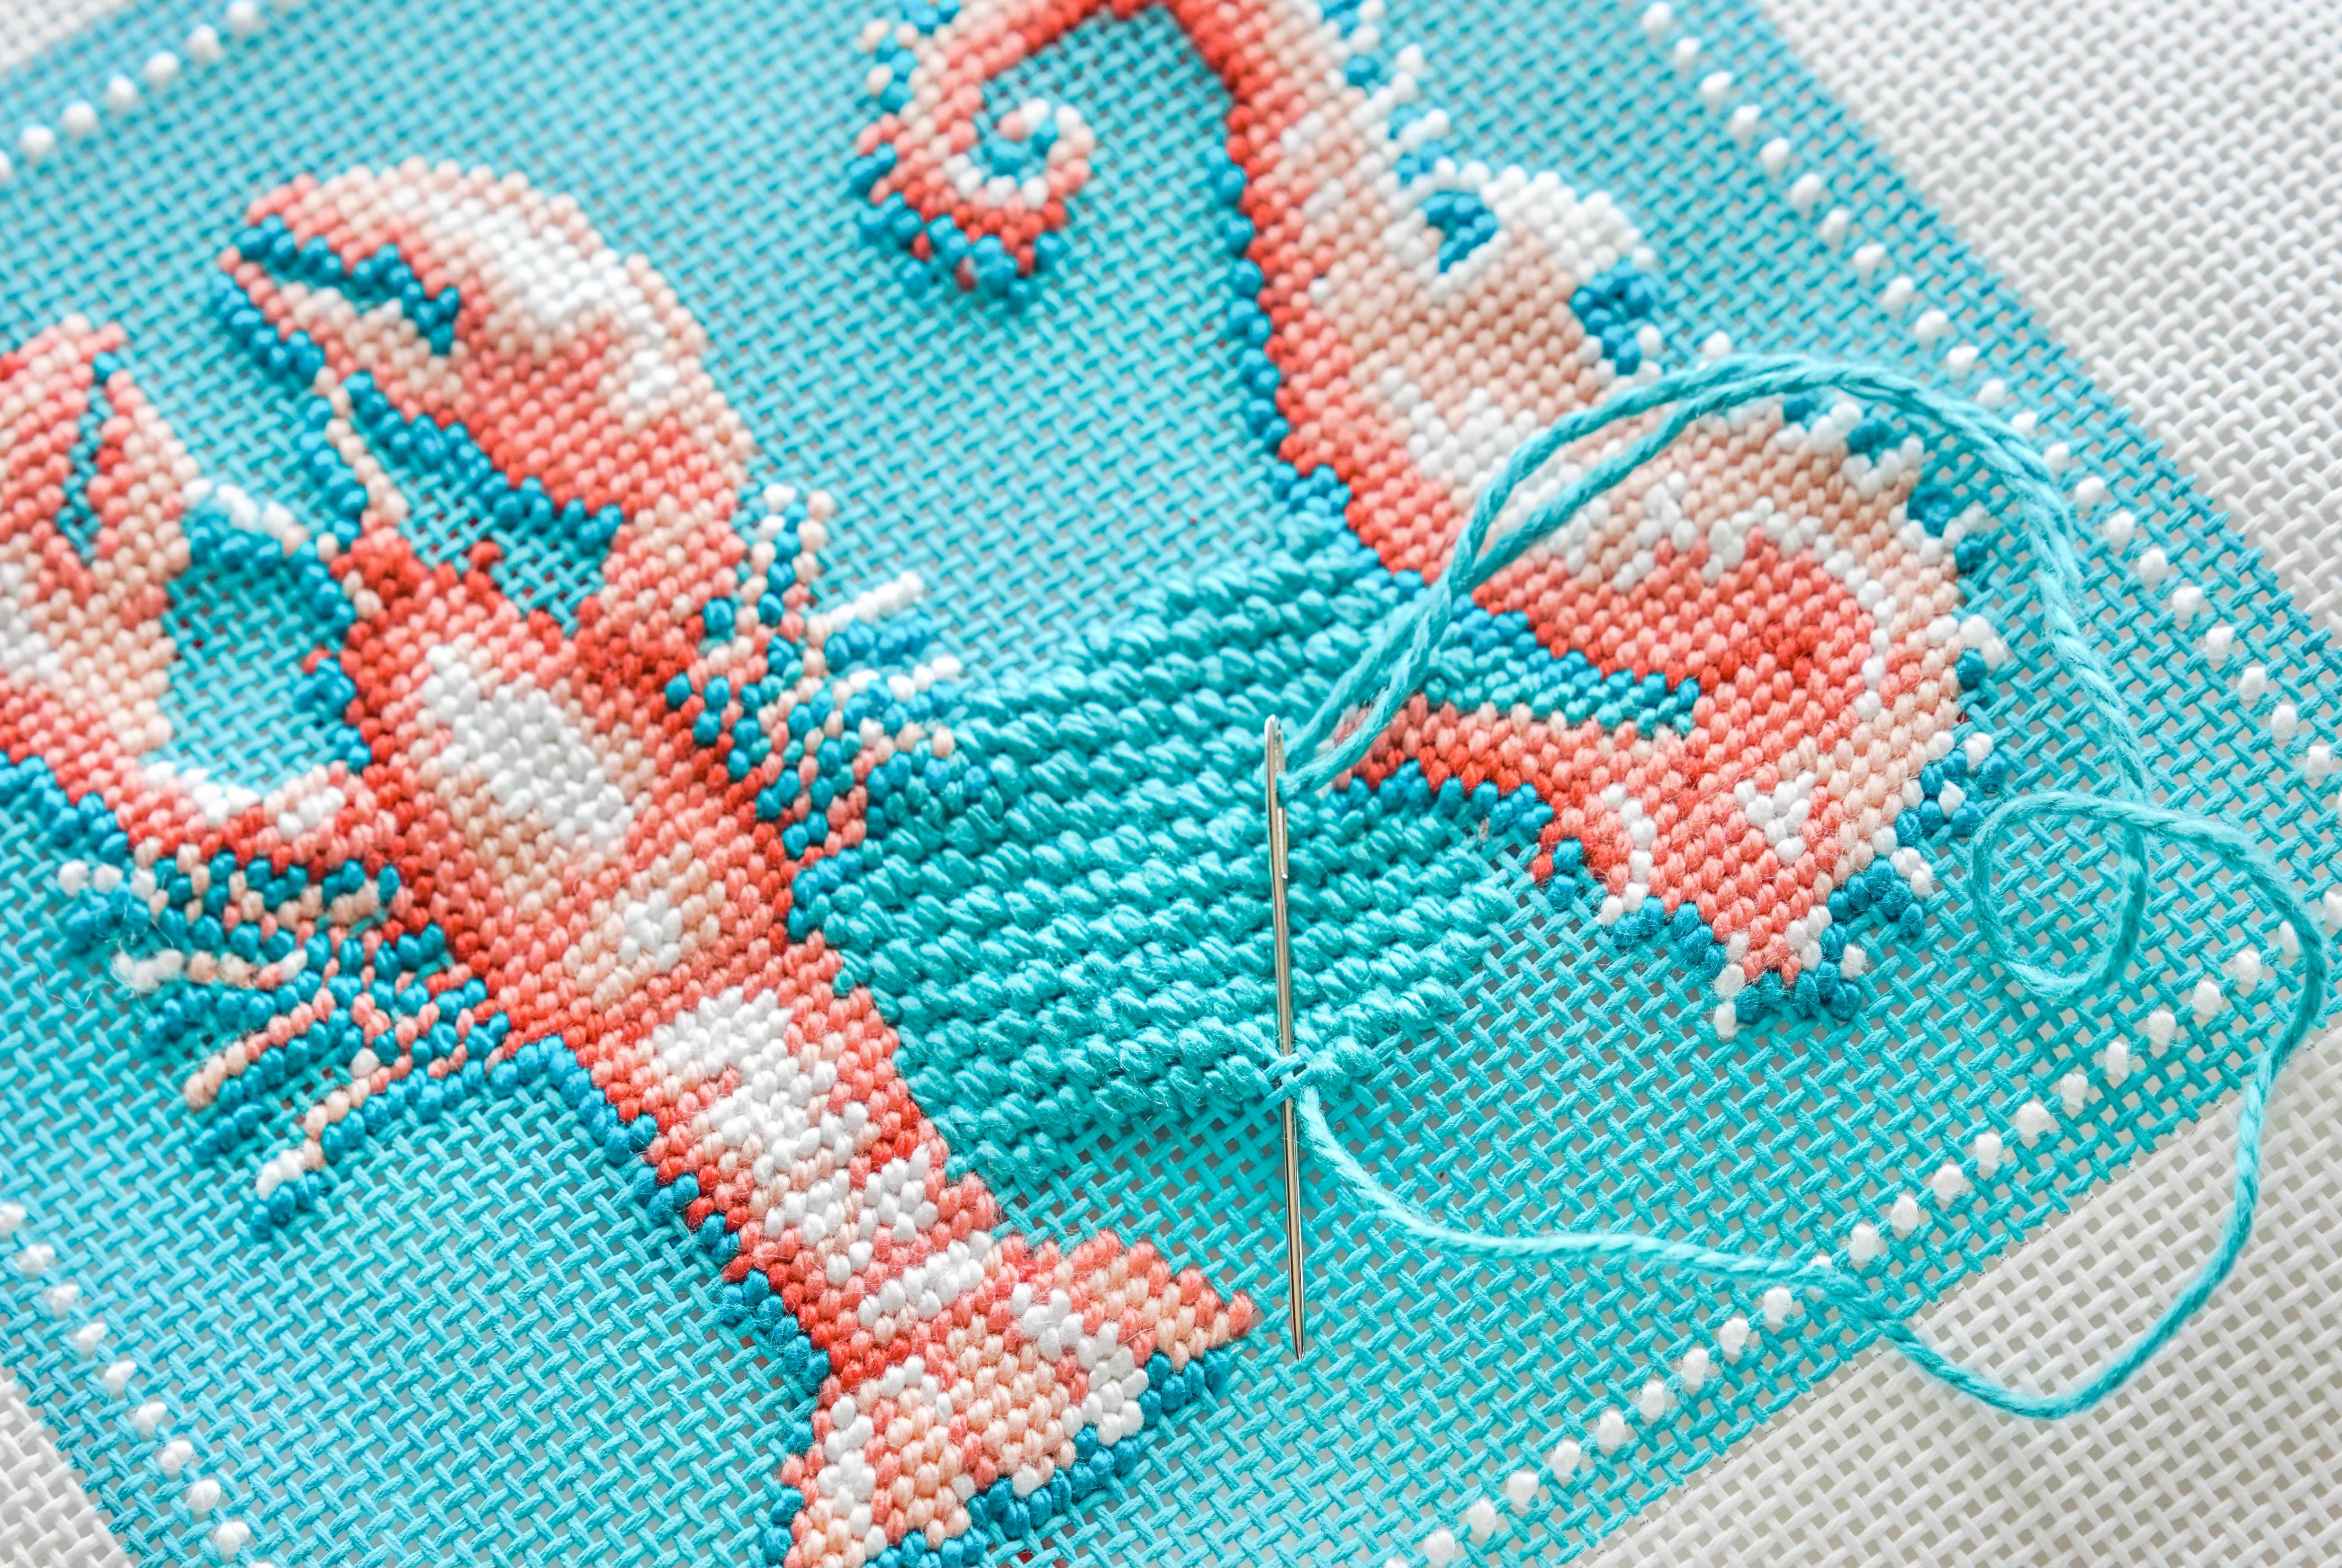
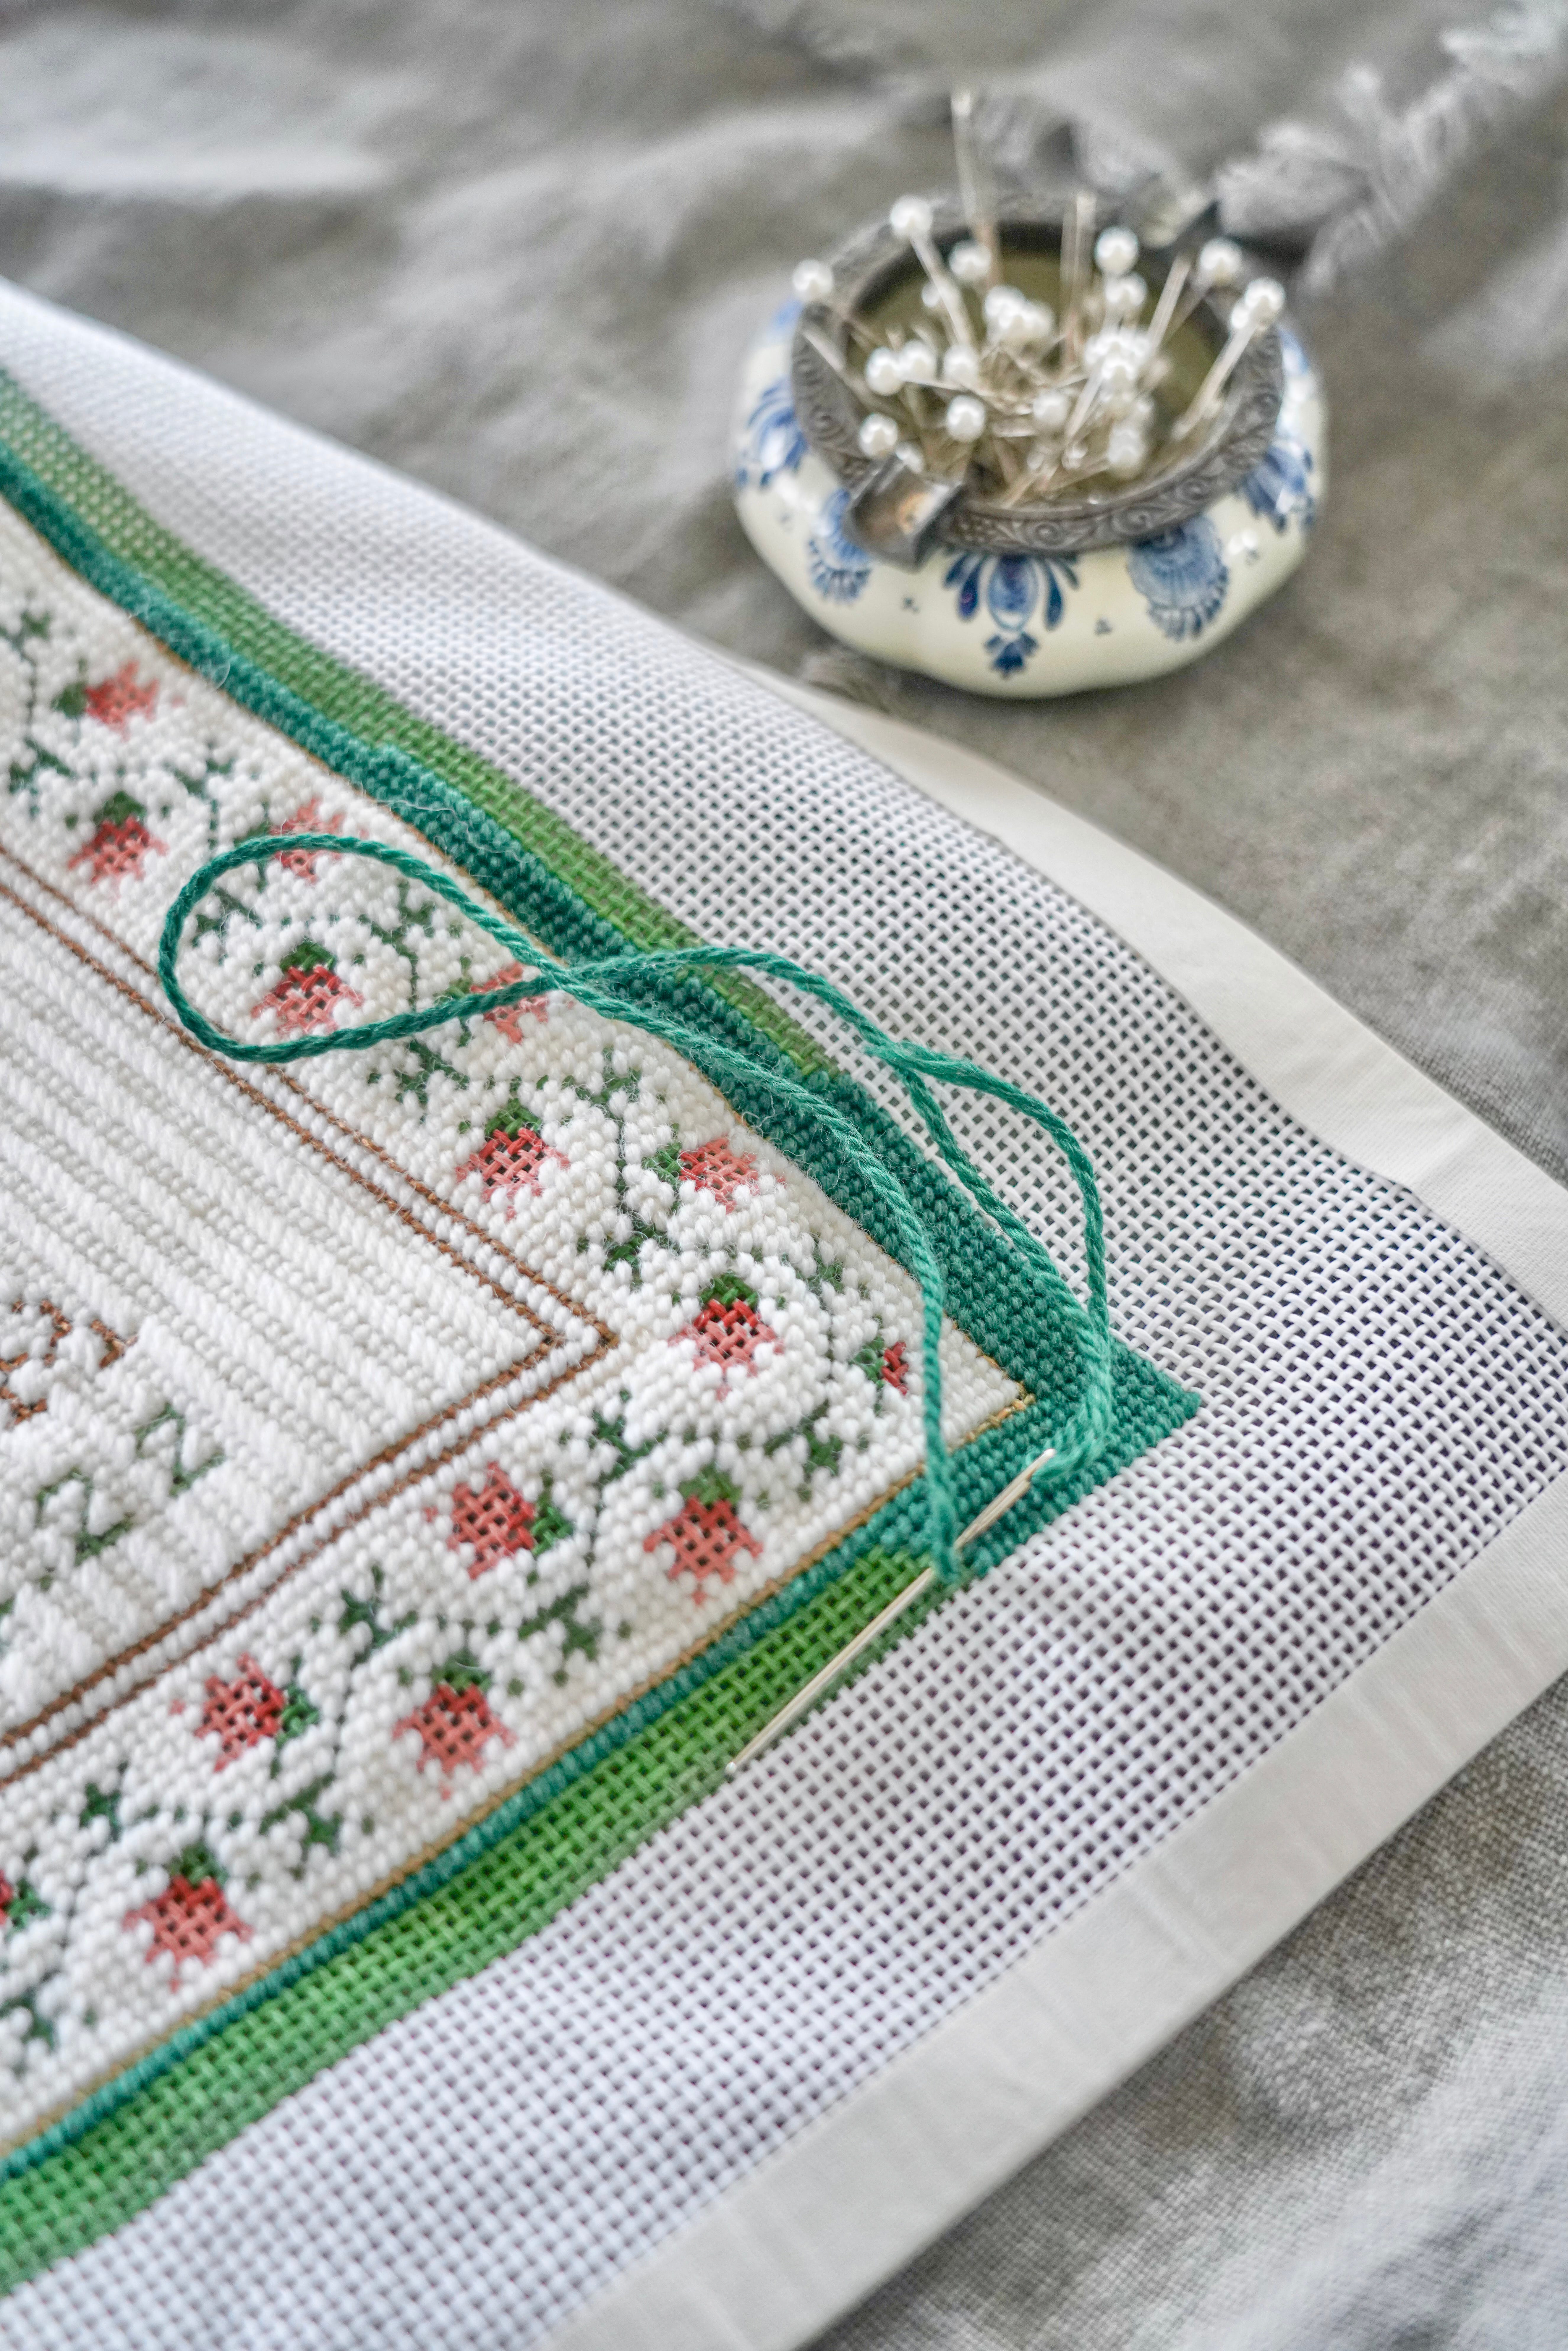
Non-Affiliate Link: This canvas is by Ramsay Gourd for Lycette
4. PRACTICE ON A TEST CANVAS:
If you are unsure how to approach a particular stitch, practice on a scrap piece of canvas. This can help you refine your path before stitching on your main project.
5. CHECK FOR CONSISTENCY:
Step back and examine your work periodically to ensure the compensated stitches blend seamlessly with the rest of the design.
If any stitches look out of place, adjust them as needed.
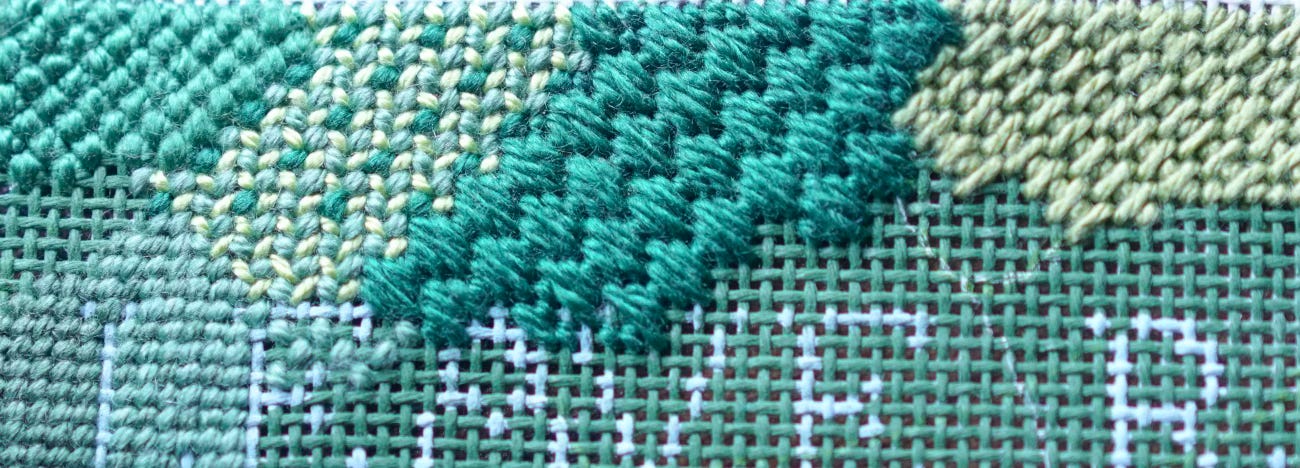
Here are some random stitches I have been playing with for my moss-inspired Leave Room For Magic canvas.

TIPS FOR EFFECTIVE COMPENSATION
Plan Ahead: Before starting your project, consider how the pattern will align with the canvas edges or motifs. You can try sketching out the stitches with a pencil or marker on your photocopy.
Be Patient: Compensation can be tricky and may require trial and error to achieve the best result.
Use a Light Touch: Avoid crowding or overlapping stitches when compensating; this can make the design look bulky or uneven.
Embrace Creativity: While compensation aims for consistency, slight variations can add character to your work. In the above coral image, I chose chaos.
This post was written while listening to this song on repeat.
Until next time, friends! I’m off to go watch my friends in a climbing competition.
x,
Brooke
Comments
Nothing yet. Say the first thing.
Sign in to join the conversation.