
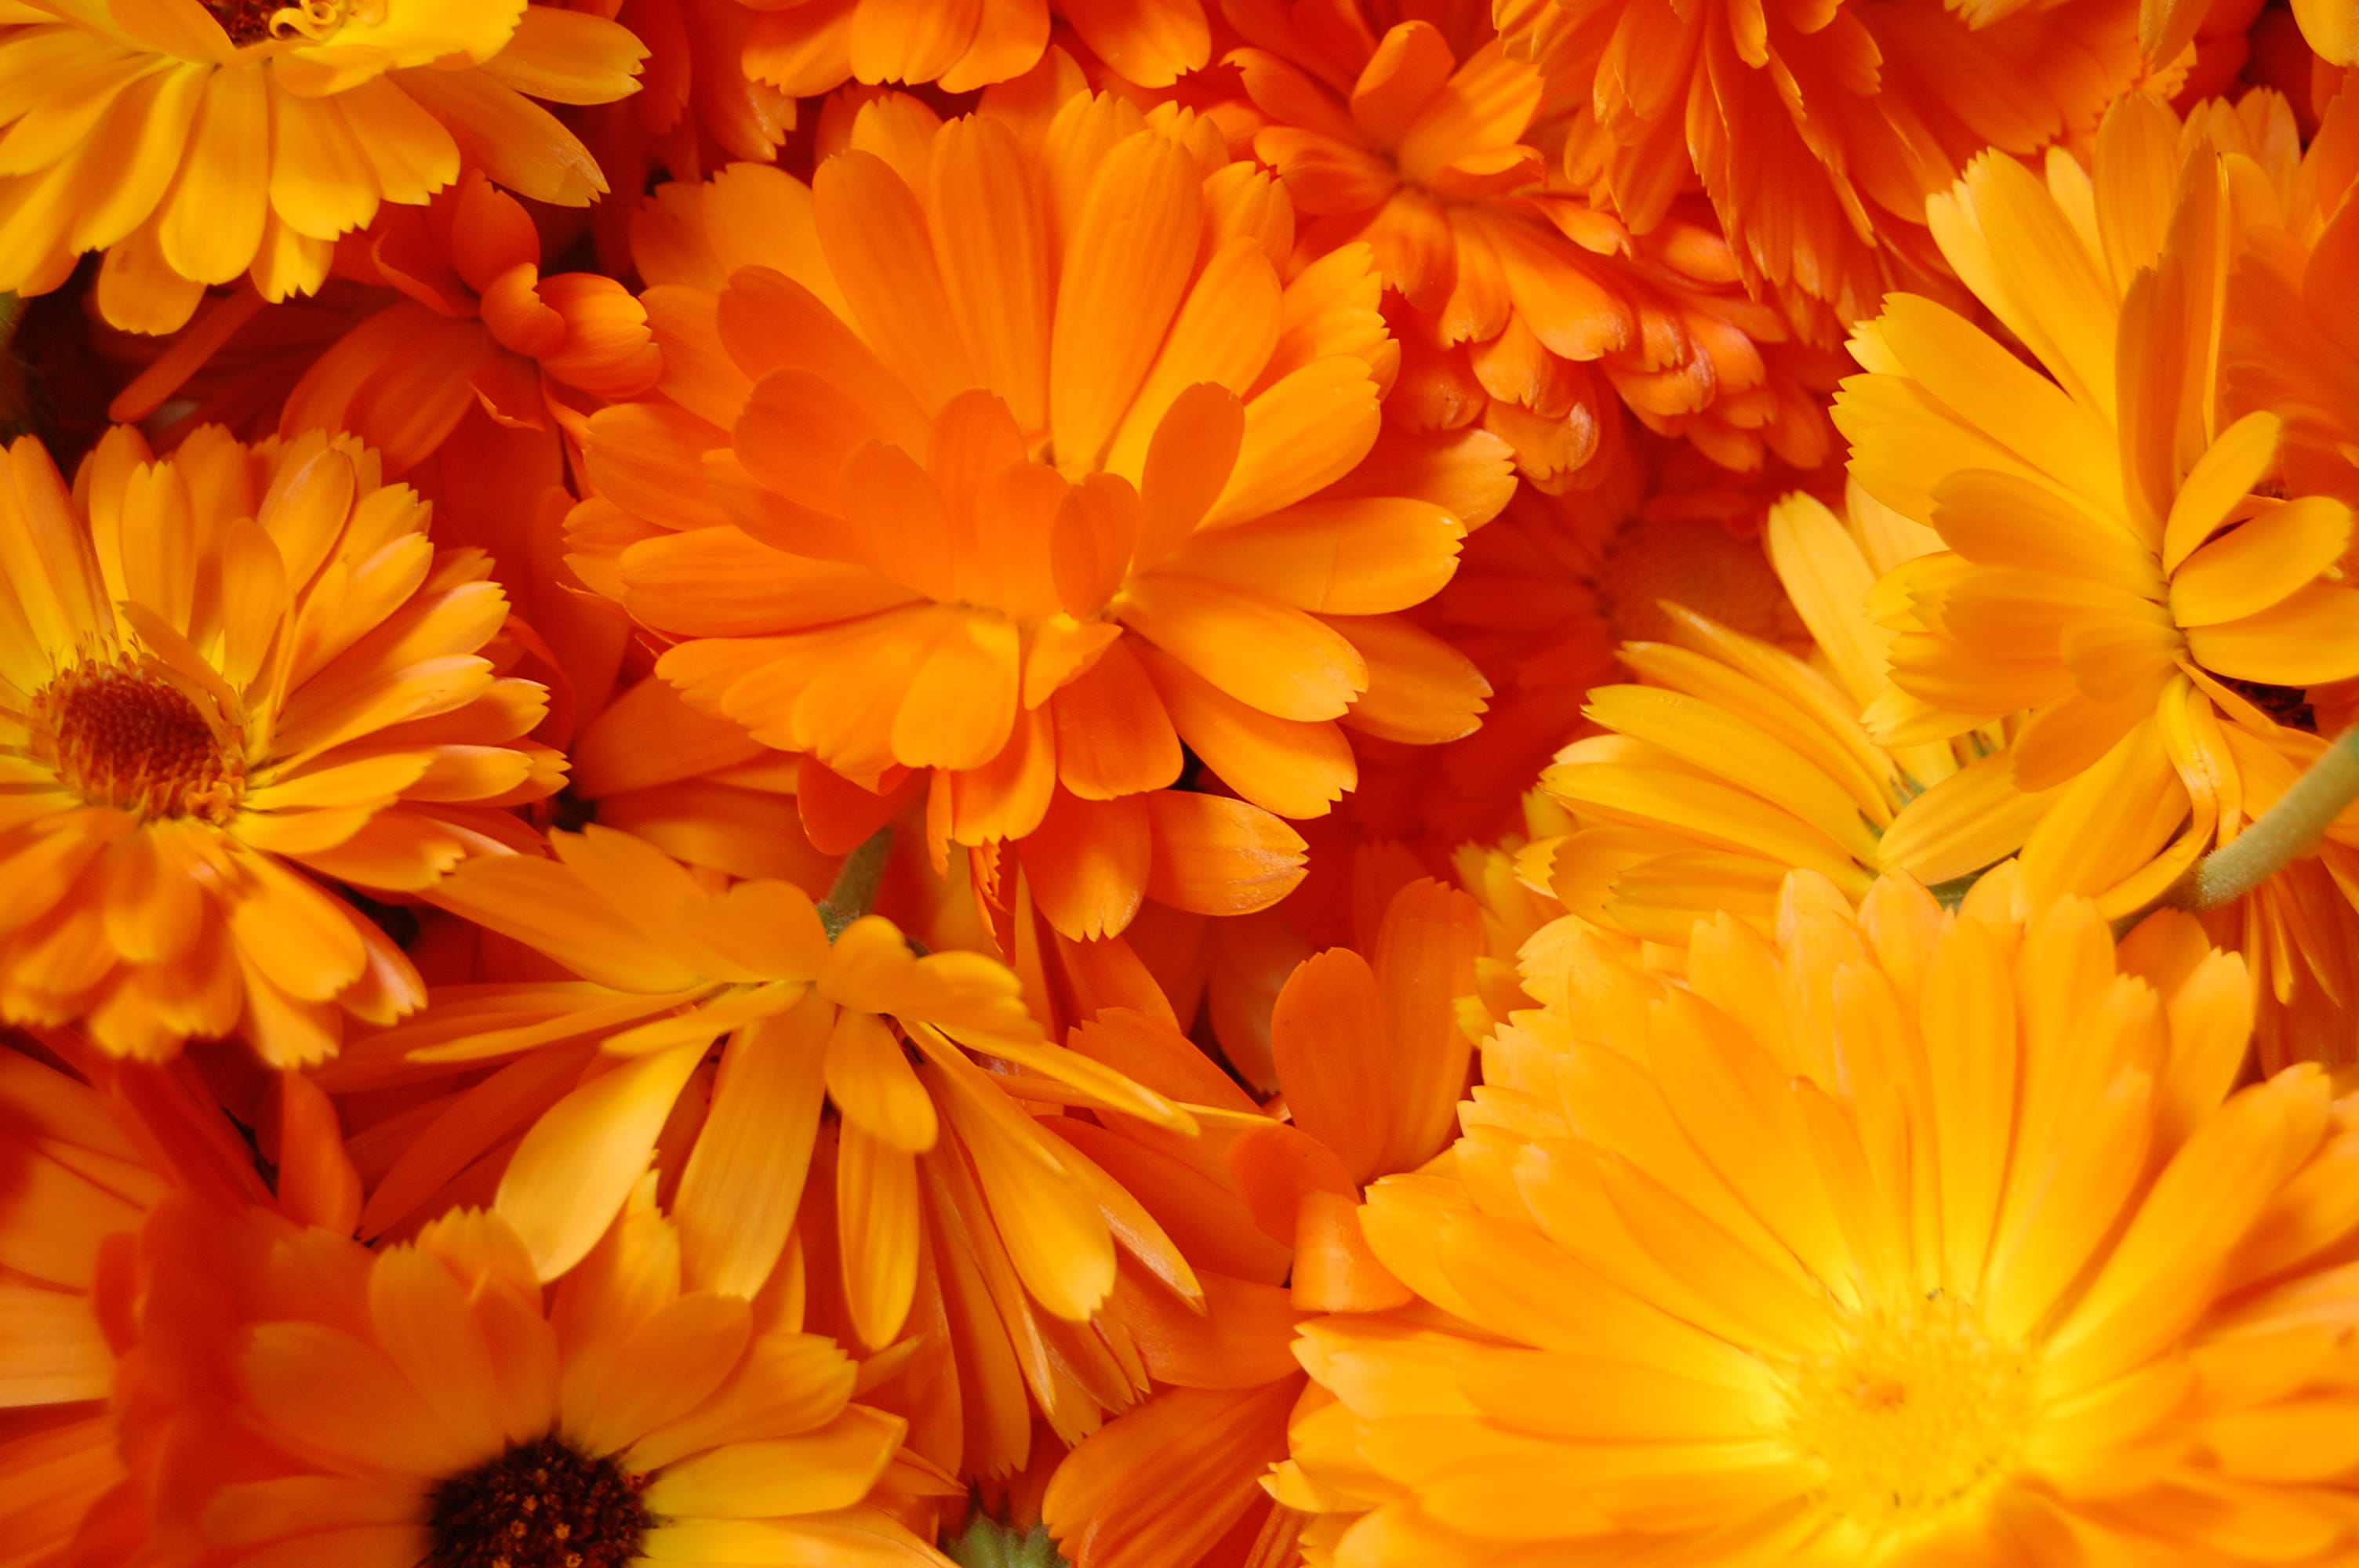
Family: Asteraceae
Parts Used: flower buds, flowers, leaves
Taste: pungent, bitter
Energetics: warming & drying (Thomas Easley claims Cooling…)[1]
Properties: astringent, emollient, vulnerary, anti-inflammatory, hepatic, lymphatic, antispasmodic, emmenagogue, slightly demulcent, cholagogue[2]
Uses: all sorts of skin issues, from eczema to wounds and chicken pox, ulcers, minor infections, mastitis, stagnant lymph, delayed menses
Preparations: infusion, poultice, tincture, vinegar, food, oil, salve
(Above from Rosalee de la Foret, Thomas Easley, Steven Horne & James Green)
Calendula is one of my favorite Plants to grow and use. Her cheery and hardy blooms bring joy and beauty to the garden and I’ve used her in salves for many years for many skin issues. She’s the primary ingredient in my Baby Balm, and for good reason, her vulnerary (used in the healing or treating of wounds) properties are legendary. Kami McBride writes:
“The vulnerary effects of Calendula soothe and repair acute and chronic skin problems, alleviating acne, swelling, cold sores, tissue trauma, slow-healing skin cuts, bruises, abrasion, sprains, eczema, hemorrhoids, and bug bites. For a reviving foot bath, mix Calendula and Lavender together (fresh or dried), soak your feet, and release the strain and stress from your body.”[3]
Calendula can improve the skins elasticity through cellular healing as well as hydration and is nice to apply if you’ve experienced a sunburn. Internally, the benefits of Calendula can aid in soothing the digestive track, especially helpful for those with “leaky gut.” Now this requires a strong infusion (think 1oz herb to 1-quart water[4]), so that’s a lot of flowers! However, Matthew Wood, in his preparations, writes: 1 tablespoon dried flowers for 1 cup boiling water[5]…
I’ve noticed that purchased Calendula flowers are often very faded and have little to no scent. When you grow and gather your own blooms, the medicinal actions are much more potent!
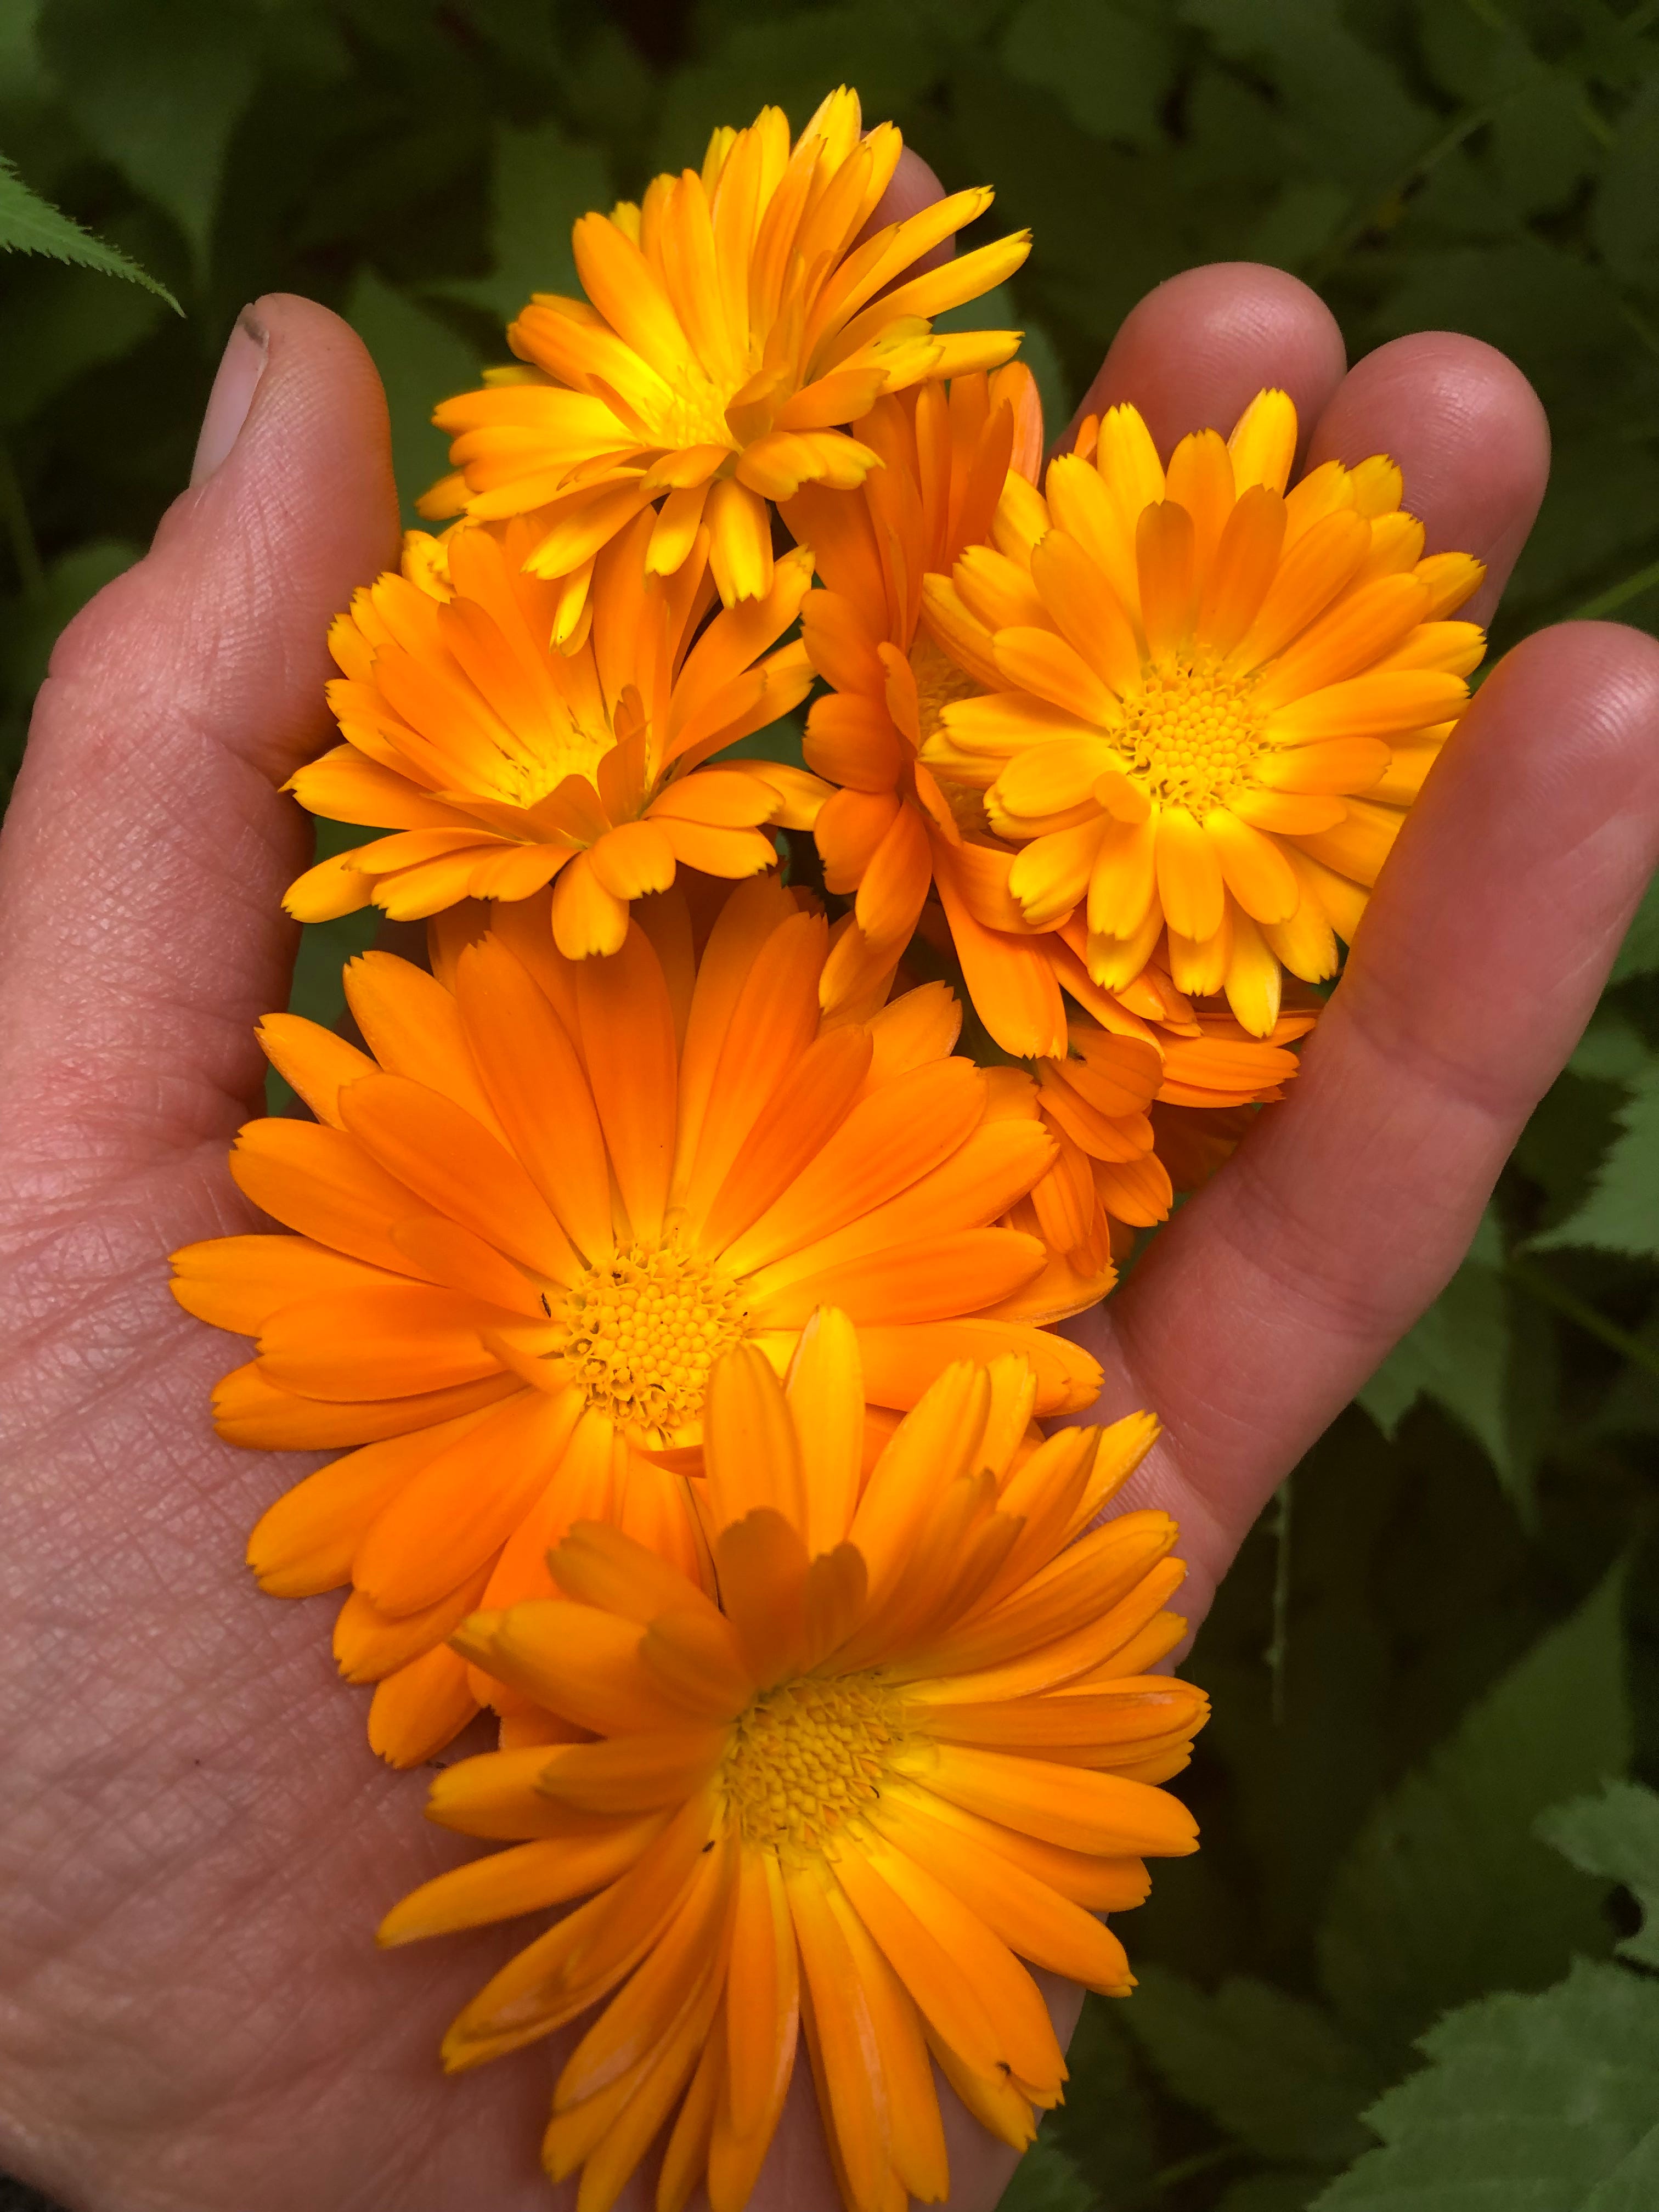
Matthew Wood, in The Book of Herbal Wisdom[6] also shares this: “The presence of dampness is a pathological sign calling for Calendula. This remedy is used for conditions where there may be some excess dampness in the wound or in the tissues: thrush, swollen lymphatics, and vaginal discharge. Calendula is not a strong or forceful remedy, but when it is specifically indicated, it will clear lymphatic stagnation.” Continually, “The timely use of Calendula may prevent the formation of unsightly scar tissue.” (This is why I use it in the Mountain Momma Belly Balm—during pregnancy and post—recipe, as it helps keep stretch marks at bay!)
The name Calendula comes from Calendar, or Calends, as she blooms so many months out of the calendar. Especially when her blooms are often picked! Again, Wood: “One of my colleagues, herbalist Chris Hafner of Minneapolis, coined the name “herbal sunshine” for this plant. He adds that Calendula is the remedy “for places where the sun doesn’t shine.” This is a good way to remember what Calendula can be used for, dampness, pus, and wound irritation, think of it this way, if the Sunshine would help, Calendula might too!
Contraindications: As an emmenagogue (an herb that can induce menstruation), internal medicinal use of Calendula during pregnancy is not recommended. External/topical use during pregnancy is just fine.
The following is an absolutely delightful, simple and light bitters recipe. Perfect for summer. You can take neat (as is, by the dropperful), add to water (sparkling too), add to tea or use as you would cocktail bitters.
Of note, this is a VERY quick tincture, only a week. And stores up to a year. Most properly stored tinctures can last 5+ years. Also, I mention below that you want to utilize the whole Calendula blossom, bottom and all; this recipe indicates to remove the sepals (for taste I imagine). You could include the sepals in this recipe for a stronger bitters action.
Calendula Sunshine Bitters
Recipe by Emily Han in Wild Drinks & Cocktails
2 medium oranges
¼ cup (4g) dried Calendula petals or ½ cup fresh petals, sepals [the bottom green part] removed
2 tablespoons (10 g) green cardamom pods, cracked
2 cups (470 ml) vodka
Peel the oranges by hand, separating the fruit from the white pith and skin. Chop the pith and skin into pea-size pieces. Combine the orange pieces, Calendula petals, and cardamom pods in a pint jar. Pour the vodka into the jar. Cap the jar tightly. Store in a cool, dark place for 1 week, shaking daily.
Strain through a fine-mesh strainer lined with a coffee filter or cheesecloth; discard the solids. Bottle, label and store in a cool, dark place for up to 1 year.
You can easily halve this recipe.
Nourishing Tea
Recipe by Emily Grace Willis
4 c. Mint
2 c. Oatstraw
1 c. Calendula*
1 c. Lemon Balm
1 c. Hibiscus* flowers
1 c. Stinging Nettle
1 c. Rose petals
½ c. Stevia (for sweetness) optional
Makes about 2 quarts, can halve or alter quantities as needed. Nourishing to the body and spirit. Drink hot or cold. Use 1-2 T. per cup, add boiling water and steep 10 minutes. Can use more and steep longer for a higher mineral content infusion.
*(omit Calendula & Hibiscus during pregnancy)
Calendula makes a wonderful infused oil. There are many different oil infusion techniques that are discussed thoroughly in the November edition of Haven Making. Recipes including Calendula are: Baby Balm, Mt. Momma Belly Balm & Natural Lips! If these recipes intrigue you, grow Calendula!
Growing Calendula
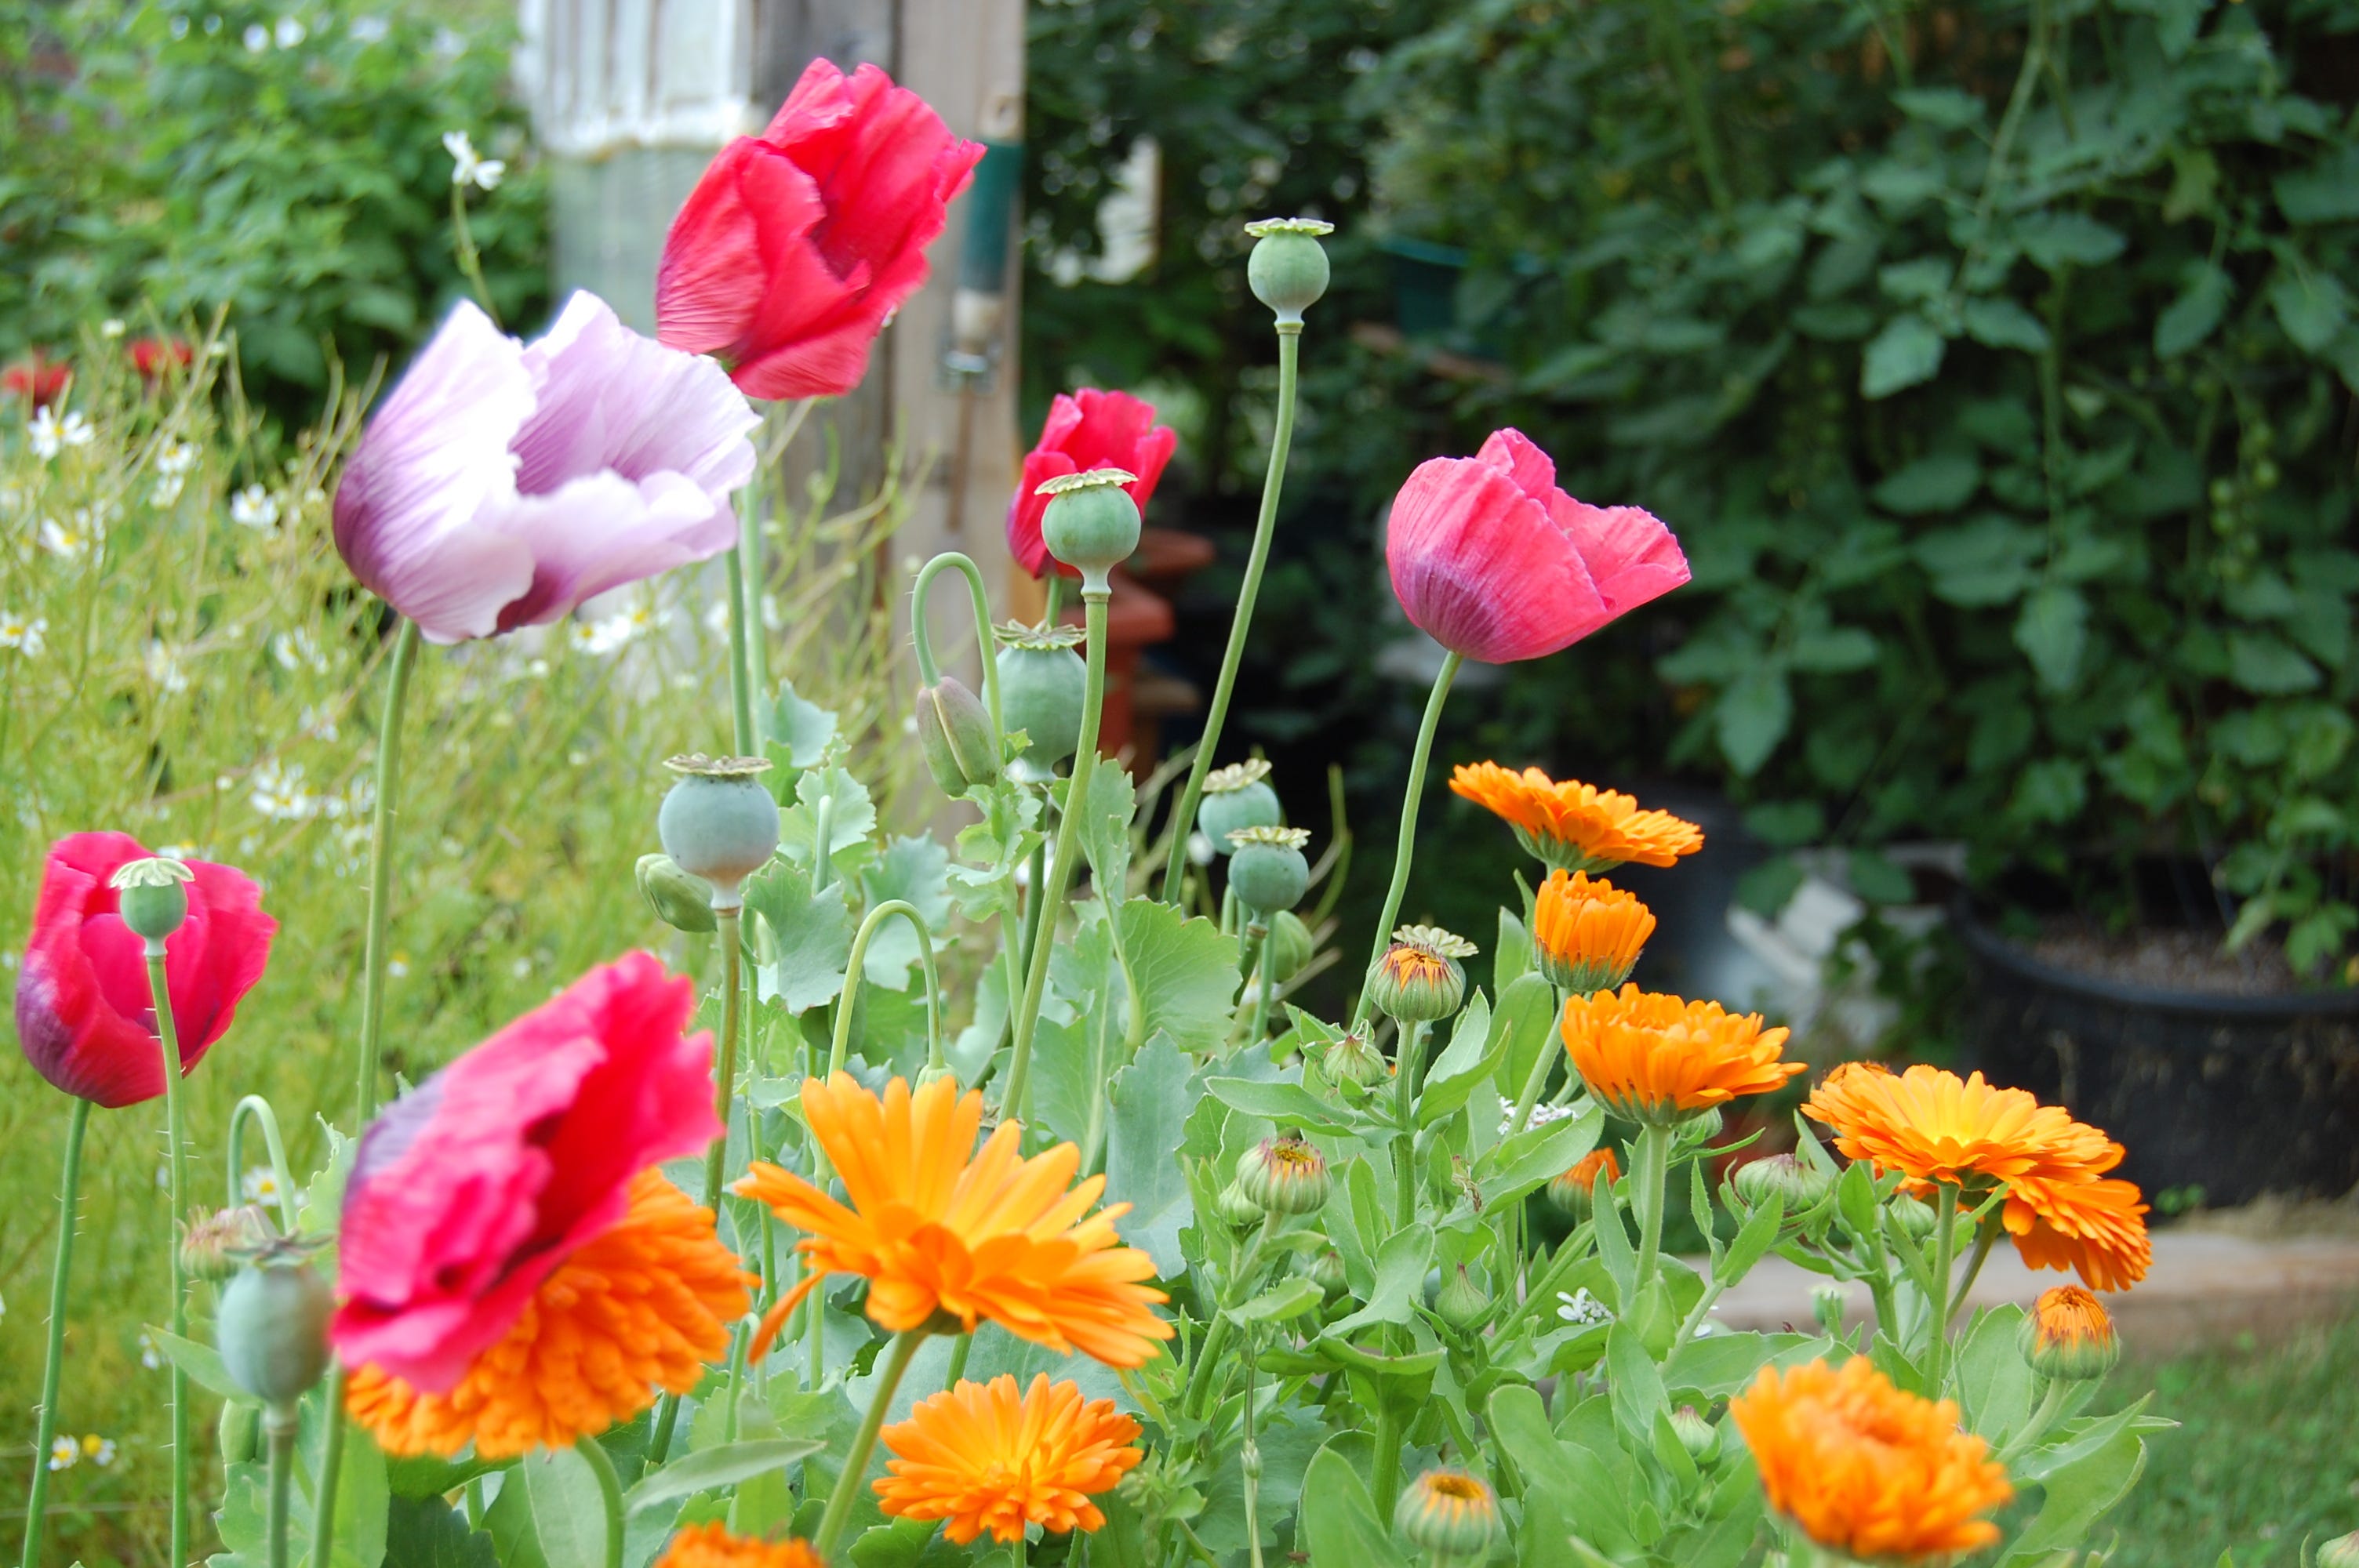
Calendula prefers good, rich, well-drained soil, but will tolerate poor soils if enough water. Best grown in full-sun to part-sun/part-shade. She gets to be anywhere from 1-3’ tall depending on the variety (mine are more around 12-18”) and the recommended spacing is 6-12” apart for single rows, again variant dependent; I read in The Organic Medicinal Herb Farmer[7], that they do 36” in-row, or between those 12” spaced rows. That’s waaay more space than I do. They also grow a larger variety, so that is probably a factor as well. Follow the directions on the seed packet for best results!
Calendula also does well in a good-sized pot. Her medicinal blooms are usually yellow or orange, but there are many more varieties out there, I’ve grown ‘Resina’ & ‘Alpha’ since 2006 and have selectively saved more of the orange flower seeds from them as the years have gone on, just because I like that hue of orange more than the yellow.
What’s interesting, is that in The Organic Medicinal Herb Farmer book[8] they write this: …[Calendula] is a hybrid and will reseed itself. However, the resulting progeny may not be “true” – meaning that not all members of the second generation are the same variety as the parent generation. Letting a crop of “Erfurter Orangefarbige” [what they grow] self-seed will not result in a pure crop in subsequent seasons. It is better to start with new seed or transplants each season.”
Going to need to look into this more, as it’s not something I had read previously. But then again, I do a lot of experimenting with seed saving and have had great success with Calendula seeds, and just never looked into it much further. Yes, my blooms do have some variation; their centers are either black/brown or orange, sometimes the petals have this gorgeous violet fluorescence to them, and some are double petaled blooms. And I love them all and they’ve been like that more or less for the last 8 years. I do mark (with some string or a stick) the especially pretty and/or hardy Plants) in order to save the ‘best’ ones. Final thoughts: if you do plan to save your own seed, start with just one variety of Calendula and choose one that is highly resinous. Strictly Medicinal Seeds is a great online source if you don’t know any avid Calendula growers—local folks, hit me up!
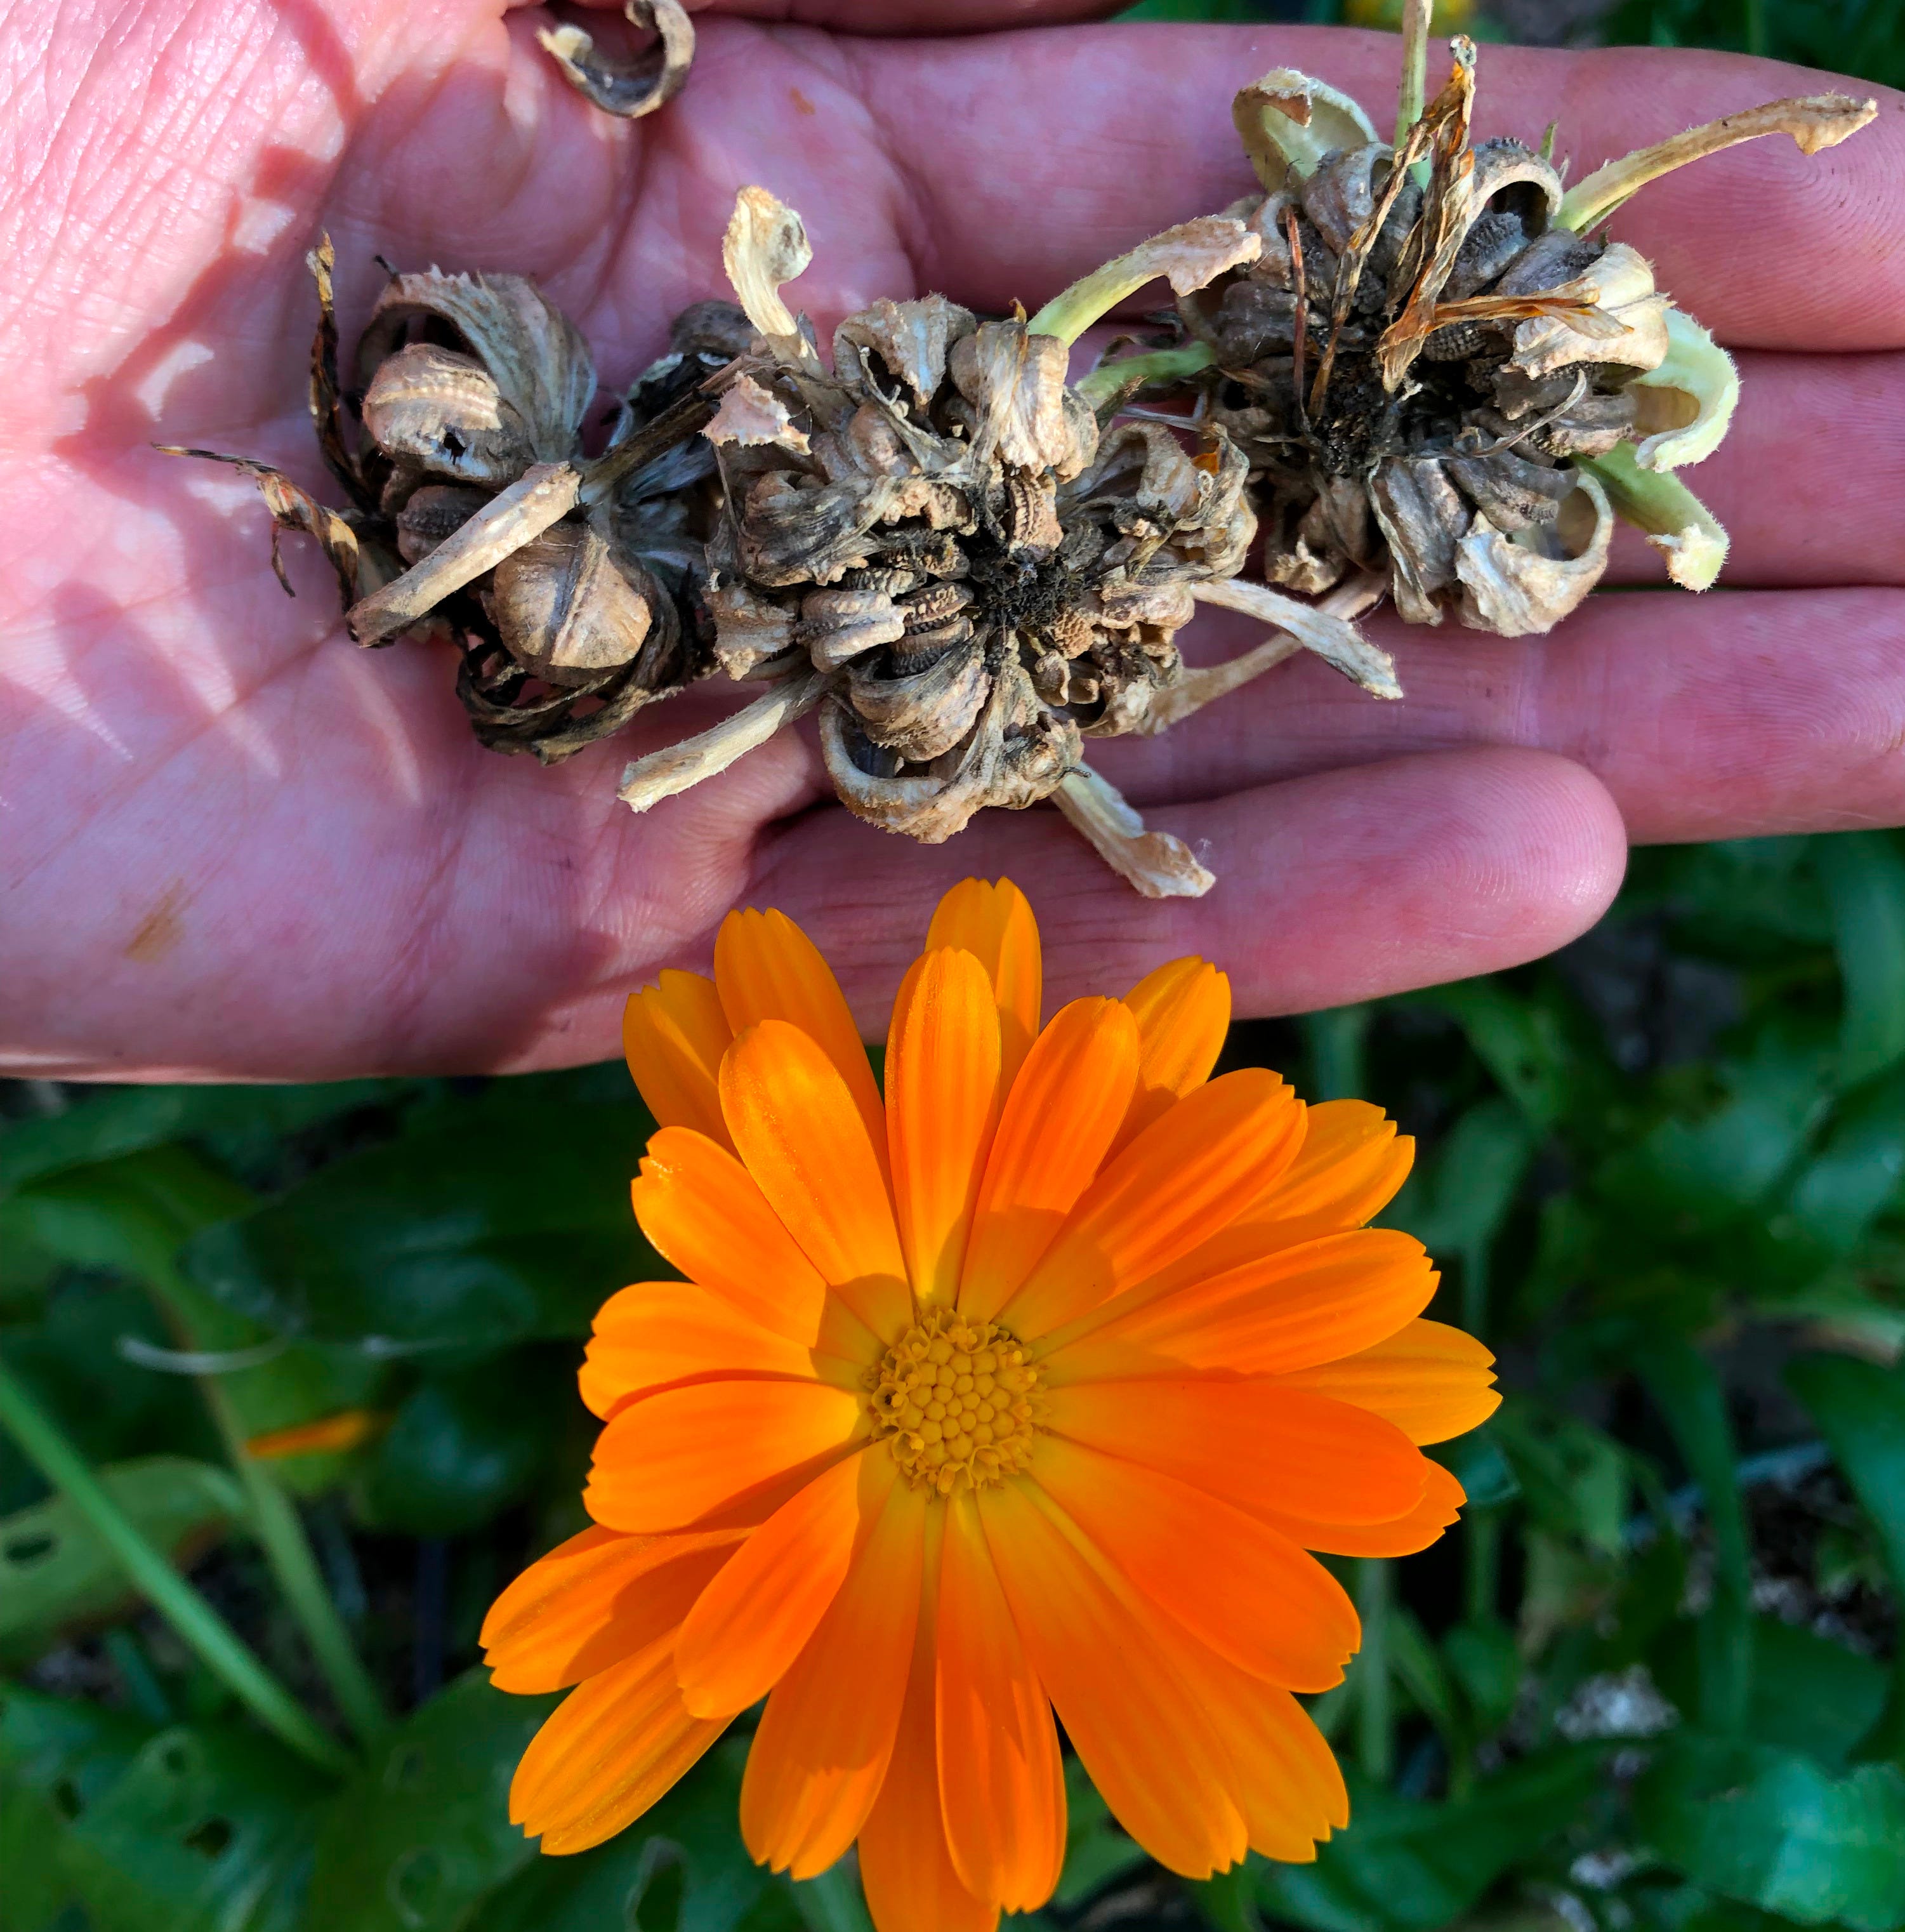
Direct seeding works for Calendula, but make sure your bed is weeded prior to seeding. Cover seed with soil, ¼ - ½ deep. If your Spring is cooler, transplants may be a better choice, OR if you have really hot summers, start seeds in pots by mid-June and transplant mid-summer.
In 2023 I waited and waited for my Calendula sprouts to show themselves, I had heard plenty of (horror?) stories about how strongly they reseed and “take over” in these parts. Well, these folks must not have been harvesting like me!! (And, no they were not ;) ). In any case, I only had a literal handful of reseeded Calendula babies pop up, not nearly enough. So, when I realized my apothecary was going to be sorely lacking one of my most used flowers, I decided to plant 20 seeds or so into a little pot (about 6X8”) around July 6th. I kept them watered and they sprouted very quickly with the warmth of the sunshine. After the Garlic was harvested (mid-August), I transplanted those babies into that spot.
Now here is where it gets interesting, those Plants were the happiest looking Calendulas I’ve grown in SE Idaho to date. For the last two years, I had been disappointed with my saved seed here as the Plants and the blooms are much smaller than what I’d been growing for years in Alaska. Surely, this is a much warmer and sunnier environment than they were used to, but even my in-laws Calendulas were smaller like that and they’ve been growing theirs for 6+ years now.
But these Plants, planted mid-August and coming into maturity in September, were reminiscent of the size and vigor I was used to seeing. So, while Calendula can grow in the heat, it is a flower that does like it a touch cooler to grow the bigger blooms and abundant foliage. I’m going to try this again and see if the results are similar next year. I mean, it could also be they like to grow where Garlic was *shrug* so maybe that’s my plan!
Starting Indoors
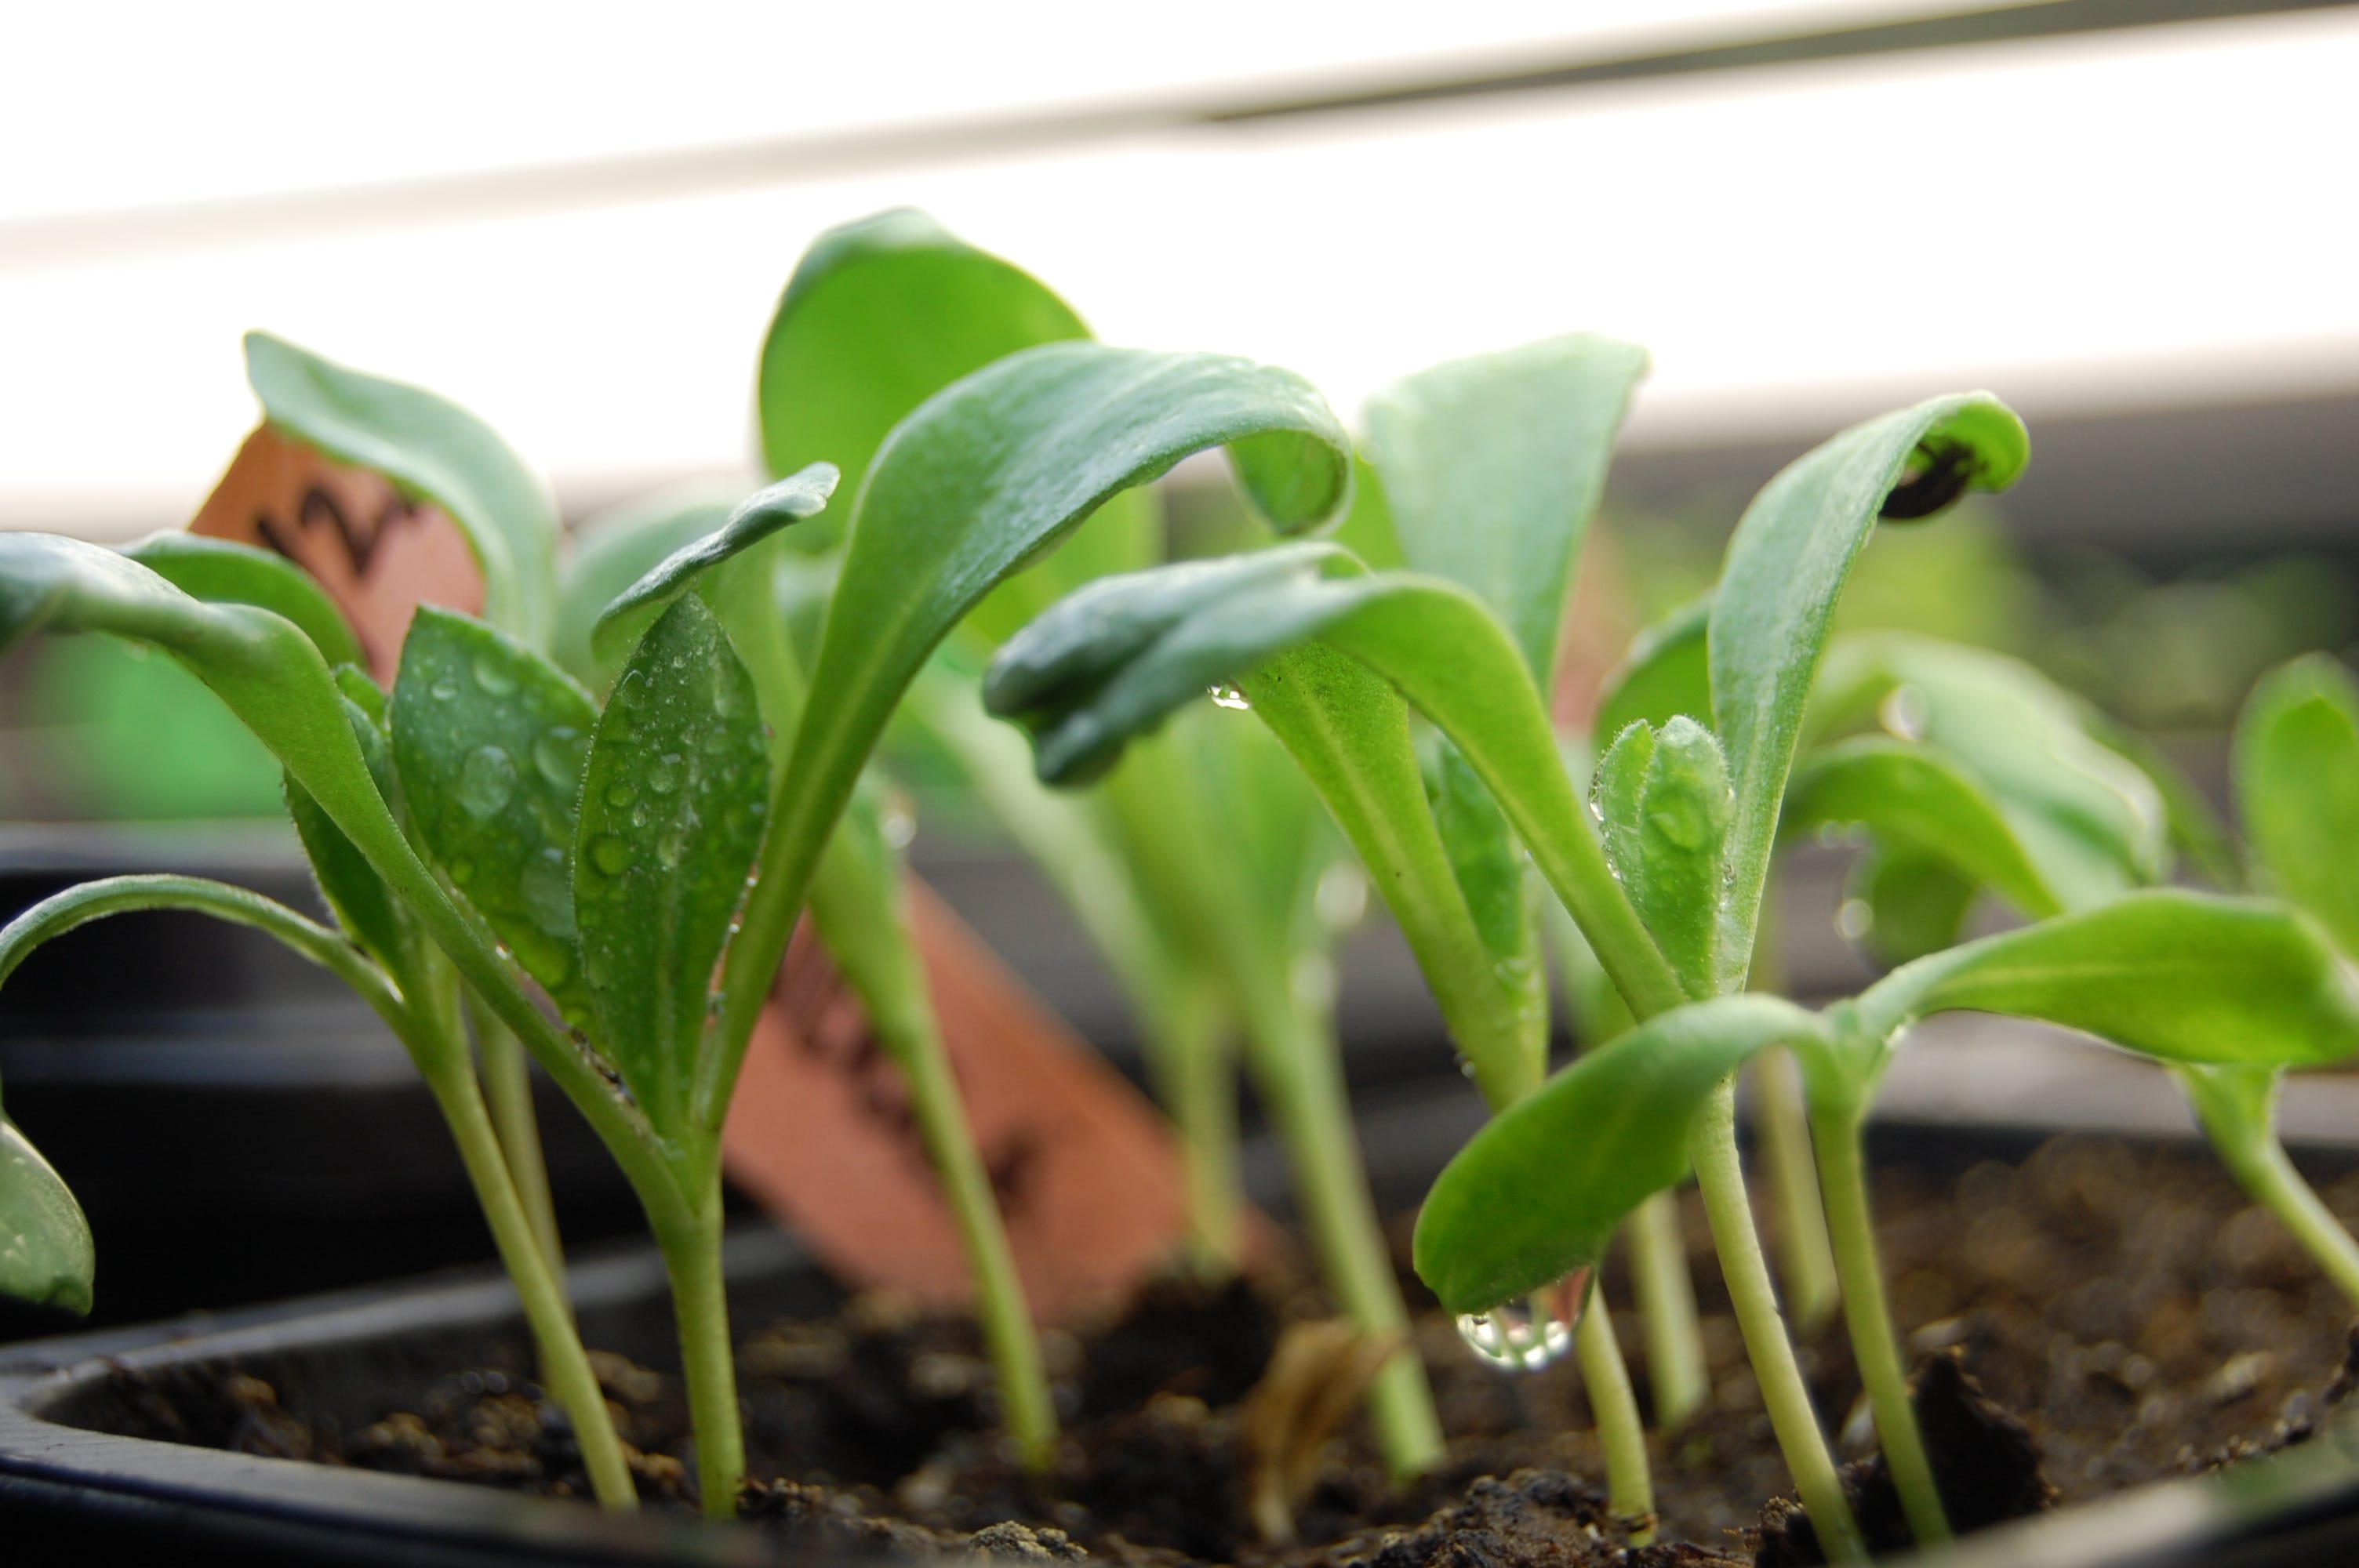
I usually start Calendula indoors in order to get a leg up on the growing season; but seeing above, I’ll split my seeding up between late April and early July seeding now. 4-6 weeks before the last frost is best to seed indoors for Calendula. You can do these in small pots or cells, 1-3 seeds per, 6 seeds/12pk or up to 20 in a larger pot.
Cover seed, prefers darkness to germinate. Some Calendula seeds are larger than others, so go with this rule of thumb: plant seeds 2-3X as deep as their width, so larger seeds go deeper, smaller seeds, shallower. Keep moist until germination. If you start earlier, you’ll probably need to ‘bump up’ or transplant your seedlings into larger pots in order for them to happily continue growing. We’ll go over transplanting/bumping-up in April. I generally use 4” pots and put 1-2 babies per pot depending on their size.
Harvest
Calendula is one of the easiest flowers to pick. Use fresh blooms in tea/infusions, sprinkle petals on salads, put whole flower heads into soups for digestive benefit. For future use and drying, harvest on a dry day!! No rain, no dew on the flowers.
When thoroughly dry, simply take your fingers and pluck, or use scissors and snip off the blooms as they open up, right at the base of the flower. I choose fresh, and fully opened blooms. Now the more resin contained in the flowers, the stickier your fingers will become; this washes off easily with soap and water.
When I first began growing and harvesting Calendula, I would pick the blooms, dry them on baskets and then pull the flower petals off each one and save those in a jar (they resemble saffron). I did this partly because I thought the petals were where the majority of the medicine was (incorrect), and partly because I lived in a moist environment and didn’t want those green parts to mold on me. Come to find out, you want to save the ENTIRE bloom, bottoms and all. If your home is located where the air is moist, it will take longer to dry and you can put Calendula into the dehydrator to speed things up; or in an oven, on the lowest setting, with the door open (my oven goes no lower than 170F which is way too warm), you’re shooting for 105F max.
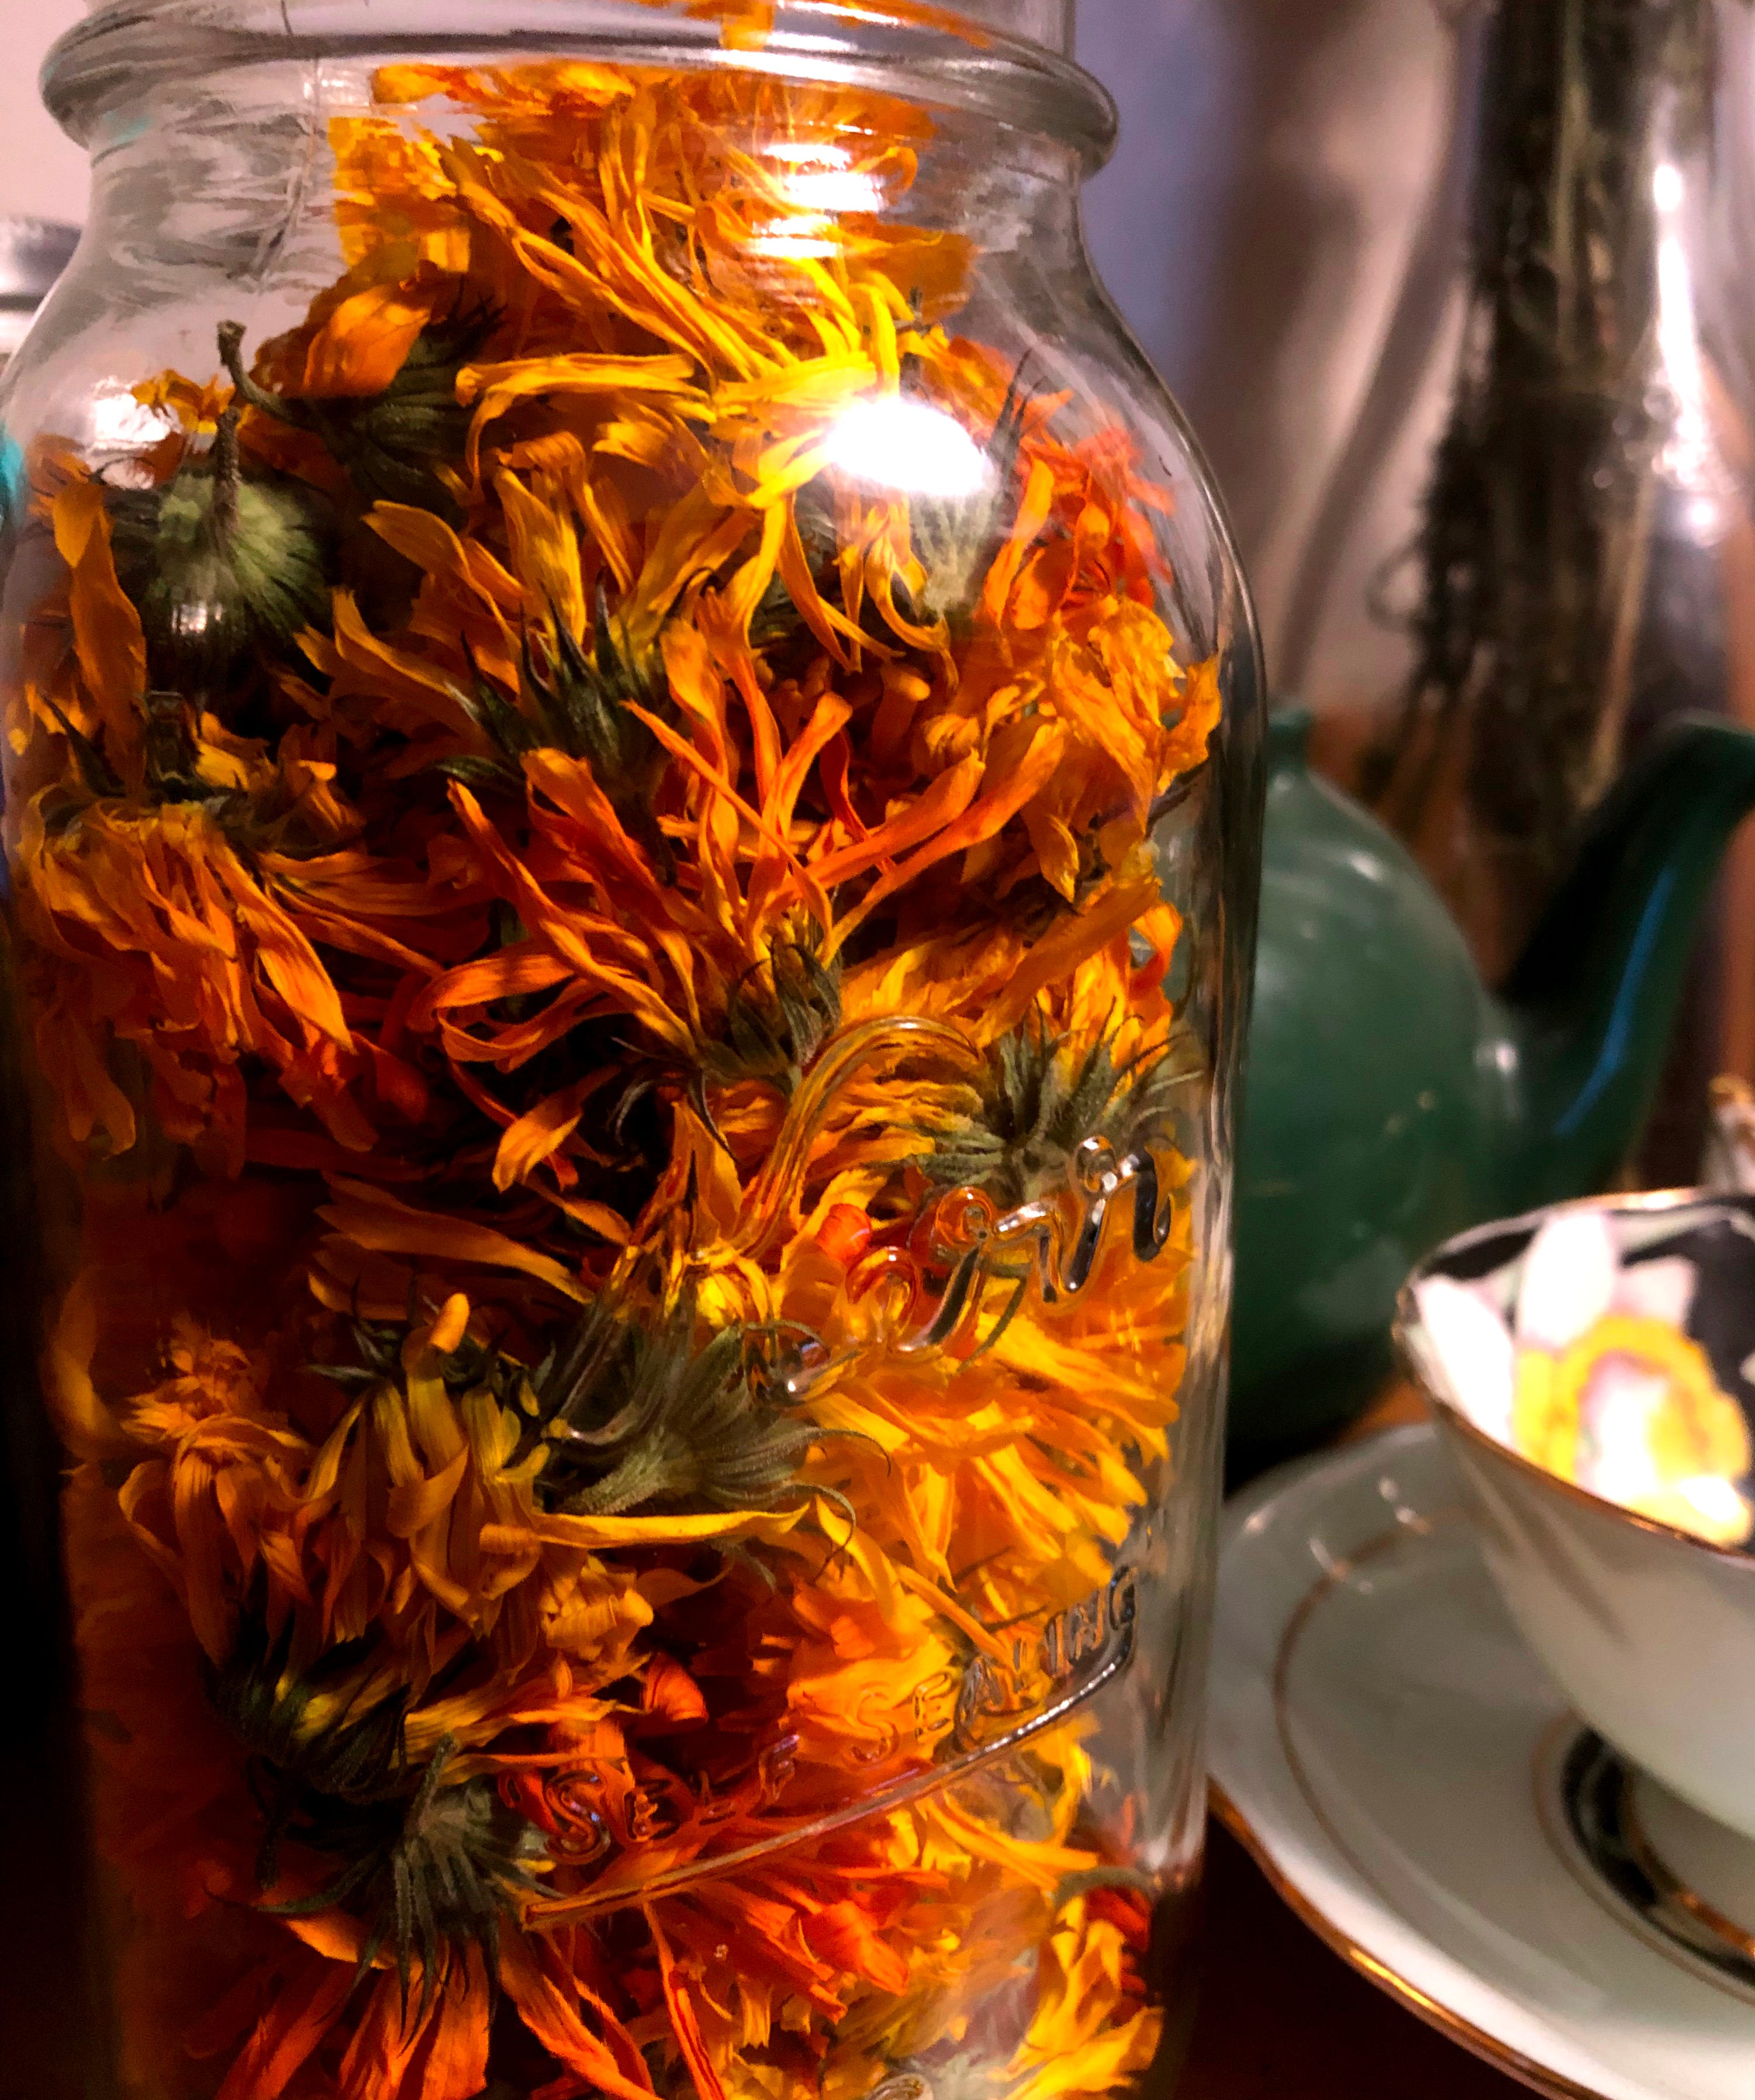
Flat baskets work great, you can also use paper bags, keeping the Calendula in a single layer when drying. Here in the high desert of the Rockies, my blooms finish up in about 2 weeks with the dry air, up in SE Alaska, it could take about a month. Drying time is dependent on many factors: air flow, temperature and moisture content of the air, and the bloom, when harvested. It’s better to err on the side of caution with Calendula, so if you’re not certain they are dry yet, wait another week. I store mine in glass jars, but they are very light sensitive and will lose their vibrant color quickly if exposed to light, even indirectly. So, a cool, dry, dark cupboard is ideal.
This vibrant, beautiful and medicinal flower is certainly one to grow in your garden or on the patio! Hope you enjoyed reading about this magnificent bloom, and if you’d like to stay updated on freshly published herb & garden essays, please SUBSCRIBE! If you appreciate my writings and wish to support this work, then I’d encourage you to become a paid subscriber if you’re able ~ and THANK YOU THANK YOU to those who ARE paid subscribers ~ I really, really appreciate it!
Blooms & Blessings,
Emily :)
Thanks for reading Archaic Joy ~ This post is currently public so feel free to share it!
[1] The Modern Herbal Dispensatory, pg 201
[2] James Green, The Herbal Medicine Makers Handbook, pg 30
[3] Kami McBride, The Herbal Kitchen, pg 56
[4] https://www.herbalremediesadvice.org/calendula-benefits.html
[5] Matthew Wood, The Book of Herbal Wisdom, pg 184
[6] Pg 181
[7]Pg 278
[8] Pg 279
Comments
Nothing yet. Say the first thing.
Sign in to join the conversation.