
A common complaint of naturally grown cut flowers is that they don’t last long in the vase. I know it puts off a lot of florists and home gardeners alike but I am here to share how to make them last!
With just a few know how tips, I’ll share how to create the maximum vase life, plus unlike those imported flowers, yours will develop in the vase and you’ll get the scent and energy of your naturally grown flowers for days and days, if not often, for weeks.
This is my complaint of imported flowers, often out of season, creating a disconnect with what is outdoors and in my vase. Flowers wither and die without evolving, seeing the stems truly developing. And please tell me what the point is of scentless flowers? I want a rose with fragrance, and yeah I want a little drama. I want to cut tight buds, and see them open over days, releasing heavenly scent you can recognise it in a moment. And I will put up with a little inconvenience when petals drop. But isn’t that a little magic and romance in your life? Sign me up.
Constance Spry said,
“Flowers in a room have a quality in common with the presence of people, or of a fire. They bring the room to life, make it look lived in. The eye leaps to a vase of flowers, leaps to something living and colourful…and if, on nearer view, you find beauty of line, detail, colour blending and satisfying balance, your pleasure is so much the greater”
You can simply cut flowers from the garden and bung ‘em in a vase. And for the most part, that’s just the job. But when time permits or the flowers deserving, try conditioning stems before arranging; notice what a difference it makes to their longevity. After all, when we have taken such care to grow these flowers, why wouldn’t we take a few moments to prepare the stems for arranging and really enjoy the process and admire in the vase.
There are some basic rules which will ensure long vase life which all stems will appreciate -
Vessels
Make sure to be clean. Mould, slime and earth will be absorbed by the stems and reduce the vase life. Make sure your buckets and vases are squeaky clean and cool fresh water.
When to cut.
Wherever possible, cut either very first thing in the day, or late in the evening.
I go by the sun rising and setting, never cutting when the sun is ‘on your neck’. It’s a good guide. Cutting early ensures stems are turgid with water from the cool of the night.
For extra points, water well the night before. Cutting at night is less certain since plants will be tired from a day in the sun. Either way, make a sharp clean angled cut on the stem and get into deep water as quickly as possible.
Stripping
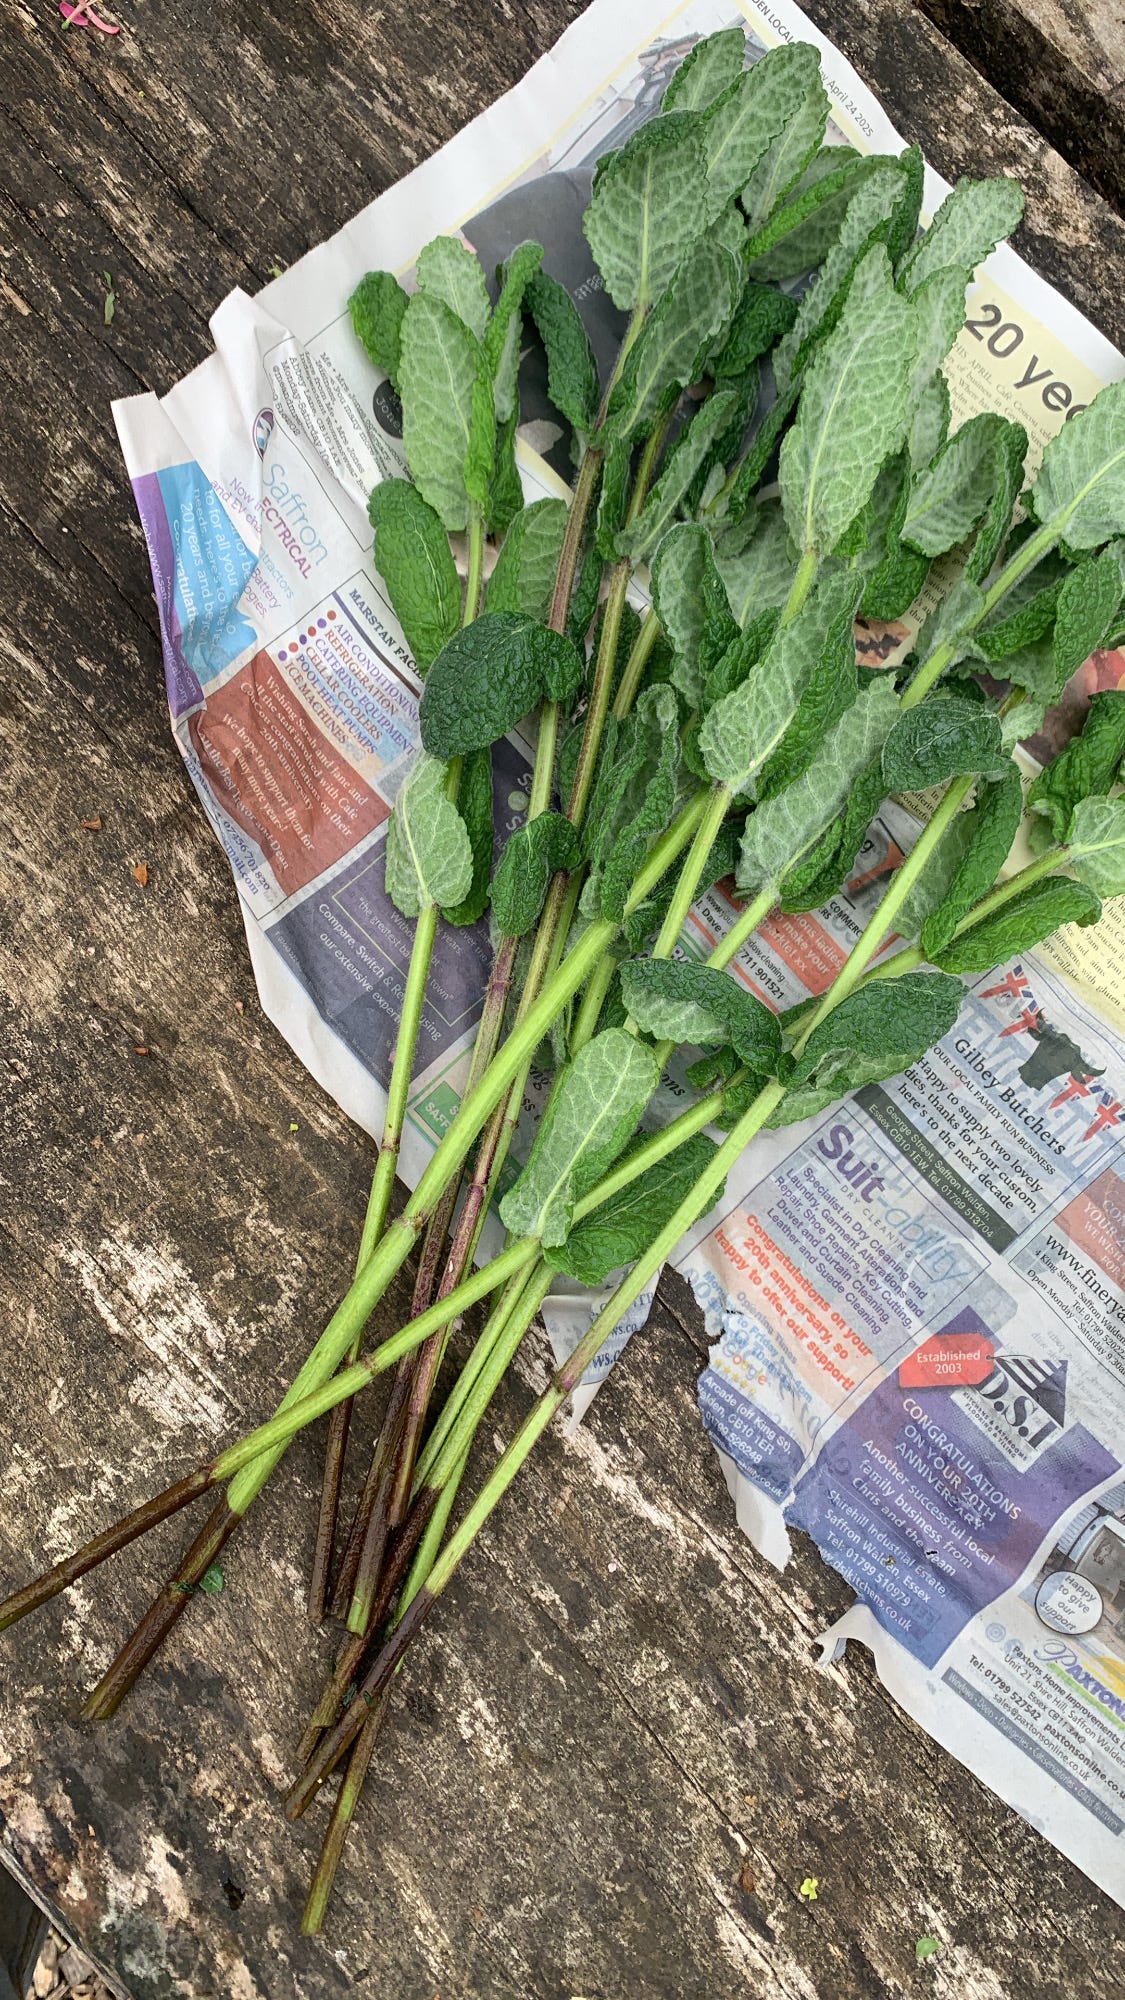
I’ll strip leaves off the bottom, and drop onto the beds. Or if there is a lot to remove, take undercover to finish off. Rip off the leaves that will be below the water line. These leaves will decay quickly, turning the water with fast bacterial growth.
Furthermore, as the stems rehydrated these leaves will be the first inline to drink. By removing the leaves, the water has more chance of reaching that precious flower head.
The soft cells of the stem will dry within seconds, sealing to protect the water reserves. So cut again, at a sharp angle before plunging into the bucket.
Conditioning
Then push the buckets into a dark, cool place where the material can sit, as if in a spa, for several hours to drink, relax and revive before showtime. I’ll leave for at least 4-5 hours, if not ideally 12 or 24 hours. I only cut to order.
Searing
In the Spring, I’ll often add another, time consuming but failsafe method to the process. That is, searing. Sarah Raven says, if in doubt, sear.
A traditional technique used well before little sachets of ‘flower food’ (read bleach and sugar, with a little fizz). Once, searing would be over a hot flame. Either sealing off sap (like a poppy or euphoria) or to open the cells up. Instead now we’ll use an inch or so of water, just off the boil, to hold stems for a few seconds to much longer.
The cells open up in the heat and then as they contract, suck water up fast. You can use this technique on tired looking flowers also. Reviving, lifting heads and perking up for a few more days.
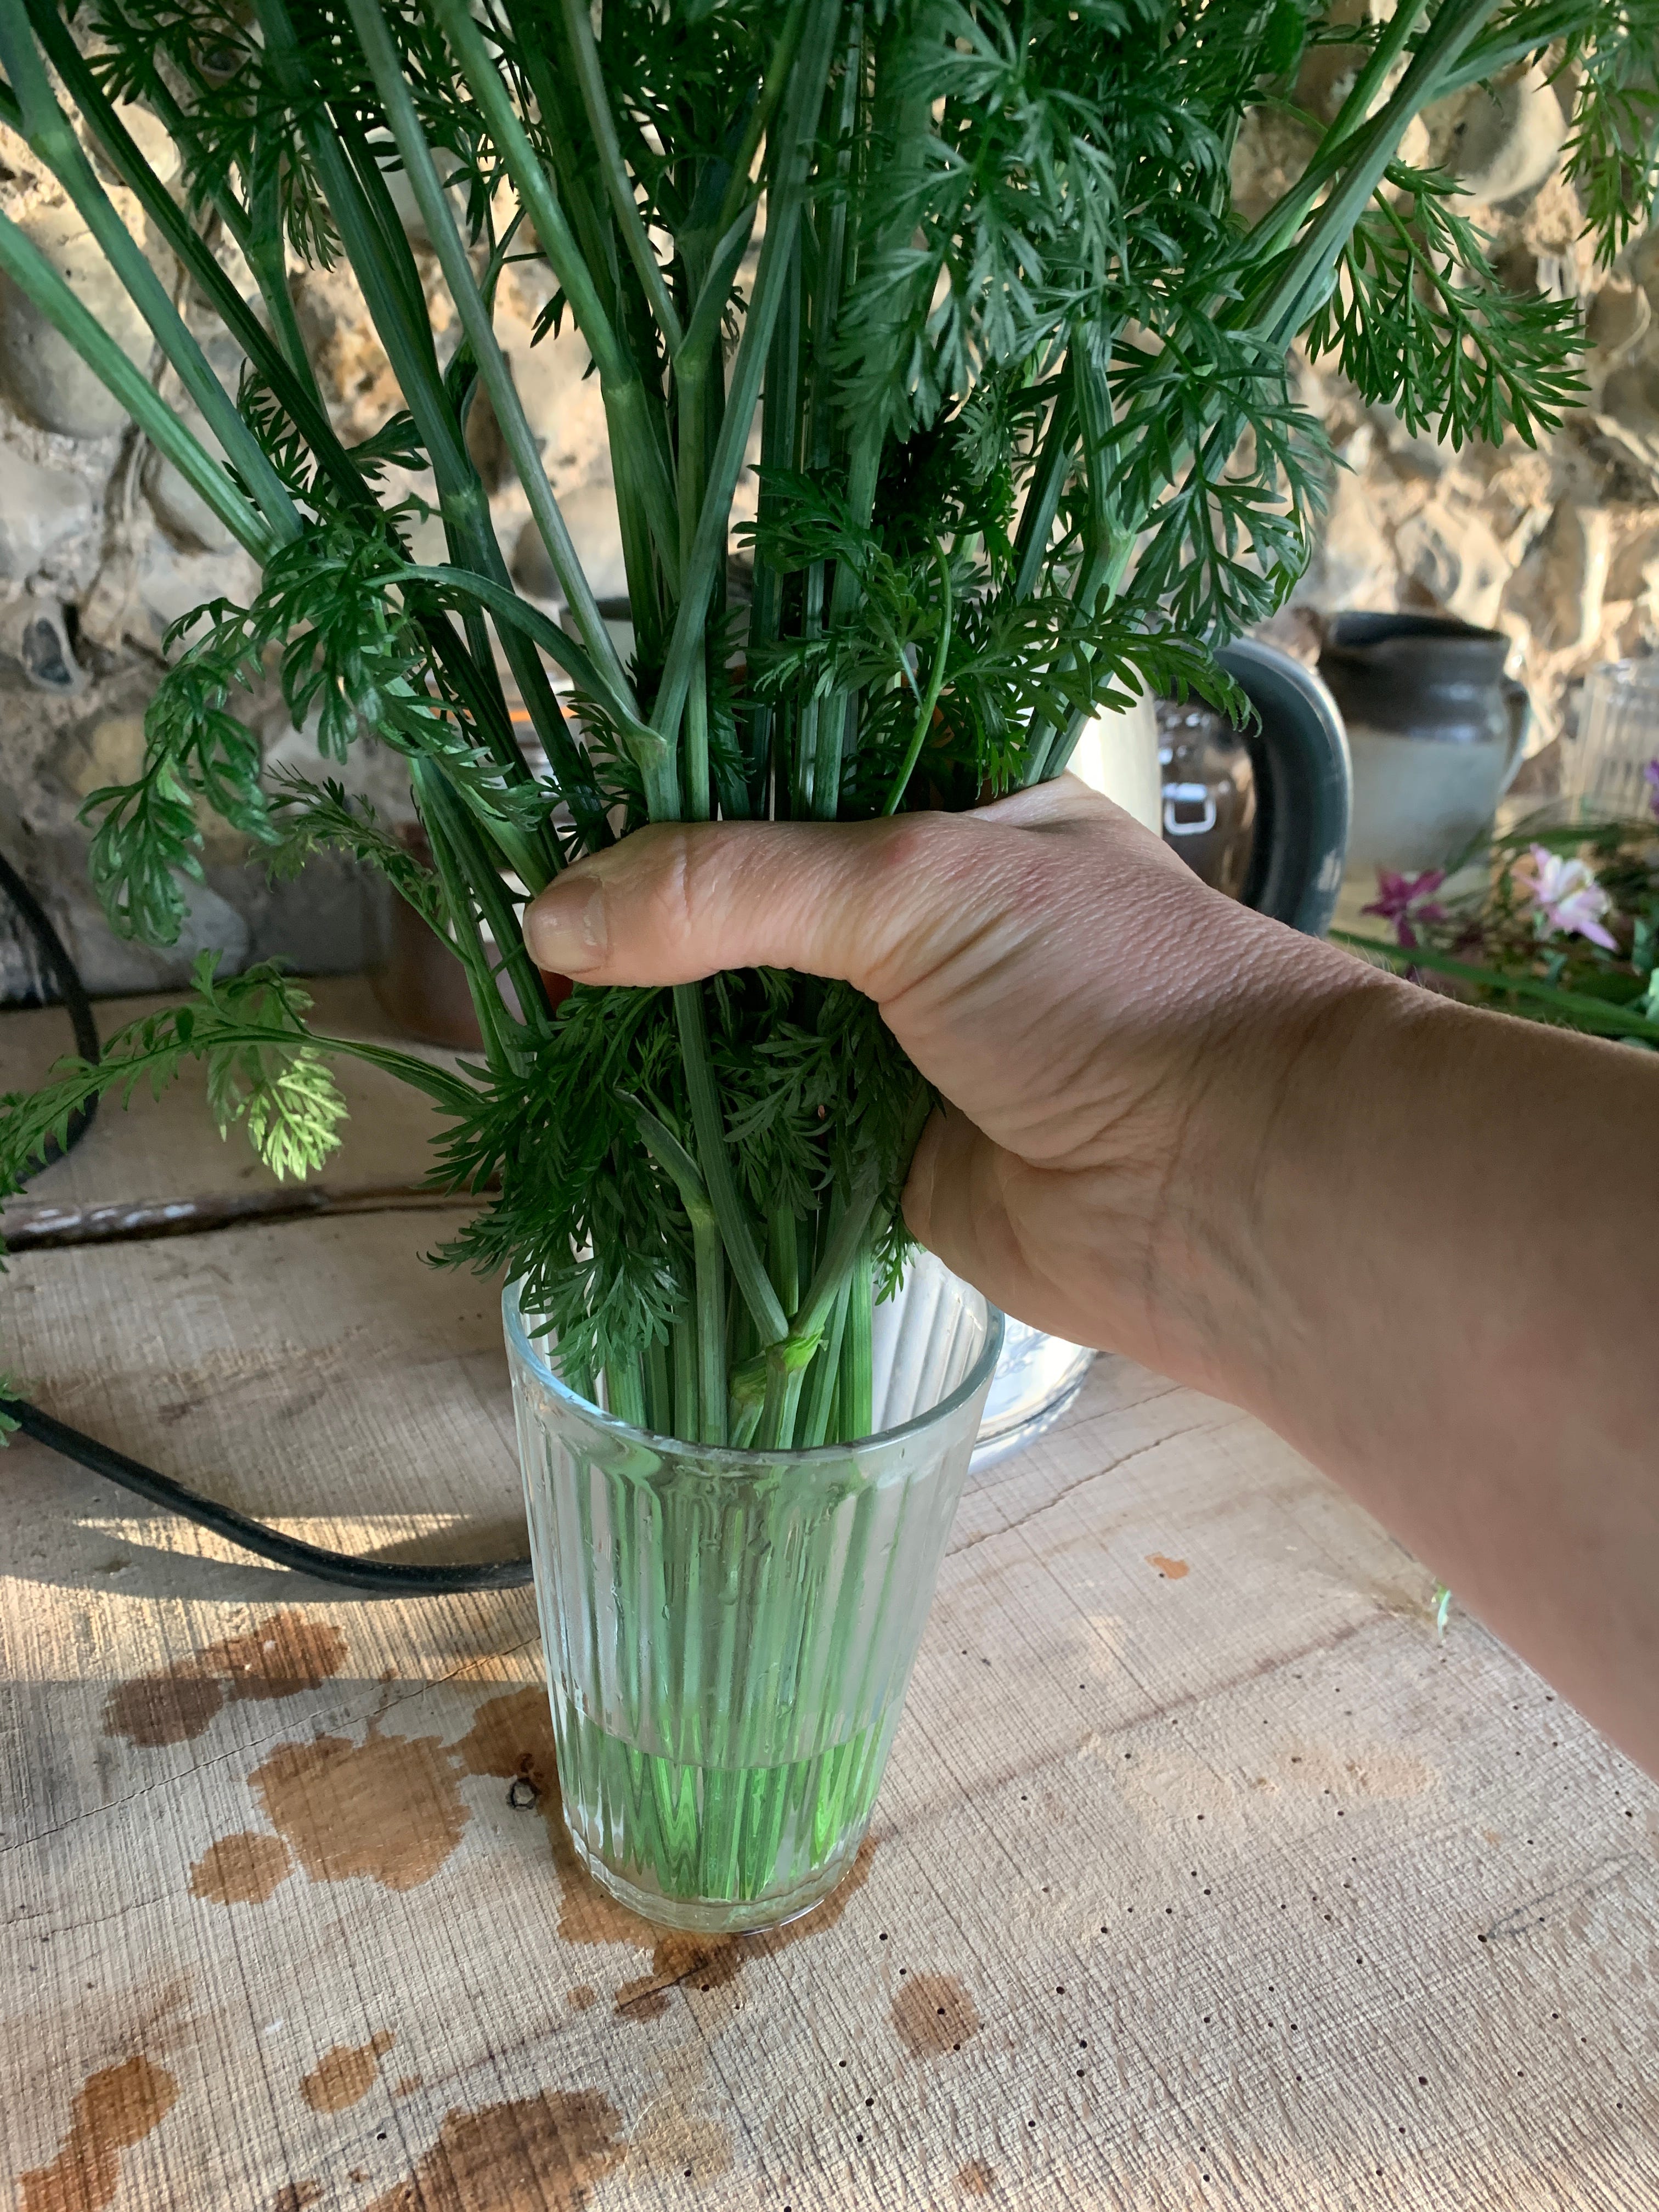
Cow parsley only needs 10 seconds, fresh thick stems of woody branches might need closer to a minute in the water. Either way, protect the stems from rising stems with your hands or paper. Then wrap quickly and into deep cool water. It is a wonder. As the season develops, fewer and fewer stems of foliage and flowers needs this. Spring is most certainly the most time consuming for cutting.
Bonus - in looking for some images, I’ve just found some old videos we made on conditioning so sharing this and some below!
Flower Food
I never use ‘flower food’ and try to avoid using bleach. If vases and buckets are rinsed out immediately, and left to air dry, it is rarely necessary. After growing flowers with such dedication, to add anything to the vase bar water entirely undoes all that went before when growing with such care.
Instead -
Keep flowers away from heat sources and draughts, from fruit (that hastens the development)
Ideally, change the water every day. Grab the flowers with one hand as you tip water out with the other and flush the water out, enjoying a close viewing as you do. Edit, pulling out gone-over flowers, jiggle and enjoy for another day.
No matter what house work I have done, it is the fresh flowers that guests notice and what brings a room alive. It’s a little luxury, a seasonal anchor and moment just for me. And don’t bother with the cleaning.
Travelling
Remember when travelling, blasts of heat, car journeys and wind will dry out stems, bash the heads about and stress the flowers. They are natures gifts, treat them with utter reverence and they will reward generously.
Use spotlessly clean buckets, cool clean water and gently wrap bunches of flowers to support their tired heads.
After all, so much care was taken in the field, these deserve V.I.P. treatment if you expect flowers to dance and waft else they’ll sulk in mistreatment, refusing to open, or dropping their petals before your eyes.
Here are some extra top tips for Spring Flowers - Narcissus, Tulips, Euphorbia, Poppies, Rancunulus, Poppies, Shrub Foliage blossom & flowers and soft new stems like cow parsley
Narcissus
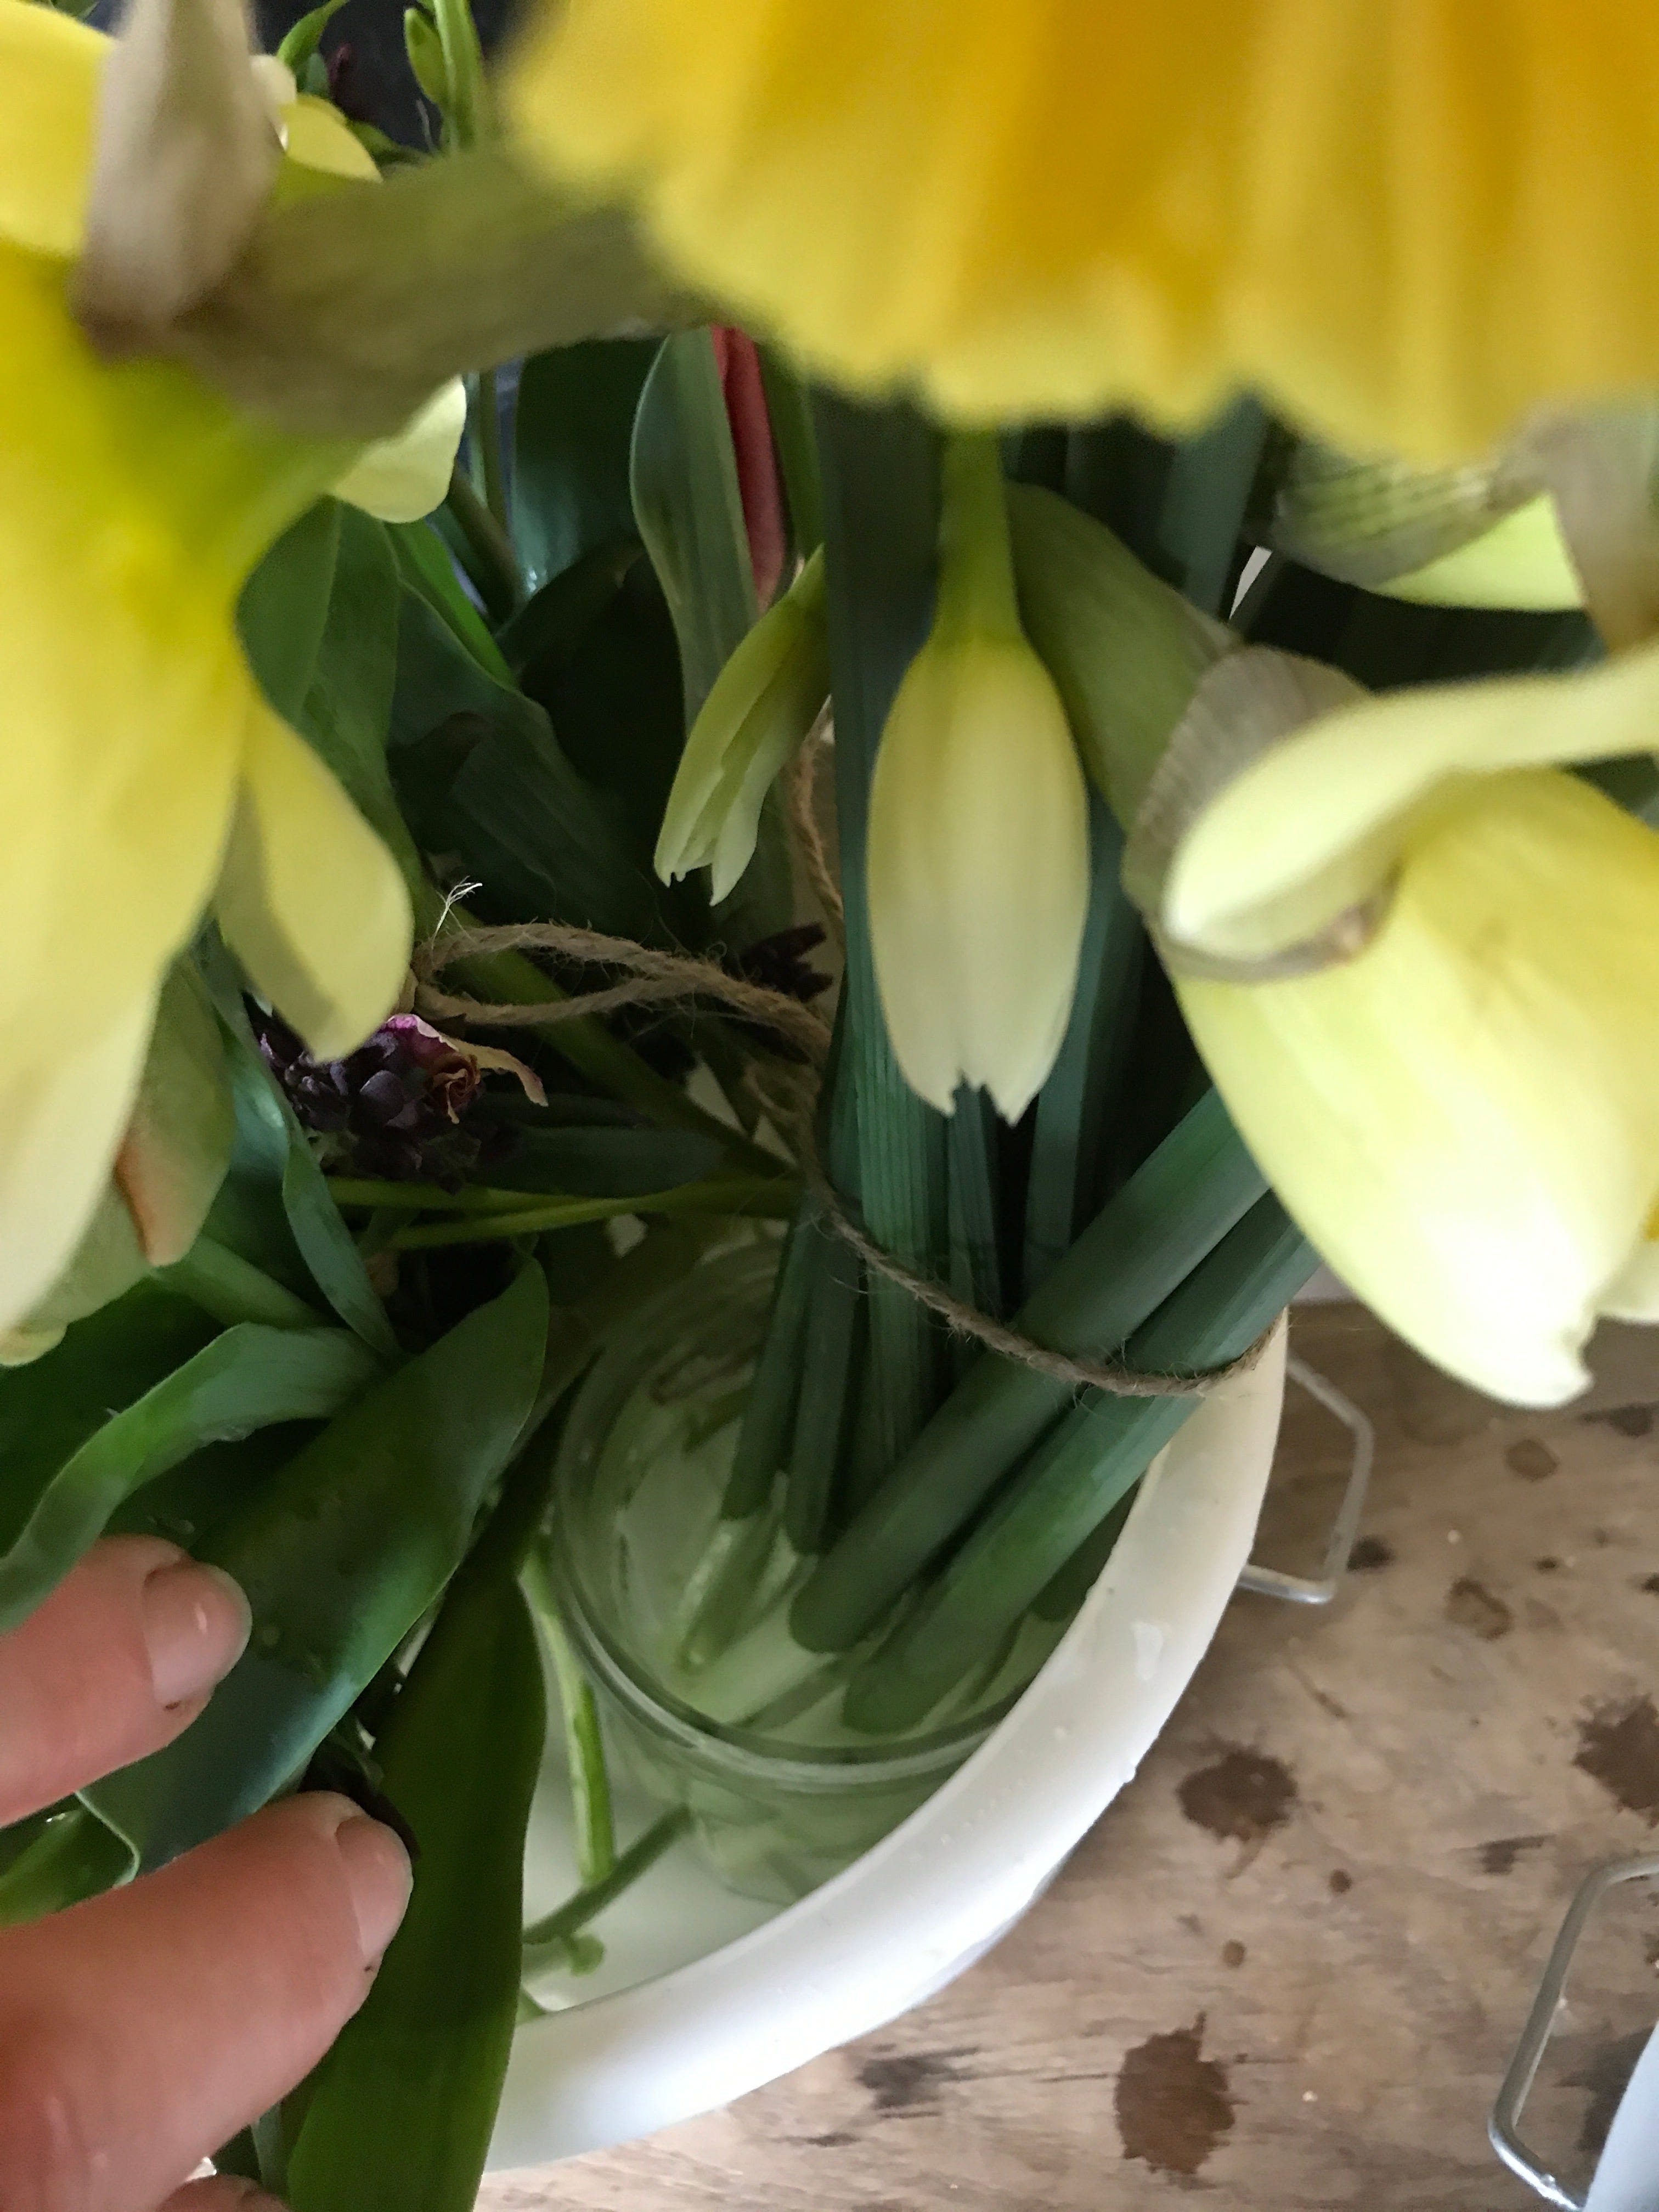
As you cut, you’ll notice a sticky sap emerge. This is toxic and will hasten the development of flowers in the vase. The easiest way around this is not to mix narcissus with anything else. Or, much better, cut the stem the length you need, then leave them in their own bucket for several hours to let the sap run out. Then arrange with other flowers. If you cut the ends again, you’ll need to condition them on their own again.
Try to cut Narcissus just when you see a little colour in the bud, well before it opens for max vase life.
Tulips
These carry on growing after cutting. To stop this, push a pin through the growth plate, on the stem right by the flower. But I like them twisting and turning as they age. So I don’t. They do like a good session wrapped in paper and deep in cool water for 12 hours, to really condition well. They’ll also be fine straight from the field. Experiment!
Like Narcissus, cut before the bud opens, just when you see a little colour and buds plumping up.
Euphorbia
I love this arranged so take the extra effort to sear the stems. I’ve just found some videos we made in lockdown about conditioning sharing some below.
Ranunculus
Comments
Nothing yet. Say the first thing.
Sign in to join the conversation.