
Note: today’s essay is too long for email, so feel free to open it on your browser or the app!
In the past two years since starting this newsletter, the question I have gotten the most is, without a doubt, “How do you make your art boards/ covers/ collages/ mood boards?”
Now while the name changes, the process does not. Whether I make a cover for an essay, a monthly board or a gifted collage, I have always gone through a particular process which I will share with you, and more!
The process, apps and tricks will be accessible to all, but I have also made an additional treat - a catalogue full of the details and doodles I myself use + some of your favourite art boards of mine - for paid subscribers. If you want access to it all, do not hesitate to upgrade to paid this month! Paid subscribers help support the time and love I pour into this newsletter, so your contribution is much appreciated 💌
Now let’s begin!
Every art board I have ever made has started on one platform: Pinterest.
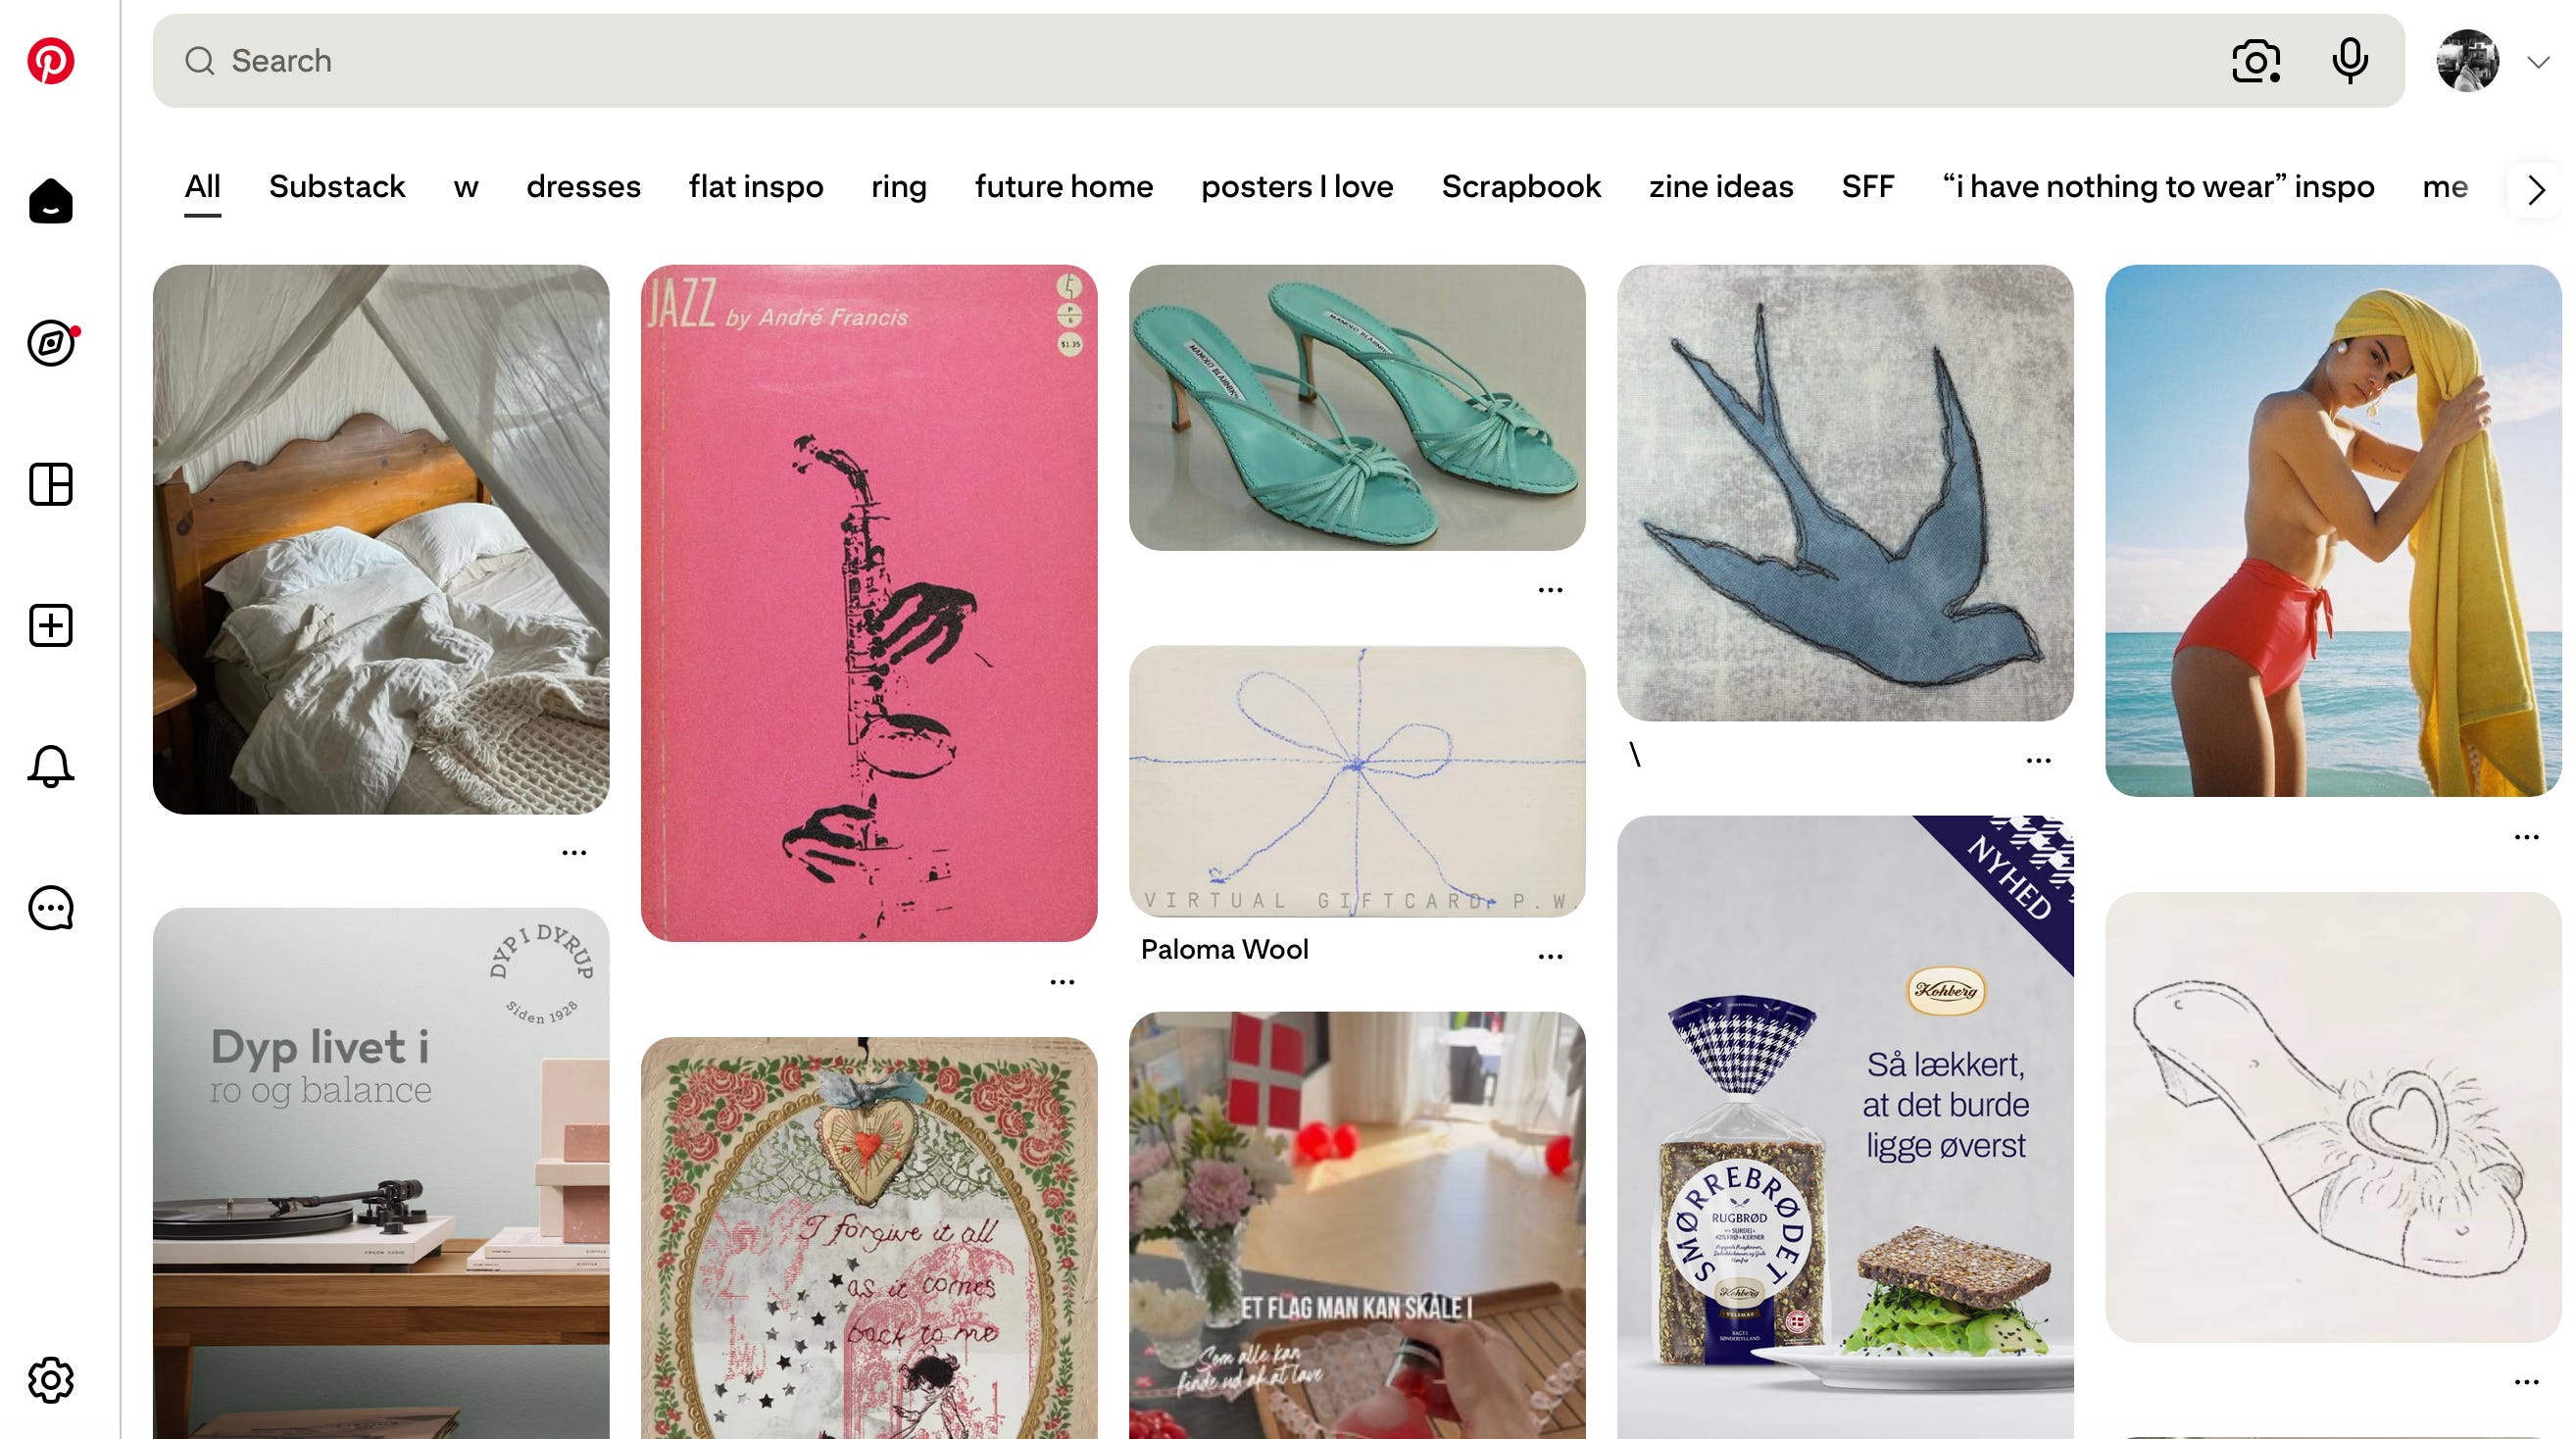
I first focus on what I wish to convey: the warmth of a particular season, the variety of one colour, the message behind an essay… In this case, I wish to convey the process of creation. I will therefore begin by selecting images I believe might correspond, and downloading them onto my computer.
In order to have as much variety as possible, I lookout for three different categories:
Images (i.e. a picture, a magazine cover, a movie still…)
Quotes (i.e. book quotes, movie subtitles…)
Details (i.e. doodles, small bows, stars, hearts… any small detail)
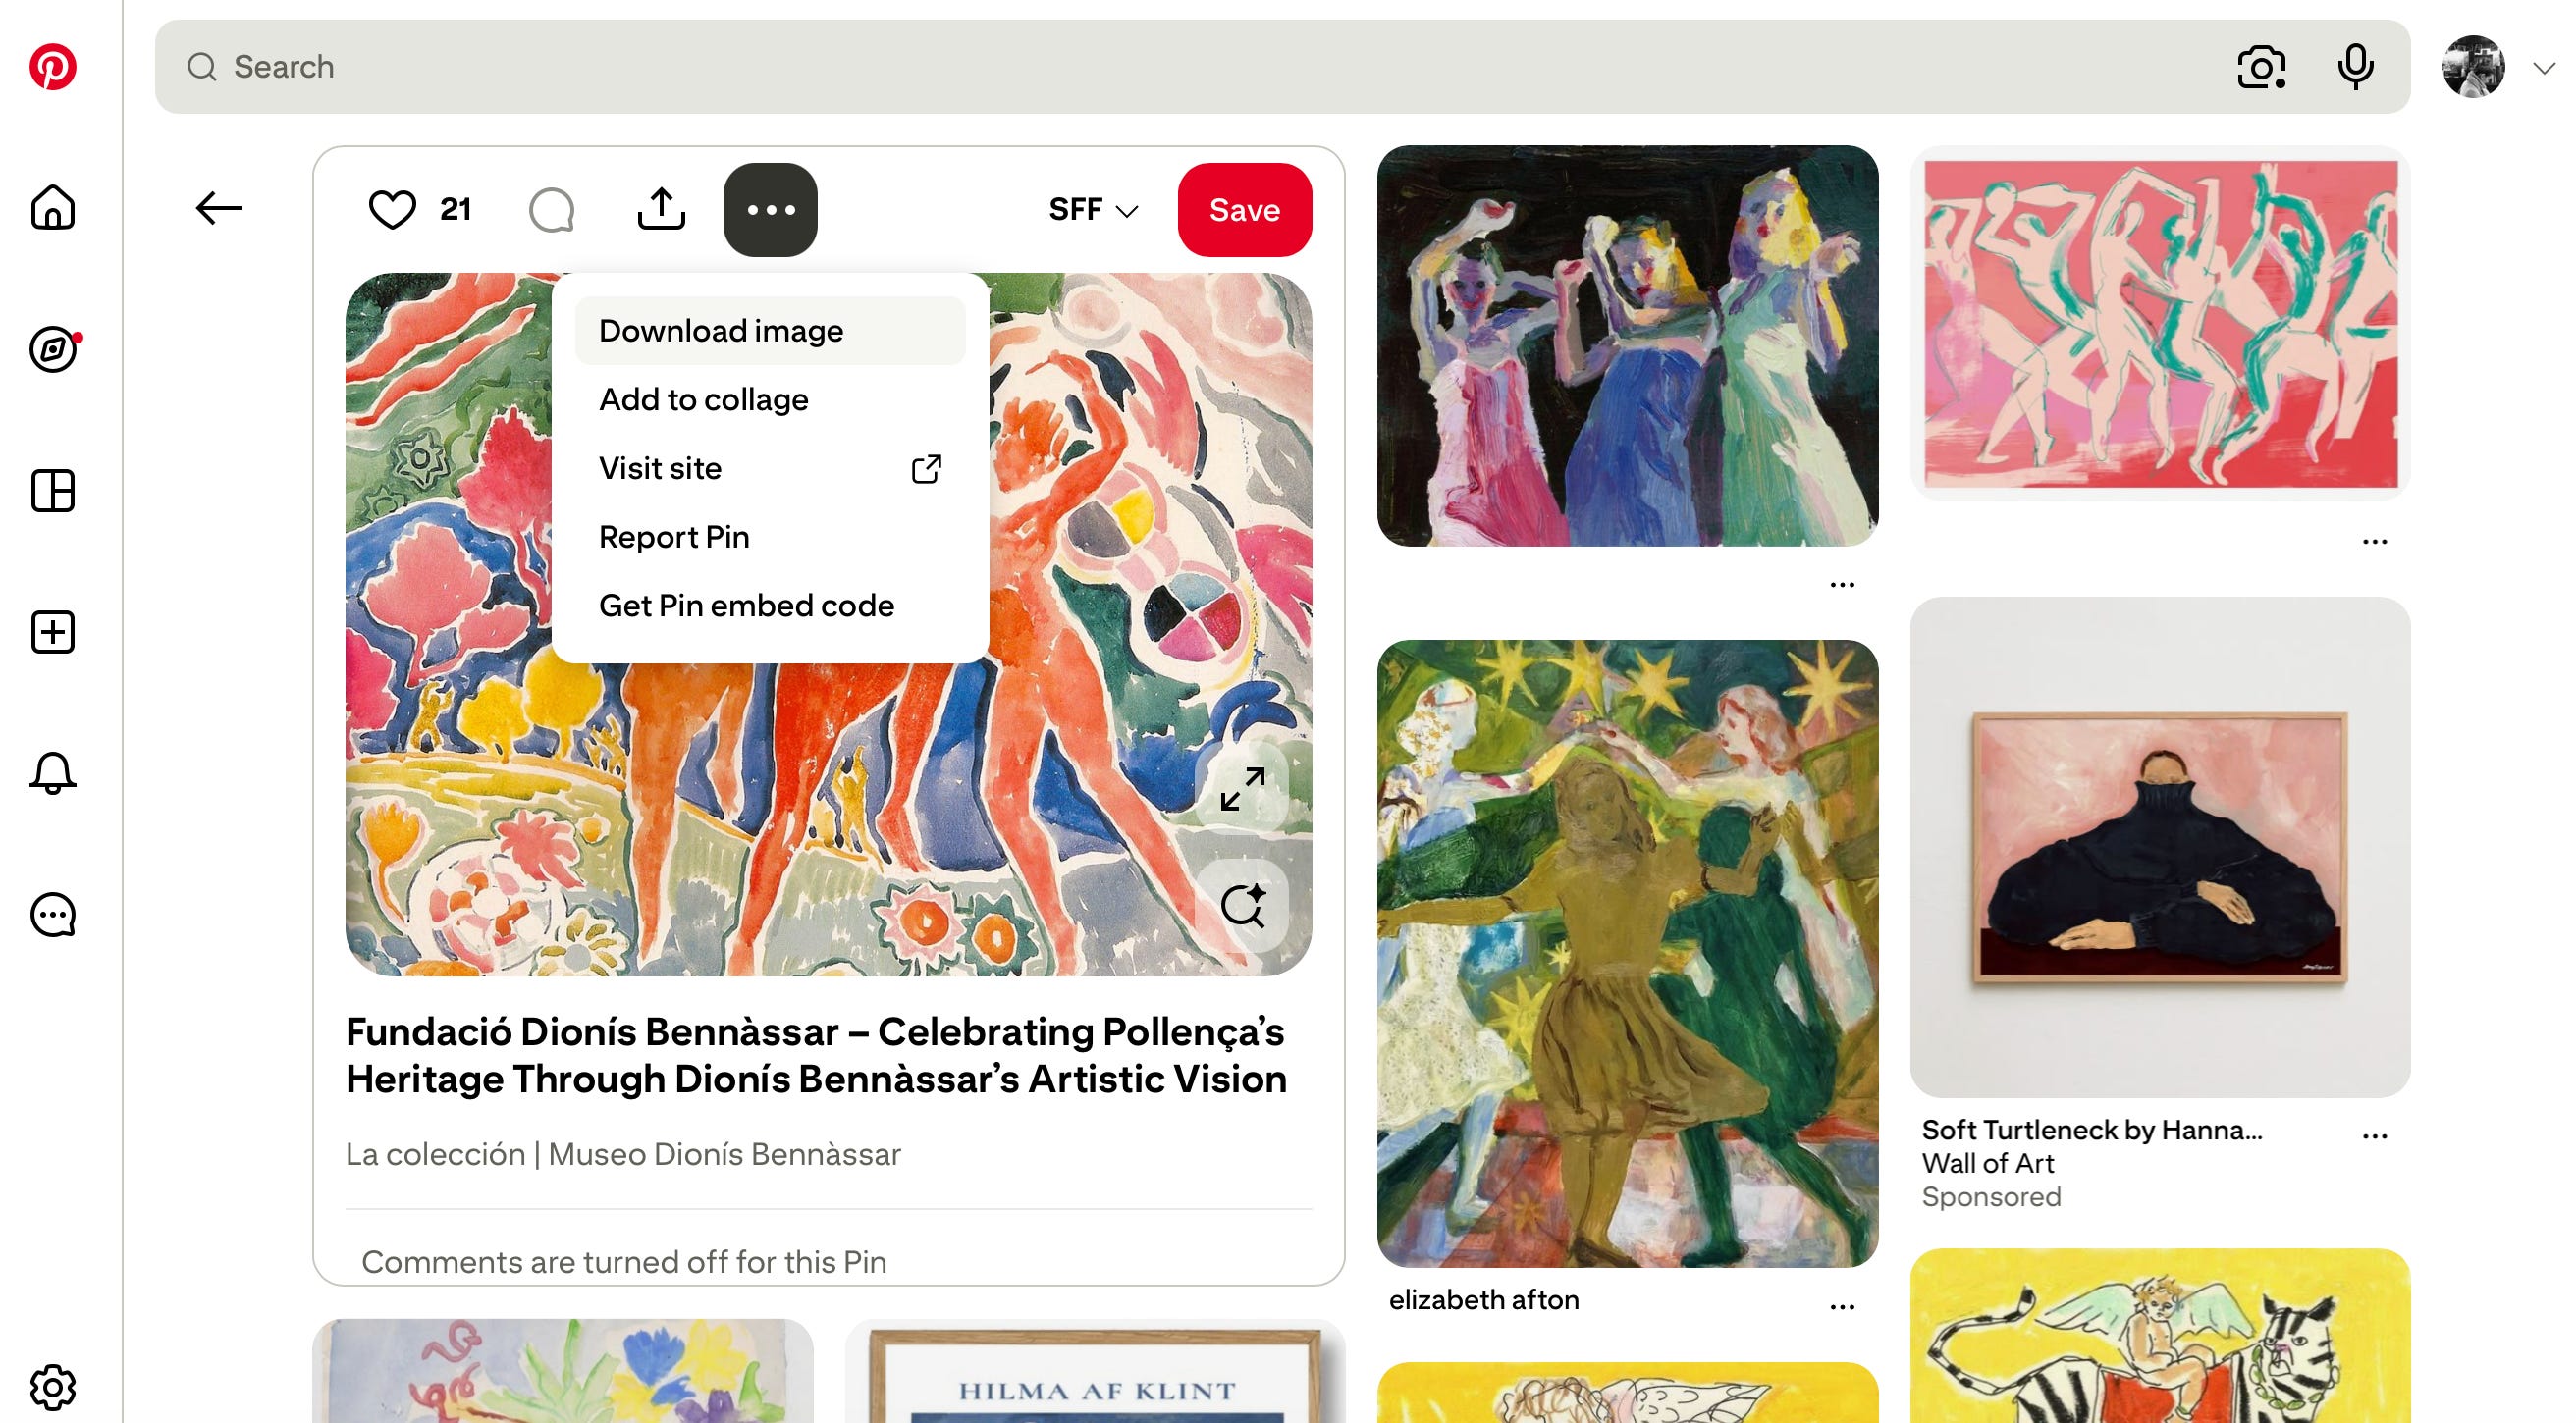
I try to collect both pictures and art pieces. Typed quotes and handwritten ones. Textured details and drawn ones. All in all, I try to find as much variety as possible to ensure that I have the freedom to go in whatever direction I wish for.
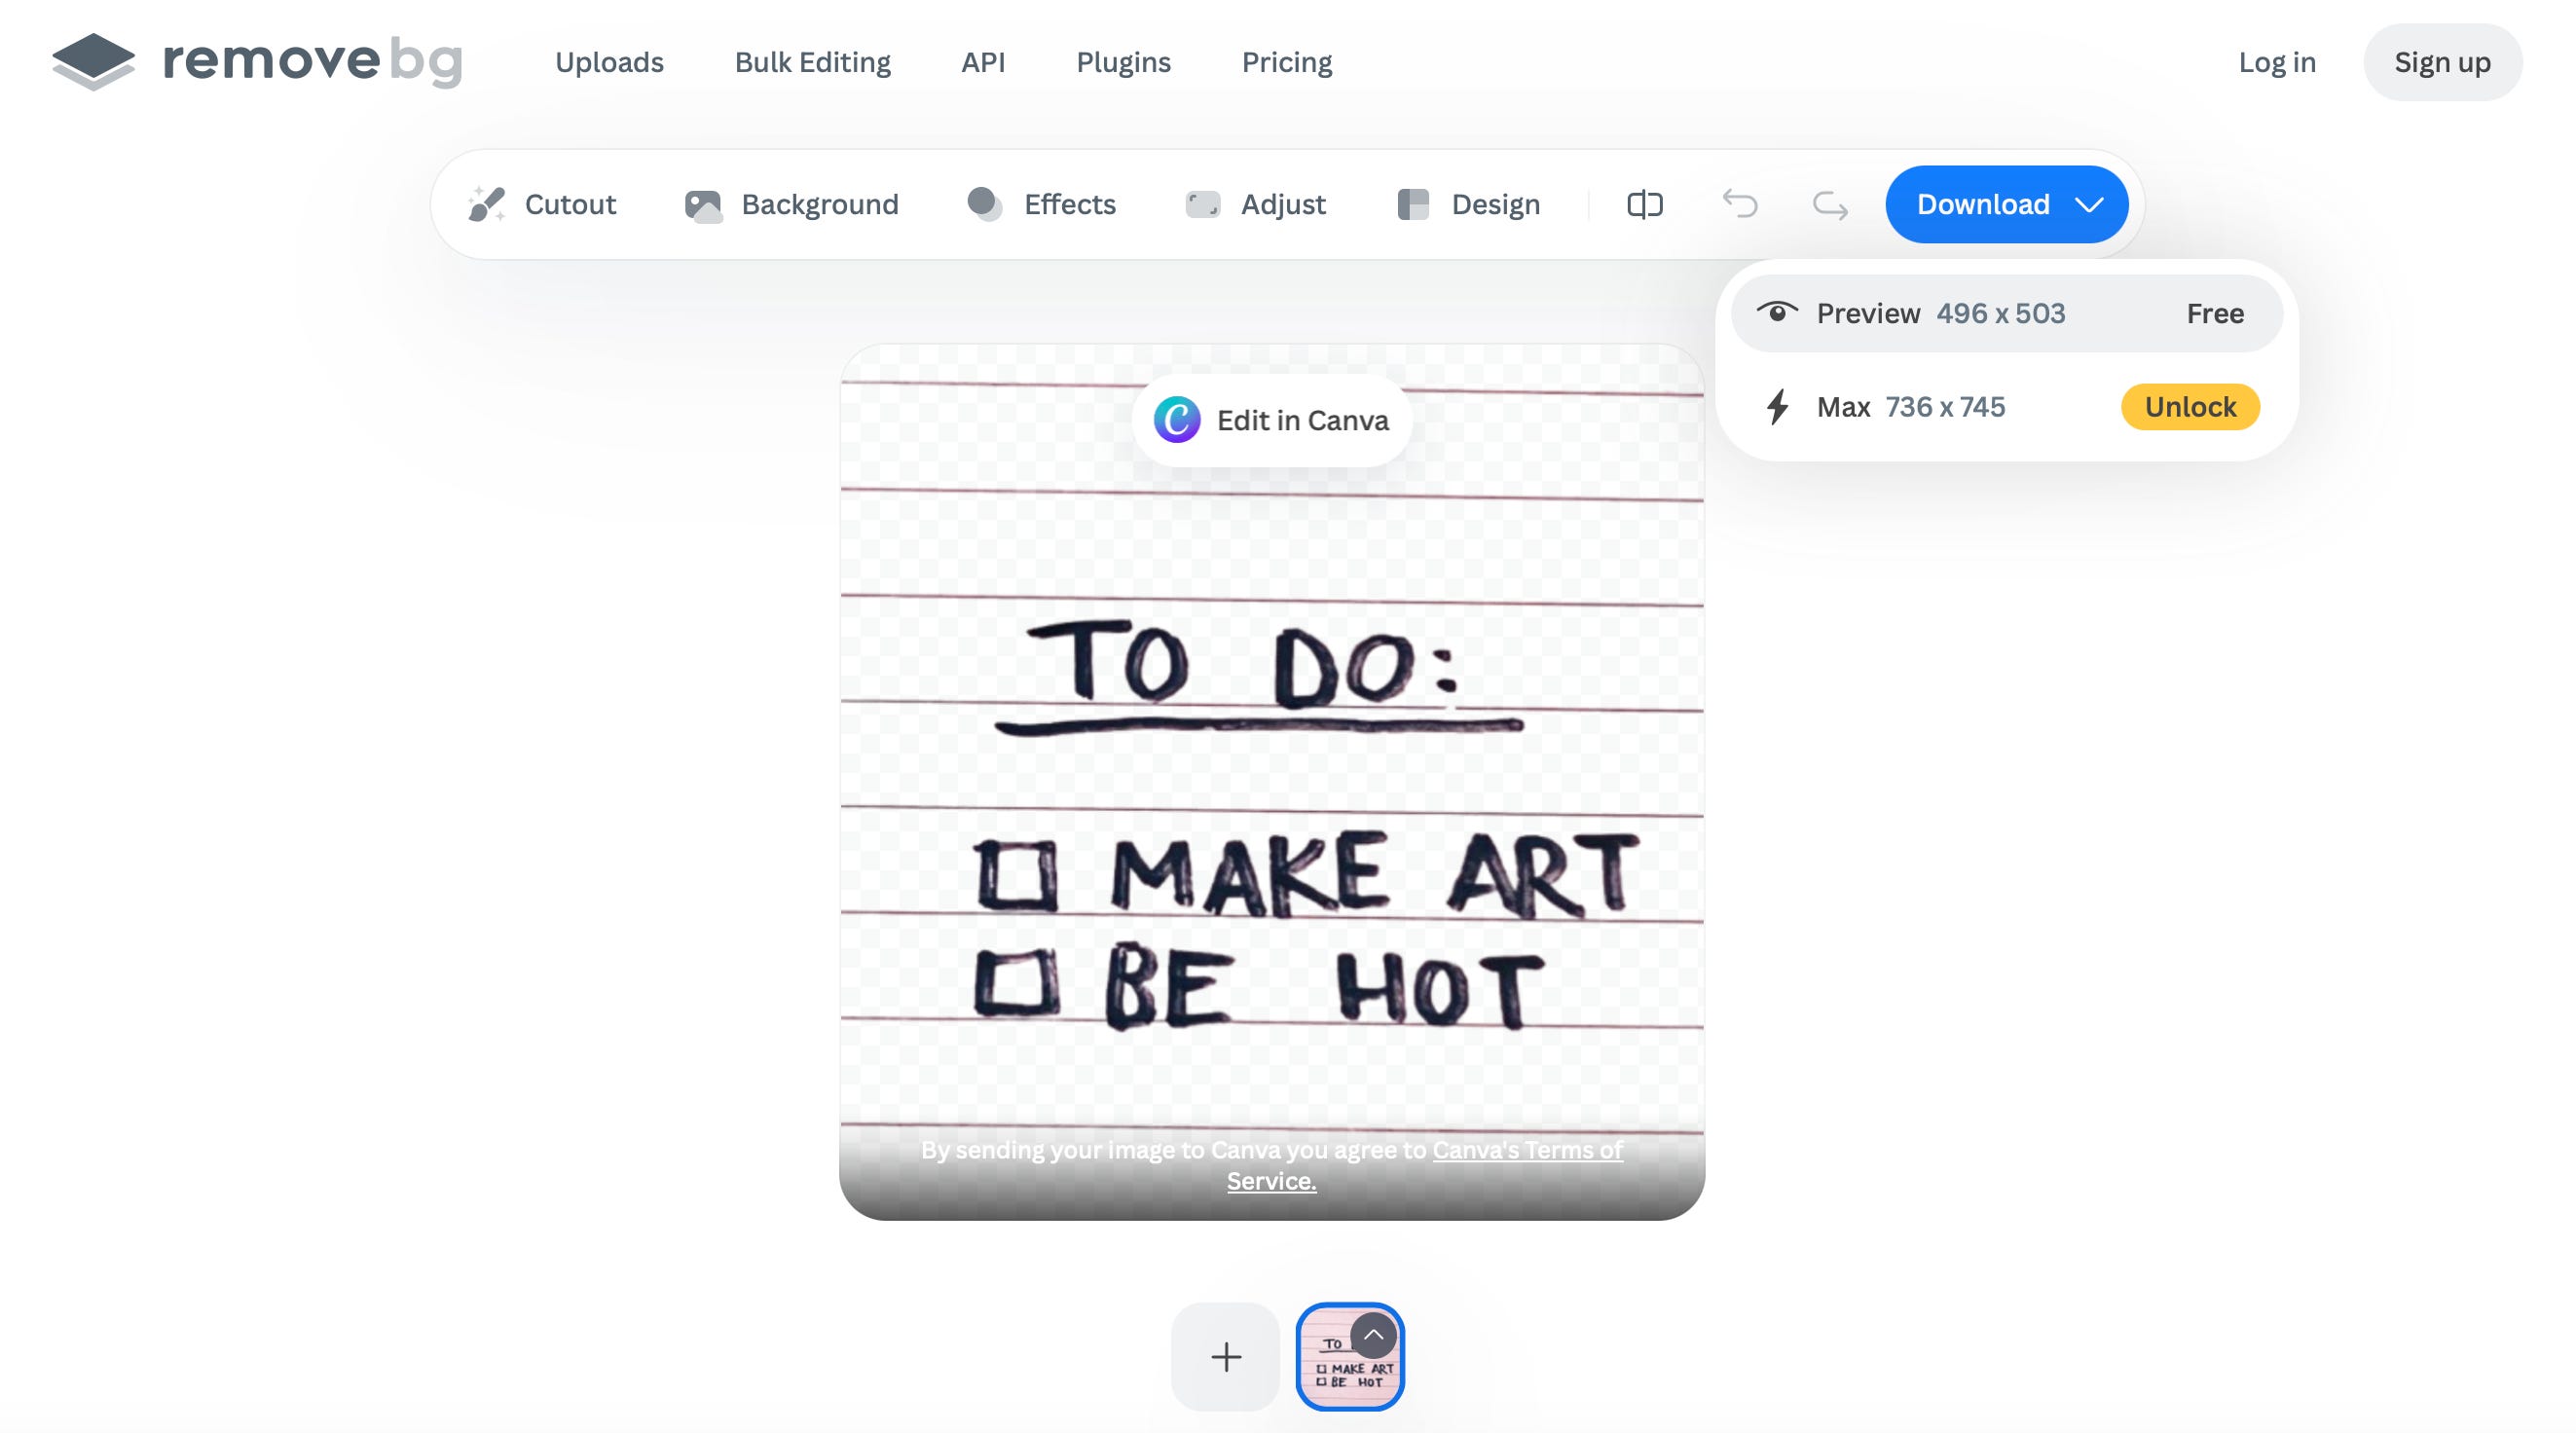
For some of these items, where the background brings little value, I go onto another platform: Remove.bg. For those of you who have a paid editing platform, you may skip over this step, but my Canva account is free, and therefore I go through this in-between step first. I simply have to add the picture I choose, and then click on download + preview. That way, I have the same image without its background.
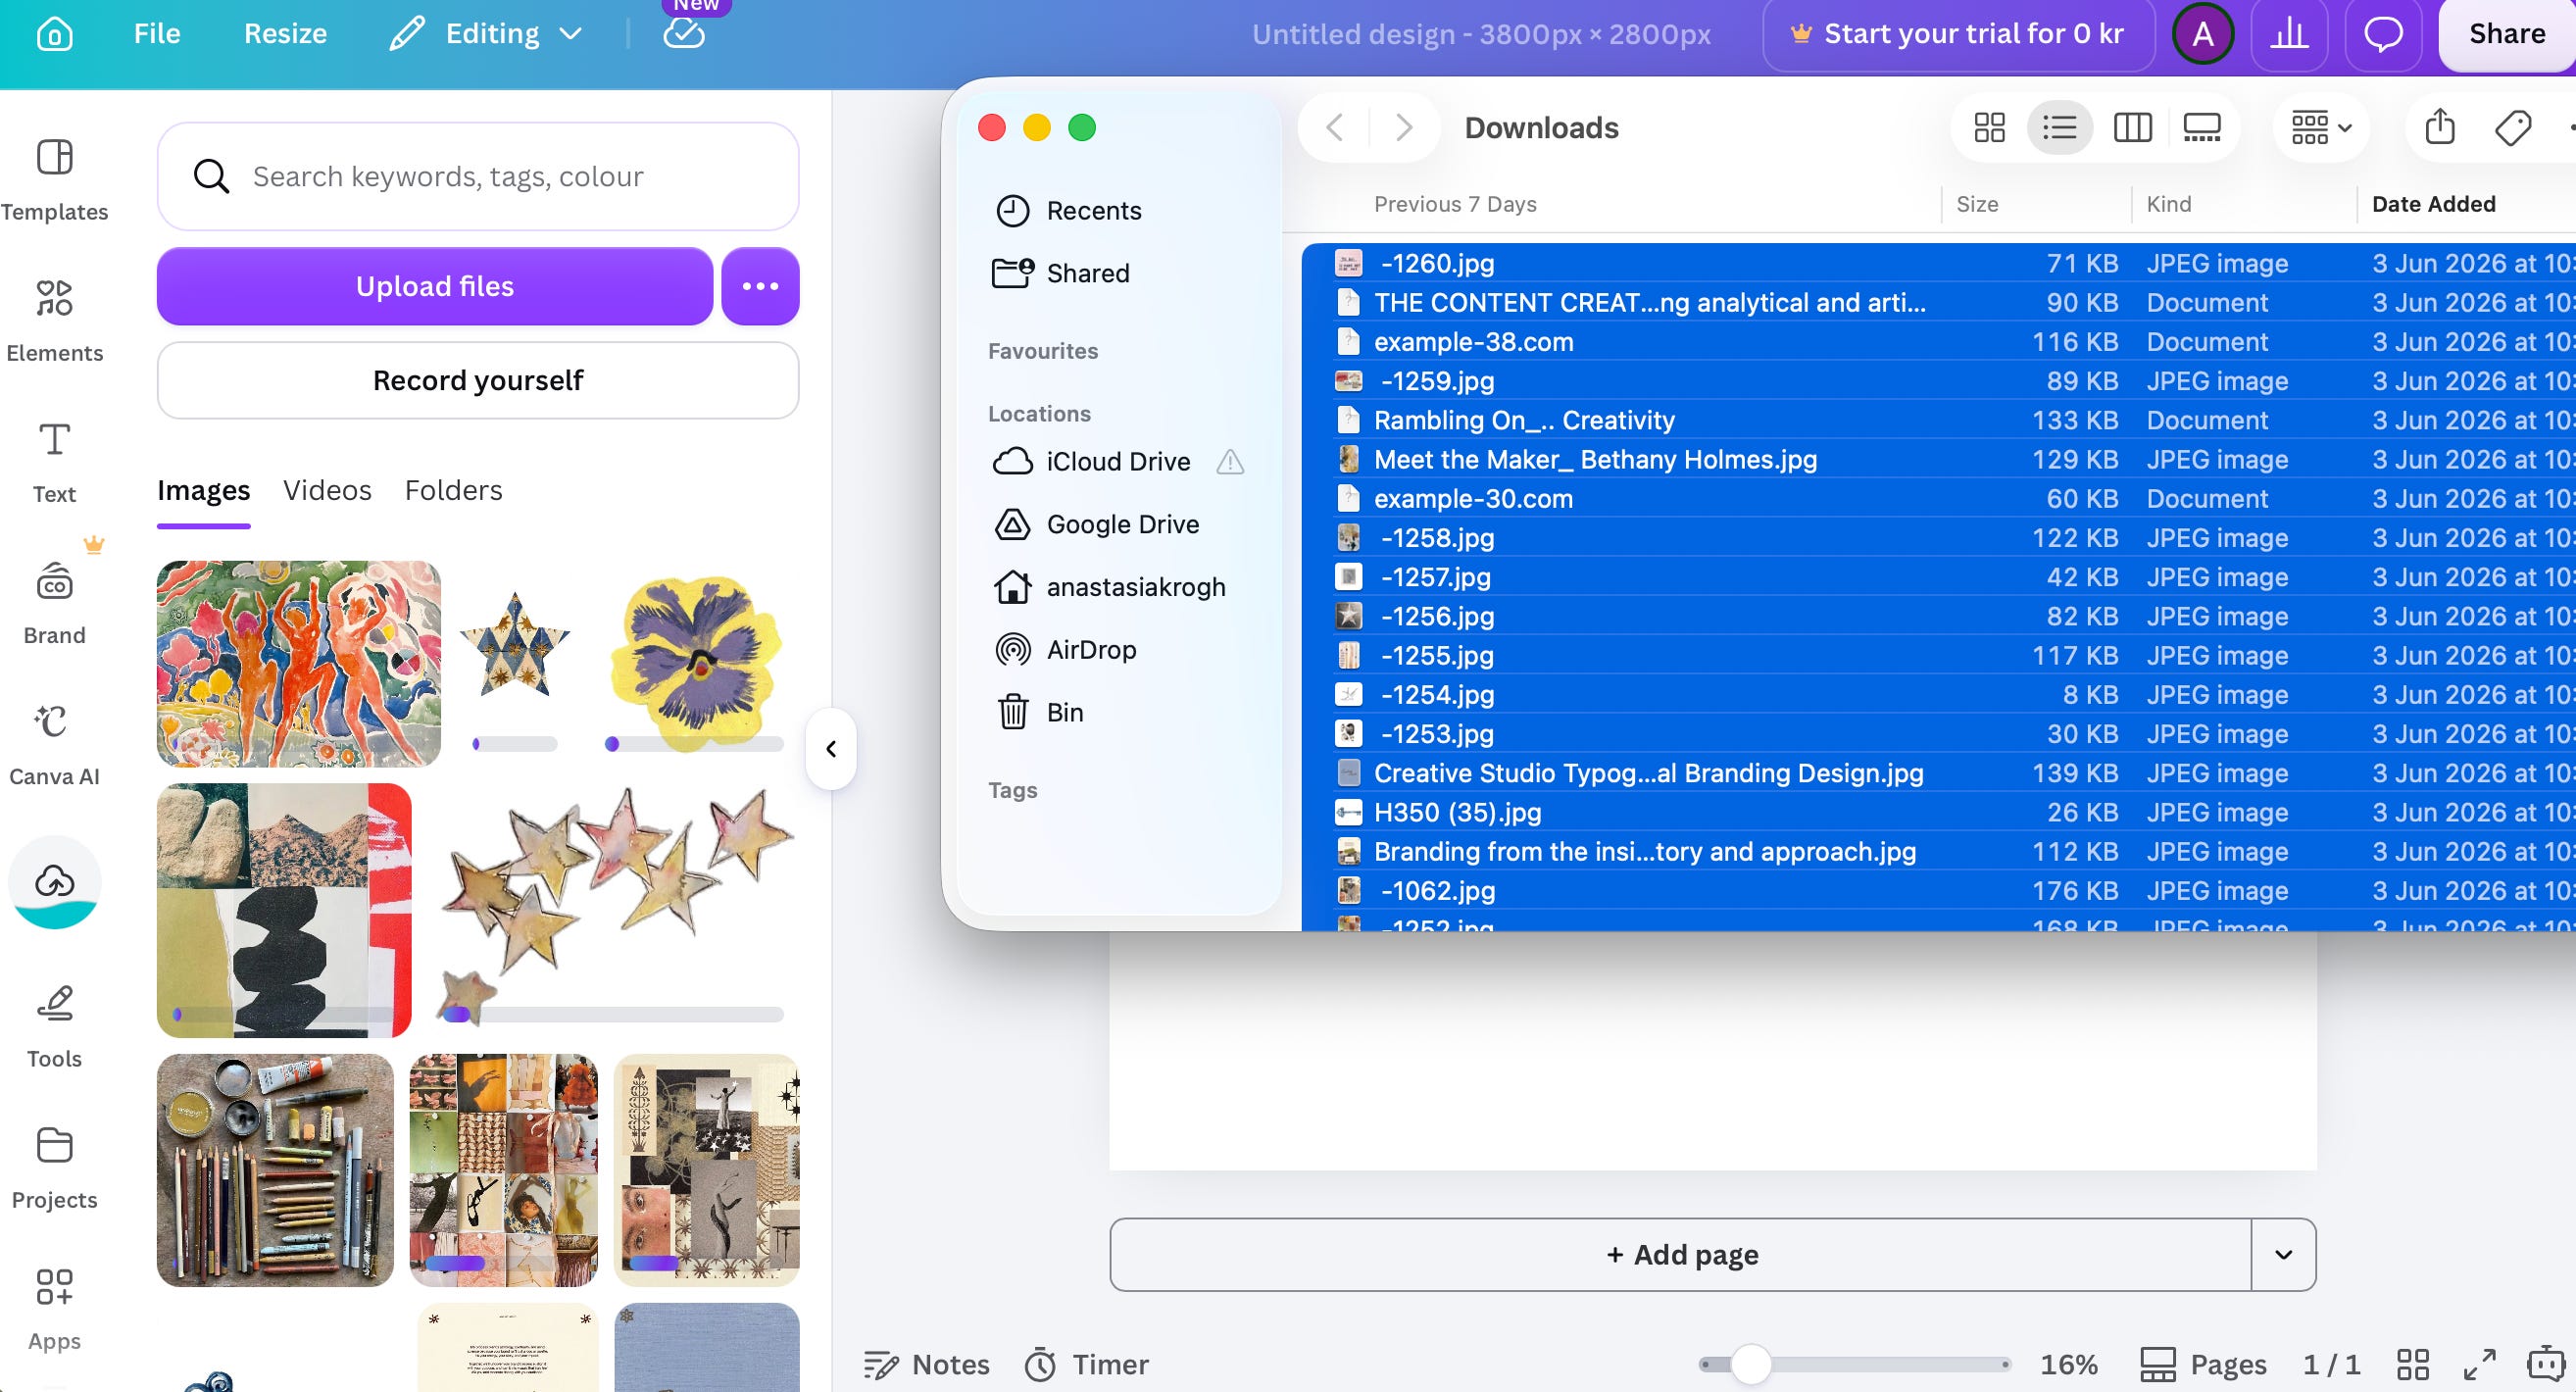
Once I have gathered everything, I make my way to the final platform: Canva. I select a template (instagram post or my own size) and open it up. I then transfer all my pictures from downloads to uploads on Canva.
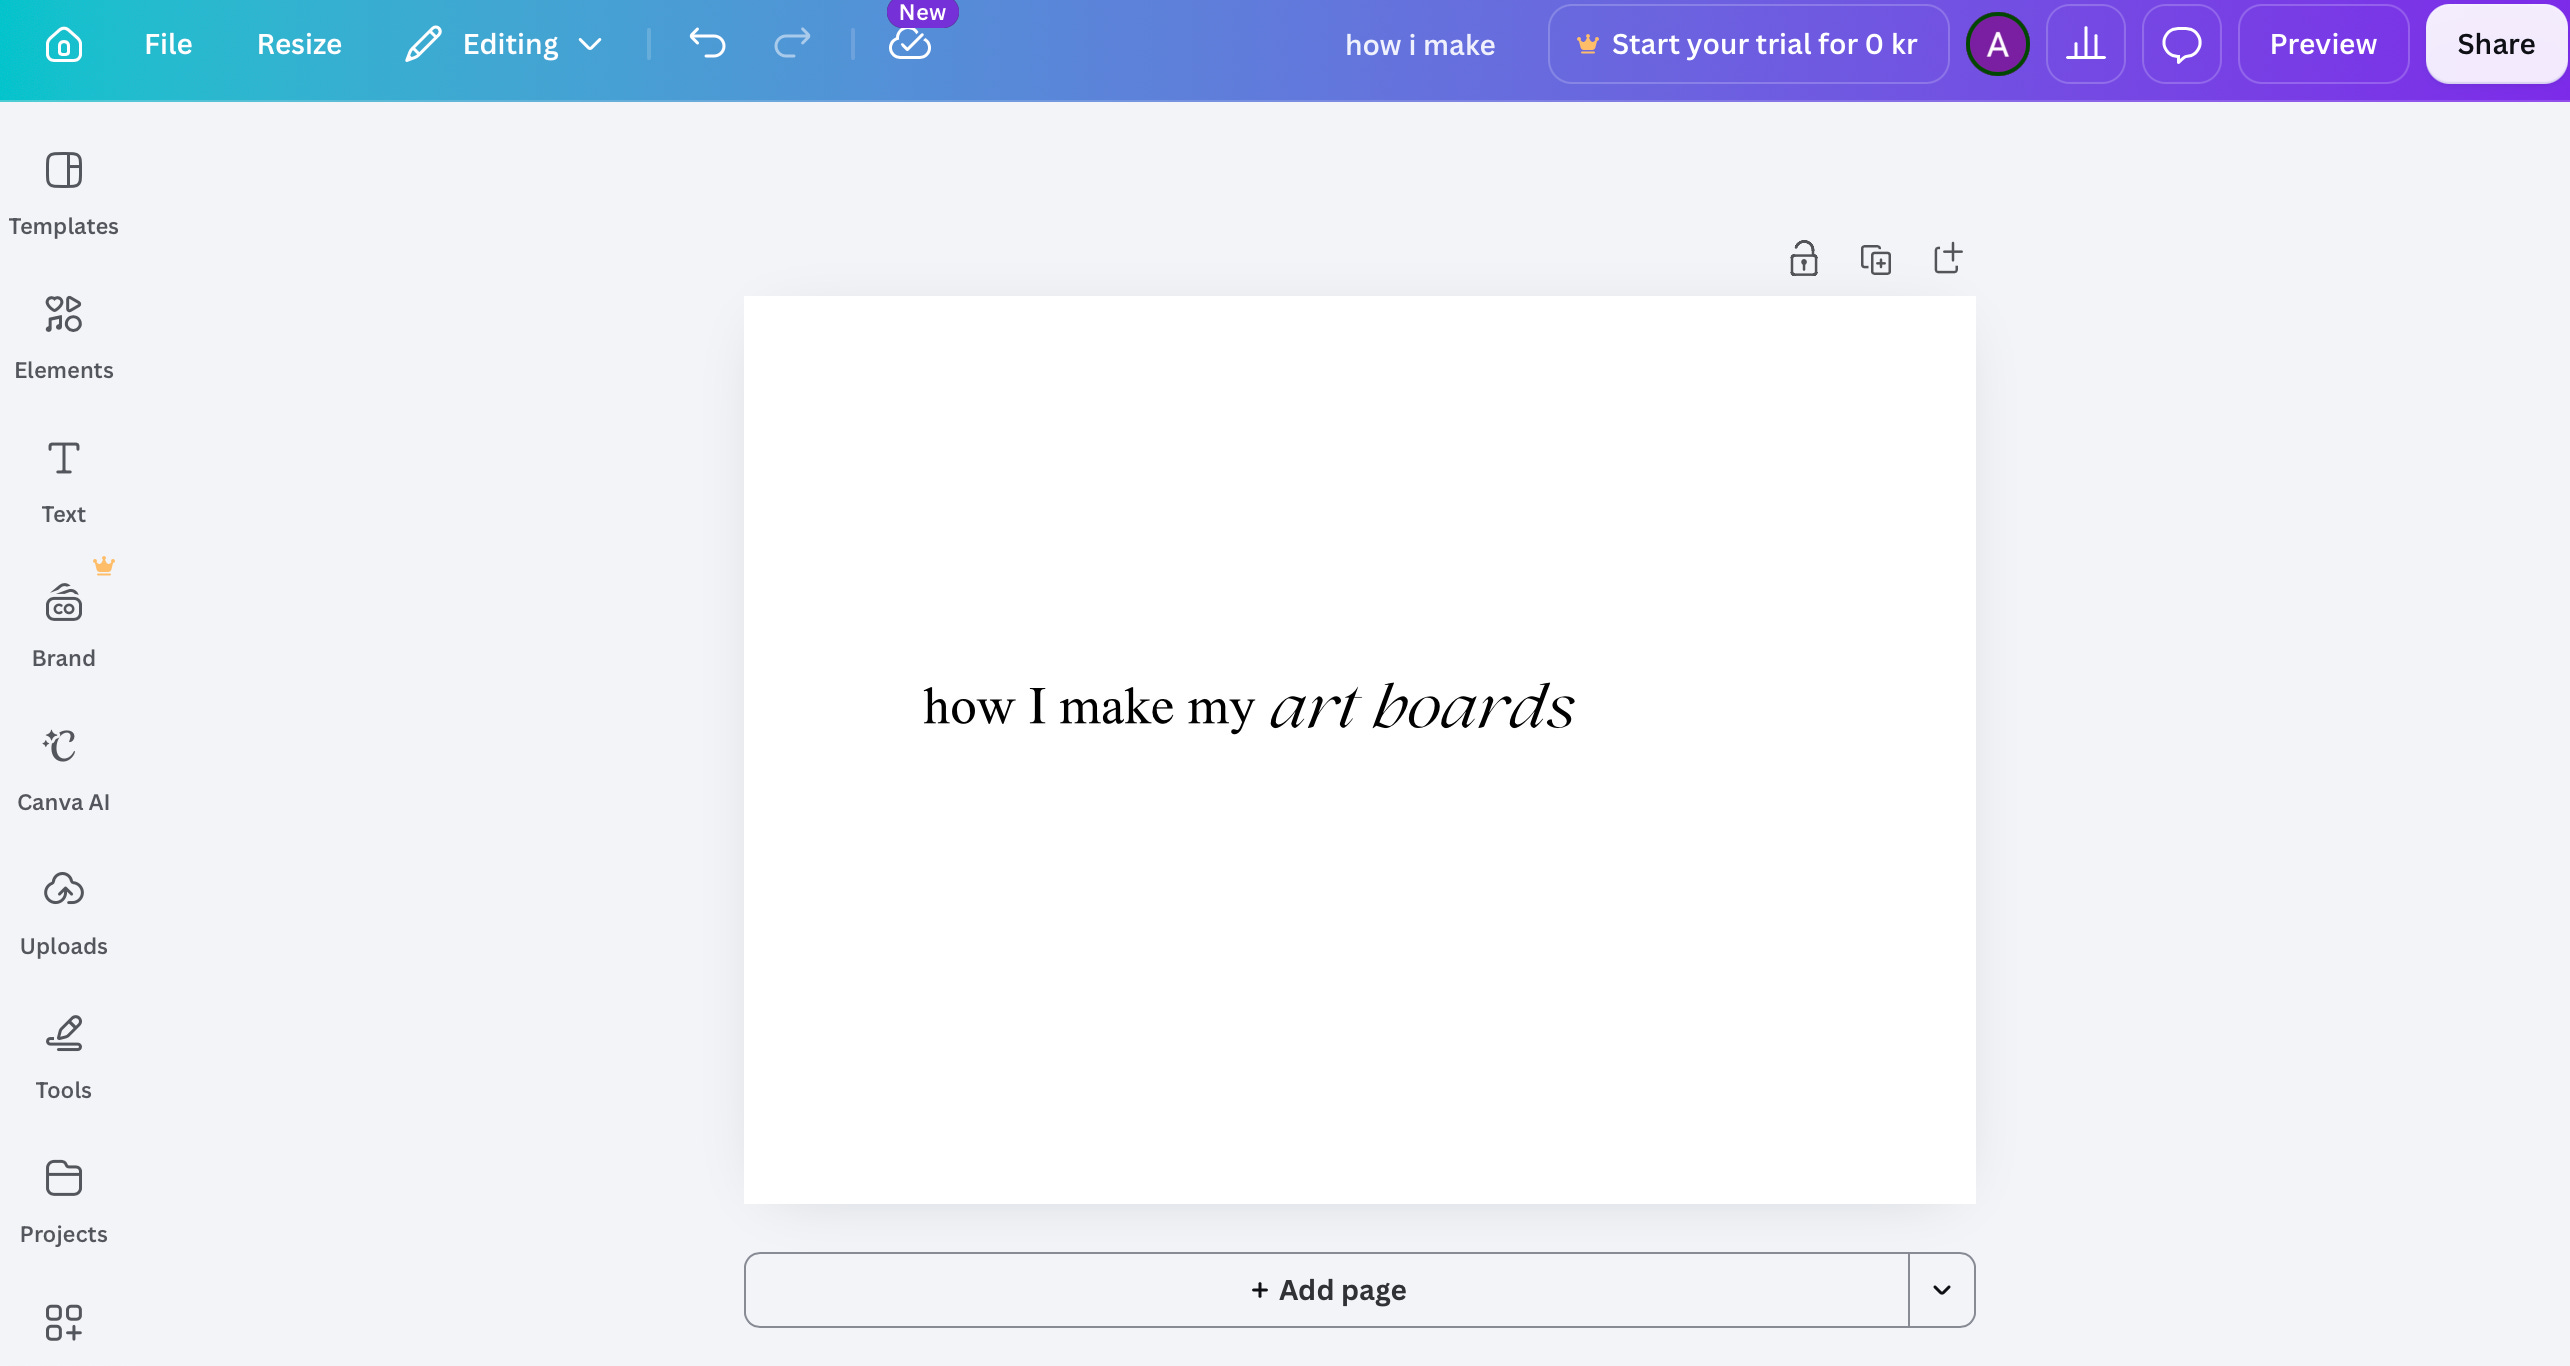
As this is the art board for the essay I am currently writing, I will first add the text. For this, I use two different fonts: Autograph and Lovelace.
Once that is done, I focus on creating through the same three categories I have mentioned above:
Images
Quotes
Details
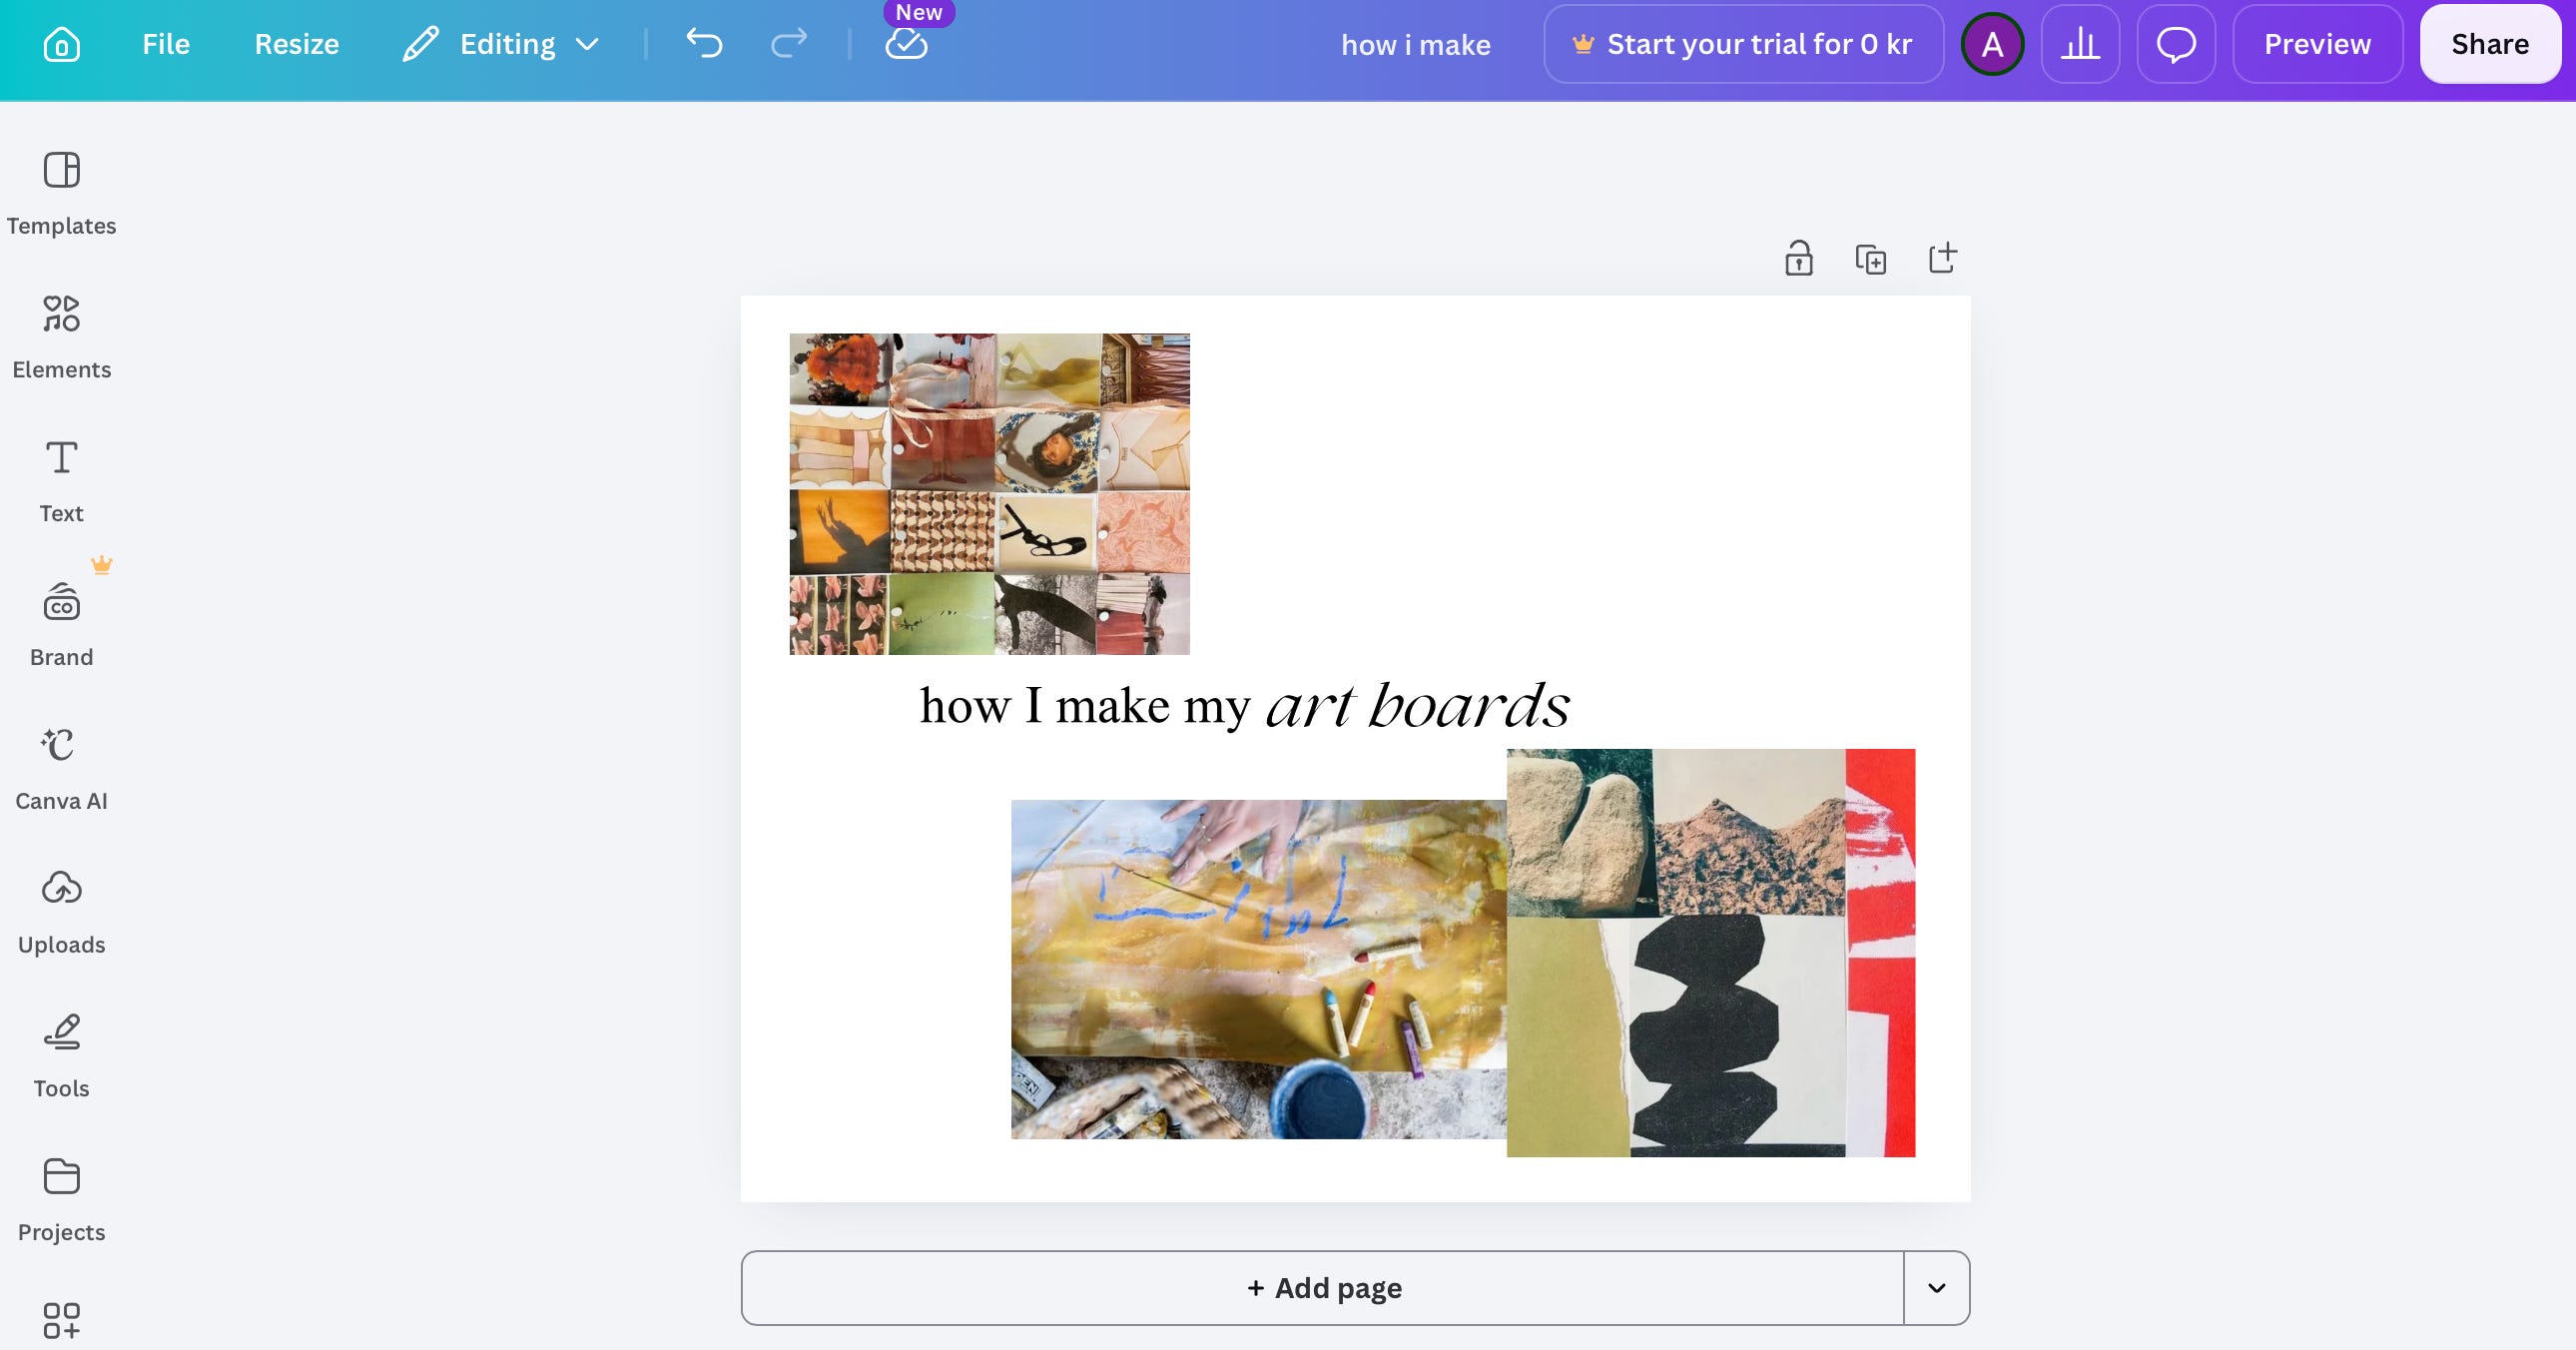
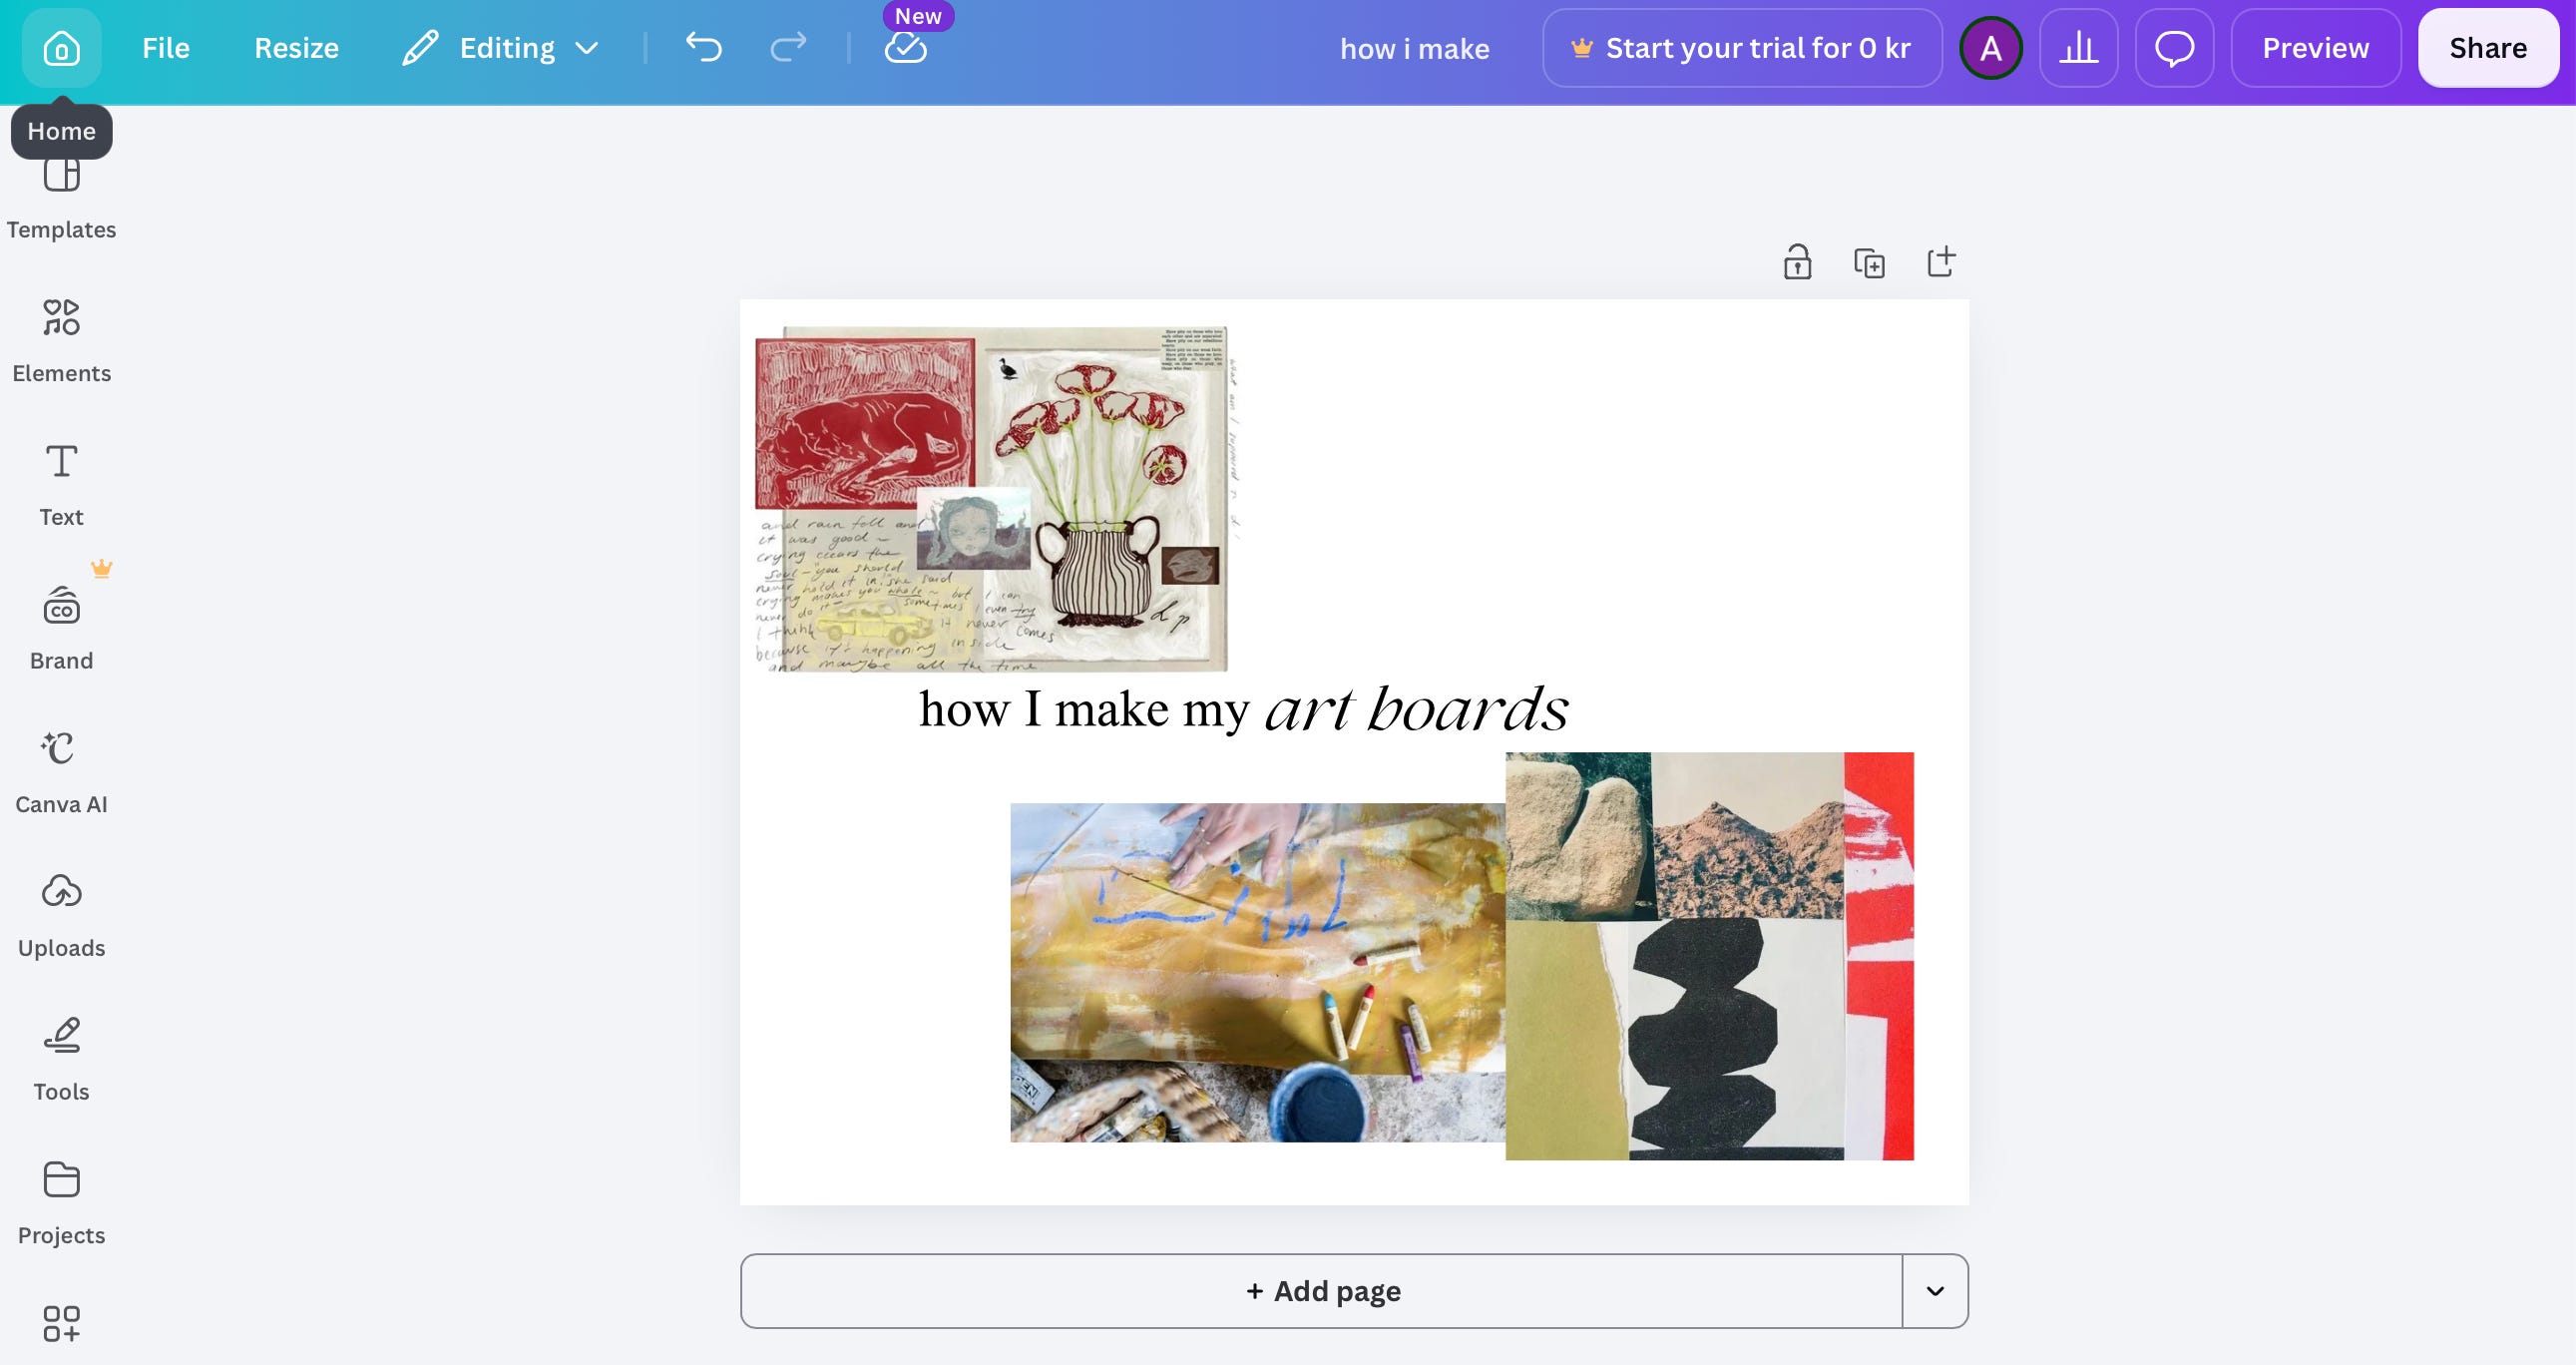
I start by inserting the bigger images and then layering smaller ones. I readjust where needed. Once I’m satisfied I add a few quotes, and then go in with the details. I find that step to be the hardest and it’s the one that brings everything together, creates harmony within the collage.
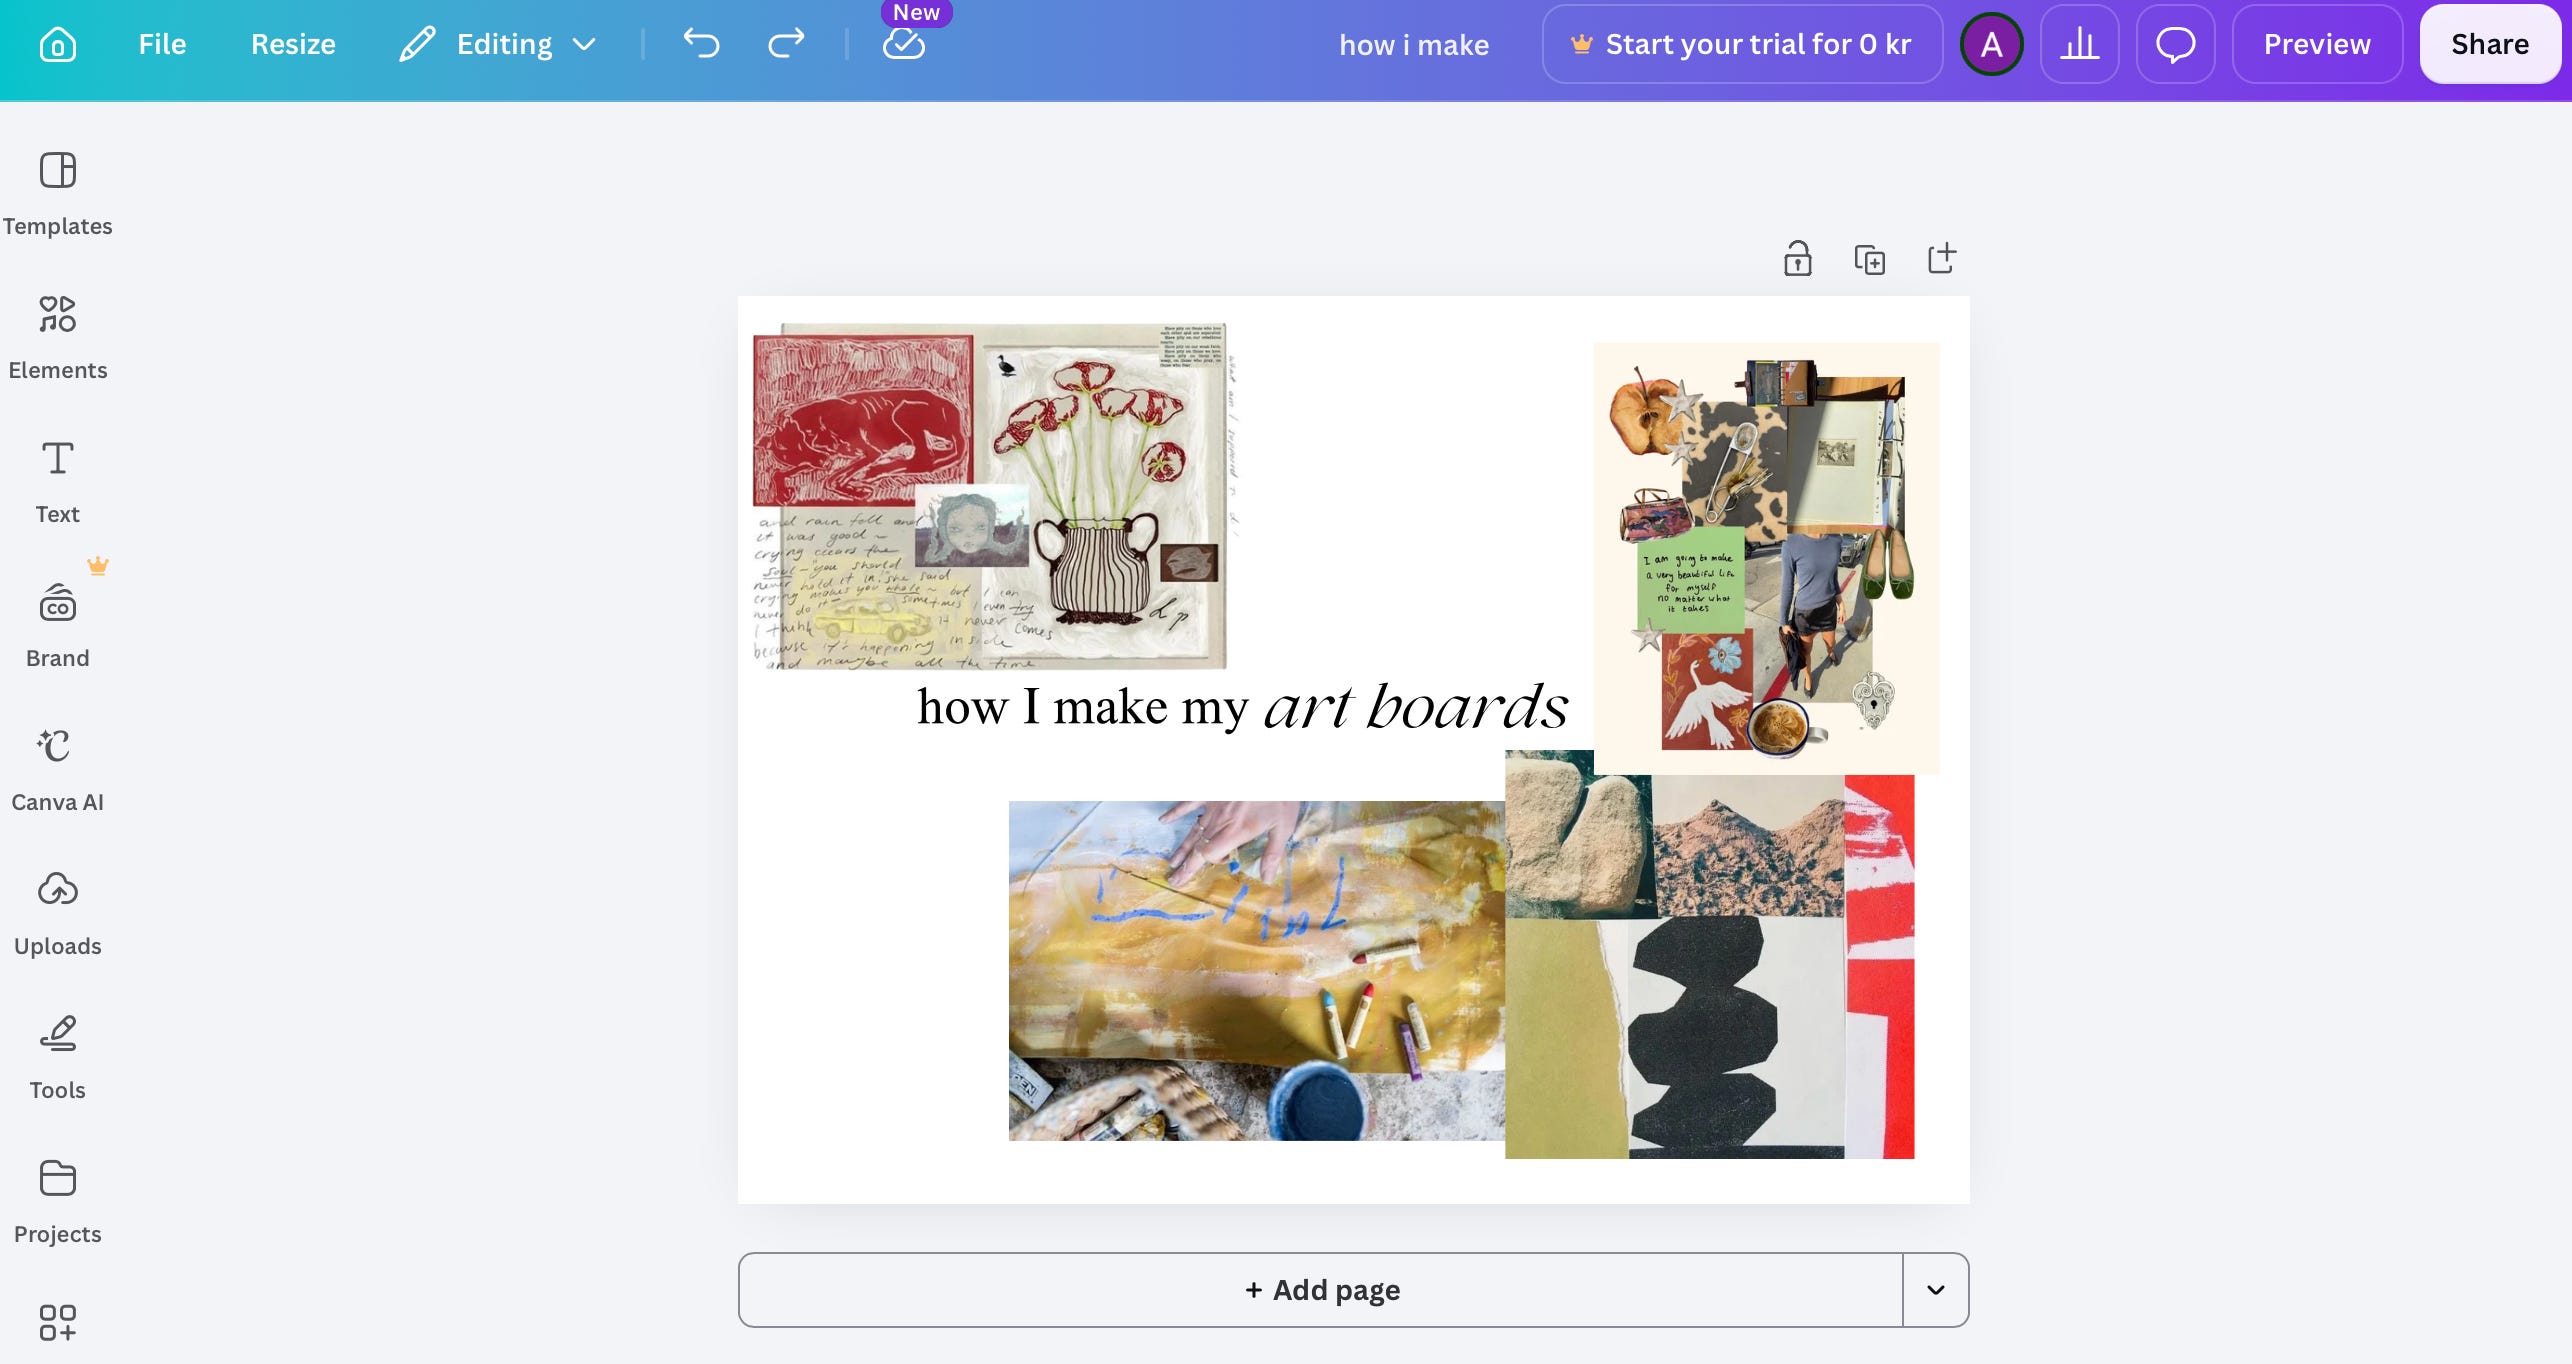
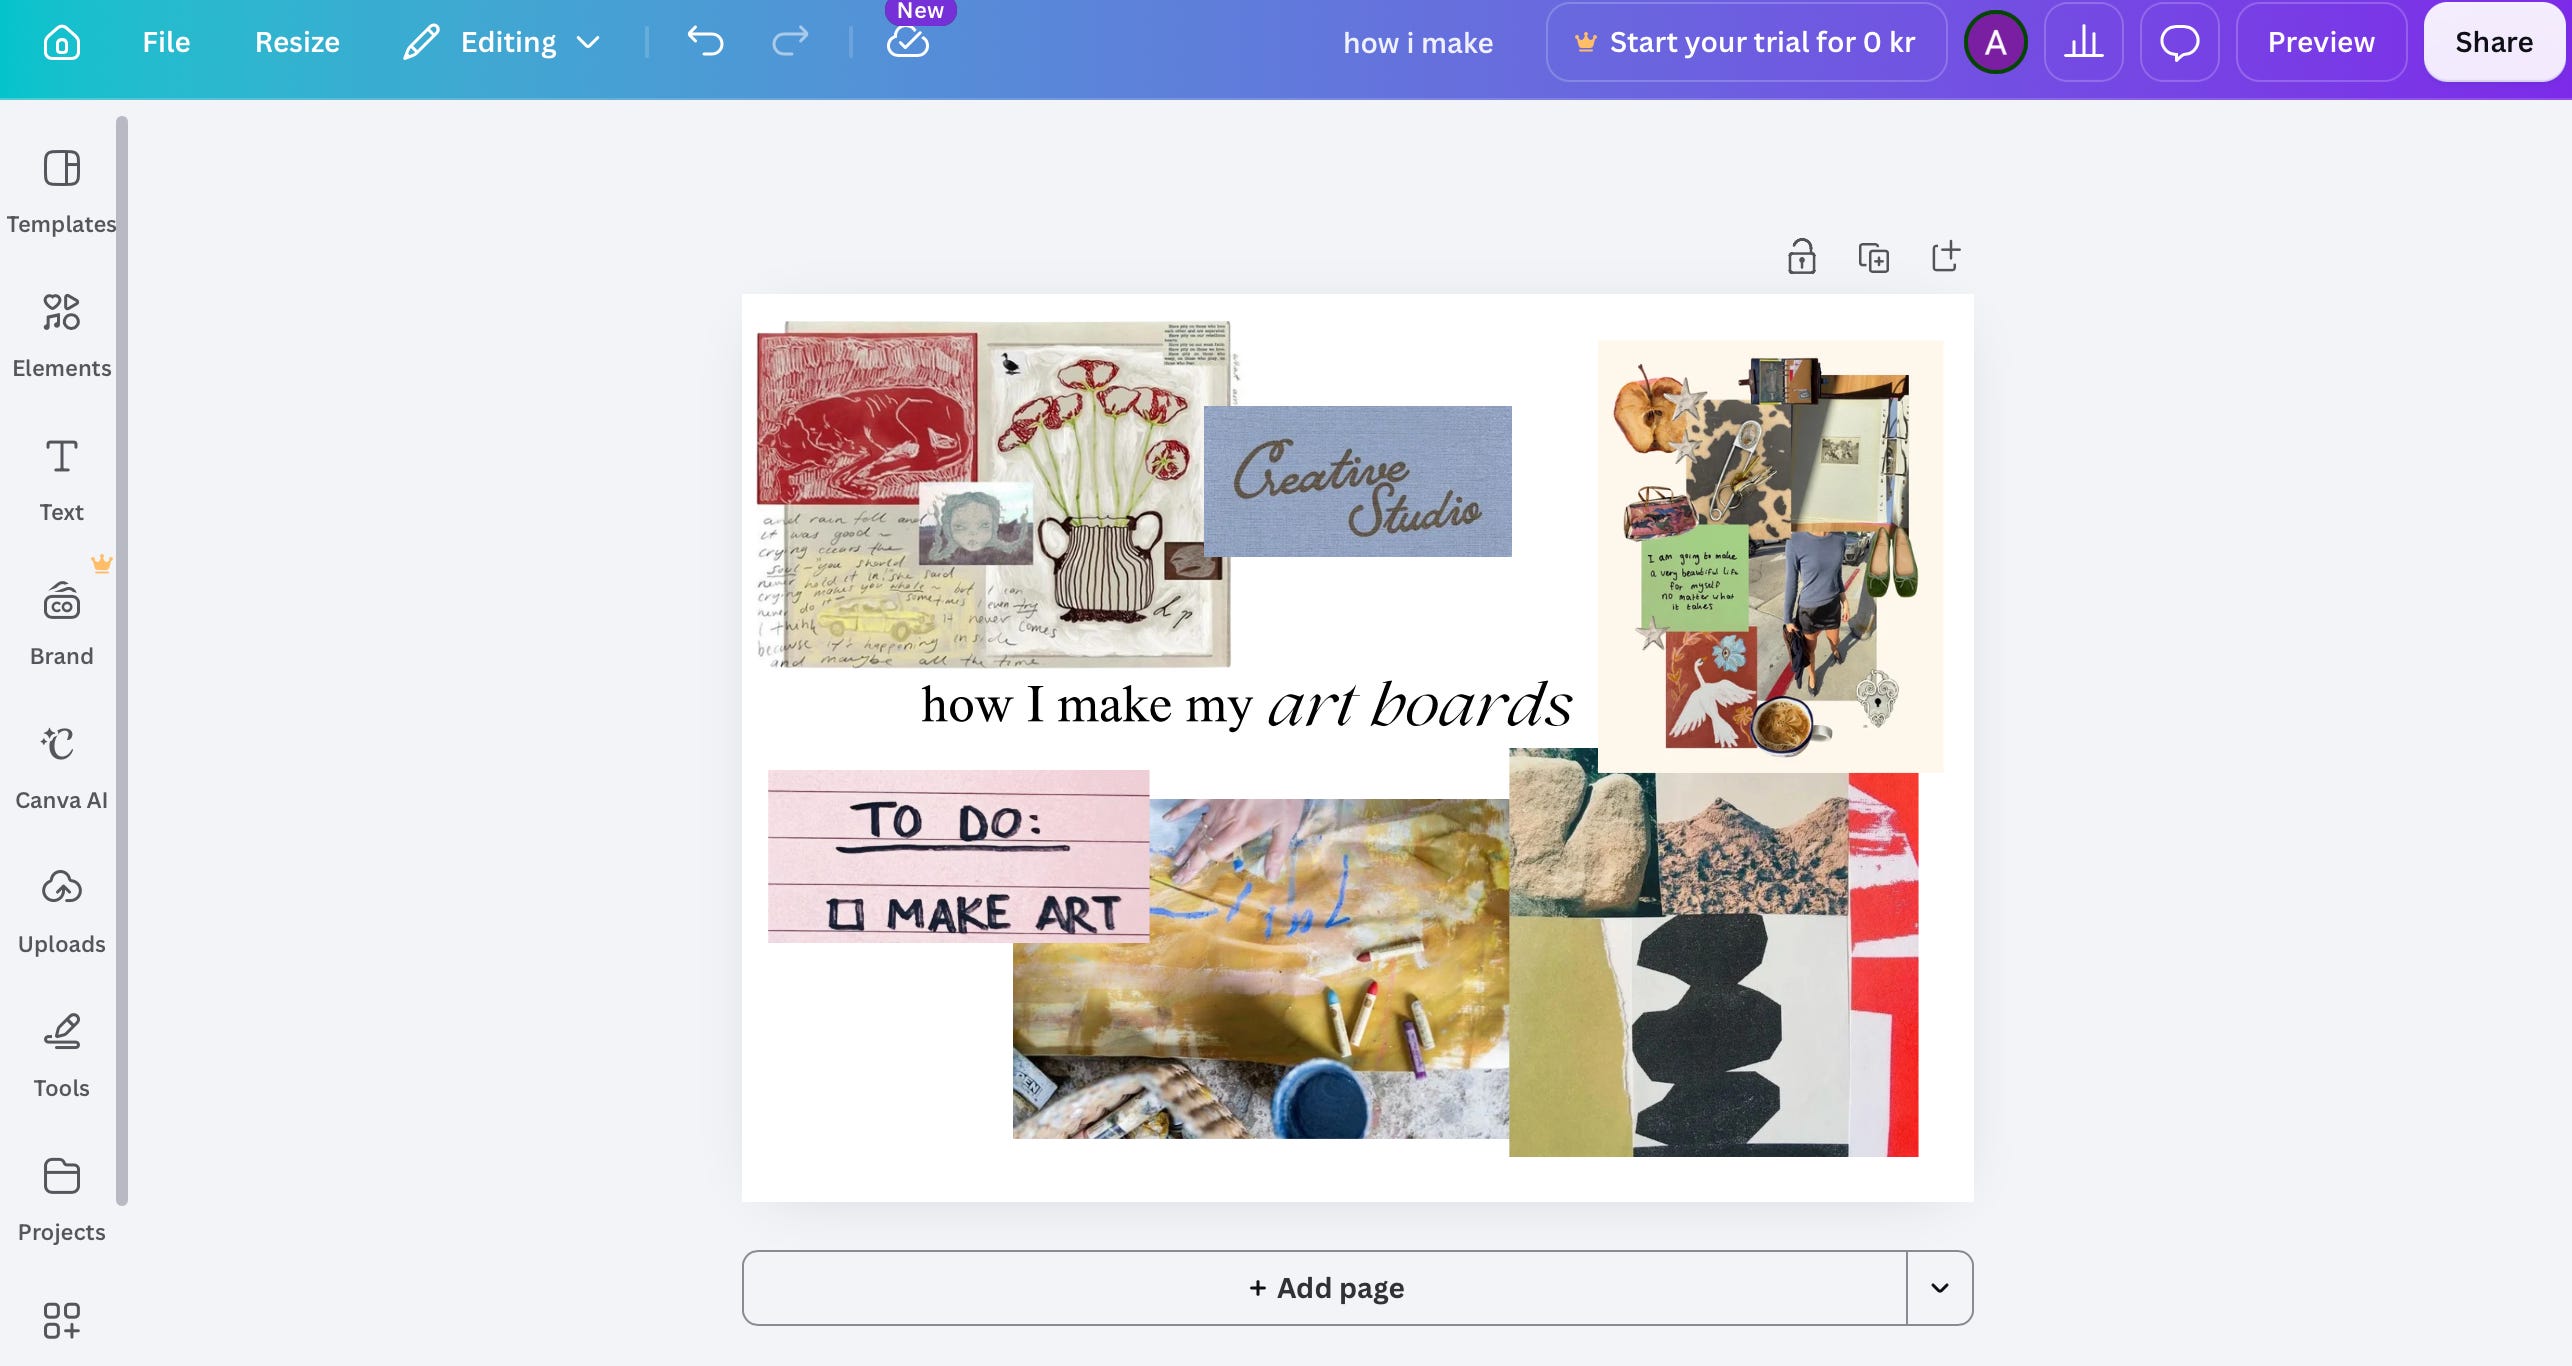
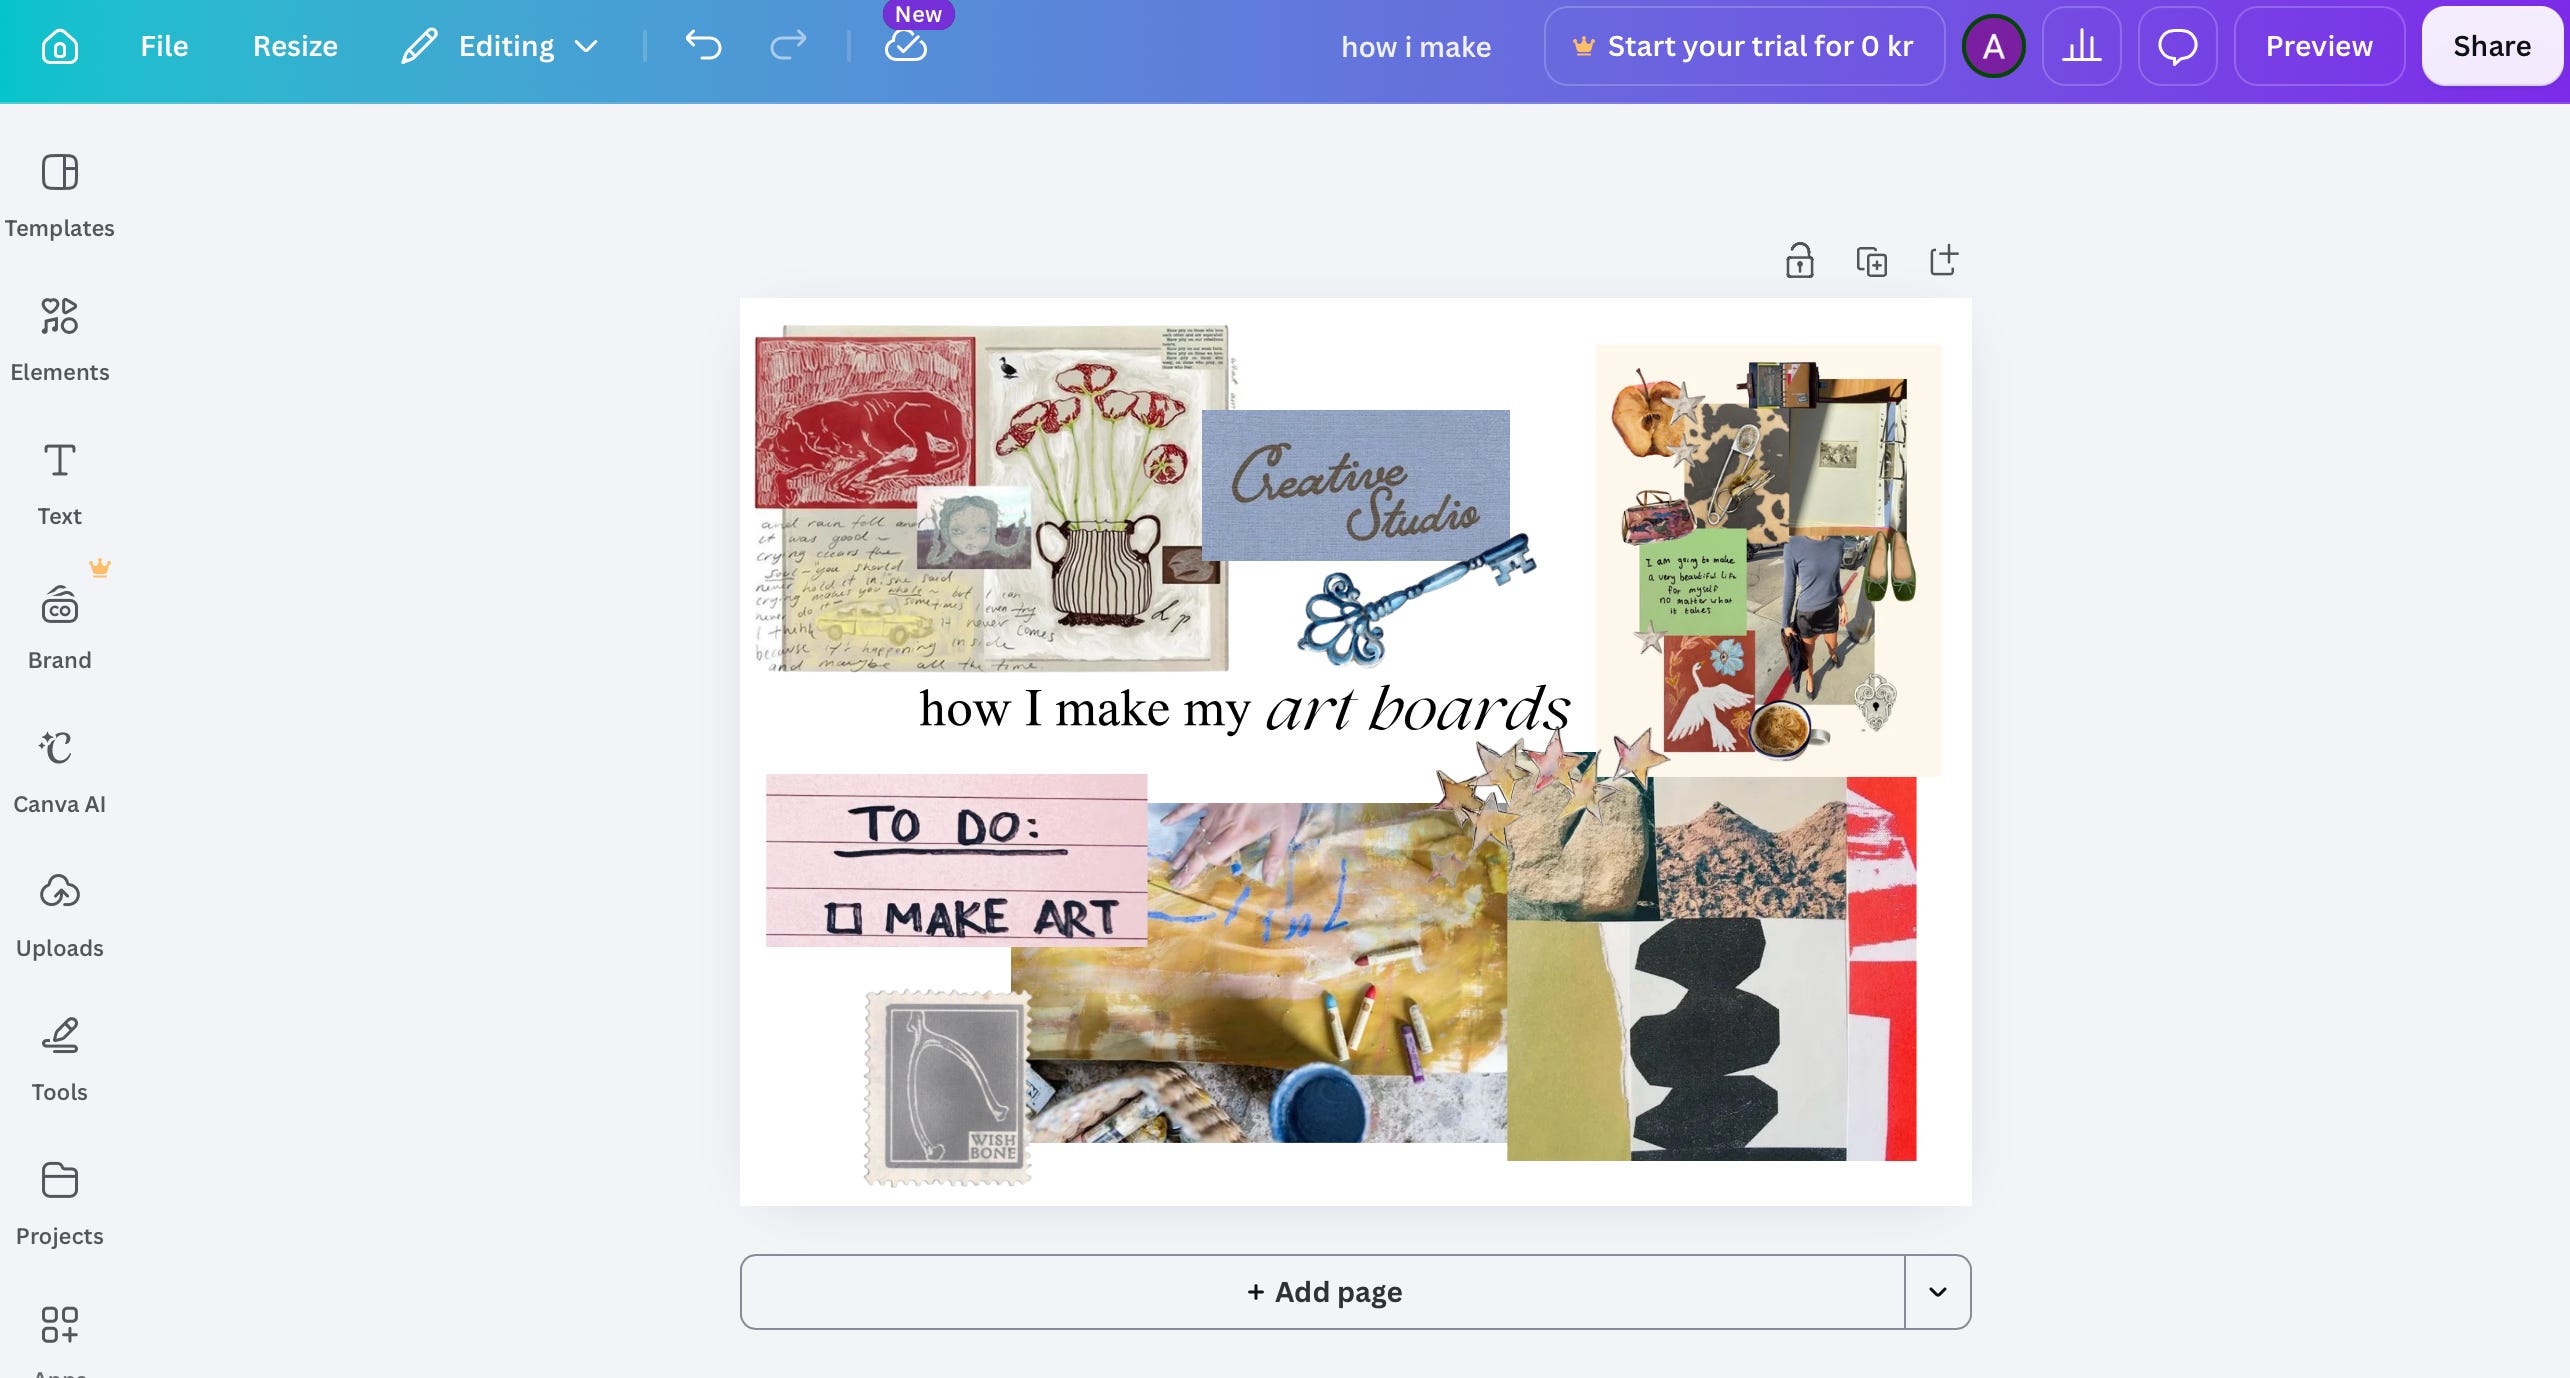
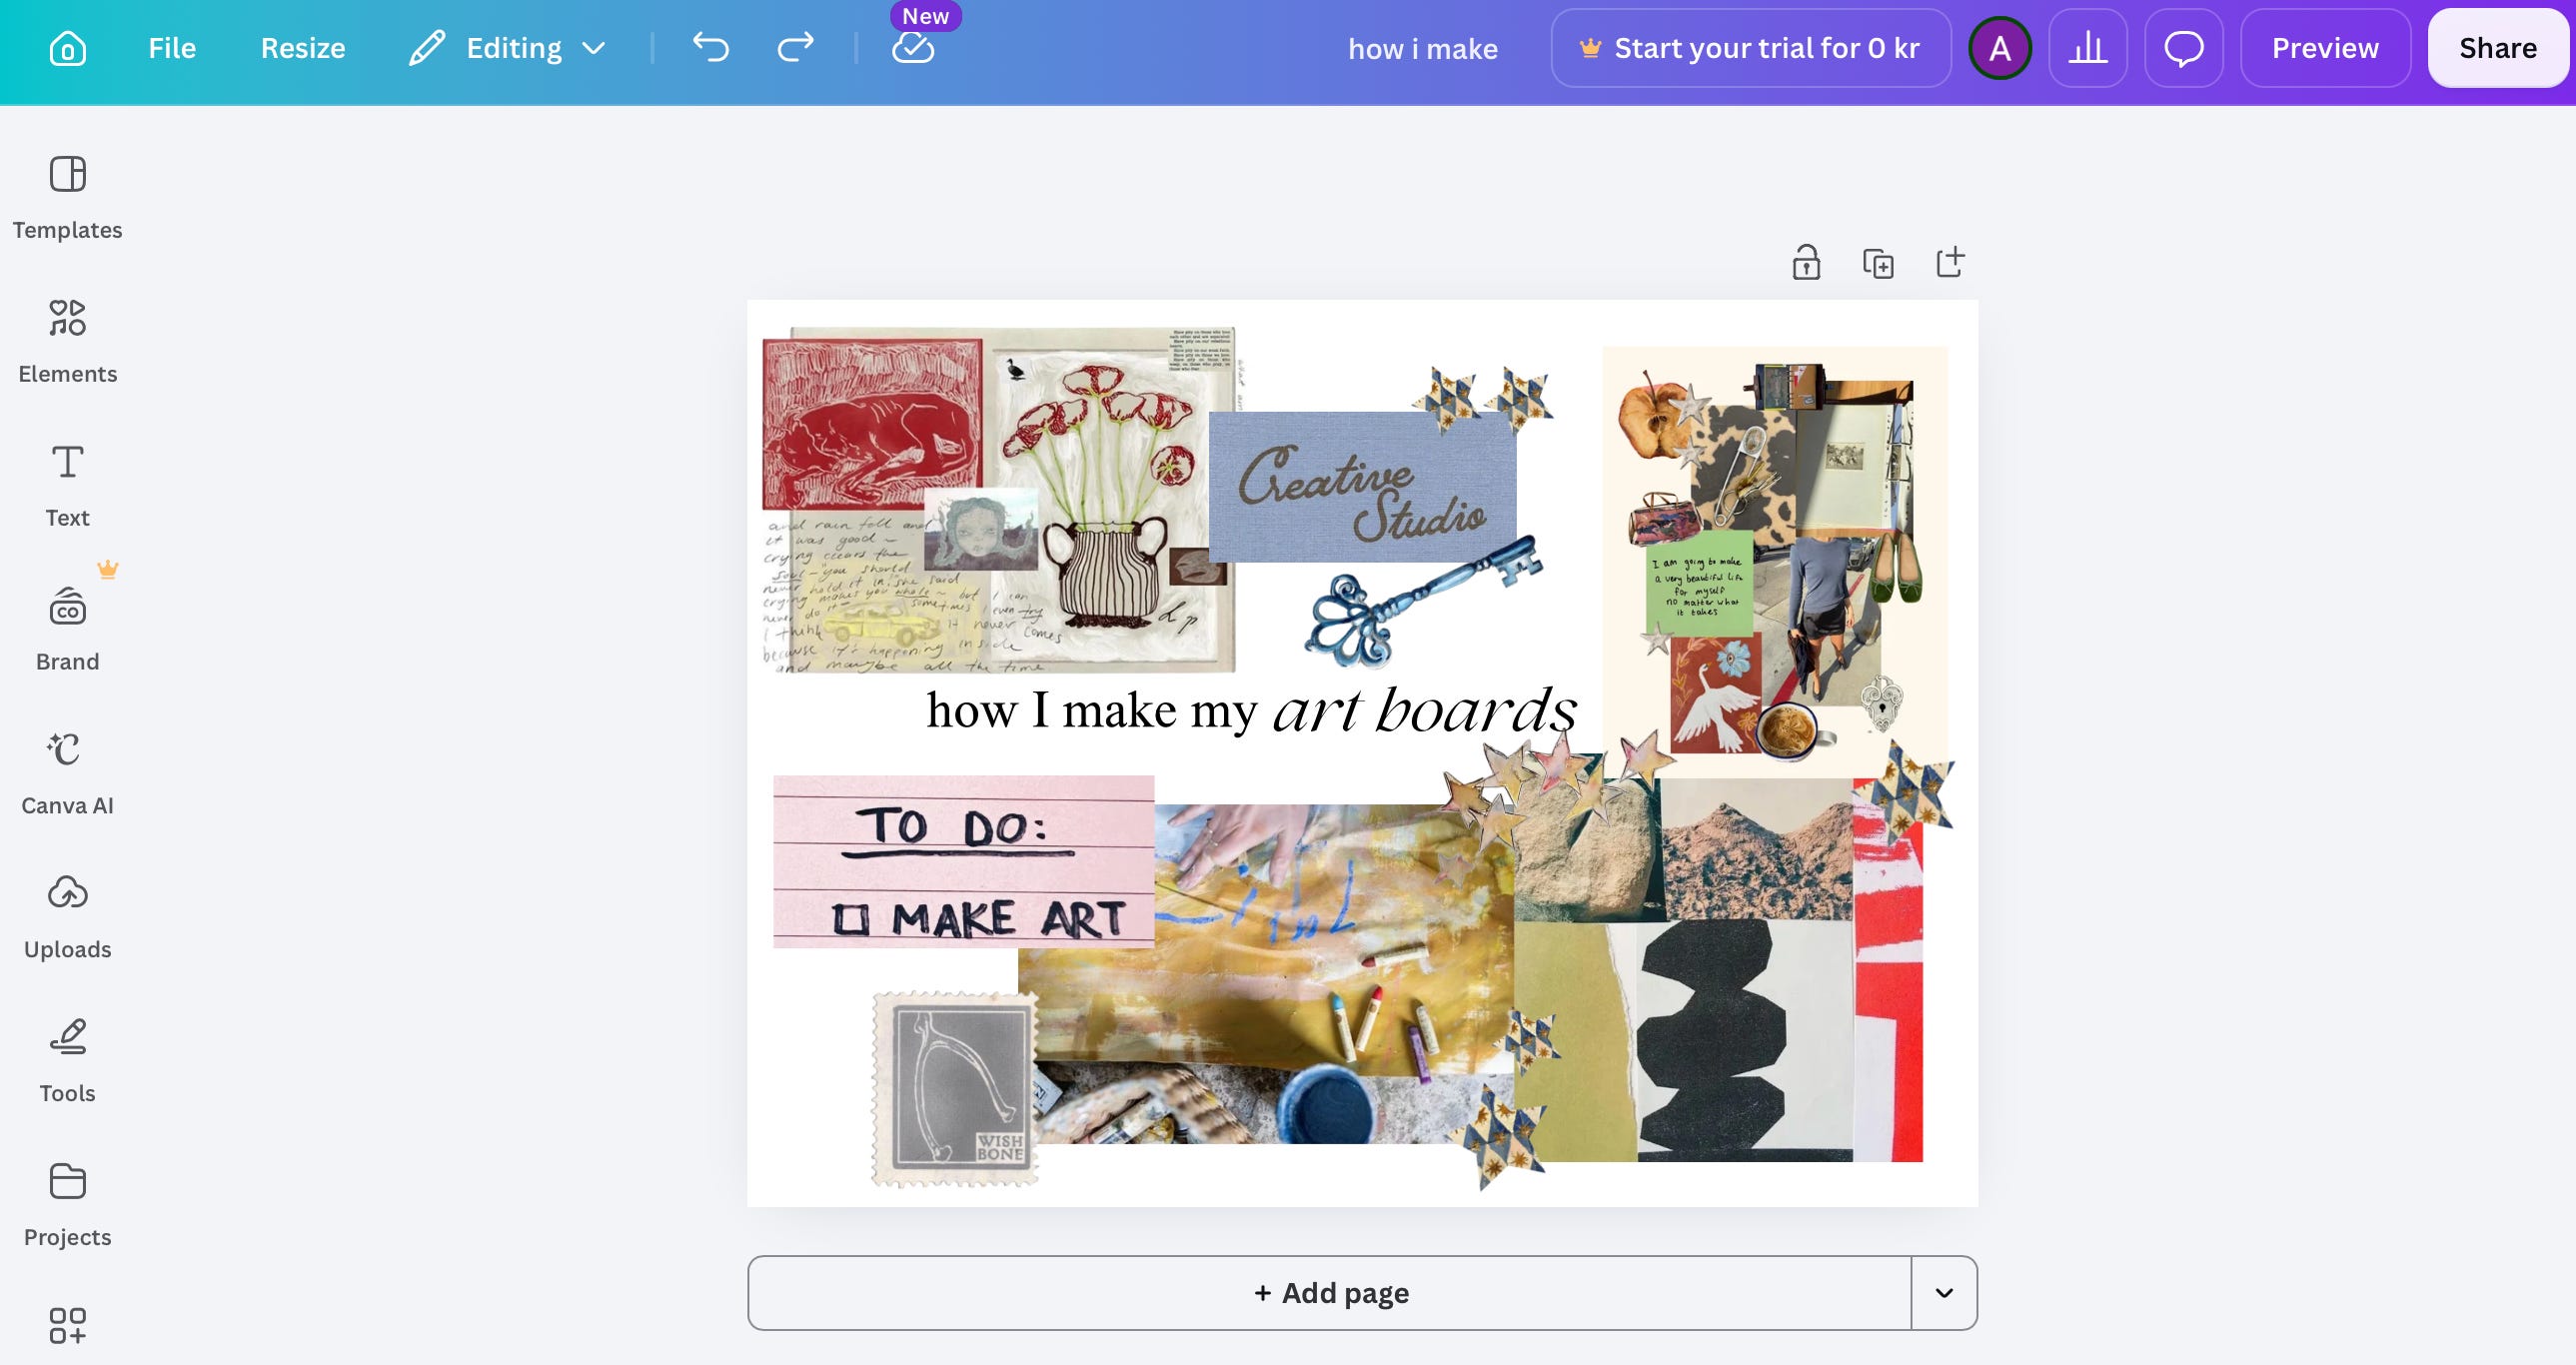
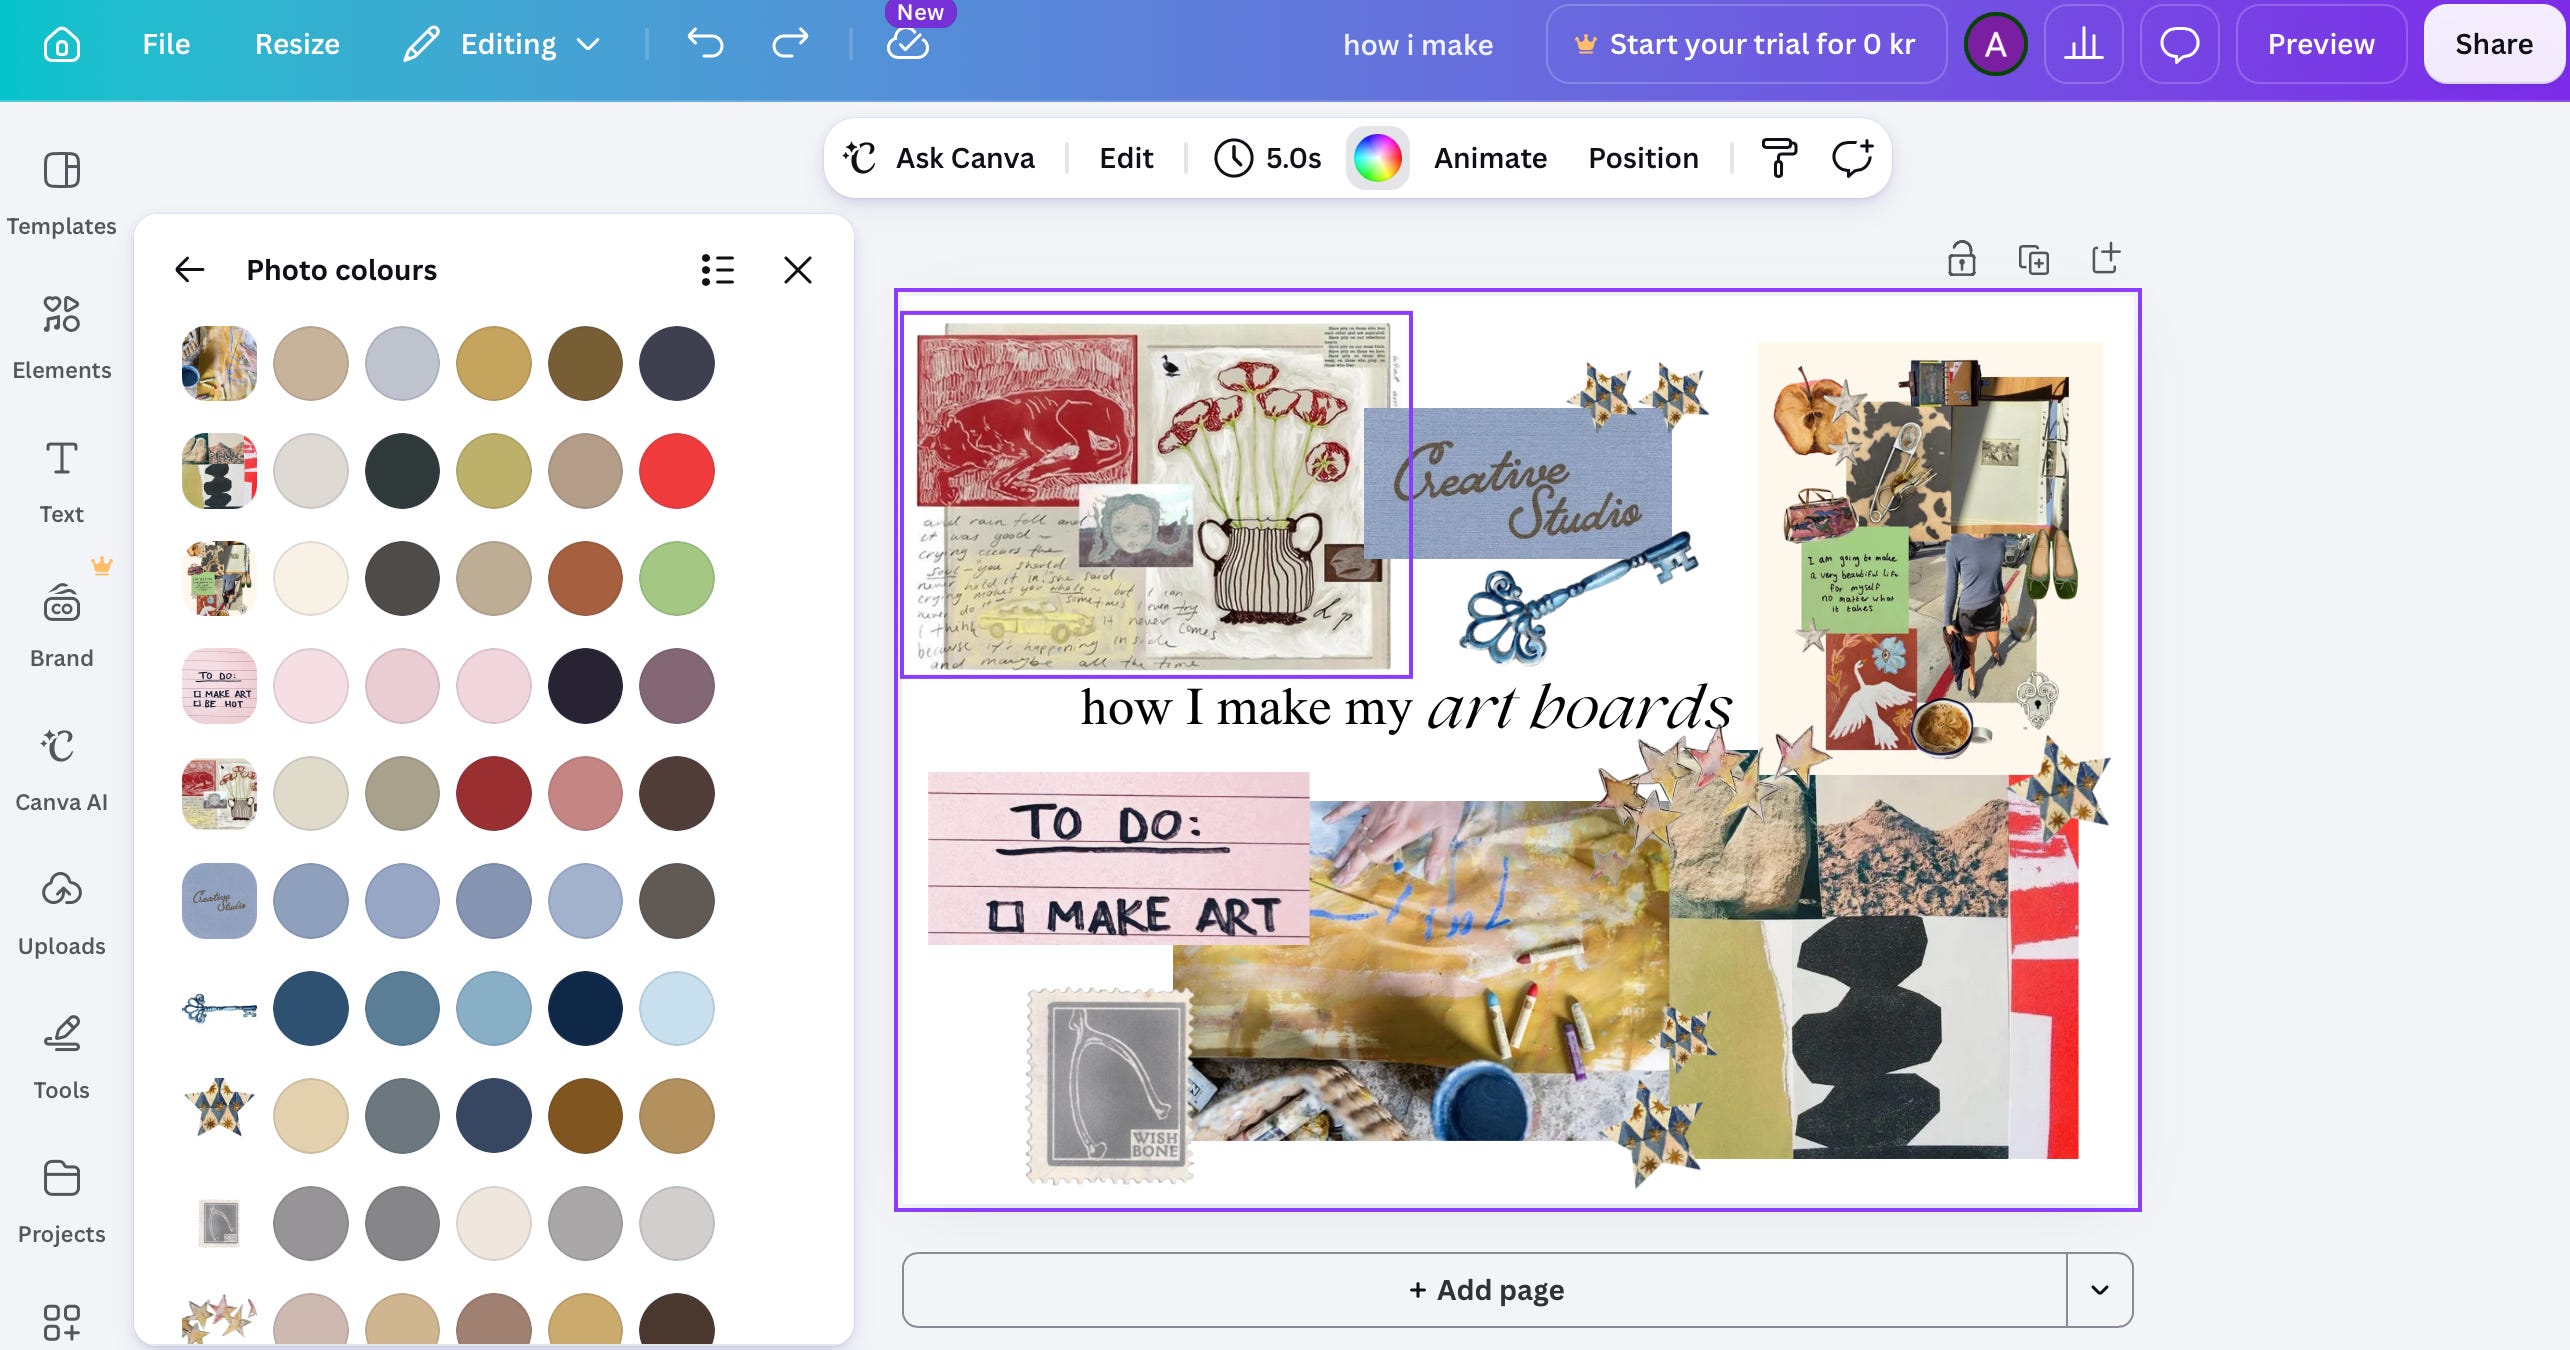
Once I am satisfied with all my elements, I click on the board as a whole and go to the background colour. In order to reinforce the harmony, I select the background colour from the “photo colours” option, like this:
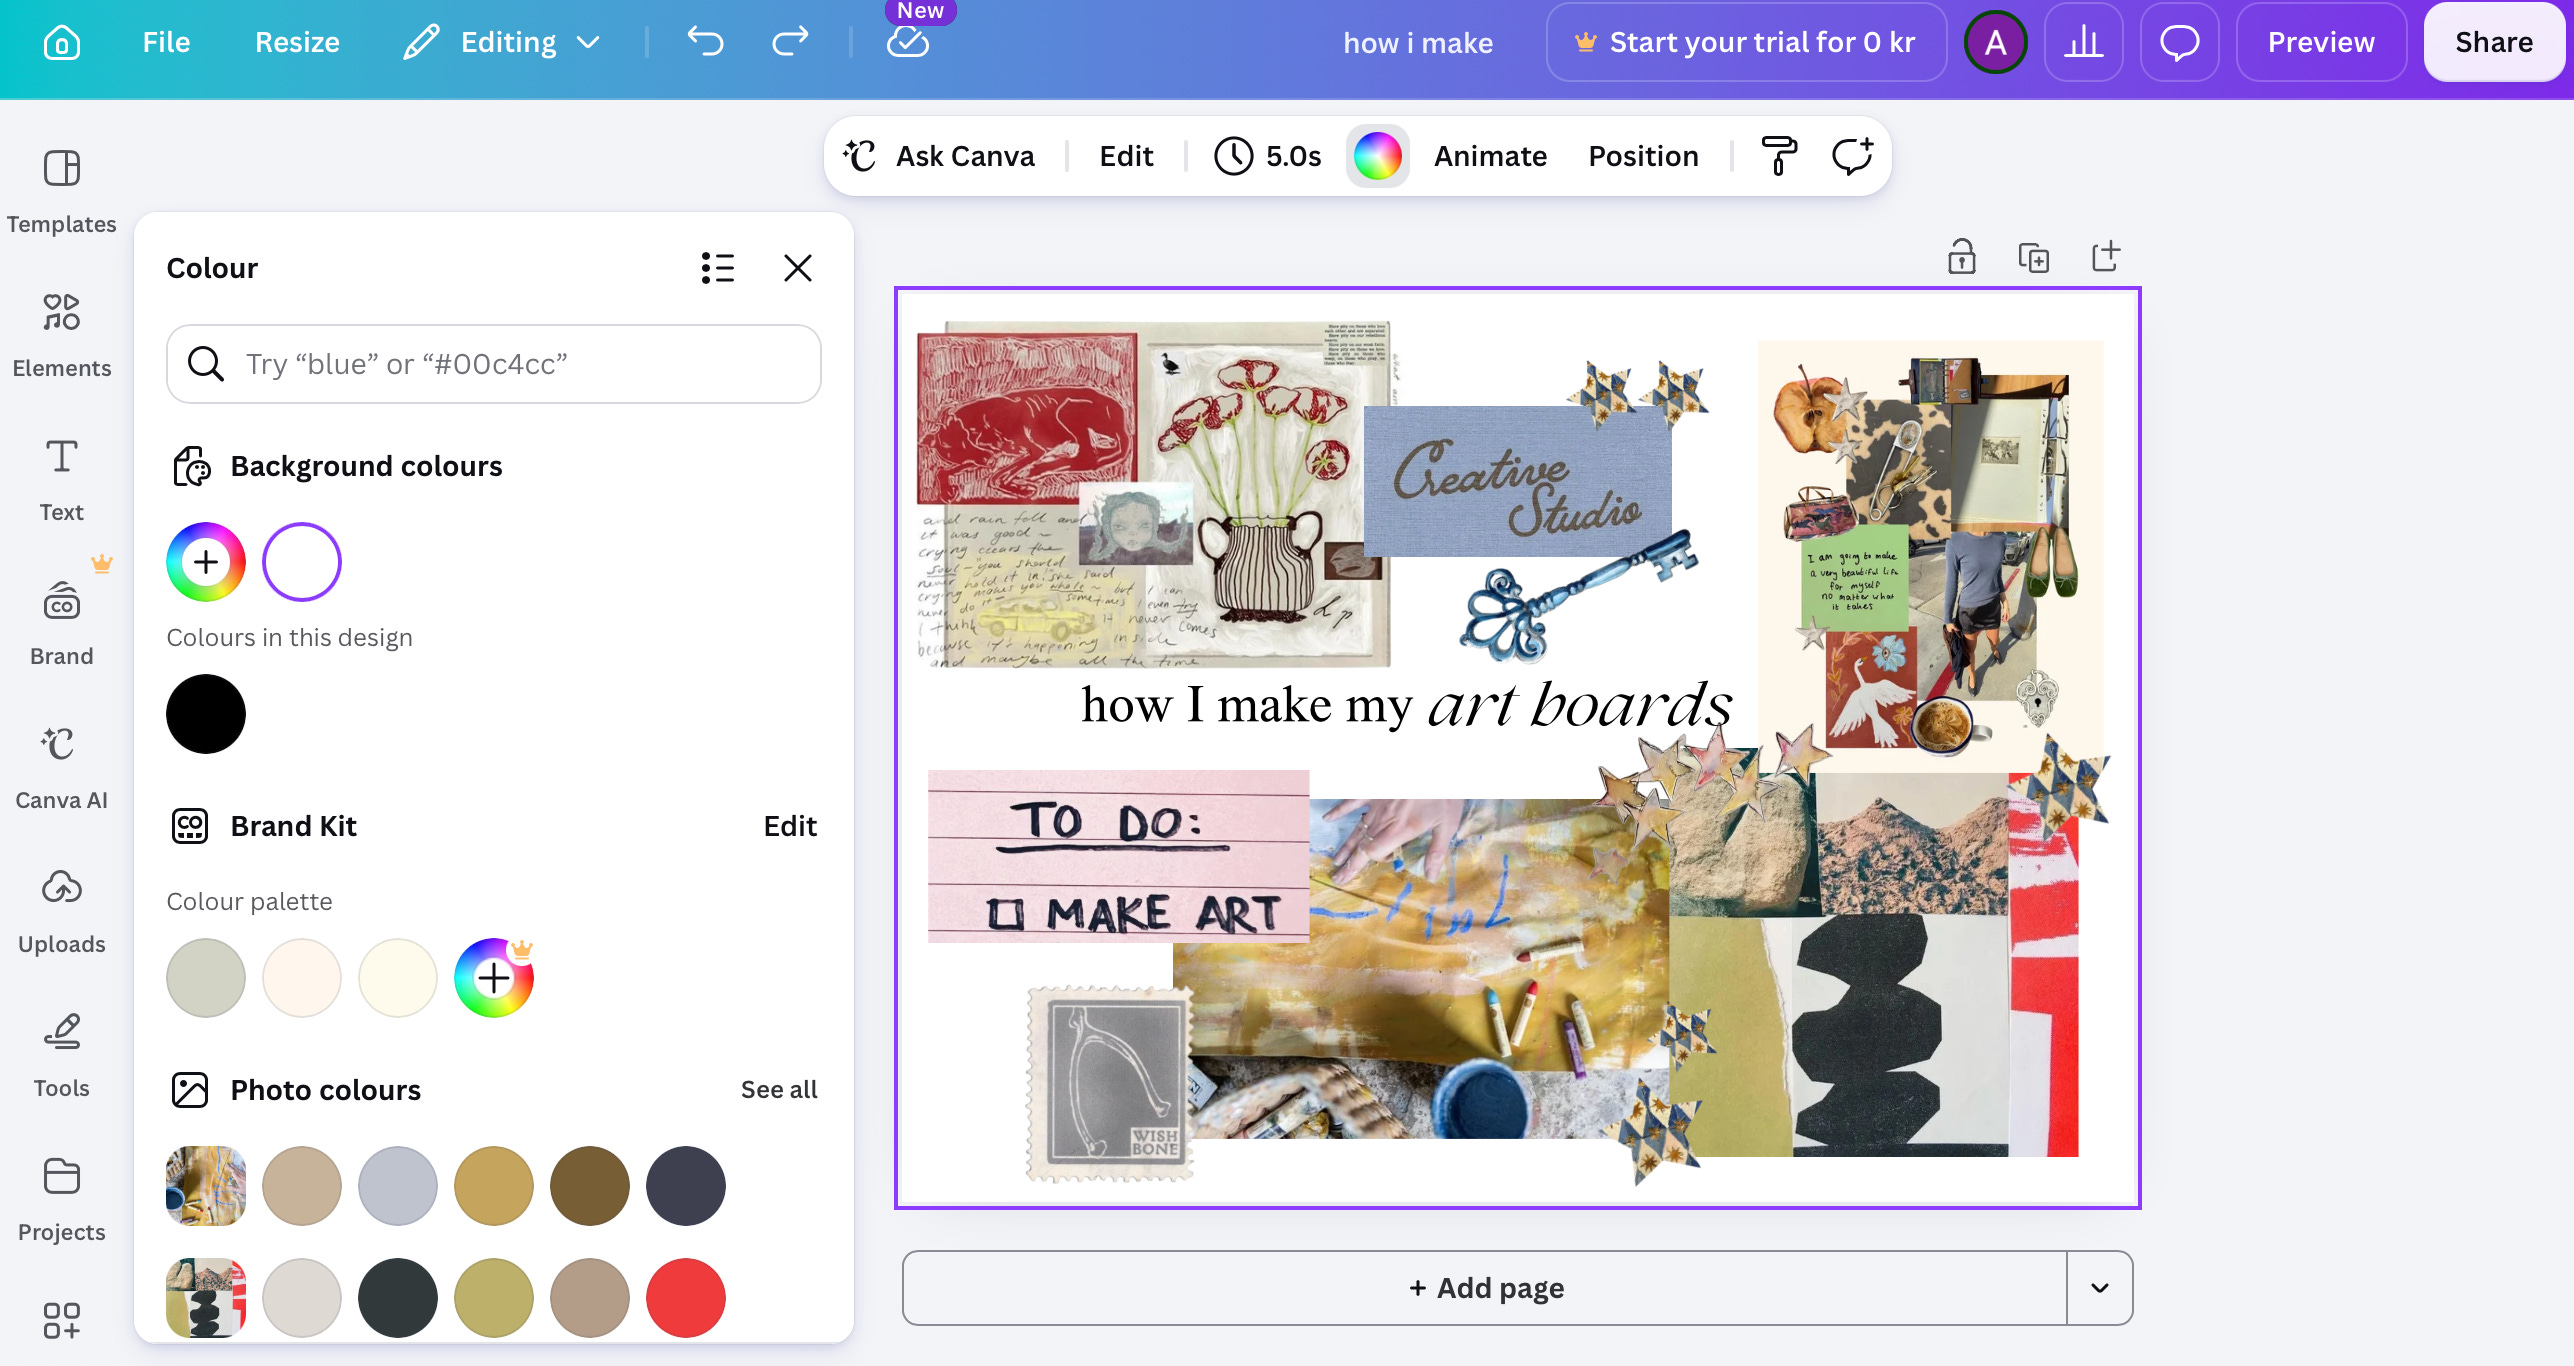
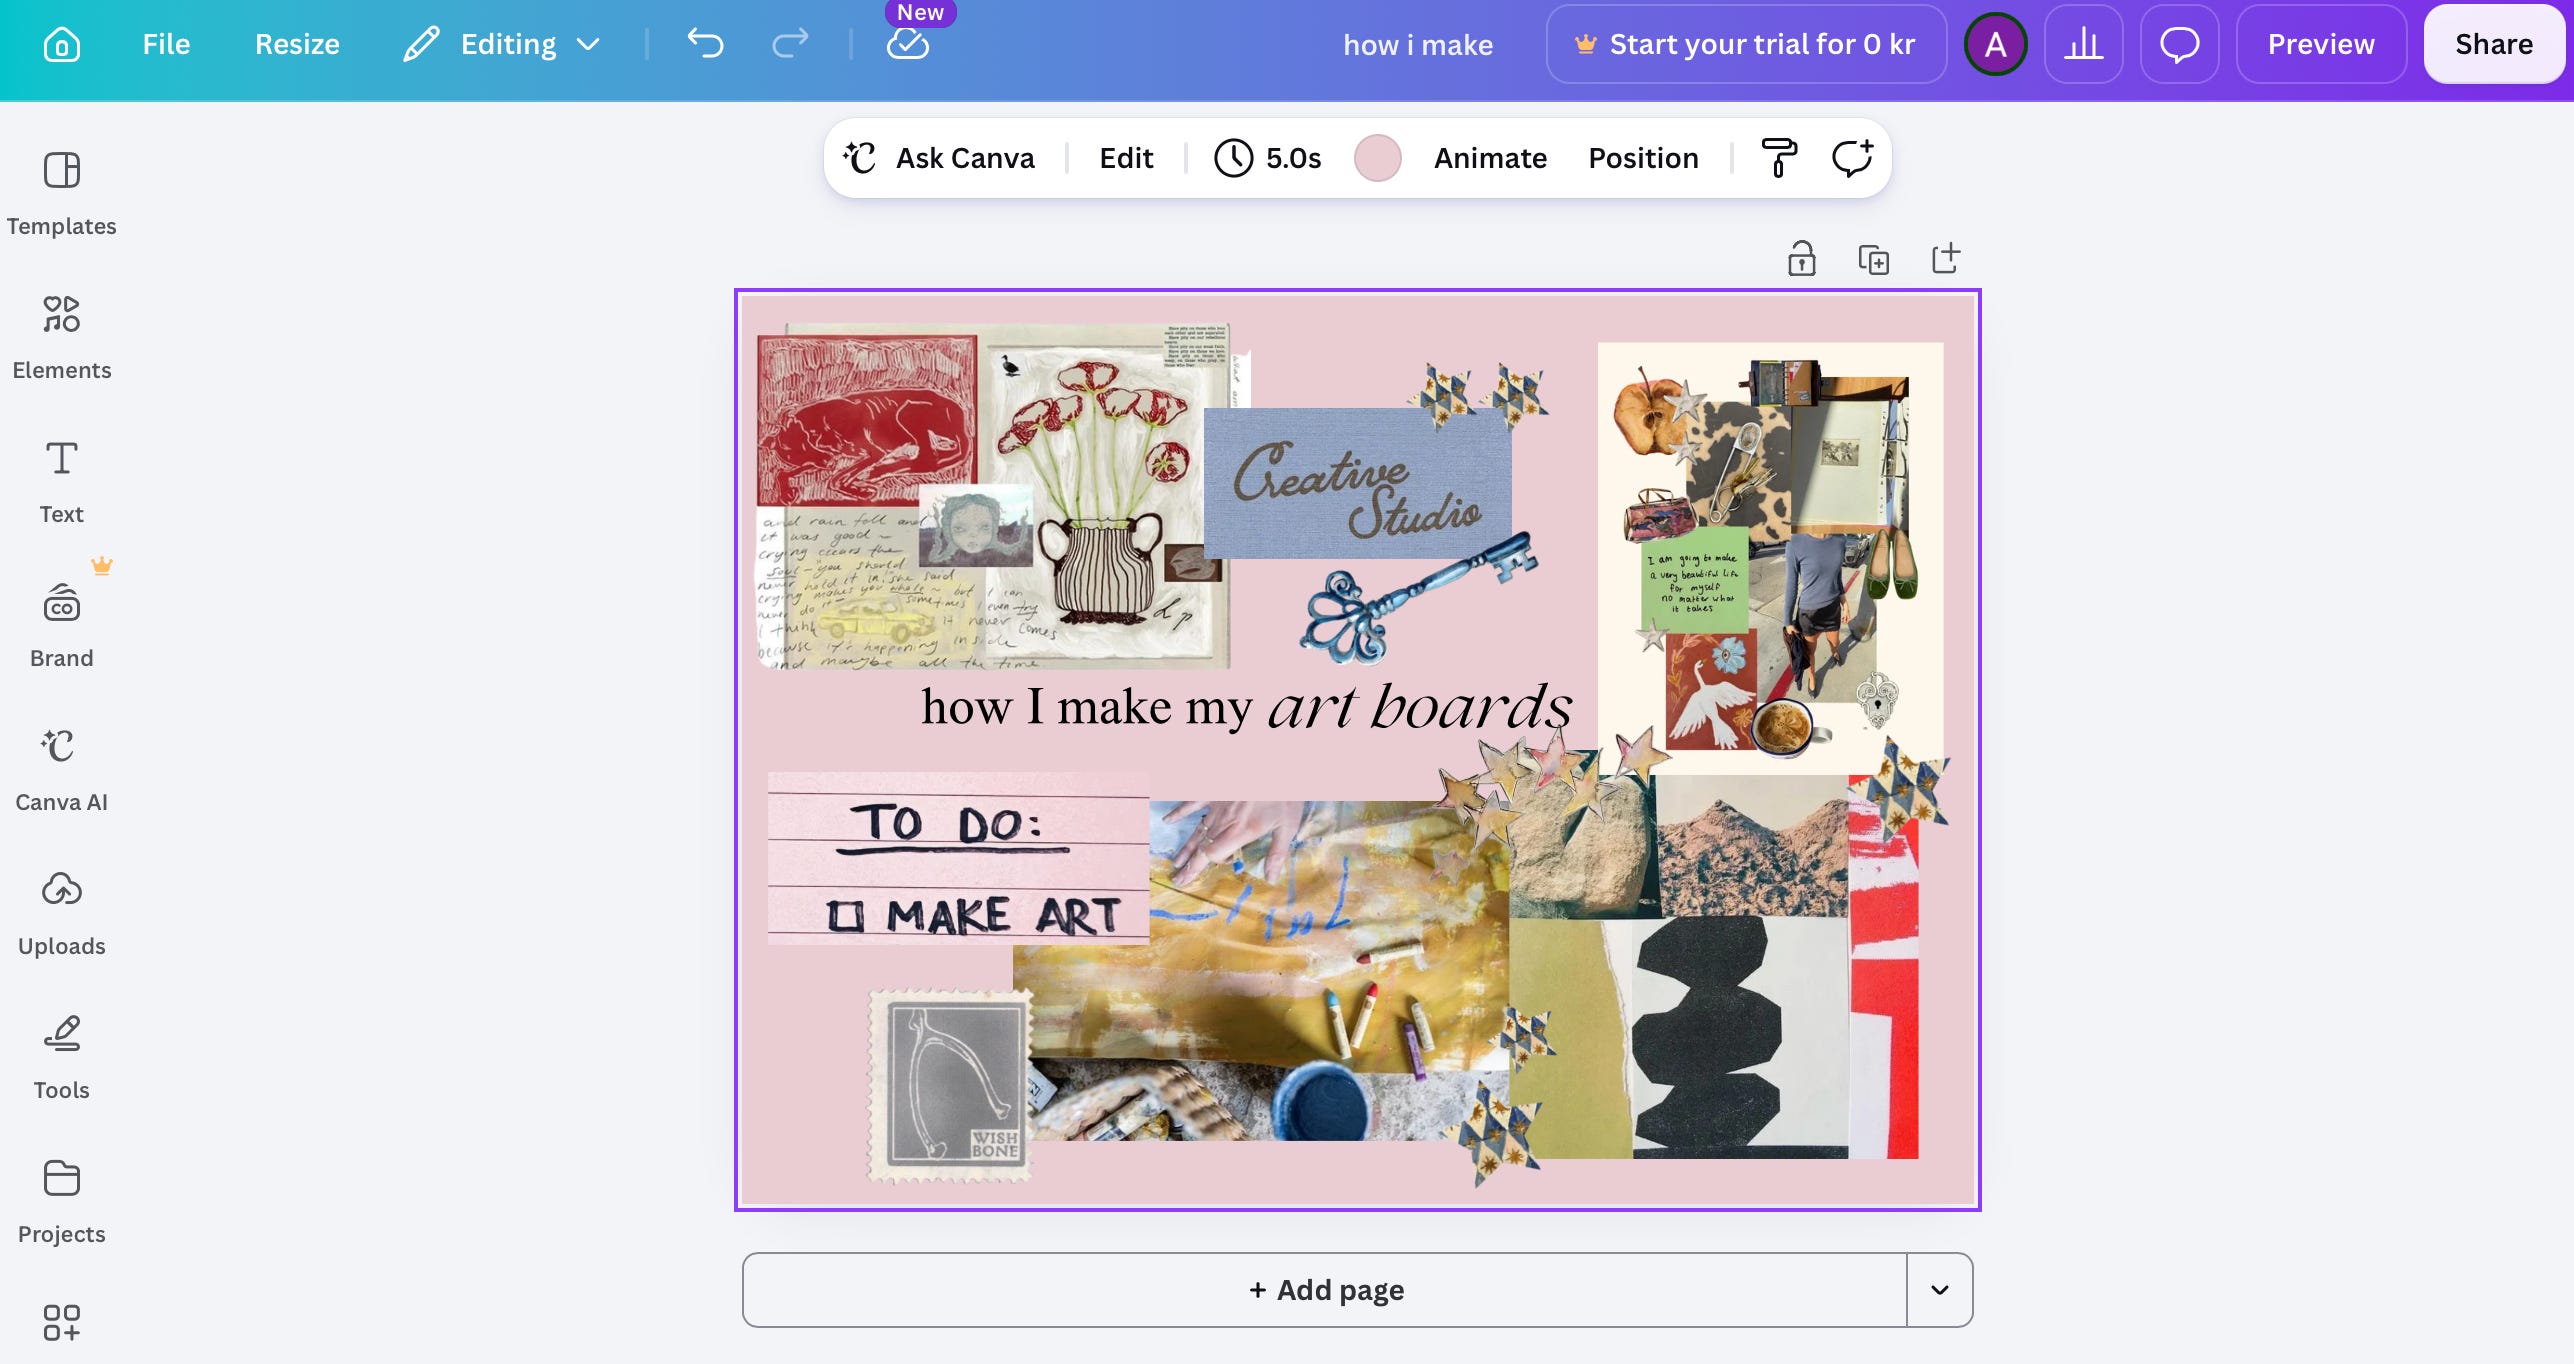
Now that I have an art board I love, I simply download it as a PNG and add it into my essay.
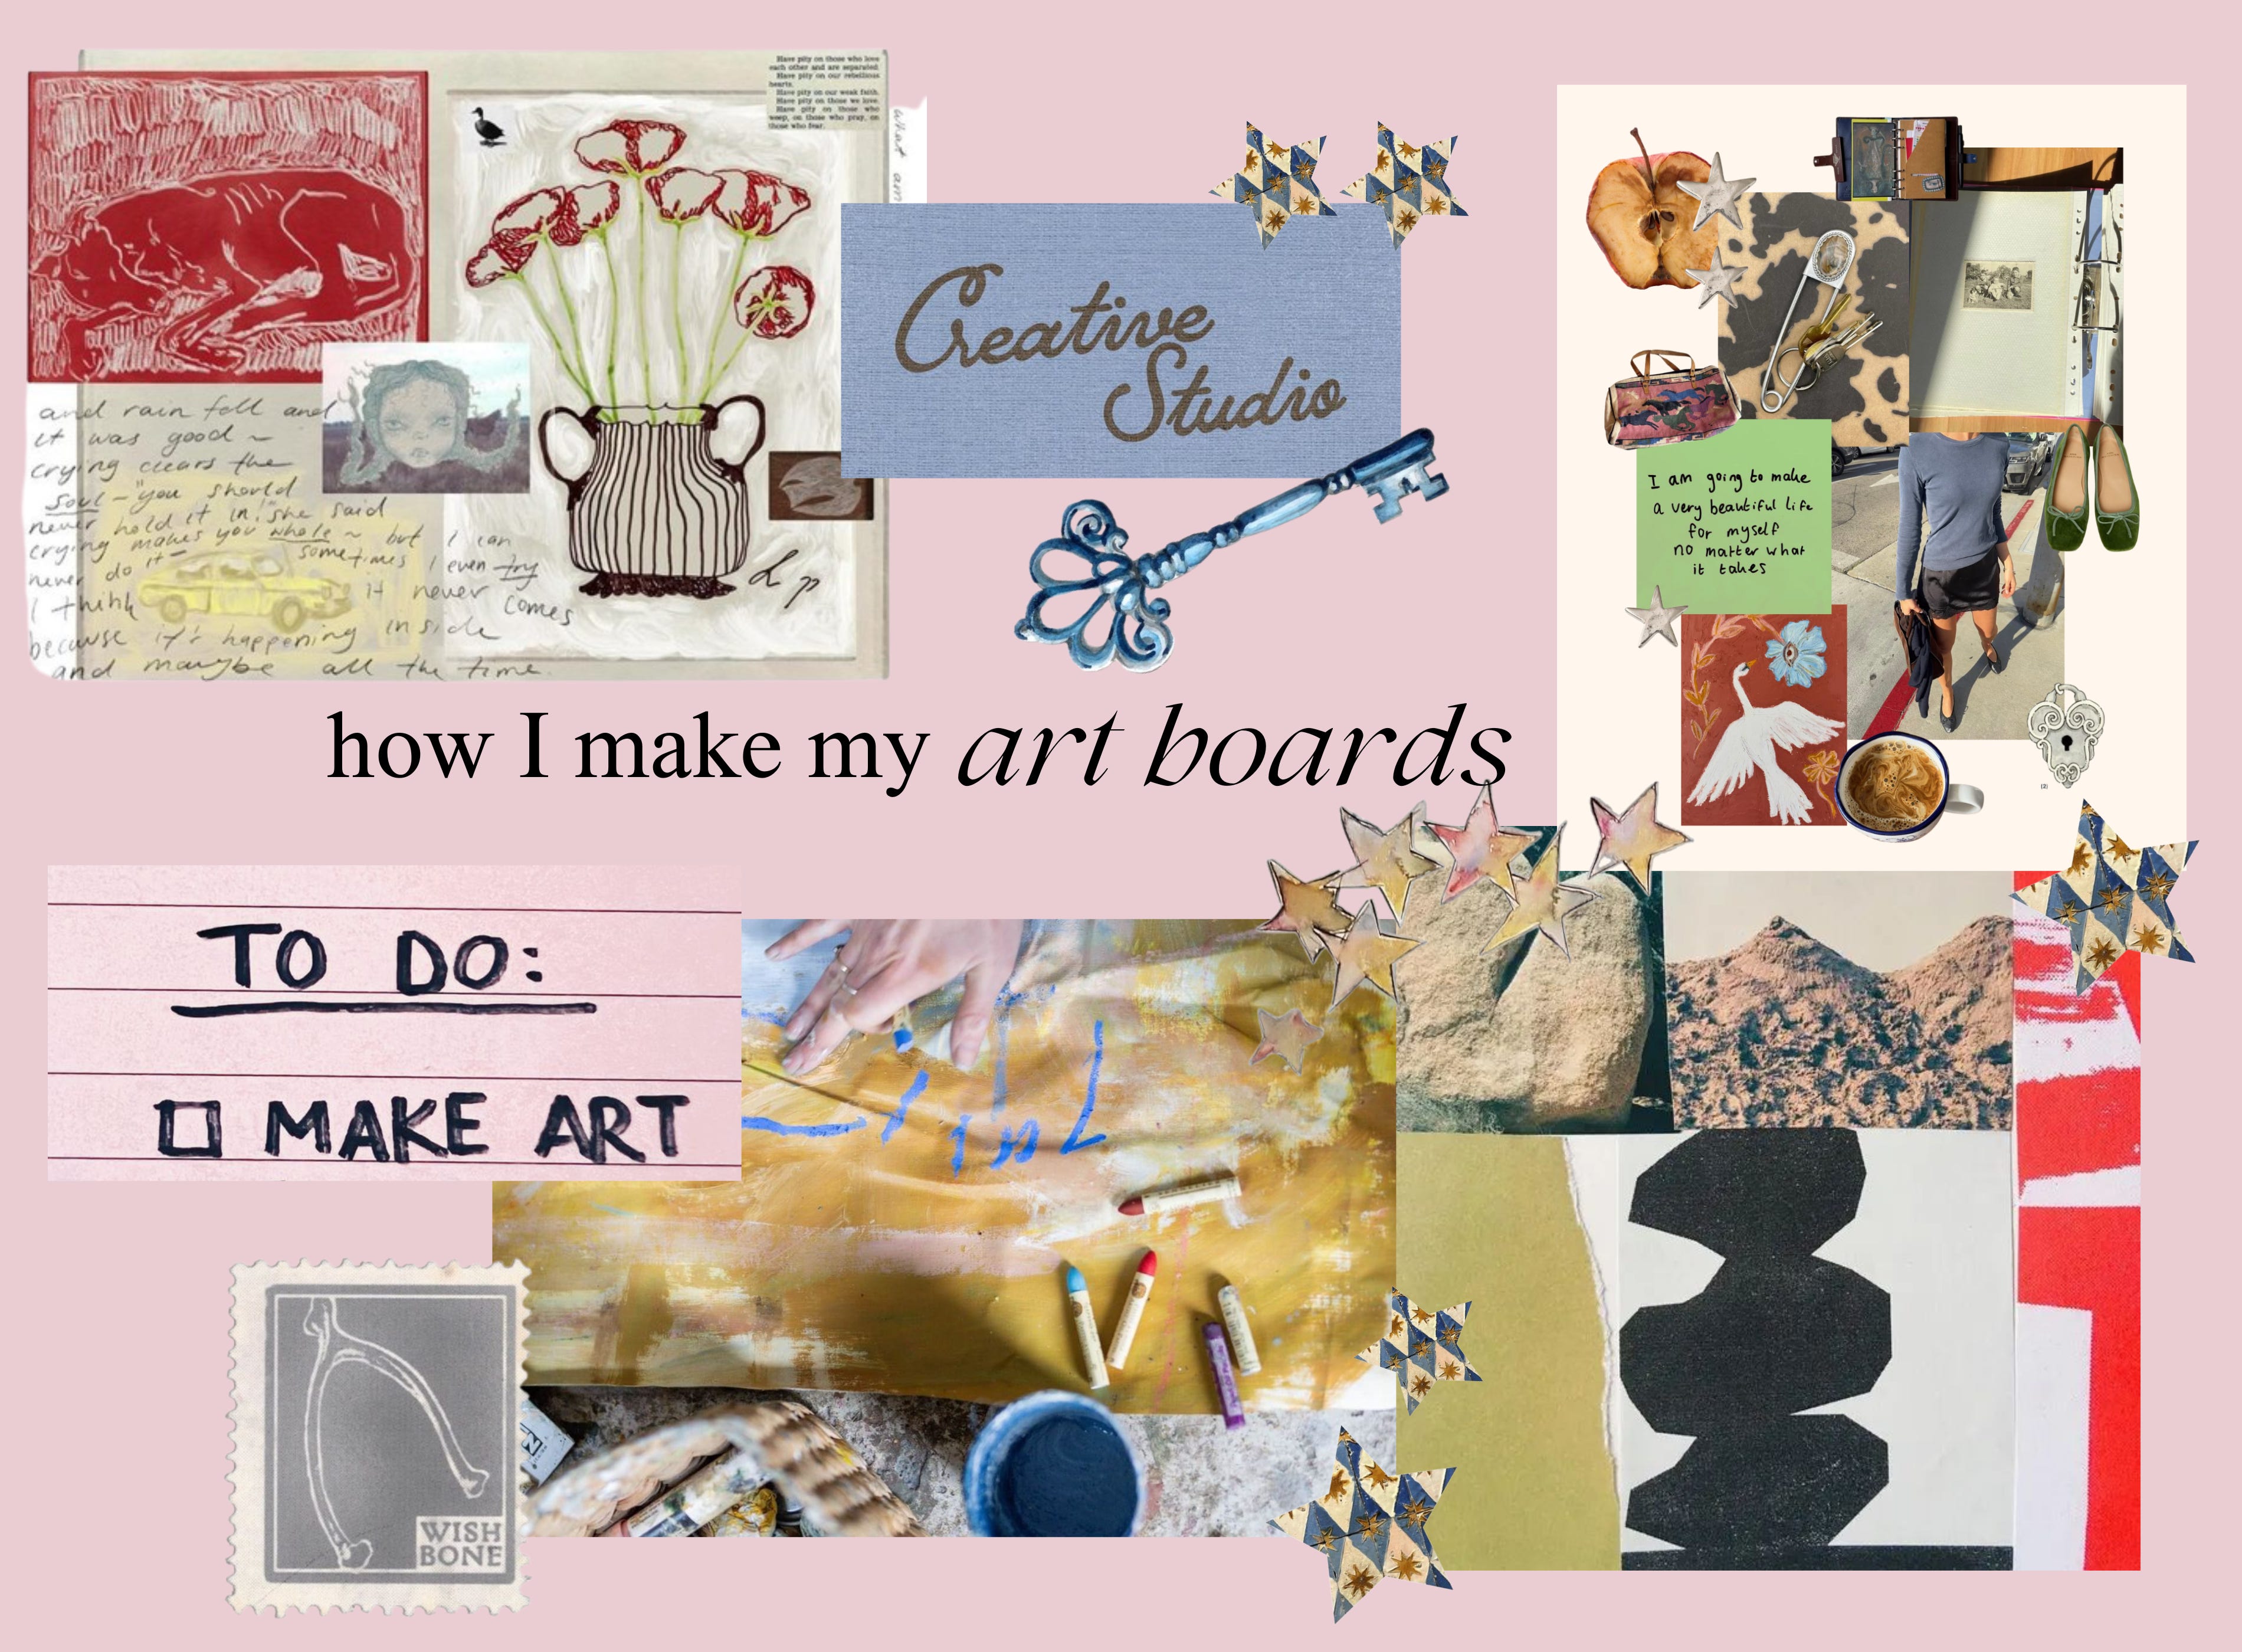
Here is it!
Thank you for making your way to the end of my explanation. Hopefully this tutorial was a helpful as possible!
If not, I have created a catalogue full of the own materials I use, as well as some of my most popular art boards on Substack. This is a catalogue for paid subscribers, so if you want access to it all, do not hesitate to upgrade to paid this month! Paid subscribers help support the time and love I pour into this newsletter, so your contribution is much appreciated 💌
Comments
Nothing yet. Say the first thing.
Sign in to join the conversation.